fabric for the guest room

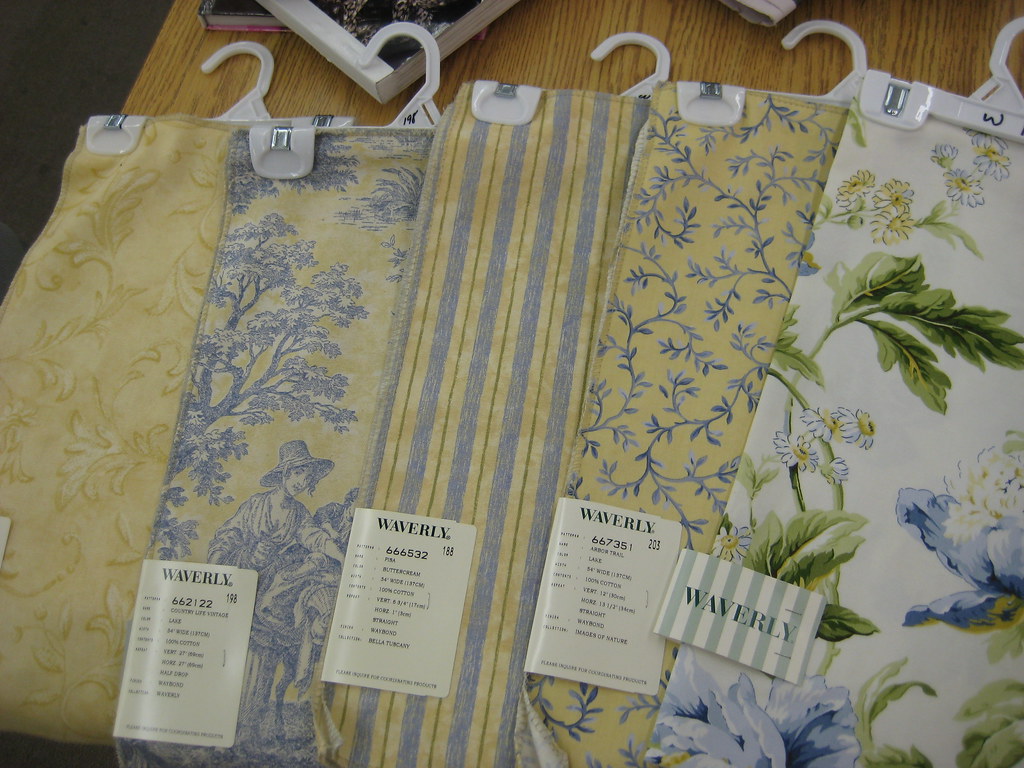
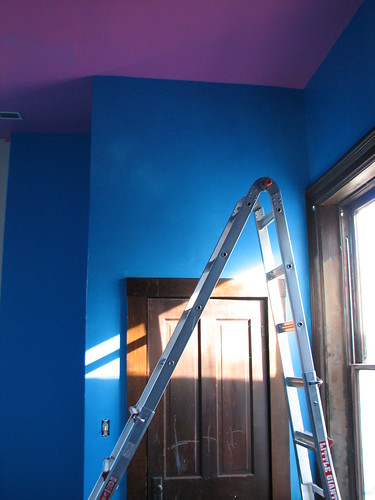
Genny and I ran to the big city yesterday to look for fabric for the guest room. The walls and ceiling are blue and the hall walls are yellow with a blue ceiling. I’ll post the pics larger than usual, so you can see the prints well.

guest room / bath fabric

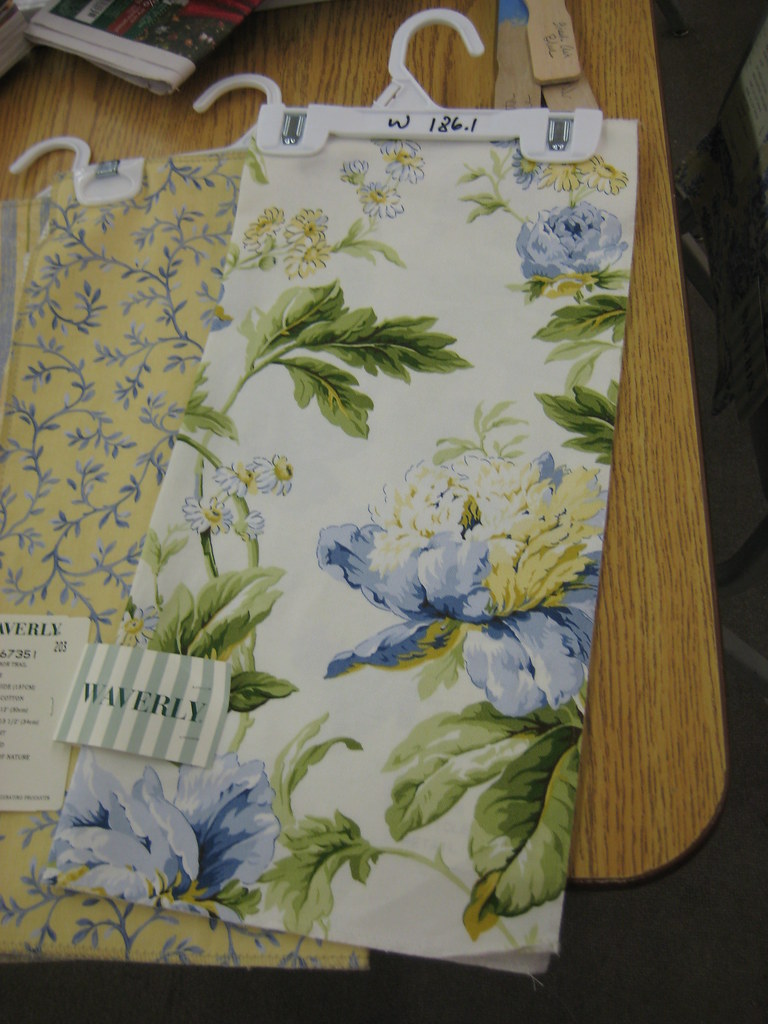
The large floral will be used for curtains.

curtain fabric

My DEAR friend Laurie came over Sunday evening and volunteered to make the curtains for me. I almost cried. :’-) Happy tears. 🙂 {{{{{{{{Laurie}}}}}}}} She is coming by today to help figure yardage and I’ll order the fabric online to take advantage of a big savings. I’ll also be able to get it more quickly than I can from the fabric store, as the online store has it in stock and can ship it immediately.

~~Rhonda

it’s snowing in the kitchen!

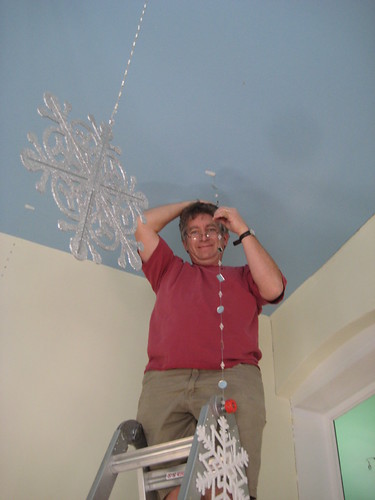
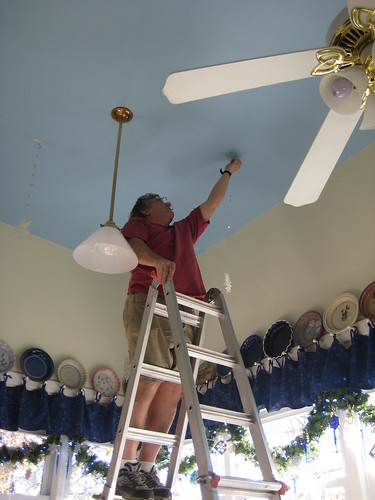
Sunday afternoon, DH found time to hang the snowflakes in the kitchen. It’s hard to get a picture that does justice to the kitchen ceiling after they are all up, but here are a couple of DH at work.

kitchen snowflakes

The ceiling is 12′ high, so the snowflakes hang on mirrored garlands of different lengths, the longest being about 4′.

hanging snowflakes

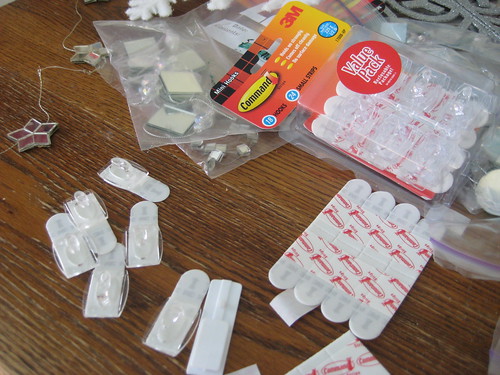
Command Strip hooks are the perfect tool for hanging the snowflakes. These hold well and come off easily. Just remember to pull SLOWLY when removing. We use these around the house in a lot of ways at Christmastime.

command strips

~~Rhonda

investigating

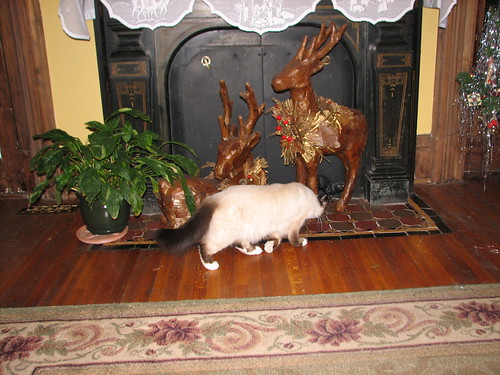
Last year, my sister Paula gave me two large deer, as well as two tall slim artificial trees. The trees will be used on the front porch. The deer have found a home in front of the fireplace. Niko and Buttercup were both very interested and immediately checked them out.

fireplace deer

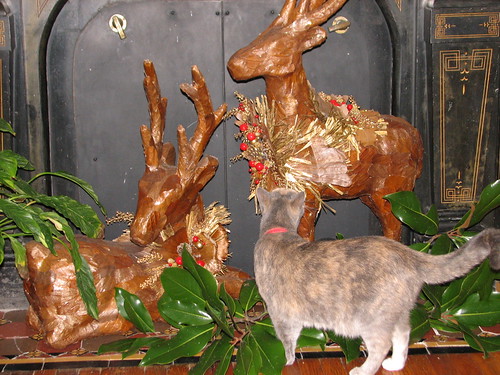
Genny and I decided the deer needed something and she brought in some magnolia leaves. Perfect. We will use those for the open house and for the house tour, as well.

fireplace deer being investigated

~~Rhonda

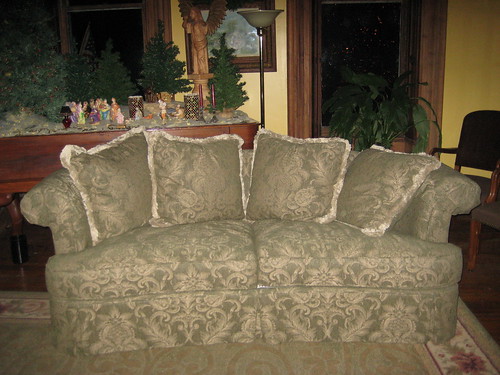
new sofa

The new sofa for the living room was delivered today.

new sofa

We switched the office rug and the living room. The office rug looks great with the sofa. And the living room rug looks great in the office! Worked out well!

~~Rhonda 🙂

setting up the snow tree

The dining room has a snow theme. The snow tree is a slim 6.5′ tree and sits on an old round oak table in a corner of the room. This year, I put new lights on the tree. When we took the old lights off, I could tell they had been on a long time because it has been a long time since I went round and round a tree with a light string and that is how they were arranged. On a tree this size, I now do three wedges from bottom to top. Much easier to remove if need be.
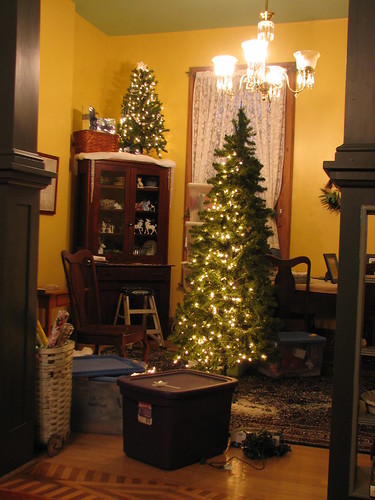
dining room in process

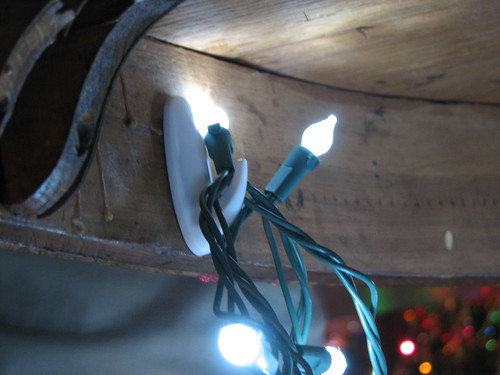
To prepare the round table for the tree, we hang lights below the table, put lights on top the table and then place a large round piece of table glass on top.
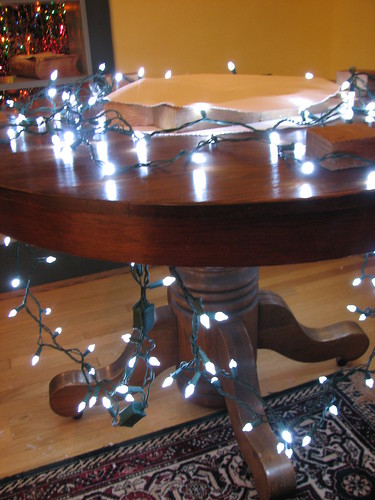
snow tree

Command Strips hold the light strings under the table. Easy to remove when needed, we use a lot of these at Christmas time.
snow tree

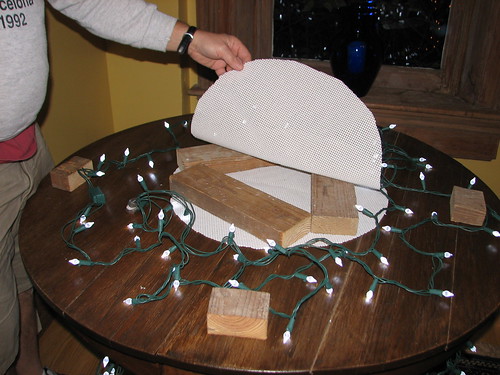
On top the table are blocks of wood to support the glass. We use three pieces of 2×4 lumber to support the center of the glass which bears the most weight from the tree. I cut rounds of no-slip rubber (I think it was shelf lining) and we place one under the wood and one on top to keep everything from sliding.
snow tree

The glass top is placed over the lights and wood blocks.

snow tree

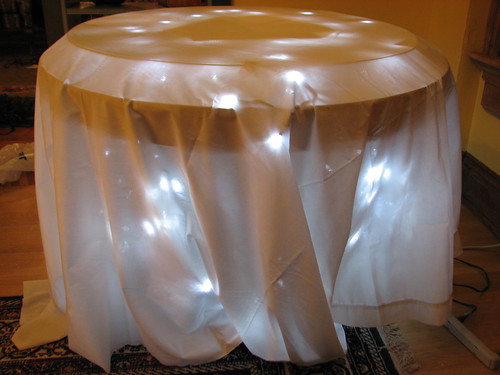
I place a sheet over the glass. This year we used LED lights under the table and they show up better than the old lights because they are brighter.
snow tree

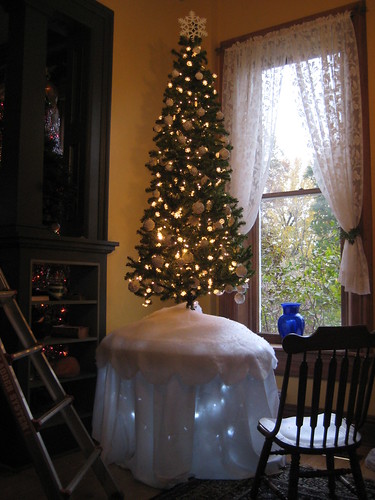
The tree is progressing well. After it is on the table I place batting on top the glass around the base of the tree and cover that with a round piece of batting that I scalloped. It has a slit in it so it fits around the base of the tree. I place it over the first layer of batting. The scallops fall just over the edge of the table.
snow tree in process

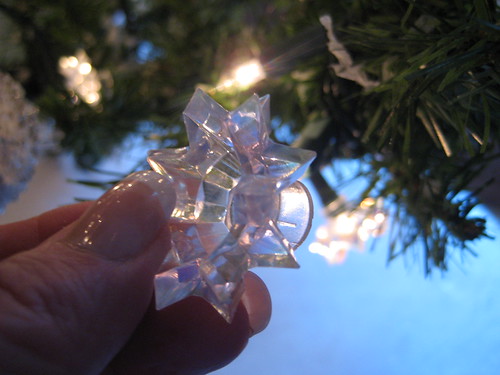
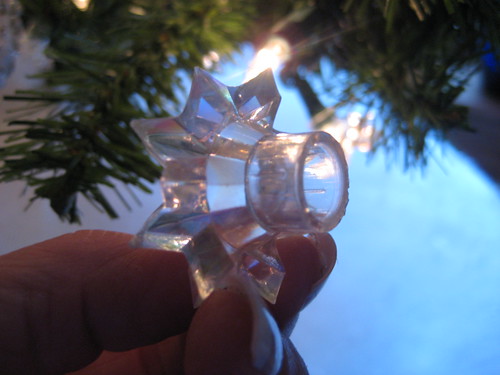
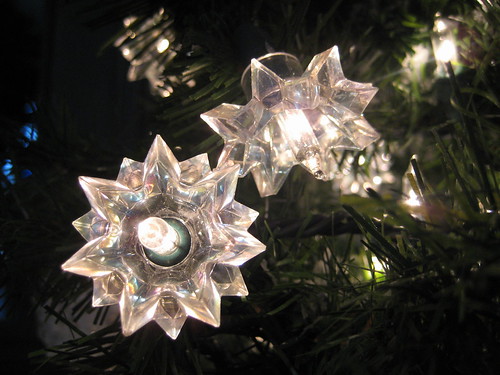
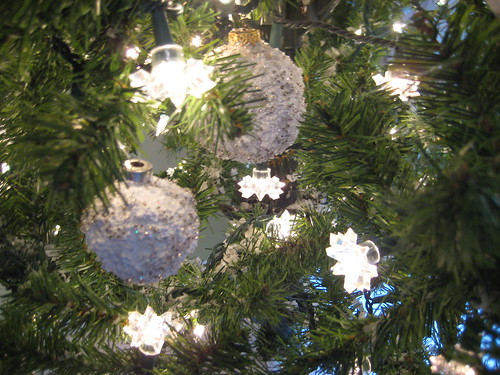
Many of the light bulbs are decorated with light covers.
light covers

light covers

light covers

I bought these about ten years ago and have not seen them lately. Mine came in bags of 24 for $3. You can google “Christmas light covers” or “Christmas light caps” and check IMAGES. There are some other styles available.

They add a lot of dimension to the white lights.
light covers

We will finish the snow tree with a garland of silver tinsel and then “snow” it this evening. DD loves to help with that. I’ll post more pictures later. I want to get this posted so you can see some of the progress we’re making.

~~Rhonda 🙂
decorating progress

We have been very busy! Yesterday, my DIL Julie and my sister Genny decorated the nativity tree in the library.

nativity tree

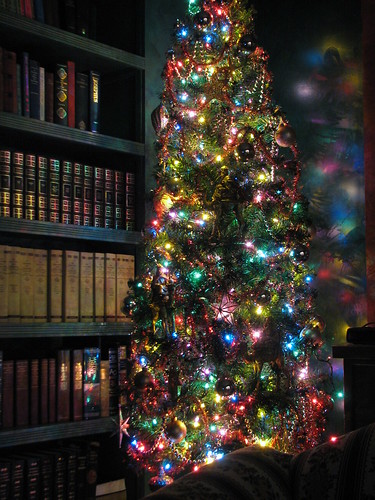
The Three Kings’ Tree, also in the library, in the corner by the book shelves is done and looks great. It’s hard to spot the three king figurines in this picture, but I liked the way the lights reflected off the wall.

three kings' tree

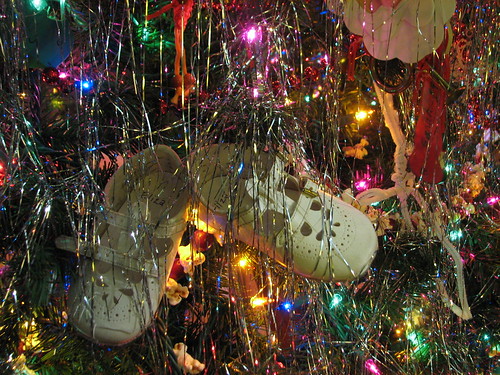
The living room is done, except for a couple of minor details. These are my oldest daughter’s baby shoes on the family tree.

DD#1's baby shoes

The dining room is a different story!

dining room

We are just getting started in there today. I am in the process of putting new lights on the snow tree. When that is done, we’ll put the garland on, and the snowball ornaments. Then we’ll snow the tree. More about that soon!

The snow tree will sit on an old round oak table. The small tree on the left will go on top the corner cupboard. The eight boxes are all decorations for the dining room.

I wanted to check in. We’ve been so busy that I haven’t taken time to update here. My sister is staying through tomorrow to help decorate and we plan to accomplish a lot more.

We bought a sofa for the living room and it may be delivered tomorrow. Because of that, we switched two rugs, but the result is worth it. They look great and the one we moved to the living room looks just right with the sofa pillow I brought home for a color check in the room.

I’ll post more tomorrow. ~~Rhonda 🙂

follow up on the peanut butter cup cookies

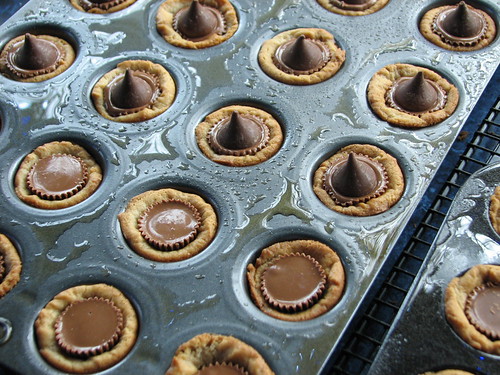
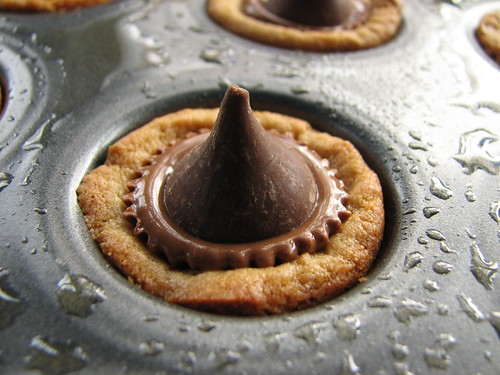
I made more peanut butter cup cookies today. My dear friend Carolyn had said the recipe reminded her of Moose Tracks ice cream. That made me think the cookies needed a big chunk of chocolate, so I decided to add a Hershey’s Kiss to each one.

I waited until the chocolate of the peanut butter cup was totally melted…about ten minutes…then gently pressed a Kiss on top.

You can see in this picture that part of the chocolate is shiny and part is still dull. Wait until the entire top is shiny before pressing the Kiss into the top.

If you don’t push the candy in too deeply, you retain the chocolate crimping around the peanut butter cup which looks pretty.

Once the chocolate totally hardens, the cookies are ready for the freezer. Another recipe I can check off my open house list. 🙂

~~Rhonda

Peanut Butter Cup Cookies

Peanut Butter Cup Cookies are easy to make. I do them every year for our open house. There are several people who always ask if I’m going to make them. To make them, you will need:

  • small muffin tins
  • Pam
  • homemade peanut butter cookie dough or ready-made store bought peanut butter cookie dough
  • mini peanut butter cups / I like Reese’s
  • Optional: Placing the muffin tins on cookie sheets to bake, makes it easier to remove them from the oven.

Use any peanut butter cookie recipe. I prefer this one: Honey Peanut Butter Cookies. Spoon small amounts (probably about 2 teaspoonfuls) into small 1 3/4″ muffin tins that have been sprayed with Pam. Don’t over fill. If the dough bakes over the top of the tin, the cookie will be difficult to remove from the muffin tin.

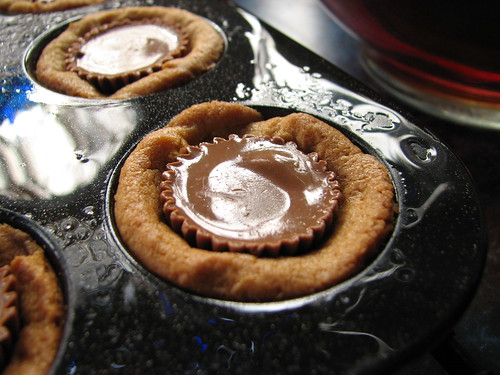
Bake for 8-10 minutes at 350. Nine minutes is just right in my oven. While they are baking, unwrap as many of the mini peanut butter cups as you will need. As soon as the muffin tins are removed from the oven, press a small peanut butter cup into the center of each cookie.

The first few times I made this recipe, I used store bought refrigerator cookie dough. Now I use a peanut butter cookie recipe and I find the cookies made from scratch seem to release from the muffin tin better than the store-bought tube of dough. But store-bought is fine. There might be a few rejects, but you can use those for guilt free taste testing, right?

The store-bought cookie dough can be easily removed from the wrapper if you cut the plastic wrapper with a knife and, on each end, go all the way down to the opposite side. That makes it easy to slide the dough out of the wrapper without leaving dough stuck to the ends. It’s hard to tell in this picture, but there is no need to cut into the dough. Just cut through the wrapper.

peanut butter cup cookies

Slice the dough into 12 slices and divide each slice into four pieces. If using more than one roll of dough, store the addition rolls in the refridgerator until needed. If left on the counter at room temperature, the dough gets soft quickly which makes it harder to work with.

peanut butter cup cookies

You don’t have to roll the dough into balls or smoosh it down or anything else. Just drop it into well greased muffin tins. Bake. As soon as the tins are removed from the oven, push a small peanut butter cup into each cookie.

peanut butter cup cookies

PB cups

After adding the peanut butter cups, leave the cookies in the tins to cool. The dough is soft and fragile while warm. If they are removed immediately, the cookies fall apart.

peanut butter cup cookies

When cool, I gently slide a small frosting spatula along the edge of the cups to loosen them.

peanut butter cup cookies

peanut butter cup cookies

At this point, I freeze the cookies until time to serve. Before the open house, I will thaw them and drizzle them with melted almond bark (vanilla) and decorate with chocolate sprinkles. You could use red and/or green candy melts to drizzle over the tops and decorate with candy sprinkles. Or drizzle with melted chocolate and sprinkle with chopped peanuts…lots of ways to decorate them. Or leave them plain!

peanut butter cup cookies

peanut butter cup cookies

Wal-Mart sells mint cups that are similar to the peanut butter cups and I like to use them with sugar cookie dough.

Delicious and very easy to make! ~~Rhonda 🙂

decorating the kitchen

My sister Genny and DD did a lot of the decorating in the kitchen this past weekend while I worked on other things. Brooke had helped me on Friday and we put up new garlands as the old ones were shedding terribly. I made each one long enough to fit each window so they will be easier to store and put back up next year than the two long ones we were using before. So Genny and DD were able to hang ornaments after DH put lights on the garland.

decorating the cabinets over the fridge

DD thinks this is fun because she gets to climb on the kitchen counter to hang snowflakes and icicles.

DD loves this part of the decorating...

I spend a lot of time in our kitchen so I have opportunity to enjoy the snowflake collection more than other ornament collections I have. This year, we put blue and white LED lights on the garlands. The new LED white lights are really white, not gold or yellow or ivory colored. Makes a big difference in the way the room looks. Love my snowflake curtains, too. Thanks, Laurie! 🙂

kitchen windows garland

~~Rhonda 🙂

floor tile in the bathrooms

The tile installers have been here all day. I took a few pictures while they were at lunch.

The tiles are installed in the downstairs bath, but not yet grouted.

downstairs bath

Upstairs, they have just started putting down the tile.

upstairs bath

They will be back tomorrow to work on the third bathroom. I’ll be glad when the hammering and sawing are done!

~~Rhonda