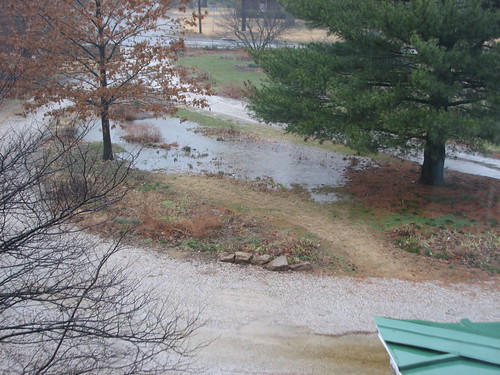
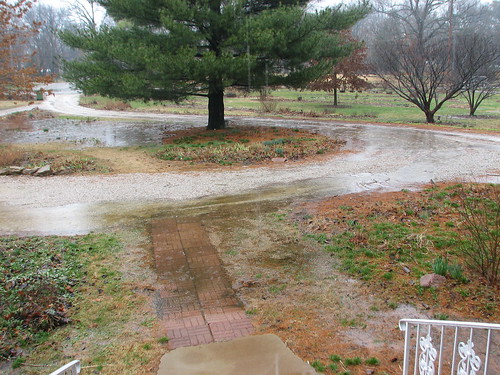
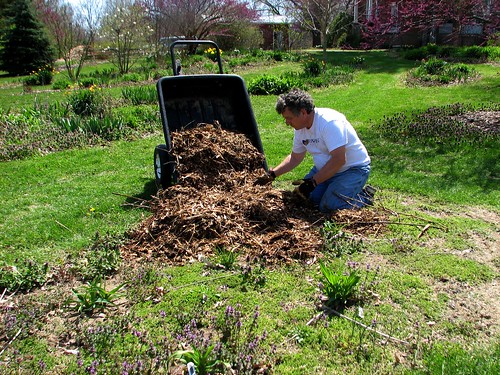
It’s spring at our house. Really spring. Deep green, deep grass spring. Monday the ground was too wet from previous rains to mow, but I mowed the yard on Tuesday for the first mower outing of the season. DH has Wednesdays off and we spent a lot of time out in the yard that day, doing those spring maintenance sorts of jobs…pulling henbit, putting down mulch, trimming shrubs, etc. A fun day. Winds were blowing at 30+ mph, but that didn’t stop us. The temps were in the low 70s and it felt great outside.

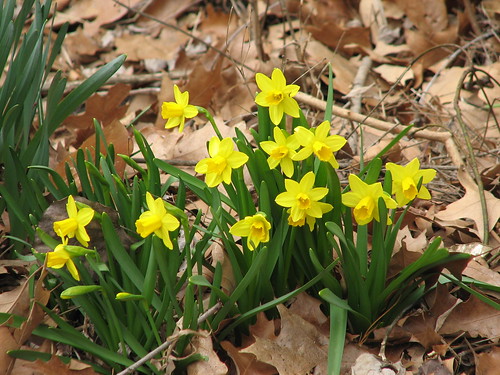
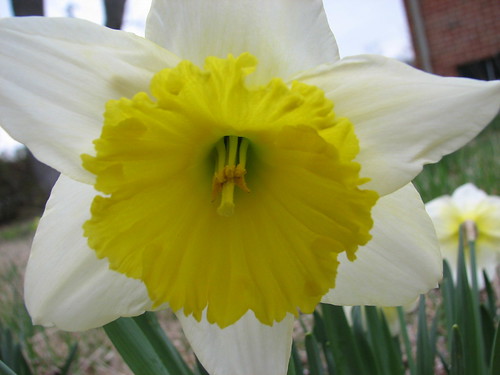
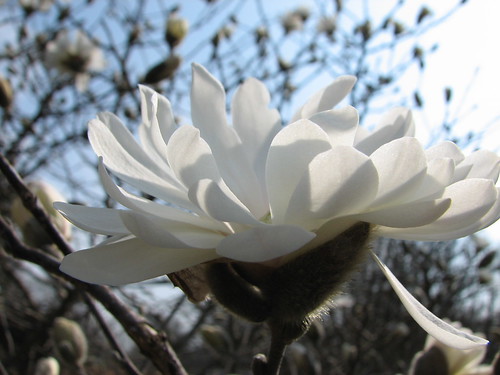
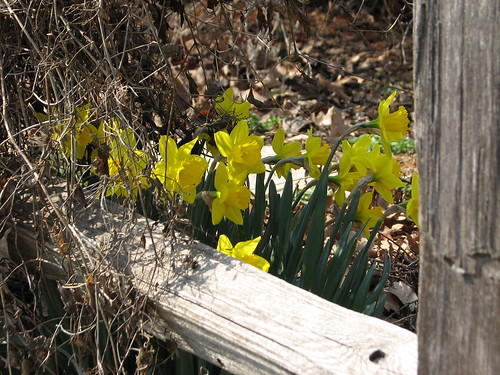
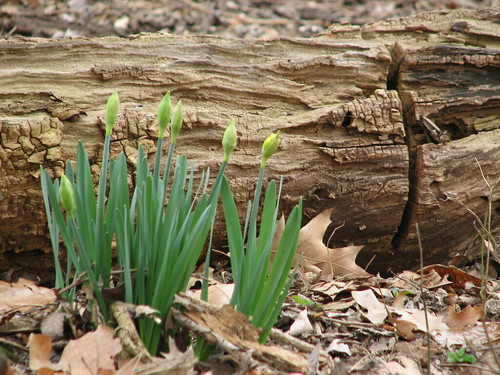
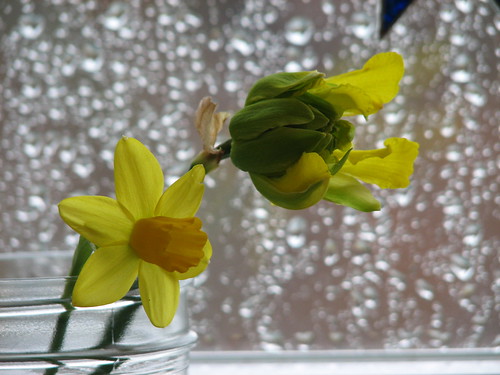
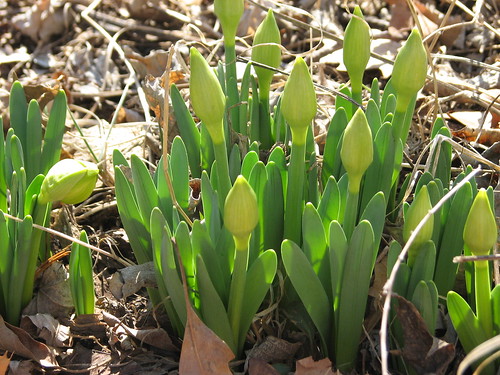
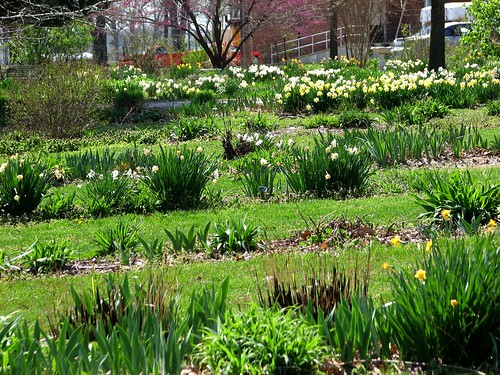
The early daffodils are finished, but the mid-season and later ones are still beautiful.
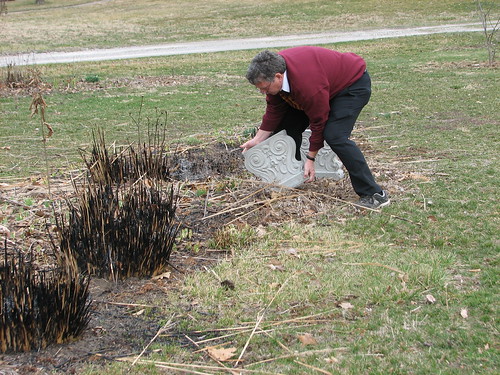
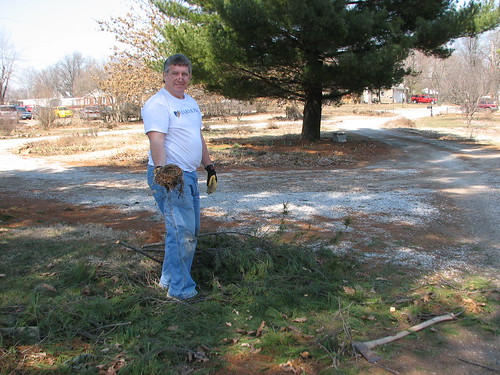
We have a friend with a tree trimming business and he gives us wood chips for the gardens. A wonderful gift.
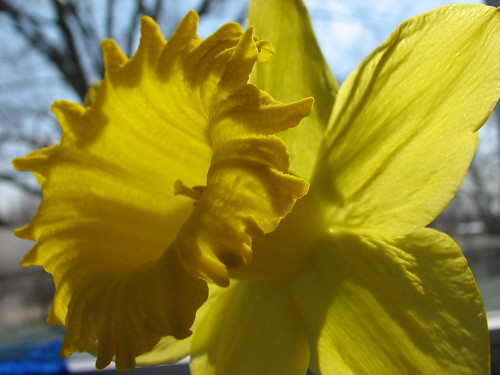
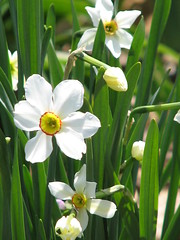
These lovely Poet’s daffodils came from DH’s family farm.
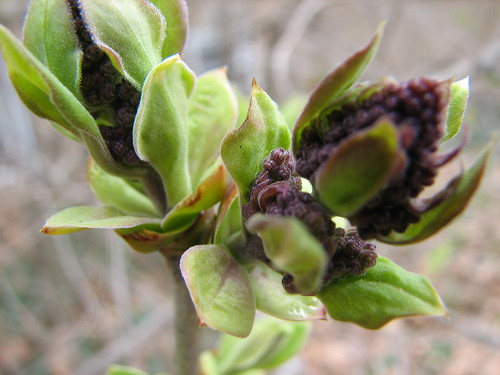
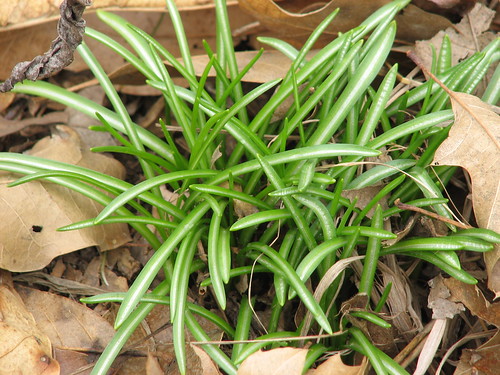
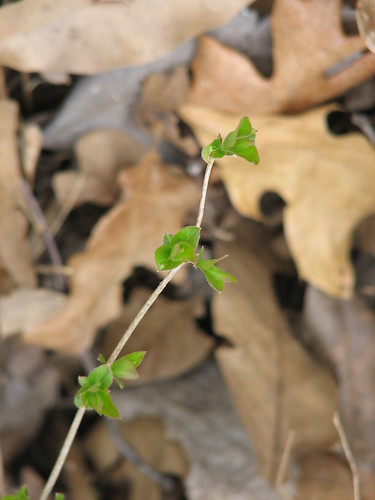
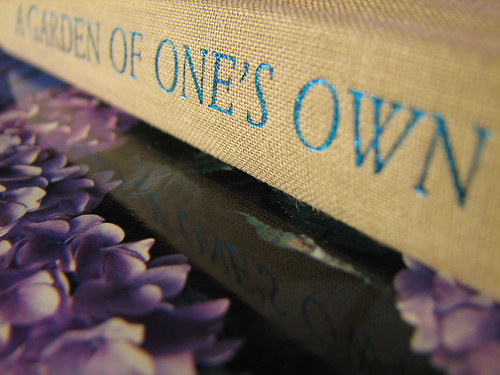
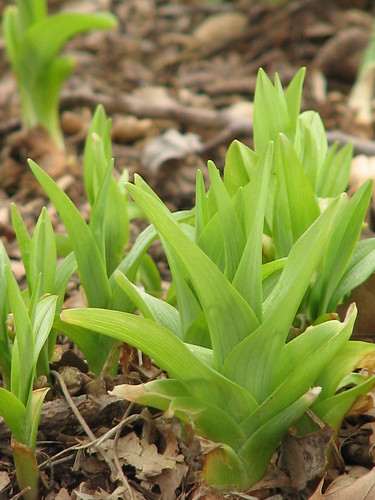
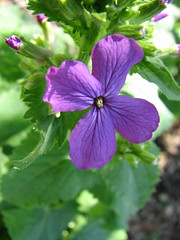
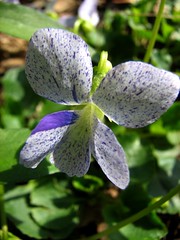
The Honesty just opened yesterday. Soon the tops of the plants will be covered with beautiful purple blossoms. They spread easily and come up all over the yard. They provide easy and beautiful drifts of color in lots of areas of the yard this time of year.
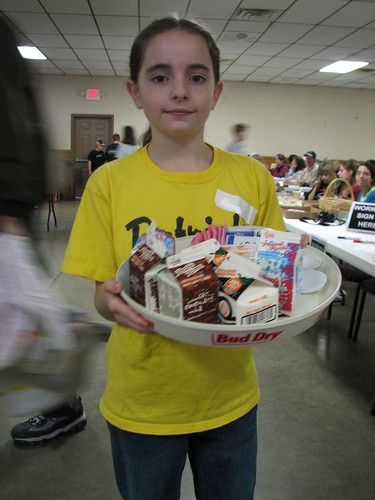
After working in the yard, we picked DD#3 up from school. On the way home, we made an impromptu visit to our friend Laurie’s house. Her granddaughter was there and asked to fly kites. They had a wonderful time!
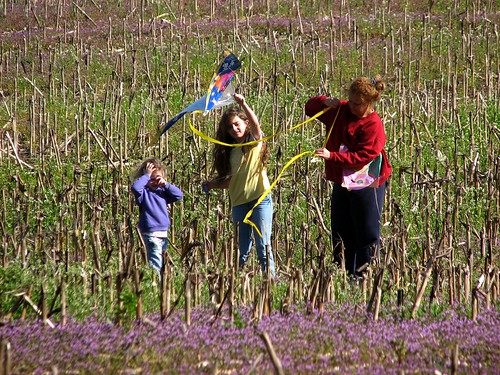
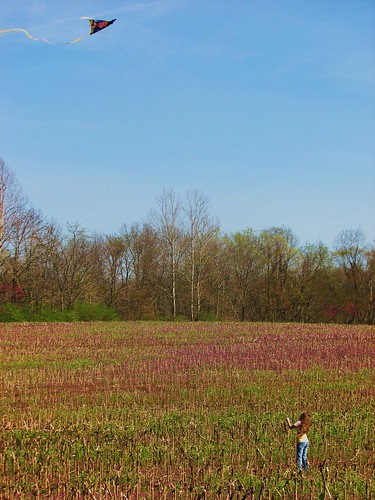
When we had to leave, DD said, “I’d forgotten how much fun it was to fly kites.”
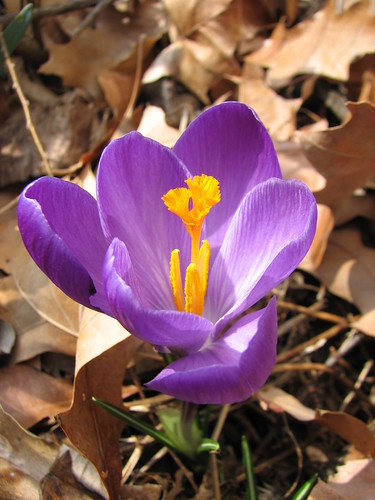
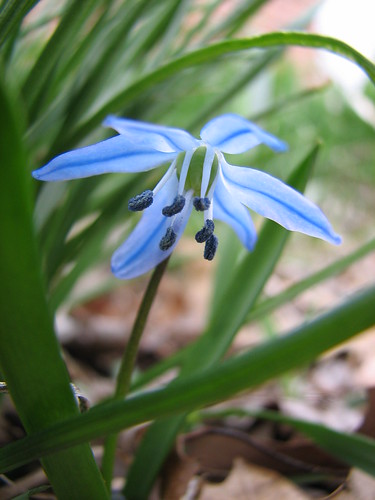
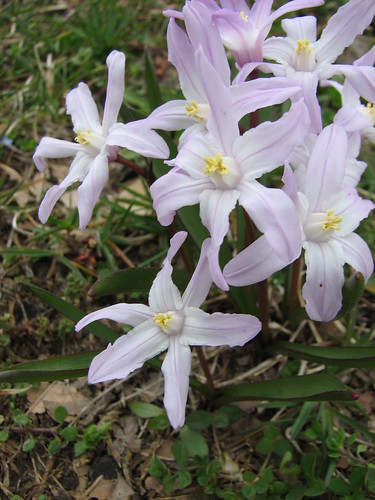
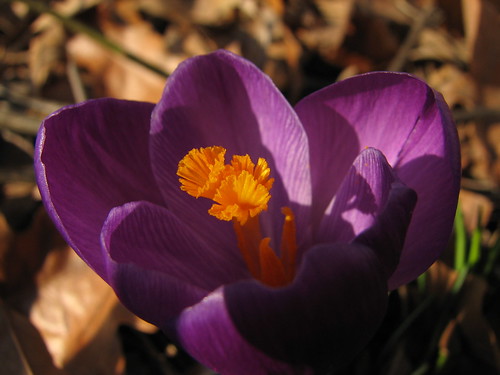
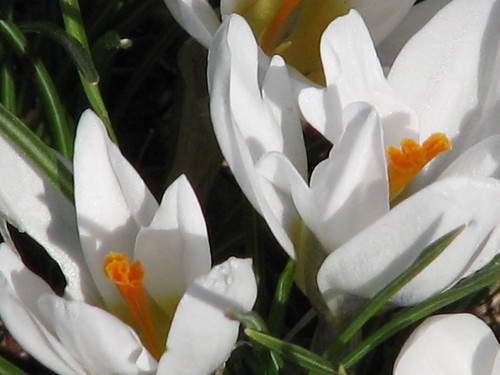
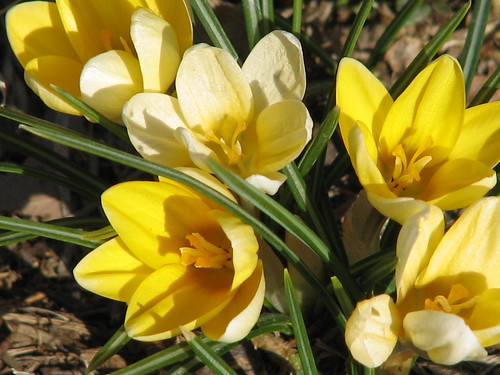
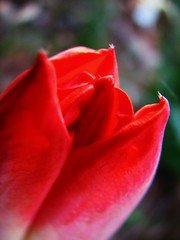
I love this time of year…all those beautiful flowers.


DH had an all day meeting on Thursday, so was able to come home much earlier than usual. We worked in the yard until dark. We cleaned the raised beds in the veggie garden and planted five kinds of lettuce, herbs, green beans, sugar snap peas, yellow squash and three tomato plants.
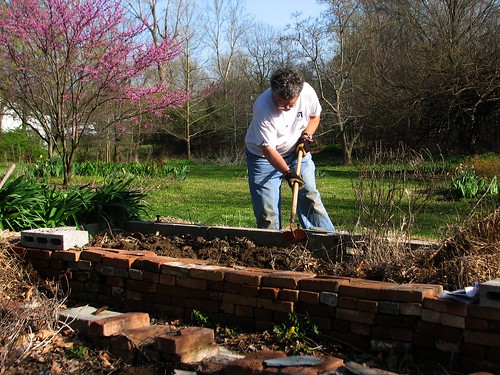
I am so looking forward to that first fresh-from-the-garden salad.
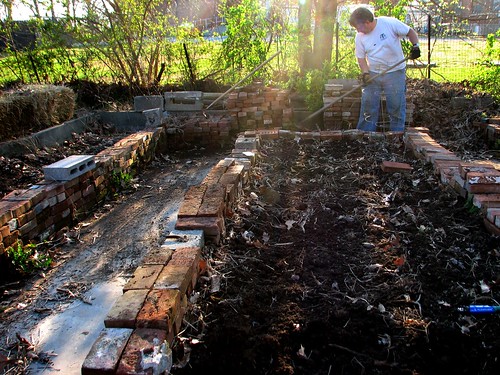
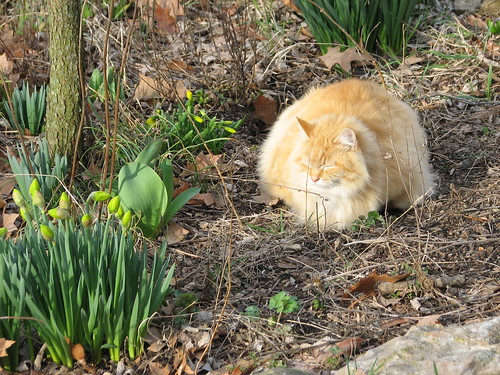
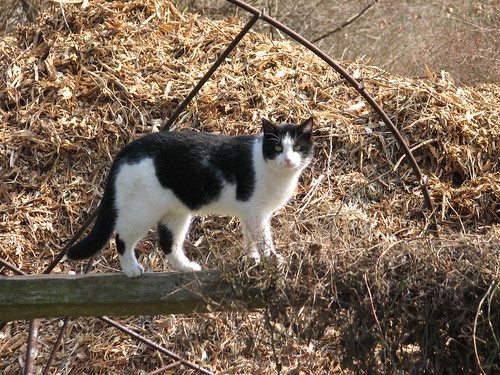
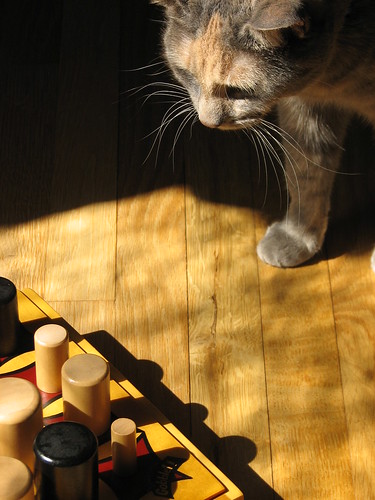
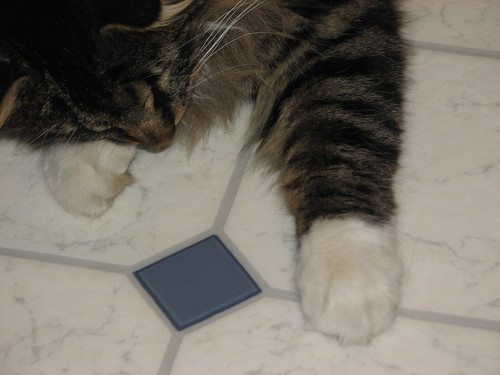
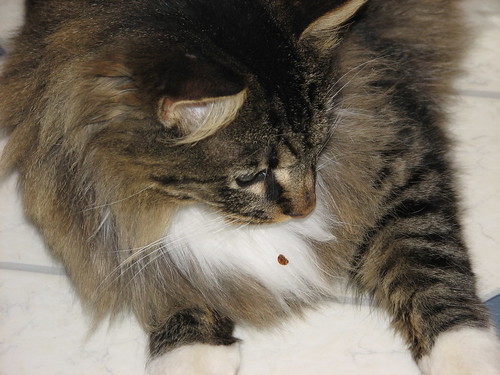
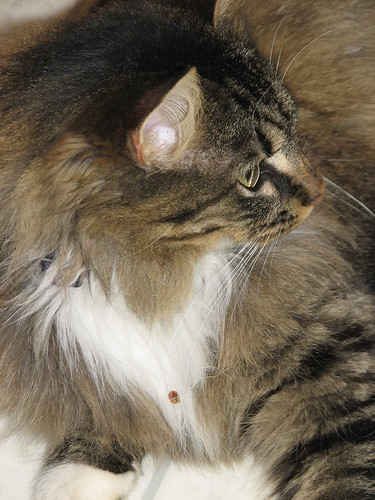
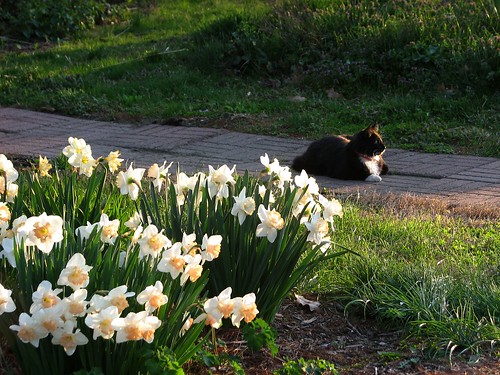
While we worked, we had an overseer. Zilli was totally intrigued by all the weed pulling and dirt digging.

After the veggie garden was in order, DH and DD took a bike ride, while I walked around the yard and took more pictures.
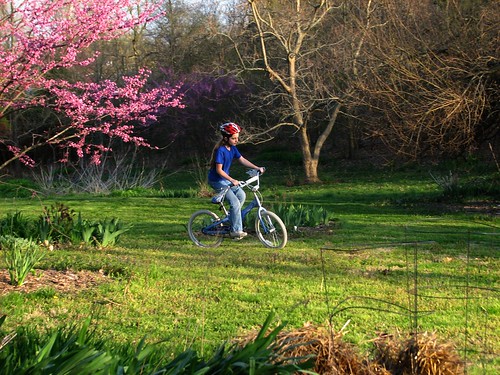
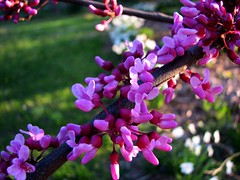
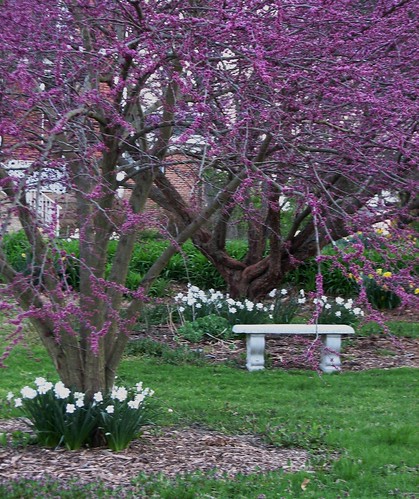
The redbud blossoms opened yesterday, April 17.
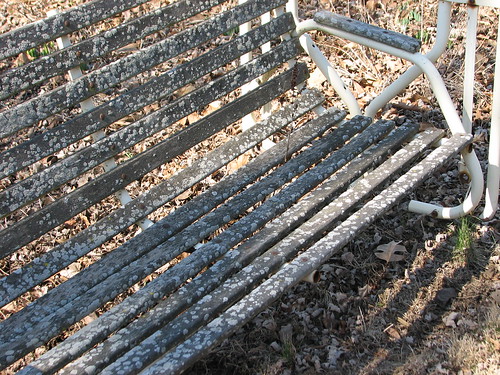
This bench is the perfect spot to sit on a spring afternoon or evening. It offers a view across the northeast part of the front yard. Right now, it’s the daffodils. In a month it will be the irises, and a month later the daylilies. A beautiful view.
Zak caught the last of the evening sunshine on the sidewalk.
Spring. Love it. ~~Rhonda