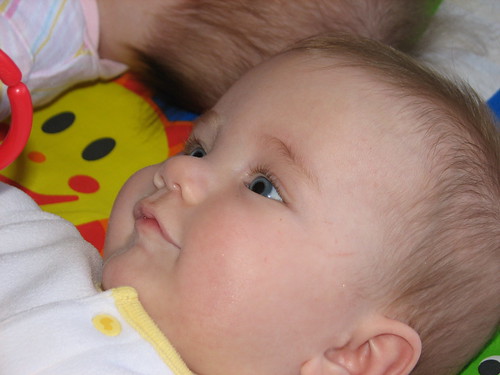
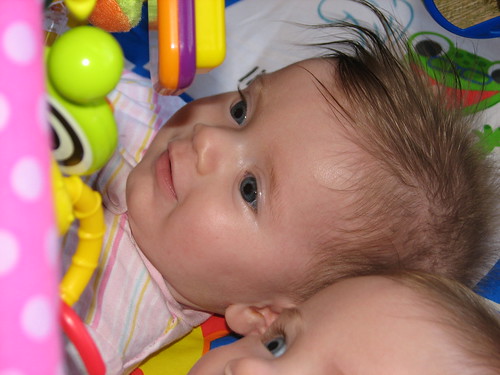
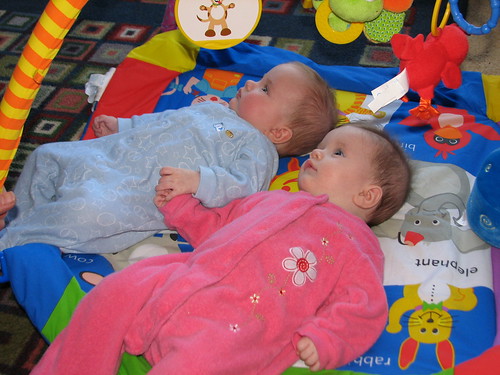
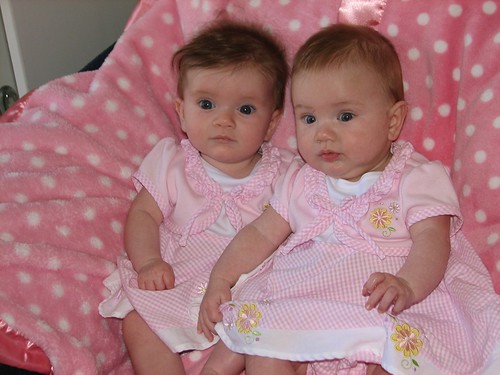
The twins posed beautifully this morning for some portraits.
Tabitha and Miranda, our first grandchildren. They are four months old tomorrow.
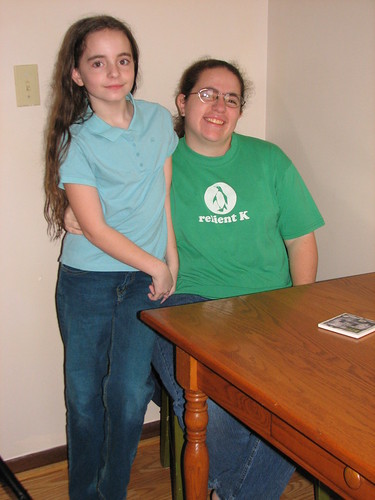
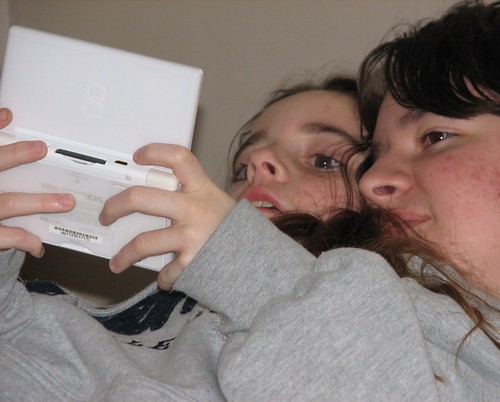
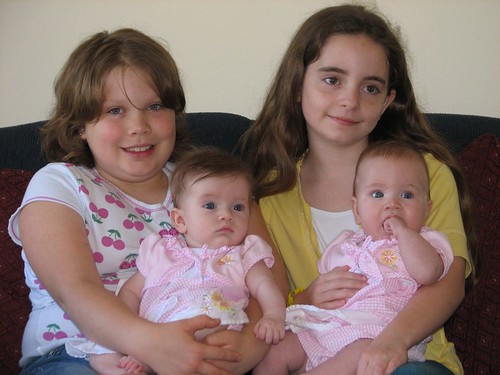
Three sisters and an aunt. I think Tabitha looks a lot like her aunt did as an infant.
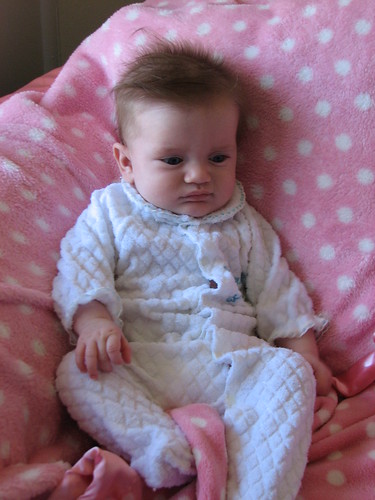
I took one of DS’s baby outfits along and we put it on each of the girls for pictures. Not bad for a 28 year old outfit. ;-D
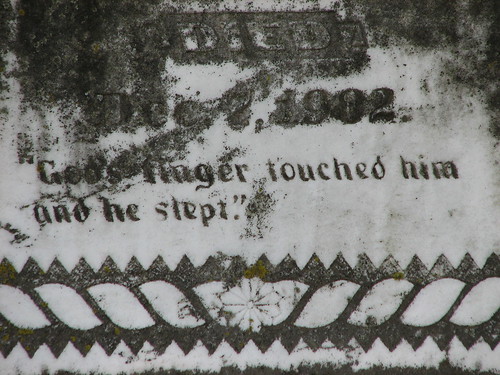
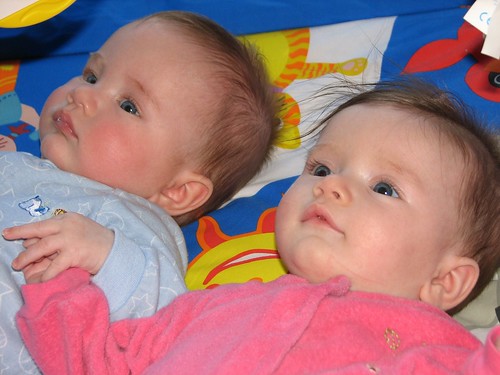
“Precious Baby”
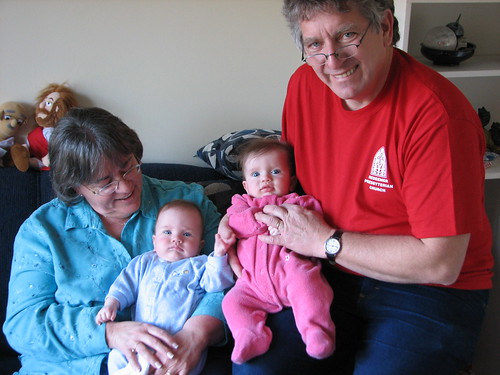
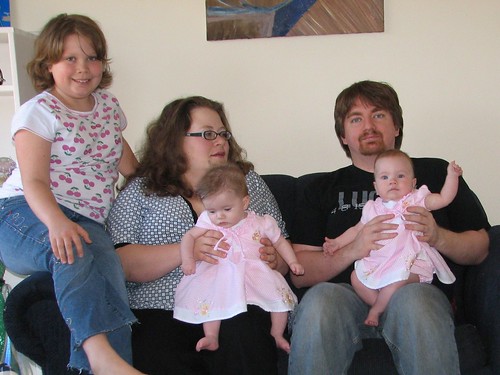
Big sister, Mommy, Daddy, and the girls.
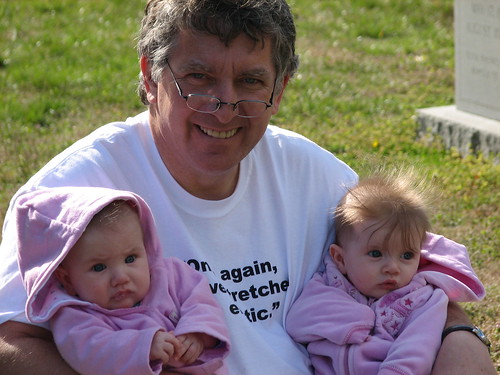
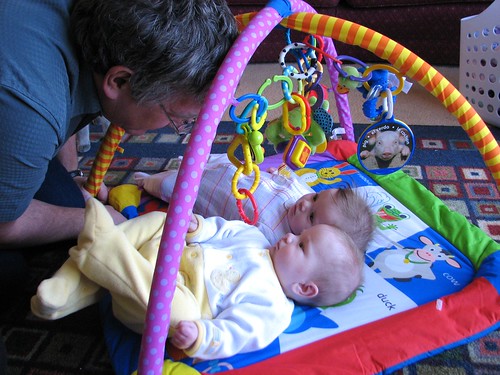
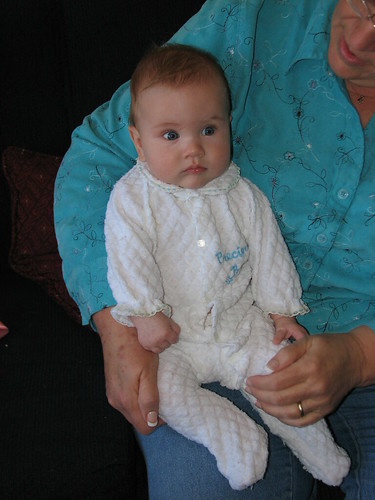
Tabitha and Daddy. DS is a stay-at-home-dad, and doing a great job with caring for the girls. Mom works days, DS works a few nights a week.

We are on our way home. Had a great visit and are looking forward to their visiting us in July! ~~Rhonda