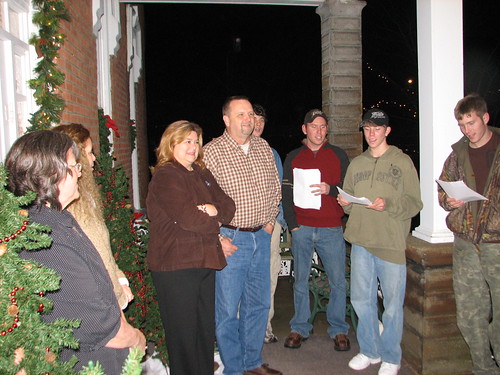
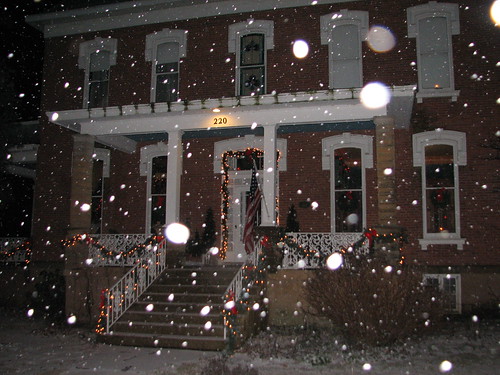
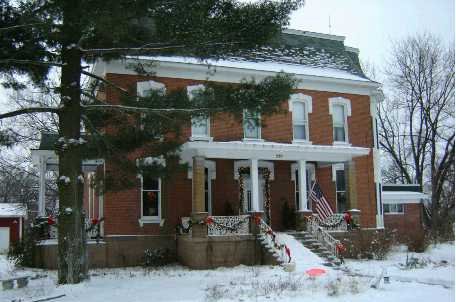
Our Second Empire brick home was built in 1867. We bought the house in 1994 and moved in, after extensive restoration and while still renovating, in 1996. We love celebrating Christmas in this lovely old home. DH decks the porches with evergreen roping and white lights. He also strings many of the redbud trees in the front yard with white lights.
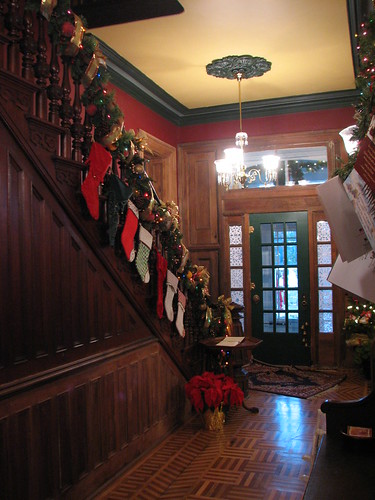
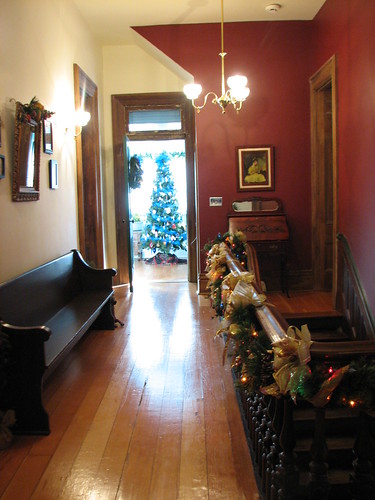
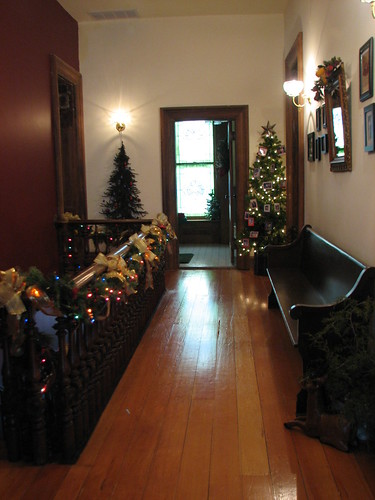
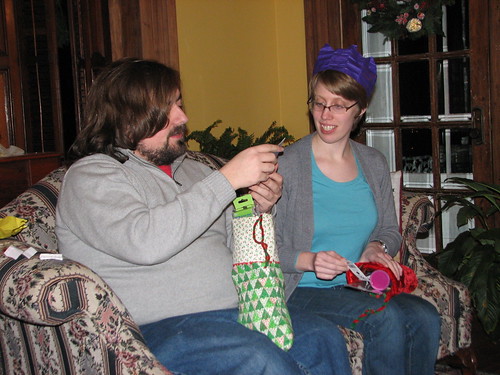
The front door, decorated with paper snowflakes, opens into the front hall. We always hang our Christmas stockings on the staircase. The oak and walnut parquet floor is original to the house. All the original woodwork in the house, including the staircase, is made of walnut.
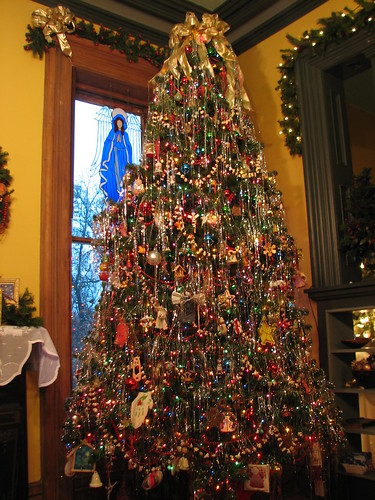
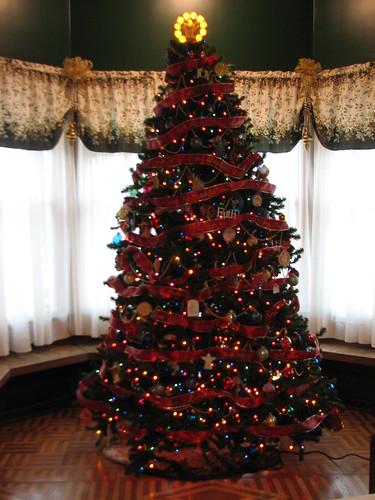
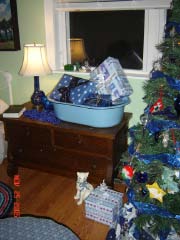
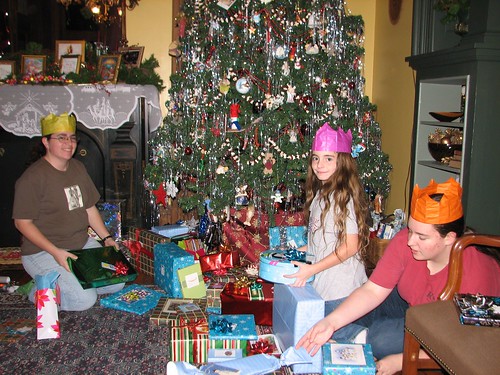
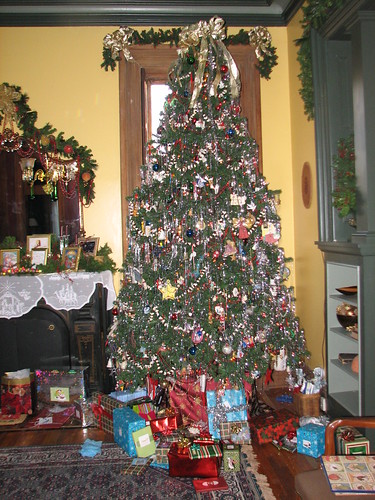
To the left, as you enter, is the living room, where you will find our “family tree.” This 9′ tree sits on a box DH made to raise it to 11′, just below the 12′ ceiling. The tree is decorated with popcorn and cranberry strings (made fresh each year), red bead garlands in two sizes, and all our family ornaments. Tinsel covers the entire tree. The blue stained glass angel, made for me by our friend Gary, hangs in the window year round.
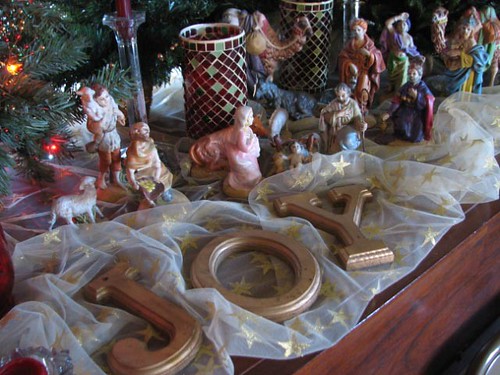
Our nativity sits on the antique box grand piano, in the living room.
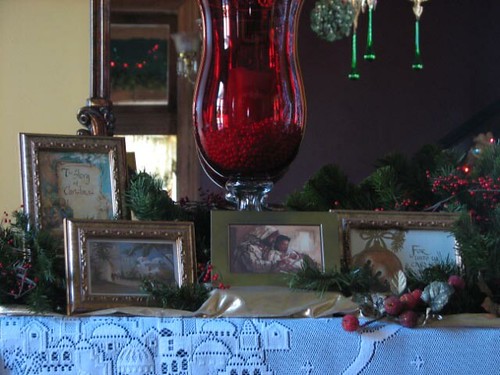
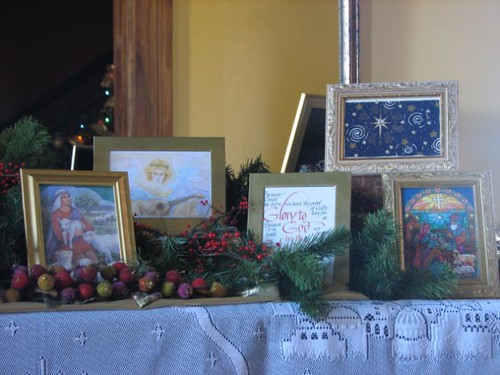
The fireplace mantel is decorated with framed Christmas cards that tell the story of Christ’s birth.
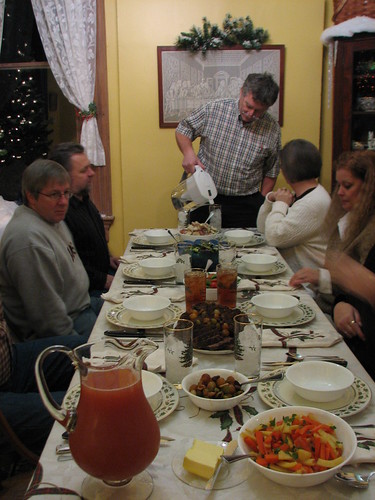
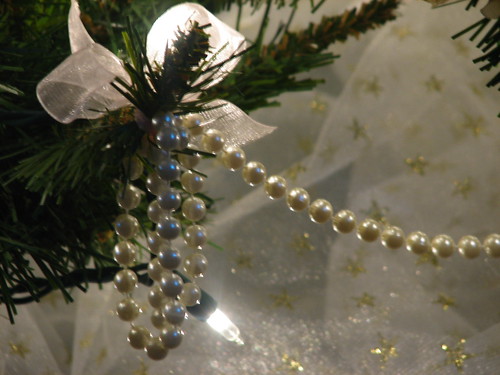
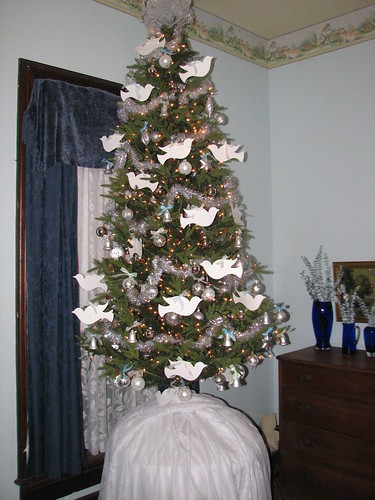
From the living room, we move to the dining room, decorated with a snow theme, in white, silver and a bit of cobalt blue. The tree in this room is the “Snow Tree.”
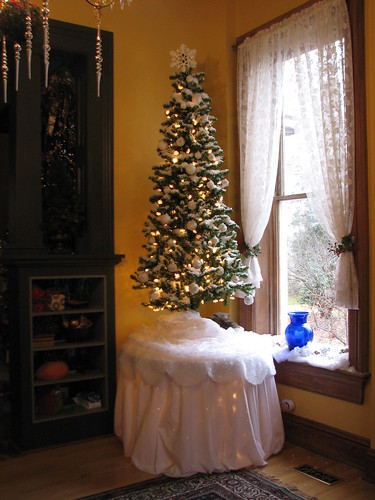
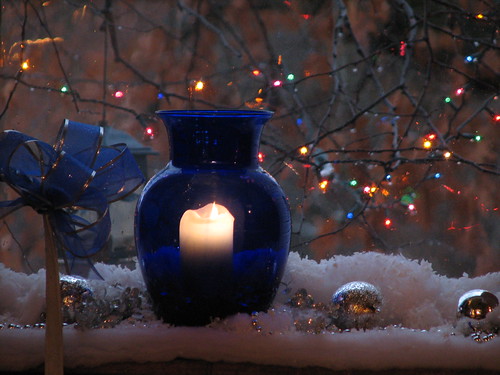
The windowsills are very deep. These vases from Wal-Mart make great “hurricanes” for the candles. Batting and shredded plastic snow line the sill and are topped with silver ornaments and silver beads. The lights are on the redbud tree outside the dining room window.
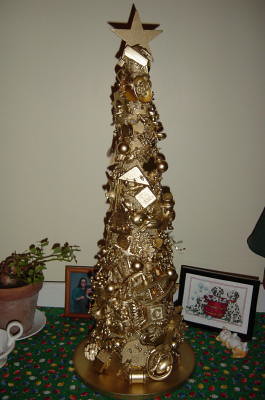
From the front door, to the right as you enter the house, is the library and through the library, the room that serves as our home office. The library has two trees, one being the “Nativity Tree” and the other the “Three Kings Tree.” The Nativity Tree is decorated with nativity related ornaments and a ribbon on which Luke 2:1-20 is inscribed with gold fabric paint.
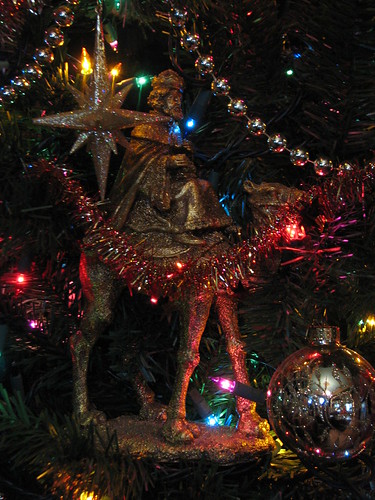
The Three Kings tree sits in a corner of the library across from the Nativity Tree. Three Wise men statues sit among the branches. The tree is decorated with gold stars and gold ornaments.
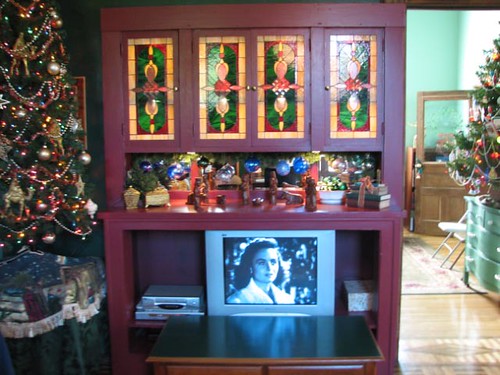
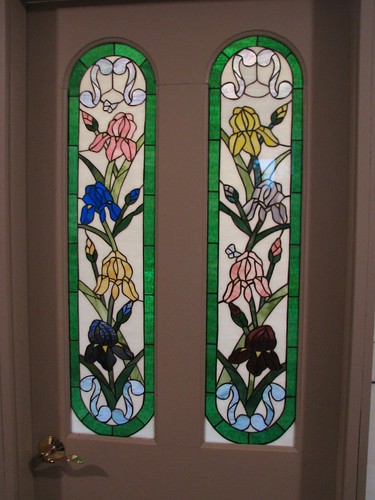
The “Three Kings’ Tree” sits next to our TV cabinet, which was added to the room as a buffet in the 1920’s. The windows have been replaced with stained glass made by our dear friend Gary. You can read more about the “buffet” by clicking on the picture to view it on my flickr site.
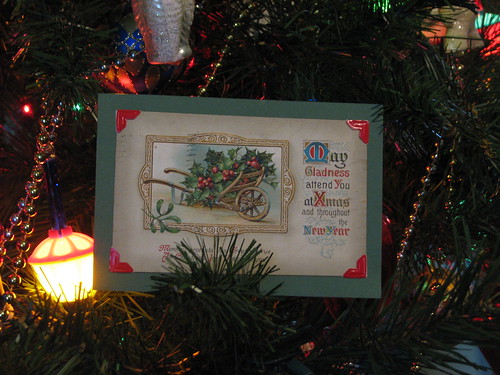
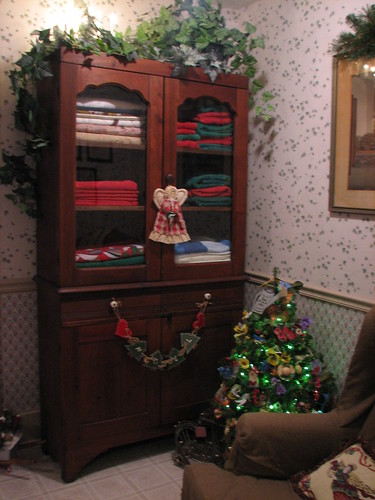
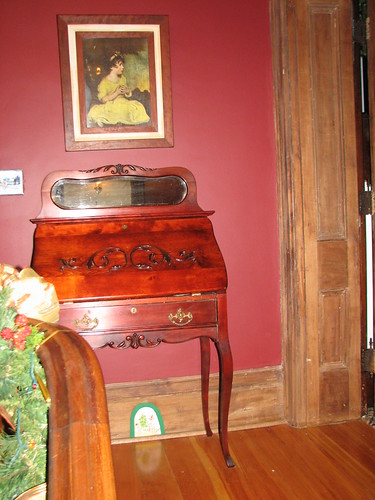
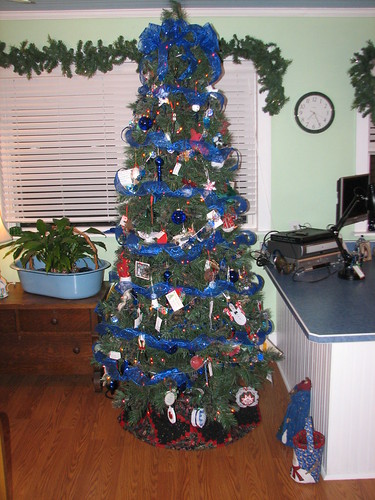
The next room is used as a home office and a music room. The tree in this room has old fashioned German style ornaments, gold and silver bead garlands, and bubble lights.
Vintage postcards from DH’s family decorate the bubble light tree, as well.
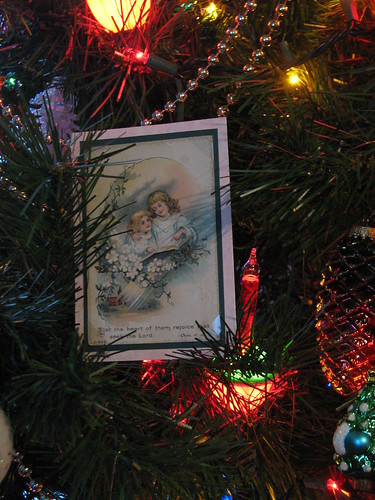
Many of the postcards have messages and postage stamps on the back. I used photo corners to mount the postcards so they wouldn’t be marred in any way.
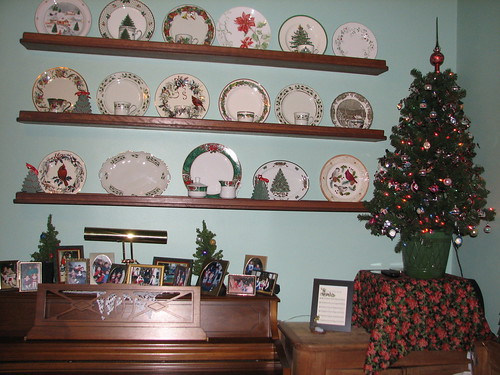
Framed pictures from Christmas past, many of which were used in our Christmas cards over the years, sit on the piano.
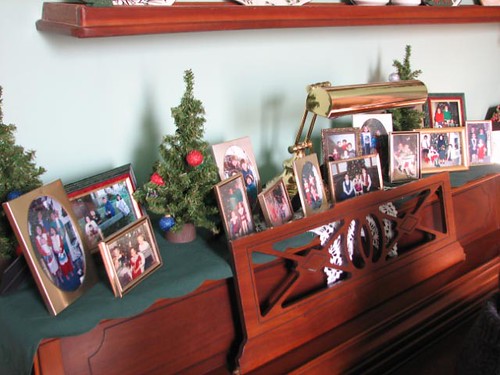
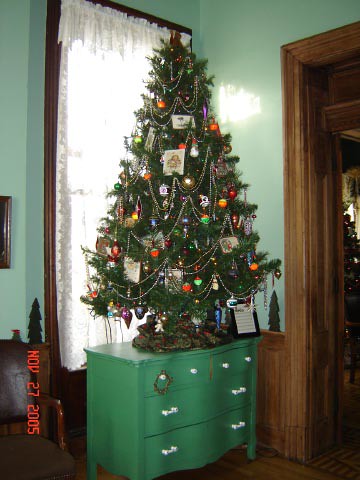
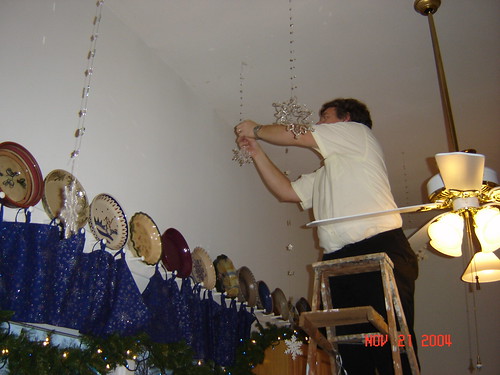
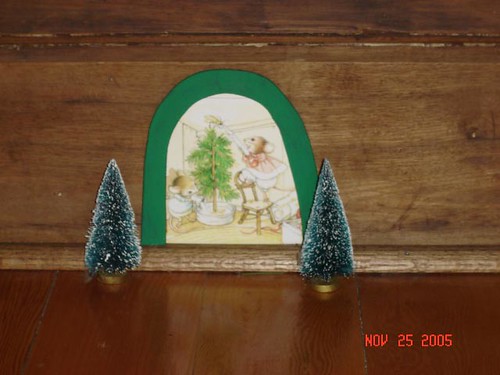
Part of my Christmas china collection is displayed on these shelves, over the piano, all year. The small tree in this picture, which sits on top the CD player, displays a collection of small vintage ornaments given to me by my mother-in-law.
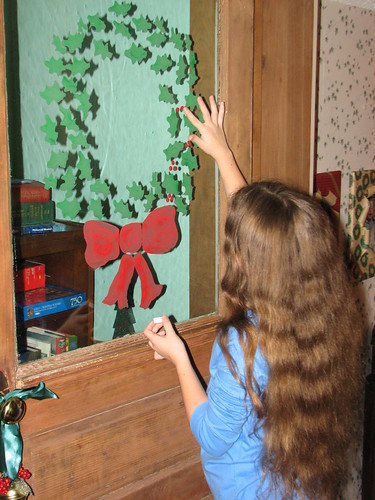
This door is the front door taken from the house DH grew up in, the same home his father was born in and lived his life in, the house DH’s grandfather built. Each year, we use tempera (poster) paint to put a wreath on this door. DD enjoys adding the holly berries with her finger. We also paint birthday cakes on this window as the year rolls around. The door leads to the addition.
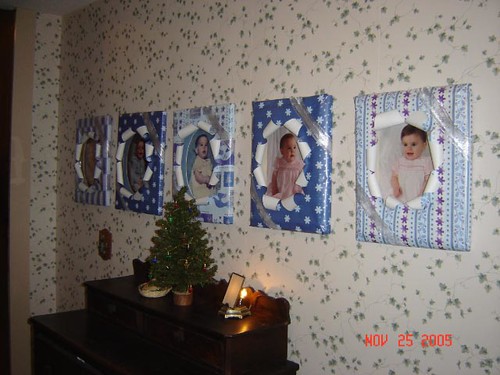
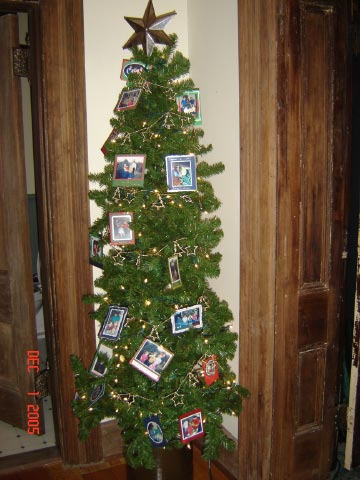
From the office, we can step down into the addition. To the left are our children’s baby pictures. Each year, I wrap the photos and have the opportunity to remind my children they are the best gifts I have ever received. Click here for directions for wrapping framed photos.
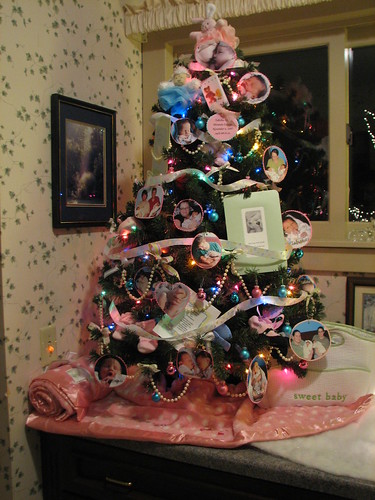
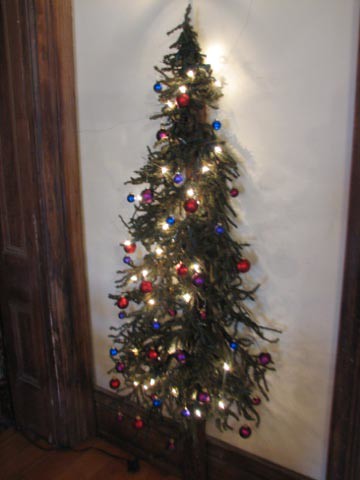
Across the hall from the baby pictures is the grandbaby tree, new this year with the birth of our first grandchildren, twin girls. Pictures, cards we have received, baby items, and baby ribbons decorate the tree.
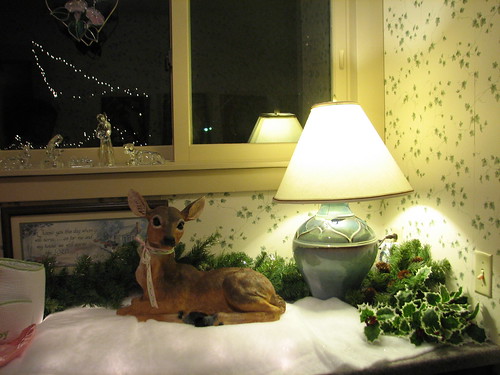
And to the right of the grandbaby tree is this deer. The deer sits on a piece of tabletop glass, supported by wooden blocks. Between the counter and the glass is a string of white lights. They shine through the batting that covers the glass, making a pretty display, especially at night when overhead lights are turned down.
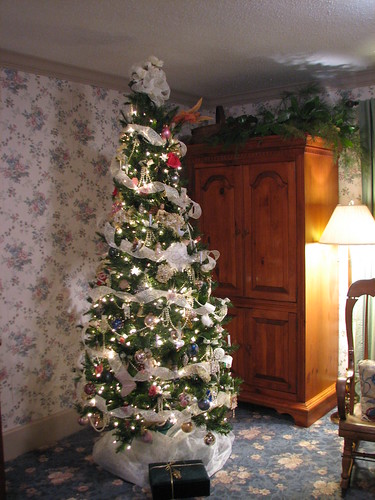
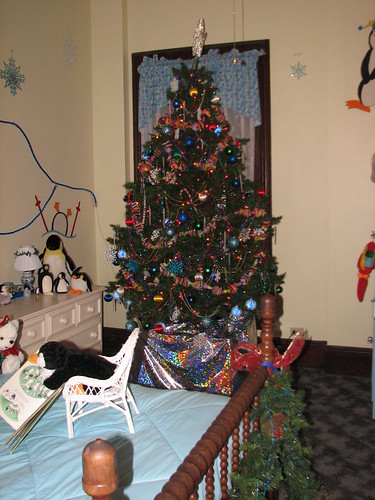
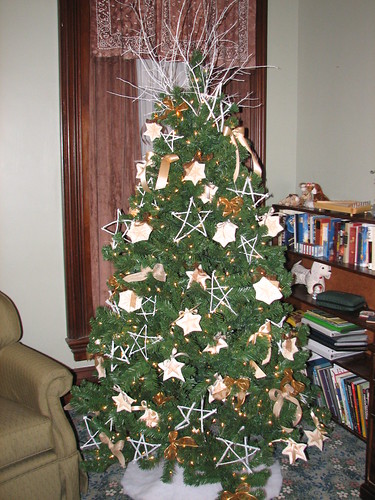
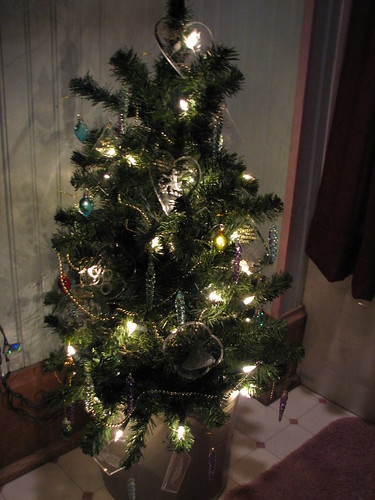
At the end of the hall is the guest room. This tree is decorated with Victorian ornaments.
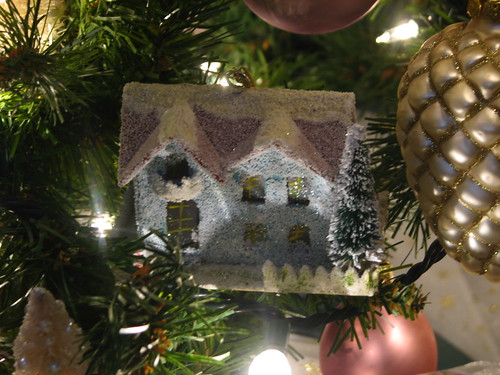
I love Putz houses, vintage or new. I have a few tucked into the branches of the Victorian Tree.
The Victorian tree is decorated with ivory beads. I like to loop the beads each time the garland attaches to the tree branches. This year, I used ivory ribbon to tie the loops to the tree, and the tree will be stored with the beads on it. I am hoping they will be just as nice looking next year when we retrieve the tree from attic storage. If so, it will save me a lot of decorating time!
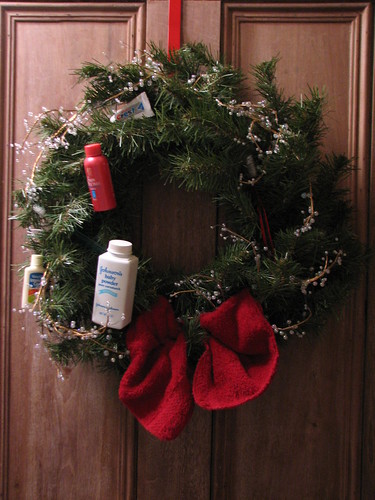
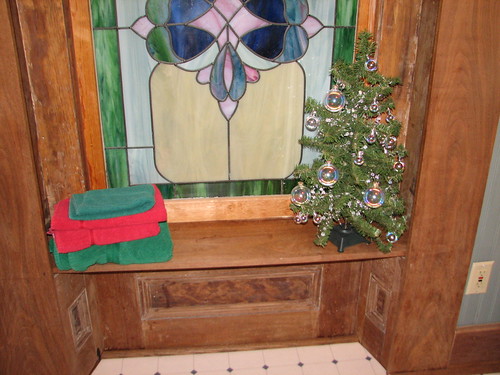
Walking back into the addition hall, we can turn into the laundry room and through the laundry room into the downstairs bath. The small tree in the laundry room has a garden theme, is twined with ivy and red berries, and is lit with green lights. The ornaments are birds, butterflies, flowers, birdhouses, garden tools, etc. The linen cupboard holds tablecloths, dinner napkins (in the drawers), and bath linens. And, yes, we have green and red towels for the holiday season. 😀
The door between the laundry room and the downstairs bath holds another one of Gary’s stained glass masterpieces. This was installed the day before our Christmas open house this year (2007). Beautiful! I am designing patterns for coordinating windows on each side of this door, just to give Gary something to do. 😉
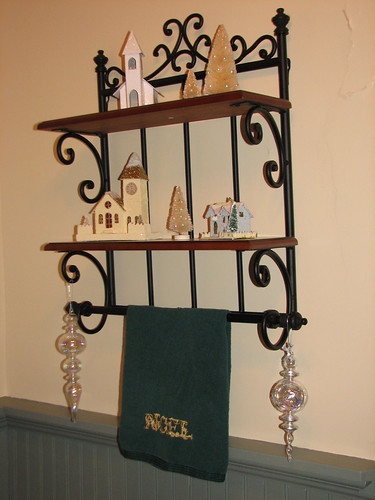
The tree in the downstairs bath is twined with a garland of red and white roses and carnations tucked into the branches, and is decorated with ornaments that feature photographs of our garden and the flowers we raise each summer.

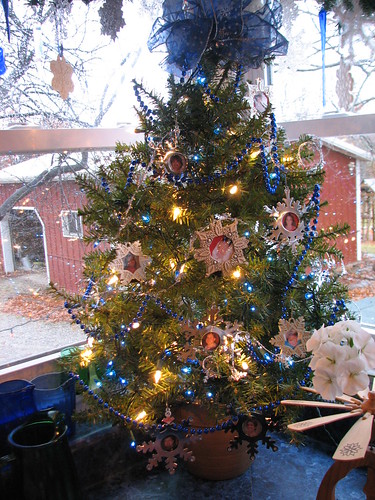
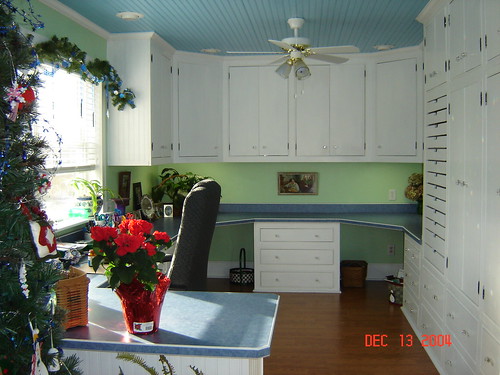
Our tour continues by walking back through the home office and turning into the kitchen. Our kitchen was originally an enclosed back porch and, like all the original portion of the house, has a 12′ ceiling. It has a beautiful view of the back yard. There are two small trees in the kitchen. One sits on the corner of the counter. It has snowflake frames with pictures of our children and their families.
The other kitchen tree sits on top the refrigerator and is decorated with icicle garlands, cookie cutters, and candy ornaments. This tree is topped with a three dimensional frosted glass star made for me by our friend Gary. The little tree you see hanging to the side of the photo is the ceiling fan pull.
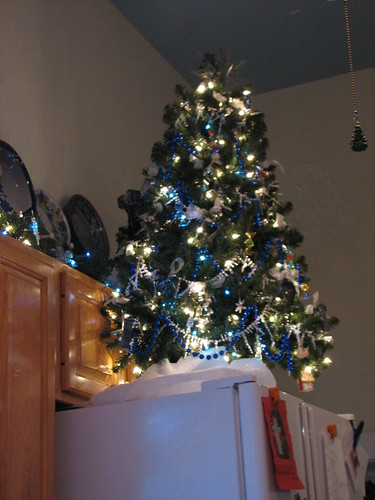
The windows are hung with a garland, lit with blue and white lights, and decorated with my collection of snowflake and icicle ornaments. The curtains were made for me by my friend Laurie and are cobalt blue (my favorite color) and printed with glittery silver snowflakes. The curtains hang from pegs which also display my pie plate collection.

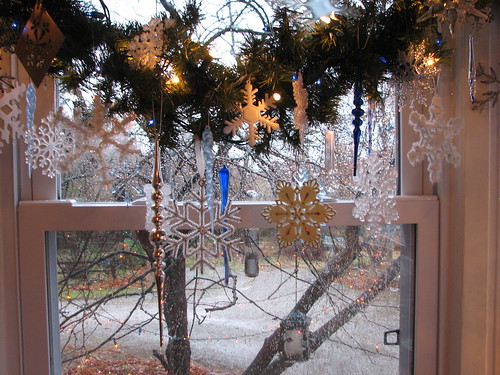
From the ceiling of the kitchen, we hang large snowflakes on mirrored garlands. They add a magical touch to the snowflake theme of the kitchen.
From the kitchen, we will walk back down the front hall to the front door and will climb the staircase to the upstairs. If you feel like climbing the 22 steps to the second floor, you will find the upstairs tour in the next post. 🙂
~~Rhonda


 \
\