March 18, 2009 – 10:54 am
My old mixer bit the dust, so I bought a new one. Heavier duty model in a lovely cornflower blue. Love it! (Shopping amazon is so easy!)

In this pic, it’s ready for the first batch of bread I made in it. I’m looking forward to trying lots of new recipes! If I just had a second bowl…
~~Rhonda 🙂
March 17, 2009 – 10:55 pm
I found the recipe for Festive Irish Soda Bread Scones at Creative Loafing. That recipe was adapted from Irish Soda Scones at The Joy of Baking.
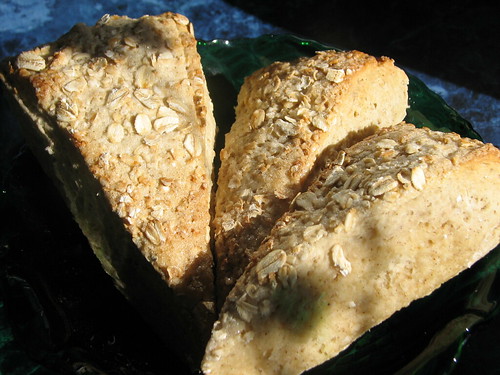
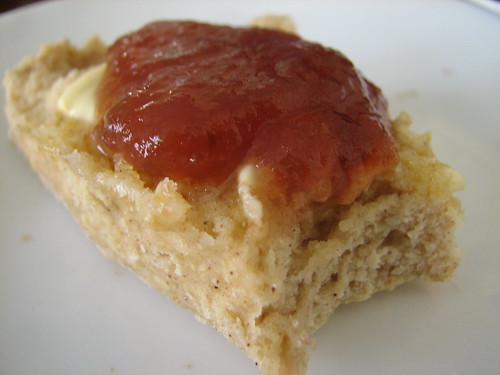
Irish Soda Bread Scones
I cut it to make 12 scones.
3 cups unbleached flour
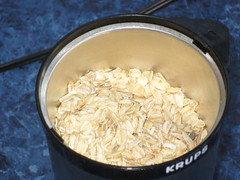
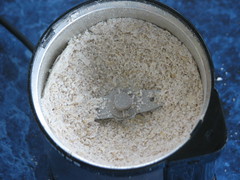
1/4 cup oats (I ground them in my coffee grinder.)
1 tablespoon sugar
1 teaspoon baking soda
1 teaspoon salt
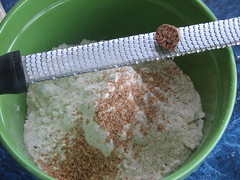
1/2 teaspoon ground nutmeg (I used freshly grated nutmeg.)
(I also added 1/2 tsp. cinnamon.)
1 1/2 cups buttermilk (I used 2% milk with 1 1/2 T. white vinegar added.)
Topping:
2 tablespoons buttermilk
2 tablespoons oats
1 tablespoon turbinado sugar
- Preheat oven to 425 degrees. Stir together dry ingredients in a medium bowl. Add buttermilk and stir to combine.
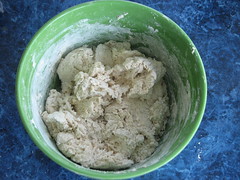
- Mix by hand until a dough starts to form. Transfer to a lightly floured surface and knead into a ball. Doesn’t take much kneading…just until it makes a smoothish ball. Pat dough into a 7-8 inch circle about one inch thick. Cut into 6-12 scones.
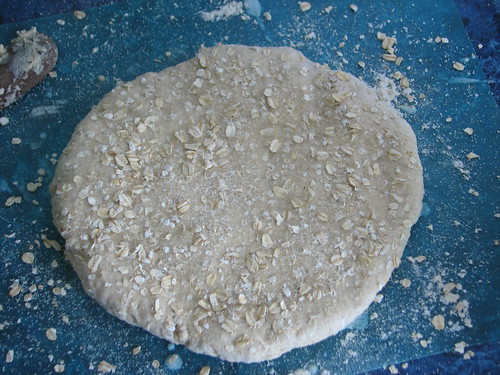
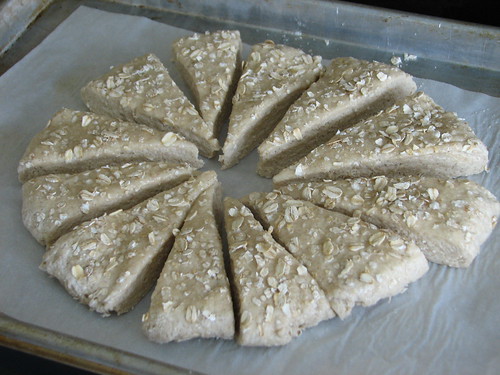
- Transfer scones to baking pan with parchment or that’s lightly floured. Brush the tops of scones with buttermilk, then sprinkle the oats and turbinado sugar over them.
- Bake for 20 minutes or until they’re lightly brown. Let cool for a few minutes and spread with your favorite jam while they’re still warm. We used our church’s homemade apple butter, of course.
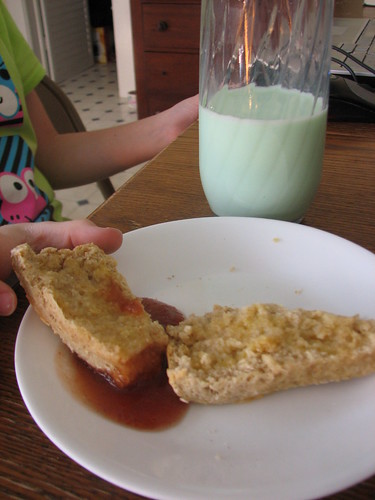
DD enjoyed the Irish Soda Bread Scones as an after school snack, along with the apple butter which she used as a dip. And green milk. It IS St. Patrick’s Day, after all. 🙂
These were delicious and very easy to make. They would make a good breakfast treat, as well. Best served warm from the oven. I haven’t tried reheating one in the microwave, but will try that tomorrow. I’m sure it will be just as tasty!
~~Rhonda 🙂
Here are links to a few St. Patrick’s Day treats. It’s not too late to give ’em a try.
Over at Once Upon a Dream, you will find the directions for these cute shamrocks.

Creative Loafing has a recipe for Festive Irish Soda Bread Scones. An easy recipe. I am going to give it a try this afternoon.

Healthy Happy Life has a Spring Green Fruit Salad that looks delicious. And very green. 🙂

~~Rhonda 🙂
March 16, 2009 – 10:11 pm
This morning, from the kitchen window, I could see that the apricot trees had burst into bloom overnight.
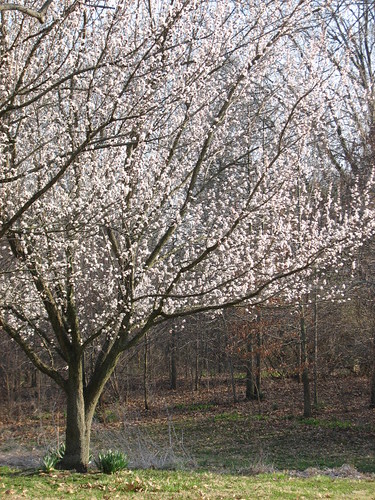
I could smell them from the back door.

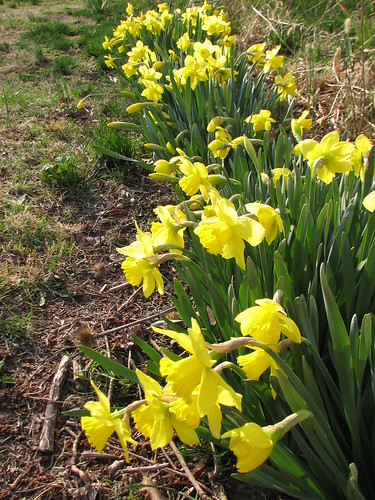
And just outside the back door, the row of daffodils has suddenly blossomed.
The star magnolia is another bloom with a wonderful scent.

Such a beautiful blossom.

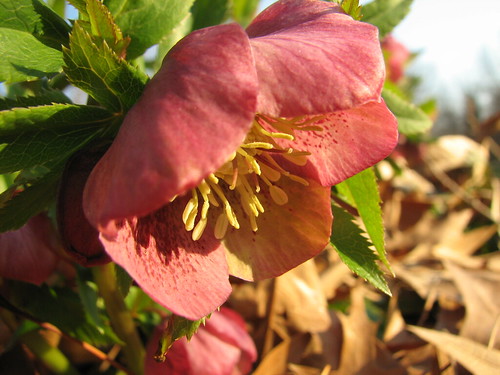
Last year, we had to dig up the huge Lenten Rose by the mailbox and move it. Part was planted by the bench in the fenced garden and part was planted under the big oak in the back yard. Both are blooming beautifully this spring.
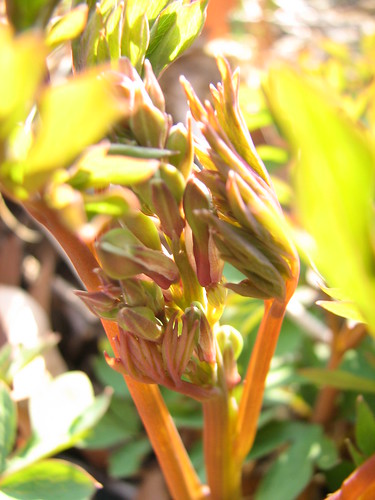
It always surprises me that the bleeding hearts are up and ready to bloom so early in the spring.
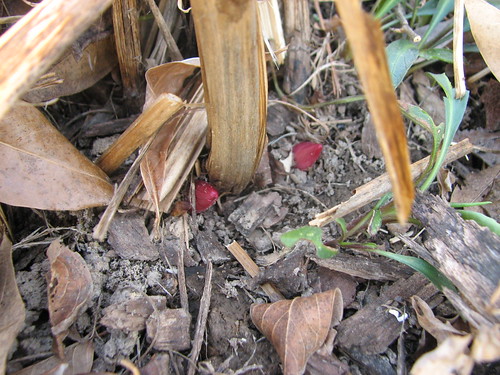
Even the peonies are popping up.
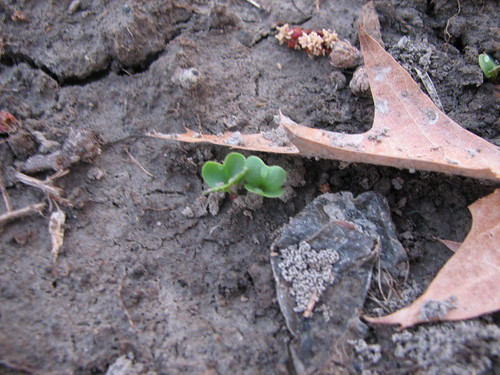
And in the veggie garden…the radishes are just coming up. We planted them nine days ago.
Love spring! ~~Rhonda 🙂
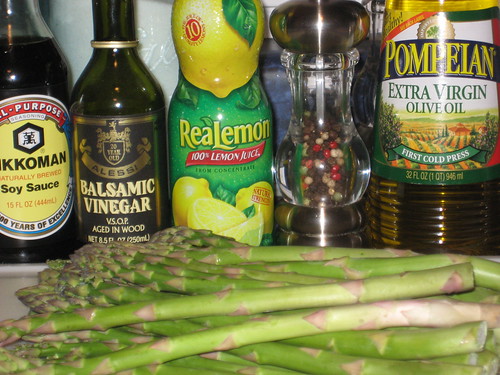
This recipe for grilled asparagus worked well under the broiler. We enjoyed this a few weeks ago when it was way too cold for grilling out.
- 1 pound asparagus, tough ends removed
Marinade ingredients:
- 3 tablespoons balsamic vinegar
- 2 tablespoons fresh lemon juice
- 1 tablespoon olive oil
- 1 tablespoon low-sodium soy sauce
- 1/8 teaspoon black pepper
Pour the marinade ingredients into a zippered plastic storage bag. I folded the bag over the edge of a mug to hold the bag up while I measured the ingredients.
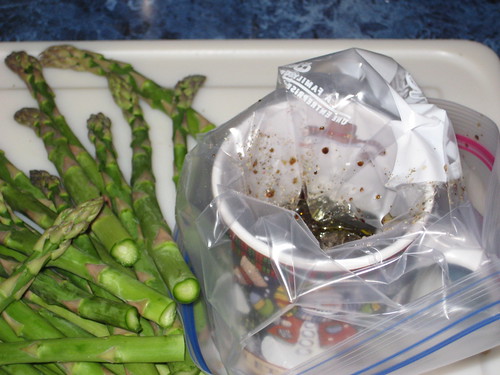
Add the asparagus to the zippered bag and marinade for 30 minutes.

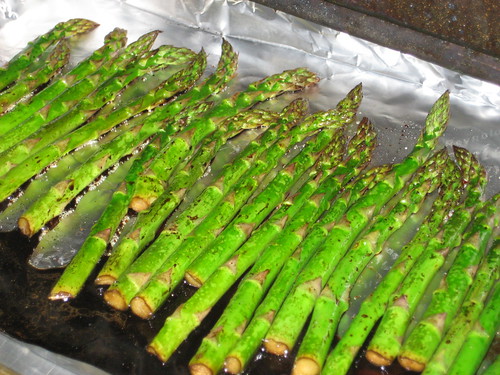
I put the asparagus on a cookie sheet lined with foil and set it under the broiler for about 8 minutes, turning the asparagus once.
Delicious. Great flavor. I think it would be even better with toasted sesame seeds on it. Next time.
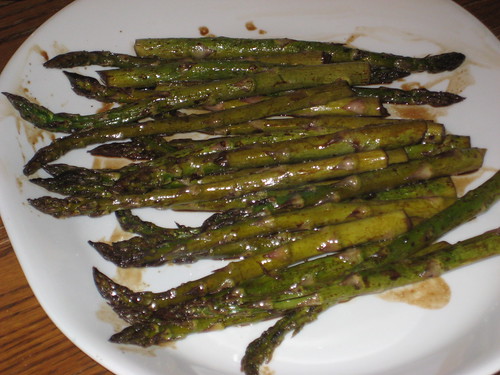
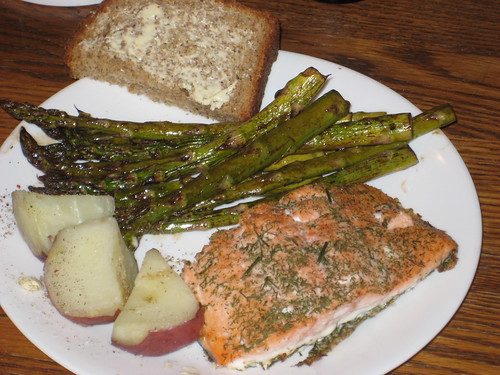
Supper was baked salmon with dill, steamed red potatoes, broiled asparagus and freshly baked multi grain bread.
When asked, DH said yes, definitely make the asparagus again. 🙂 Next time, I think I’ll cut the asparagus into bite size pieces before marinading. Easier to eat. And when warmer weather finally shows up, we’ll try it on the grill. For grilling, I think I’d slide the whole asparagus onto two skewers, ladder fashion. They would be easier to flip on the grill.
~~Rhonda
March 10, 2009 – 11:15 am
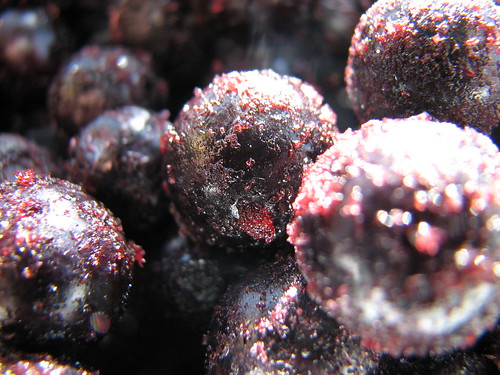
I enjoy taking macro photos of every day objects because of the detail those pics reveal. Here are a few of my favorites from the past weeks.
An old ring found in my MIL’s button collection.

Frozen blueberries.
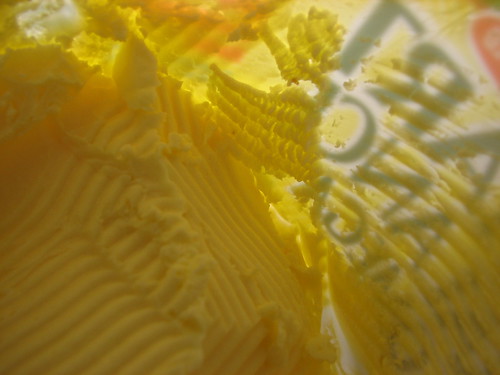
Tub of “butter” spread. The ridges are caused by the knife I use.
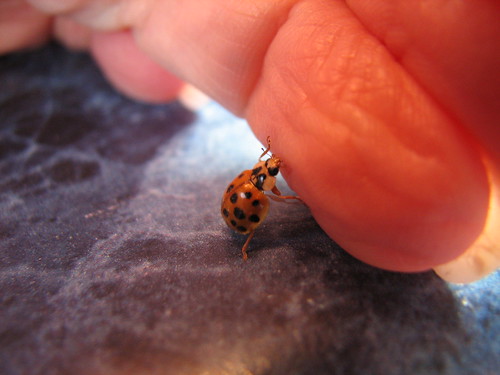
A ladybug on the kitchen counter. I can’t decide if it looks like she wants to talk to me, or if it looks like she’s trying to push my finger out her way.
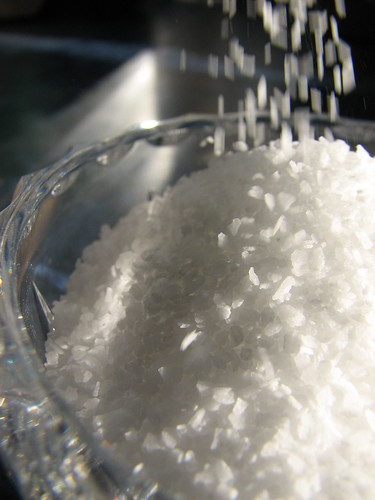
Kosher salt.
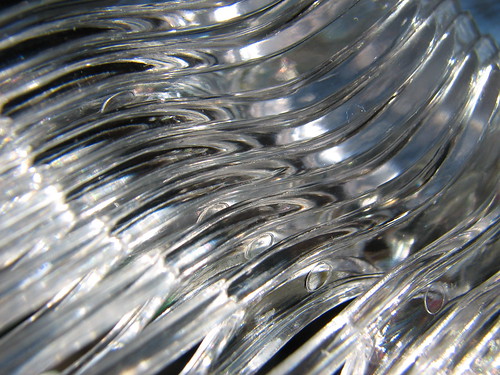
Plastic spoons.
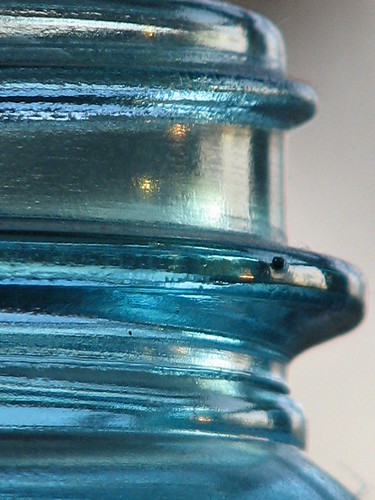
An old blue canning jar.
This week, the theme of 7 Days of Shooting is jewelry, hence the first photo in this post. Today’s take on the jewelry theme is “Textured Tuesday.” I’m still thinking about that one…
~~Rhonda
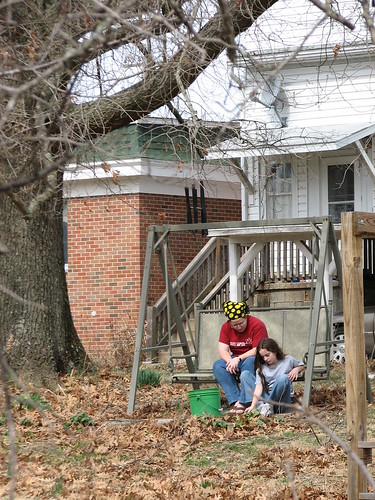
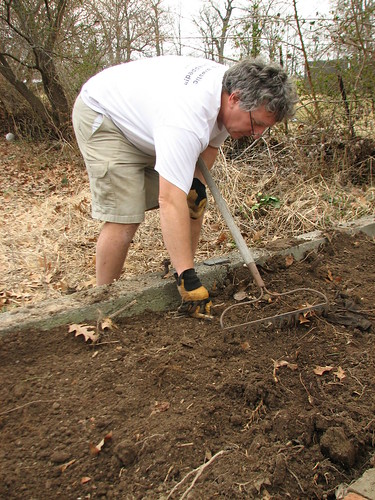
Yesterday was the first really lovely foretaste of spring. DH and I spent the afternoon working in the yard. Picking up sticks and branches. Picking up winter trash. Enjoying the flowers. Planting a few things in the garden.
The little 6″ ‘Tete-a-Tete’ daffodils were the first to bloom last year (on March 17) and the first to bloom this year on March 7. Ten days earlier this year. Does that mean everything else will be earlier, too??

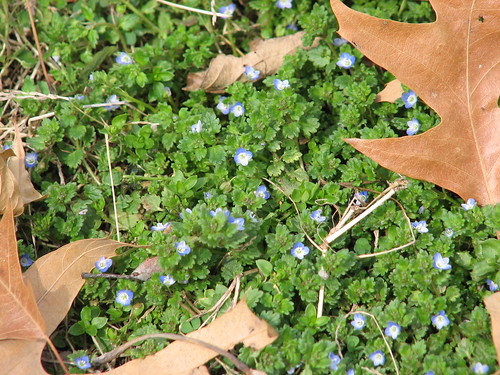
The tiny blue flowers of Persian Speedwell are all over the yard.
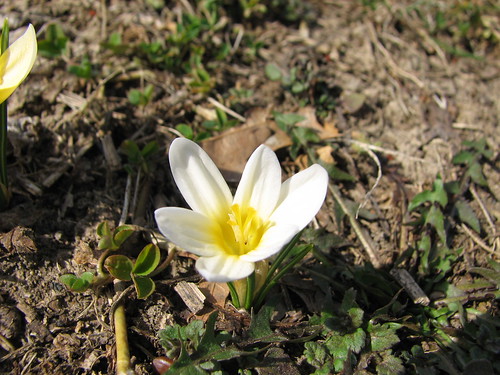
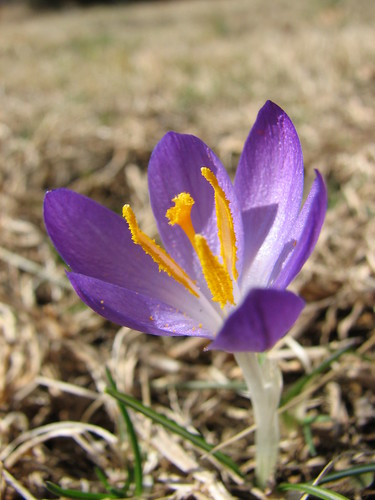
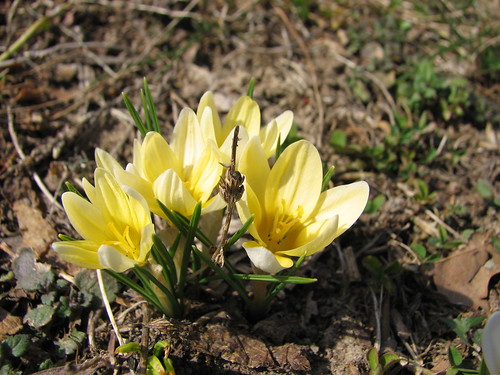
The crocus are scattered just outside the back door.

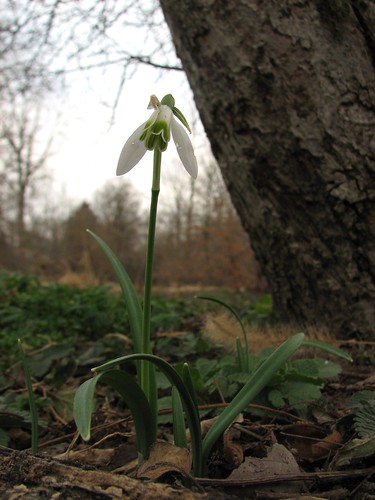
We found a few snowdrops under the apple tree. Didn’t know we had any. I want to plant more this fall. I love these little flowers that are often the first to bloom each year. We had some where we lived prior to this home and they often bloomed the first week of February.
Zak enjoyed the warm sunlight, too.

We planted spinach, chard, radishes, and mustard in the raised garden bed.
Several bunnies were spotted in the yard.

I am so ready for full-blown spring.
~~Rhonda
The big picture in the back yard still looks a little bleak.
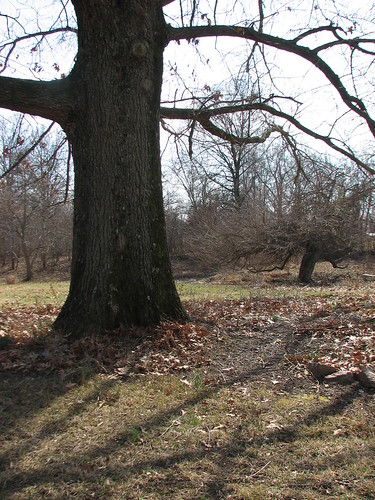
But if you look down and look close…

The daffodils are pushing aside the leaf litter and will be blooming soon.
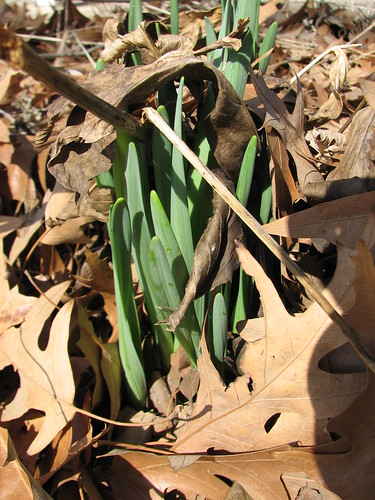
Can’t hold back spring now.
~~Rhonda