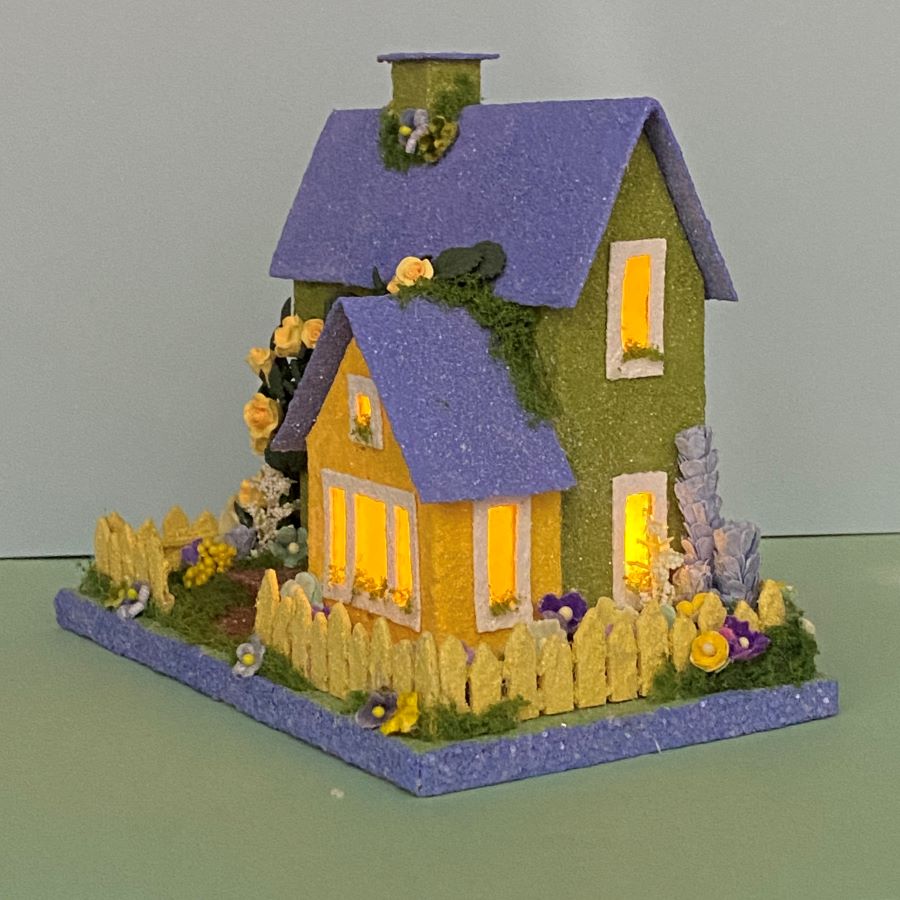
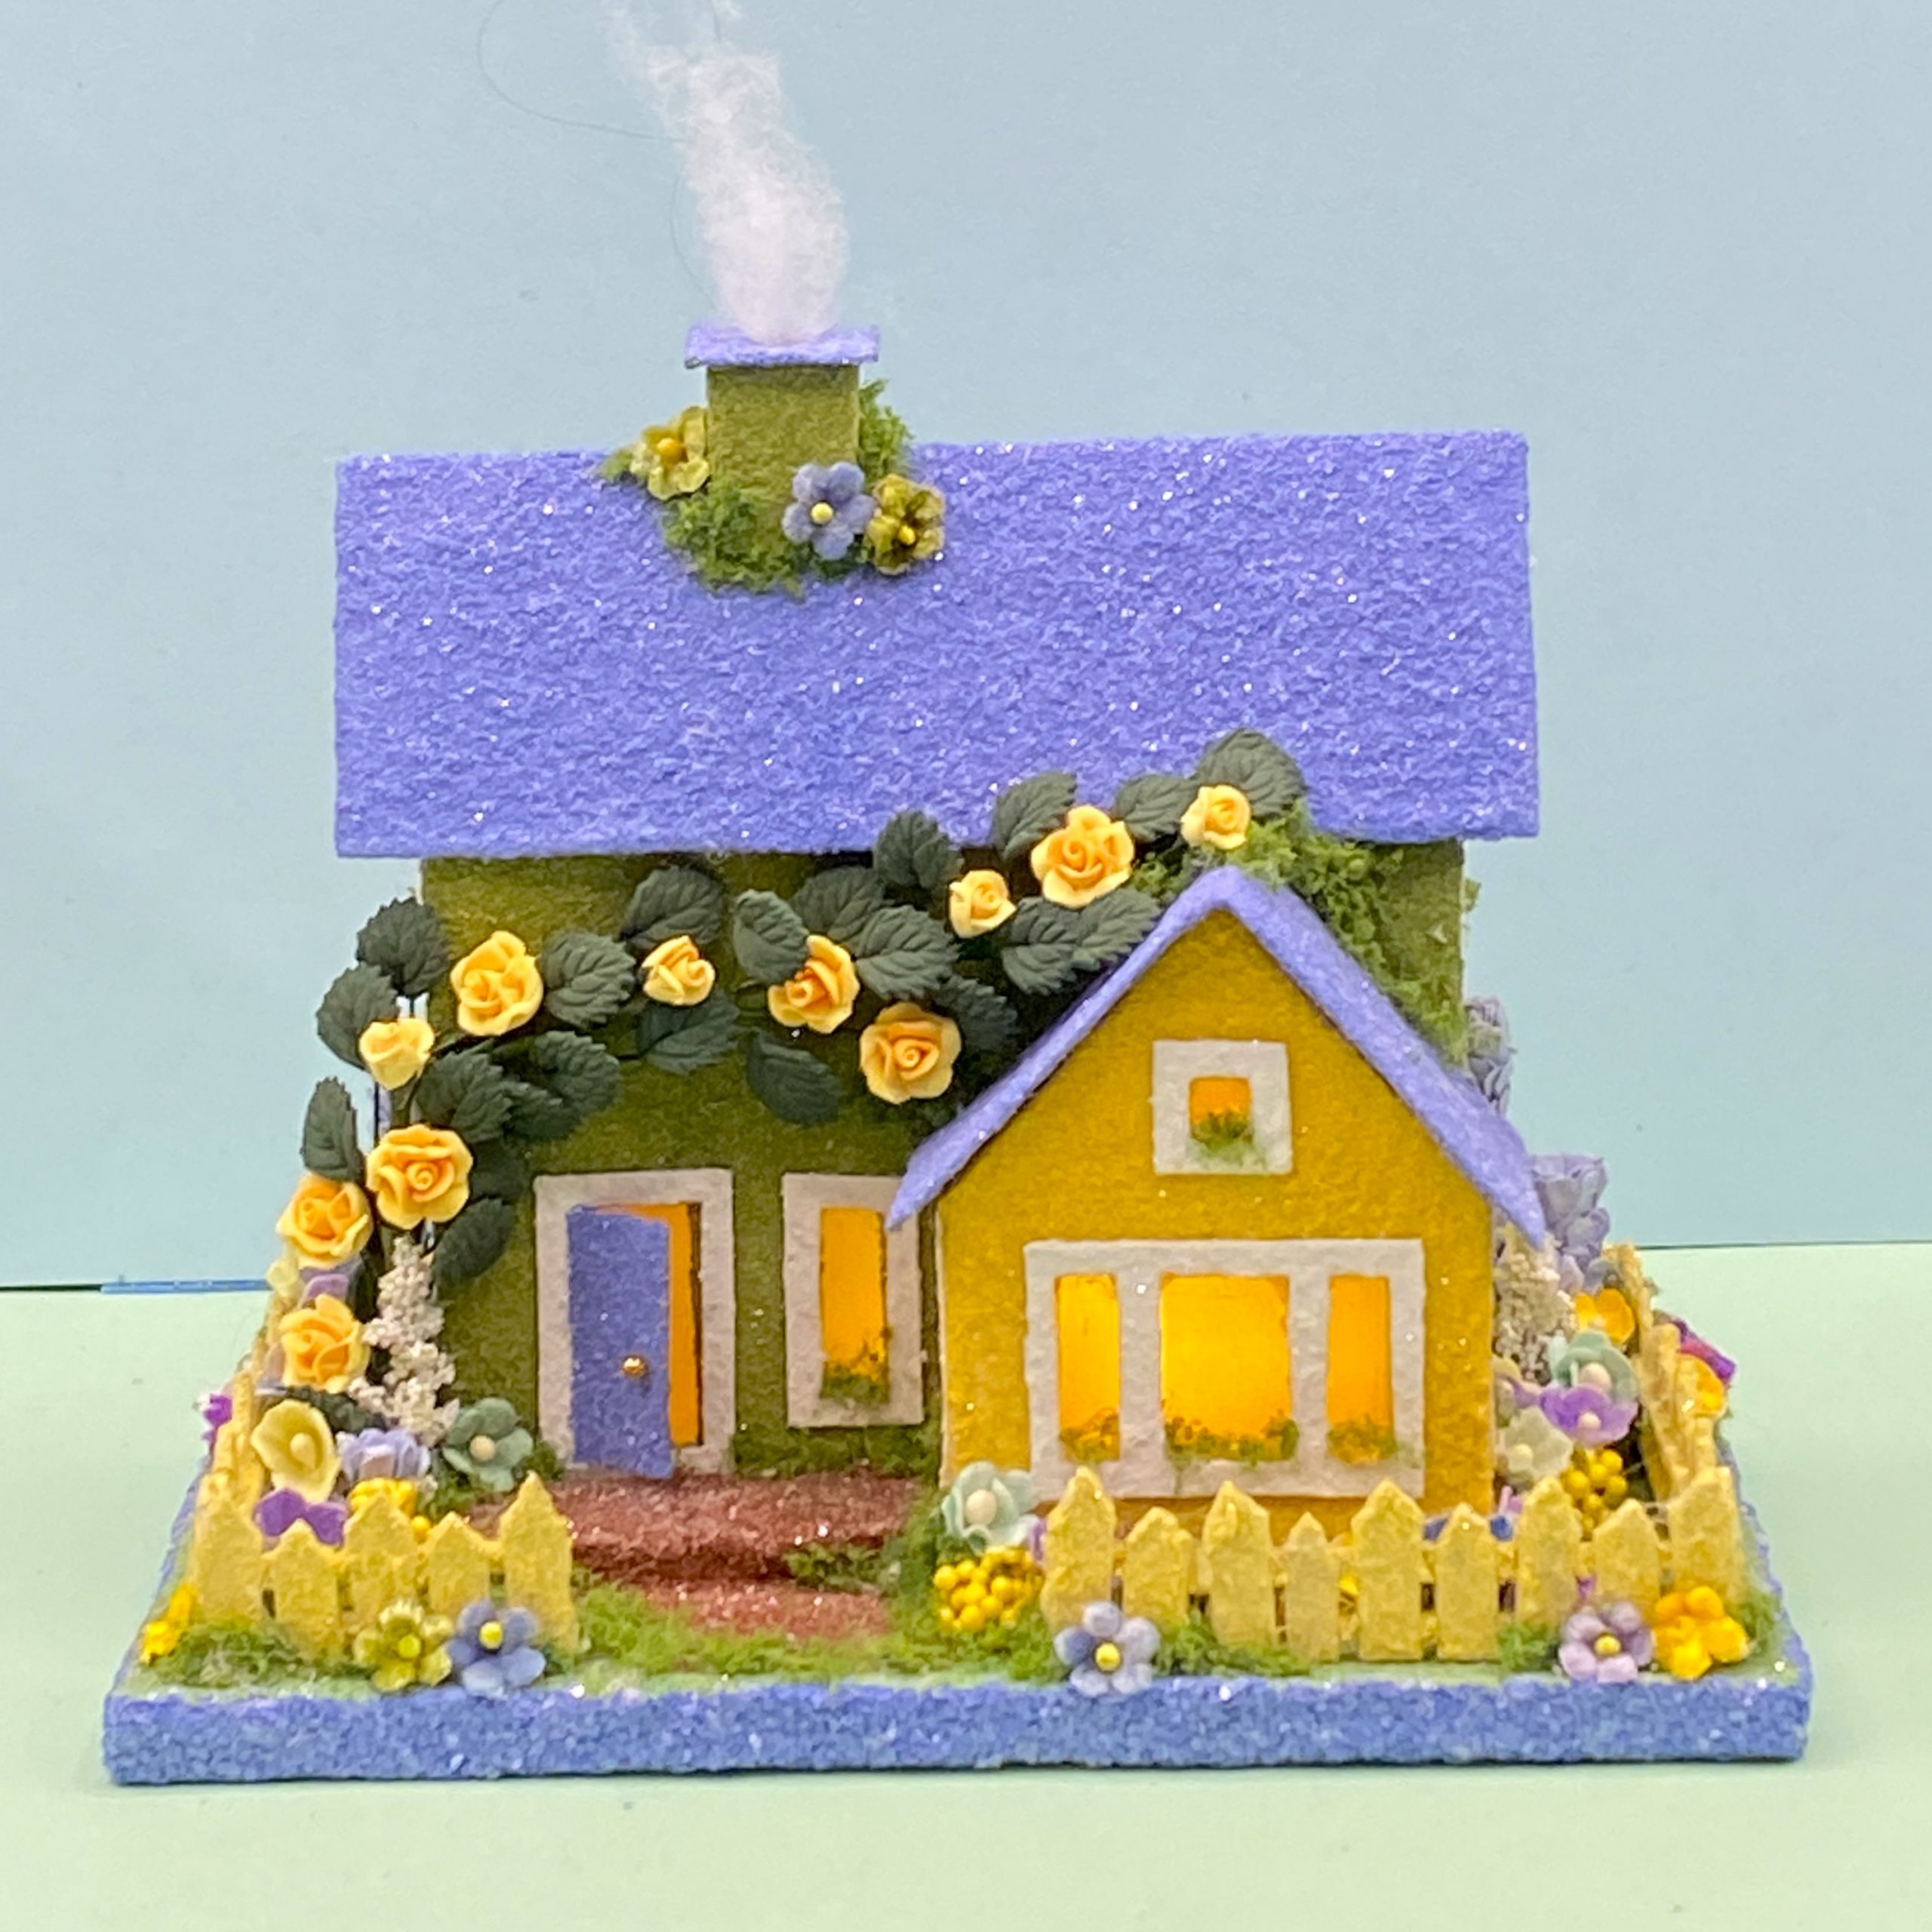
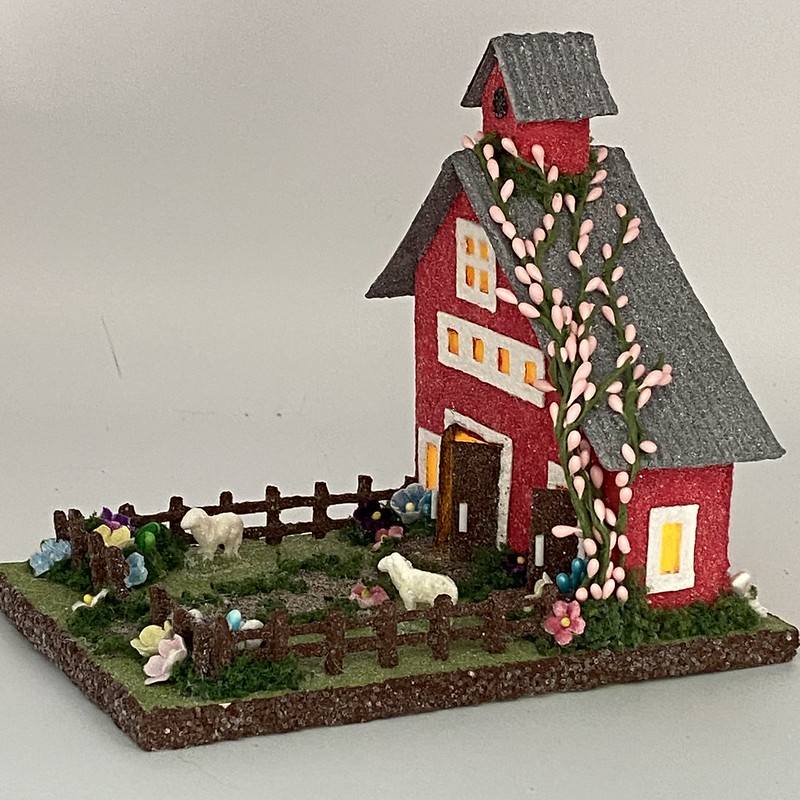
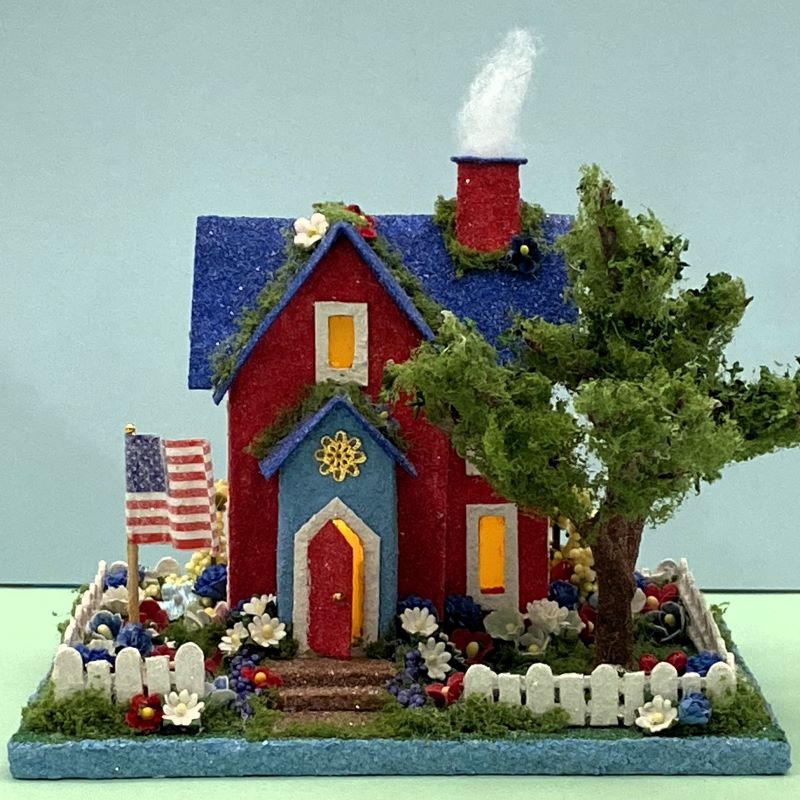
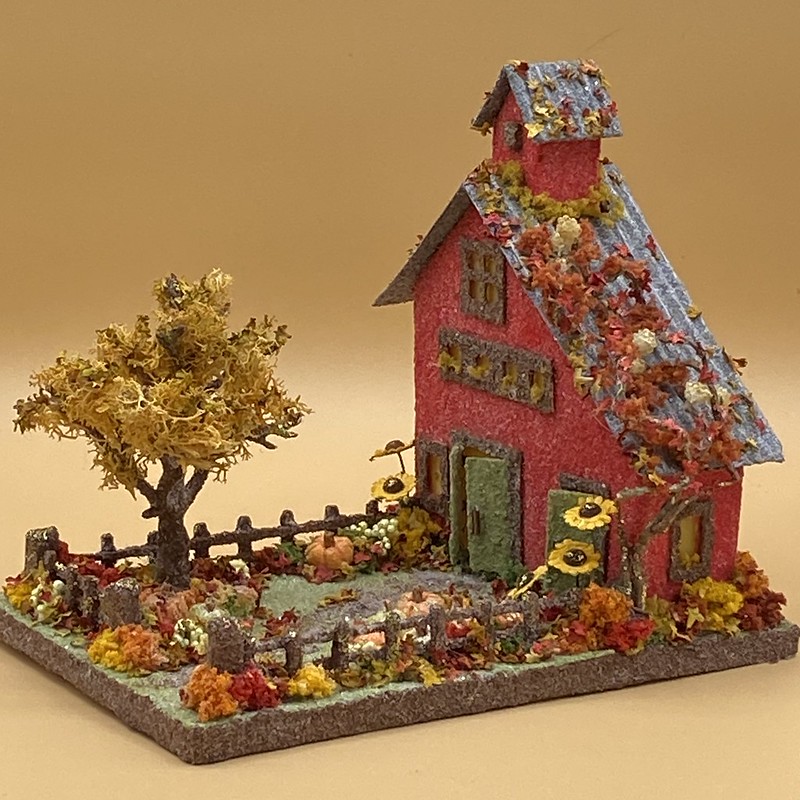
I make leafed trees for summer and autumn putz houses.
To make an armature tree, you will need these supplies:
- armatures
- pliers to manipulate branches
- medium to dark brown acrylic paint, or other color/shade you prefer
- small paintbrush / I have an old frazzled one I use for painting trees.
- glitter / clear, extra fine
- glitter tray / optional but useful
- hot glue
- scraps of cardboard
- JTT Landscaping Material – Foliage Fiber Clusters, Light Green, Fine
- scissors / I prefer these small 6″ Fiskars for delicate jobs.
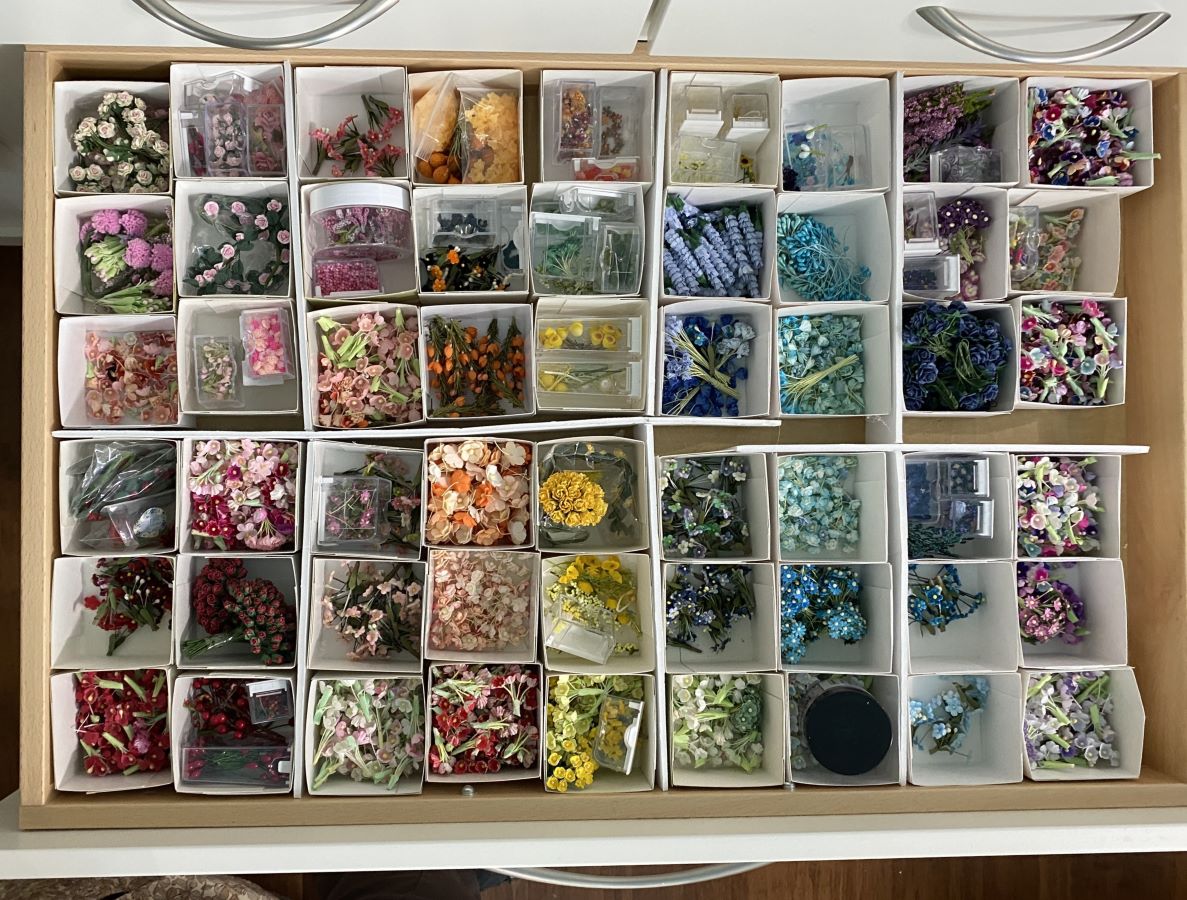
- tiny leaves / Just green leaves are available, but the other colors are great for autumn trees.
- clear tacky glue, or white that dries clear
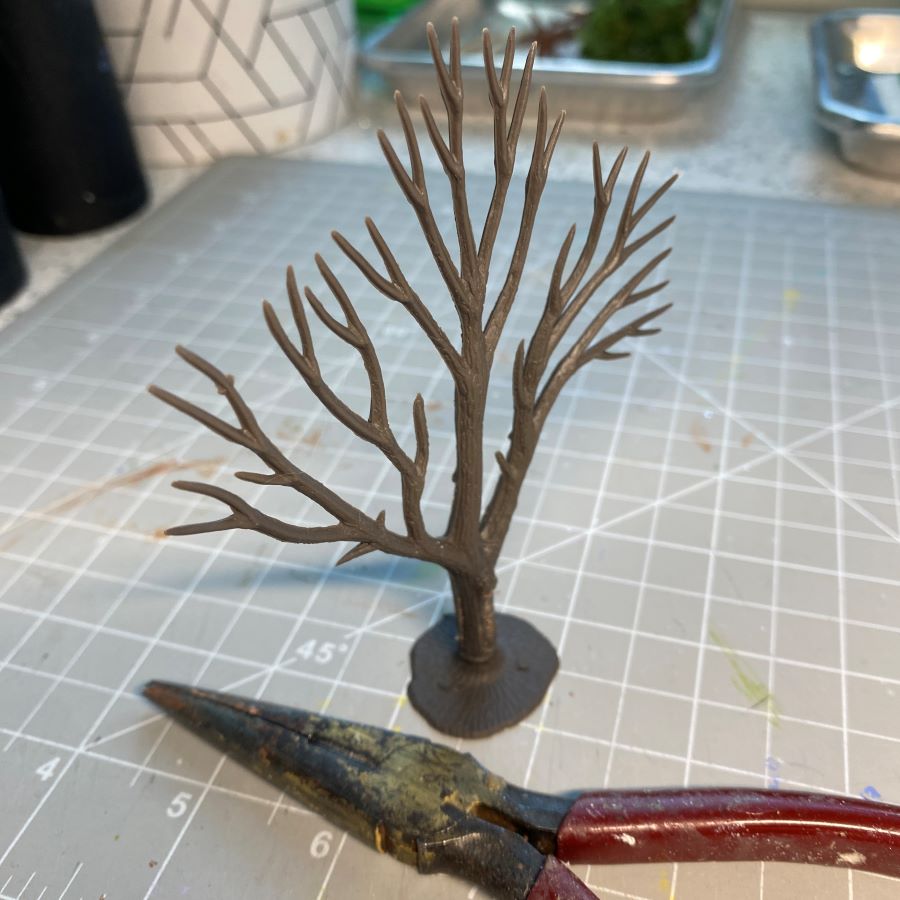
Armatures come in several sizes. I use the 3″ to 5″ sizes most often, and I purchase them on Amazon. A bag contains 28 armatures. In the picture, the two at the top are from the 3″ to 5″ bag. The two at the bottom are from a bag of 3/4″ to 2″ sizes. This bag contains 117 pieces. The armatures arrive flat, with the base connected. Pull the base off and connect it to the trunk of the tree.

The base and the tree trunk may have a gap.
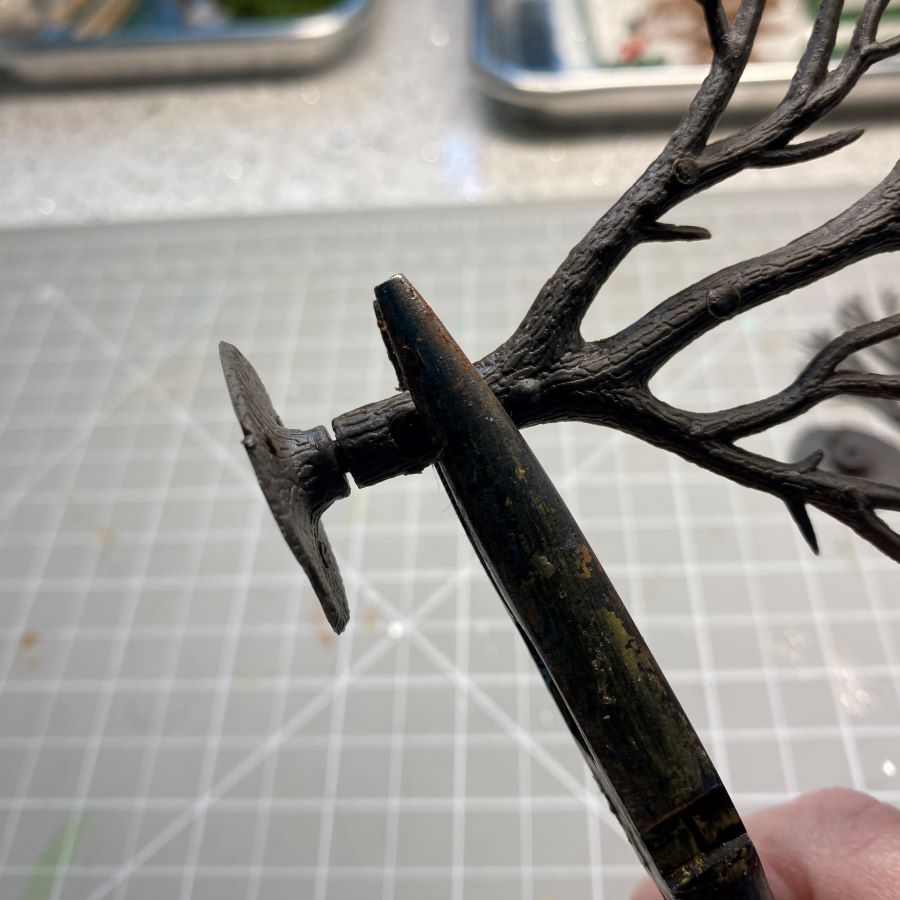
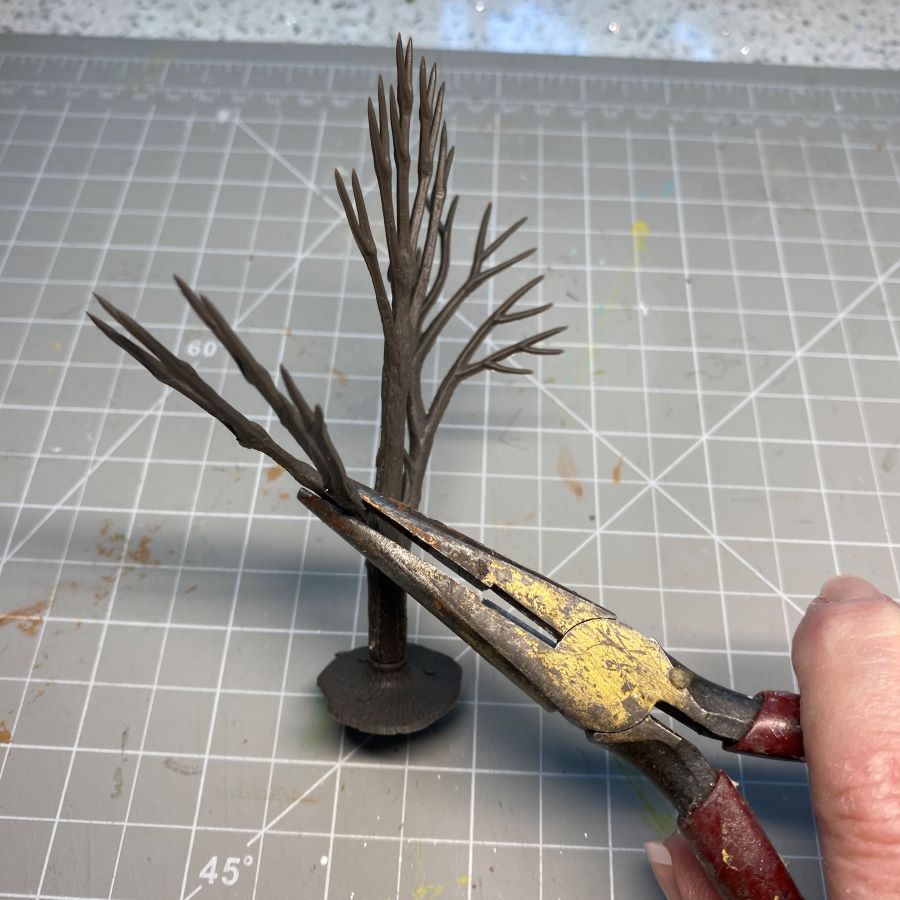
To reduce the gap, I hold the trunk tightly with the pliers and bang it on the desk top .
If that doesn’t close the gap completely, no worries. We’ll add some hot glue later and that will cover the connection.
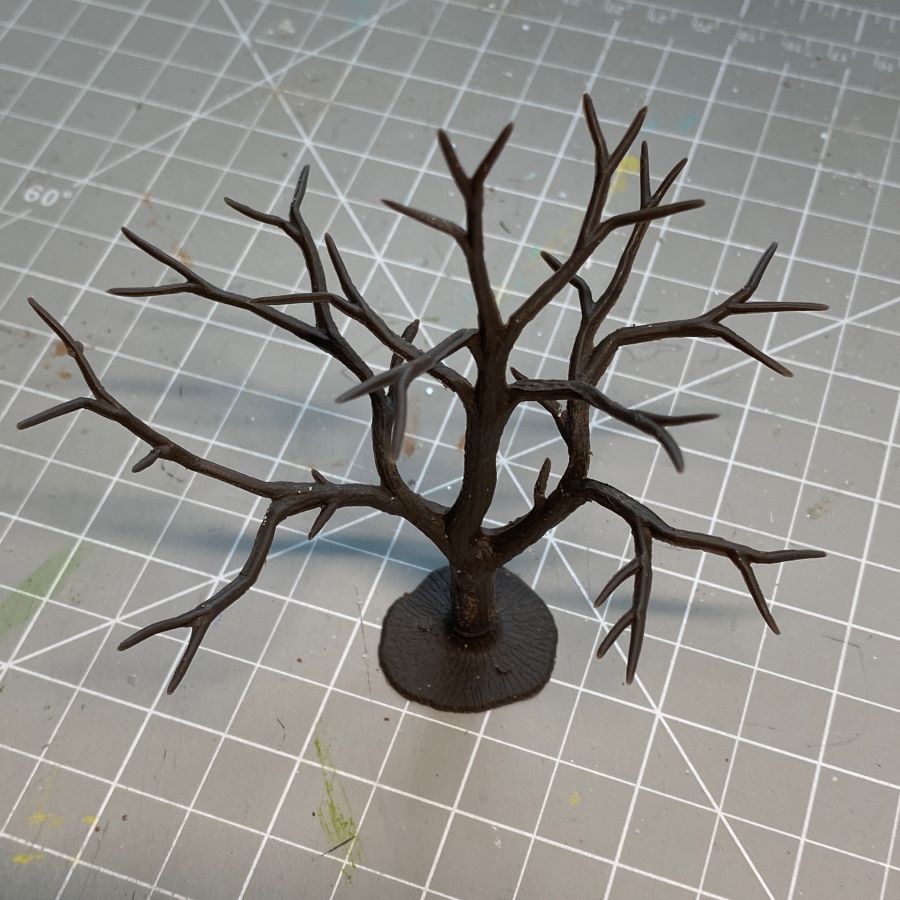
At this point, the tree is still flat. By the way, the pliers belonged to my mother for use in her crafting projects. She made floral arrangments and wreaths from dried flowers and seed pods she collected in the countryside. I think of her each time I use them. I know I inherited my creative crafting skills from Mom.
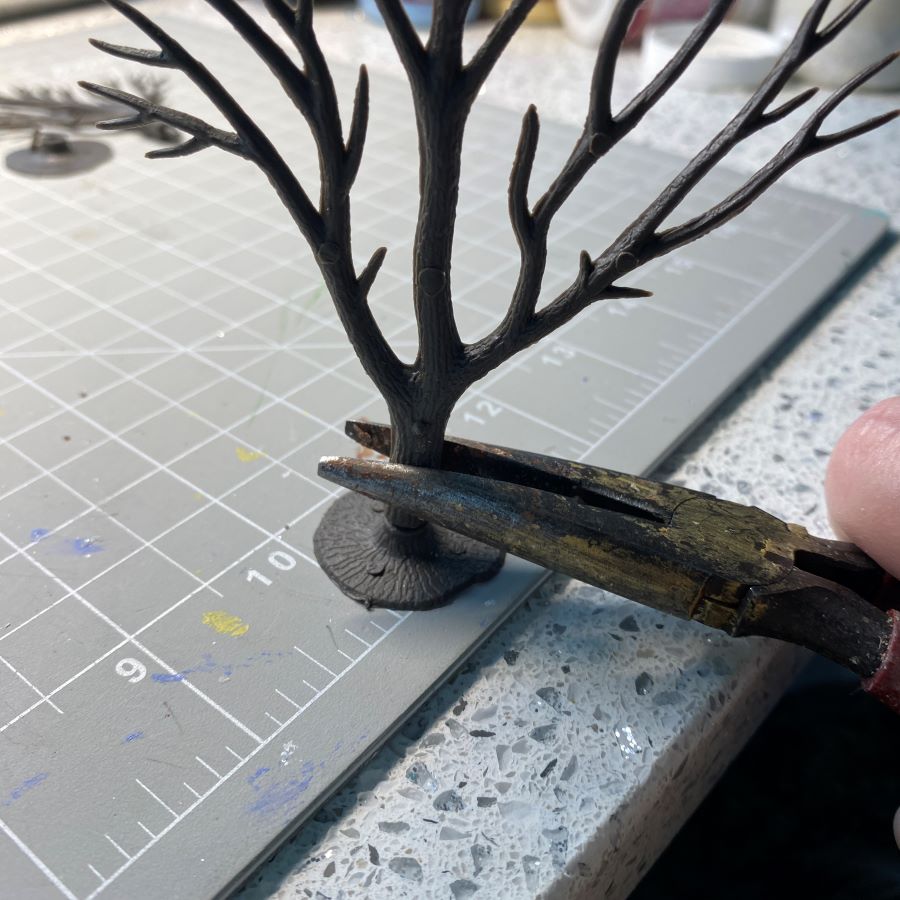
Using the pliers, begin to bend the tree into a pleasing shape. I strive to make the branches, other than the trunk, lie horizontally. That gives a place to lay the greenery. It also makes a better form for lining the branches with snow for winter houses.
NOTE / If making a tree for a particular house, it is helpful to have the house and base at hand. As you bend the armature, set the tree next to the house to decide which is the best way to bend the branches. If the tree sits right up against the house, the branches need to be shaped to fit that space. A tree close to a house will need to be flatter on the back than a tree that has plenty of room all the way around.
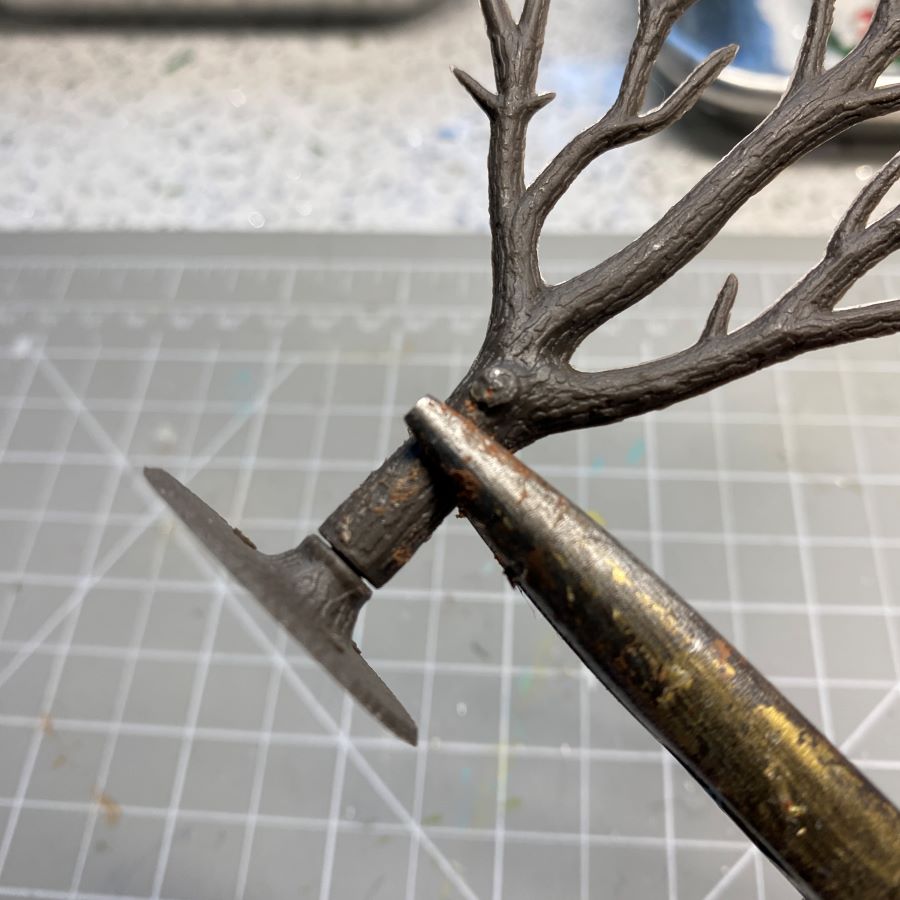
Anywhere a branch divides, the stems should be bent apart and moved to a horizontal position.
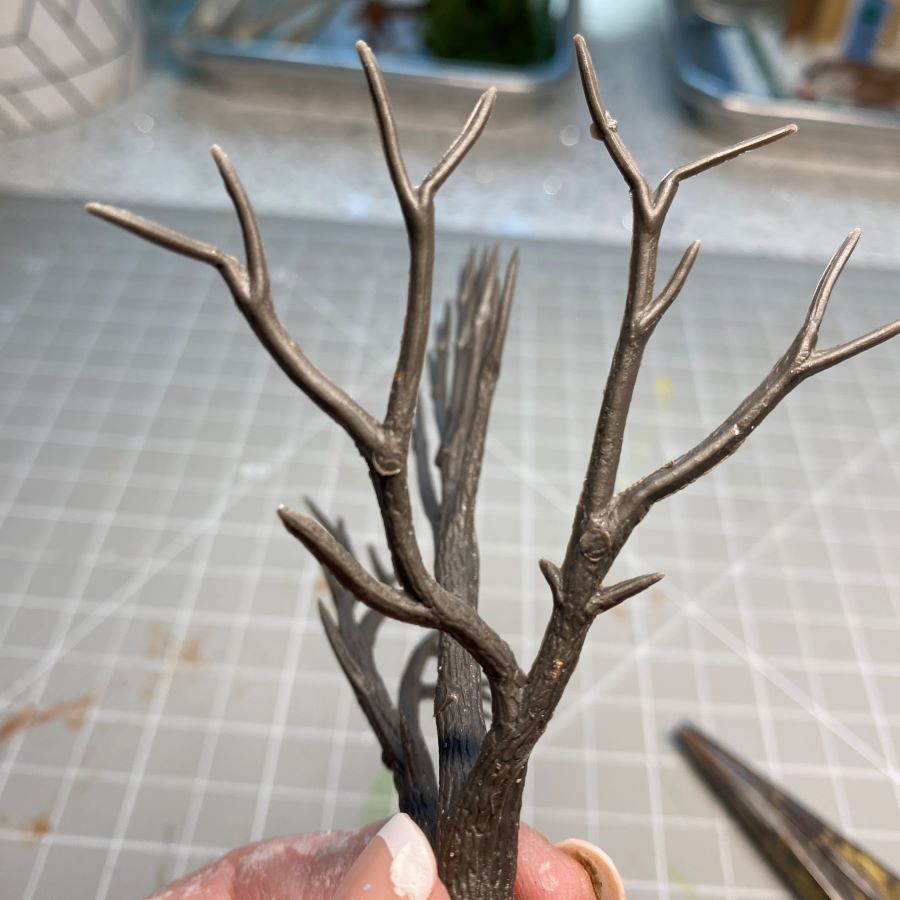
Bending every branch and twig gives the tree a more natural shape.
The same armature, the view from above. Note how even the larger branches are bent slightly.
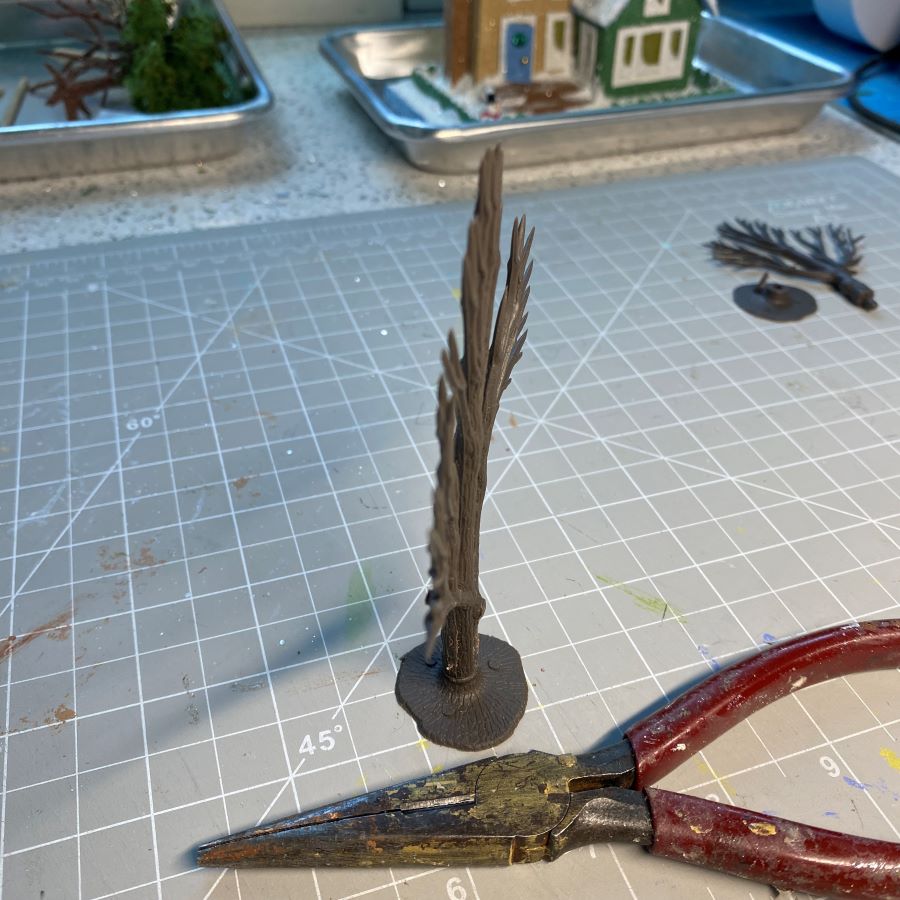
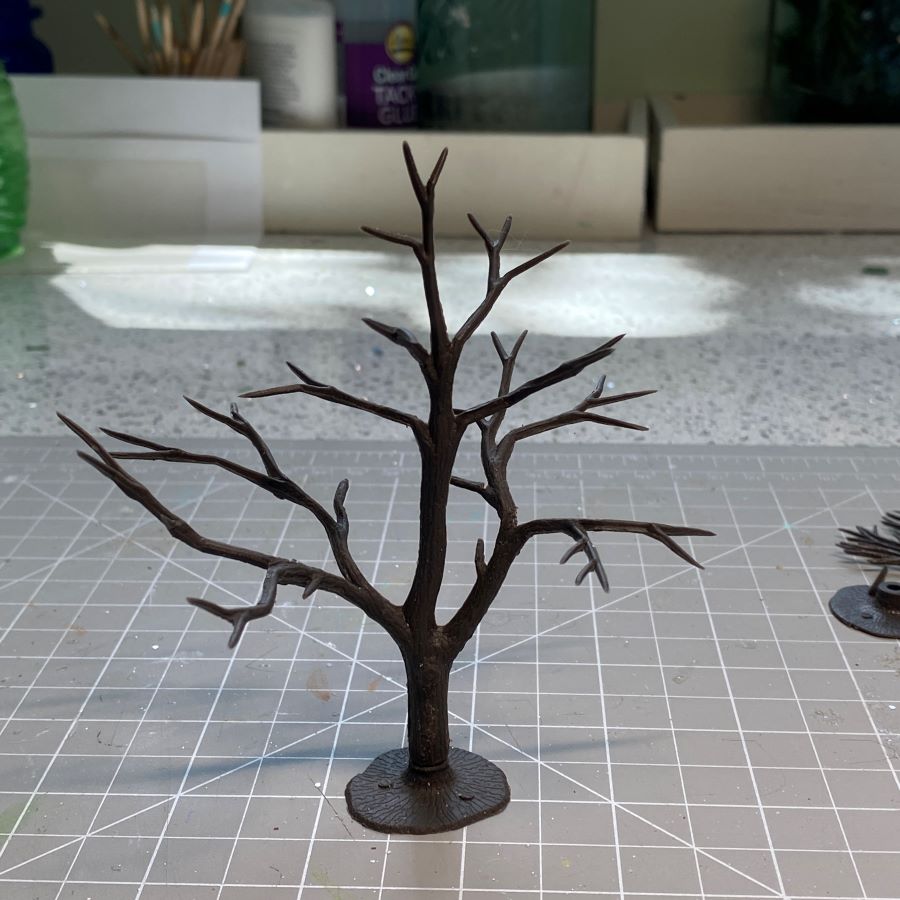
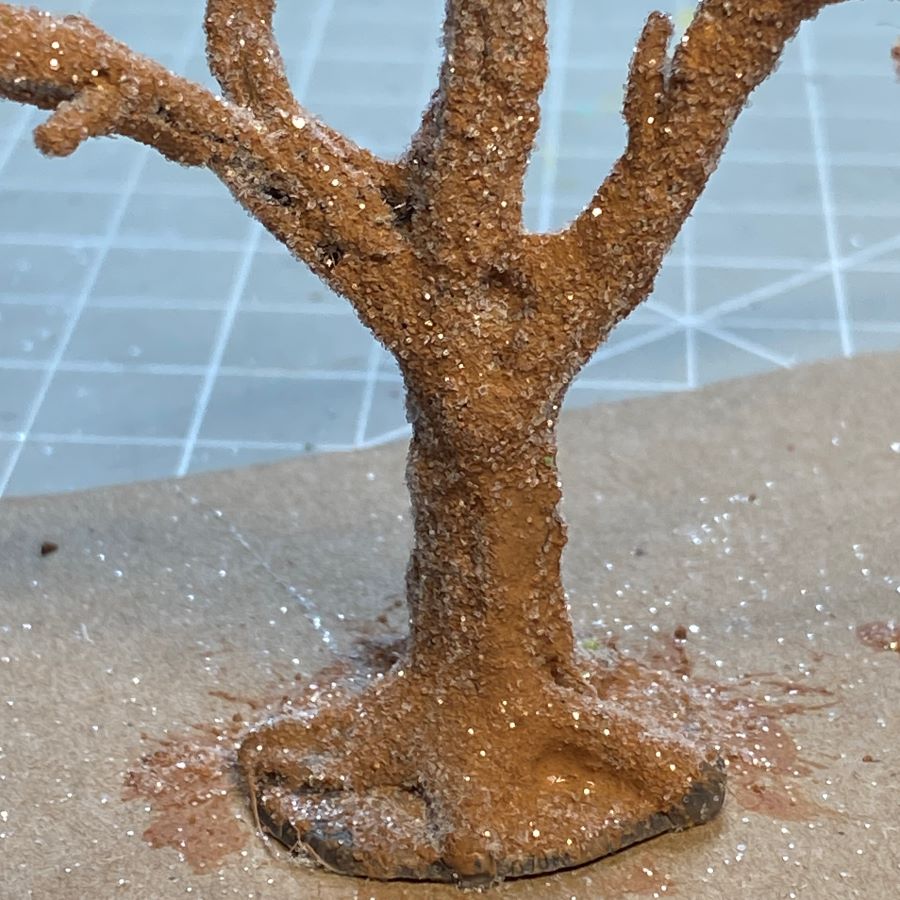
At this point, I add some hot glue to form roots. Start about half way between the base and the first branch. Pull to a point at the edge of the base. I cover any gap between the tree and the base. I also use the nozzle to rub hot glue up and down the bottom half of the trunk. It adds texture and interest.
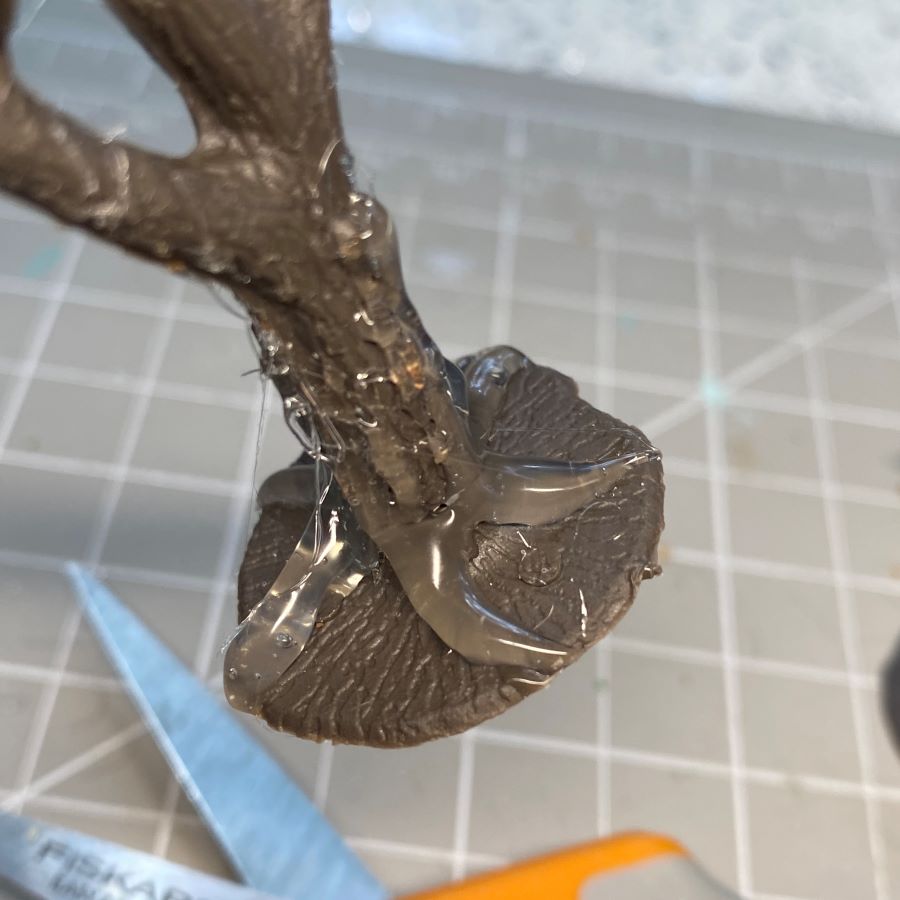
I use hot glue to beef up the spaces between branches on the lower part of the trunk. Get rid of hot glue strands by touching them with the hot nozzle of the glue gun or pick them off after the glue cools.

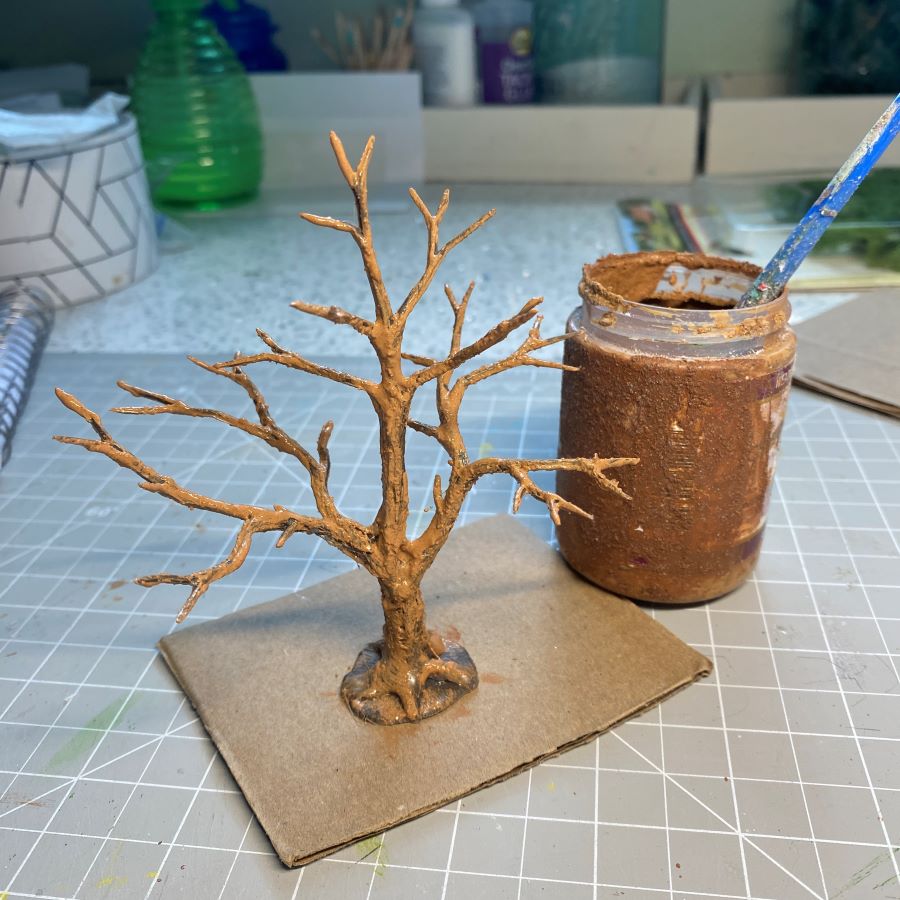
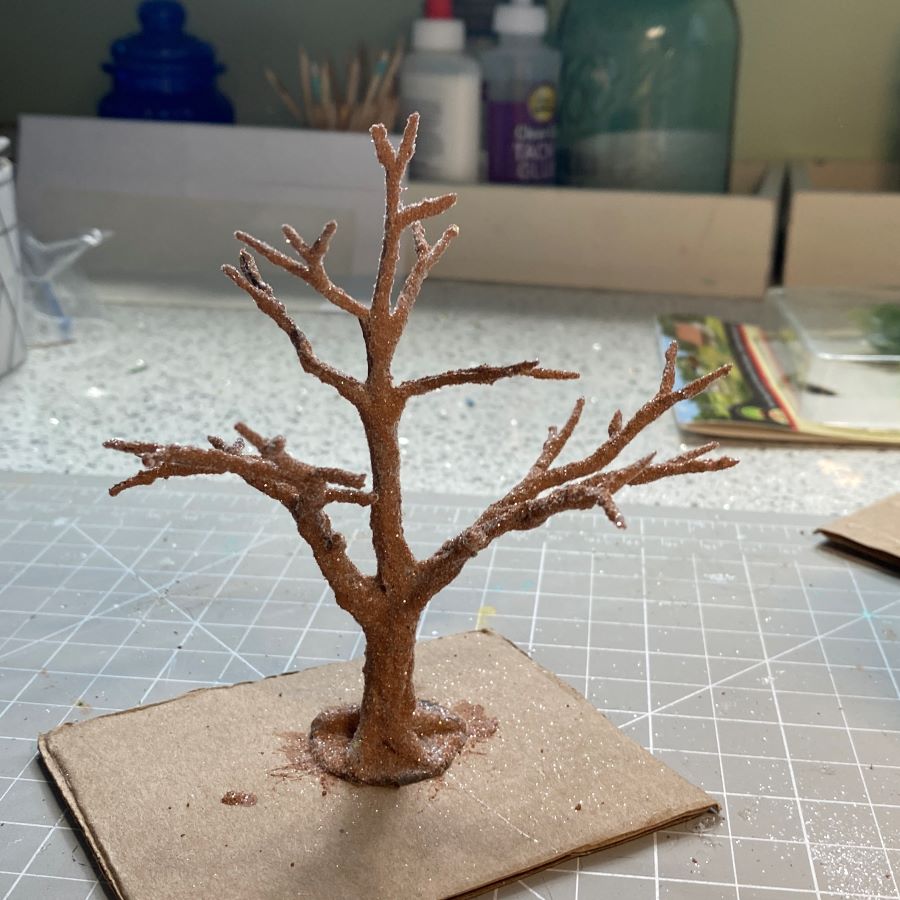
Using a dab of hot glue, glue the tree to a small scrap of cardboard. This makes the tree easier to handle while painting. Give the tree one coat of paint. Let it dry completely, then add a second coat. The paint I use is a mixture of acrylic paint, paint conditioner and very fine sand. I use it on my Putz houses to produce a vintage style texture. Plain acrylic paint will work fine on the tree, if you don’t want to mix textured paint.
While the second coat of paint is still wet, cover the tree with fine glitter. Of course, you can skip the glitter if you prefer.
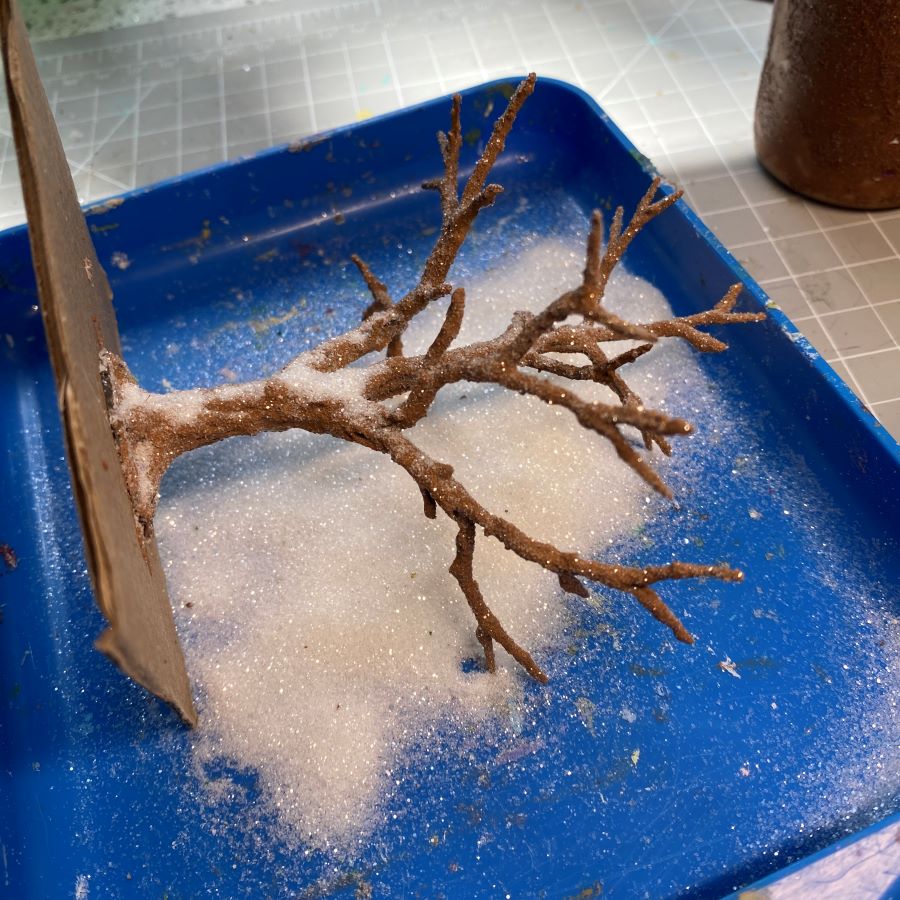
Allow the tree to dry completely.
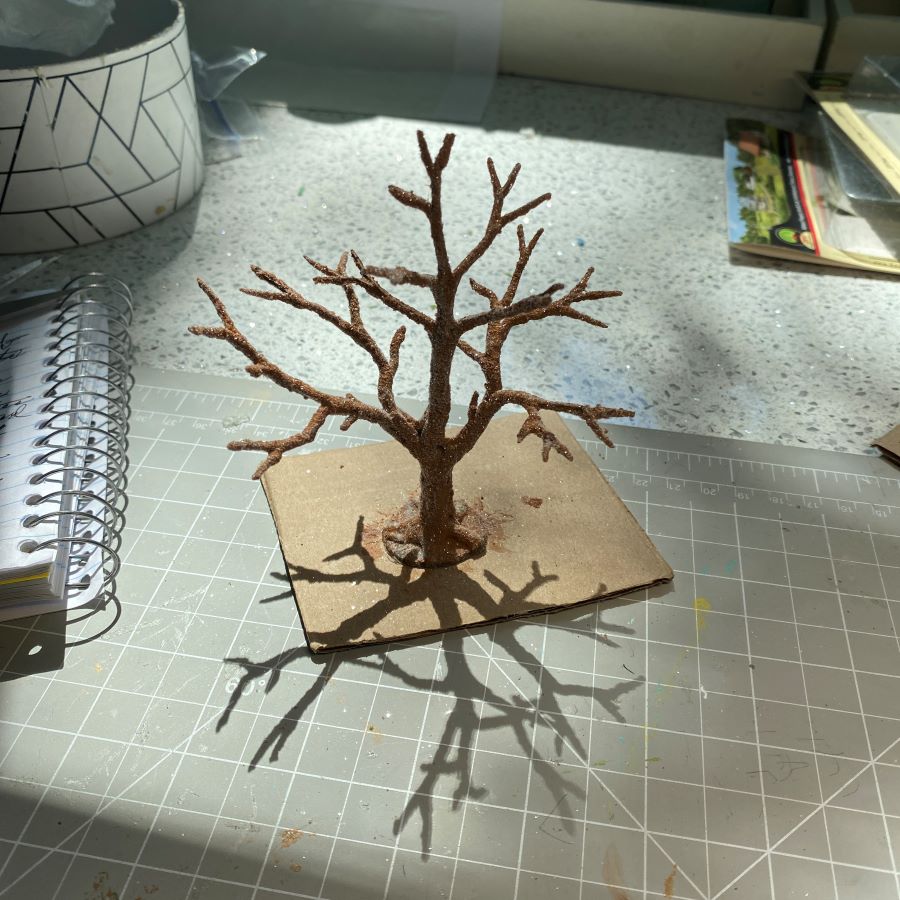
Note the details the hot glue adds. With this method, each tree will be unique.
The tree is ready for adding foliage.
The tutorial for adding foliage to the finished armature can be found here:
tutorial / make leafed trees using armatures, part 2
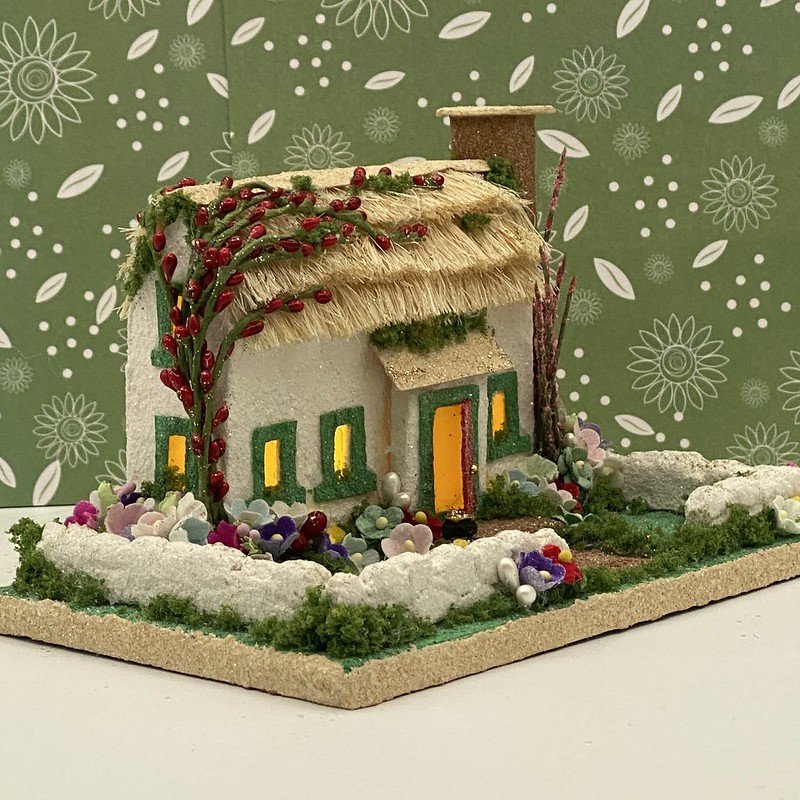
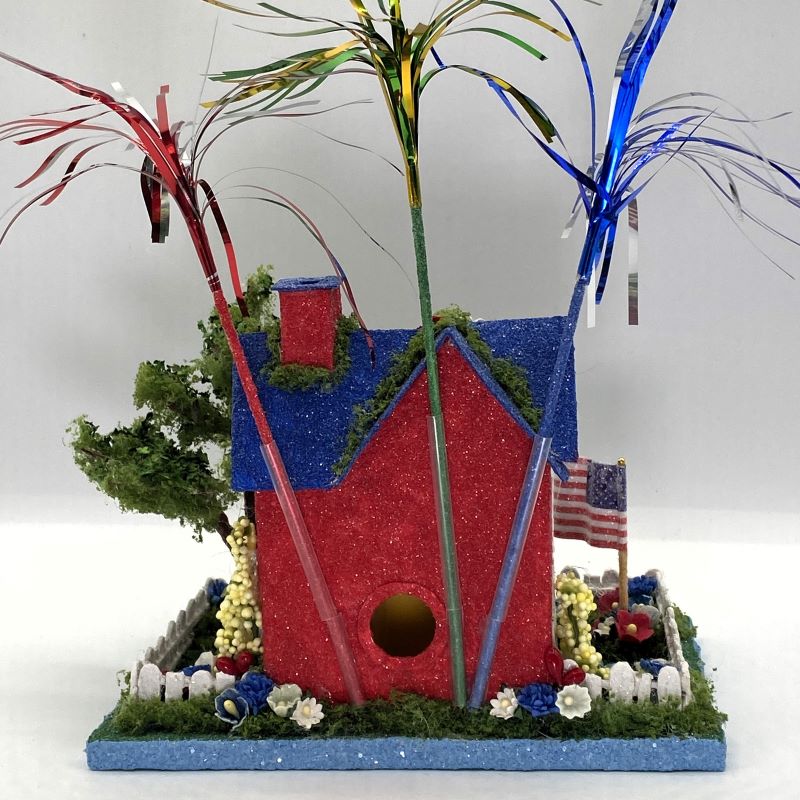
If you would like to see more of my Putz houses, as well as Christmas ornaments I have made from upcycled holiday cards, please visit my Etsy shop.
If you are interested in crafting Putz houses of your own, check out my Putz tutorials for more information. Putz House Tutorials
I am always happy to answer questions about the process. Please ask, if you are wondering about the details of putzing!
All proceeds from my Etsy shop benefit Kenya Mercy Ministries. They work with the urban poor of Nairobi, Kenya, particularly the children and their families who live in Kibera, the largest slum in Africa. Thank you for your part in helping these children when you purchase items from my shop!
~~Rhonda 🙂