Our kitty Winston passed away in May, but his memory remains sweet. He and his brother Clark have given us years of double fun and double love. Their mother, Riley, was a stray that needed a home. She gifted us with four kittens shortly after joining our family. Clark and Winston stayed with us. Loki and Bennie found new families to love.
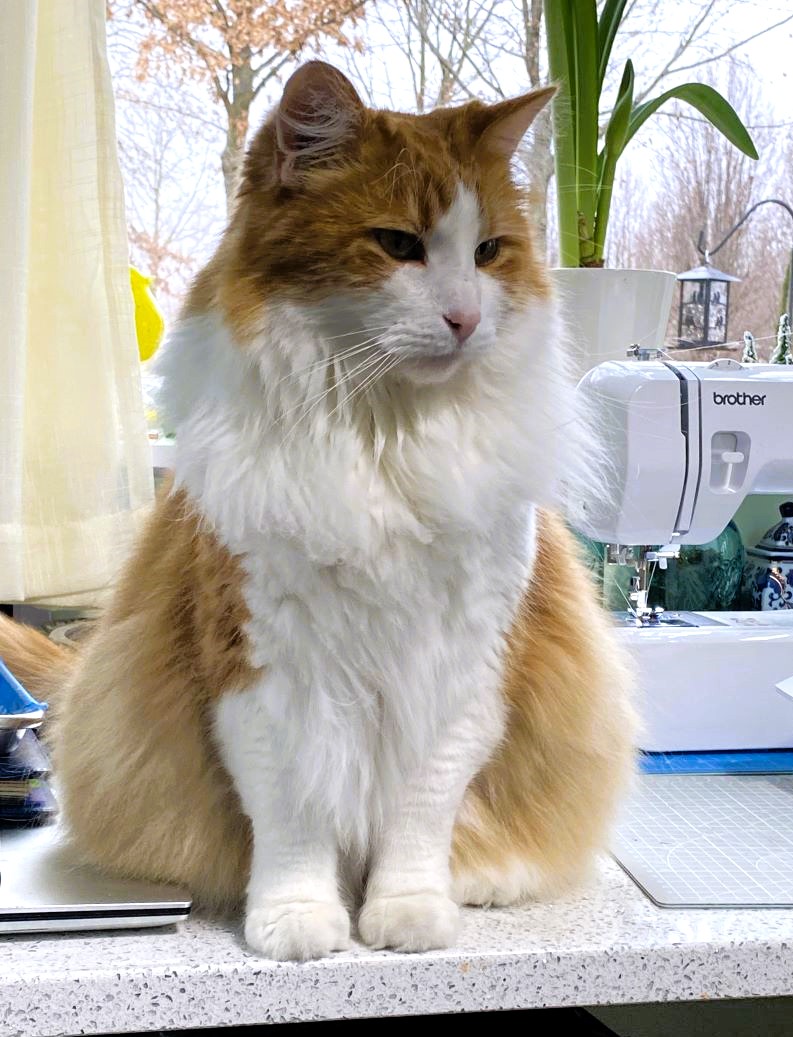
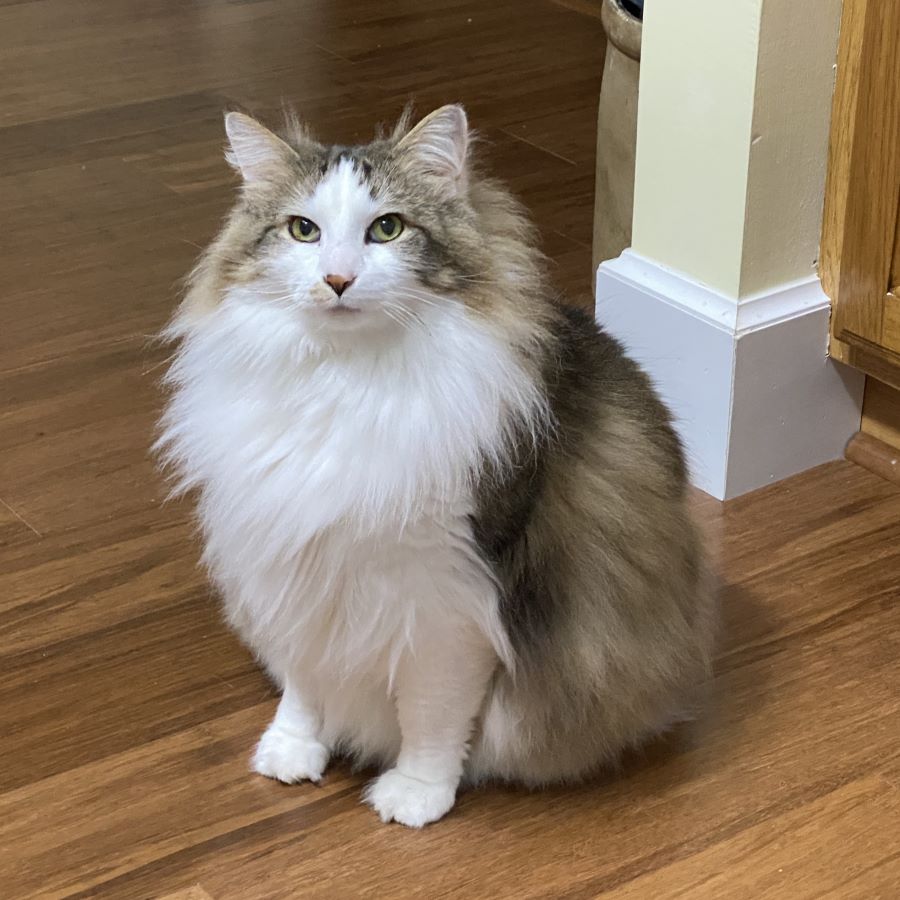
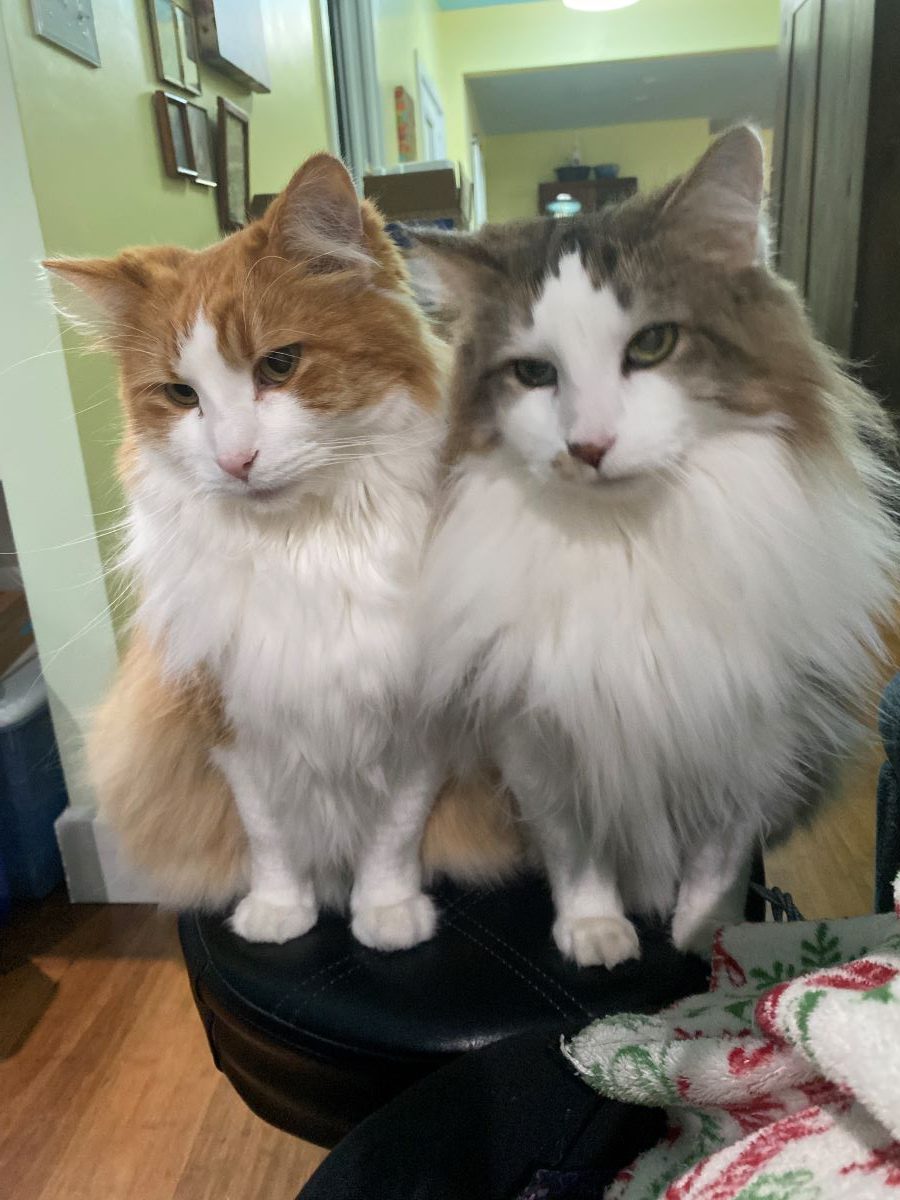
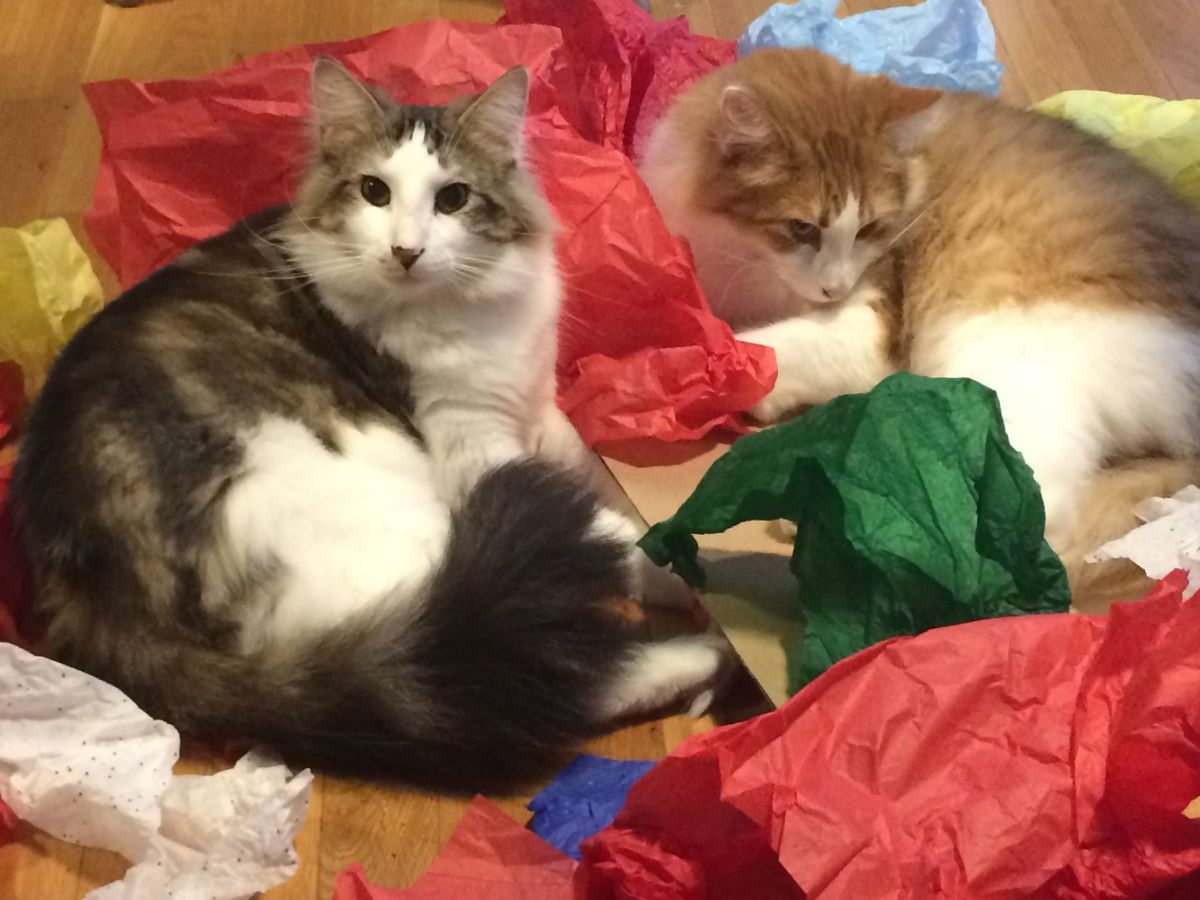
Winston had orange fur with white. His fur never matted much. Clark has dark fur with white. His very thick undercoat can mat easily.
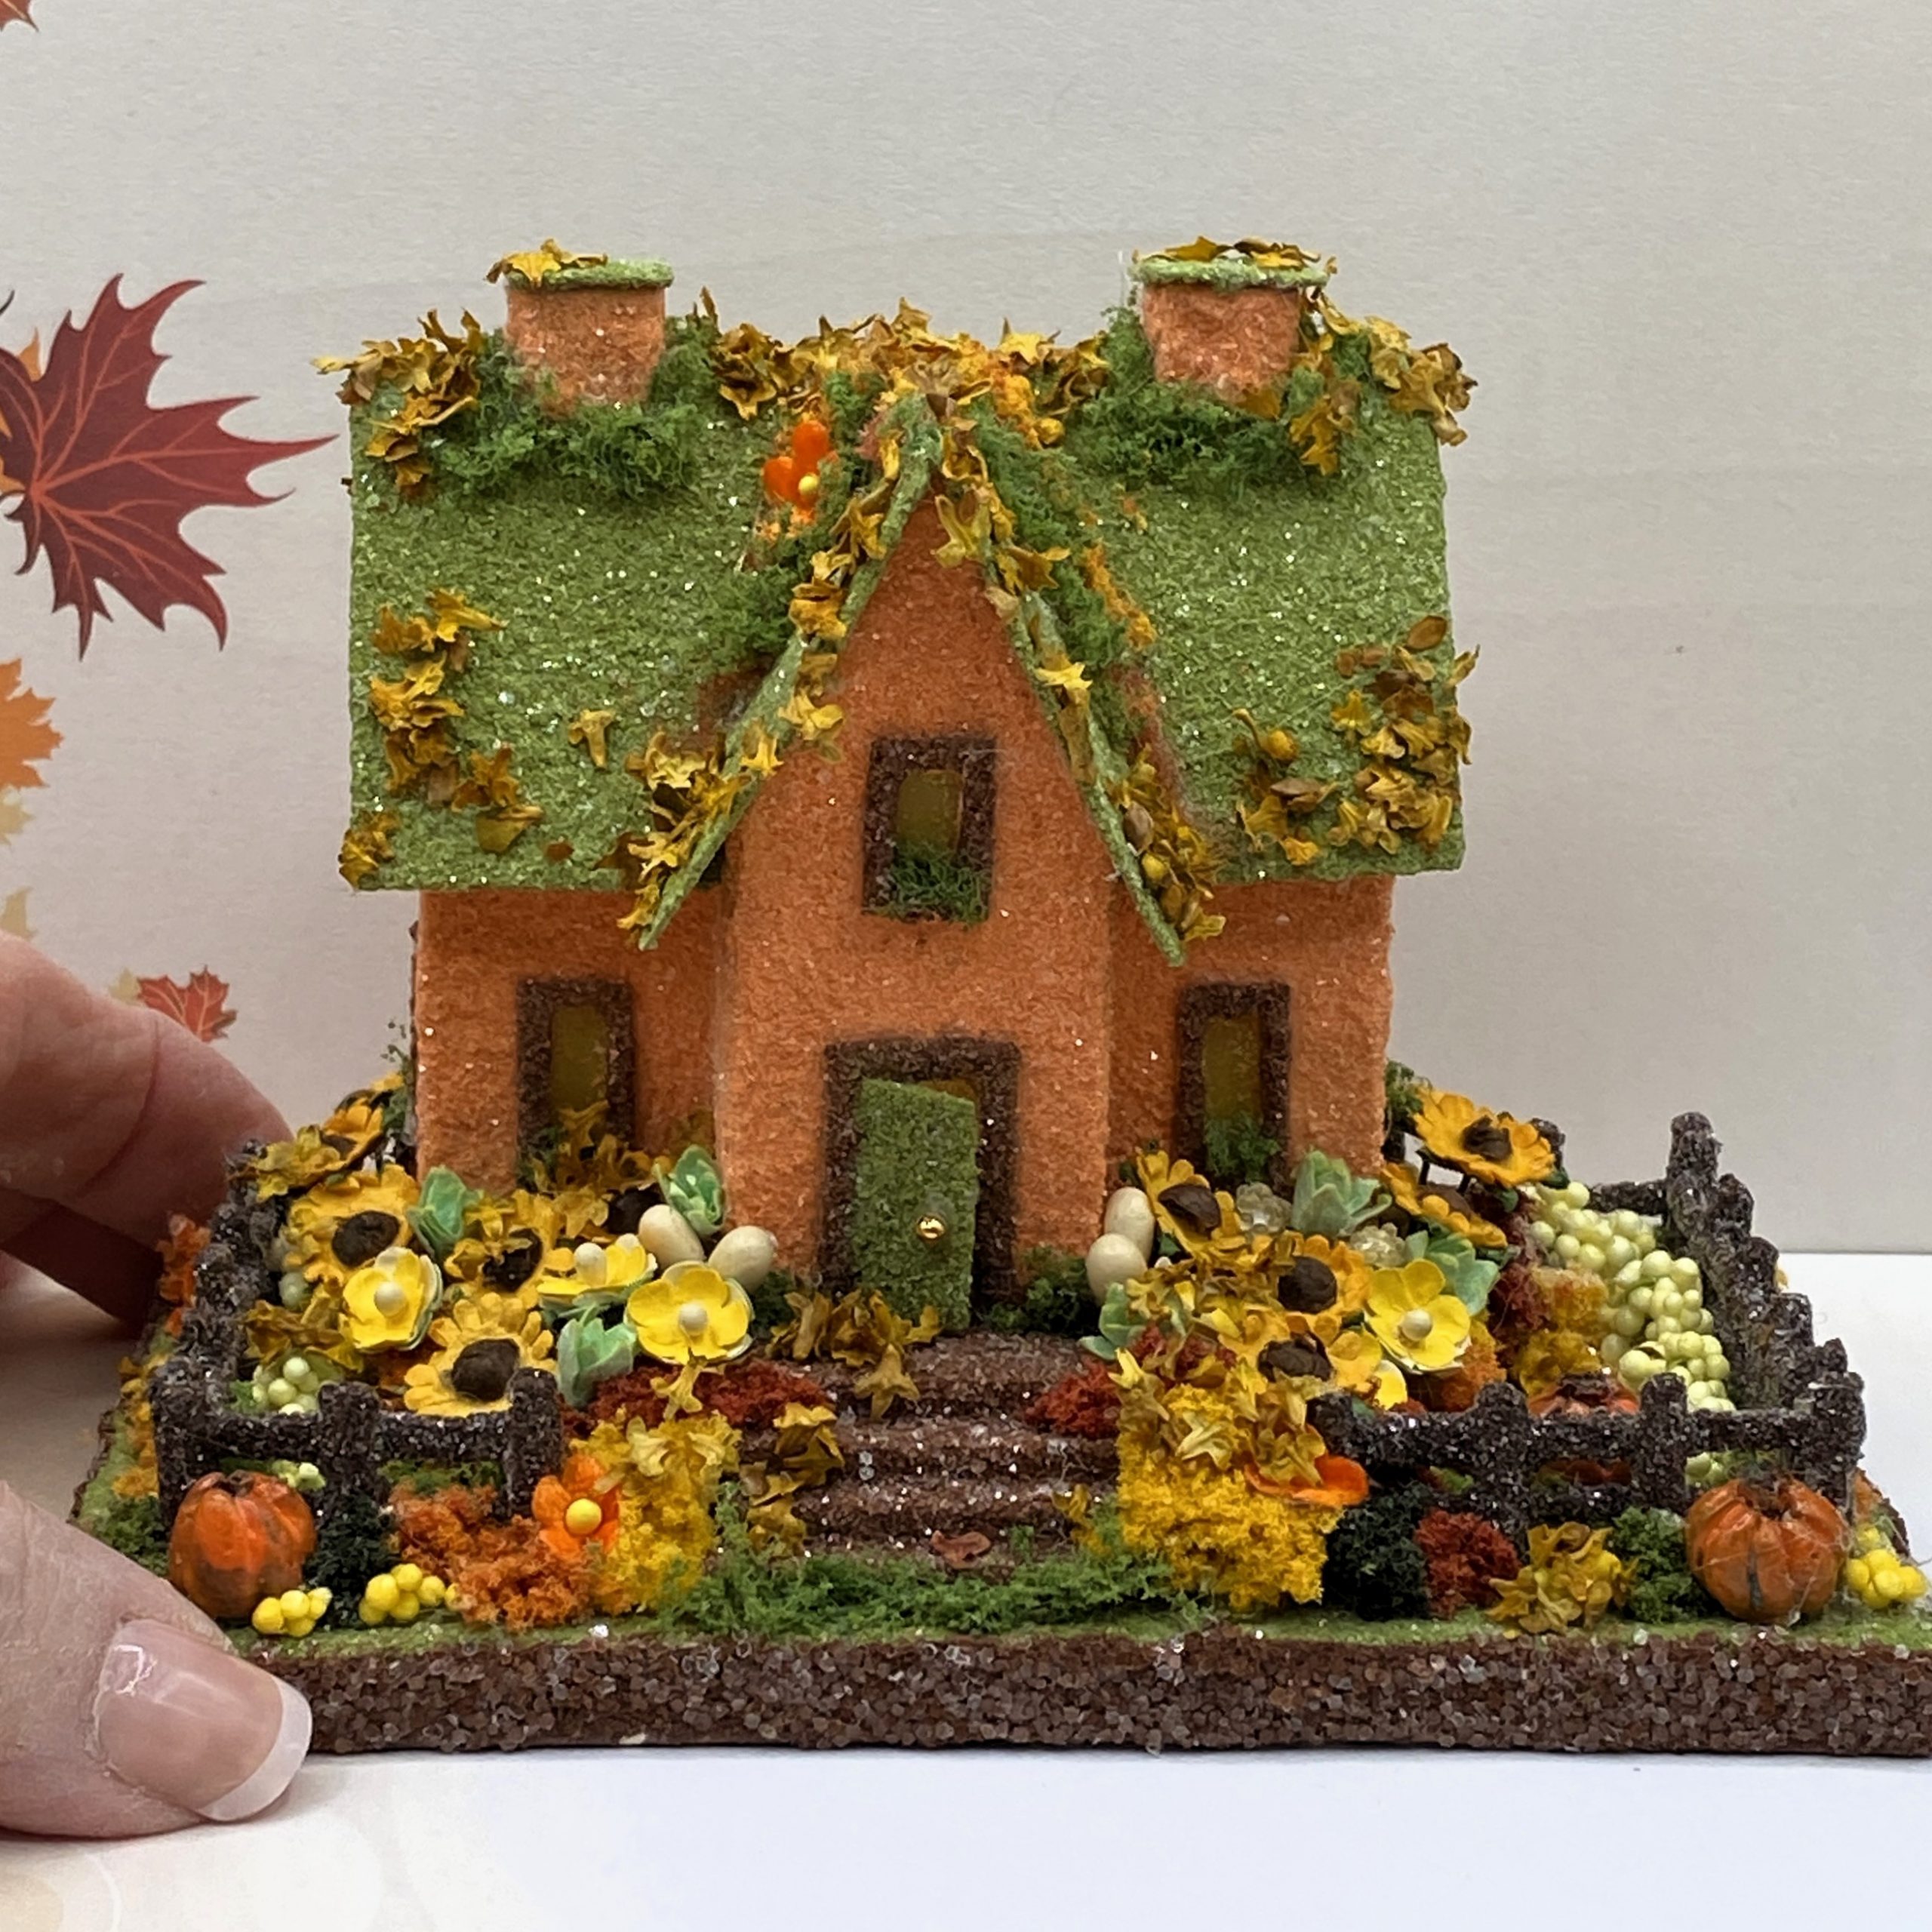
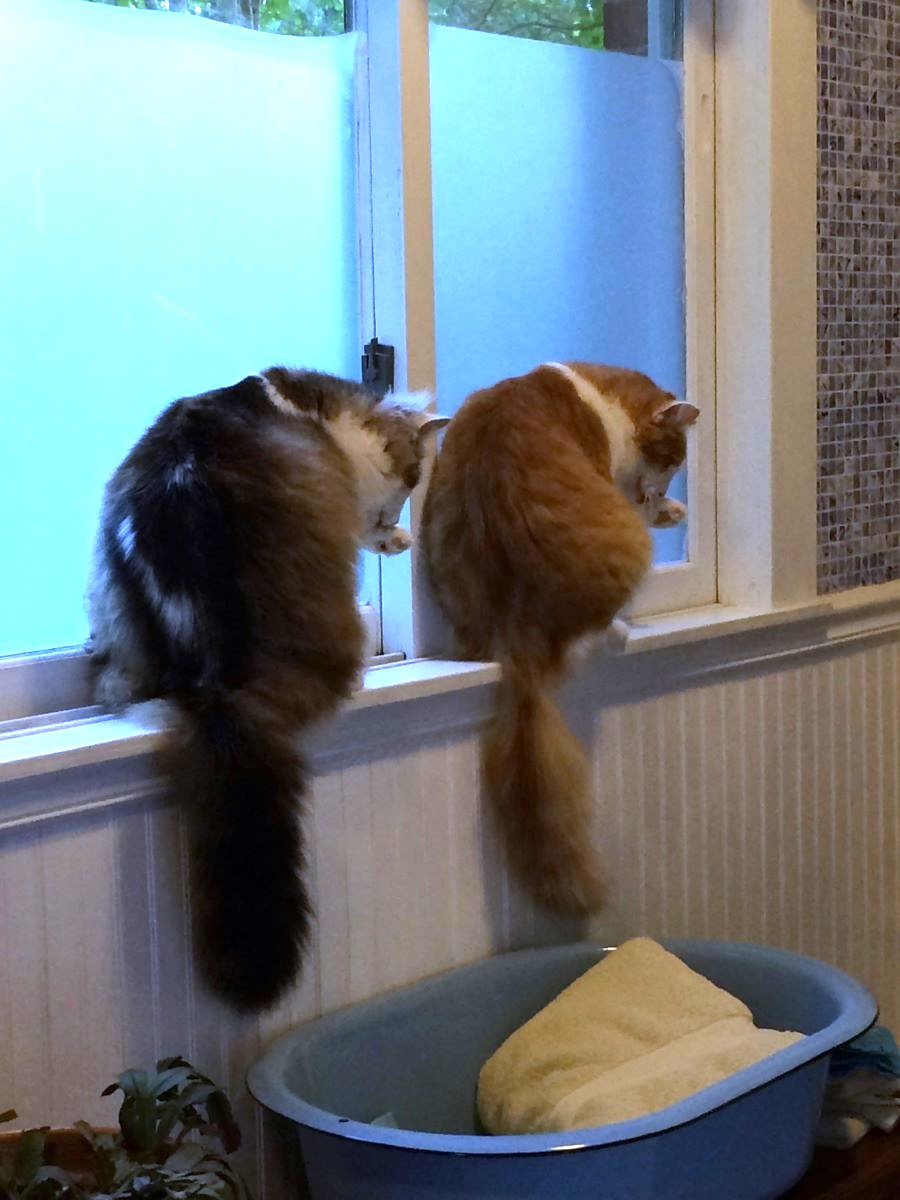
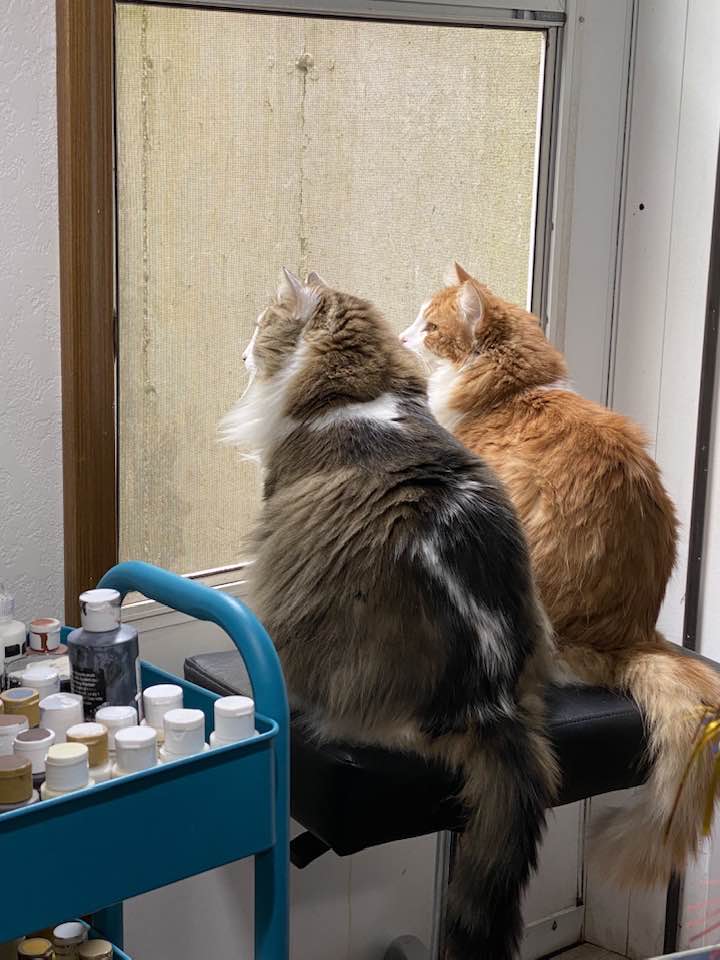
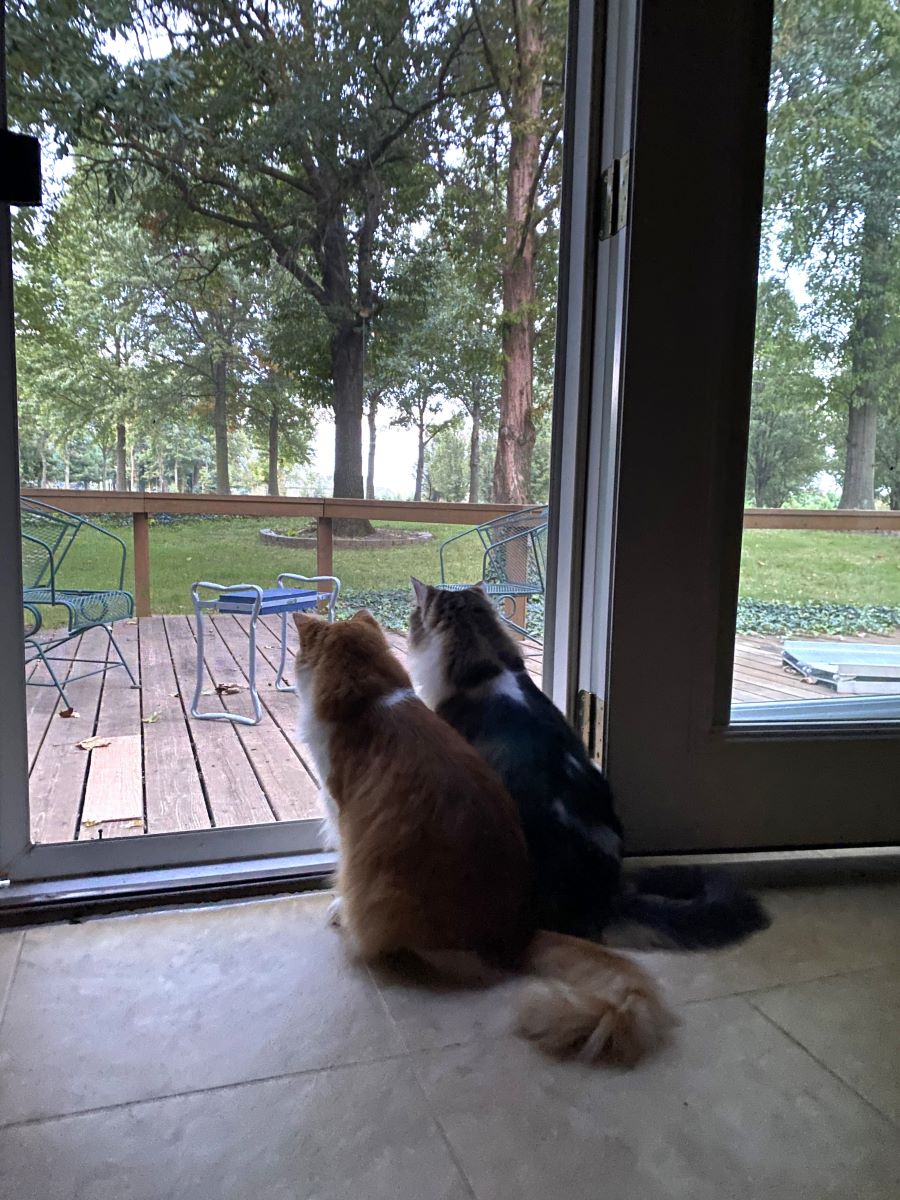
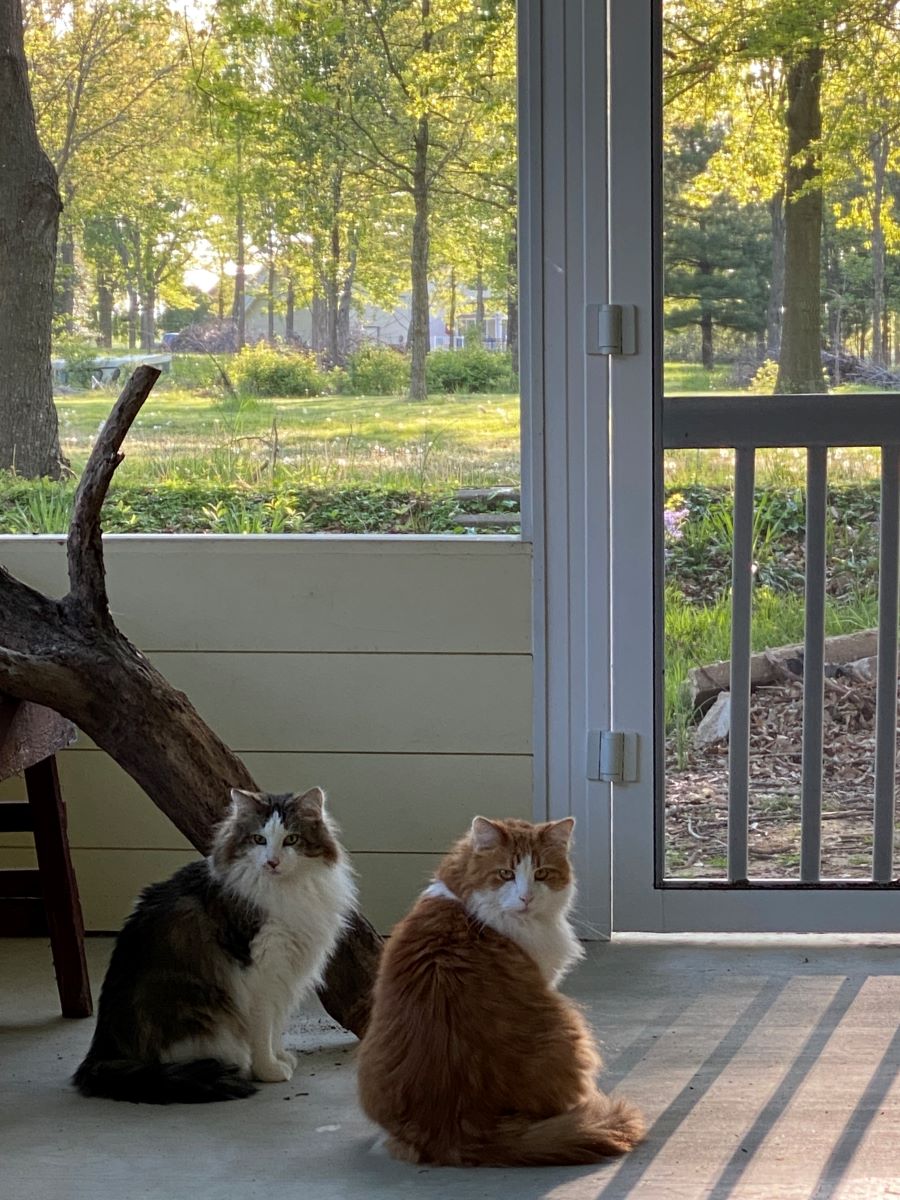
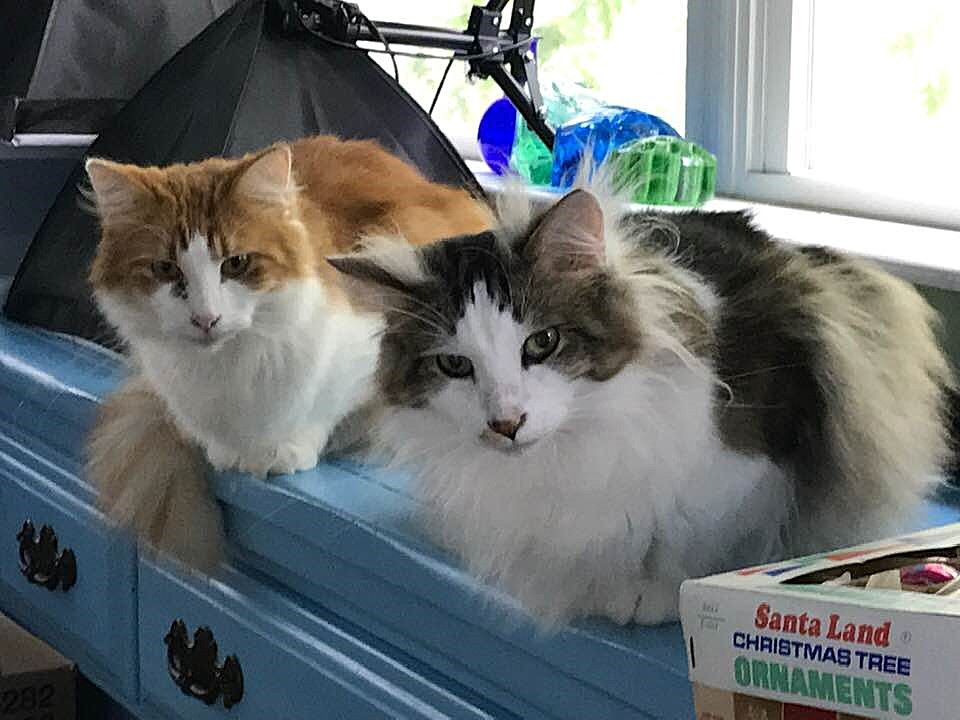
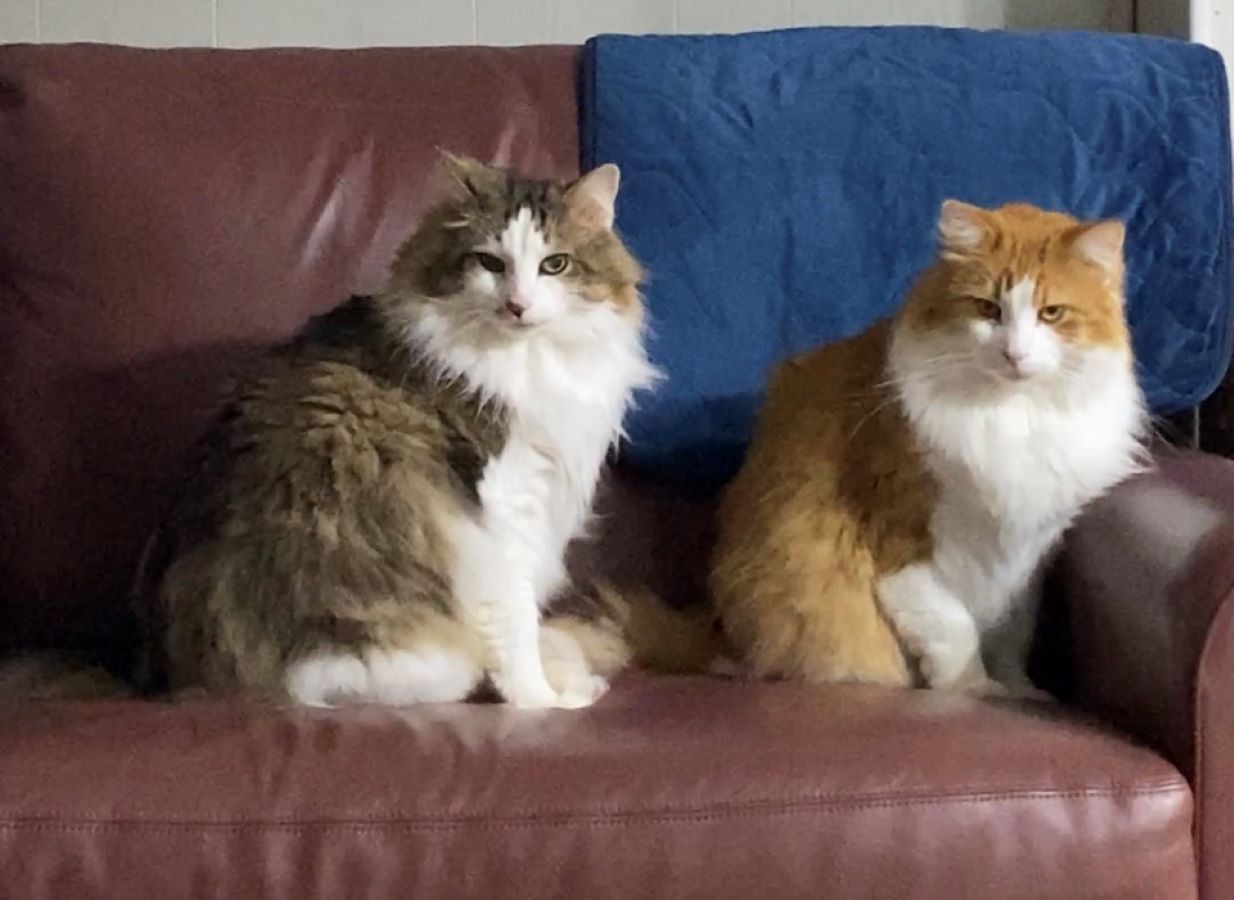
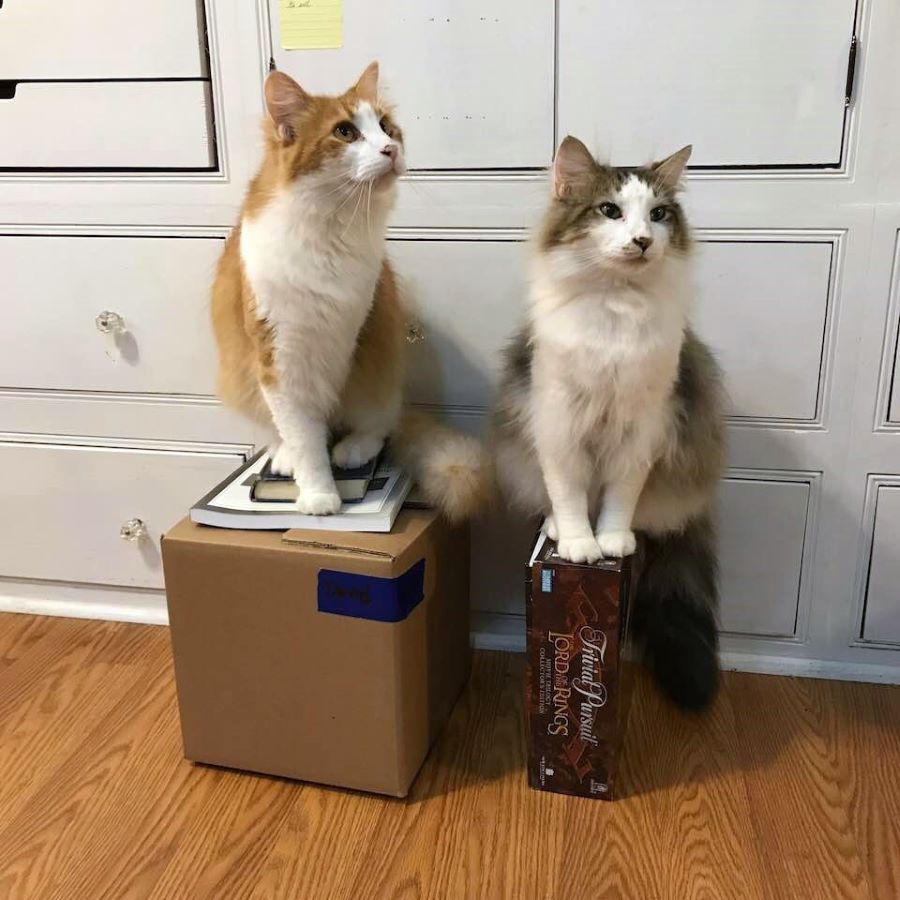
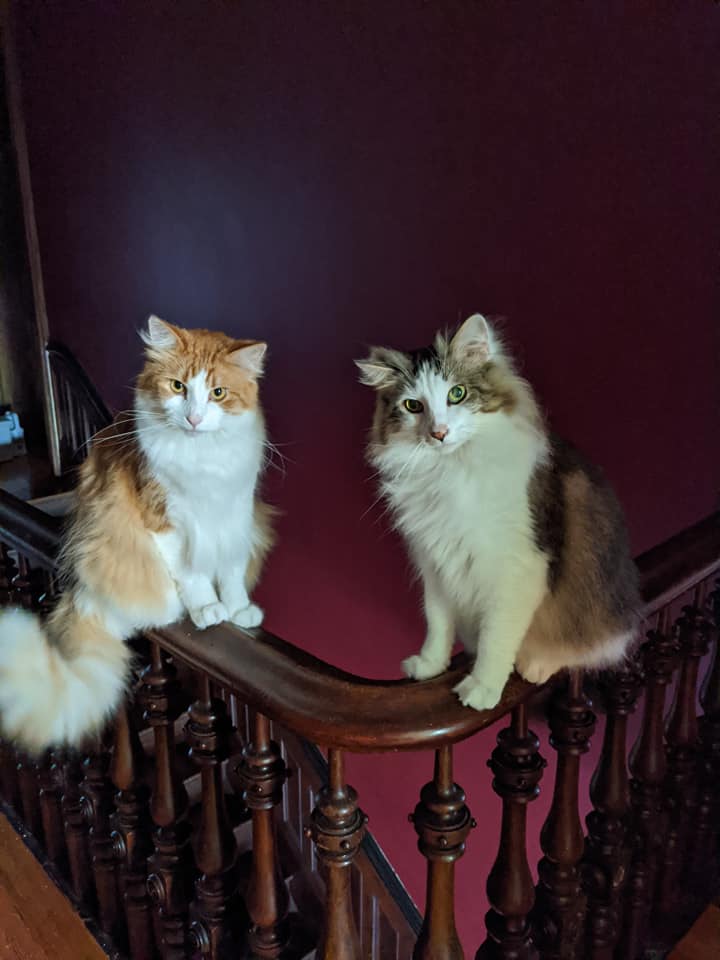
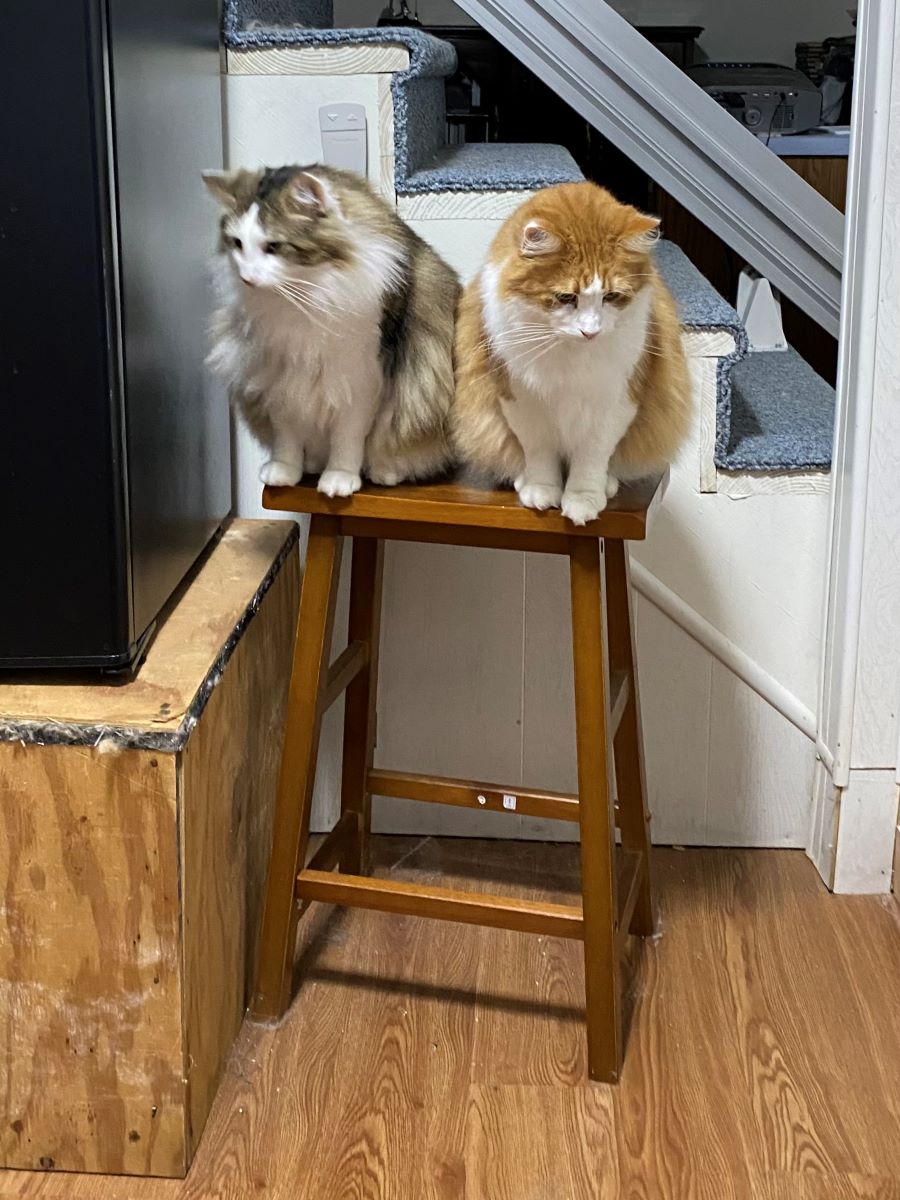
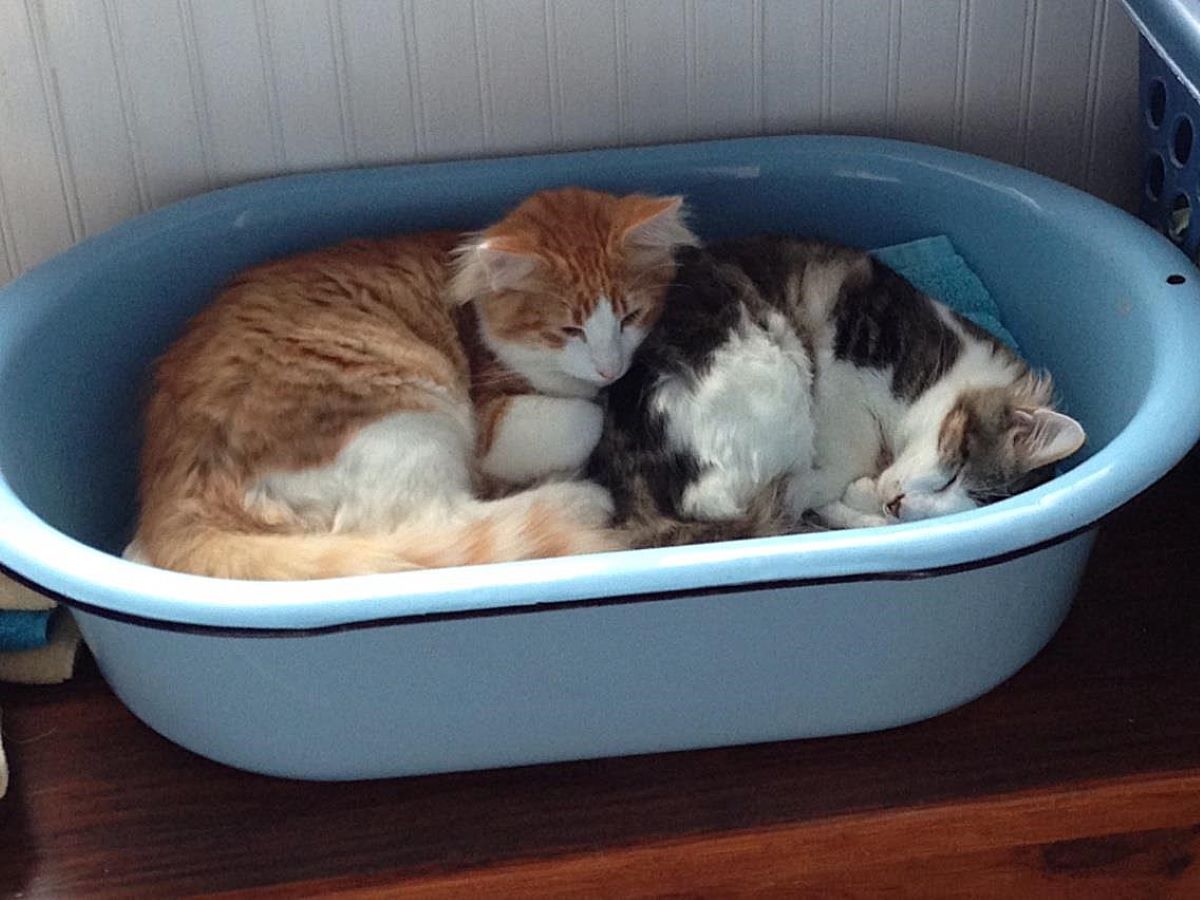
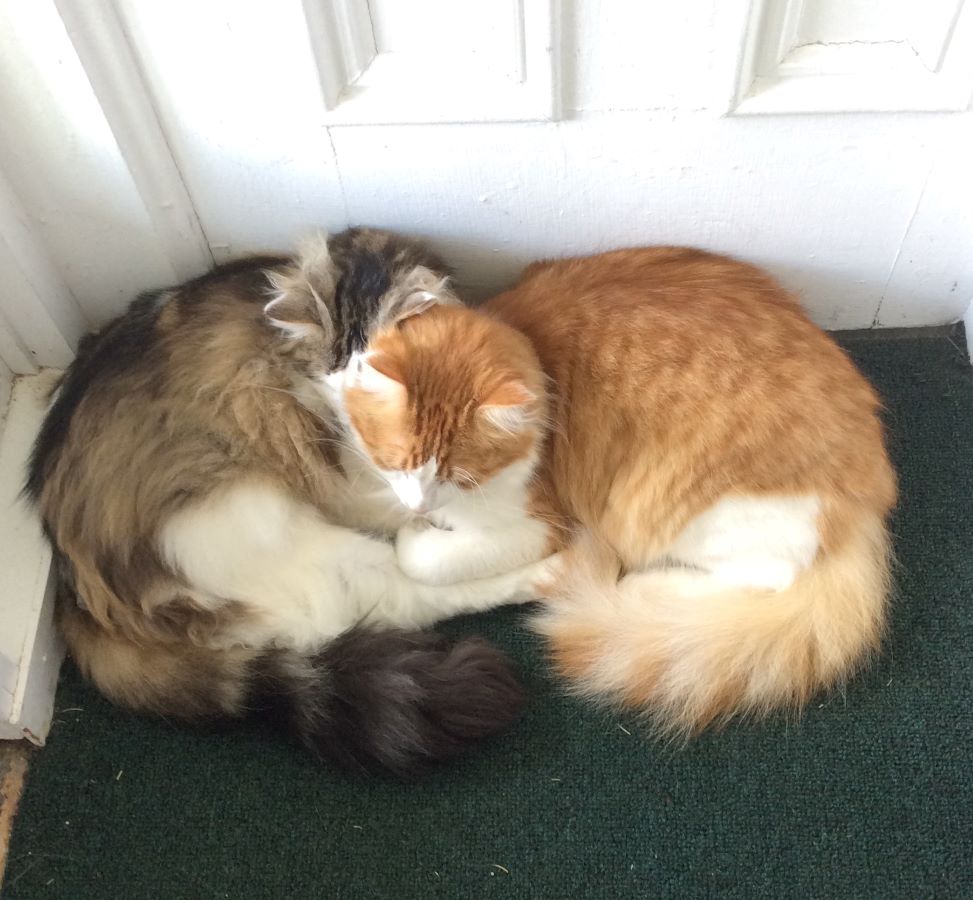
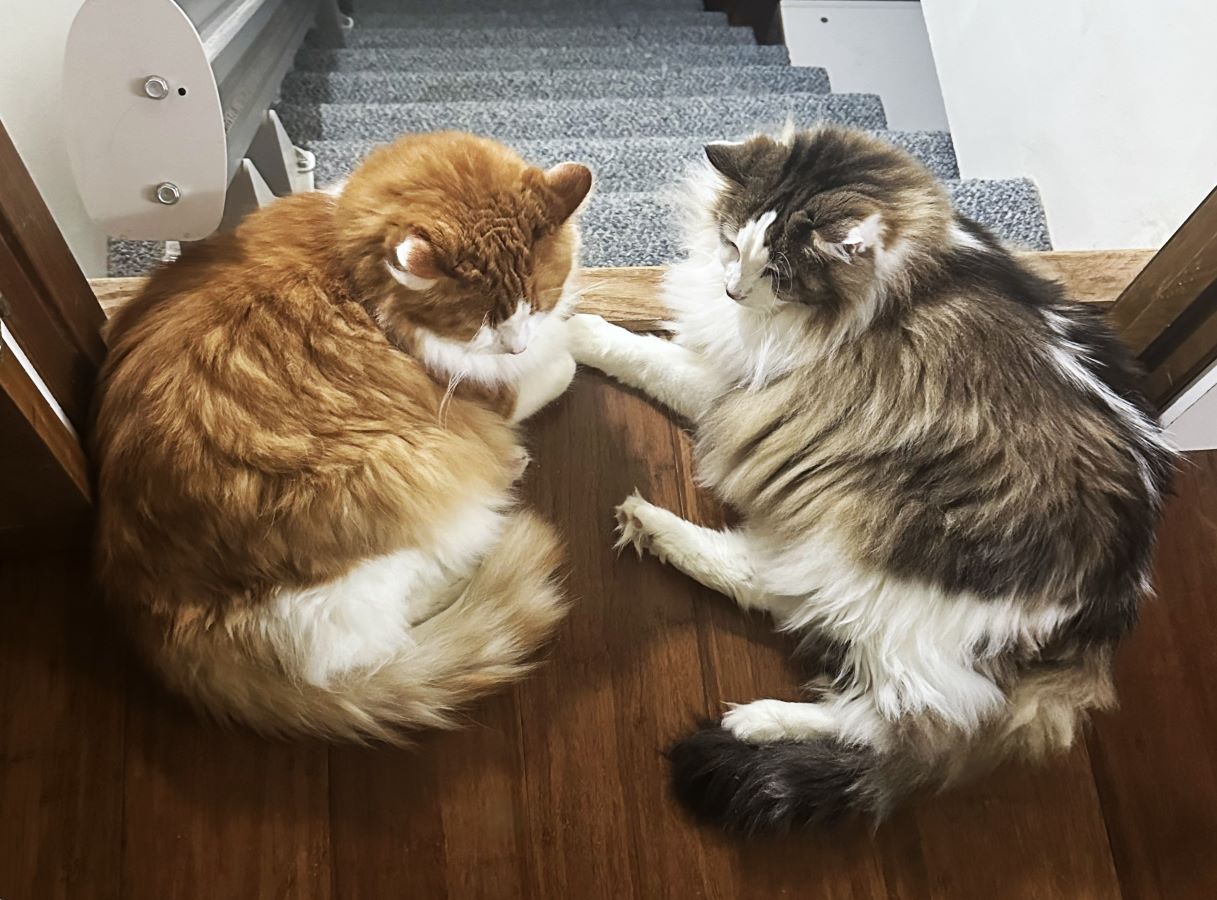
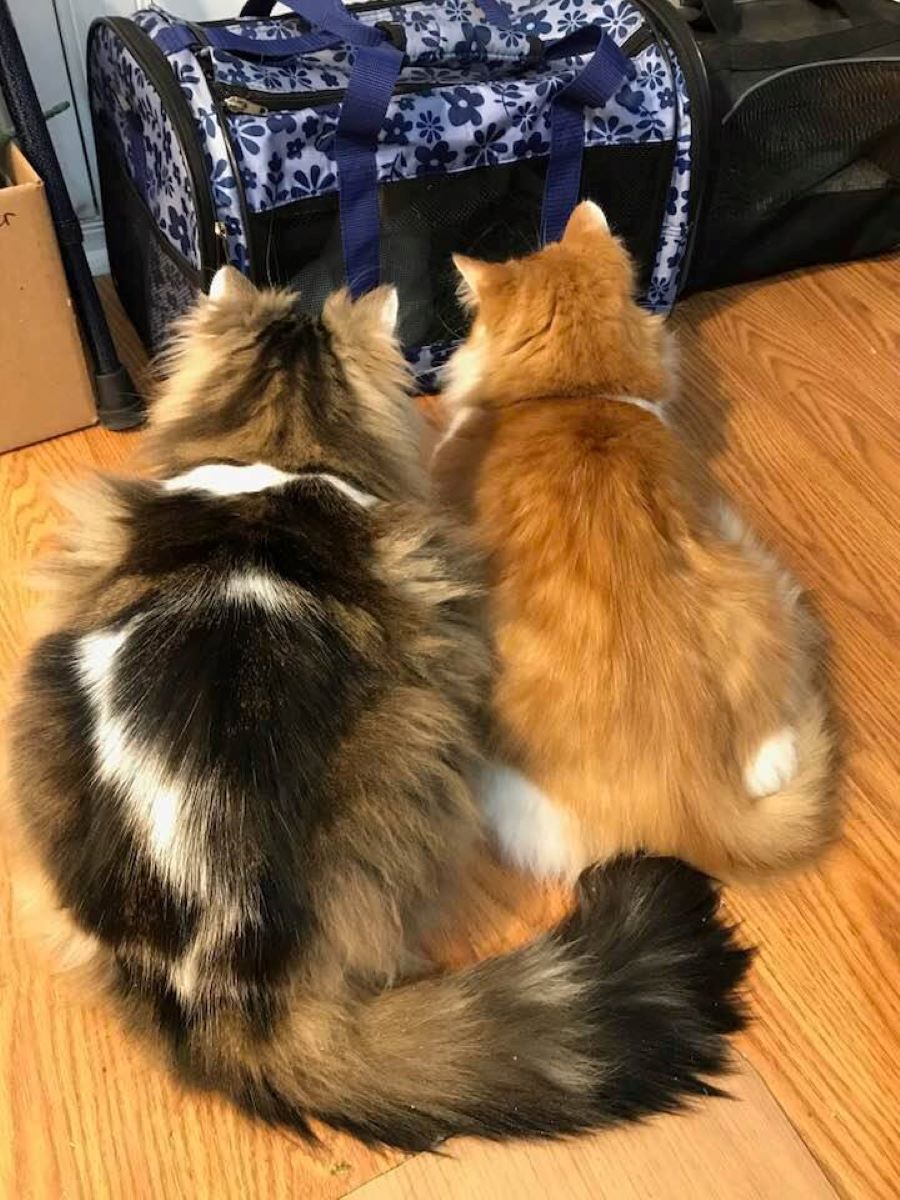
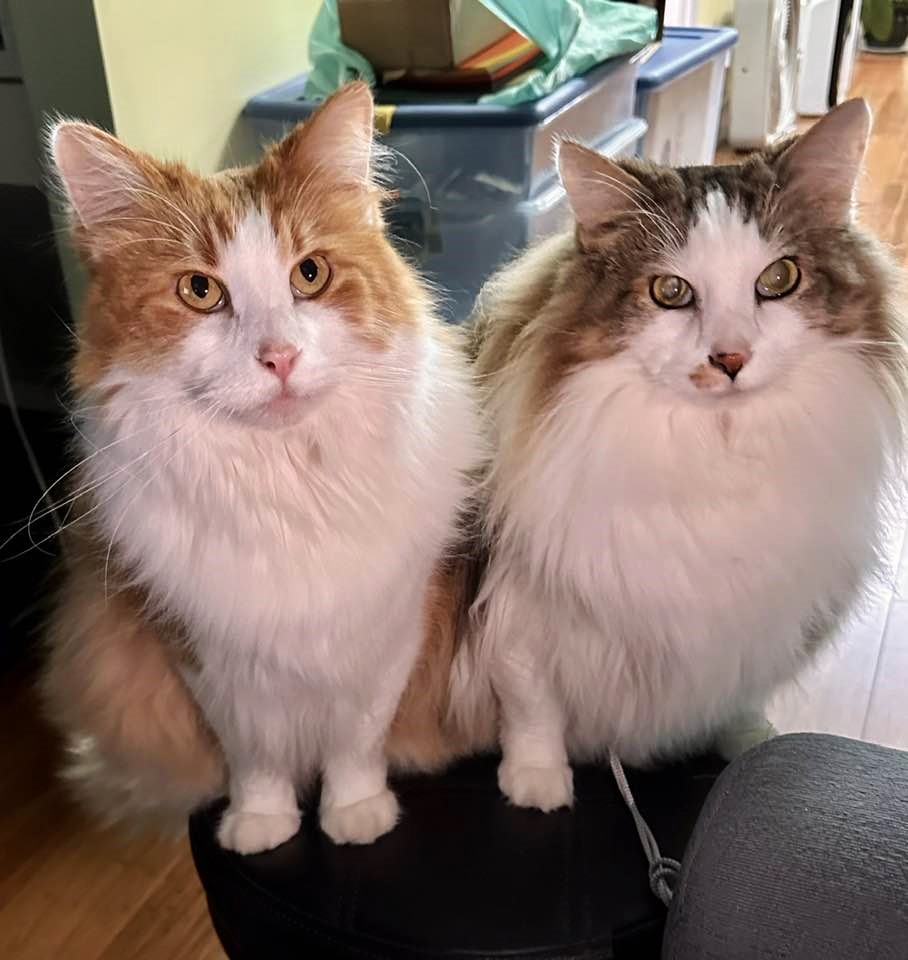
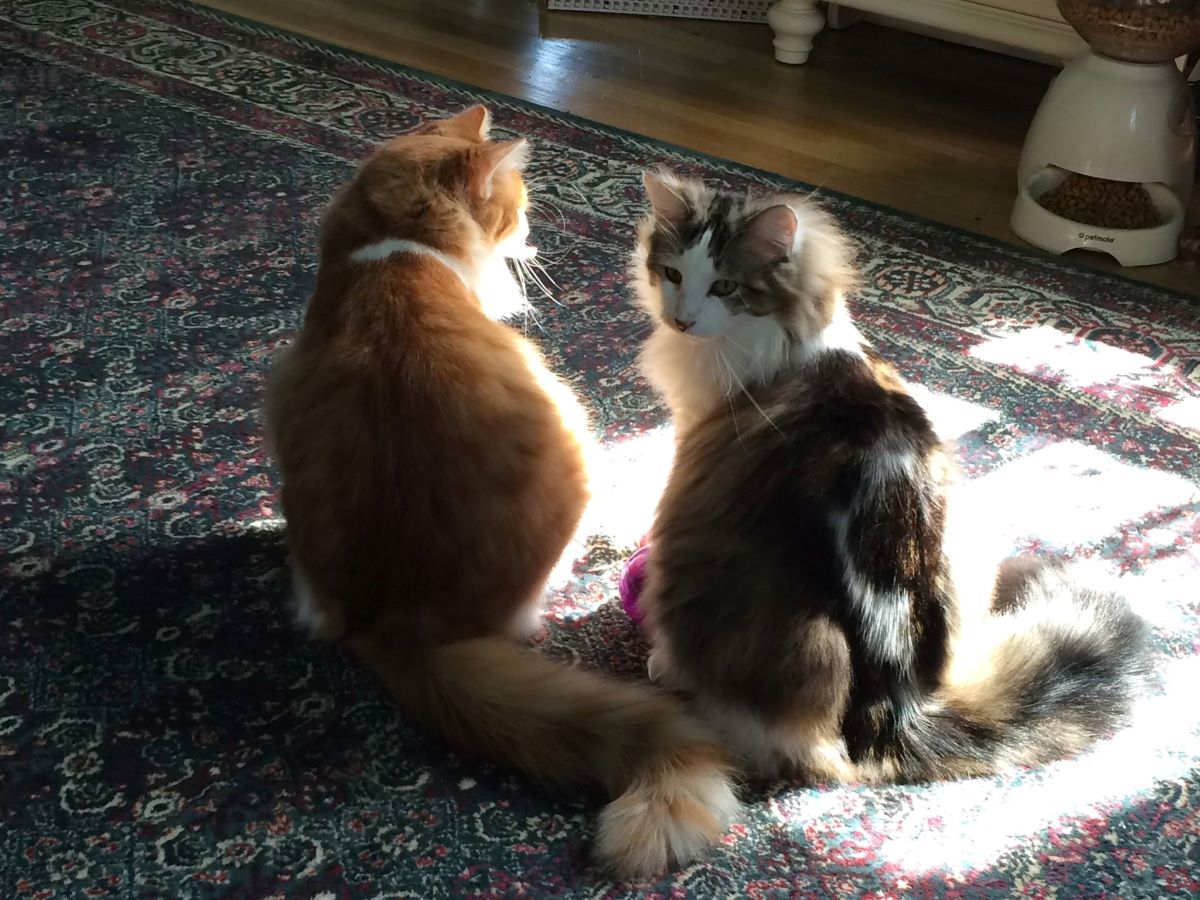
We have been surprised over and over by how many times Clark and Winston would strike the same pose, side by side. Here are some pictures to show you what I mean.
Clark: Winston, why can’t we see out the window?
Winston: Not sure, Clark. But it’s a bathroom. Let’s take a bath.
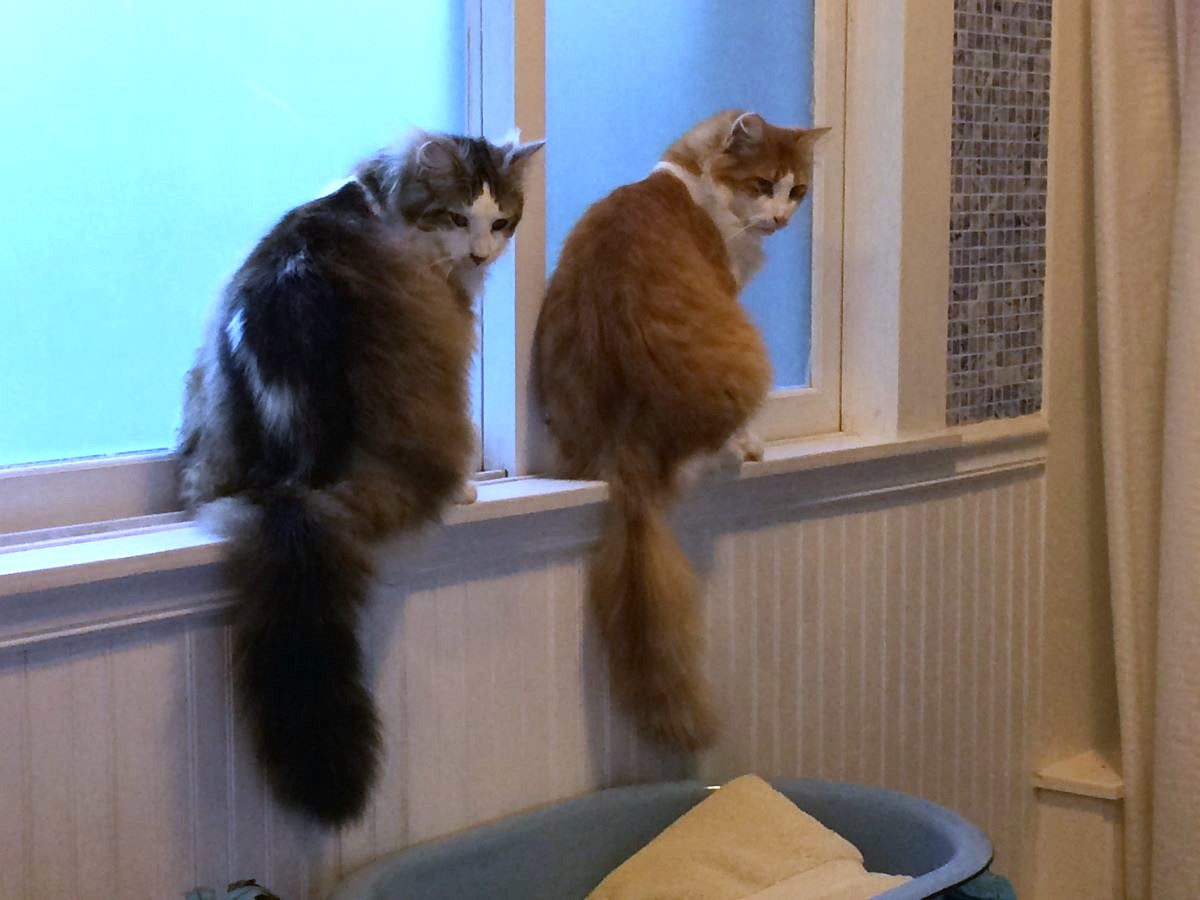
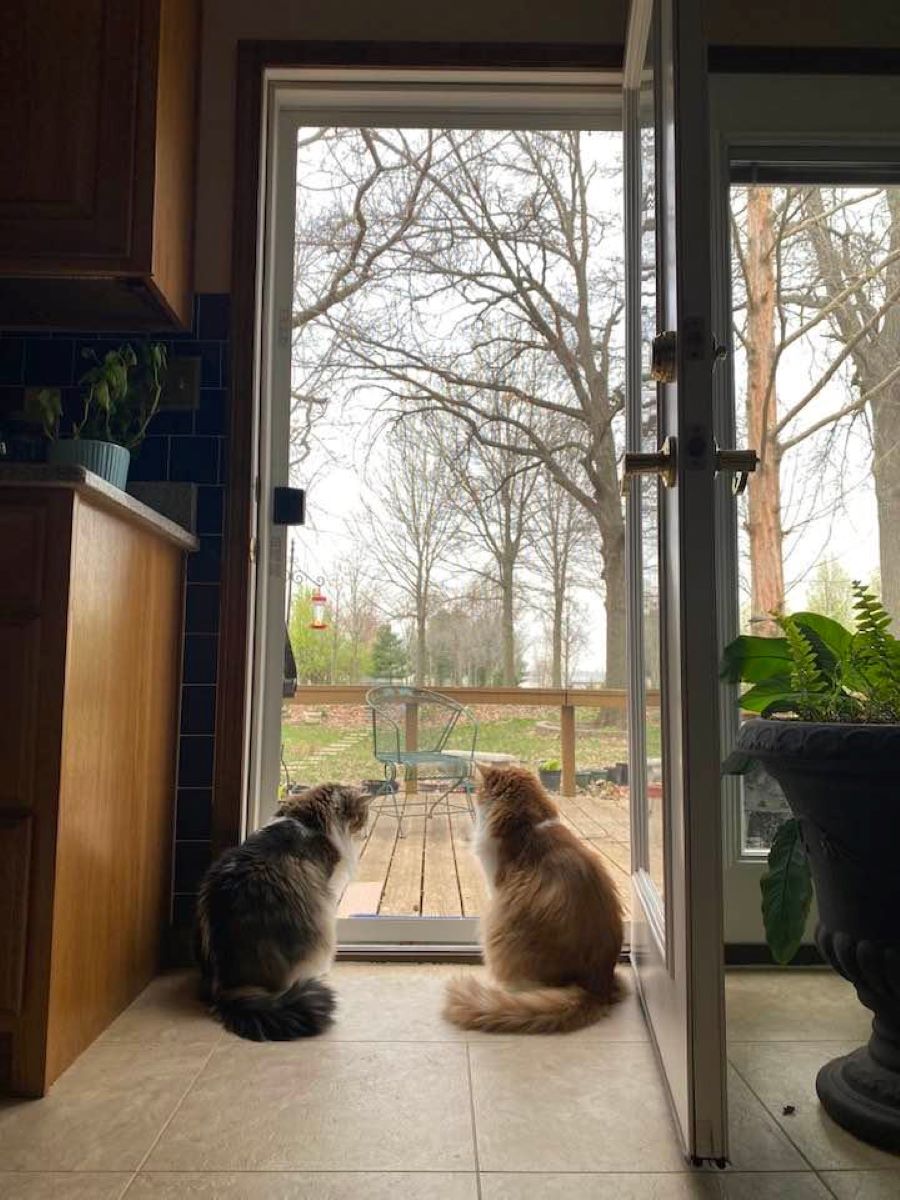
Looking out windows together was a favorite pastime. Clark: This stairwell doesn’t have a very good view.
That picture was taken in the basement of our current home. My craft room was down there until an addition was constructed with a craft room that comes with five windows and a wonderful view!
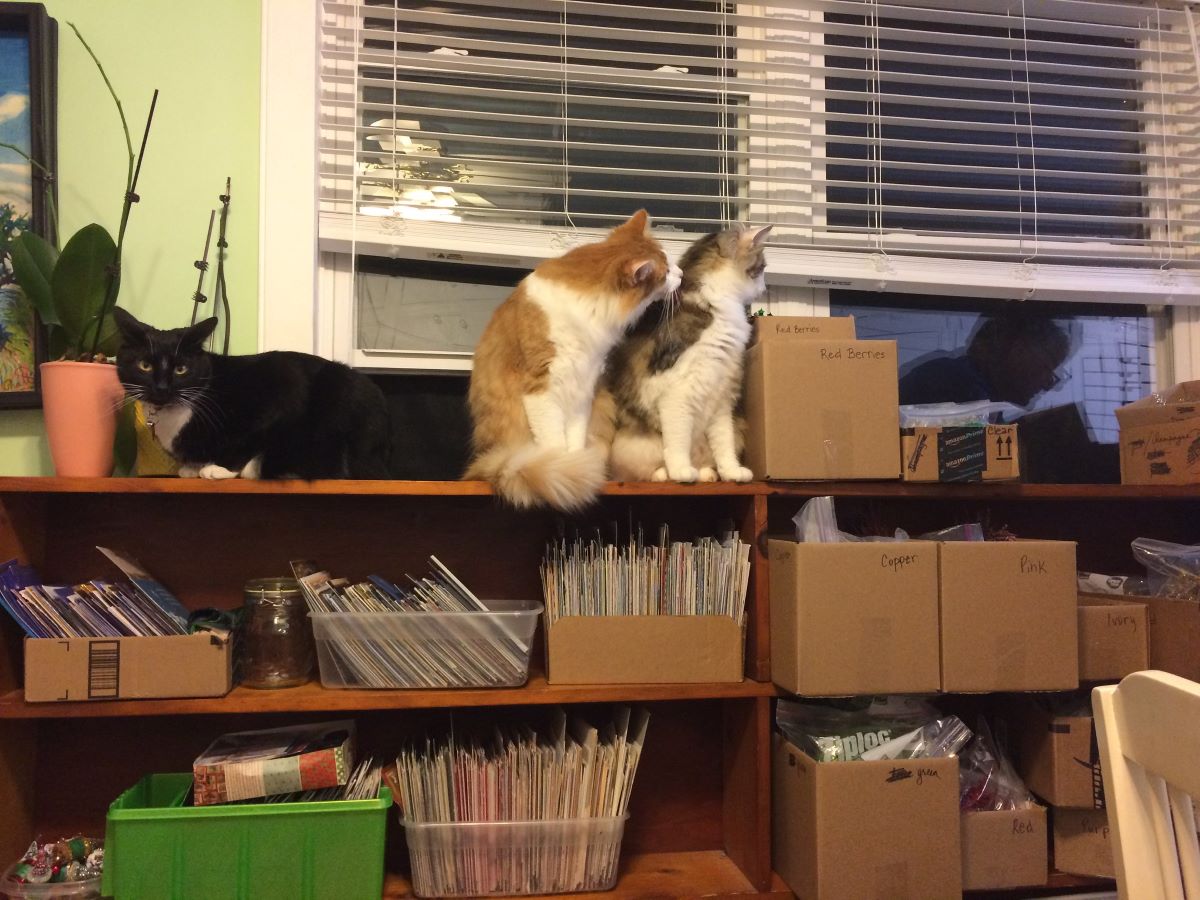
They were always curious about whatever was going on. In the second picture, Clark was just home from the vet, where he had a close shave. Literally. He has such a heavy undercoat that he mats quickly. This particular time, he had to have some professional clipping done. Thankfully, Clark loves to be brushed and he hasn’t had any more close shaves.
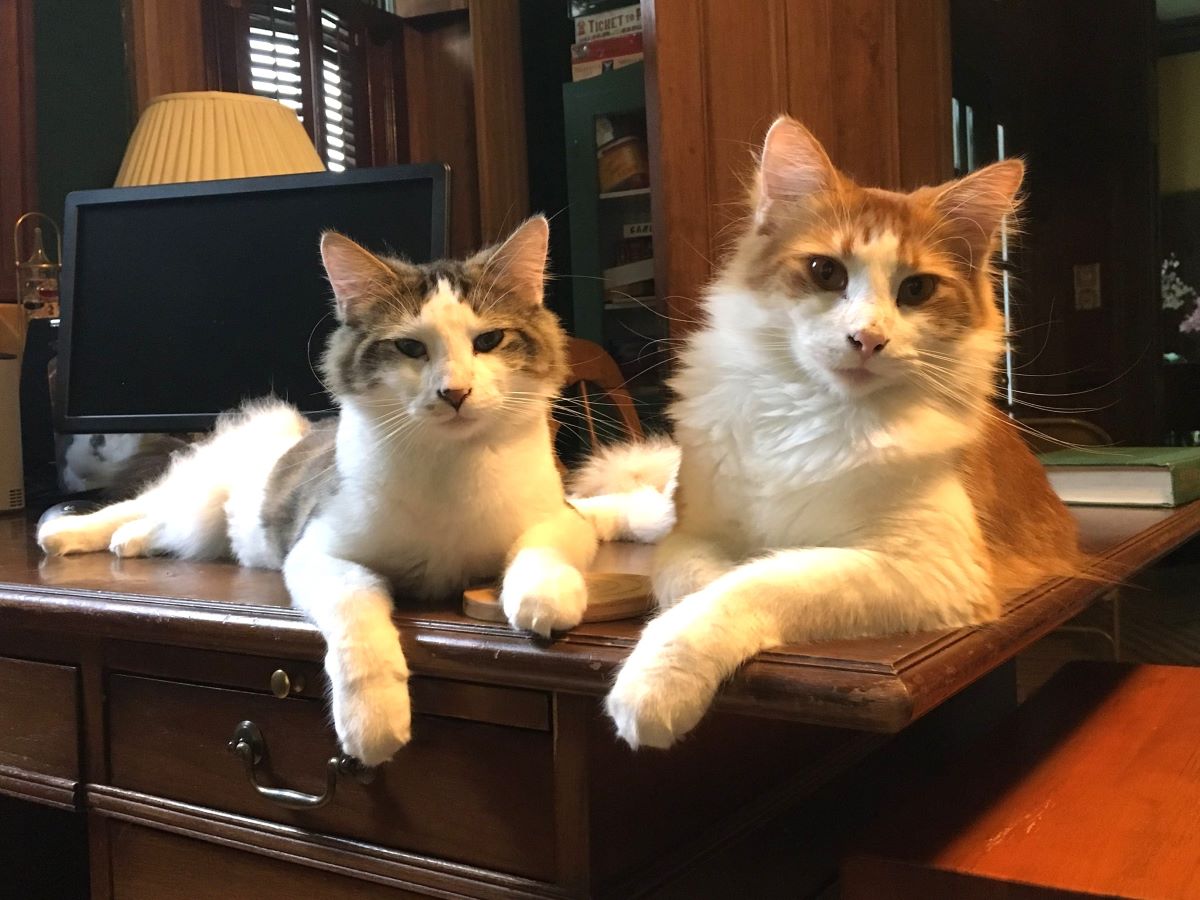
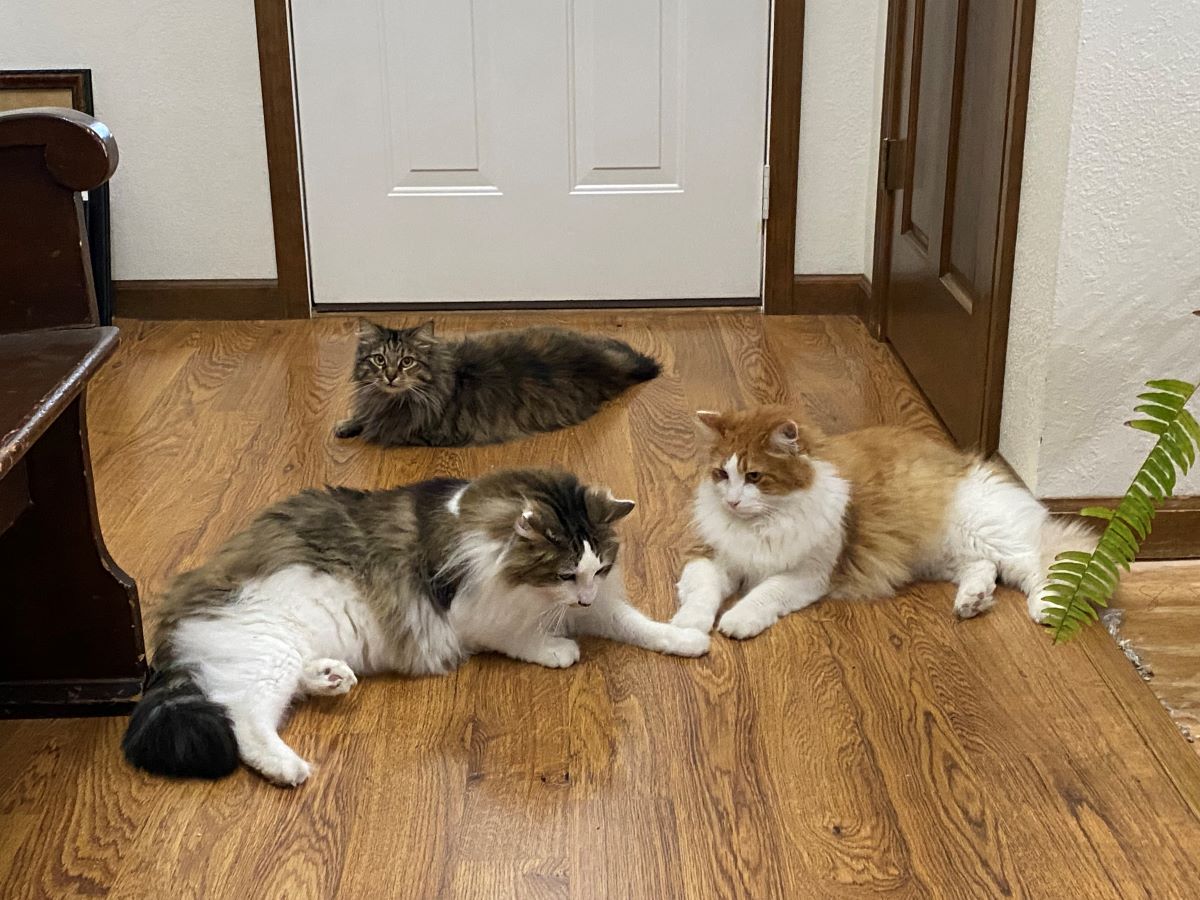
The third cat below is Clark and Winston’s mother, Riley. She was six months old when we acquired her and she weighed four pounds. She is still small. We marvel that she had kittens that grew to be so large.
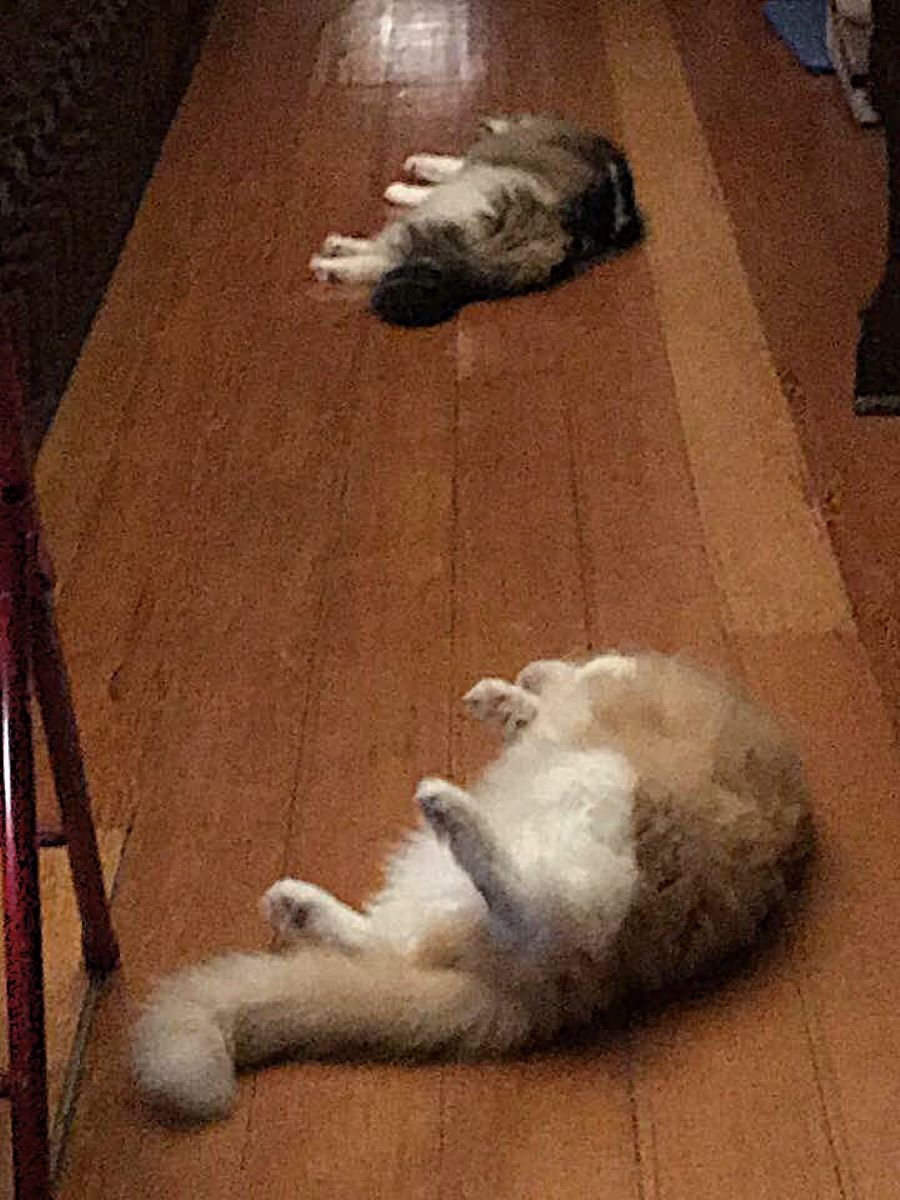
Like twin statues. They would even get the same gaze at times. Focused, questioning, interested.
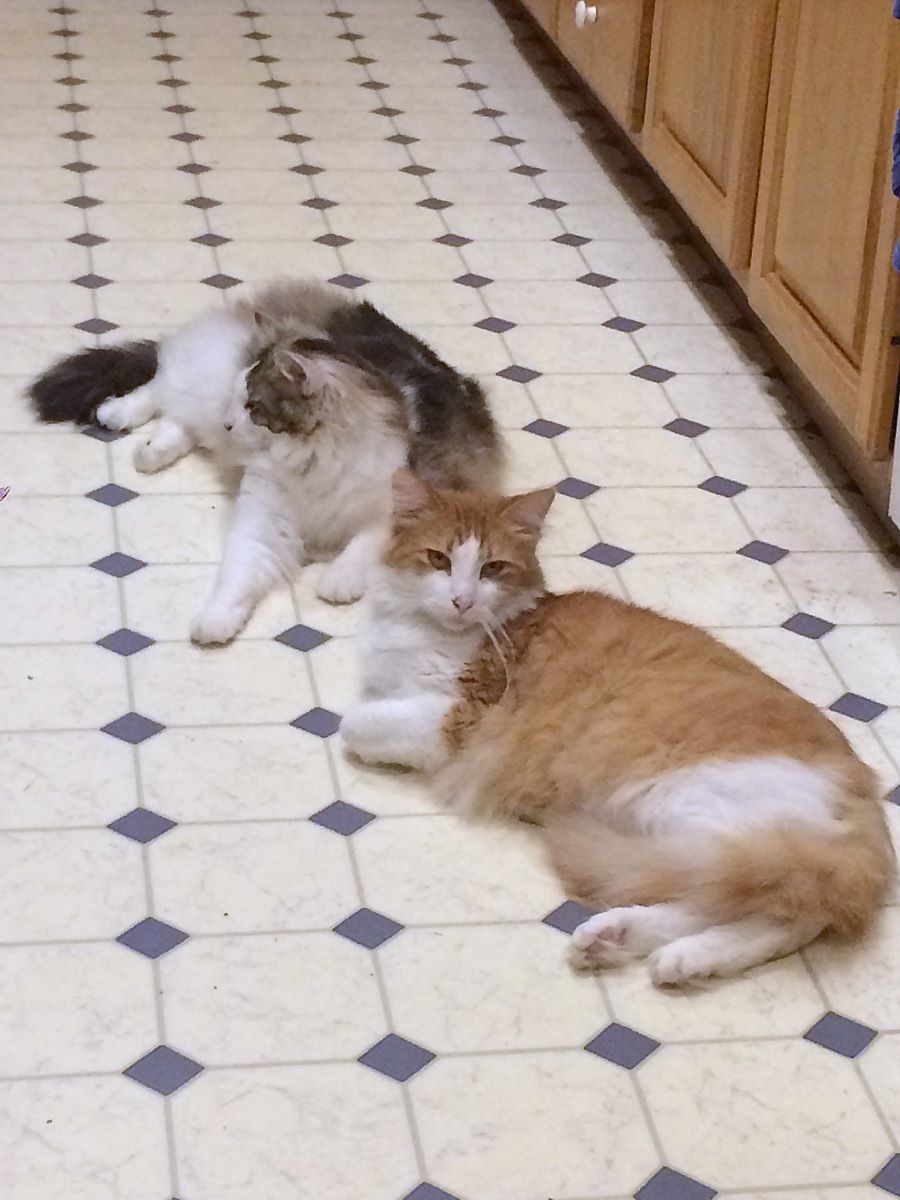
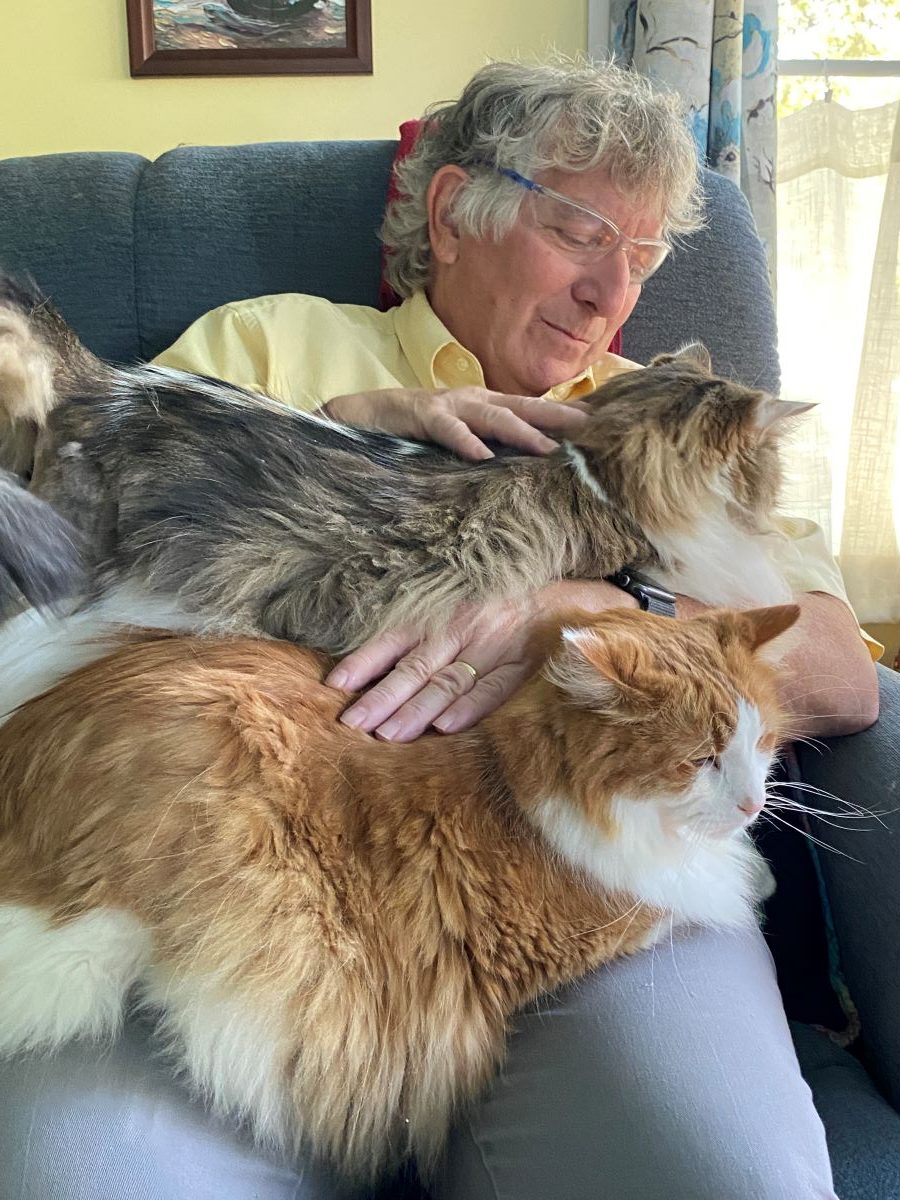
They were buddies.
They liked to hang out together, whether watching guinea pig TV, people watching or bird watching.
Winston was the sweetest cat I’ve known. He loved being with people, even total strangers. He liked to hang out with us. Next to nothing startled or frightened him. Clark on the other hand, spends the entire day sleeping on the bed, won’t come out from under the bed if we have company, though he has made a very few exceptions for a few very exceptional people, and is startled and frightened by anything unexpected, whether a movement or a sound.

From babies, to kids, to grownups. And always a lot of love. We are thankful for the time we had with Winston. He was born in our previous house, moved to the current one with us and was a fixture in our lives. We will always miss Winston, our golden boy.
~~Rhonda