October 9, 2011 – 9:54 pm
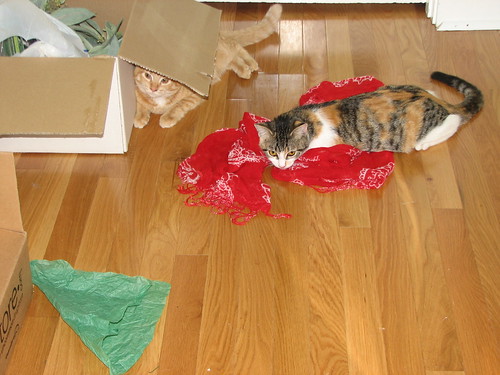
We put the nativity tree up in the library this weekend. We have had a lot of cats over the years and none have ever bothered any of the many trees we have. Things are changing. Several times this weekend, we had to chase Cedar and Amy out of the tree! They seem to think it is a great place to take catnaps. If this keeps up, they are going to be basement kitties for a few months. Trees are going up and the cats have to adjust or take a hike downstairs. I’ll keep you posted.
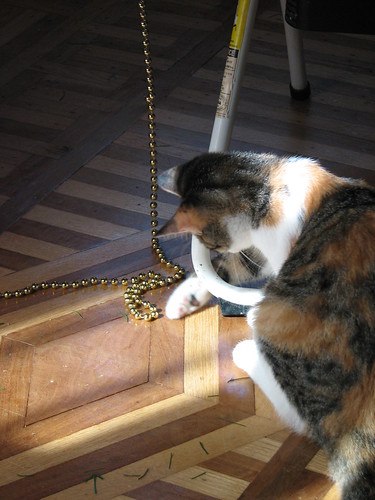
Amy did have fun with a string of beads this afternoon. While DDIL put the beads on the tree, Amy tried to investigate.
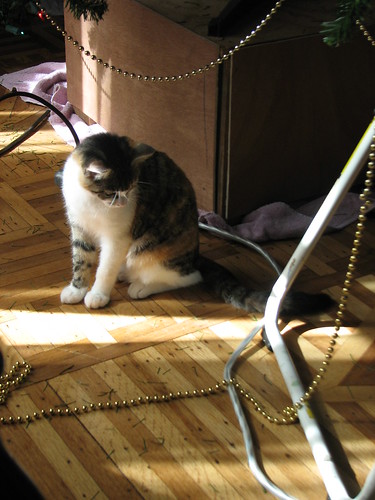
She couldn’t figure it out, but thought it was fun.

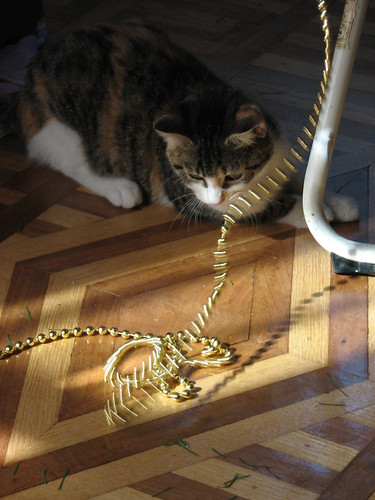
Spinning beads were irresistible.
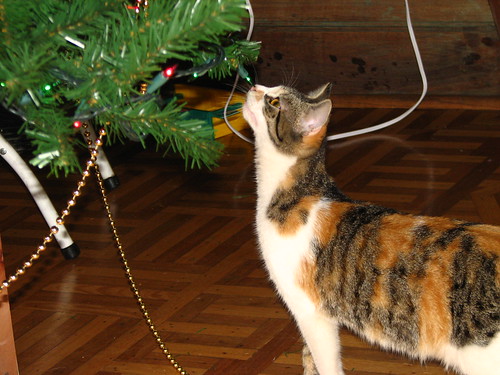
She carefully checked out the lights, but left them alone.
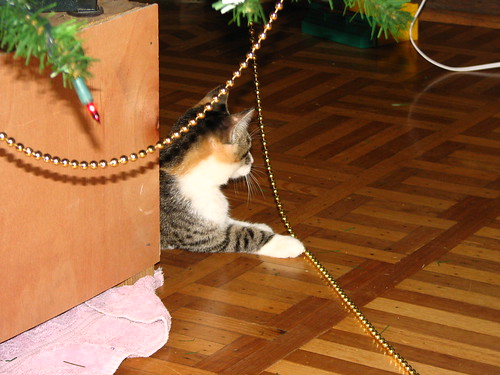
She didn’t play with the beads very long. Eventually, she just sat and watched. Now that the tree is decorated, perhaps the kitties will leave it alone. I’m hoping!
~~Rhonda
October 6, 2011 – 7:20 pm
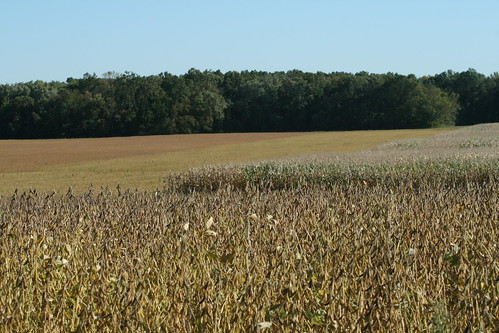
I love the changing countryside in autumn. DH and I took a ride the other day. Getting out is difficult for me, with the pain in my knees and other problems, but it’s worth the effort to get out of the house occasionally.
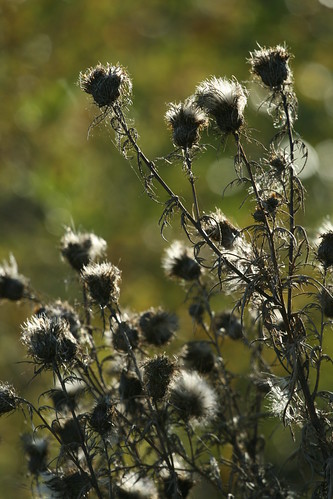
Even thistles look pretty with a little back lighting.
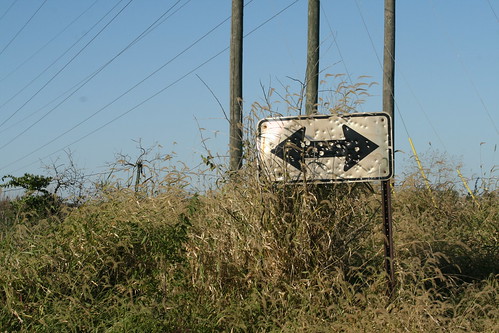
Roadside scofflaws.
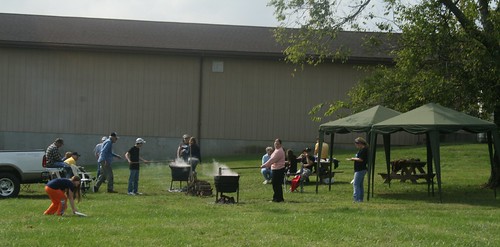
We drove by a couple of country cemeteries, as I’ve been working on some genealogy projects. Several generations of DH’s family are buried in this one.
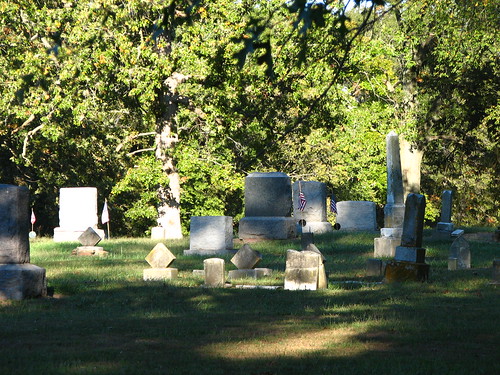
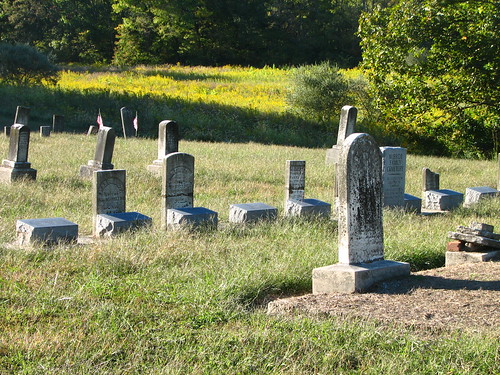
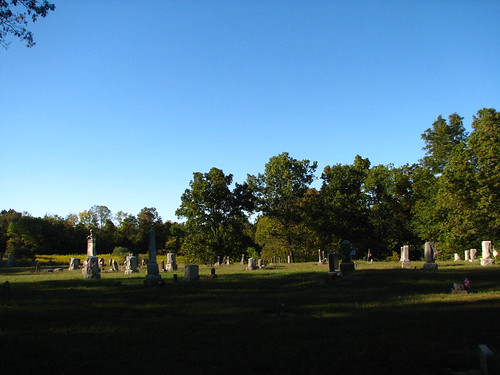
A very out of the way, peaceful and quiet area.
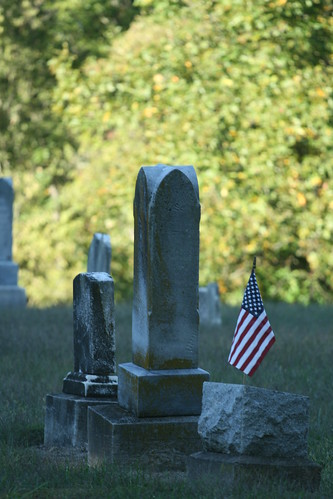
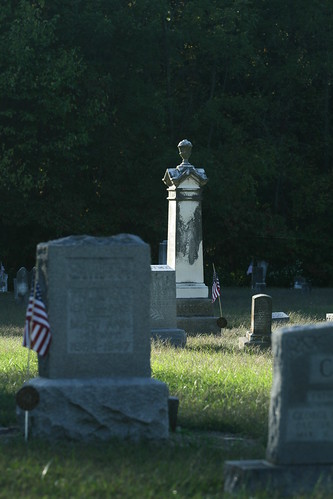
Reminds me that some of our college “dates” were walks through the cemetery. Seems like a long time ago…but I guess the tradition continues.
~~Rhonda
September 30, 2011 – 12:30 am
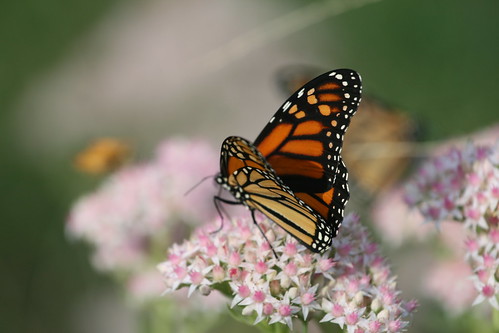
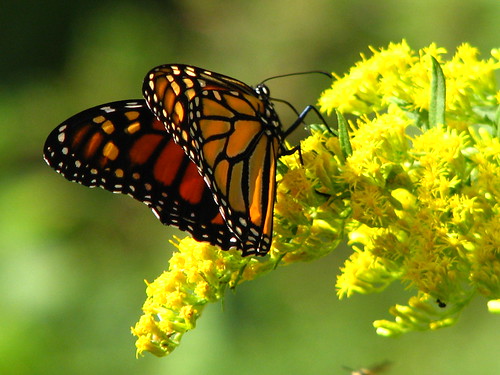
Yesterday I was able to spend a little time outside. The weather was beautiful. Autumn is changing the look of the garden. Things are winding down, the trees are beginning to turn, the grasses are yellowing. We saw quite a few Monarchs drifting through on their way south. Amazing that they can make a trip as long as 3000 miles to winter in the mountains of Mexico, then return in the spring. Watching them flutter around the flowers makes me wonder how they ever make it! A miracle of God’s creation.
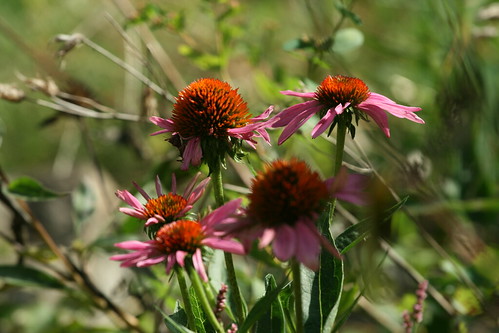
Most of the purple coneflowers have turned brown and are giving up their seeds to the little goldfinches. But some are still pinky-purple and orange. So pretty!
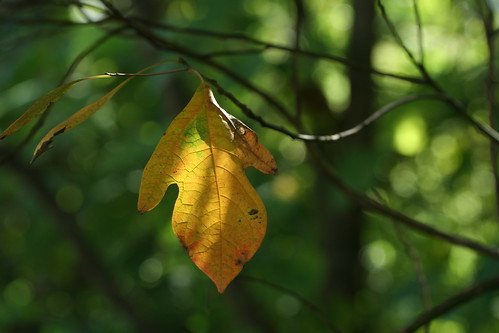
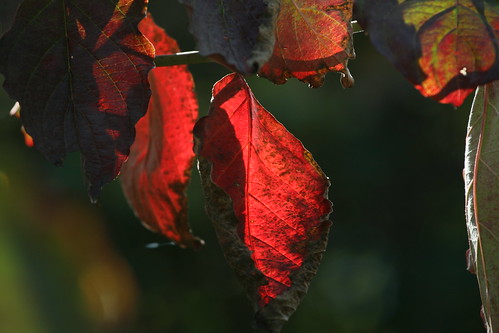
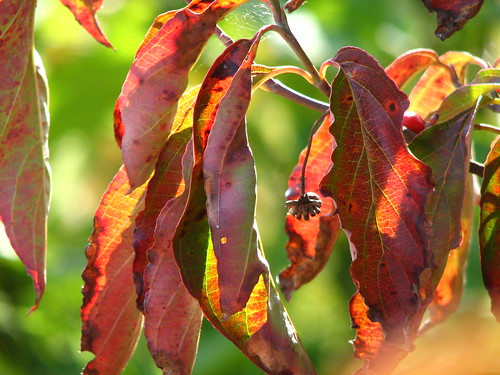
We have quite a few sassafras trees around the edge of the back yard. The leaves are always so pretty in the fall, turning yellow, red and orange. They are just beginning to show their color.
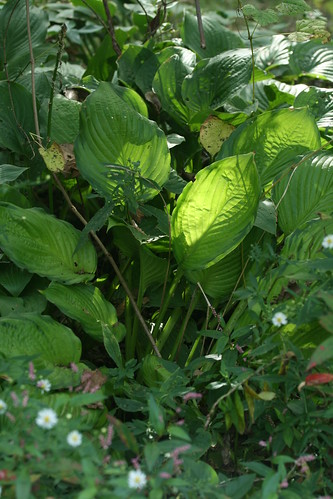
There are a few hosta blooms in the yard. ‘Green Fountain’ is blooming, as well as ‘Red October.’ Some hosta leaves are already brown and yellow. But there are still a lot of green leaves. And they look beautiful with the sunlight shining through them.
I’m amazed at how red these dogwood leaves are.
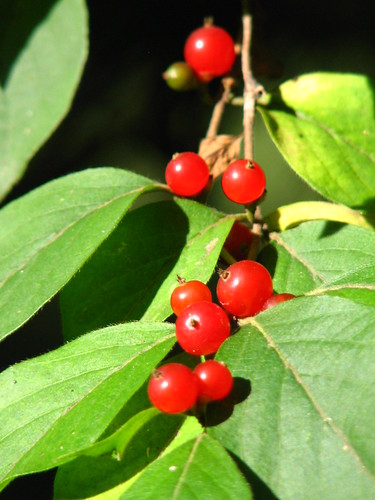
We’d like to be rid of bush honeysuckle, but the berries are very pretty in the fall.
Another lovely Monarch on goldenrod. Goldenrod always signals fall to me.
You can tour other autumn gardens at Tootsie’s place.

Another day and we’ll be in October! September flew by. We plan to put up another Christmas tree tomorrow. We’re going to try for the one in the guest room. I’ll let you know how that goes. 🙂
~~Rhonda
September 18, 2011 – 11:20 pm
I’ve been thinking about our annual Christmas Open House and trying to decide on an invitation design. I usually have it nailed down by now, if not totally done, so am feeling a little behind schedule here. While thinking about the invites, I was a bit sidetracked by my little bottles of Stickles. Stickles are glue/glitter that are used to decorate craft projects, scrapbooking pages, greeting cards, etc. I often use them on our Open House invitations.
If they are stored upside down, Stickles will go farther because the glitter glue will stay at the tip end of the bottle. I had pinned an idea for organizing Stickles bottles a few days ago and decided to do something similar with my own small collection. If I do it now, they will be ready for making invites when I’m ready…hopefully within a few days.
The idea I pinned used a sign board. I decided to just use the inside of a cabinet door. Nothing to sit on the counter. Out of the way, out of sight. That’s the way I like it. I started by putting a length of the hook side of self-adhesive Velcro tape to the inside of the cabinet door.
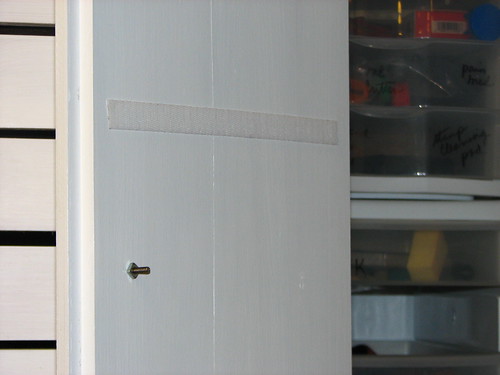
I cut a small piece of the loop side of the Velcro (the softer side) to attach to each bottle of Stickles. I placed it at the bottom of the bottle, so that when I am using the bottle, the Velcro won’t be in my way. That would bug me.

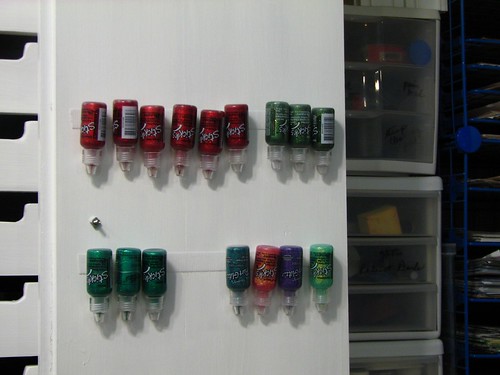
When each bottle had a piece of Velcro attached, I just stuck them on the Velcro strip inside the cabinet door.
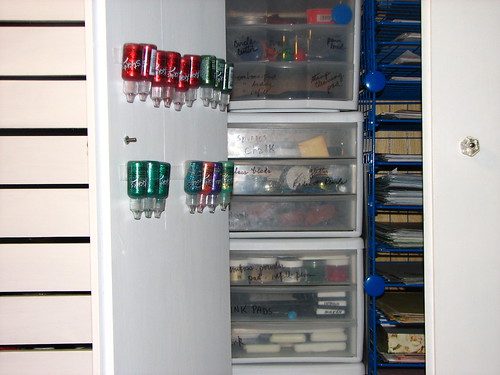
I can swing my chair around, open the door, and pull off the bottle I need. Within reach and easy to use. Now all I have to do is decide on an invite design…
~~Rhonda
September 17, 2011 – 10:28 pm
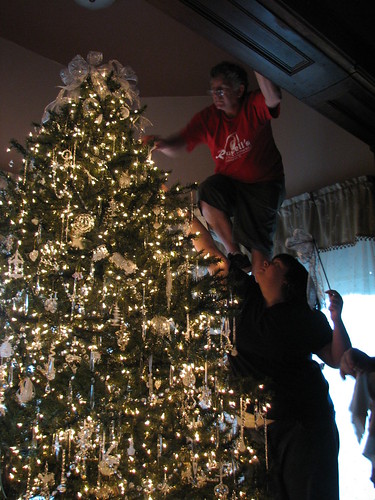
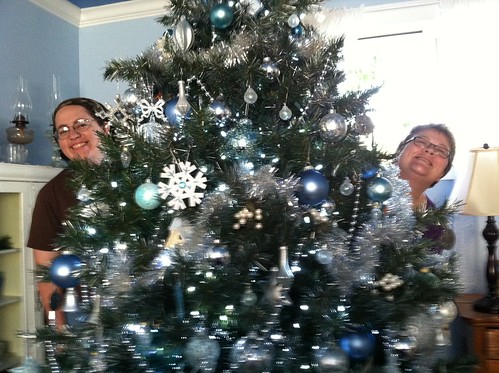
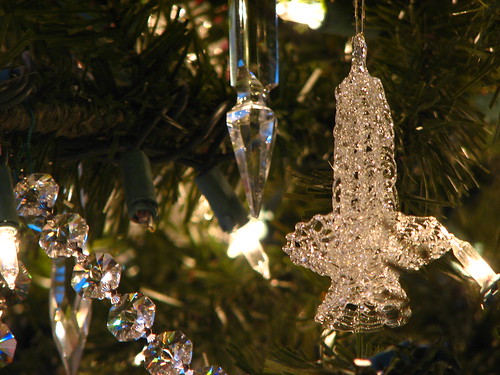
Today, my daughter-in-law and two older daughters helped decorate the glass tree in our bedroom. DH helped, too. It’s never too early at our house. Besides, it’s in the bay, out of the way. It’s not a nuisance. And it’s my favorite. Now I can enjoy it for the next few months.
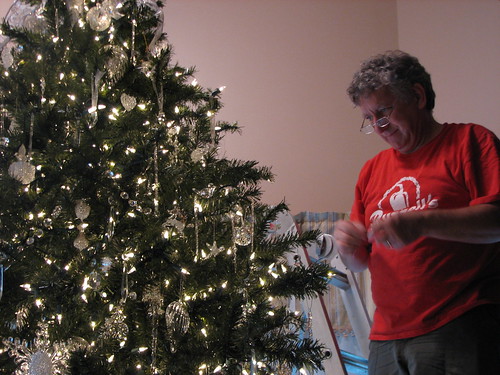
Pictures never do this tree justice.
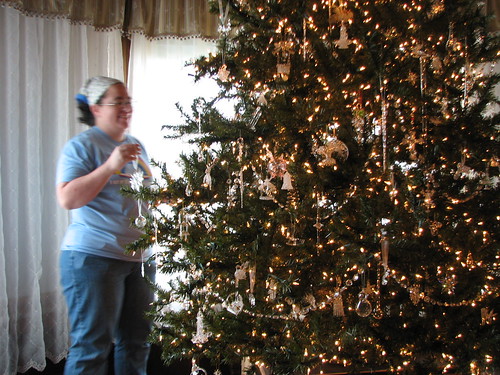
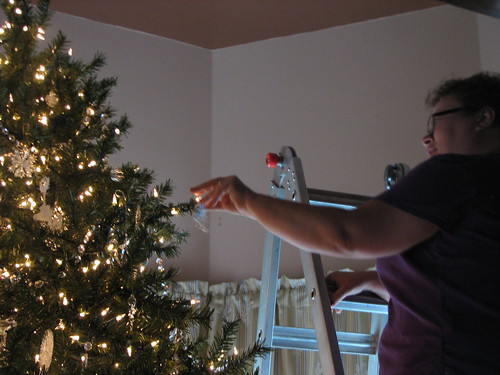
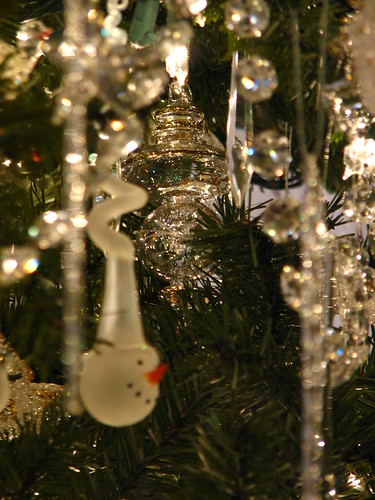
The tree is decorated with my collection of glass and spun glass ornaments, beaded chandelier chains and about 250 prisms.
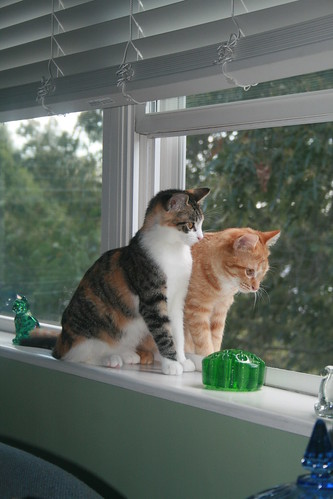
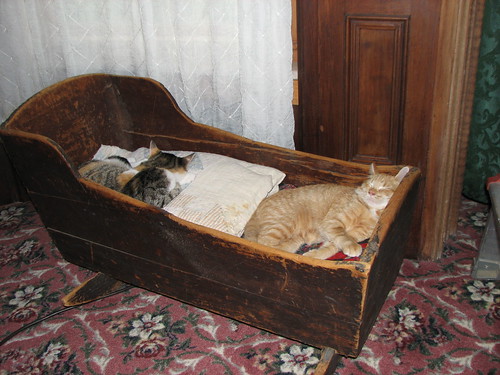
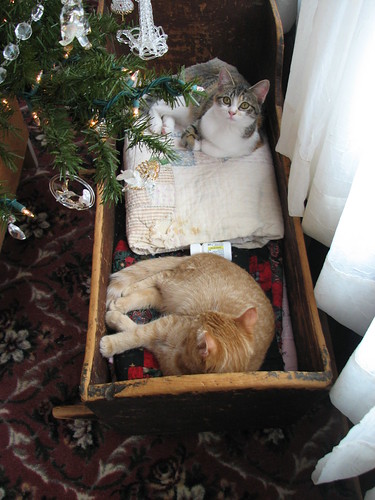
And the kitties were *pretty* good about it. Mostly, they napped in the cradle while we decorated the tree.
It was fun and the tree is beautiful! One down…21 to go…
~~Rhonda
September 16, 2011 – 12:06 pm
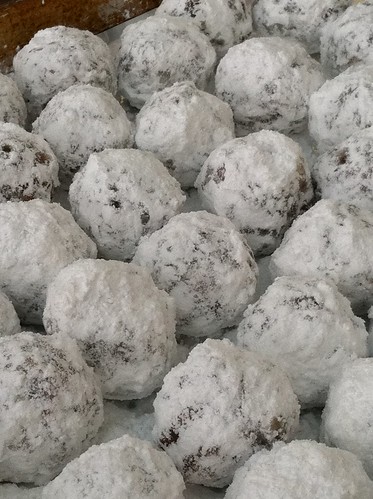
When I make a pie, I usually have some leftover dough.
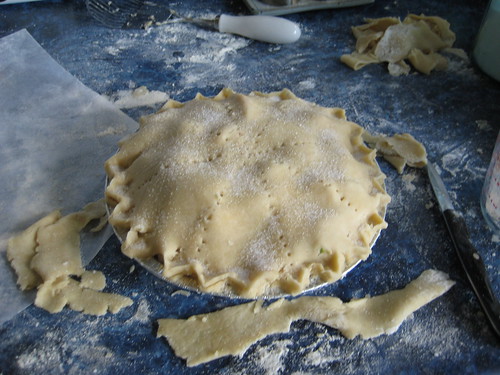
If the kids don’t gobble it up first, I make cinnamon roses with it. Just for fun. Just because.
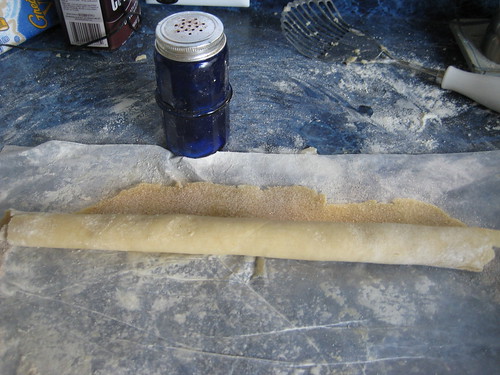
To make cinnamon roses, roll any leftover dough out as though you were making another pie crust. I found these pictures while browsing my older photos. Not sure why I had so much leftover this time, but I must have made enough dough for more pies than I actually needed.
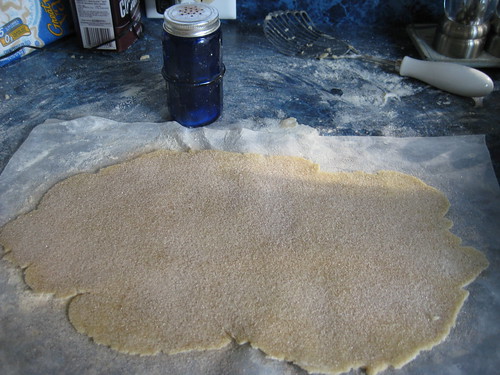
You can spread butter over the dough if you like, but I skip that and just sprinkle it liberally with cinnamon and sugar. The blue shaker is our cinnamon sugar shaker. To fill that, I fill it with sugar, pour that into a small bowl, add a teaspoon of cinnamon and stir it with a fork to mix. Then I pour it back into the shaker and it’s good to go. It sits on the counter ledge, waiting for someone to crave cinnamon toast. Or for someone to make cinnamon roses…
Roll the dough so you have the longest roll possible.
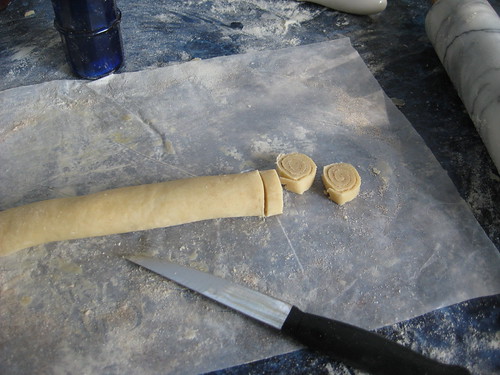
Slice the dough into 1/2″ roses. Another good reason to roll dough between sheets of waxed paper…it saves the counter when you slice cinnamon roses…
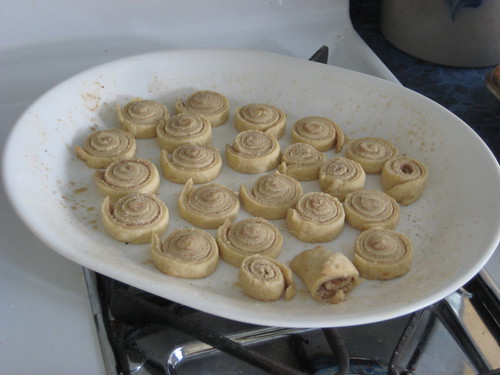
Bake on any oven safe dish. 350 for about 15-20 minutes.

When cool enough, enjoy! Just for fun. Just because. …I can almost smell them…
Someone told me she made something similar, but didn’t call them cinnamon roses. I have a vague memory that my mother or grandmother made these for us…and she called them cinnamon roses. Sibs, cousins, anyone remember that??
~~Rhonda