I didn’t get much done this weekend as far as crafting goes. I was very busy, though! On Saturday some of the church ladies came over and we pieced a quilt top. That was so much fun that I totally forgot to take any pictures. Saturday, late afternoon, DH’s sister and her husband came to spend the night. They are making a long road trip out west and we were their first stop. It was great to visit with them and to catch up on family news.
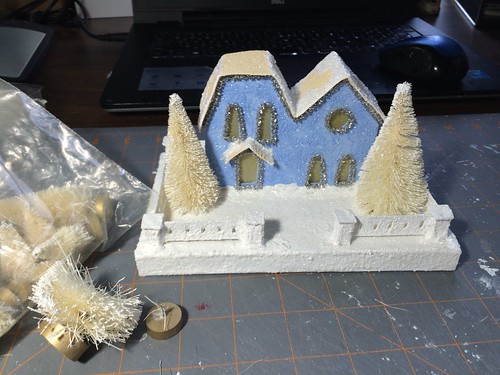
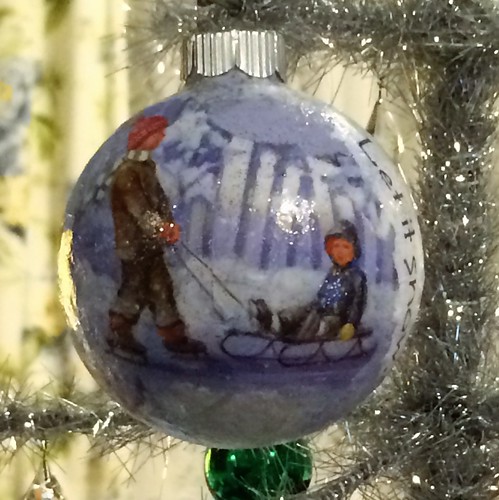
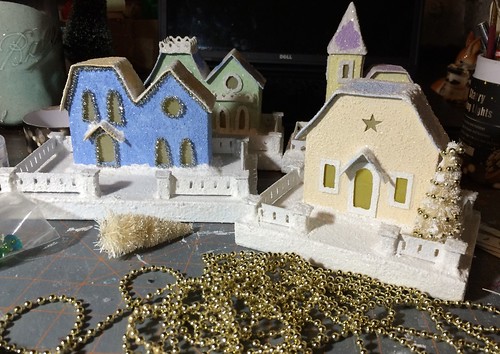
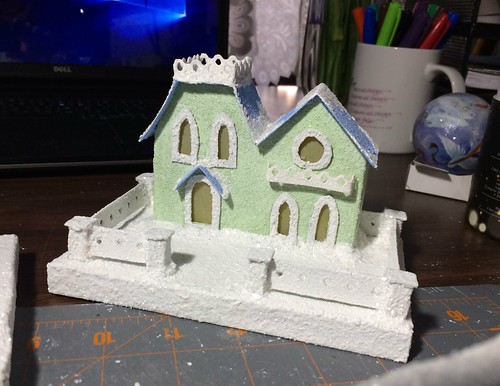
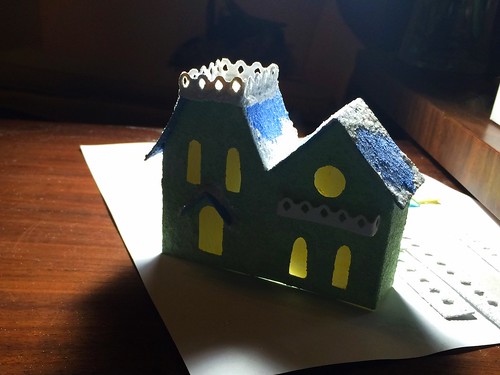
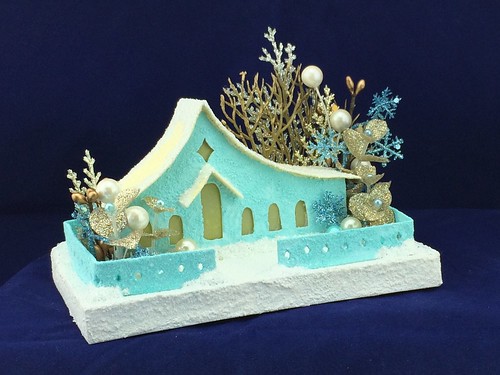
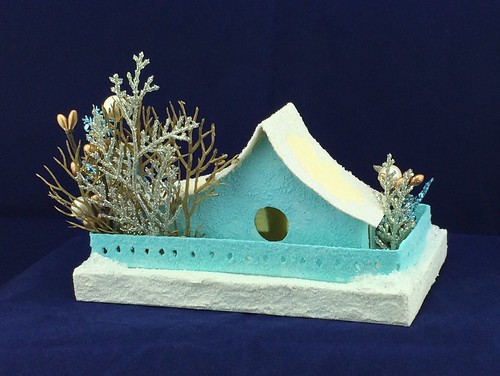
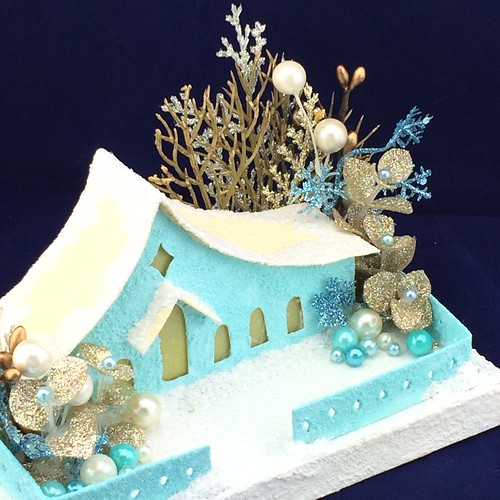
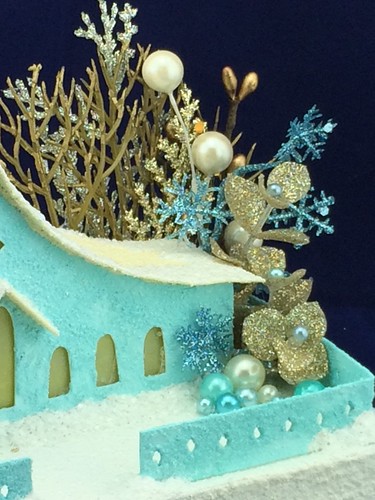
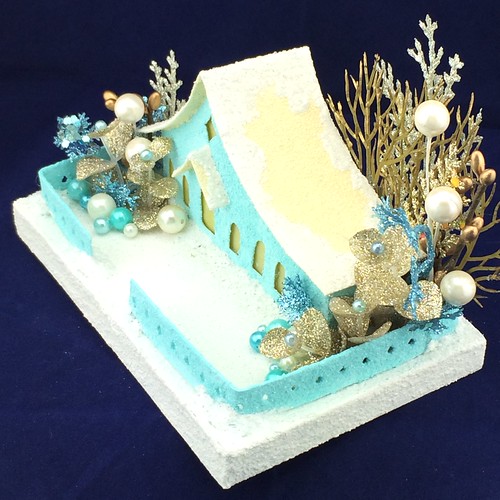
I did spend some time Sunday afternoon, embellishing this little green and blue Putz house with the widow’s walk on top.
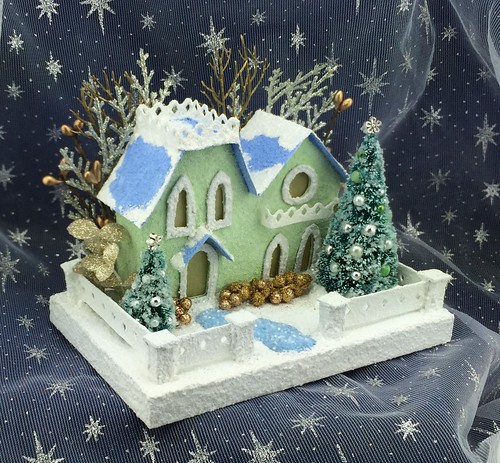
This house sold! It’s on its way to a new home.
Today, I’m not feeling the greatest. I have one more Putz house ready to embellish. I’m going to work on that and then retreat to the recliner to put my legs up. My next big project will be to make some Christmas card shadow boxes for my etsy store.
ChristmasNotebook on Etsy
~~Rhonda
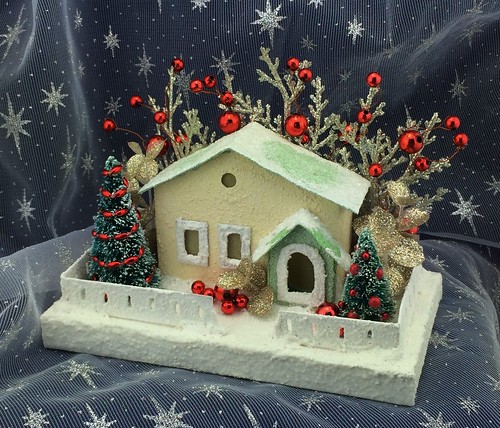
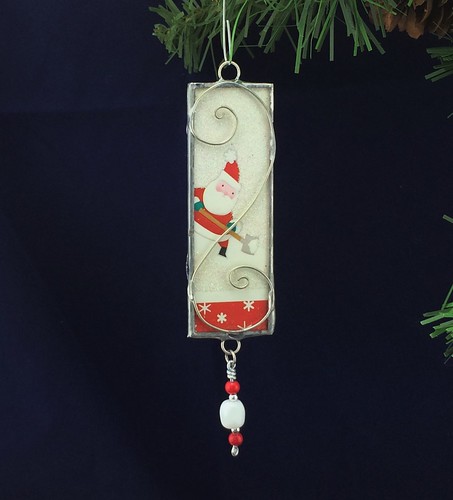
Today I tried something a little different with the small ivory and green Putz house. I haven’t used red on any of the houses yet, but decided this one could handle some red embellishments.
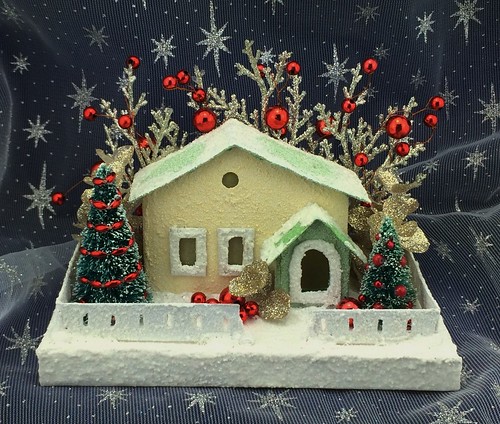
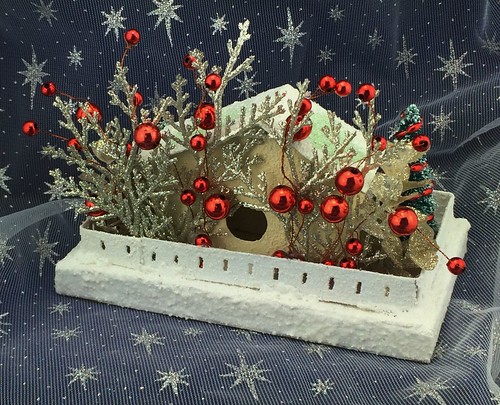
Adding wired red beads to the background foliage worked out better than I thought it might. From the back, it’s easier to see how they look. I twined the wire around the foliage here and there to help it stay upright.
I have two more ready to embellish, but will be busy tomorrow and probably won’t get to them until Monday.
ChristmasNotebook on Etsy
~~Rhonda
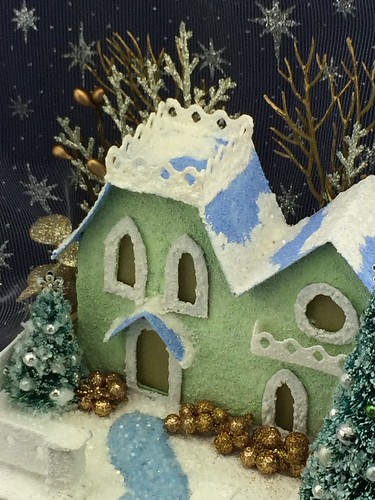
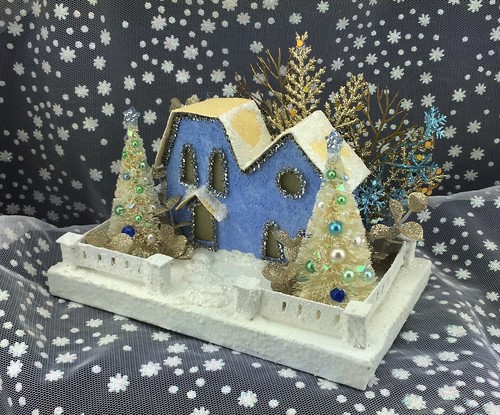
Yesterday I decorated another Putz house. I had four waiting for embellishments, so picked the first one in the line. I like to cut the wooden base off the bottle brush trees. Personal preference. I also thought the larger tree was too tall for the house, so I cut almost an inch off the bottom. You need wire cutters for that job.
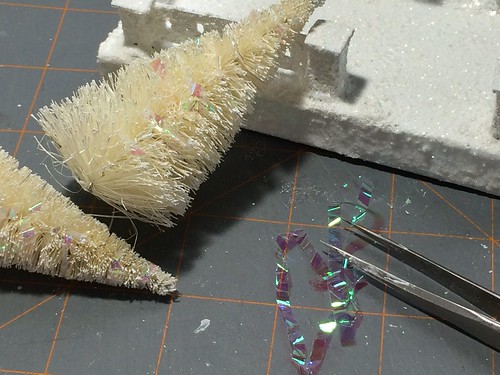
I twisted some shredded iridescent packing material into the trees. Makes a pretty little sparkle as the light hits the trees. After I had it where I wanted it, I dabbed a little glue here and there to tack it down. Helps to keep it in place.
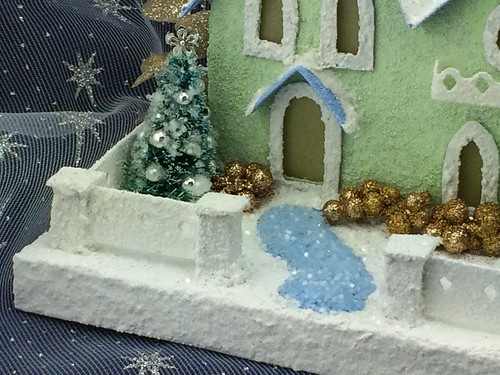
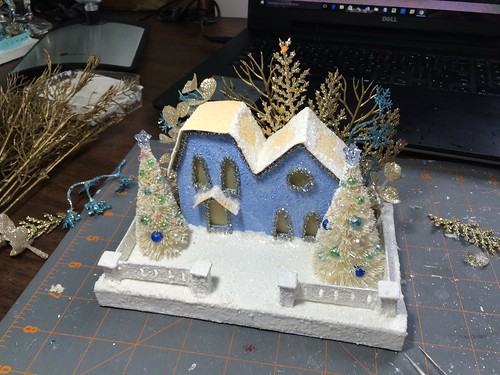
The bottle brush trees were decorated with some blue, green, and ivory beads. Two blue star beads made perfect tree toppers. The trees were glued to the base at either side of the house. Some artificial foliage filled in the back of the house.
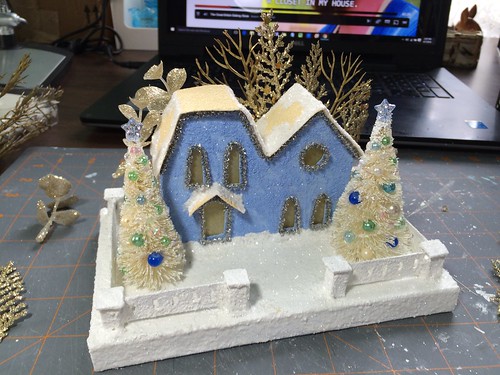
A couple of pieces of blue snowflake “foliage” added some color to the back drop.
The front of the house seemed to be asking for a bit more. I added a few shorter bits of foliage and then used the hot glue gun to put down some stepping stones.
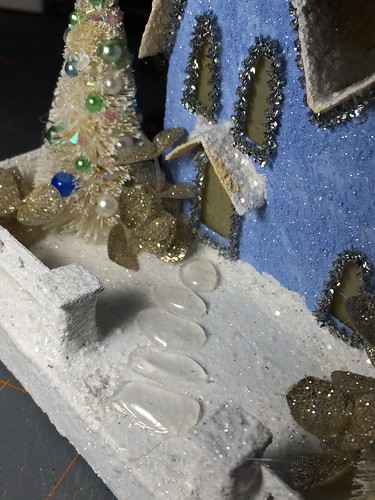
The stepping stones were painted white and then glittered. Done!
Visit my Etsy store to see more Putz houses and Christmas ornaments.
ChristmasNotebook on Etsy
~~Rhonda
I have often been told that I should open an Etsy shop, so I have taken the leap and done so! You can visit me here:
ChristmasNotebook on Etsy
I have several different kinds of Christmas items for sale. My personal favorites are the Putz houses. I have nine of those listed. More to come soon!
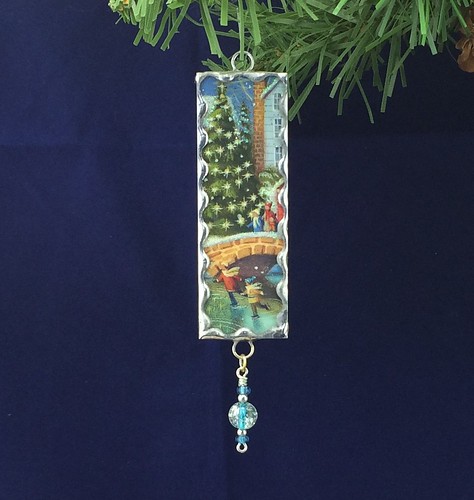
I’ve listed twelve soldered microscope slide ornaments so far. They covered a wide variety of subjects.

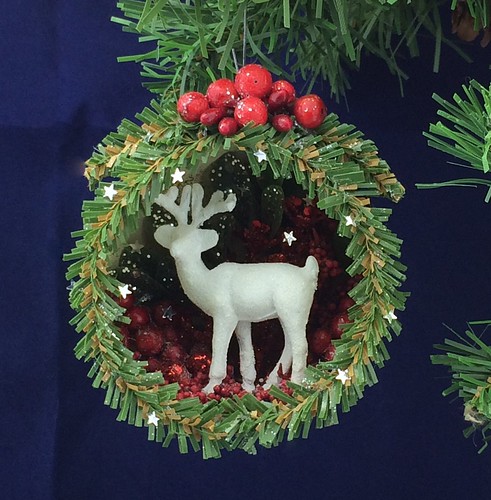
There is one diorama ornament listed. More will be posted soon.
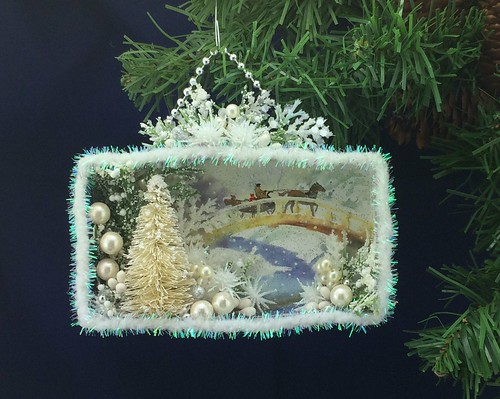
Also one Christmas Shadow Box. More soon!
There are listings for three decoupage ornaments. I have a lot more of those to post.
I hope you will visit my new shop soon! All proceeds will fund street children ministries. I deeply appreciate everyone’s support for this cause. Locals may waive shipping costs by picking up orders at our house.
~~Rhonda
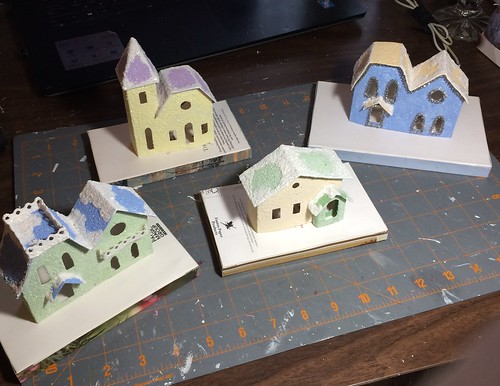
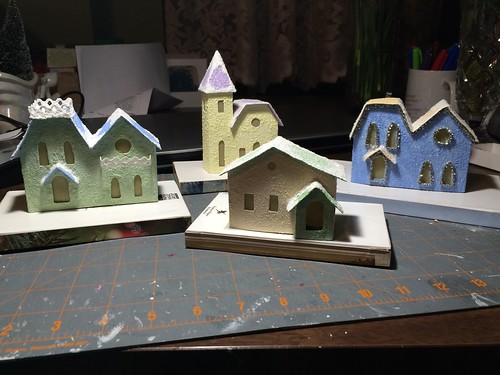
Since the last post about these little houses, I have finished several more steps toward finishing them. I decided to make window frames for all of them.
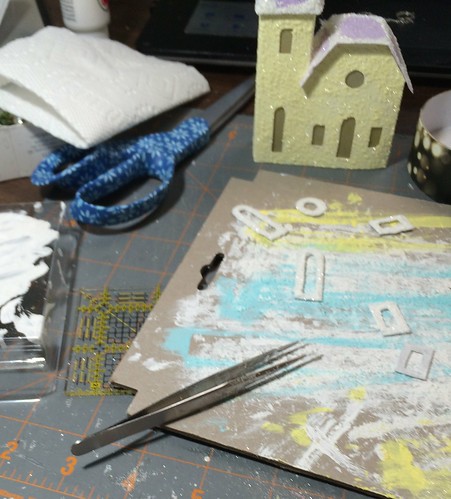
After the bases were painted and glittered and the window frames installed, it was time to make some fences.
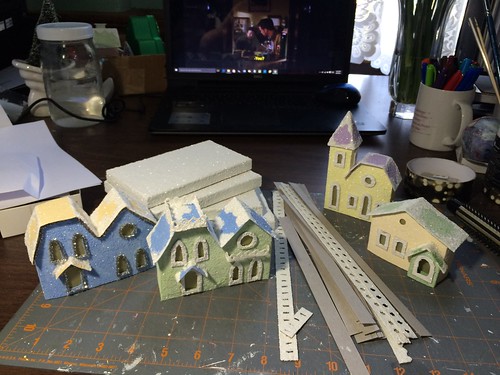
And more fence posts…

Fence railings are painted, glittered and ready to install.
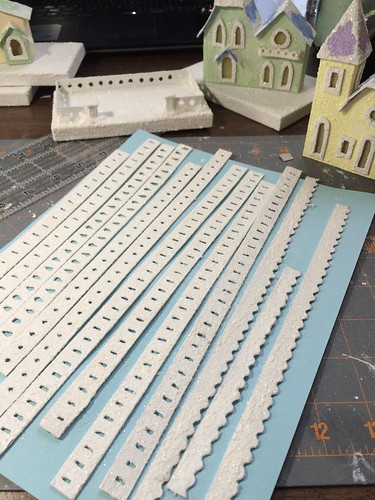
Ta-da!
Next step is embellishing the houses. Maybe tomorrow.
~~Rhoda
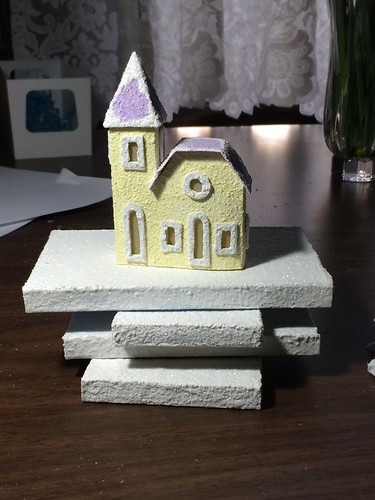
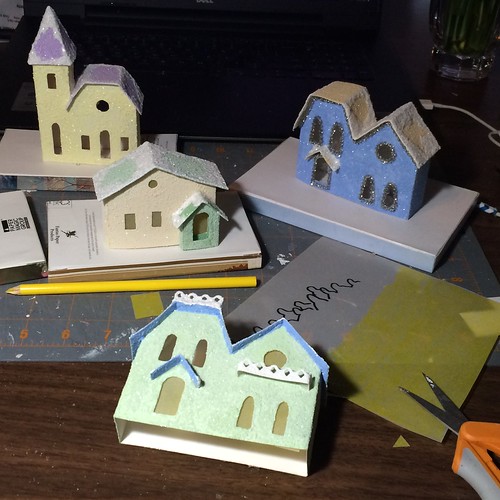
Today, I made bases for four Putz houses. That takes some time because the base has three layers of cardboard inside, with glue on both sides of each layer. It takes time to dry and cure. If a house or fence is glued to the base before it has dried, the base or fence may buckle and then dry that way. Not good.
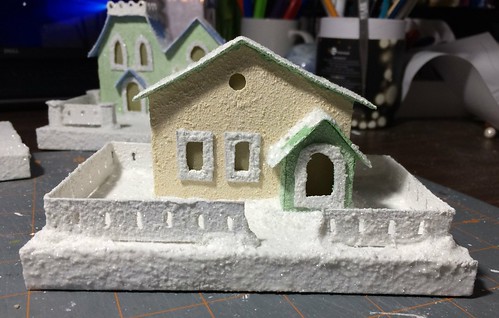
With the bases made and drying, I took time to give the little houses window panes.
 .
.
The windowpanes are installed. Tomorrow, if I have time, I will make fences for the houses.
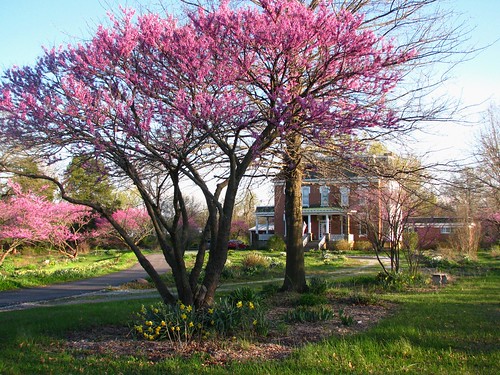
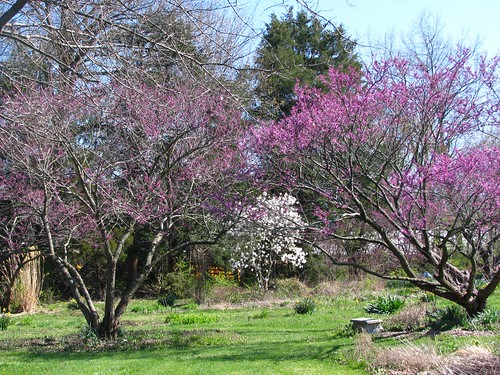
Meanwhile, spring is breathtaking right now. The redbud trees are at peak bloom, the lilacs are blooming, and the late daffodils are blooming. Beautiful!
~~Rhonda
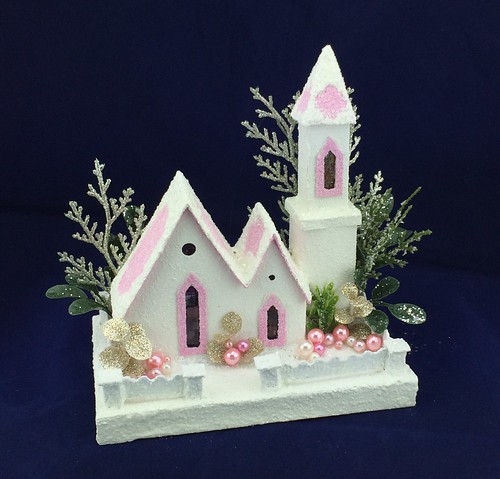
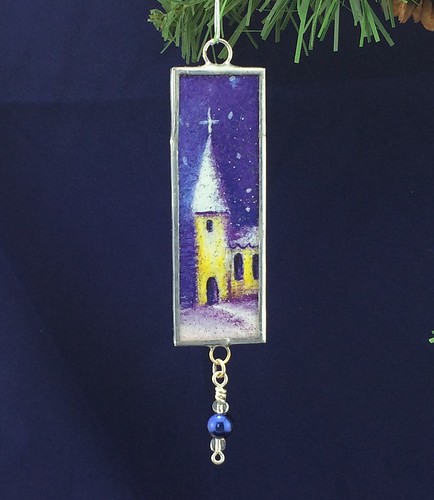
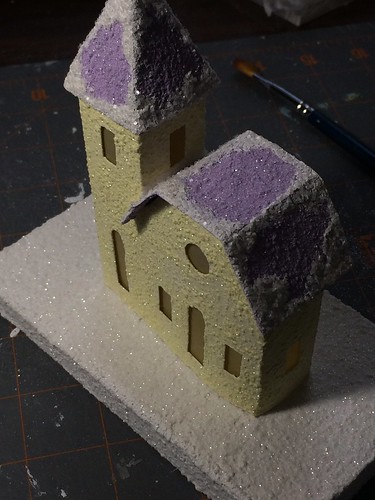
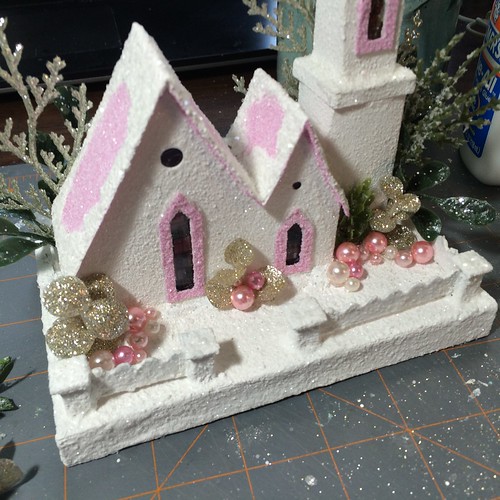
The little Putz churches are some of my favorites. Here is the white one with pink trim, in process.
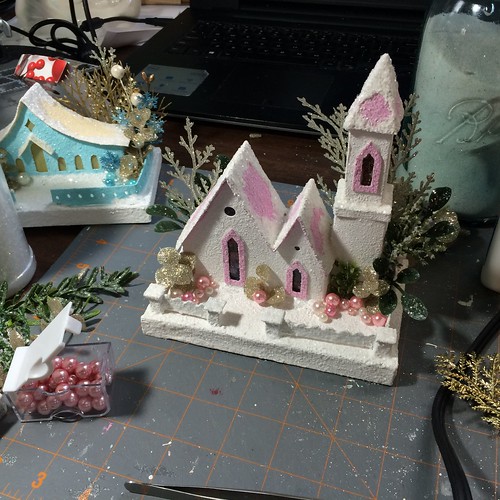
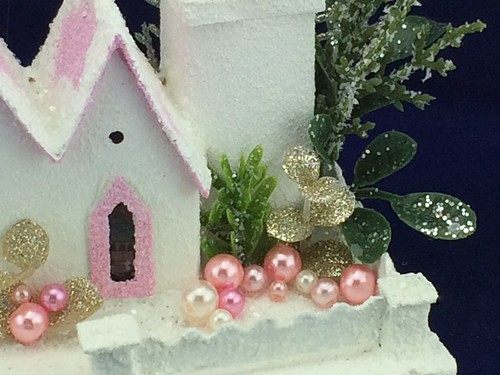
Do you like the pink beads?
Here it is finished. I didn’t add a bottle brush tree to this one. Not sure if I should have put one on there or not.
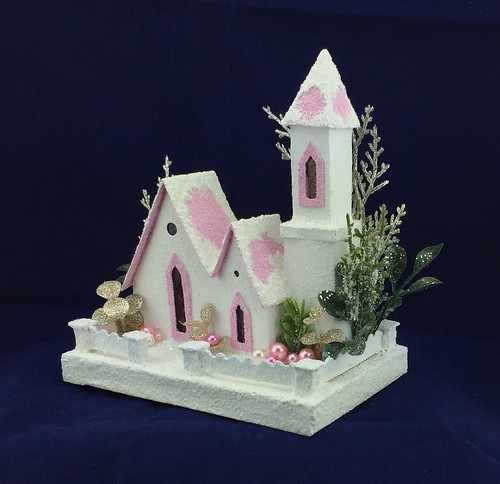
Do you have a favorite of the few I’ve posted lately?
~~Rhonda
March 31, 2016 – 10:35 pm
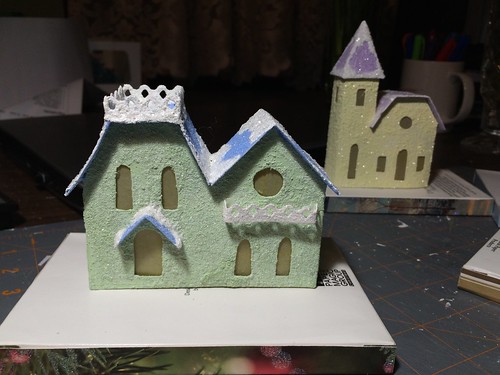
Today I worked on the embellishments for the little blue house.
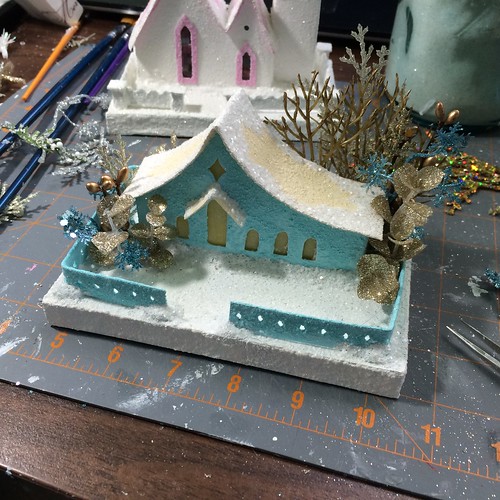
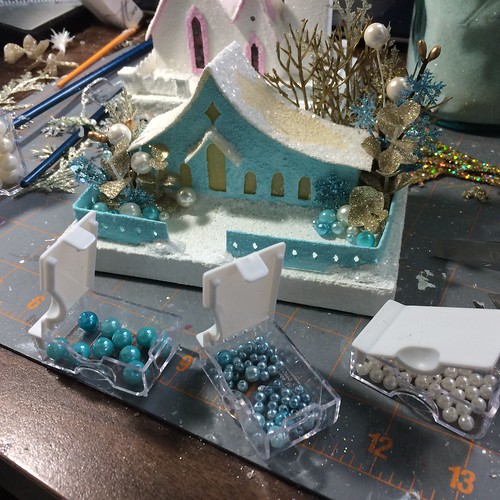
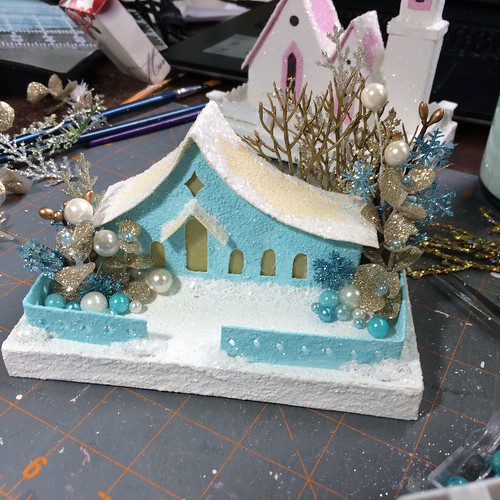
Tomorrow, the church. ~~Rhonda
March 31, 2016 – 12:03 pm
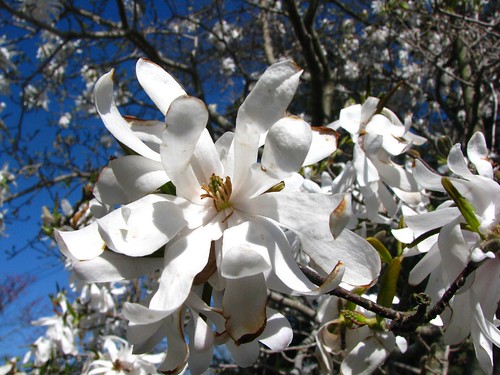
Spring. What’s not to love?!
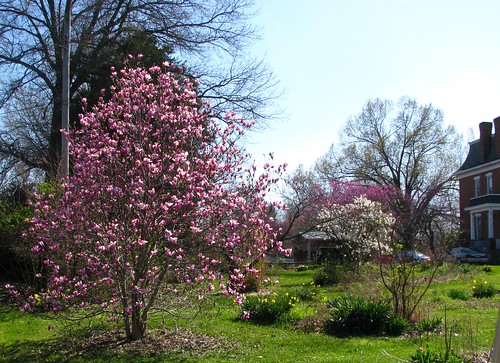
Star Magnolia
Spring Beauties in the green grass.

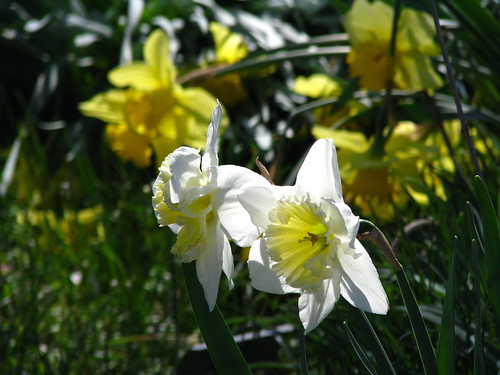
Daffodils in the sun.
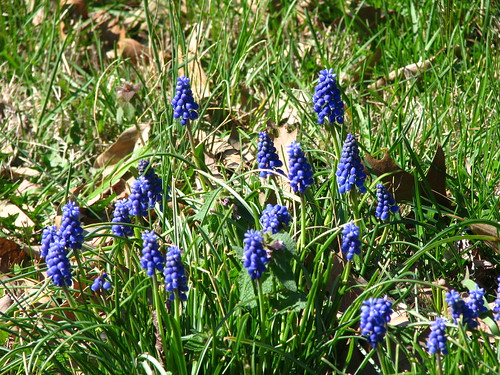
Grape Hyacinths coming up in the most unlikely places.
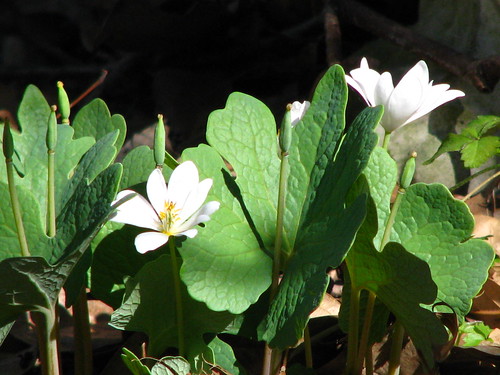
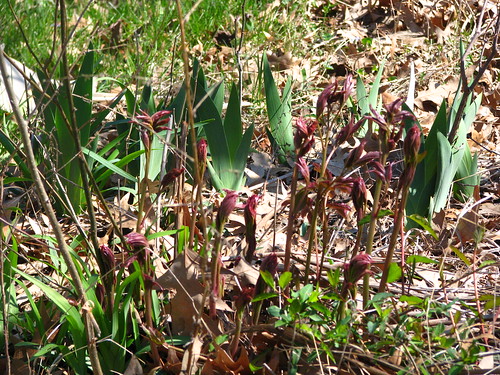
Bloodroot in the woods. The whitest of white flowers.
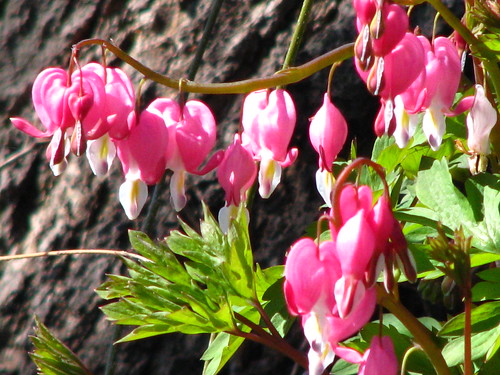
And Bleeding Hearts, of course. I was six or seven years old the first time I saw Bleeding Hearts. I still have the picture in my head. I was so impressed by their shape and beautiful color. They were blooming in the garden of our neighbor Gladys Love. It was one of our jobs as kids to carry drinking water from her well to our house across the street. I always enjoyed her flowers as I filled the bucket with water.
The peonies are shooting up!
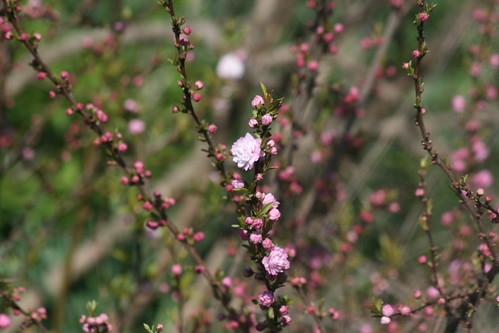
The flowering almond is a shrub we had at our house as I grew up. It sat next to the steps to the front door.
Daffodils…
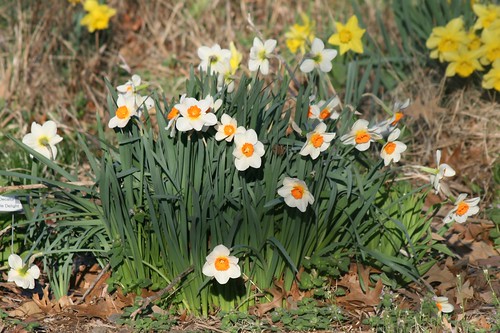
And more daffodils…

It’s a beautiful time of year.
If you’re going to the nursing home, stop by and pick some daffodils for your loved ones.
~~Rhonda