DH walked in from work yesterday evening and said, “We have some VERY important mail!” He was right.
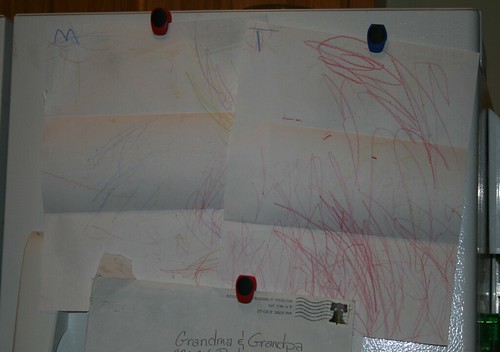
Someone knows how to make Grandma (and Grandpa) very happy. 😀
~~Grandma 🙂
DH walked in from work yesterday evening and said, “We have some VERY important mail!” He was right.
Someone knows how to make Grandma (and Grandpa) very happy. 😀
~~Grandma 🙂
I am back to working on the little Putz houses I have planned for a Christmas display. I’m hoping this post will work as a sort of tutorial for walking you through making your own Putz house, if you are so inclined.
The pattern I am using is from the Little Glitter Houses site. This particular house is called the Peach Cottage Beach House.
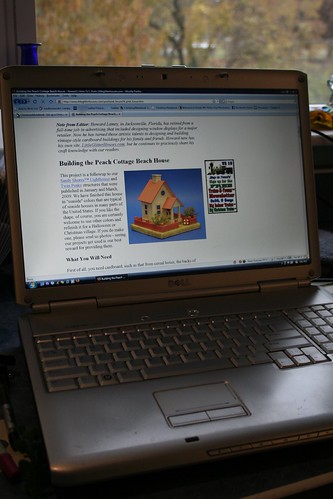
The site includes PDF files of printable patterns for the houses. Personally, I like to draw my own, based on theirs, so I can modify a couple of things. Sometimes a scan or print won’t be quite proportionally correct, or, as in this case, I want to add a built in base to the house. This pattern worked as I had modified it, but I later made one more adjustment to the roof, extending the pattern so the roof pieces met at the top of the house. A separate rectangle is cut later and glued to the assembled house to make a roof with an overhang.
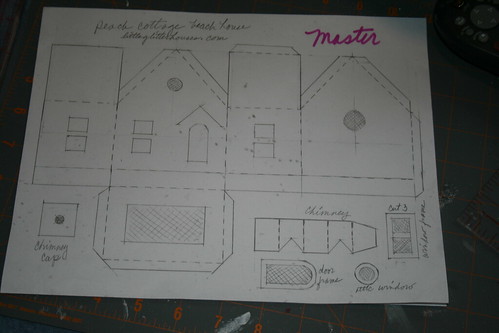
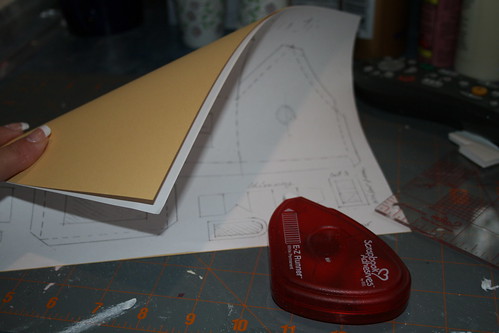
This picture shows a master copy which I use to print the pattern I will cut. The masters are all marked “MASTER” in hot pink, which works as a great flag when I’m getting ready to affix the pattern to the card stock. Before I had marked all the masters in pink, I managed to cut one apart and had to redraw it. Bummer.
After making a copy of the master pattern, I choose card stock for making the house. It has to have some weight and stiffness, but not so much that it feels like cardboard.
EDIT 2018 / I no longer use cardstock, though it is a fine medium. I now prefer light-weight poster board for the body of the house and heavier-weight poster board for roofs. I get my poster board at Walmart. Nothing special. Use what you can find on hand or buy new.
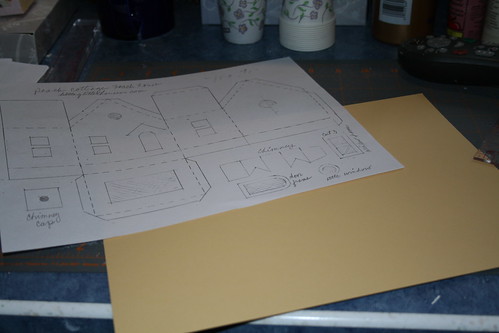
I adhere the pattern copy to the card stock with a few pieces of tape runner. Tiny pieces. In just a FEW places. They must be peeled apart later, so the fewer pieces of adhesive the better. It doesn’t take much to hold the pattern to the card stock. I prefer this way of cutting the pattern to other methods, such as transferring the pattern to the card stock. Seems easier to me and doesn’t leave any marks on the card stock. However, if your printer/copier will print card stock, you could make a copy right onto the card stock.
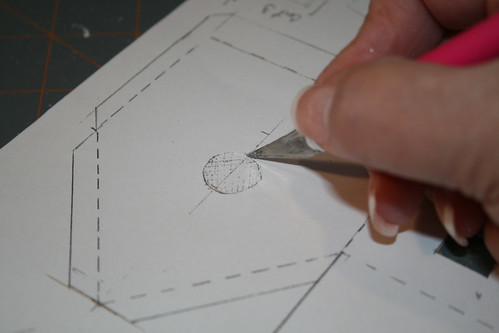
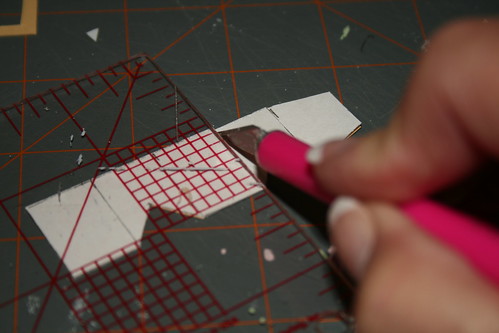
The first thing to do is cut the holes…windows, doors, etc. If cut while the piece is still a whole, the card stock provides a lot of stability and makes the cutting of tiny pieces much easier.

I use an X-acto knife to cut the pattern.
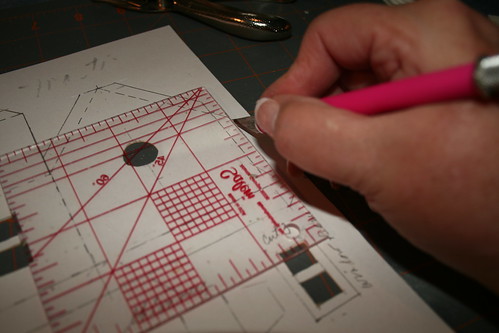
This little Salem Ruler 4″x4″ acrylic square, available at sewexcited.com, is great for cutting the straight edges. The squares are also available in multiple sizes at most quilt shops. I find the four inch square easy to handle and it doesn’t take up much room on the desk top.
While cutting, of course, I have to hold the square securely with my left hand so it stays in place. For the sake of the picture, I was wielding a camera when this shot was taken.
A self-healing cutting mat is worth every penny. This 12×18″ gray one is easy to maneuver as needed.
I use a punch for the small holes in the tops of the chimney caps.
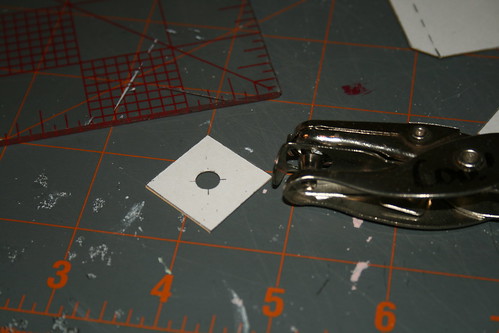
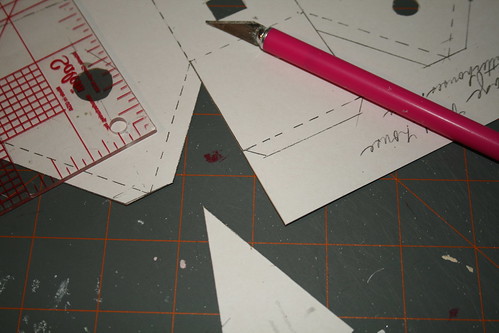
This Putz house requires three window frames. After cutting the first one from the main pattern, I use the same pattern piece to cut the other two. I trace around it onto scraps of card stock, then *carefully* cut them using the X-acto knife and the acrylic square. The square helps keep everything straight. Be careful…slips can result in cuts of things other than card stock…like the tips of fingers, for instance…BTDT. Picture me with my left index finger clamped in my mouth, calling, “Wussew, I cud my fingew!” Thankfully, a bandaid took care of it.
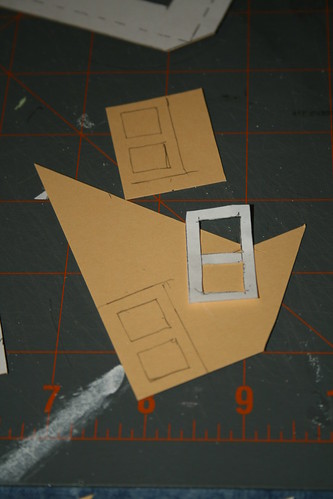
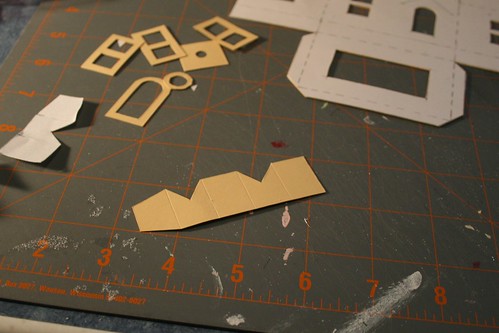
Everything is cut and the pieces are ready to score.
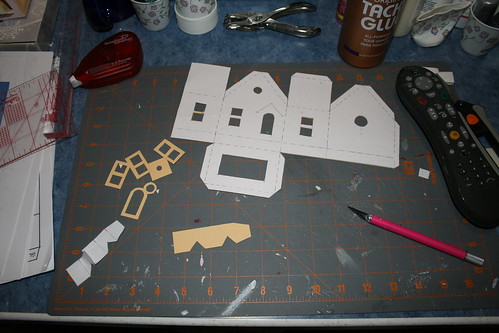
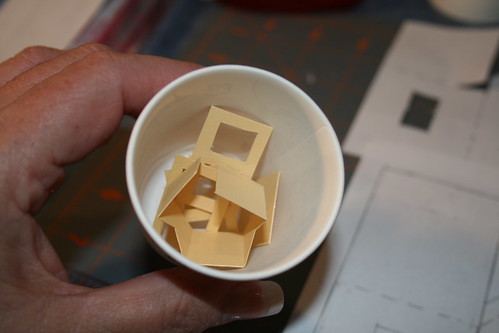
I find little disposable paper cups handy when crafting. I mix paint in them, as well as using them to corral all the little pieces of a pattern until I need them.
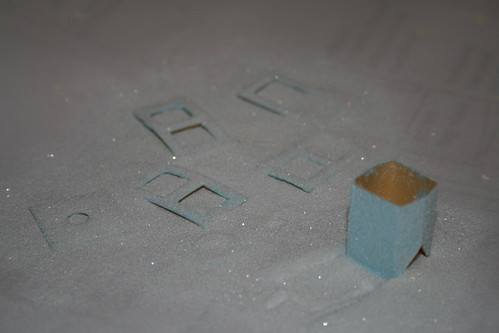
To score the fold lines (dashed lines), I turn the X-acto knife over and use the back of the blade, again, holding the ruler down securely with my left hand. Some of you will have scoring tools for this job. I don’t have one, and this works fine for me.
If you look carefully at the chimney piece in the foreground, you can see the score lines. This piece will be folded on each line and the end pieces will be glued together.
After all the pieces have been cut and scored, I discard the paper pattern. I can make more copies from the master as needed for other projects.
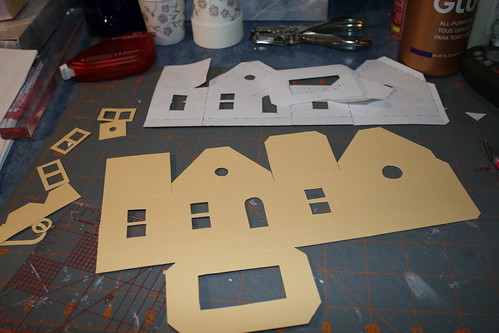
Crease all the fold lines. Now it’s time to glue the house together. I like to start at the base and work my way up. The roof pieces did not extend to the top of the roof on the original pattern. Which didn’t really matter as a rectangle is cut for the roof and glued to the top of the house so the roof has overhanging edges. But I modified the master pattern to make the roof meet at the top next time.
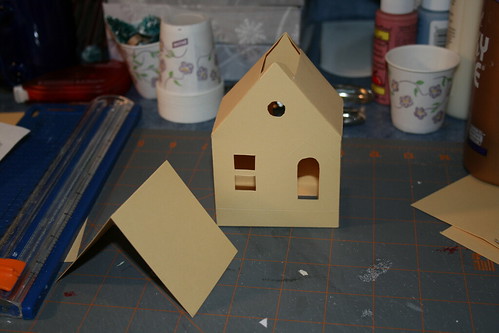
The rectangle for the roof measures 5.5 inches by 2.5 inches. The porch roof is 1 inch x 2.5 inches, which is quite a bit smaller than the one called for on the original pattern on the Little Glitter Houses web site. I found it too large, so cut it down. Both roof pieces should be scored so they fold in half across the width.
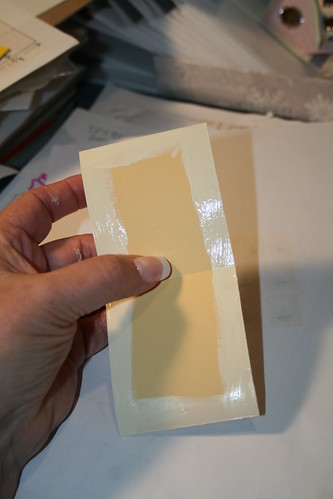
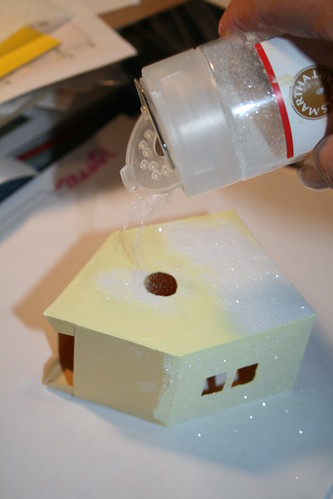
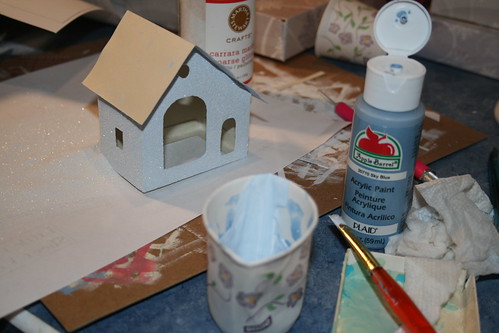
Before adhering the roof to the house, paint the edges of the underside. I mix the paint half ‘n half with white glue. It’s a lot easier to paint this now than it is when adhered to the house.
While the paint is wet, add the glitter.
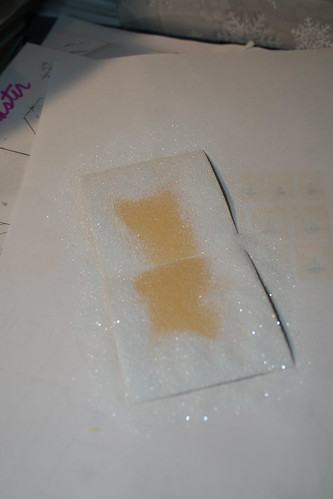
I like to pour the glitter over a piece of paper. It’s easy to pick it up and funnel the leftovers back into the bottle.
By the way, this is the glitter I am using for this project, though you can use any that you find appealing. I do have some vintage style glass glitter, but don’t want to use it as these houses may be handled by children.
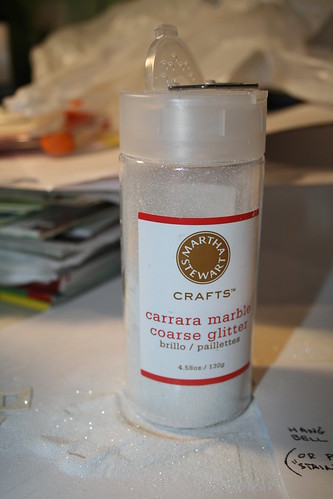
Martha Stewart’s “carrara marble coarse glitter.” It says coarse, but it’s a rather fine glitter. It makes a beautiful sparkle on the Putz houses.
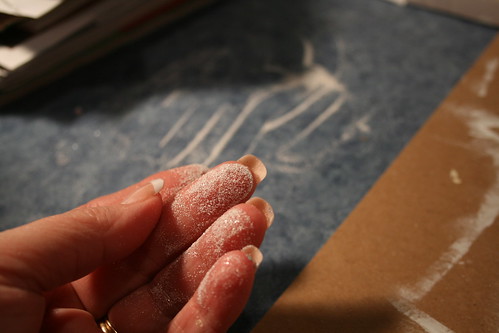
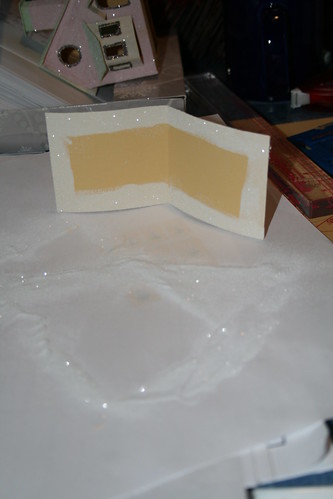
I paint and glitter the house one side at a time. I don’t wait for it to dry between sides. I’m just careful with handling.
I took this picture without a flash so you could perhaps see the texture that the glitter gives the paint.

I paint the window and door frames and the chimney in contrasting colors to the house. A pair of fine, needle-nosed, craft tweezers work great for moving these little bits of framing around. I found a pair on amazon.com and really like the way they work. Can’t do without them, now. If the link doesn’t work, use this to search amazon: Fine Point Silver Tone Pointy Straight Tweezers 4 1/2″
When gluing the door and window frames to the house, I put a little glue on the back of the frame and also around the window on the house. Let the glue set for a minute, then stick them together. The porch steps are made of foam core.

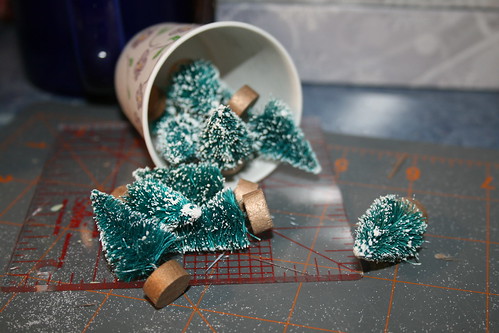
This post is way too long. I’ll write another one in a few days to show how I make the base for the house. I’ll add some embellishments, too…maybe one of the little bottle brush trees my dear friend Mary sent to me. Aren’t they perfect?
Here are links to some of my other tutorials for making Putz houses.
Making fence posts for Putz houses
Making Putz house ornaments from Christmas cards
If you would like to see more of my Putz houses, as well as Christmas ornaments I have made from upcycled holiday cards, please visit my Etsy store.
~~Rhonda 🙂
I have been working on my Putz houses this week and they are coming along well. I’ve really enjoyed to the work.
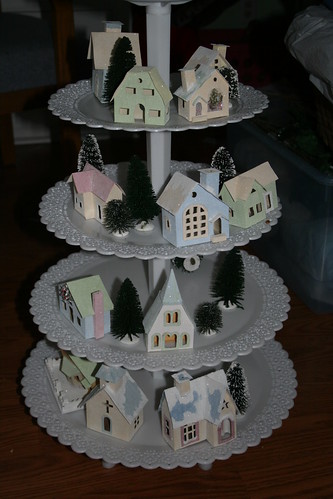
I just threw these on the tiered cupcake holder to give you an idea of what I have in mind. This is no where near the final look I’m going for. The stand has six tiers. I’m planning to use four.
I have 13 Putz houses in some degree of construction. Some of the ones pictured do not have window frames yet. All need bases. And I want to put embellishments on some…wreaths, snowmen, etc. Also, I need to put “snow” on the bottle brush trees.
The finished display will have snow batting, more bottle brush trees, and lots of icicles hanging from the edge of the plates. I have a picture of something similar in my Christmas idea binder that I pulled from a magazine several years ago. I’m trying to duplicate that in some fashion.
This will probably be displayed on the kitchen counter…or perhaps in the guest room. Not sure yet where it will end up.
Lots of work yet to do, but it has to be pushed to the back burner for a few days. Last night I came down with a leg infection (a recurring problem) and now I’m confined to the recliner to elevate my leg for several days. I felt awfully sick last night. Some better today, but the lower part of my left leg is swollen, red, and hot. Not good. Am taking antibiotics and should be on the road to recovery in a few days. For now, I’m grateful for my laptop! And am watching a lot of TV.
~~Rhonda
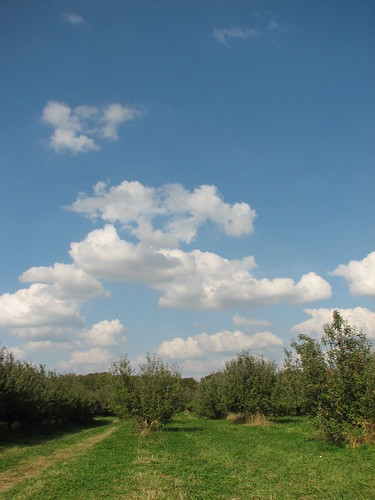
We’re looking foward to visiting the apple orchard next weekend with our son and his wife. Last year, the weather was beautiful. Hopefully, this year will be, too.
I’m planning to do more Christmas decorating and cookie baking this week. Have lots to do, but it’s fun.
Monday
chicken and rice
corn / peas
biscuits
Tuesday
pork loin
steamed potatoes
sugar snap peas
crock pot apples
Wednesday
chicken Cesar wraps
Thursday
tortellini with ham
Romaine, Avocado and Corn Salad
steamed broccoli
Friday
homemade pizza
Saturday
fridge food
Sunday
Crock Pot Chicken Cordon Bleu
rice
Cesar salad
zucchini stir fry
corn
You’ll find more menus and recipe ideas at Menu Plan Monday. Check it out!
~~Rhonda
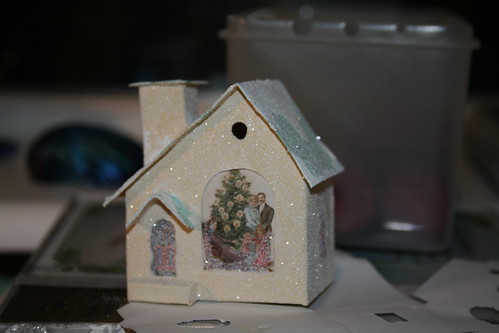
I’ve managed to make a couple of Putz houses. I want to make several more of these to put together in a little village display for Christmas. Here’s one I made a week or so ago. The pattern came from the web site Little Glitter Houses.
Yesterday I tried my hand at a larger, more complicated one.
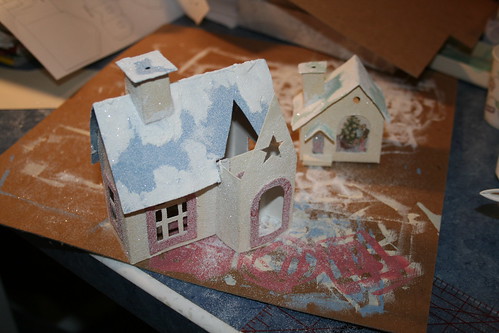
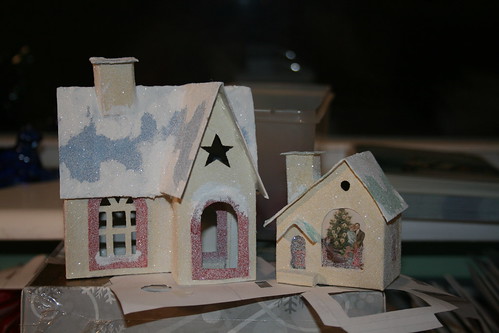
And I began a third one yesterday.
I haven’t made the bases for them yet. And I need to get some tiny bottle brush trees for the yards. They are a lot of fun to make. I’ll keep you posted on my progress. Maybe I’ll try a church next.
~~Rhonda 🙂
I’m posting these pictures just because. 🙂


I love ’em all. Can’t wait to see them again. Did I tell you they’re coming here for Christmas?? 😀 ~~Grandma
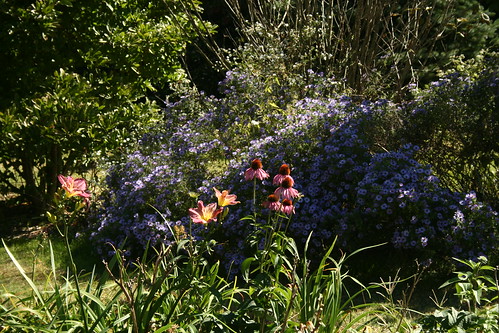
Autumn is showing up in the yard. The asters are in full bloom. These plants came from the family farm. They bloom beautifully in late September and well into October. The butterflies and bees swarm to it. It’s great fun to shake the branches and watch all those pretty insects flying up in a cloud.
There are a few daylilies and purple cone flowers still blooming.
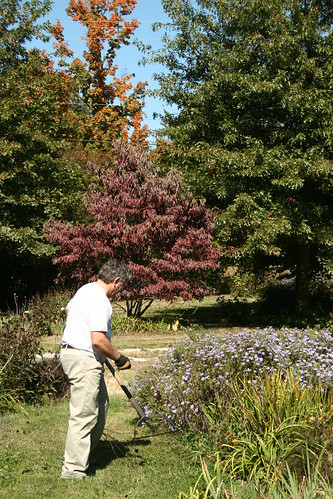
Last Wednesday DH spent some time cutting dried flower stalks. The driveway looks so much better.
Here’s the menu for the week…
Monday
eat out
Tuesday
pork chops
mashed potatoes
sugar snap peas
corn
green salad
Wednesday
hamburgers / buns
chips / dip
Thursday
chicken in the crock pot
steamed red potatoes
peas
corn
Cesar salad
Friday
homemade pizza
Saturday
fridge food
Sunday
pork tenderloin
rice
corn
sauteed spinach
You can find more menus and recipes at Menu Plan Monday.
~~Rhonda
Autumn is really here. The huge oak in the back yard began changing leaf color this week. Some autumns it’s a bright beautiful yellow and this looks to be one of those years. The first few leaves are beautiful buttery gold.
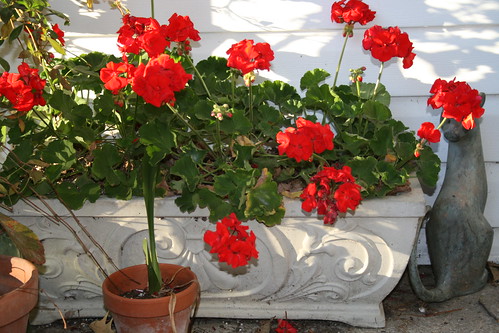
The geraniums on the back steps have finally come into their own. So pretty! But they’ll be coming inside soon. It won’t be long till we have a killing frost, I’m sure. I didn’t even clean up for this shot. As is…leaf and dirt debris, old flowerpots, and all.
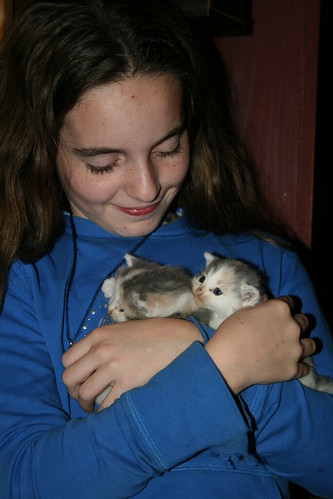
We were heading to our friends’ home for supper when I took the above shot. And when we got there, DD was delighted to find kittens!
We had a great time at supper. Lots of laughs which is always good. Great food! I want that avocado salad recipe, Laurie! A good evening all the way around.
Today I’ve been going over my Christmas Notebook plans for the holidays. I have several projects I want to accomplish before the open house and need to get them organized so I can get started. I set out my Christmas Notebook and my Room Pages binder and began making lists. To buy. To do. To make. More ideas kept popping into my head. So I added those to the idea pages in the Room Pages binder and am trying to concentrate on the plans I already have!
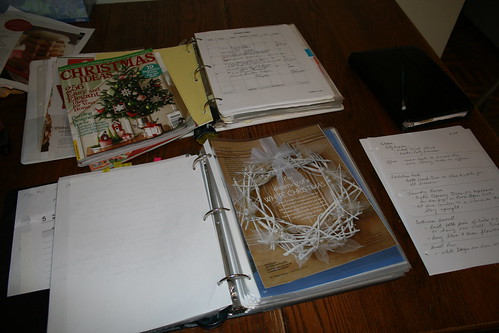
The wreath in the Room Pages binder is an idea I’m contemplating for the guest room door. I think I’ll get a wreath of blueish eucalyptus, spritz it with some white and silver, and put the ring of white twigs over it, then add clusters of multiple sized pearl beads. Whatcha think? Don’t you love Christmas??
~~Rhonda
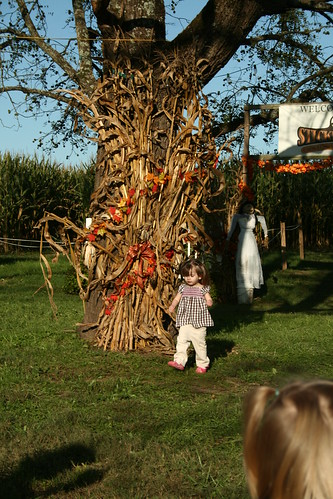
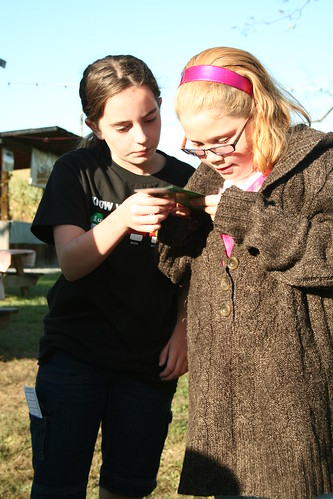
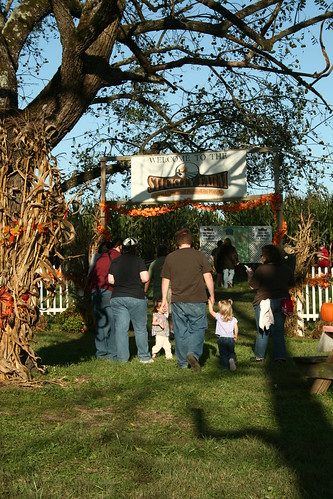
While we were out east visiting our family, we took everyone to a corn maze one afternoon. It was a beautiful autumn day. Sunny, but coolish.
The twins had a ball, running around, picking up walnuts, looking at pumpkins, and riding the toy tractor.

Checking out the maze map.
Heading into the maze.

Walking a maze makes you thirsty!

I tried to get a picture of our three daughters and three grand-daughters together, but twins wanted nothing to do with such foolishness. They had things to do and places to go!

My camera was on the wrong setting when I took this picture, so the color is awful, but I’m posting it so you can see the awful bridge we had to cross to get to and from the farm. One skinny lane, and the railing on the right side of the picture was totally pushed over into a horizontal position. Yikes! And I’m *sure* there was an ogre nearby…

~~Rhonda