pumpkin scones

While looking for ideas for Menu Plan Monday, I came across a recipe on cincyshopper.com for CopyCat Starbucks Pumpkin Scones. I made a double batch which worked very well. The recipe below is for a single batch of scones. Makes 8-12, depending on how they are cut.
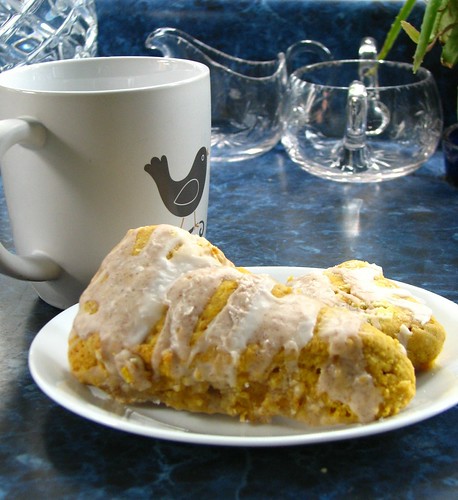
Pumpkin SCones

Pumpkin Scones
Preheat oven to 400°F. Using the blade in a food processor, blend the following dry ingredients.

  • 2 1/2 c. unbleached flour (I used 2 cups of unbleached flour and 1/2 cup of almond flour.)
  • 6 T sugar
  • 1 T baking powder
  • 1/4 tsp. salt
  • 1/2 tsp. cinnamon
  • 1/2 tsp. nutmeg
  • 1/4 tsp. cloves
  • 1/4 tsp. ground ginger

Add the cubed butter to the dry mix and process until the butter is incorporated and the dry mixture has the texture of cornmeal.

  • 1/2 c. (one stick) cold butter, cut into cubes

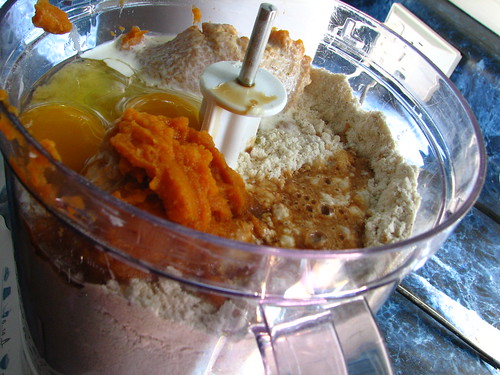
Add the following wet ingredients and pulse till well blended.

  • 1/2 c. pumpkin puree
  • 3 T heavy cream
  • 1 egg
  • 1 tsp vanilla

Pumpkin SCones

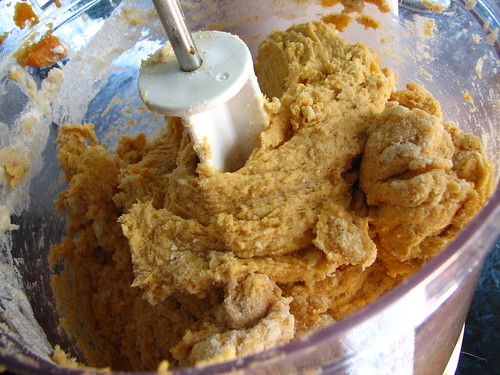
Pumpkin SCones

Optional: By hand, mix in

  • 1/2 cup of mini chocolate chips, raisins or walnuts.
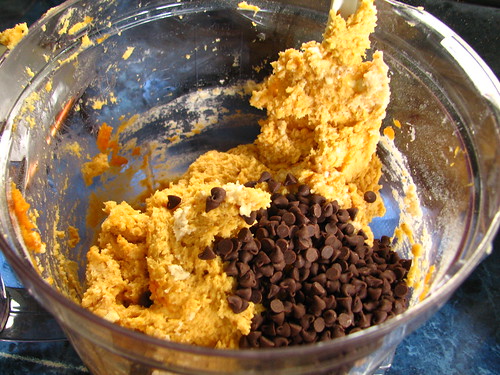
Pumpkin SCones

The batter will be soft. Line a cookie sheet with parchment paper or foil. Sprinkle some flour on the parchment paper. Scrape the dough onto the paper. Sprinkle a little flour over the top of the dough to make it easier to handle. Shape into a round, about 3/4 of an inch high.
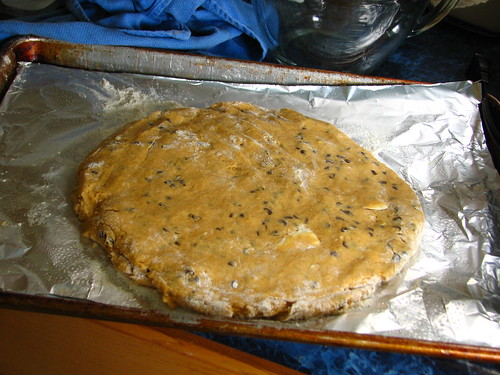
Pumpkin SCones

Use a knife or pizza cutter (dipped in flour after each cut) to cut the circle into eight to twelve pieces. I cut mine into twelve pieces and it made a nice size.
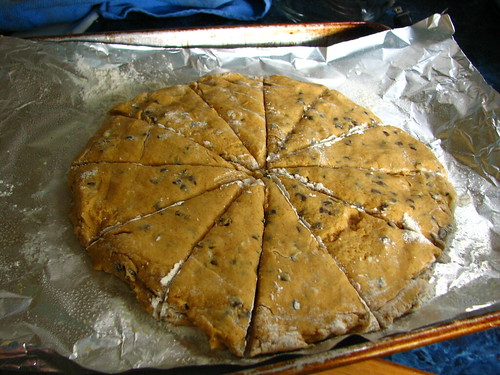
Pumpkin SCones

Bake for 18 minutes, or until golden brown.
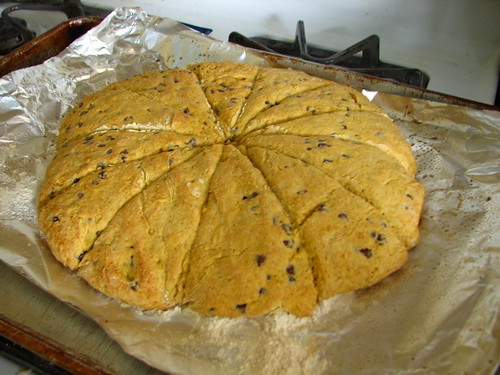
Pumpkin SCones

When done baking, allow to cool and cut the wedges apart. To make the glaze for drizzling over the scones, stir the milk into the powdered sugar until well blended. Include the spices in the second glaze. Top the scones with the plain glaze, allow to set, then drizzle the spiced glaze over the top.

Plain Glaze

  • 1 c. powdered sugar
  • 2 T milk

Spiced Glaze

  • 1 c. powdered sugar
  • 2 T milk
  • 1/4 tsp. cinnamon
  • 1/4 tsp. freshly grated nutmeg
  • Pinch of cloves
  • Pinch of ground ginger

I made a second batch, to use up the leftover canned pumpkin, and added chocolate chips. I didn’t use the plain glaze on those. The spiced glaze was plenty.
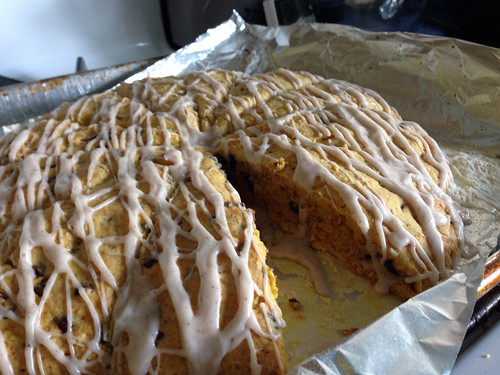
Pumpkin scones

Allow the glaze to set before serving with coffee or hot tea.
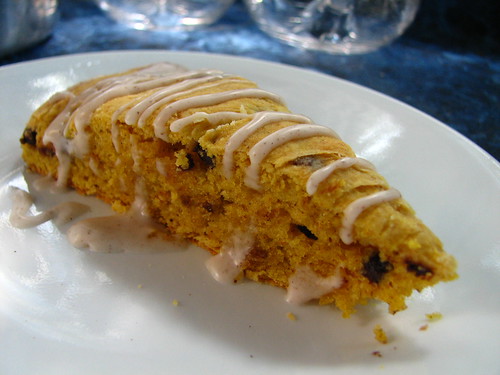
Pumpkin SCones

The scones are supposed to be a copycat recipe for Starbuck’s pumpkin scones. I can’t speak to that, as I’ve never been to a Starbucks and haven’t tried their scones. If you have, and if you give the recipe a try, maybe you can give some feedback on how they compare.

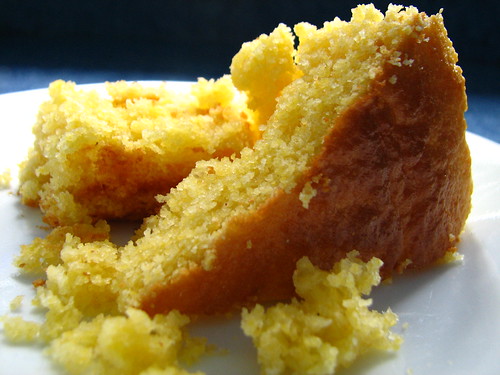
The scones were very easy to make, didn’t take long to cook, were moist and tasted great. A sweet treat for the autumn months. We served them to guests with coffee and tea. Also had peach cobbler, which was good, too. Thanks, Pedro and Joan, and Jerry and Peggy for sharing the evening with us!

The scones would be good at breakfast or for an afternoon snack. If you like pumpkin, give them a try. I’m sure you won’t be disappointed.

~~Rhonda
ten influential books

There is a challenge making the rounds on Facebook. One is supposed to list ten influential books. My husband challenged me, after listing his own.

"Wild Animals"

Here’s the list I came up with.

The Holy Bible
Above all.

The Imitation of Christ
by Thomas à Kempis
Still speaks to readers across the centuries.

Pilgrim’s Progress
by John Bunyan
I read this for the first time while in third grade. It was a tremendous reading experience for me.

gold stamp

Mere Christianity
by C. S. Lewis
Wonderful! Enough said.

The Valley of Vision: A Collection of Puritan Prayers and Devotions
edited by Arthur Bennett
Always meaningful and humbling.

To Kill a Mockingbird
by Harper Lee
Awed by this book every time I read it.

Pride and Prejudice
by Jane Austen
A girl needs some romantic reading. Especially some filled with wit. Jane must have been one sharp girl. I am not a romance novel reader. Fluff and nonsense, most of them. But this one is great!

The Hobbit and Lord of the Rings
by J.R.R. Tolkien
I know…technically four books, but they need to be read as a whole

My Antonia
by Willa Cather
I must say this one sticks with me more because of the author’s use of language than for the actual story. It is beautiful and moving.

I, Robot
by Isaac Asimov
My favorite science fiction work. I admit I have many favorite sci-fi books but there’s just something about those robots…

My eleventh book? The Foundation Trilogy by Isaac Asimov.  Influential as far as my love of sci-fi, but really more of a favorite. Do I get to make two lists?

Have you given thought to those books that are most influential in your life? Or ones that are your favorites? I’d love to hear what they are.

~~Rhonda
menu plan monday ~ september 8, 2014

When DD gets home from school, all the kitties come to see her. I can go all day long without seeing any of them until school is out!

When she comes home from school...

Zilli, Buttercup, Zak / Buttercup is DD’s cat. She comes down to the kitchen every day about twenty minutes before school is out and waits for DD to get home. She’s thrown a bit off balance this year, as the school added fifteen minutes to the end of the day.

Here’s our menu for the week. Supper is already in the crock pot.

Monday
Cube Steak / Potatoes / Carrots in the Crock Pot
Garden Salad

We have company coming for dessert this evening, so we’ll be serving:
Peach Cobbler (using peaches we canned last week.)
Vanilla Ice Cream

Tuesday
Pan Seared Tilapia
Corn on the Cob
Steamed Asparagus

Wednesday
Turkey Sandwiches
Carrot / Celery Sticks

Thursday
Chicken Tortellini Soup
Rosemary Crackers

Chicken Tortellini Soup

Friday
Fridge Food

Saturday
Our contribution to a dinner party:
Alton Brown’s Pot Roast

Sunday
Our contribution to a family gathering:
Cowboy Beans

You’ll find more menu and recipe ideas at Menu Plan Monday.

~~Rhonda
nativity shadow box

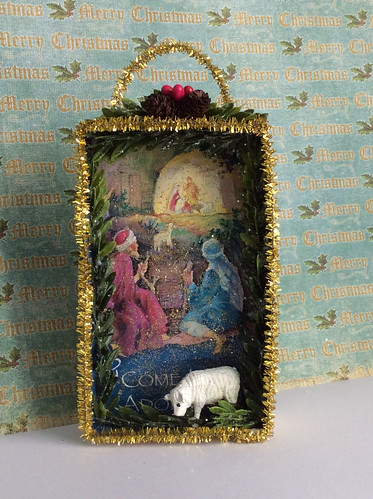
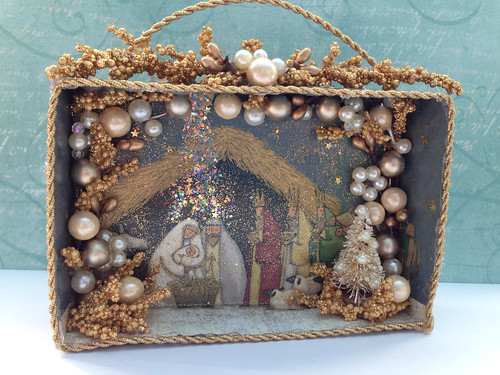
I finished this little shadow box today. The tiny bottle brush tree was one I dyed last year. I added small white beads to it. The small calf and the sheep are ones I brought home from my mother’s collection of little craft items. I painted the sheep to bring it back to white. Looked better with a paint job. Above the star are two items that look like silver pinecones. They are silver rose beads. They came off a broken bracelet and I think they worked well on the shadow box.

image

The back of the box is covered with a collage of images I found online. I overlapped them in a Word document and printed it. Then decoupaged it to the back of the box.

image

The tutorial for making Christmas card shadow boxes can be found at this link.

Similar Christmas card shadow boxes I have made are featured in my Etsy shop. ChristmasNotebook

~~Rhonda
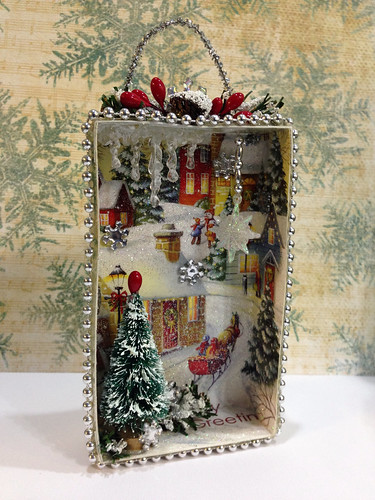
tutorial ~ make shadow boxes from Christmas cards

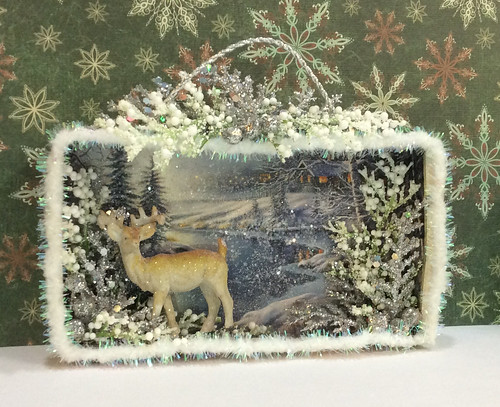
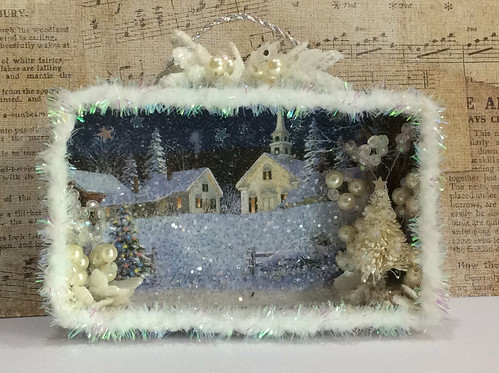
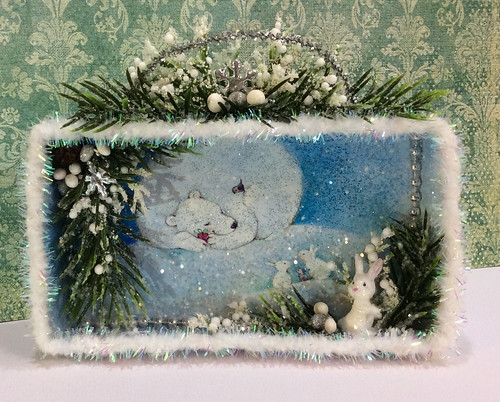
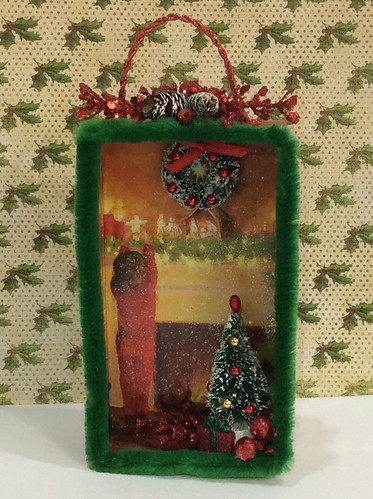
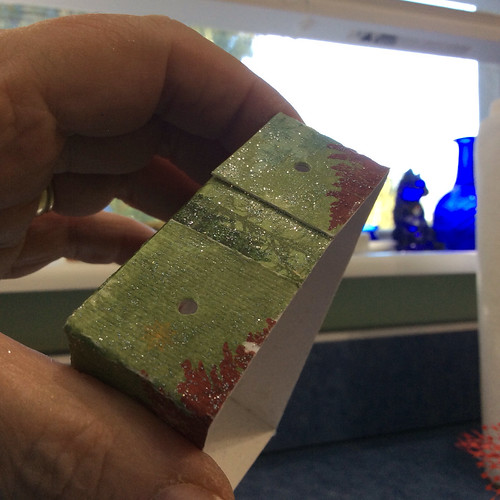
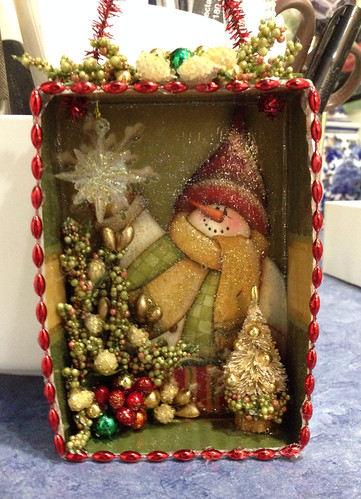
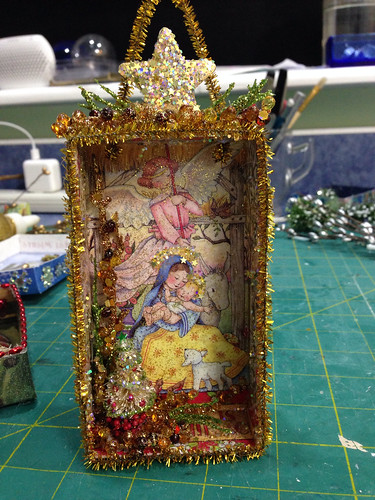
I’ve been spending the past week working on little shadow boxes made from Christmas cards. This is the first one I made.

Shadow box

They are getting better as I work on more of them, learning some hints and helps that make the process easier than it was initially.

Polar bear

2018 update: You can see many more pictures of the boxes and the process in my flickr album for shadow boxes. flickr/shadowboxes

To make a shadow box, the following items are needed:

  • Christmas cards (Having a good selection to choose from makes it easier to find one that will work well. The picture has to be small enough to fit inside the box with an inch of space all around it for the sides of the box.
  • backing paper (Scrapbook paper works great.)
  • pencil
  • paper cutter
  • Mod Podge or white glue
  • straight edge
  • scoring tool or other dull point for scoring paper
  • scissors
  • 4 clothespins or other small clamps
  • a safety pin is useful for making small holes to hang an embellishment
  • gold or silver thread (Needed if you want to hang a small ornament or embellishment inside the box.)
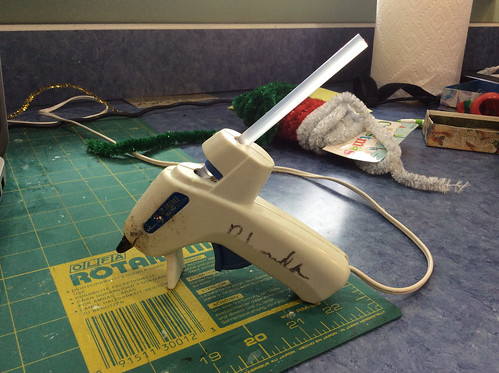
  • needle nose tweezers are great for small details, and for plucking hot glue “hairs” off the shadow box
  • a crochet hook with a small hook is handy for pulling threads through small holes
  • gold and/or silver glitter glue (I use Sargent Washable Glitter Glue, available on amazon.com. Gold and silver are compatible with most Christmas cards. I also use blue, red and green, though not as often as gold and silver.)
  • embellishments: small ornaments, beads, mini garlands, bottle brush trees, artificial evergreen, floral picks that can be taken apart, snowflakes, stars, jingle bells, mini deer, strands of small beads, pipecleaners, etc. Anything you can think of that can be used to decorate the box. Keep it small and in proportion to the box. If you do much Christmas crafting, you probably have a lot on hand that you can use.
  • hot glue gun (Handy for adding those embellishments.)
  • silver and/or gold cording to make a hanger
  • wire cutters for cutting wire or pipecleaners.
  • long nosed pliers may be useful for manipulating wired embellishments.

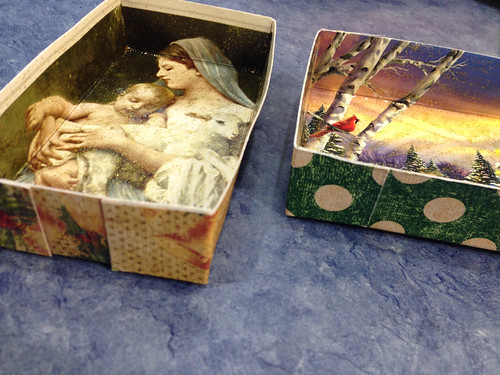
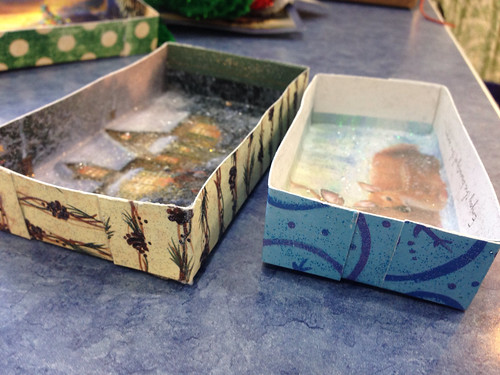
The first thing to do is choose a card to use. The card needs to be large enough that there will be one inch of space all around the picture you want to use. The one inch around the picture becomes the sides of the shadow box. Alternately, if a particular picture is chosen and it’s not large enough for the added one inch edge, a box can be made from poster board and the picture glued inside. Other paper or paint will be needed to line the edges inside the box. Scrapbook paper would work well.

This is the card I chose for the box I’m making in this tutorial.

Christmas card shadow box

Cut the front from the back of the Christmas card. Remove the entire spine so the picture is left without ridges or folds.

Christmas card shadow box

Choose a paper for the back of the box. This scrapbook paper coordinated well with the card I want to use.

Christmas card shadow box

Cut the paper to fit the card front.

Christmas card shadow box

Apply Mod Podge to the back of the picture.

Christmas card shadow box

Fit the paper to the back of the card, working quickly to slip it to the edges, making it fit the back of the picture. After the backing is adhered to the front, use a straight edge to lightly “squeegee” the papers together. This removes air bubbles and makes a nice flat finish to the back of the box.

Christmas card shadow box

If the edges do not meet exactly, use the paper cutter to trim the edge. It works best if the paper is allowed to dry before trimming. The glue can make the paper soggy and difficult to cut cleanly.

NOTE: Since writing this tutorial, I have made some shadow boxes by painting the outside of the box instead of using paper. I find it makes a stronger box, that is less likely to warp. The paint seems to strengthen the cardstock. I use a mixture of acrylic paint, one to one, with white glue. I use Elmer’s Glue. I add a little sand to give a nice texture, but that’s optional. While the paint is wet, I sprinkle it with fine glitter and let it dry before proceeding. If painting, instead of using paper on the back of the box, continue through the following steps to construct the box before painting the back.

Christmas card shadow box

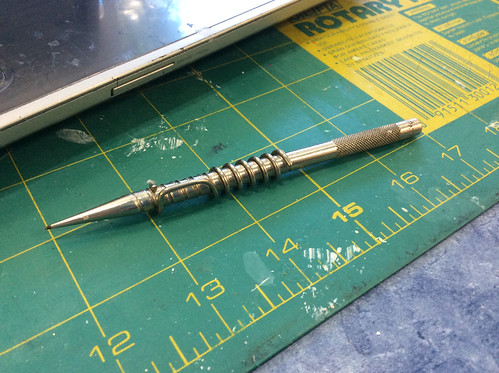
Use a straightedge to score the paper one inch from the edge of the card, all the way around. I have a very handy ruler for this, which is one inch wide, making the process very easy. Also, the stylus I am using is a handy scoring tool. It has a pen on one end and a scoring point on the other. Something DH brought home one day. Perfect!

Christmas card shadow box

Christmas card shadow box

Cut along the scoring line to the point where it meets the other scoring line.

Christmas card shadow box

Cut all four corners, then fold along the scoring lines so the picture will be inside the box.

Christmas card shadow box

Cut each corner tab in half.

Edit: After making quite a few boxes, I decided that not cutting the tabs in half was a better idea, making stronger corners.

Christmas card shadow box

Apply glue to the outside of the box and the inside of the tab.

Christmas card shadow box

Use clothespins to clamp the sides together until bonded. Open and replace the clothespins a few times to be sure they are not sticking to the paper.

Edit: When leaving the tabs whole, I use two clothespins on each corner.

Christmas card shadow box

When the glue is dried enough to hold the box together, remove the clothespins.

Christmas card shadow box

As you can see in this picture, this particular card had some glitter on the picture. It was brushed over the snow.

Christmas card shadow box

I like to add glitter to the pictures, so I chose silver for this one. The irridescent glitter that came with the card will show through the silver. Squirt some into the box and brush it over the surface.

Note: I really like Sargents glitter glue for this project. It spreads easily over the picture, but the glitter is fine and spreads thinly so it doesn’t obscure the picture. I have it in six or seven colors. I do find the silver one doesn’t squirt out of the bottle well because it is thicker for some reason, but it does spread well. I take the topper off and squeeze a glob out, then sprend it with my finger or a brush. All the other colors can be dispensed easily through the bottle topper, then spread across the picture.

Christmas card shadow box

Here you see the inside coated with silver glitter glue.

Christmas card shadow box

Wait until the first side is dry before covering the back with glitter glue. Otherwise the box may warp.

Christmas card shadow box

When the box is dry, consider what kinds of embellishments will be added. I decided to put some icicles in this box.

Christmas card shadow boxes

The long one was too long, so I broke it in half and used the bottom part.

Christmas card shadow boxes

I also glued some snowflakes to the picture.

Christmas card shadow box

Christmas card shadow box

To hang an ornament or embellishment in the box, string it onto a thread, and add beads if you like. The needle nose tweezers are very handy for these kinds of jobs with tiny pieces. I added five beads because the box is tall and I wanted the snowflake to hang lower than it would have with only one bead.

Christmas card shadow box

I used a safety pin to punch a hole in the top of the box, making sure the ornament would not hit the side. Using a small crochet hook, I pulled the thread through the hole, chose how far I wanted the snowflake to hang, then used a bit of hot glue to adhere the thread to the top of the box.

Christmas card shadow box

I chose a bottle brush tree for the box, added a red berry to the top, and painted the tree with white paint to mimic the trees in the picture. This link shows you how I add berry pips to bottle brush trees.

Add pips to your bottle brush trees

Christmas card shadow box

Christmas card shadow box

The box needed a bit more embellishment, so I took this little ornament apart and used pieces of it. The ornament was one of several in a sack of ornaments that my sister bought for ten cents at a thrift store.

Christmas card shadow box

I used two pieces of the evergreen from the ornament and the pinecone, glued them to the top of the box, and added some red berries and a snowflake.

Christmas card shadow box

Christmas card shadow box

I cut another piece of evergreen from the ornament into two pieces and glued them around the base of the bottle brush tree, then added a couple of snowflakes to the evergreen.

Christmas card shadow box

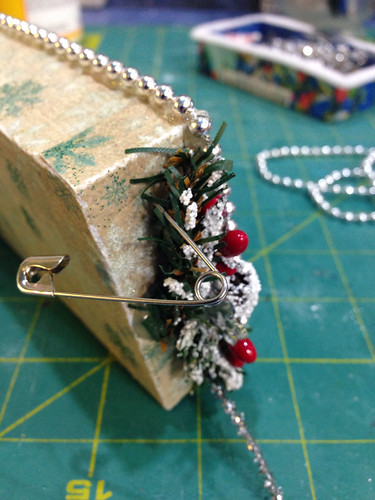
I felt the box needed just a bit more bling, so I glued a strand of silver beads around the edge.

Christmas card shadow box

Edit: After making a couple of dozen boxes, I decided they look better with the raw edge of the box covered.  Beads can be harder to adhere, but it’s certainly doable. Other edgings include pipecleaners, wireless chenille, yarn, cording, tinsel garland, etc.

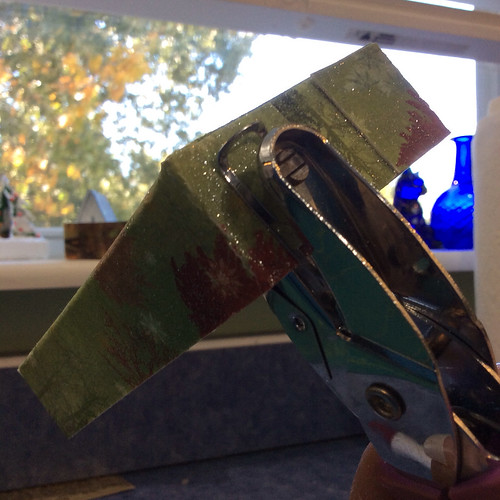
Now it just needs a hanger of some sort. I decided to use a thin silver pipecleaner. I used the safety pin to make a hole, then inserted the pipecleaner. Using the needle nose pliers, I twisted the first end to hold it in place.

Christmas card shadow box

Christmas card shadow box

After cutting the pipe cleaner to the length I wanted, I used long nose pliers to twist the end so it wouldn’t go back through the hole.

Christmas card shadow box

Ready to hang for Christmas, on a tree or from a shelf.

Christmas card shadow box

I hope you have enjoyed this tutorial. If you have any questions, just ask!

~~Rhonda
menu plan monday ~ september 1, 2014

I know. I know. It’s really September 4, but with Labor Day, then DH having Wednesday off, menu planning was waylaid. I’ve been working on some craft projects, too. And I have to confess, that is more fun than taking time to write a post. True confessions…crafting is lots of fun…

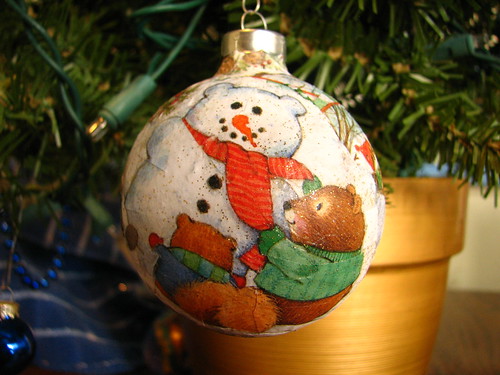
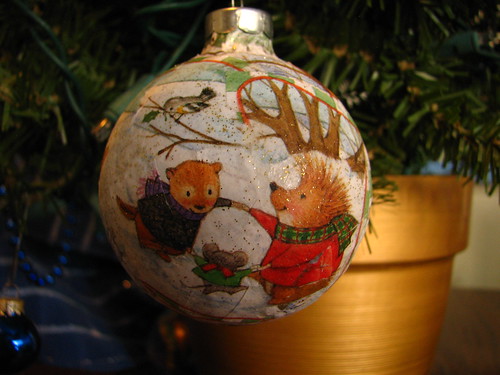
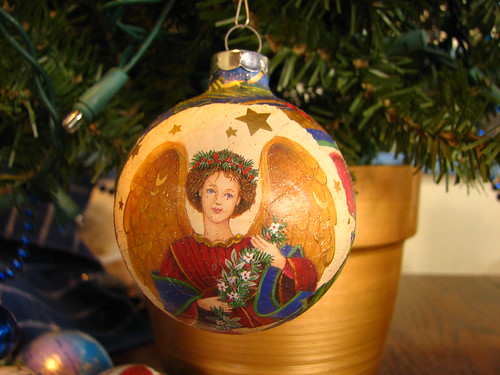
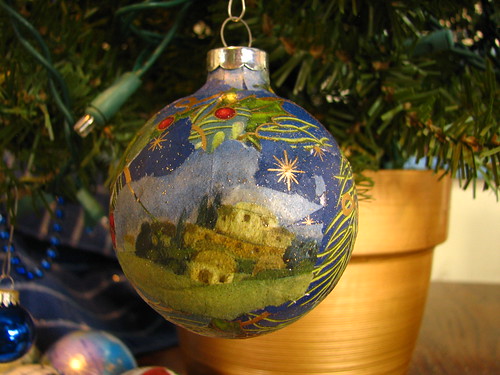
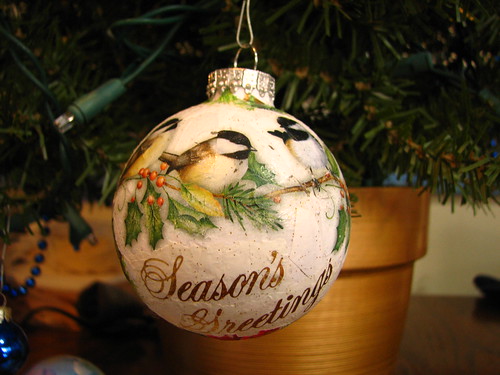
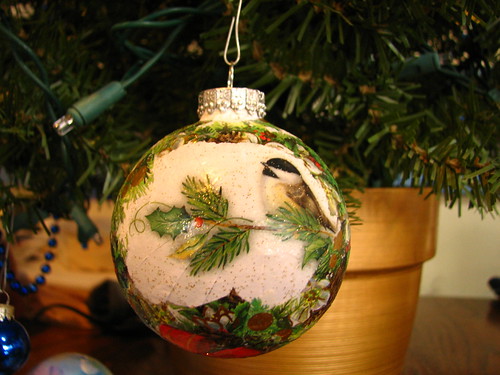
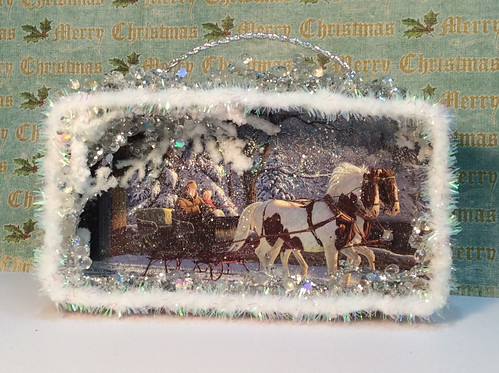
I am using some of the many Christmas cards I’ve been gifted with (thanks to all who have given me their old cards!) to make ornaments. I have made decoupage ones that use the pictures from the cards.

Christmas card ornaments

Front

Christmas card ornaments

Back

Christmas card ornaments

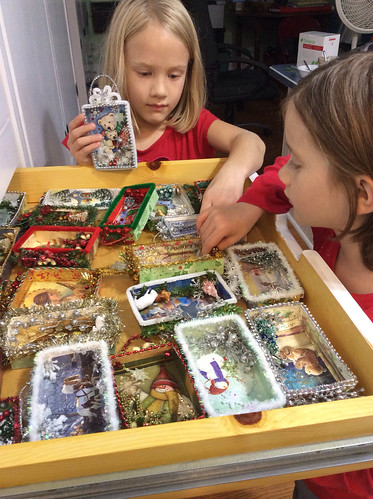
And I am now working on ornaments that use the card to make a small shadow box.

Shadow box

Those are getting better the more I make, as I work out techniques that make the process easier. I will post a tutorial soon.

Now the menu:

Monday
Leftover Chicken and Dumplings

Tuesday
Bacon, Tomato andLettuce Sandwich

Wednesday
Cheeseburger on Homemade Buns

Thursday
Pork Chops in the Crockpot over
Potatoes and Carrots
Green Salad

Friday
Homemade Pizza

Saturday
Spicy Shredded Pork
I follow the pork recipe’s ingredient list, but I don’t blend them. I put the roast in the crock pot and throw everything in on top. I know it’s not the same as roasting it, so it’s different than the meat the original recipe would produce, but it’s still delicious! And easier.
Tangy Buttermilk Cheese Bread
Coleslaw

Sunday
Crock Pot Turkey
Brown Rice
Garden Salad
Corn on the Cob
Steamed Sugar Snap Peas

You’ll find more menu and recipe ideas at Menu Plan Monday.

~~Rhonda
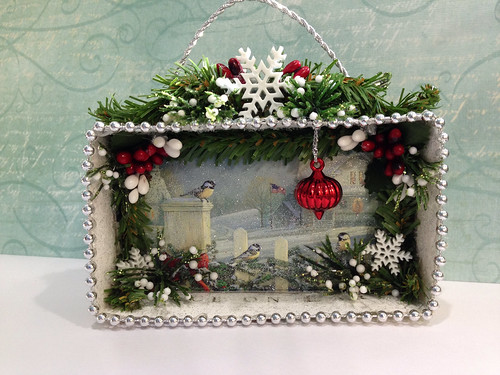
fig jam

Last year, my daughter-in-law brought me some figs from the store where she works. We are far enough out in the boonies that I have never seen fresh figs for sale in any grocery store in the area. Sad, isn’t it?

This year, I asked her to get figs for me again. They were on sale, so I was able to afford enough to make some jam, as I did last year. It’s so delicous!

fig jam

Here is the link to the recipe I used from pickyourown.org. The site has step by step instructions, making it easy to try any new jam or jelly recipe you’d like.

I had ten pints of figs (minus a few that we ate) and that made enough jam to fill fourteen eight ounce jars, plus another quart of jam that I put in the fridge for immediate use. It will keep for at least three weeks in the fridge.

fig jam

I quartered the figs because I like big chunks of fruit in my jam. If you want smaller chunks, dice them into small pieces.

image

I love to make jelly and jam. It’s so easy to do, tastes so good, and the whole process is fulfilling in some way. Maybe it’s the year to year cycle or the repetition of the process…not sure…but I do enjoy it.

image

Ready to wipe the rims and fit the lids.

fig jam

Ping, ping…ping!

image

Oh, yum!

image

If you have an overflow of fruit, check out the web site pickyourown.org. They make the process of pickling, freezing and canning easy!

Saturday, we’ll be canning sliced peaches and spiced peach jam. The peaches are a bit under-ripe, so they are spread out on the dining room table in a single layer to prevent bruising while they ripen for a few days.

peaches

~~Rhonda
menu plan monday ~ august 25, 2014

The garden blooms are beginning to decline, though there are still blossoms to be had. This week’s Sunday bouquet used Black Eyed Susans, ‘Becky’ daisies, and ‘Autumn Joy’ sedum (still in the green stage).

Sunday bouquet

We enjoyed getting together with some of DH’s high school friends. Two were in the area from the west coast, so DH called a few others who are local and they came over for dessert and coffee Sunday afternoon. Lots of laughs and stories. The yearbooks were combed over, and other friends and classmates were brought to mind. It was a reminder that some people remain a part of our lives, whether we see them every day or not.

high school friends

Monday
Pan Seared Tilapia
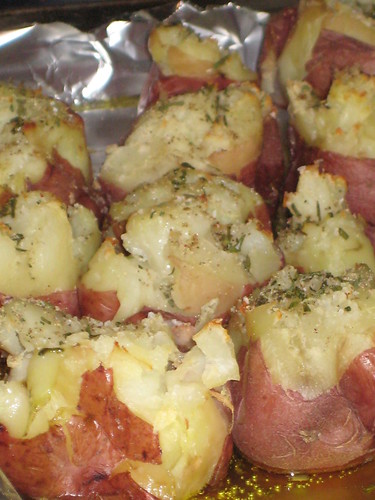
Baby Baked Potatoes
Sauteed Asparagus

baby baked potatoes

Tuesday
Crock Pot Rotisserie-style Chicken
Stirfried Veggies
Sliced Tomatoes

crock pot rotisserie-style chicken

Wednesday
Oven Baked Pork Steaks
Steamed Green Beans
Green Salad

Thursday
Chicken and Spinach Quesadillas with Avocado Sour Cream

chicken quesadillas

Friday
Chicken and Homemade Noodles

done! and so yummy!

Saturday
Fridge Food

Sunday
Crock Pot Turkey
Dressing
Corn on the Cob
Stir Fried Sugar Snap Peas

You can find more menus and recipe ideas at Menu Plan Monday.

~~Rhonda
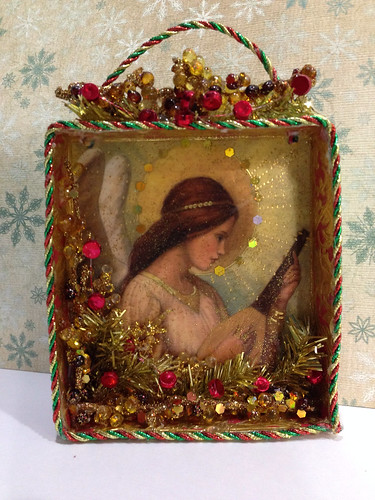
menu plan monday ~ august 18, 2014

The autumn flowers are beginning to bloom. The Sunday bouquet included the flowers of the ‘Royal Standard’ hosta, ‘Autumn Joy’ sedum, and Sweet Autumn Clematis.

Sunday bouquet

I like a white and green bouquet. Here is one I made in 2010, which included hydrangea heads and Sweet Autumn Clematis.

hydrangeas and sweet autumn clematis

All of our hydranageas but one died back to the ground after last winter’s lower than usual temps. We were afraid they had died completely, but they finally came back. They had no hydrangea blooms this year, as they are “mopheads” that bloom on year old wood. Barring another miserably cold winter, we should have blooms next summer.

The only hydrangea that bloomed this year was ‘Quick Fire.’ It bloomed because it is one that blooms on new wood. I would like to get others that bloom on new wood. I really missed my hydrangea blossoms this summer.

Hydrangea 'Quick Fire'

I got side-tracked thinking about my hydrangeas…this is supposed to be a menu post. Here’s the plan for this week. Temps are supposed to be in the 90s, so I’m trying to stay away from the oven, with the exception of Sunday.

Meatless Monday
Portobello Burgers
Corn on the Cob
Sauted Asparagus with Garlic

Tuesday
Pan Seared Tilapia with Tomato/Lime Salsa
Lima Beans
Corn on the Cob

Wednesday
Hamburgers on Tangy Buttermilk Cheese Buns

burger

Sliced Tomatoes
Garden Salad

Thursday
Chicken Salad on Homemade Buns

Friday
Soy-Marinated Beef Skewers
Brown Rice
Sauteed Summer Squash, Zucchini and Cherry Tomatoes

Saturday
Fridge Food

Sunday
Garlic-Lemon Double Stuffed Chicken
Spinach Arugula Salad
Roasted Asparagus
Tomato Wedges

You can find more menu and recipe ideas at Menu Plan Monday.

~~Rhonda
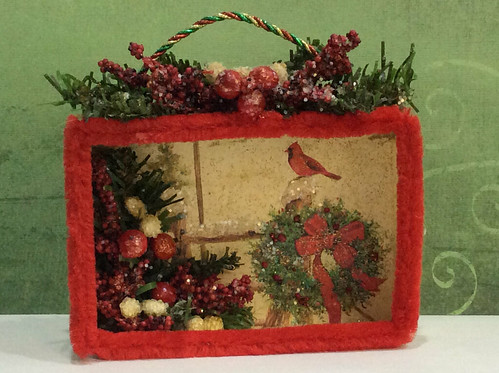
cookie cutter ornaments

A few years ago, I made these cookie cutter ornaments for the Christmas Notebook ornament exchange.

cookie cutter ornament

They were pretty easy to make. I found a cookie cutter collection at Wal-Mart that had twenty cookie cutters for only $5.
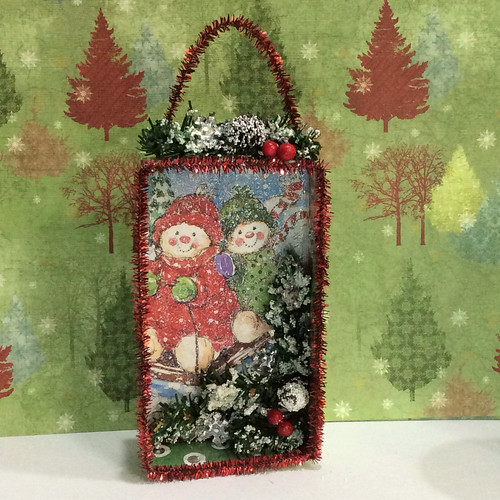
What you’ll need:

  • Metal cookie cutters
  • Mod Podge decoupage medium
  • Scissors
  • Background paper
  • Paint brush
  • X-Acto knife
  • Clothespins or clamps
  • Trim for the outside of the ornament
  • String or fishing line to hang the ornaments


To begin, I prepared the picture background. I explained how I made it in this Decoupaged Ornaments Tutorial. For the decoupage ornaments, I printed pictures on regular copy/print paper. For the cookie cutter ornaments, I used photo paper, though printer paper in a heavier weight than copy paper would work.

To begin the ornament, place the cookie cutter on the picture, choosing the pictures you want to show. Using Mod Podge, glue inside the cookie cutter, all around the edge, then paint the Mod Podge over the pictures to seal them.

paint modge podge over the picture

glue the inside of the ornament to the paper

cookie cutter ornament

making ornaments

After allowing the glue to dry, cut around the ornament.

cut around the ornament

Use an X-Acto knife to cut away all the paper outside the ornament.

trim when glue has dried

I used tinsel pipecleaners to put a decorative edge around the outside of the cookie cutter. Clothespins make great clamps to hold the tinsel in place until the glue is dry.

clothespins make good clamps

They turned out very well. Of course, this same technique can be used for a single picture in each ornament. Maybe pictures of your kids’ childhood Christmas pictures. Or copies of vintage family pictures. Or pictures of your favorite Christmas cookies!

Scrapbooking papers can be used instead of pictures for a less personal look. They would be pretty tied to packages or given as gifts. You could even use Christmas fabric. How about Christmas carol sheet music inside a bell shaped cookie cutter? Or recycle Christmas cards by using your favorites as the picture backings.

cookie cutter ornament

I’ve also seen cookie cutters like this filled with fudge to give as gifts at during the holidays. Very cute presentation! Cookie Cutter Fudge at Betty Crocker

And here’s another recipe with pictures. Cookie Cutter Fudge at Chocolate Moosey

~~Rhonda