memories of Zak

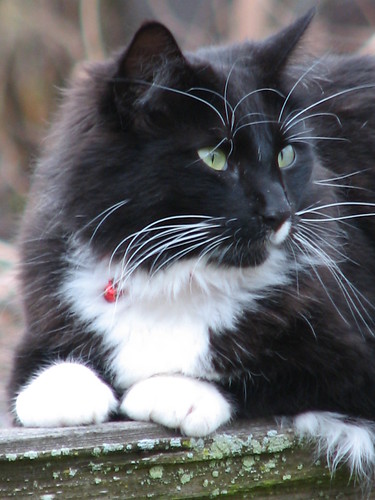
My cat Zak passed away yesterday. He was a sweet cat, gentle and loving. I am going to miss him a great deal. A friend suggested I share some memories, so I thought I’d write a blog post about Zak. He was a people cat. He was always happy to meet new people and would ask to sit on anyone’s lap. But he loved me best and would abandon everyone else if I called his name or talked to him. Zak was a chatty cat. You could carry on an entire conversation with him, if you wanted to. He’d “talk” back as long as you wanted to talk to him.

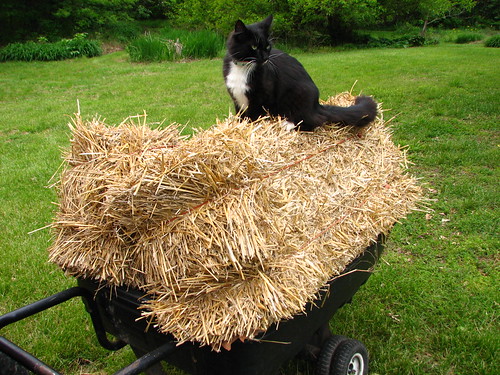
Zak

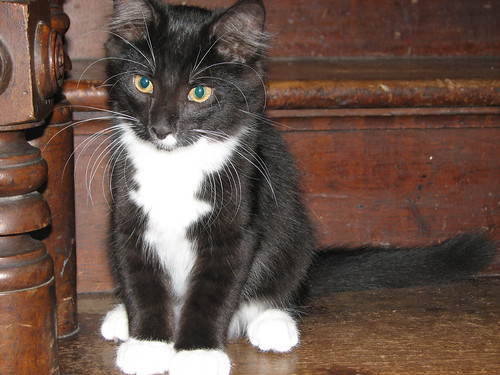
Zak came to us in 2006. He was just a kitten.

Zak

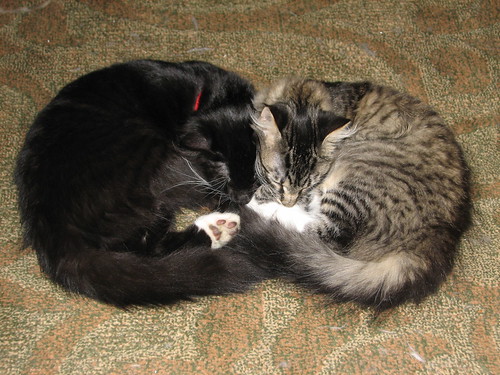
We got two cats from the same litter. Zak and his sister Zilli.

Zak and Zilli

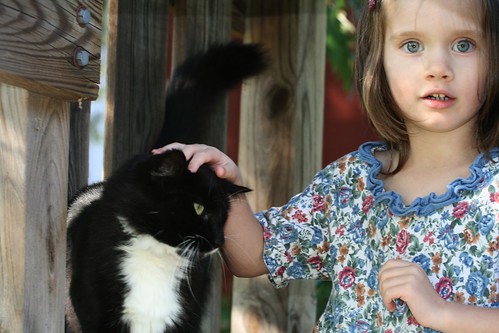
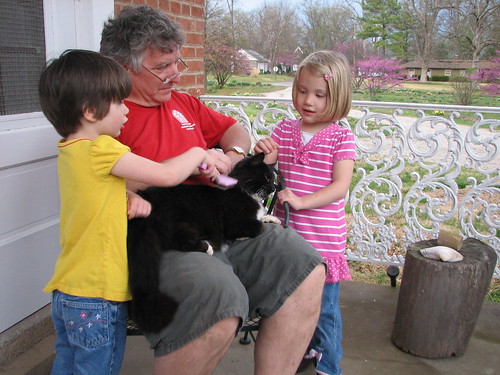
He was very loving and extremely patient with children. I always thought he would have been a perfect nursing home cat. He loved being with people and was so easy-going. Ready to be friends with anyone who happened by.

autumn afternoon

grooming Zak

Zak loved being outside. In any season.

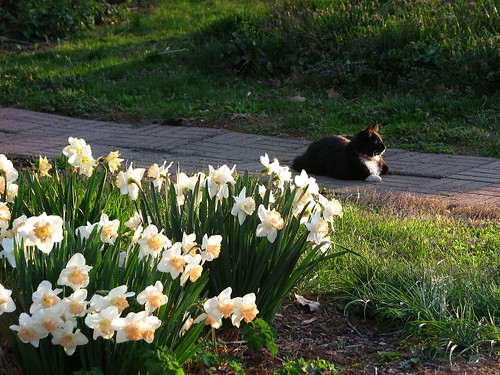
Zak, catching the last rays of sunshine

He was a great moler. Our yard was practically mole free when Zak had access to the outdoors.

Zak in the garden

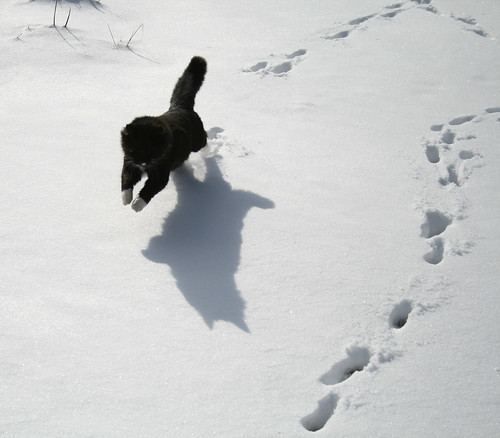
I love this picture, taken by our middle daughter, of Zak enjoying the winter snow.

Zak chasing shadows

When we worked in the garden or walked the yard, Zak would follow us, watching what we were doing, waiting for us to move on…

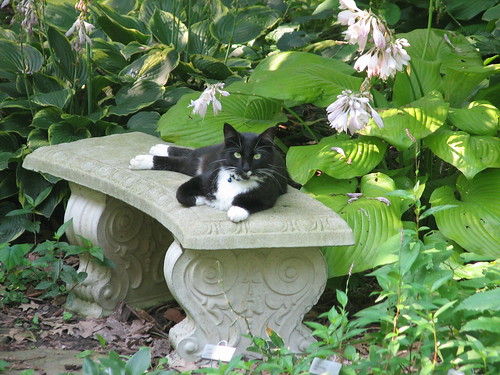
Zak in the hosta garden

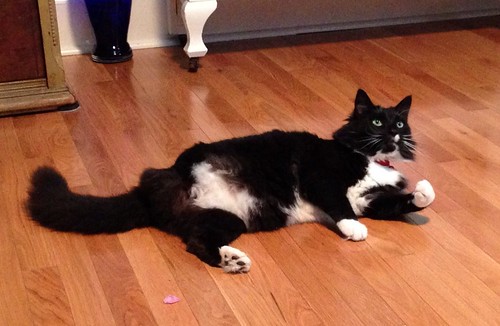
Zak

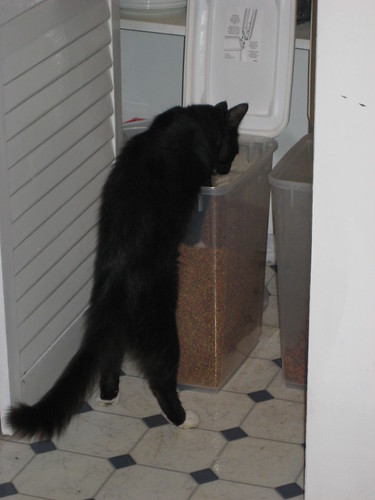
Zak preferred his food from the stash rather than the bowl, if the lid was left open.

can't wait his turn

Last fall, Zak developed an infection in a toe on his right rear leg. The vet thought he had been bit by a poisonous spider. The infection could not be cured. After almost two months of fighting it, then removing two toes, with no resolution, Zak’s leg had to be removed. After that, he had to stay indoors. I feared for his safety outdoors when he wasn’t able to run as fast as he used to. We have resident foxes and I was concerned about them chasing Zak.

three legged Zak

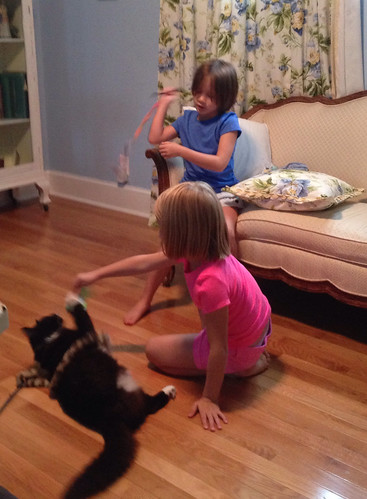
Being slower on his feet didn’t slow him down when playing, though. He was always ready to chase a string or catch the “fishing” line.

Losing a leg didn't slow Zak pdown when it came time to play.

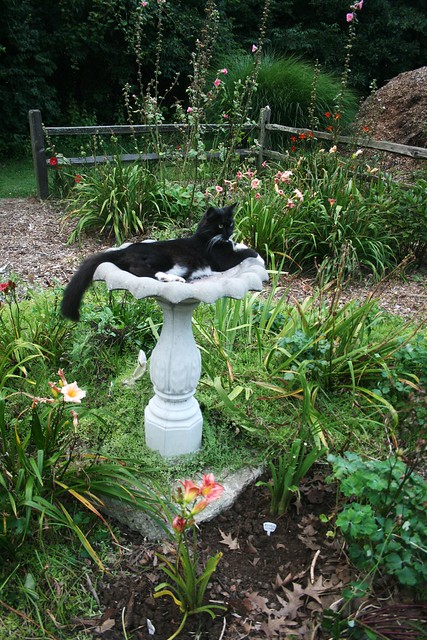
Zak had a second bout of kidney issues this past weekend. Monday we took him to the vet. Yesterday we were informed that Zak had passed away while under anesthia while a procedure was being performed. DH brought Zak home, wrapped him in his favorite fuzzy blanket and buried him under the birdbath in my fenced garden. It was a favorite vantage point of his.

Zak in the fenced garden birdbath

Pets are a gift from God. They teach us love, patience and the value of companionship. I’m thankful Zak was a part of our family.

I will always miss you, Zackers.

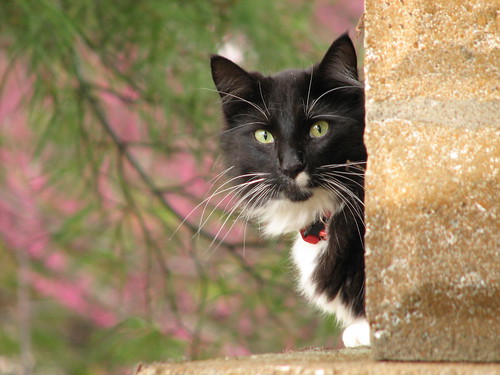
peeking

~~Rhonda

Christmas shadow box…embellishments start to finish

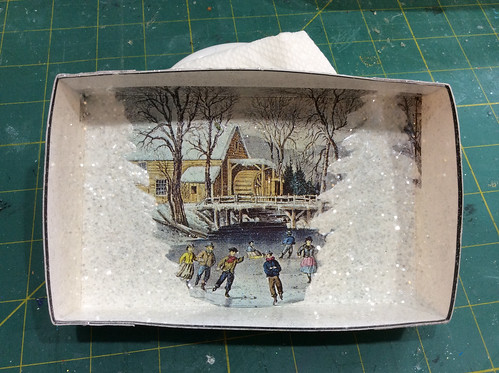
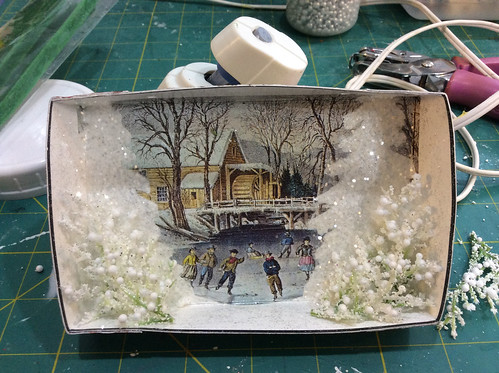
This box was one I liked a lot. It had two large white trees, one on each side, framing the mill pond and the skaters. I glittered the box with silver glitter glue inside and out (one side at a time) and let that dry. Then I covered the trees with a larger white glitter so they would stand out.

Christmas shadow box

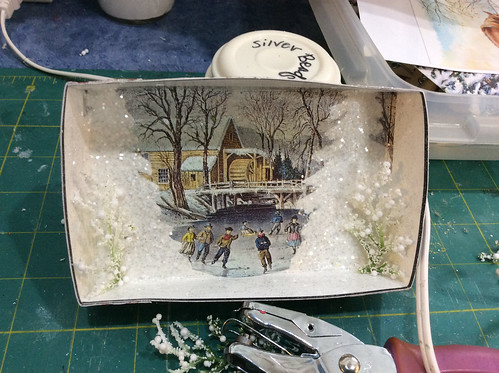
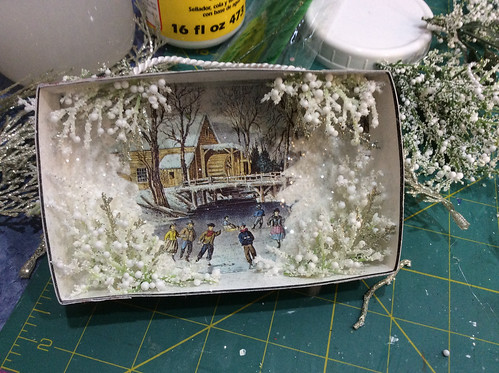
I used a small hole punch to punch holes on the top of the box to pull the hanging cord through. I began embellishing the box by adding white branches to the sides to bring out the snow theme.

Christmas shadow box

Layering the embellishments gives the box more depth.

Christmas shadow box

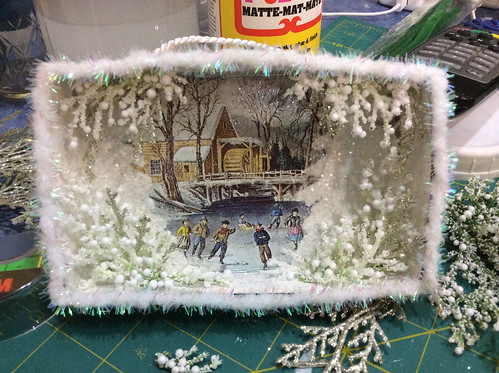
After I hot glued the cording, I wanted to cover the glue on the inside of the top of the box, so I added some branches there.

Christmas shadow box

Silver branches added more sparkle. Then I hot glued a pretty trim around the edge of the box.

Christmas shadow box

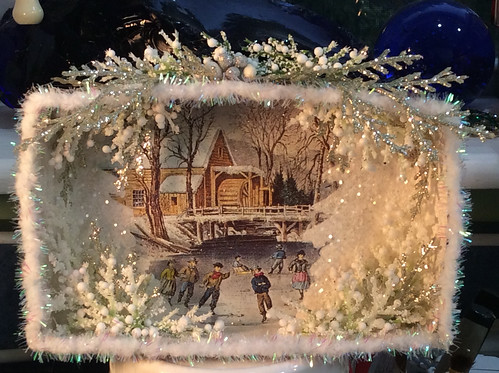
I added silver branches to the top of the box and had them hang over the edge just a bit. A little dab of hot glue held them in place. A few white branches tied in the other embellishments and a bit of silver and white in the center finished it off.

By the time I finished the embellishments, the white trees on the card didn’t show up as much as I had hoped, but I do like the way the box turned out.

Skate date

Follow this link for a tutorial on making Christmas card shadow boxes.

Similar Christmas card shadow boxes I have made are featured in my Etsy shop. ChristmasNotebook

~~Rhonda

menu plan monday ~ october 13, 2014

I’m sitting in the craft room (second floor) looking over the back yard as it rains, rains, rains. There have been several tornado and severe thunderstorms watches. Also, a tornado warning about an hour north of us. We’re staying tuned to our alert apps. So thankful for the ease of keeping up with the weather.

Our middle daughter is sewing her first quilt top. Her kitty Zilli is supervising.

quilting

I am just across the counter, doing some computer work, including this Menu Plan Monday post. I was just able to squeeze my computer between craft projects. Time to clear the counter again!

Time to clear the counter again.

The rainy weather puts me in the mood for soup. The chicken is in the crockpot for tonight’s meal. Smells good already!

Monday
Chicken and Noodles
Cornbread

Wampanoag Cornbread

Tuesday
Tacos

Wednesday
Pan Seared Tilapia
Baby Baked Potatoes
Steamed Sugar Snap Peas

baby baked potatoes

Thursday
Cheesy Potato Sausage Soup

cheesy potato sausage soup

Friday
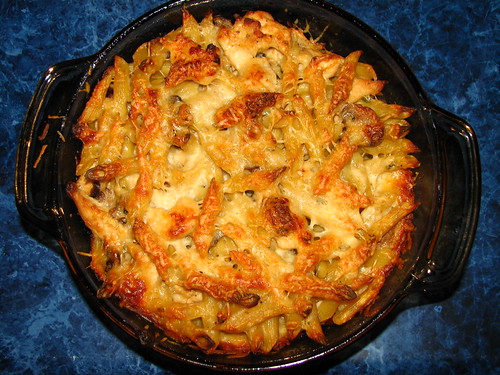
Baked Penne with Chicken
Garden Salad
Roasted Asparagus

Penne with Chicken

Saturday
Fridge Food

Sunday
Spaghetti and Meatballs
Homemade Sauce
Garden Salad
Garlic Bread with Cheese
Peas and Corn

You’ll find more menu and recipe ideas at Menu Plan Monday.

~~Rhonda

decoupaged Christmas card ornaments

I’ve been crafting my way through a lot of old Christmas cards lately. I am grateful to all who have donated used cards for my crafts. I’m always looking for more. If you have some you want to be rid of, send them over!

The Christmas card shadow boxes have been a lot of fun. I have at least twenty more cards made into boxes, glittered and ready to embellish. After this weekend, I will get back into the craft room and make more boxes. I’ll post some later this week.

My sister came down this weekend to help us with the official start of Christmas decorating. We finished the Victoria tree and most of the decorating in the smaller guest room where the Victorian tree is placed. The upstairs hall tree and boxes came down from the attic, also. But, of course!, the hall tree needs a string of lights replaced. We’ll do that this next week and get that tree decorated, too. Pictures soon!

Another project I am using the old cards for are decoupaged ornaments. I peel the front of the card and use that to decorate a glass ball. Here are a few examples:

Snowbear
Front:

Christmas card ornaments

Back:

Christmas card ornaments

Christmas Angel
Front:

Christmas card ornaments

Back:

Christmas card ornaments

Chickadee Greetings
Front:

Christmas card ornaments

Back:

Christmas card ornaments

I have started a tutorial to show how to make the round ornaments. It will take a while to finish the post, but stay tuned. I hope to have it up in the next week or so. Much to do between now and then!

~~Rhonda
twin time

The girls were here last weekend and we had a great time, as usual.

Snow White found an electric candle we use in the window at Christmas time. She and Rose Red played with it for almost half an hour. Who knew an electric candle could be so much fun!?

Fun with an electric candle.

Pa helped them make plaster of Paris casts of their hands as a gift for me. They loved doing that and then enjoyed showing me how the molds fit their hands.

image

The girls have been fascinated by the Christmas shadow boxes I’ve been making.

image

I helped them make their own. They picked out their own cards and made the boxes.

image

Then they spread the glitter glue. They were patient with having to wait between inside and outside coats while the glue dried.

image

They picked out embellishments, with just a little editing from Ma.

image

Rose Red is especially interested in crafting, creating with paper, scissors and glue, etc. She was in her element!

image

They were so happy with the results that we ended up making another set of boxes.

They designed their own shadow boxes...picked the card, glittered the boxes, and picked out the embellishments. They are very proud of what they created...with a little help from Ma.

Children seem to find it easy to take great pleasure in the moment. They’re not worried about the past, not dwelling on the future. Maybe that is part of what makes grands so much fun.

~~Rhonda
menu plan monday ~ october 7, 2014

I guess it’s Menu Plan “Tuesday,” this week. I’ve been very busy crafting ornaments and didn’t take time to plan a menu on Monday. Here are a few of my favorite ornaments from the past few days.

Stopping by Woods on a Snowy Eve

Stopping by woods on a snowy eve

Peace on Earth

Peace on Earth

O, Come Let Us Adore Him

O, Come Let Us Adore Him!

Have a Beary, Bunny Christmas! …couldn’t stop myself…

Have a beary, bunny Christmas... Sorry...couldn't help myself.

Christmas Eve

Christmas Eve

Snow White and Rose Red were here for the weekend and they made their own Christmas shadow boxes…with a little help from Ma…

They designed their own shadow boxes...picked the card, glittered the boxes, and picked out the embellishments. They are very proud of what they created...with a little help from Ma.

And now back to menu planning…

Monday
Take-out

Tuesday
Baked Pork Steaks
We didn’t eat together…I was crafting, DD was away for the evening, and DH was watching the Cardinals win another game!

Wednesday
Pork Loin Roast in the Crock Pot
With Carrots and Potatoes
Garden Salad

Thursday
Broccoli and Cauliflower Cheese Soup
Fresh Bread, toasted

Friday
Pan Seared Tilapia
Stir Fried Cabbage and Garlic
Sliced Tomatoes

Saturday
Fridge Food

Sunday
Spaghetti with Homemade Sauce
Garden Salad
Garlic Bread

You can find more menu and recipe ideas at Menu Plan Monday.

~~Rhonda

Christmas card shadow boxes

I’ve had a lot of fun the past few weeks working on little shadow boxes made from Christmas cards. Follow this link to a tutorial for making the boxes. I’ve learned a few things since I posted the tutorial. First a few tips, then a few samples of what I’ve been doing.

I now make the box tabs folded to the top and the bottom of the box, instead of to the sides. And I don’t cut them short most of the time. I think leaving the entire tab makes the box a bit stronger.

The way I do it now, with tabs on top and bottom:

image

The way I did it before with tabs on the sides:

image

I also am making most of the holes to hold the hanging cord with a punch instead of a pin or an awl. It makes a nice smooth hole.

image

image

The pin method. Works fine.

Christmas card shadow box

My handy dandy awl. Also works well. I don’t remember where I found this tool, but I do love it. Comes in handy for a lot of different uses.

image

In the tutorial, I glued the beaded string around the outside of the box.

Christmas card shadow box

After making a couple of dozen boxes, I decided it looks better with the edge of the box covered. My small multi-temp glue gun puts out a small bead of glue without dripping while it rests. Perfect for edging the boxes with trim.

image

Chickadees in the snow

image

This is one of my favorites. Over the river and through the woods…

Over the river and through the woods...

Good tidings of great joy!

image

Christmas Cardinal

Winter cardinal  Christmas card shadow box

Happy snowman

image

Sledding snowmen

image

Sweet nativity

image

Another nativity

image

My dear friend Marsha came to visit on Tuesday and we made shadow boxes. I have quite a few card boxes made, and will be embellishing them soon. More to come!

Similar Christmas card shadow boxes I have made are featured in my Etsy shop. ChristmasNotebook

~~Rhonda
menu plan monday ~ september 29, 2014

It’s been a busy week. DD and I made three kinds of truffles and candy acorns for a fall themed wedding. It was fun and I am so grateful for my daughter’s help.

image

It did put me in the mood to get started on Christmas goodies for the freezer! It’s that time of year! Before you know it, we’ll be seeing lots of these!

Christmas Open House

The menu for the week is planned as follows.

Monday
Homemade Pizza

sooo good!

Tuesday / company coming! My dear friend Marsha and her husband Paul are coming for the day. MJ and I will be crafting. Pablo will be doing some carpentery work for us. Can’t wait to show you his project!

Chicken Tortellini Soup
Corn Bread

Wampanoag Cornbread

Wednesday
Grilled Pork Steaks
Grilled Potatoes and Carrots
Garden Salad

Thursday
Pan Seared Tilapia
Stir Fried Cabbage and Garlic

Friday
Crock Pot Turkey Tetrazzini
Sliced Tomatoes
Lima Beans
Garlic Bread

turkey tetrazinni

Saturday
Fridge Food

Sunday
Crock Pot Pork Tenderloin
Mashed Potatoes
Steamed Green Beans
Garden Salad

I hope you take time to plan your week’s menu. It saves a lot of anxiety and last minute shopping (which always costs more!), and you’ll feel good knowing you are prepared! More menu and recipe ideas can be found at Menu Plan Monday. Check it out!

~~Rhonda
truffles and acorns

Our middle daughter and I made three kinds of truffles and candy acorns as favors for the wedding of our friend Justin and his bride Dana. The wedding had a fall theme, so the truffles were dipped in orange, yellow and chocolate candy coatings.

image

The chocolate covered one with the orange sugar crystals is a buttercream.

image

image

Butter Creams

The yellow one is a Chocolate Cream.

image

ready for chocolate coating

The orange one with green sugar crystals is a Pumpkin Cream Cheese Truffle.

image

image

When I made the pumpkin ones, I tripled the recipe and it made about 90 truffles. I used the recipe as it was written, except for substituting graham crackers for the gingersnaps and adding 1/2 teaspoon ground ginger. I didn’t want to buy an entire box of gingersnaps for the little bit needed for the recipe.

The acorns were cute and very easy to make. I used this site as inspiration. Just revised it a bit for something we liked even better.

image

The acorn caps are Nutter Butter Bites. We took the mini sandwich cookie apart and just used the cookie part. The caps were placed on the cookie sheet upsidedown. The chocolate Hersheys Kisses were dipped in melted chocolate and then stuck to the mini cookies. When set (just a few minutes), peanut butter chips were attached to the top as a stem, using melted peanut butter chips.

image

The truffles were placed in dark brown tulip baking cups and wrapped with an ivory tulle circle, then tied with a dark brown satin ribbon.

image

Butter Creams

Ready to take to church…

Butter Creams

Extra acorns were placed in mini cups and set on the tables.

image

My thanks to all the people in our church family who worked with love to make Justin and Dana’s wedding something special! I am sure it has made Dana feel warmly welcomed in her new country, by her new church family, and with her new husband! May God bless their life together!

~~Rhonda
cookies for the marching band

Our daughter takes part in the marching band at school. They have a competition coming up and I volunteered to make cookies for the band to take along on their trip. Last year, I got a lot of positive feedback on the Triple Chocolate Cookies I made, so I decided to make them again. I doubled the recipe this time. “Triple Chocoate” because they have cocoa and these ingredients in them:
making cookies

Sure to satisfy hungry teens.

Triple Chocolate Cookies

Fourteen dozen…enough, right? I used a small scoop to keep all the cookies similar in size.

Triple Chocolate Cookies

These cookies pack and travel well. Great for college students to find in their mail or for a package of delicious cookies to share with friends.

A substitution of mint chocolate chips for the mini ones, Christmas colored M&Ms, and an addition of peppermint extract would make this a great cookie for a Christmas cookie exchange.

Top them with some frosting, or a dip or dizzle of chocolate, for a touch of something extra. They move too fast to do that around here, though.

Recipe link: Triple Chocolate Cookies

~~Rhonda