freezer is nearing full…

I managed to get a few more things done for the Open House.

On Thursday, I finished the Raspberry Truffles and the Mocha Truffles. They are packed and in the freezer.

Mocha and raspberry truffles

Mocha and Raspberry truffles

Family came over Friday evening and they were a huge help, putting up two trees upstairs and helping with cleaning up the craft room. It had accumulated some storage boxes and other items that needed to be put away.

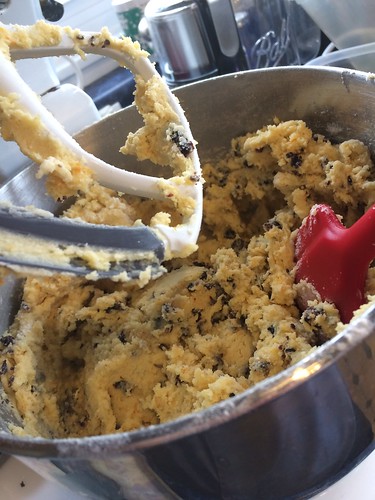
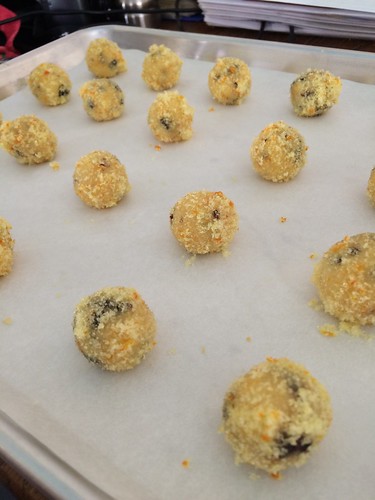
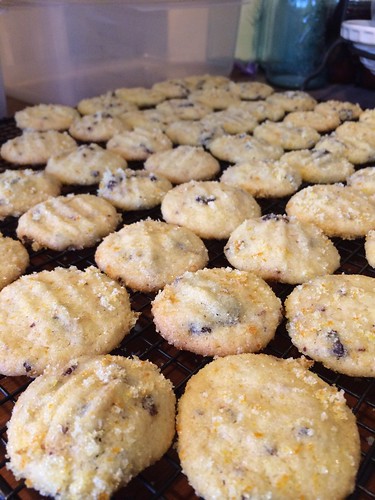
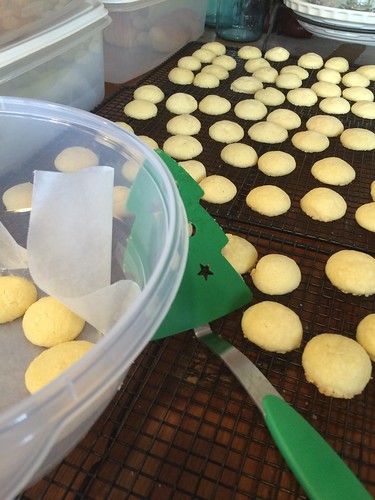
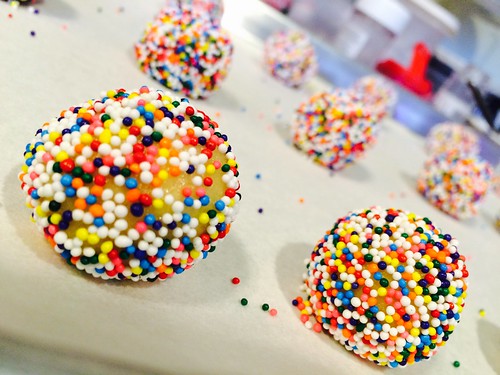
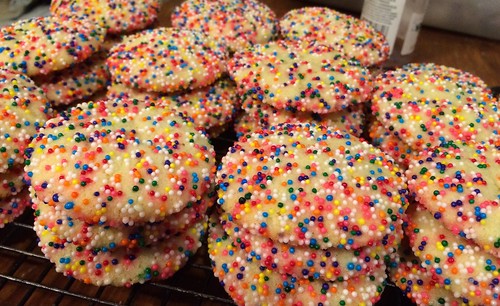
Today I baked the Sugar Cookie Crisps I made yesterday. It’s a soft dough and had to be refrigerated overnight before baking. I rolled it into balls and then rolled the balls in sprinkles.

Sugar Cookie Crisps

Sugar Cookie Crisps

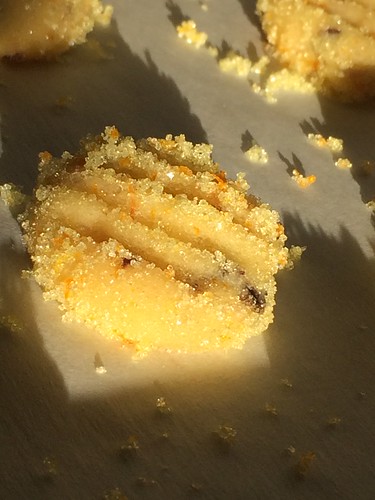
Before, I have always rolled them in different colors of sanding sugar. I did make a batch of these with red sugar.

Sugar Cookie Crisps

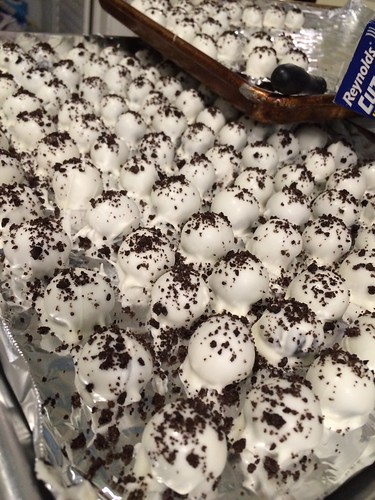
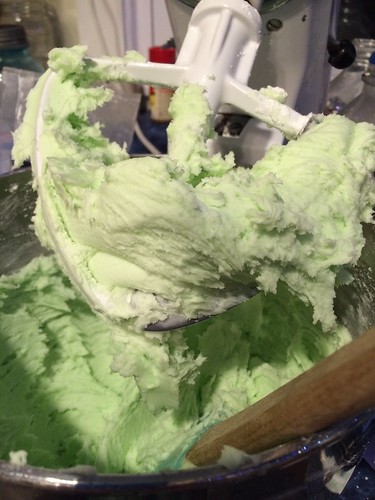
I also made cream cheese mints and rolled it into balls to make minty truffles. I will dip them in almond bark tomorrow.

Making mint truffles

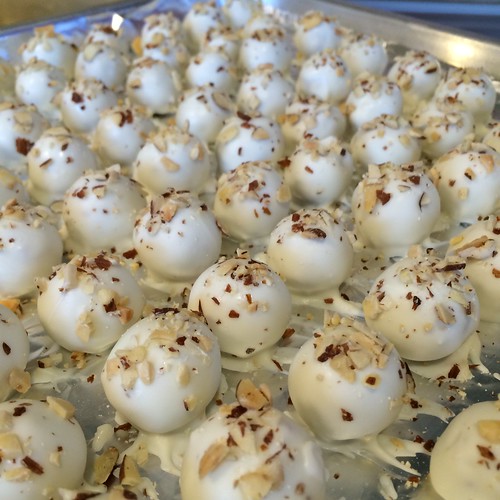
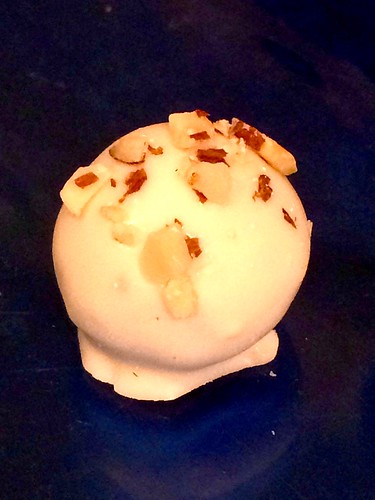
I made a batch of Chocolate Almond Truffles today and will roll those and dip them tomorrow.

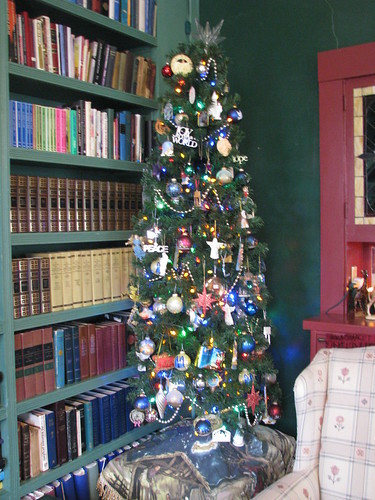
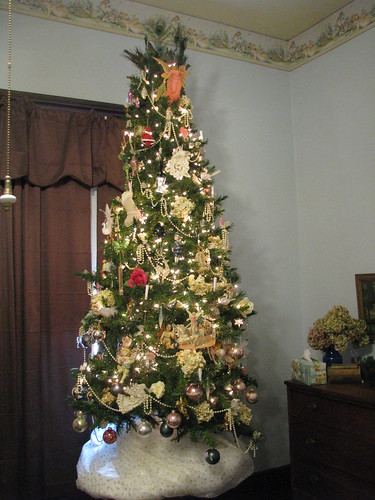
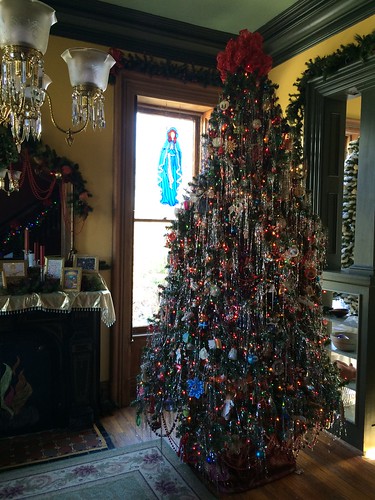
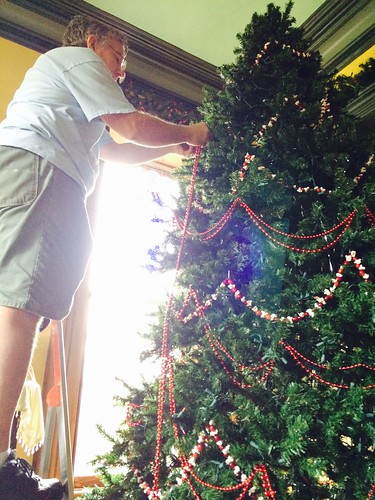
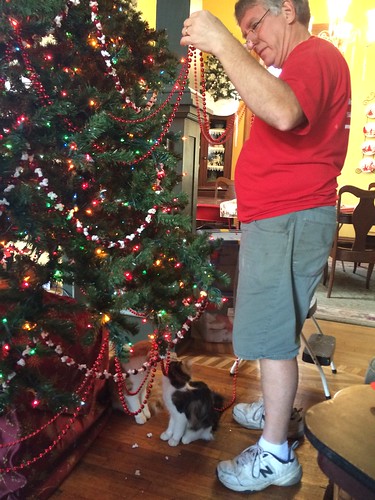
DH finished putting the beads on the living room tree today. I put a box full of ornaments on the tree. More go up tomorrow.

Put on the rest of the beads.

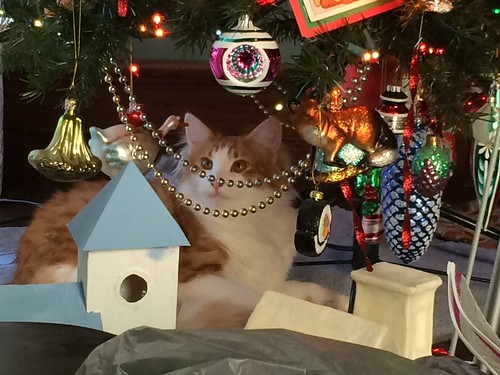
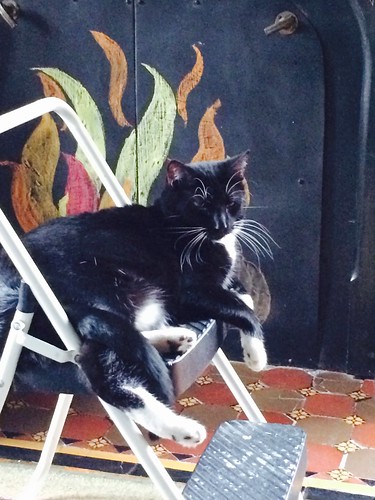
Ski enjoyed watching us work on the tree as he lounged in front of the roaring fire. The fire was chalked by my sister last weekend.

Ski enjoys the ro
aring fire.

My sister arrived this evening and will be here for two full days. We should be able to get a lot done! I’m looking forward to that!

~~Rhonda
rollin’, rollin’, rollin’…

Anyone feel a song coming on? Haven’t thought about “Rawhide” for a long time! But, (big surprise), I wasn’t moving cattle today. I was rolling truffles.

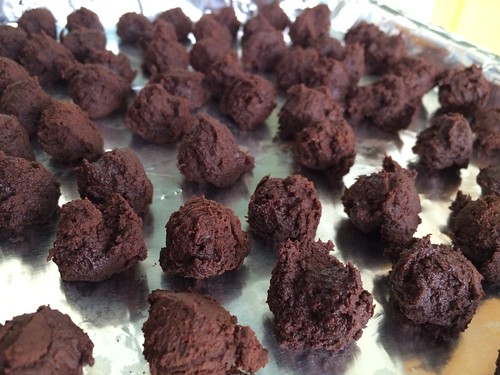
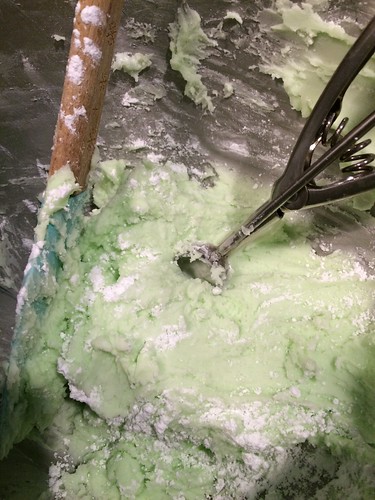
First, I scooped them.

Making mocha truffles. Step one - scoop.

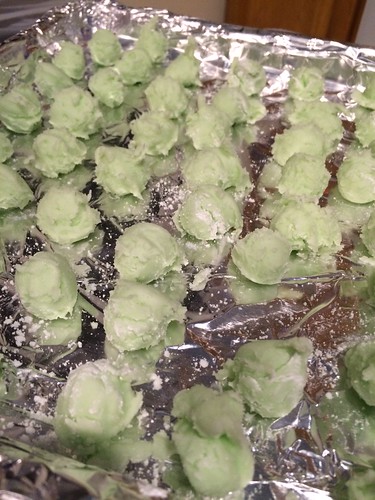
Then I rolled them.

Untitled

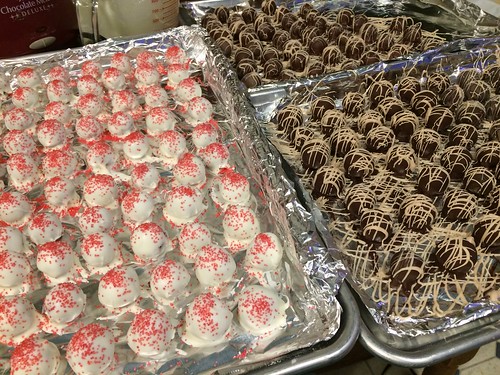
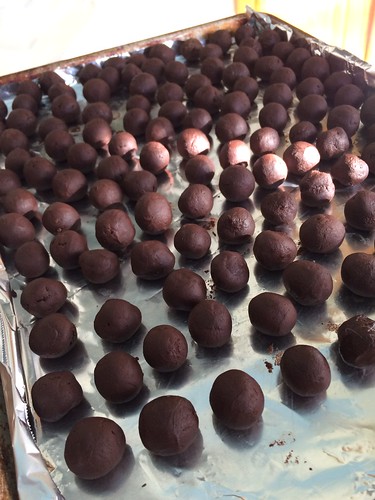
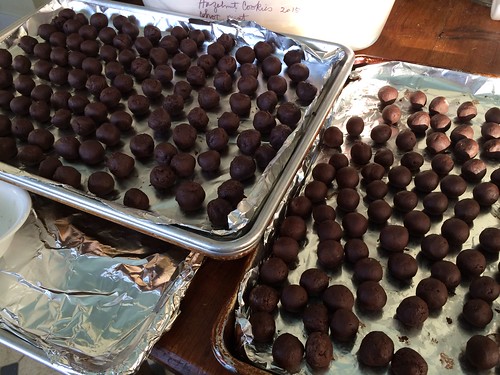
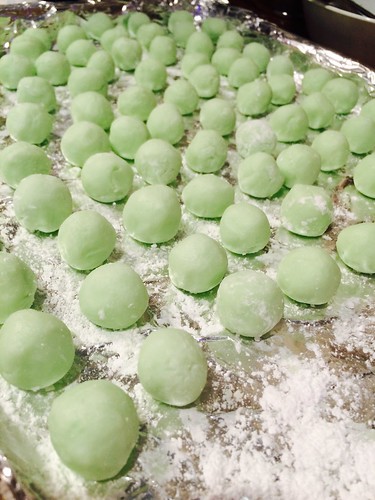
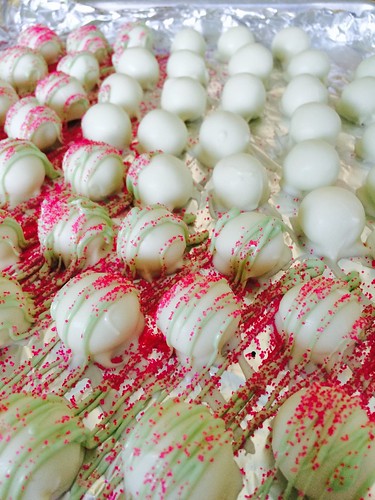
Raspberry Truffles on the left and Mocha Truffles on the right. Tomorrow I will dip the mocha in chocolate and the raspberry in almond bark.

Raspberry truffles on the left and mocha truffles on the right. Tomorrow I will dip the mocha in chocolate and the raspberry in almond bark.

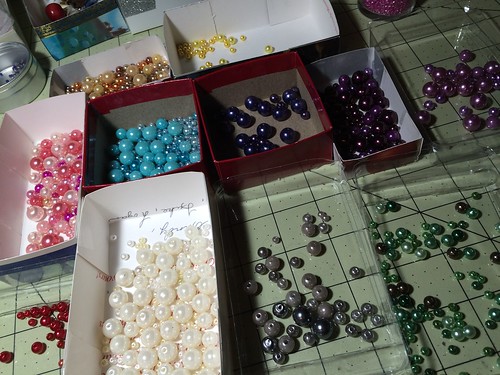
I spent a little time at my desk. Sorted some beads.

Sorting beads

I also worked on the invitations for the Open House. I usually get them done long before now, but I’m finally rollin’ on that project, as well as the truffles.

Cat news for the day…Riley is enjoying her perch on the china hutch in the dining room. She is the jumping-est cat I have ever known. And we have had a lot of cats through the years. Riley is small, but she leaps with grace. She can jump to the top of the seven foot high cabinet with no problem. From there, she surveys her domain and finds it all good. Youngest Daughter took this picture of her.

Riley likes to nap on top the hutch, under the little Christmas tree. From 7 feet up, she can keep a watchful eye on the other cats.

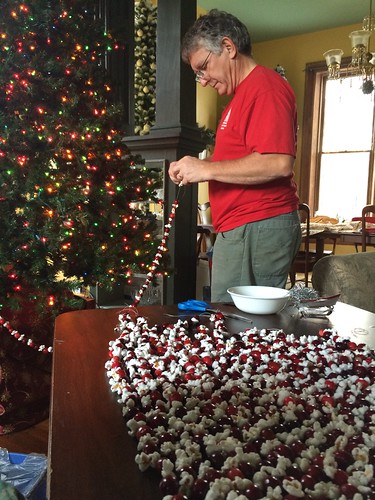
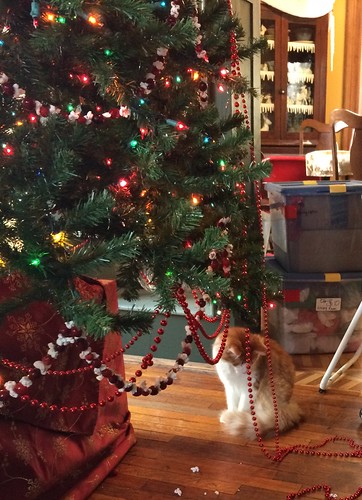
Riley’s kittens turned six months old a few days ago. They are both bigger than she is. Sunday afternoon DH and I worked on hanging the popcorn and cranberry strings and the red beads on the living room tree.

Popcorn and cranberries for the living room tree.

The kittens were right there to help.

Clark wanted to join the fun.

Winston enjoyed beading the tree b

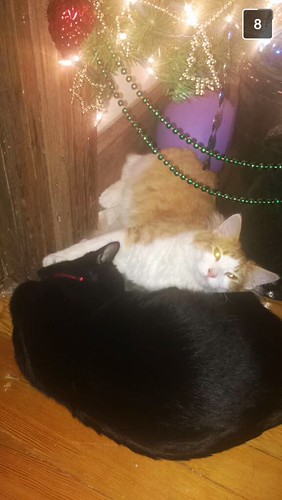
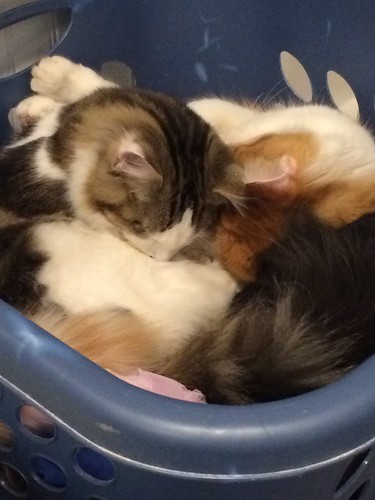
Clark and Winston play together and nap together. I think they will be buddies for the rest of their lives.

Nap time

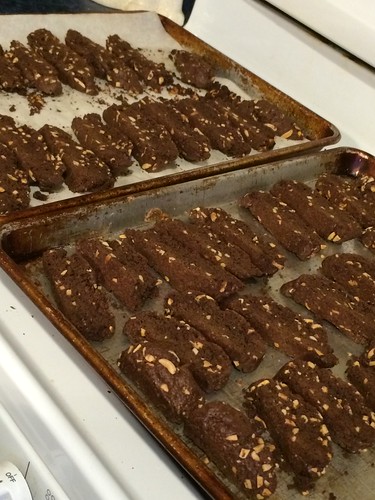
Tomorrow I plan to bake Brownie Biscotti. I’ll let you know how that goes…

~~Rhonda
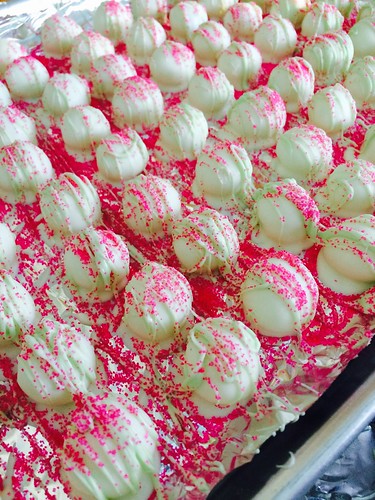
spent the afternoon baking

Today our older son came over to help around the house. He polished cabinets and furniture for me in preparation for the Open House. Such a huge help! After DH came home from his morning meeting, they worked outside, putting up Christmas lights. The porches are festooned, the carport is outlined in lights, and the big redbud tree by the front porch is full of white lights. Very pretty!

I baked Macadamia Nut – White Chocolate Chip Shortbread cookies. They were rolled in white sanding sugar before baking. Gives them a pretty sparkle.

Macadamia Nut - White Chocolate Chip Shortbread.

And Chocolate Peppermint Shortbread / These will be frosted with mint frosting and drizzled with chocolate the day before our open house. For now, they go into the freezer.

Chocolate Mint Shortbread. These will be frosted with mint frosting and drizzled with chocolate the day before our open house. For now, they go into the freezer.

After a few weeks of mostly cloudy skies and lots of rain and wind yesterday, today was bright and sunny. A little windy, but such a nice change from the dark days we’ve had. I took these pictures of some of the plants on the kitchen counter. I wanted to capture the bright sun and the beautiful colors…save them for the dark winter days ahead.

Aloe

Aloe

Basil

Aloe

Hydrangea blossoms from the garden.

Autumnal hydrangea

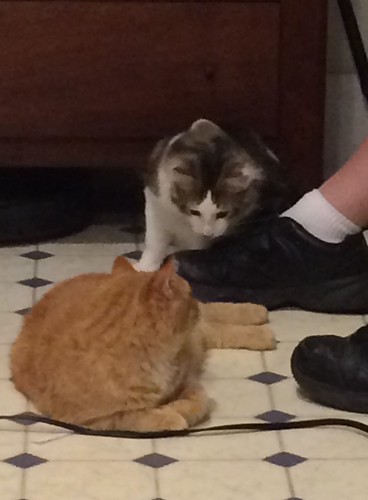
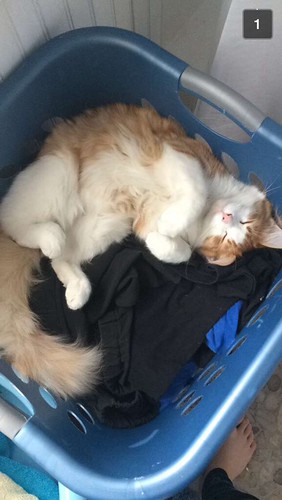
DD bought a little battery operated toy for the kitties and we spent quite a bit of time watching their fascination with it. Made us laugh! Ski (short haired tuxedo cat), Clark, and Winston (ginger).

New toy. Fascinated cats.

By the end of the day I was feeling pretty tired and my leg ached, so off to the recliner for Netflix and blog posting. And tomorrow is another day. Maybe I’ll bake Brownie Biscotti and make Mocha Truffles.

~~Rhonda
scalloped soldered ornaments

I bought some scalloped copper foil tape and made some microscope slide ornaments with it today.

I chose pictures from my stash of old Christmas cards. (Thanks to everyone who has shared their cards with me! I so appreciate it!)

Making more ornaments.

Then, I put the pictures between glass and trimmed them.

Making ornaments

After adding a touch of glitter to the pictures, I foiled them and began soldering.

Making ornaments

I really like the extra flourish the scalloped foil gave the ornaments.

Soldered ornaments

I finished each ornament with a dangle.

Soldered ornaments with dangles

At our Open House, we will have a “Mission Tree” in the scrapbook room, decorated with ornaments I have made. As a thank you for donations to our church’s mission fund, guests may choose an ornament to take home with them. It will be nice to have something new to add to that this year.

~~Rhonda
menu plan monday ~ november 9, 2015

This week I have worked on adding some embellishments to the soldered ornaments. Here are the fronts of two of the ornaments.

Soldered ornaments - front

And the backs.

Soldered ornaments - back

It’s been fun to work on those. And I’m also working on a tutorial for adding the curvy wire to the ornaments.

I’ve also been baking for the freezer, stocking up on goodies for the Open House. Today I made Peanut Butter Cup cookies. I used the Honey Peanut Butter Cookies recipe for the dough. They turned out beautifully. They held together much better than using a tube of cookie dough from the store.

Peanut Butter Cup cookies

Here’s the menu for the week. I’ll be doing more Christmas baking, too.

Monday
Turkey or Roast Beef Sandwiches
Buttermilk Cheese Rolls
Pretzels
Sliced Cucumbers

Tuesday
Baked Spaghetti
Rosemary Bread
Peas
Corn

rosemary bread

Wednesday
Hamburgers
Buttermilk Cheese Rolls
Roasted Cabbage

burger

Thursday
Smoked Pork Shank and Beans
Cornbread

Friday
Heat Free Chili
Cole Slaw with Peanuts
Crackers
Celery Sticks

Delicious with a dollop of peanut butter.

mild chili

Saturday
Spicy Shredded Pork
Homemade Buns
Veggies and Dip
Sweet Pickles

Sunday
Cheesy Potato and Kielbasa Soup
Cornbread
Veggies and Dip

cheesy potato sausage soup

You can find many menu ideas at Menu Plan Monday.

~~Rhonda
tutorial ~ soldered Christmas ornaments using microscope slides

I have enjoyed making these Christmas ornaments for my side of the family’s Christmas party. Each of my Dad’s 60+ grands and great-grands will find an ornament in his/her stocking. These are all made with pictures from old Christmas cards. Just a side note to locals: I am always looking for more cards. If you have any to recycle or pass along, I am happy to receive them!

Soldered ornaments

Soldered ornaments

It’s a lot of stockings!

2014 family Christmas

The ornaments are fairly easy to make. The hardest part is mastering the soldering. I am new to this hobby myself. I have done my best to write a tutorial, but have also linked to videos that help explain a few things. The initial investment is pricey for a craft you may decide you don’t enjoy. I would suggest trying a class at a craft store or sharing a craft session with a soldering friend before buying all the needed tools. See if you like the craft before making the investment.

Supply List / I’ve added links to items I am using.

If using glass thicker than microscope slides, you may want to use 3/8″ copper foil tape rather than the 1/4″ foil.

I didn’t have a tile when taking these pictures, but I have since obtained a 12×12 tile. It’s a good idea to have something heat resistant to work over. I searched on amazon.com and came up with some examples of what is available.

Don’t buy a cheap soldering iron. Mine is a 40 watt iron and it works great. Get an iron that comes with a holding station. It will have a cradle where the iron can be placed when you are not using it. Keeps your work area safe from the heat, including you. And get one with a dial so the heat can be controlled. Many stations will also include a sponge for cleaning the soldering tip. And a “power on” indicator light is a great feature. Helps you remember to turn the iron off when done. When I helped my sisters solder ornaments, we found that the cheap soldering irons did not work very well. They caused a lot of frustration.

Begin by gathering the pictures to use for the ornaments. I use Christmas cards. Family photos, online pictures, scrapbook paper, etc., can be used. Scan and resize pictures, if needed.

My glass slides were 3″ X 1″, so I cut a window, the same size as the slides, in the back of a card. That gave me a good way to preview the cards I was using for pictures, to see if they would work well or not.

Place the window over the picture you’ve chosen and decide which parts of the picture you will be using. I use cards that can give me two coordinating pictures. If you have a card picture and can’t make a coordinating picture with the same card, you can use wrapping paper, scrapbook paper, or other coordinating pictures to make the back.

making soldered ornaments

making soldered ornaments

Trace around the picture, using the window as a guide. You can use a microscope slide to trace, but be mindful of the sharp edges. I like the window because it keeps me from being distracted by the rest of the picture.

making soldered ornaments

Cut the pictures to size.

making soldered ornaments

Clean the microscope slides or other glass you use. Any dirt or fingerprints left on the inside will be there to stay if not removed now. I use an eye glasses cleaning cloth to wipe the slides clean.

soldered ornaments

Sandwich the pictures between the glass. Check that both pictures are face out and that the tops of the pictures are at the same end of the glass.

Level them by putting the long side down on the work area, so the pictures and the glass pieces are even on that edge. Using a craft knife, carefully trim any excess paper from the opposite side. Turn the glass and the pictures so they are sitting on a short side and do the same, trimming any excess paper or card stock.

NOTE: I start in the middle and, while holding the slides/pictures firmly with one hand, VERY carefully cut off the excess paper, starting in the middle and slowly coming towards myself. Then I turn the slides/pictures so I can cut the second half of that side in the same manner. Craft/Xacto knives are VERY sharp. Please be cautious if you use this method to trim the pictures.

soldered ornaments

Now is the time to add a little glitter to the pictures, if you want to. No glue necessary. Use a very fine glitter.

soldered ornaments

Use the tip of your finger to sprinkle a little glitter onto the picture. Being careful not to touch the inside of the glass with your fingers, put the glass over the glittered side, turn the ornament and glitter the other picture. I find it handy to have some small object at hand that I can set the glass slide on while I glitter the picture. Setting the slide on the work space can cause it to pick up small bits you don’t want inside the ornament. Setting the slide on something also makes it easier to pick the slide back up without smudging the inside of the glass.

soldered ornaments

Cut a piece of copper foil long enough to go around the glass edges with a 1/4″ overlap. For the 3″ X 1″ slides, the foil should be cut to 8 1/4″ long.

soldered ornaments

Remove the paper from about an inch of the foil at one end. Place the glass on the center of the foil, pressing down to adhere it to the glass. Work your way around the glass, peeling the backing off the foil as you go along.

soldered ornaments

soldered ornaments

Here is a site that does a good job of explaining how to foil glass. Everythingstainedglass.com

And here is a video showing how to foil. How to Use Copper Foil Tape on Glass Pendant

This piece has been foiled, but the foil has not been crimped or burnished yet.

soldered ornaments

Crimp (fold over) the foil so it adheres to the glass. Start in the center of each side and work your way to the corners. At the corners, use your thumbnail or a toothpick or burnishing tool to miter the corners. Push the foil down on the long sides first (both ends) and then fold over the short sides.

soldered ornaments

soldered ornaments

Burnish the foil to insure good adhesion of the foil tape. I use the large end of a bone folder to do this.

soldered ornaments

Burnished and ready to solder.

soldered ornaments

I use what is called a third hand to hold the ornament while I solder.

soldered ornaments

Binder clips work well, too.

soldered ornaments

Flux is needed to make the solder adhere well to the copper foil.

soldered ornaments

You just need a tiny bit. Can you make out that clear circle in the clear container? It’s about the size of a nickel. That bottle is going to last me forever!

soldered ornaments

This picture is blurred, but you get the idea. Flux the length you plan to solder. Brush the flux on the top and the sides of the length.

soldered ornaments

Time to solder. Please watch some how-to-solder videos for hints and helps. Part of mastering it is practice, practice, practice.

Here’s a video on soldering. Soldering 101

And please read this soldering safety checklist. Safe Soldering Checklist

soldered ornaments

After I soldered the side of this ornament, the glass cracked. Probably from the heat. I’ve made about a hundred of these and this is only the second one that cracked. I used my craft knife to remove the foil.

soldered ornaments

After cleaning the replacement glass, replacing the foil, and burnishing it, I soldered it.

I don’t lay a piece on its side to solder as the example given in the video. Because 1/4″ tape is not very wide, laying down a bead of solder on the top will cause it to flow to the sides. (“Top” here refers to the up-facing portion of the foiled glass as it sits in the third hand. “Sides” means the sides of that one portion of glass.) Check both sides before taking the glass out of your third hand or clips to be sure both sides are well soldered. If not, touch the spots with your hot soldering iron and then melt the bead again across the top to even out the surface.

soldered ornaments

After you have soldered the top, it is time to place the jump ring. Hold the jump ring in the flat nose pliers, with the open spot to the bottom so it will be covered with solder when it’s done. Brush the join area on the ring with flux and flux the soldered area where it will be placed. Melt the solder on top the ornament, set the ring in place. Move the soldering iron back and forth to even out the solder. Check to see if the ring is well centered. Front to back, and side to side. If not, melt the solder, remove the ring and reset it, repeating the process.

Again, sorry about the blur…

soldered ornaments

soldered ornaments

Here’s one way to check for centered jump rings. Bull’s eye!

soldered ornaments

Or hold a ruler behind the piece before removing it from the third hand.

Soldered ornaments

Add another jump ring to the other end, if you want to add a dangle. You can use the same size ring as on the top or use a smaller one.

Soldered ornaments

When the jump ring is soldered into place, you can make a dangle or hang a charm.

Here are some different ways to finish your ornament. Beads, charms, bells, little ornaments meant for mini trees, etc. Some of these beads are from old necklaces that my sister picked up at thrift stores. Thrifting is a great way to find a wide assortment of beads.

Soldered ornaments

This tutorial video shows how to make your own head pins, which are the wires you string beads on for a dangle. I use the first one she demonstrates. Jewelry Tutorial: How to Make Eyepins & Headpins : Three Types of Wire Wrapping

Make your head pin long enough to accommodate all the beads you want to string. I cut wire 2 1/2 inches long for my dangles.

This tutorial shows how to wrap the end of the dangle, making a loop for hanging it from the ornament. How to Wire Wrap a Bead Dangle : Wire Wrapping Tutorial – Jewelry Tutorial HQ

This is a good video about how to make your own jump rings.  Making Your Own Jump Rings – Beaducation.com The part of the video you need to watch for making jump rings for our project starts at 4:50 and goes through 12:10.

After I attached the dangle to the ornament with a jump ring, I soldered the jump ring closed so the dangle wouldn’t fall off.

This is a picture of the jump ring before soldering. You can see where it comes together.

open jump ring

Close up.

open jump ring

Flux the jump ring and then solder it.

soldering the jump ring closed

Closed jump ring. Now there is no chance of losing the dangle.

closed jump ring

These are some of my favorites…the ones I plan to keep for myself.

Soldered ornaments

Soldered ornaments

Soldered ornaments

I hope you give these a try. They are a lot of fun to make. My grands and I made some together. They picked their pictures and decided which beads to put on their dangles. They assembled the dangles and I did the rest. It’s not a child friendly craft, but we managed. Plenty of warnings about soldering iron safety (“NEVER touch it.”) and a helping hand with those parts they were able to handle. I wish I had taken a picture of their finished ornaments. Very cute!

Ornaments

If you have any questions about the process, please ask. I will do my best to clear things up. This was a long post. Thanks for hanging in there! I hope it inspires you to give soldering a try.

My soldered ornaments can be found in my Etsy shop. ChristmasNotebook

PS: Since writing this post, I have tried scalloped copper foil, which I really like. Read about it here: Scalloped Soldered Ornaments

~~Rhonda
menu plan monday ~ october 26, 2015

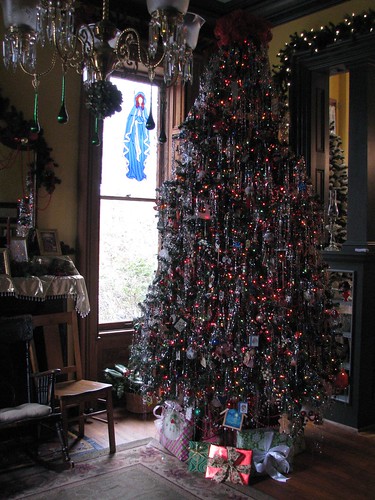
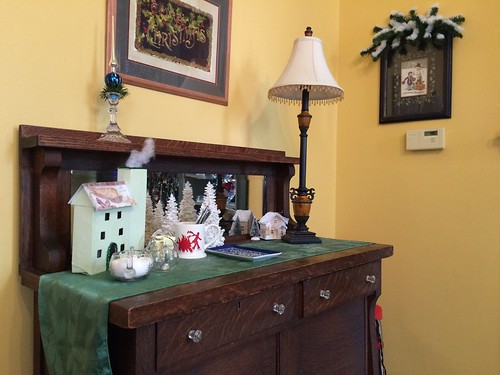
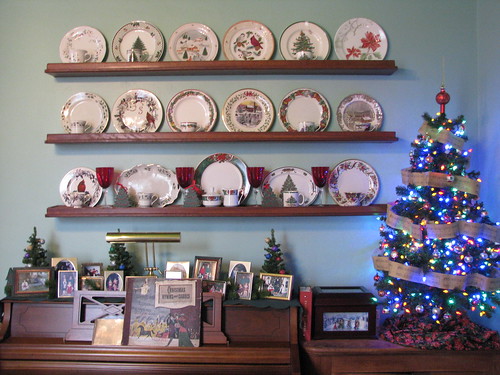
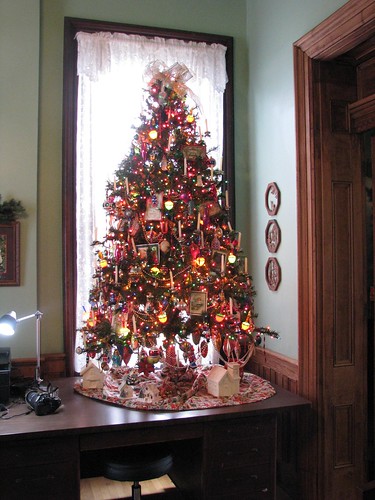
Our older son and his wife and family came Saturday and stayed through Sunday to help put up some Christmas decorations. The dining room is done, including the Snow Tree. The Putz Tree is done. And the kitchen is festooned with snowflakes hanging from the ceiling and decorating the window garlands. There are a few things yet to do in the kitchen. I need to decide if the fridge tree will go up or not this year. Not sure yet. We have about five weeks to finish the decorating for the Open House. Mark your calendars for the first Sunday in December! Let me tempt you…

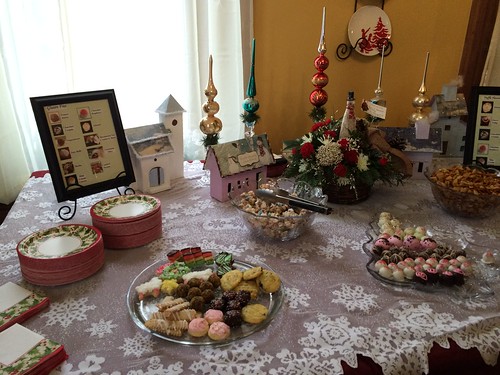
Christmas Open House

The grands were a ton of fun, as usual. We save cardboard boxes for them. Those, along with their collection of duct tape, provide hours of entertainment! This weekend, they constructed a long train, which, later in the day, converted to a club house. They played in the yard, went to the park with Pa, helped Pa change a washer on a leaky sink, checked out all sorts of fun things under the microscope, and generally had a great time. We’ll see them again this week. I’ll post more about their (and our) weekend activities later.

In the mean time, here is our menu for the week.

Monday
That Potato and Hamburger Soup with the French Onion Dip in it that Mom used to make

This soup begs for saltines.

potato soup recipe

Tuesday
Tacoritos
Lettuce, Tomatoes, Sour Cream, Cheddar Cheese
Tortilla Chips

tacoritos

Wednesday
Heat Free Chili
Celery and Carrot Sticks
Crackers

Yes, that’s peanut butter in my chili. If you haven’t tried it, you must! It adds a delicious, creamy peanut flavor that goes great with the spicy chili flavors.

mild chili

Thursday
Pan Seared Tilapia
Crash Hot Potatoes
Steamed Sugar Snap Peas and Carrots

Friday
Cheese Tortellini with Mushroom Sauce
Garden Salad

Saturday
Irish Stew
Baking Powder Biscuits

Irish stew

Sunday
Chicken Ranch Pasta
Steamed Asparagus
Garden Salad
Toasted Garlic Bread

You can find more menu ideas, recipe links, and advice on Menu Plan Monday. You can also link your own menu for the week. Making a weekly menu is a good habit to have. Linking it each week is a good incentive to get it done.

~~Rhonda
toffee bar crunch biscotti

Toffee Bar Crunch Biscotti is a delicious cookie that I make each year for our Christmas Open House. It is perfect with a delicious cup of freshly ground coffee. I made two batches of the recipe today, and that made five loaves.

Toffee biscotti

It is cut, set on its side, and baked a second time to crisp it. Then turned and baked a third time for five minutes or so to finish it.

Toffee biscotti

It freezes beautifully and I have a box ready for the freezer, where it will wait until the holidays.

Toffee biscotti

I’ll probably thaw it the day before the party and dip one end in some good chocolate. Here’s a picture from the party in 2012.

Christmas Open House

So good! And it makes the house smell wonderful!

~~Rhonda

menu plan monday ~ october 19, 2015

Today I put the finishing touches on the ornaments I am making for my side of the family’s Christmas party.

Soldered ornaments

Soldered ornaments

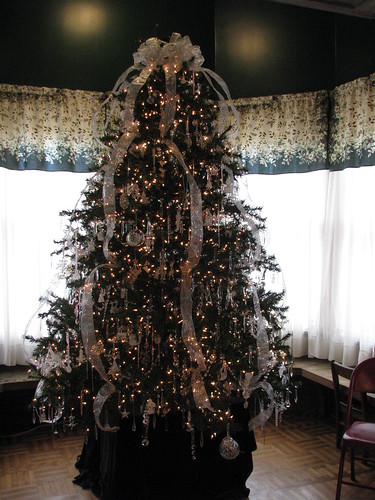
I am hoping we can get the Snow Tree and the Glass Tree up this week. Older Son and his wife/family are coming next weekend to help with more Christmas prep. Should be fun!

Here’s the menu for the week.

Monday
Roast Beef Sandwiches (leftover roast beef)
Homemade Buns
Red Grapes
Pretzels

Tuesday
Homemade Pizza

Wednesday
Chicken Fajitas
Avocado Sour Cream

Thursday
Spaghetti and Homemade Sauce
Garlic Cheesy Bread
Garden Salad

Friday
Fridge Food

Saturday
Lunch
Chicken Taco Chili
Red Grapes
Tortilla Chips / Avocado Sour Cream

Supper
Turkey or Ham Sandwiches on Multigrain Bread
Cheeses / Crackers / Olives / Peppadews

Sunday
Baked Ziti
Asiago Ciabatta
Garden Salad

You can find more menu ideas, recipe links, and advise on Menu Plan Monday. You can also link your own menu for the week. Making a weekly menu is a good habit to have.

~~Rhonda
this and that…

Today was a bit chilly, but the skies were blue and the sun was shining. Works for me. It did put me in the mood for homemade chicken soup, so I made some this afternoon. A nice warm treat on a chilly day.
chicken soup

We were out of bread, so DH kneaded a batch. I formed it into sandwich buns, dinner rolls and a loaf. Makes the house smell so good!

bread

I finished rolling the second batch of Date Balls and they are packed for the freezer for the open house in December.

Date Balls

I spent some time at my desk working on ornaments for my side of the family’s Christmas party. The snowflake charms were found on amazon.com. They are very nice and I plan to order more. The pictures come from used Christmas cards.

ornaments

I have a good start on them. I need about 65 altogether. They will go in the stockings for my Dad’s grandchildren and great-grandchildren. Here are a few others, with beads and baubles added.

microscope slide ornaments

Tomorrow we plan to work on the glass tree. More about that soon!

~~Rhonda