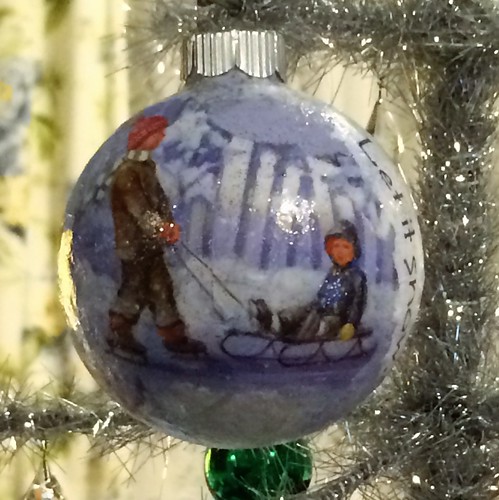
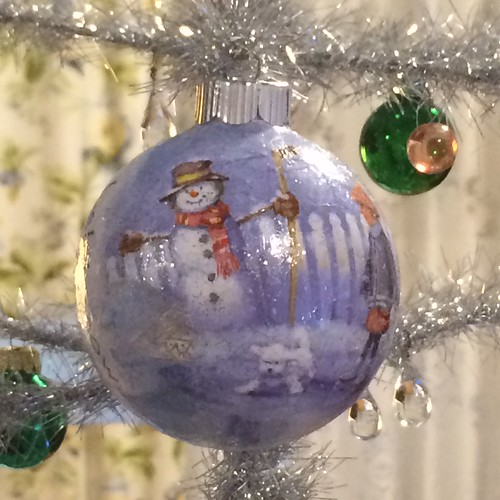
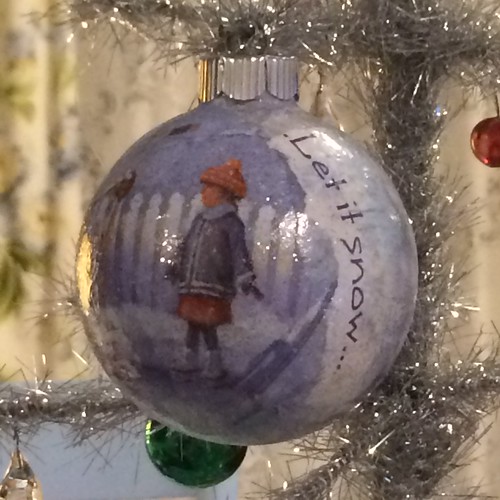
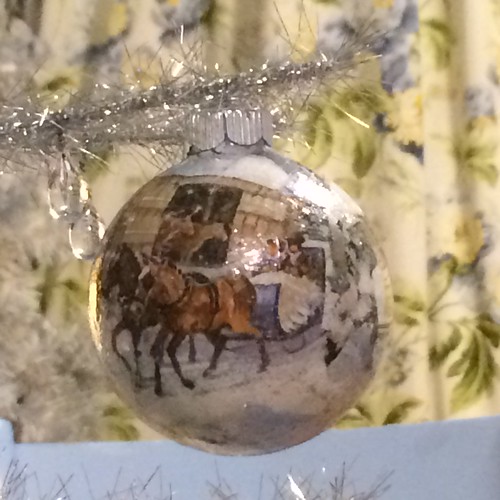
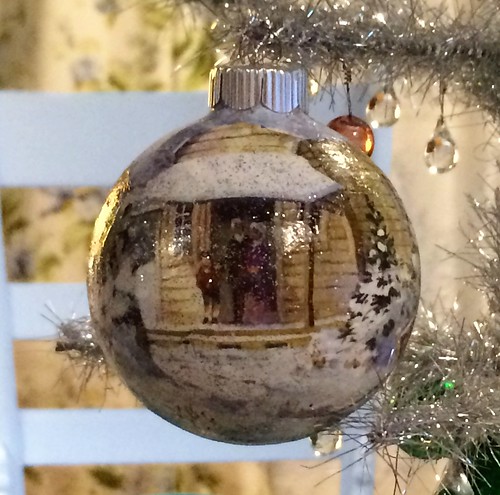
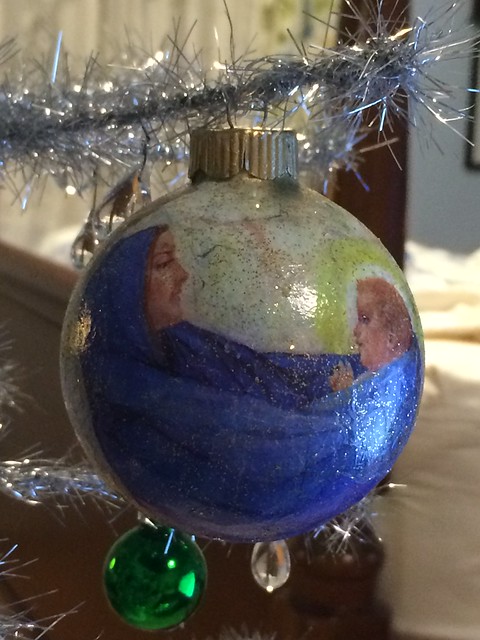
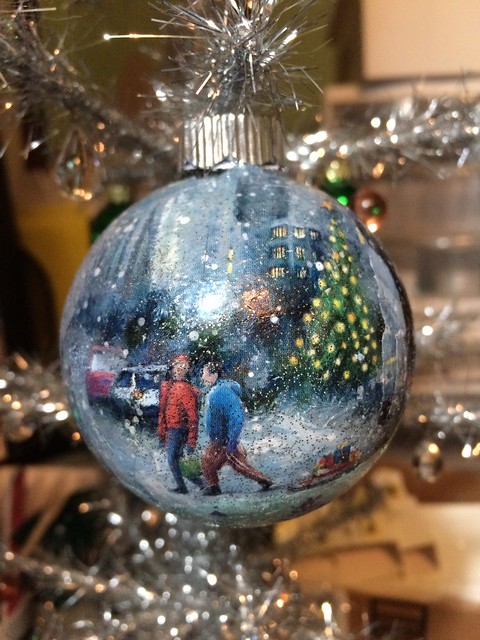
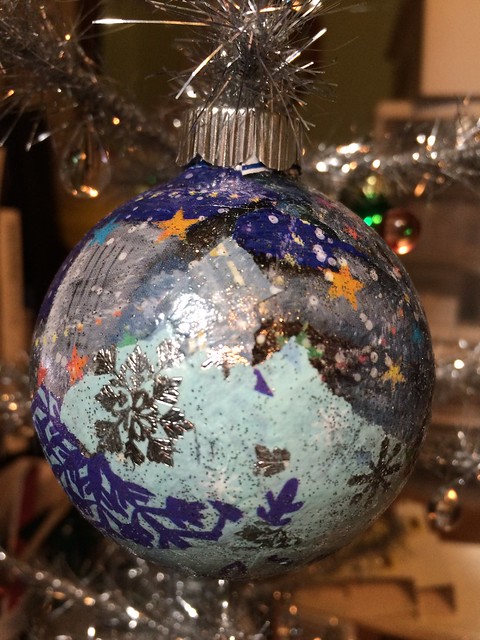
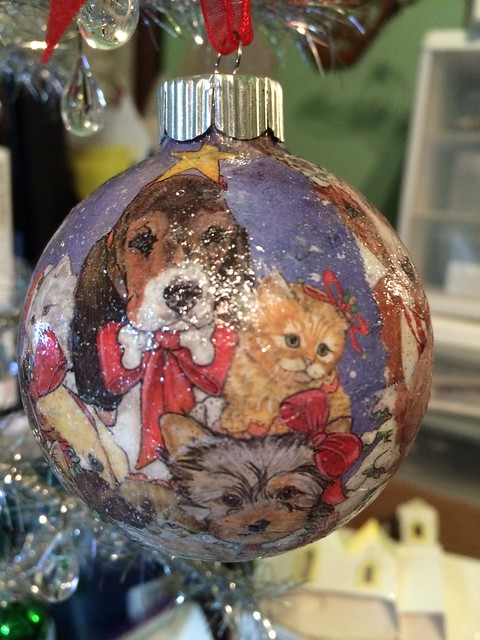
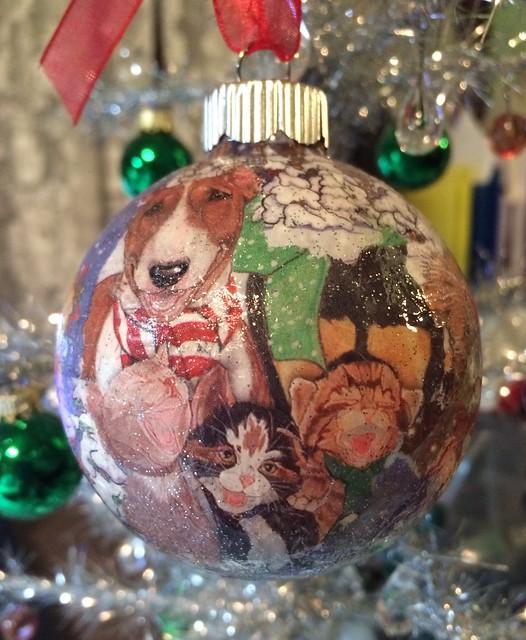
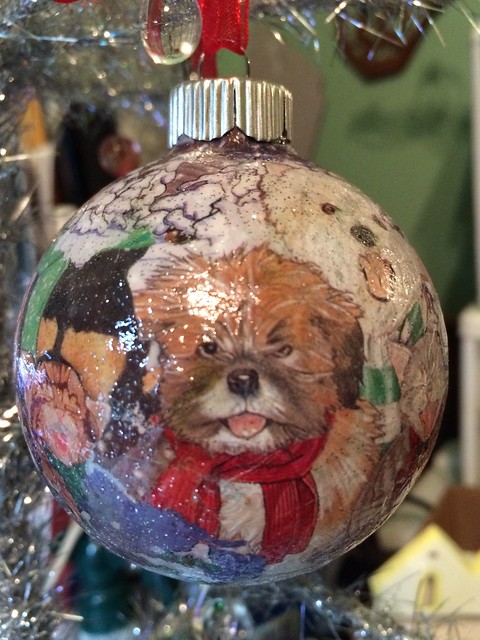
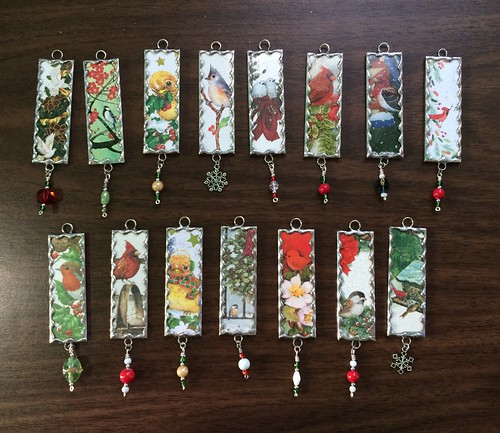
a few shadow boxes and diorama ornaments from the past week

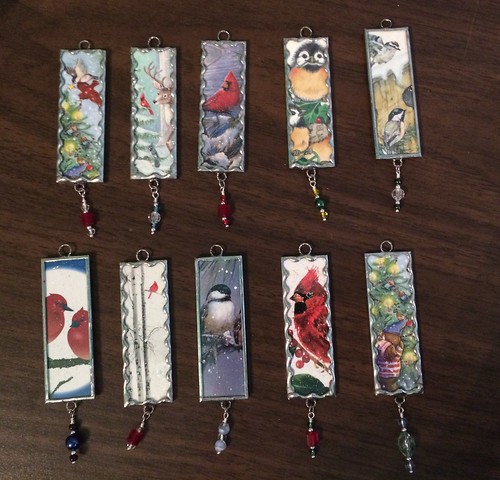
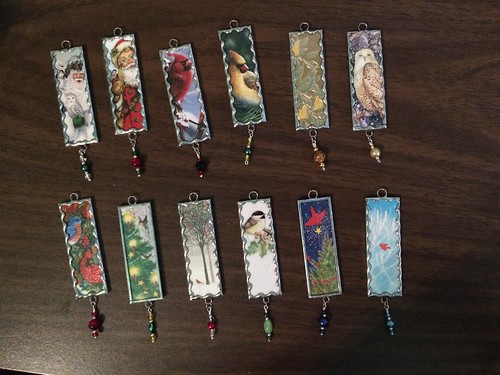
I have been using Christmas cards that were kindly shared with me to make some new shadow boxes and diorama ornaments. Following are a few of them. Note: the pictures don’t give a good sense of scale. These ornaments range in size from two inches to three and a half inches.

Tutorial for shadow boxes from Christmas cards: shadow boxes from Christmas cards

Tutorial for diorama ornaments: Christmas ornament diorama tutorial

Size comparison

This Christmas card seemed to ask for copper colored embellishments. I have a smattering, so was able to utilize some of them on this project.

Diorama ornament

I always like the white snowy themed shadow boxes. The Christmas card used for this little box was perfect. The placement of the sleigh and bridge and the river running to the front all worked to make a pleasing scene.

Diorama ornament

A close-up of the bottle brush tree and embellishments…

Diorama ornament

I thought this pink ornament needed a pink pipe cleaner trim. I had to order the right color so it sat aside for a few days until the order arrived.

pink and green diorama

Finished. The tree topper on the little pink bottle brush tree is a spacer bead.

Diorama ornament

The ball for this ornament is three and a half inches wide. The bigger ornaments give more wiggle room for placing embellishments.

Diorama ornament

This diorama is in a two inch wide ornament ball.

Diorama ornament

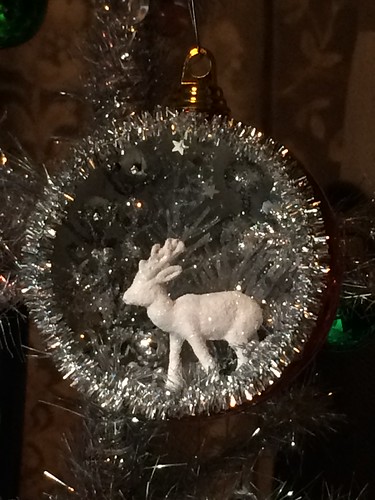
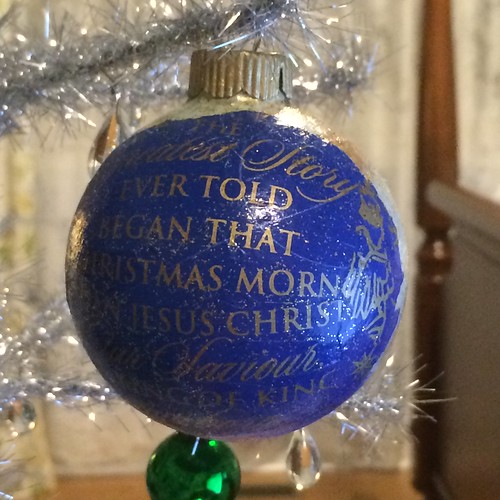
The scene with the large white deer is in a three inch ornament ball. The outside of this ball has white snowflakes on a dark blue background and a frosty beaded finish. It looks very nice with the white interior.

Diorama ornament

This ornament has a snowflake on a short chain, dangling from the bottom.

Christmas diorama ornament

I painted the bunny white and, while still wet, doused him in fine white glitter. When the paint dried, I added the black eyes and pink nose with fine tip Sharpie felt pens.

bunny ornament

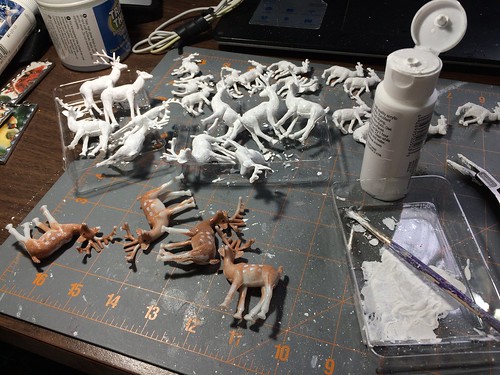
I spent some time online looking for items I can use in new ornaments. I ordered some mini deer, snowmen, and bunnies. Also some greenery and more pipe cleaners in new colors.

If you’re interested, I have a Pinterest board that contains a few links to places I’ve found that carry items I can use when making Putz houses or other crafts that use miniature figures or Christmas craft supplies. Follow this link:

Putz / Supplies

A piece of advice for those who want to collect embellishments for art/craft projects. Keep track of where you bought each item. I wish I had kept track of where my embellishments came from. It would make it easier to replenish the supply when I run out of a particular item. It’s a little frustrating to run out of a favorite embellishment and not know where to find it again. I have started a file in Evernote for just that purpose. I take a picture of the item, make notes about where it was purchased and how much it cost and the date I bought it. In Evernote, I can add tags and/or write a description in my notes of the item. That makes it is easy to do a search on my Evernote files to find what I need.

I hope you enjoyed the new ornaments. I’ll post again as I work on others.

My Putz Christmas card shadow boxes and diorama ornaments are featured in my Etsy shop. ChristmasNotebook

~~Rhonda

roasted ranch potatoes

I tried a new-for-me recipe this week. I based my version on this recipe that I found online. Roasted Ranch Potatoes with Bacon and Cheese

I have to use dry onion (and not a lot of it) in dishes I make because my husband is allergic to onion. The dry onion flakes don’t seem to bother him like fresh onion does. For the dry onion used in this recipe, you may use any amount of sautéed fresh onion, scallions or green onions that you like.

Roasted Ranch Potatoes

5 pounds small red potatoes
1 cup bottled Ranch dressing
1 cup shredded cheddar cheese
6 slices cooked and crumbled bacon
1/4 cup fresh parsley, minced
1 teaspoon dry dill (OR 1 teaspoon dry rosemary)
1 Tablespoon dry onion (or the amount of sautéed fresh onion that you prefer)
1 teaspoon basil
1 teaspoon salt
1/4 teaspoon freshly grated black pepper

Preheat oven to 400°F. Grease a 9×13 baking dish.

Wash the potatoes and cut into large bite-size pieces. Do not peel. Place into a large bowl.

Roasted potatoes

Place the other ingredients into the bowl and stir until the potatoes are well coated.

Roasted potatoes

Place the potatoes into the baking dish and spread evenly.

Roasted potatoes

Bake in a 400°F oven for 45-60 minutes or until potatoes are fork tender. Baking time depends on the size of the potato pieces.

Roasted potatoes

The potatoes were delicious with hamburgers.

Roasted potatoes

I like to cook bacon in the oven. I line a cookie sheet with foil, lay out the bacon and bake in a 400°F oven for 10-15 minutes.

Makin' bacon

For the recipe, I diced the bacon into small pieces. I used a little of the bacon grease to fry the hamburgers.

For Roasted potatoes

Everyone gave the potatoes a thumbs up. This would be a good dish to take to a potluck. I haven’t tried this recipe in a crock pot, but I think it would work well. Wouldn’t be crispy but would still taste good. I’d cook it on low for four hours or on high for two or three hours.

~~Rhonda
menu plan monday ~ february 1, 2016

The grands were here last weekend. Their parents came to take down the last of the Christmas decorations (yeah!!). Things look a bit bare now, but it is nice to have it all stored away for next year.

in the kitchen

I worked on more soldered ornaments this past week. These are fun to make. You can find the tutorial here: soldered Christmas ornaments using microscope slides

soldered ornaments

I dyed some bottle brush trees. Aren’t they pretty?

dyeing bottlebrush trees

I dried some fresh parsley to refill the parsley bottle. Friends gave us a dehydrator more than twenty years ago and we still use it.

parsley

I’ll need some of that dried parsley for the menu this week.

Monday
Hamburgers
Homemade Buns
Roasted Ranch Potatoes
Celery Sticks

Roasted Potatoes

Tuesday
Creamy Shrimp and Mushroom Pasta
Garlic bread
Peas

Wednesday
Taco Pizza

Thursday
Cheesy Potato Sausage Soup

cheesy potato sausage soup

Friday
Fridge Food

Saturday
Baby Back Ribs in the Crock Pot
Roasted Potatoes / Carrots / Brussels Sprouts
Side Salad

Sunday
Roasted Lemon Chicken with Veggies
Green Salad
Rosemary Bread

You can find many menu ideas at Menu Plan Monday.

~~Rhonda
roasted lemon chicken with veggies

This is a new recipe for me. It is very easy to make and turned out delicious. We will be having this again. I started with the chicken recipe at the following link and modified it slightly for my own use. Roasted Lemon Chicken with Potatoes and Rosemary

I used boneless, skinless chicken as that is what I had. The dish would be delicious with bone-in, skin-on chicken, as well. Probably even better. Cut up a whole chicken or buy it already cut.

I used small red potatoes. Fingerlings would work well, too.

After juicing the second lemon, I sliced it, too, and added it to the dish.

Roasted Lemon Chicken

Roasted Lemon Chicken with Veggies

2 large chicken breasts, each cut into three pieces
6 chicken thighs
12 small whole potatoes (or cut larger ones into small pieces)
1 onion, quartered
2 lemons (one sliced, one juiced)
1-2 cups small tomatoes
3 cloves garlic, minced
6 long stems of rosemary, leaves stripped from stems (Optional: reserve one stem for garnish.)
salt and freshly ground black pepper
1/3 c. olive oil

Preheat oven to 400°.

Grease a 9×13 baking pan. Place chicken in the bottom of the pan. Place potatoes, onion, one sliced lemon and tomatoes between and over the chicken.

Sprinkle with juice of one lemon, minced garlic, rosemary leaves, salt and pepper. Drizzle with olive oil.

Roasted Lemon Chicken

Bake, uncovered, in a 400° oven for 60-70 minutes. Chicken should be at 165° and potatoes should be soft when pierced with a knife.

I hope you will give this recipe a try. It smelled wonderful while baking and turned out so well. Thumbs up from us!

~~Rhonda
the basil is up!

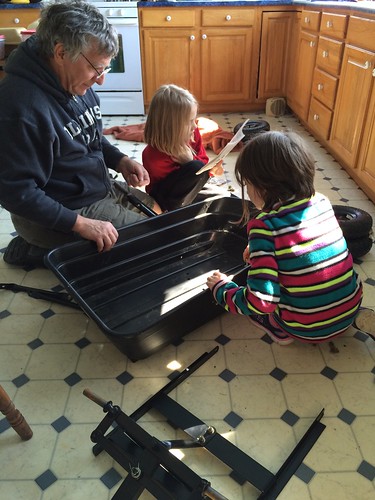
On January 17, Snow White and Rose Red planted basil.

Snow White planted hers in a flower pot.

planting basil

It came up yesterday.

Basil

Rose Red made a planter from an egg carton and planted one seed in each section.

planting basil

Hers came up today.

Basil

They’ll be here this weekend. It will be fun to see their reactions. We’ll probably have to find something else to plant, too.

Winston and Ski are waiting for the wheat berries to sprout…

Catnap

~~Rhonda
menu plan monday ~ january 25, 2016

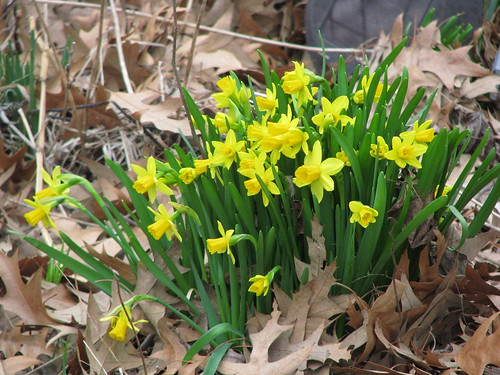
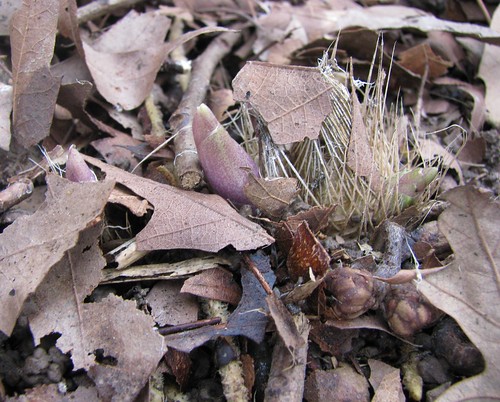
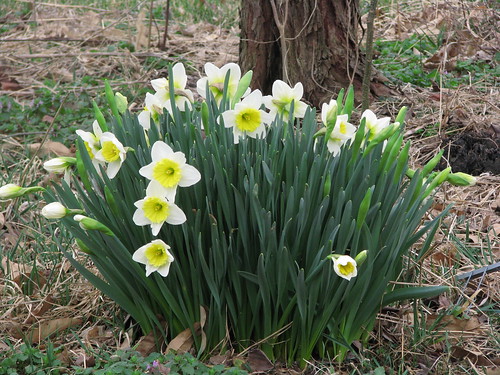
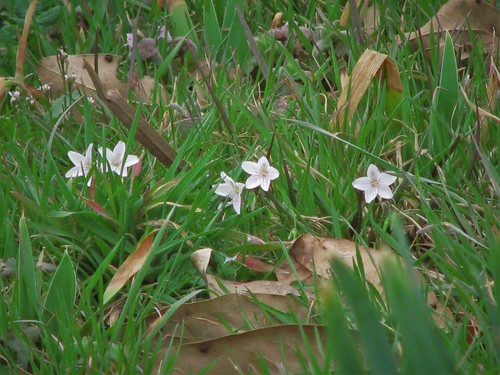
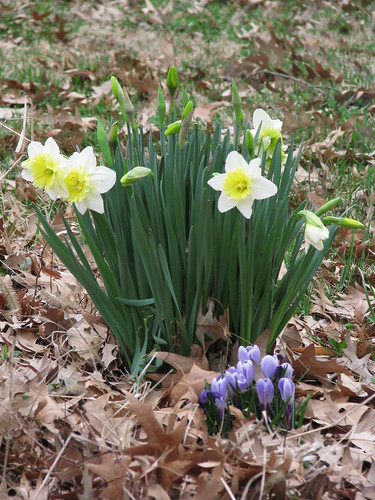
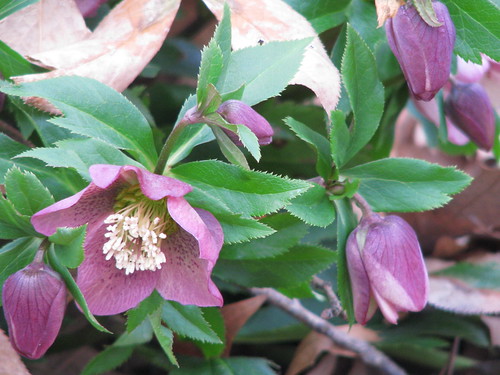
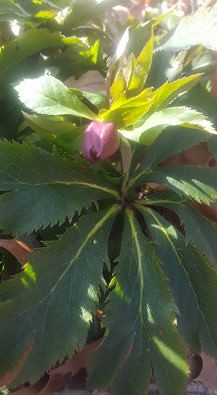
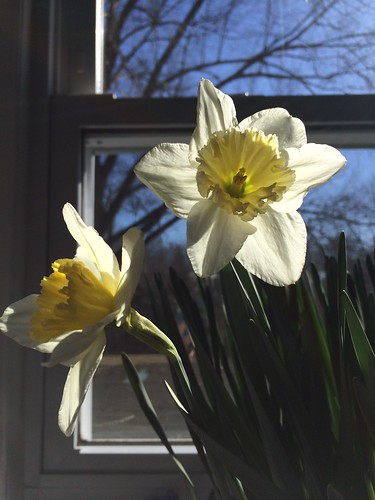
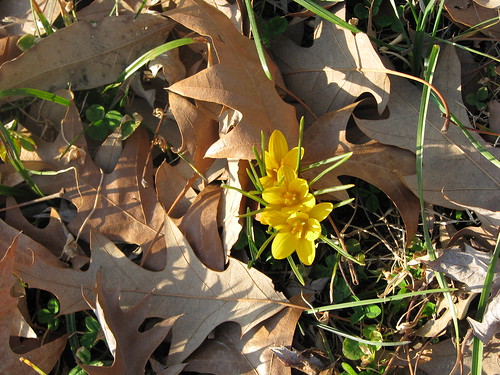
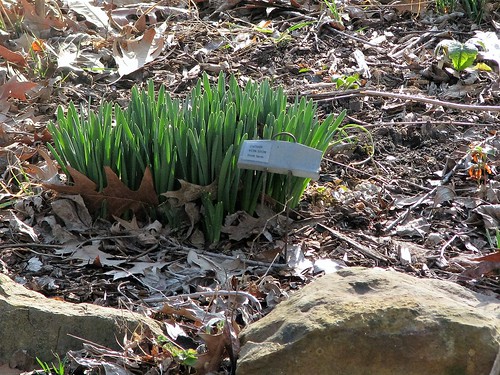
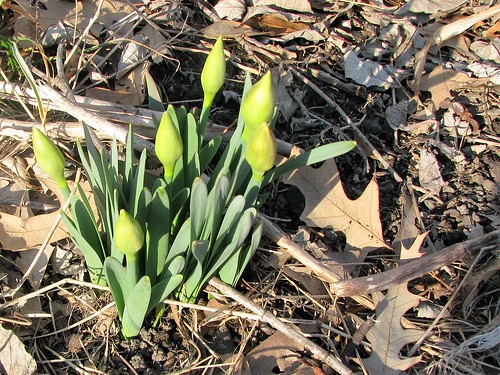
When it’s very cold (and for me that’s anything under 25°), I feel like time crawls along. Not sure why. But there it is. So the past week or so has been dragging. I’ve looked at the forecast and the weather looks better going forward. Even some 50s on the horizon. I like the sound of that. I am already yearning for spring. I confess. I am ready to see some of these.

IMG_9244

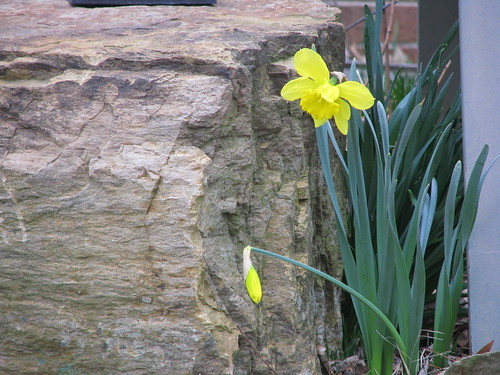
And some of these.

daffodil 'Thalia'

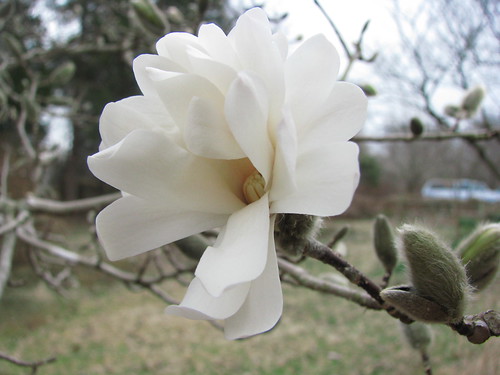
And some of these.

Daffodil 'Pink Charm'

While I wait for God’s good timing for spring, I am making ornaments and considering the ins and outs of having an Etsy shop. More pondering to be done there. In the meantime, here’s what I’ve been working on.

Untitled

Christmas diorama ornament

Christmas diorama ornament

Christmas diorama ornament

I managed to pull together a menu for the week. Having an idea ahead of time saves stress at supper time. Even if we juggle it during the week or skip a meal or decide we want something else, the guide is still in place. For the most part, we follow it pretty well.

Monday
Take Out

Tuesday
Chicken Tortellini Soup
Harvest Grain Toast

Wednesday
Cheesy Potato Sausage Soup
Cornbread

Thursday
Roasted Lemon Chicken with Potatoes and Rosemary
Corn / Peas
Spinach Salad

Friday
Chicken Taco Chili
Cornbread

Saturday
Turkey in the Crock Pot for Sandwiches
Homemade Harvest Grain Buns
Grapes

Sunday
Homemade Pizza

You can find many menu ideas at Menu Plan Monday.

~~Rhonda
Christmas diorama ornaments #2

Yesterday, I posted a tutorial for making Christmas diorama ornaments. I’ve made a few more and thought I’d post again with some tips that may be helpful if you want to make some of these ornaments for yourself. For complete instructions on making these ornaments, see the tutorial. Christmas Diorama Ornaments

This time I used a smaller ornament ball than I’ve tried before. This one is 1 3/4″ wide.

Christmas diorama ornament

I chose a one-inch bottle brush tree and a tiny Santa figure that came in a stash of craft bits and bobs that I brought home from my mom’s house after she passed away.

Christmas diorama ornament

Needle-point tweezers are one of my favorite craft tools. If you don’t have any, I encourage you to get some. I know you will find them so handy, you will wonder how you got along without them! Here, I used them to apply beads as ornaments to the tiny bottle brush tree. I dipped one side of the bead in white glue and added it to the tree. I used two sizes of red beads for this tree.

Christmas diorama ornament

After adding a few embellishments, I decided to hang a dangle from the ornament. To do that, I needed to make a hole through the bottom. I used an awl to “drill” the hole, pressing gently and rotating the awl until it pierced the plastic shell. If you have a Dremel handy, you could use a small drill bit to do this. When finished, brush away the loose crumbs. I thought about filing the edge of the hole, but I didn’t because I thought I might scratch the ornament finish.

Christmas diorama ornament

This awl came from my mother’s stash of craft supplies and tools. I often find it useful.

Tool

I put a bell and a red bead on gold cord and threaded the cord through the hole.

Christmas diorama ornament

Inside the ornament, I pulled the ends of the cord aside and added a drop of hot glue over the hole to hold the cord in place.

Christmas diorama ornament

I trimmed the ends of the cord.

Christmas diorama ornament

At this point, I had already placed some floral bits in the background. I decided to camouflage the base of those bits by covering them with hot glue. Then I painted the glue white and covered it with glitter. It’s a lot easier to do this sort of thing now rather than get to the end of your project and find you can see unfinished spots that you can no longer get to.

Christmas diorama ornament

Christmas diorama ornament

I decided I didn’t like the white showing around the little hole at the bottom of the ornament.

Christmas diorama ornament

I used a green Sharpie marker to color over the white. An easy fix.

Christmas diorama ornament

I also used a green Sharpie to cover the white edge of the larger hole. I thought the white might show through the trim. Here, it’s half done. You can see the difference it will make.

Christmas diorama ornament

To trim the ornament, I twisted red and green pipe cleaners together.

Christmas diorama ornament

Christmas diorama ornament

I used hot glue to attach the trim. To make it easier to follow the circular edge without dislodging the trim, I glued a small portion at a time, clipped it down and waited a few moments to let it dry before gluing the next section.

Christmas diorama ornament

To finish the floor of the ornament, I added a puddle of hot glue, allowed it to dry, painted it white, then glittered it. Looks like Santa just came through the Great Blizzard of 2016!

Christmas diorama ornament

I poured off the extra glitter and the ornament was done.

Christmas diorama ornament

If you make some diorama ornaments of your own, I would love to see pictures!

Similar diorama ornaments I have made are featured in my Etsy shop. ChristmasNotebook

~~Rhonda
here, kitty, kitty, kitty

Someone asked me how many cats we have, so I decided to post about them. We love cats. But even with that being the case, we really have too many cats right now. Eight is the current number. And, no, we couldn’t give any one of them up.

They love kitty treats. When the bag is shaken, they come running! Zilli in the back, Ski in front of her, then Riley, Winston and Clark. Winston has some tail, doesn’t he?!

Kitty treats

Zilli spends most of her time on the bed in the downstairs bedroom. She is Middle Daughter’s cat. When she hears her mistress coming in the back door, she gets excited and runs to greet her.

Zilli

Zilli is a beautiful cat. She’s a little prickly, though. Pet with caution.

Zilli

Riley joined our family last spring, when Youngest Daughter found her at a local historical site. Riley ran out of the woods and attached herself to YD. She sent a picture to me and I said a reluctant OK. Riley loves DH. She has a throaty rumble that she still makes for the kittens and she makes the same sound for DH and no one else.

Riley

Little did we know, when we took her in, that Riley was three days pregnant at the time. She gifted us with four kittens on May 17. Two of the babies found new homes and we decided to keep Winston and Clark.

Riley's kittens

Winston loves to watch TV.

Winston loves to watch TV.

He seems to think he can find the people under the television.

Winston wonders if the people are hiding under the TV

Clark is a very sweet tempered cat. He knows no strangers and wants to be friends with everyone who comes through the door. The twins can lug him around and he takes it without complaint.

An armful of Clark

Ski is my kitty. Another sweet tempered cat. He follows me around the house and naps where ever I stop, waiting for me to get up again.

Ski

He does the laundry with me every day.

Ski loves to help with laundry.

Ski has been a good “uncle” to the kittens. He is still best of buddies with Clark and Winston.

Uncle Ski and the kittens  ]

Amy was a stray that found her way to our back door as a kitten.

windowsill nap

She is an acrobatic cat. She can jump from the floor to the back of the chair and walk across it as though it were a tightrope.

Amy

Cedar is Oldest Daughter’s cat.

waiting for her human to come back

She is shy at first but friendly once she gets to know you.

Cedar

Buttercup is Youngest Daughter’s cat. Buttercup came to live with us when YD found out friends were taking her to the animal shelter nine years ago. Buttercup loves, loves, loves Youngest Daughter. She often hangs around the back door when it’s time for school to let out, waiting for YD to come home.

buttercup in the kitchen window

Sweet Buttercup

Did you know cats can sleep anywhere?

In a basket….

catnap

On a rocking chair…

catnap

In a box, on top of office supplies…

sleeping on office supplies

In a laundry basket…

Nap time

On an open dishwasher…

Silly kittens fell asleep on the dishwasher door.

Under a Christmas tree…

snoozles

With a chicken…

nap time for kittens and roosters

On a railing…

Buttercup on the railing

In a box, on a cart…

nap time

On a window sill…

sunny side

On a heat register…

one relaxed cat

On a paperweight, in the sunshine…

snoozin' on the windowsill

Sweet kitties. And so very entertaining… But don’t offer us any more! We have a hard time resisting!

~~Rhonda
Christmas ornament diorama tutorial

I saw some cute ornaments on this site – My So Called Crafty Life – and was inspired to make my own version. My thanks to Ashlee for sharing her craft!

I think my finished diorama turned out pretty cute. I plan to make more of these.

Untitled

Supply list for the ornament I made.

plastic ornament ball
eye protection
craft knife
heavy duty scissors
craft paint
paint brush
glitter
glitter glue
white glue
hot glue gun
Christmas embellishments
artificial floral bits and pieces
red seed beads
pipe cleaner
tweezers
wire cutters
polyester batting

The diorama is made inside a plastic ball ornament.

Untitled

Looking closely, you can see that there is a seam around the middle of the ornament. With a sharp craft knife, mark a circle on one side of the ornament, using the seam as a guide. Scratch a guideline on the face of the ornament about half an inch from the seam.

Untitled

The crafter I referenced above used a Dremmel tool fitted with a cutting disk to cut a hole in the side of the ornament. I don’t have a cutting blade for my Dremmel, so I ordered one and, in the mean time, used a craft knife for the cutting. Please wear eye protection while cutting the ornament, as it may chip.

Using a sharp craft knife, start at the top of the ornament to cut the hole. If you start at the top, and the paint chips, it is easy to cover the chips with embellishments. Score along the marked line by moving the knife blade along an inch or two of the line, repeating until the knife goes through. Be very careful how you hold the ornament while doing this. Keep your fingers out of the way! Move the knife slowly, pushing down on it until it goes through the ball. Some of the paint will chip off the ball, but this can be painted or covered with embellishments as the ball is decorated.

Untitled

At this point, you can insert a pair of heavy duty scissors and cut along the marked line, going all the way around. Discard the smaller piece of the ornament. Cutting with the scissors will cause the finish to chip a lot less that using the craft knife.

Untitled

Paint the inside of the ornament with the color of your choice. I decided on white for this ornament.

Untitled

Untitled

I gave the ball two coats of paint, allowing the first coat to dry before applying the second coat. Being impatient, I used my hair dryer to dry the first coat. While the second coat was still wet, I sprinkled it with glitter, pouring the excess into a small box, then back into the glitter container.

Untitled

Untitled

Allow to dry completely. No hair dryer this time or you might make your own little snow storm! If the paint dried in spots before the glitter was applied, brush some white glue over the dry spots and reglitter. While I waited for the paint/glitter to dry, I chose some embellishments for the ornament. I painted silver glitter glue over the deer to give him a little sparkle and allowed that to dry. I chose a bottle brush tree, removed the wooden stand, and clipped the wire trunk up to the bottom of the branches. Those items were then hot glued into place.

Untitled

Between the curve of the ball and size of the deer, the deer was left floating in space a bit, but I took care of that later. The next step is to add some background branches and filler.

Untitled

Untitled

I added tiny red seed beads to some of the branches as berries. A green and red pipe cleaner made perfect trim for the edges of the opening. Begin gluing at the top, adding hot glue to the edge a few inches at a time, allowing to harden between applications.

Untitled

A couple of pieces of evergreen and three red berries made a nice topper for the ornament. These are hot glued in place.

Untitled

Untitled

Untitled

I tucked white polyester batting inside the bottom of the ornament to simulate snow.

Untitled

I added a couple of eucalyptus leaves on the top of the ornament because it looked like it needed a little something. Done.

Untitled

I made a second ornament with a smaller deer. I think I put too much background in it, but I’m OK with it.

Untitled

I’ll be making more of these. FYI, this is the glitter glue I like. I have it in silver, gold, red, green, blue and opalescent.

Sargent Art Washable Glitter Glue

glitter glue

Update: More tips in my next post about diorama ornaments. Christmas diorama ornaments #2

My diorama ornaments can be found in my Etsy shop. ChristmasNotebook

~~Rhonda
harvest grain bread

This is a recipe DH and I tried this week. It is delicious. Tastes great fresh, makes wonderful toast and very tasty hamburger buns.
Harvest Grain Bread

The loaf slices perfectly for sandwiches. DH baked the bread in a cloche.

Harvest Grain Bread

We used the recipe at this link as the basis for our own recipe. Harvest Grain Bread

Harvest Grain Bread

  • 2 1/2 cups bread flour
  • 1/2 cup white whole wheat flour
  • 1/2 cup blend of grains (We used 1/4 cup rolled oats and added enough flax seed, ground flax, and toasted sesame seeds to make 1/2 cup total.*)
  • 1 1/2 teaspoons salt
  • 2 1/2 tablespoons sugar
  • 2 teaspoons yeast
  • 1/4 cup dry milk
  • 1/2 cup buttermilk (Warm water may be substituted for the buttermilk.)
  • 3/4 cups warm water
  • 3 tablespoons vegetable oil

Combine all ingredients in a large bowl and stir to combine. Knead the dough for about ten minutes by hand. Or, place the dough in a mixer with a dough hook and knead for about seven minutes.

Place the dough in a greased bowl, cover with a cloth and allow to rise for an hour.

Punch down and shape the dough into a loaf. Place the loaf into a greased 8 1/2″ x 4 1/2″ loaf pan. Or make twelve sandwich buns, or 18 dinner rolls and place on a parchment-lined cookie sheet. Allow to rise 30-40 minutes.

Preheat oven to 350°F and bake the loaf for 35 minutes. Buns and rolls should bake about 15 minutes.

Take the bread out of the oven, remove it from the pan and allow to cool on a rack.

Adding Whole-Grain Bread Improver or Vital Wheat Gluten may help the rise and texture of whole grain loaves. We left this out and the bread is fine.

*Sunflower seeds, pumpkin seeds, and/or poppy seeds could also be added to the whole-grain mix.

Harvest Grain Bread

Can’t say enough about this delicious bread!

Harvest Grain Bread

~~Rhonda