I’m a day late with the menu. I spent all day yesterday sorting and organizing the downstairs craft room. It’s overflowing with supplies and finished projects. I was so caught up in the work of cleaning things up that I forgot about putting up the weekly menu. It follows below if you are interested.
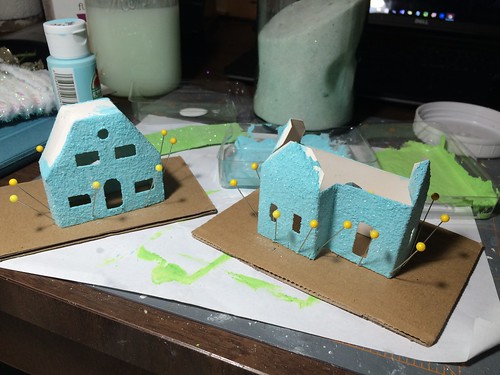
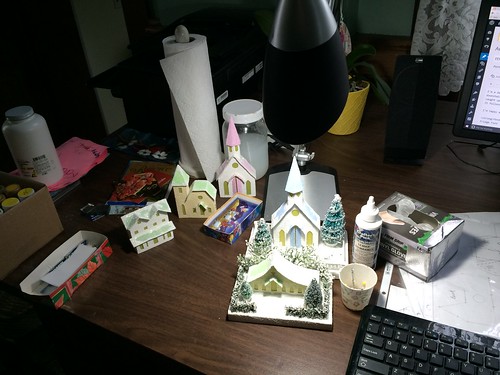
I’m happy with the progress I am making with my craft space. I’ve made a lot more room on the desk for work space. It may be hard to tell in the picture, but most of the items will be put away when I’m done and that will be a good amount of rescued space.
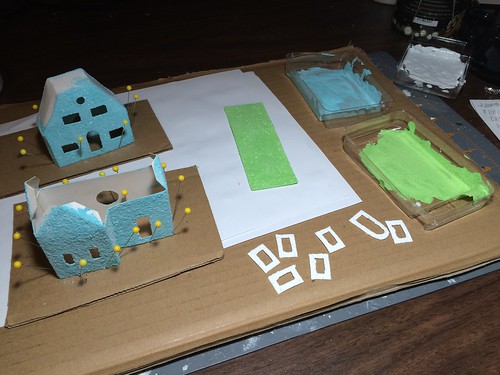
Behind the desk, it’s a mess at the moment. But it’s not as bad as it appears. I’ve sorted through everything, got rid of some, organized the lot, and it’s just a matter of deciding how I want to store everything.
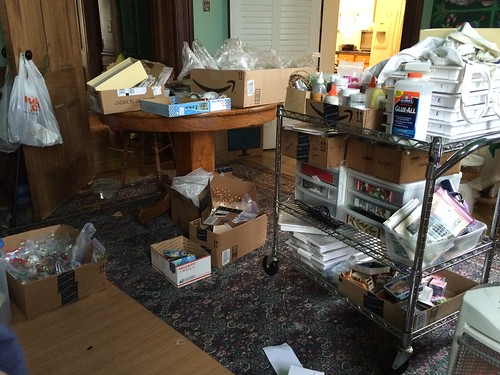
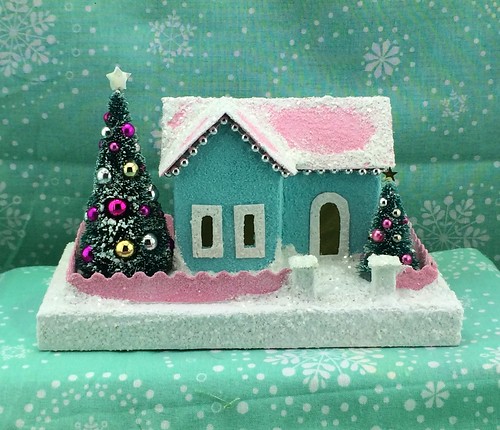
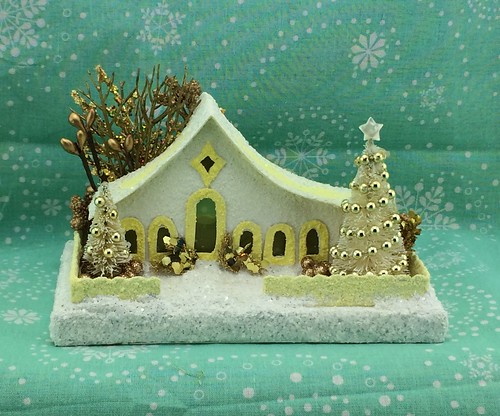
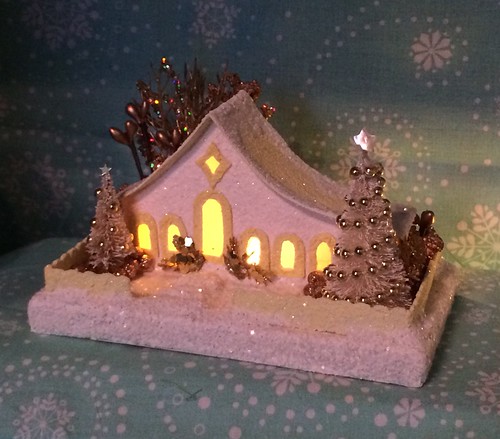
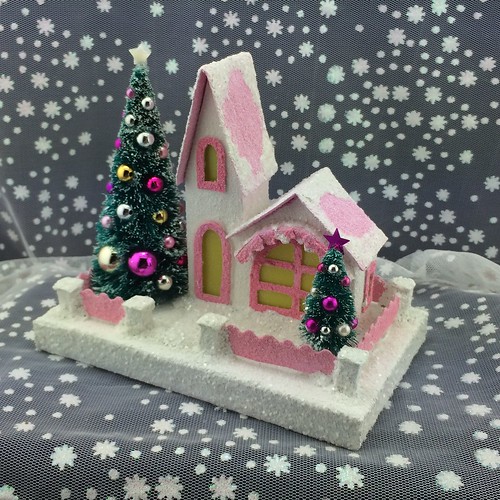
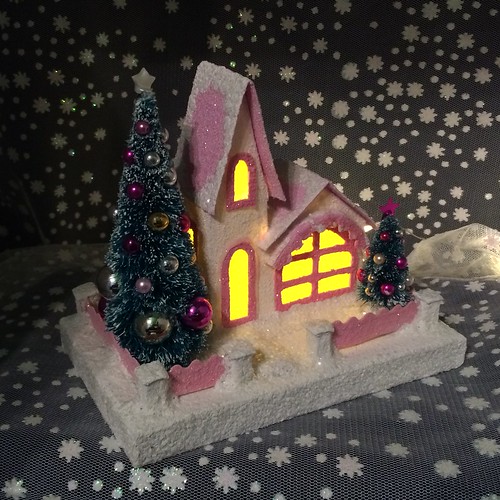
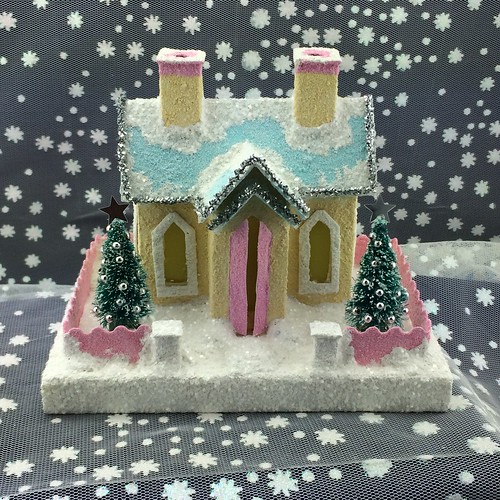
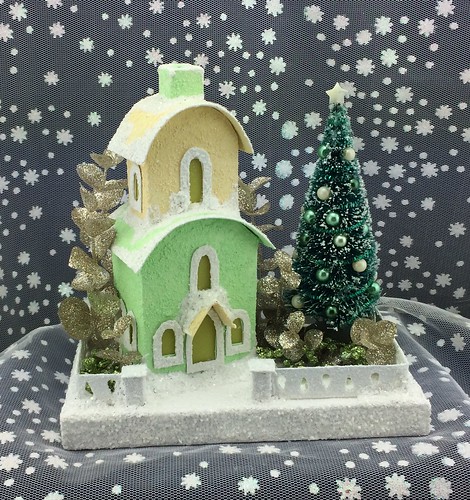
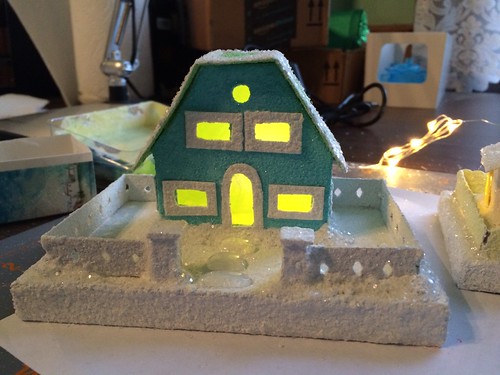
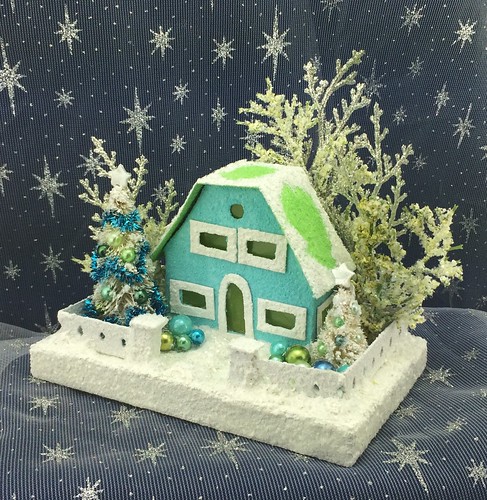
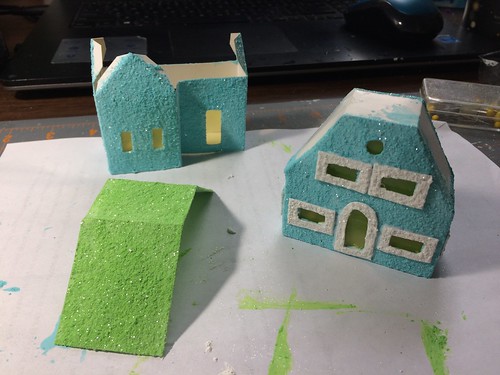
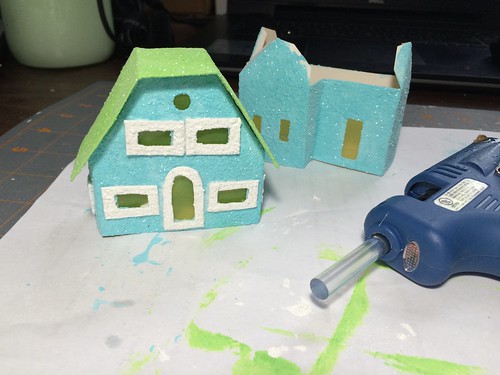
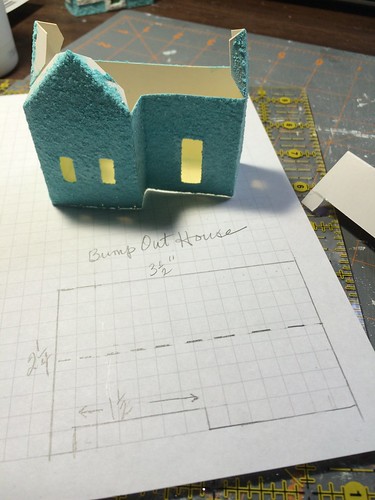
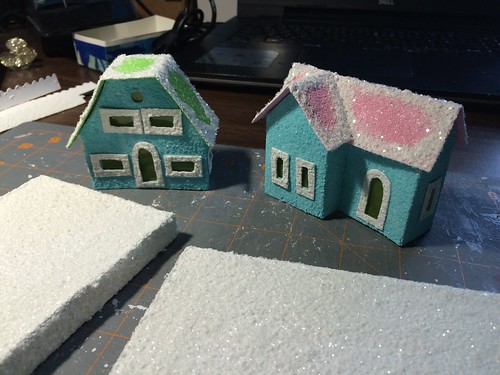
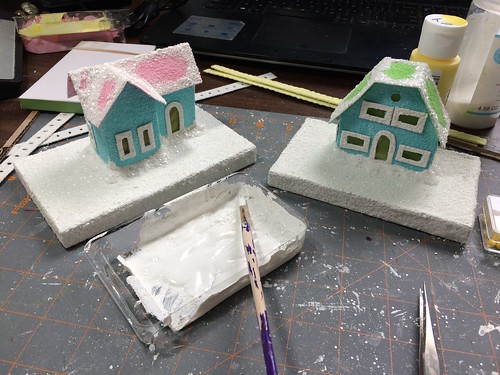
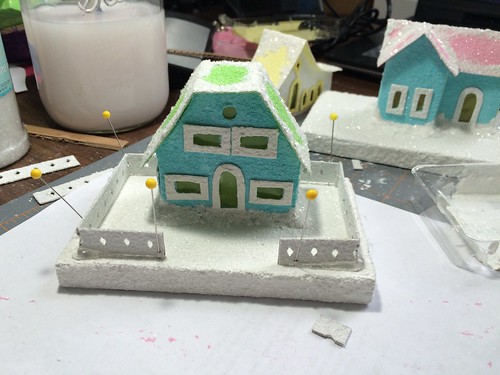
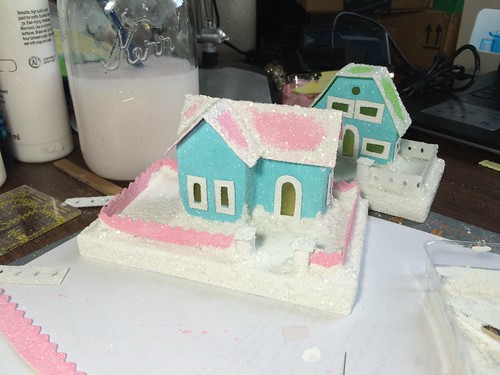
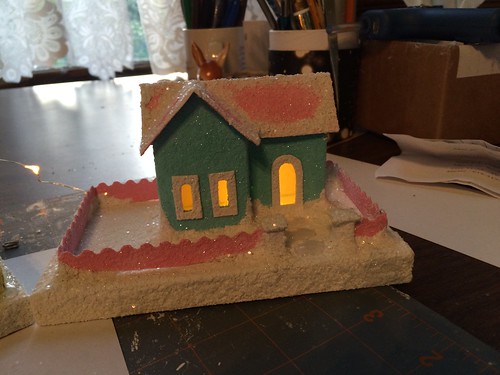
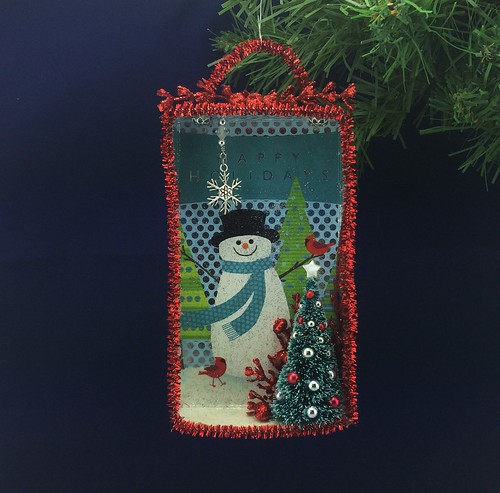
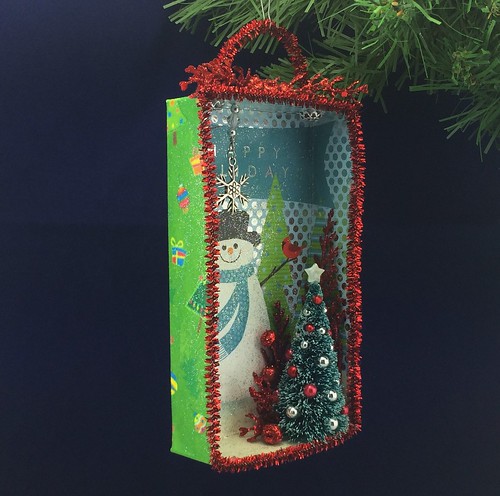
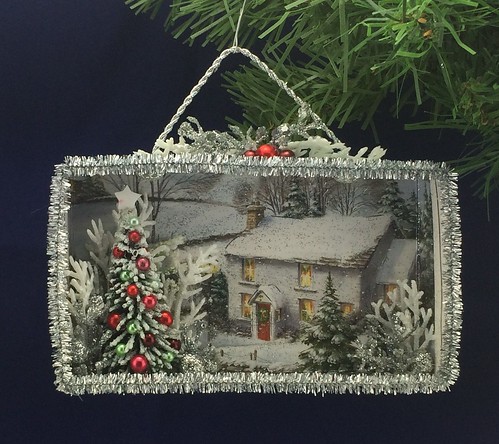
Looks worse in the picture than it does in person, I promise. I think the reorganization of my supplies will make my work proceed more smoothly. I have a lot of Putz houses made and ready to put on bases and embellish. I also have eight more shadow boxes ready to list. I just need to take pictures and get them posted to my Etsy shop. ChristmasNotebook
Now the menu…
Monday
Fridge Food
Tuesday
Asian Chicken
Wild Rice
Steamed Green Beans
Green Salad
Wednesday
Pan Seared Tilapia
Baby Baked Potatoes
Roasted Cabbage with Maple Bacon
Thursday
Chicken / Veggie Stir Fry
Brown Rice
Friday
Chef Salad
Saturday
We’re hosting an open house in the afternoon to celebrate our youngest daughter’s graduation from high school. Easy meals are on the menu for today.
Lunch / Ham or Turkey Sandwiches
Pretzels
Fruit Salad
Supper / Omelettes
Sour Dough Toast
Sunday
Roast Chicken
Mashed Potatoes
Steamed Asparagus
Carrots
You can find more menus and ideas at Menu Plan Monday.
~~Rhonda