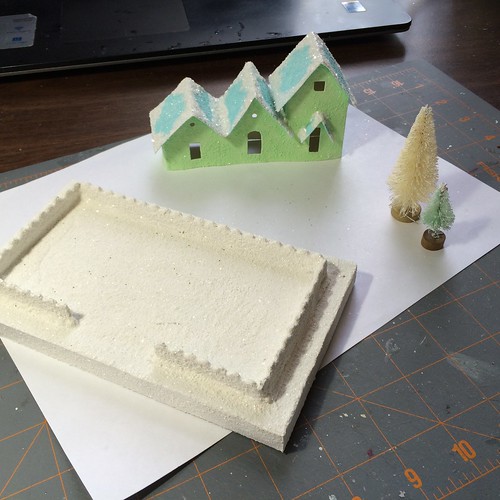
As I said in my last post, I chose this little Putz house for my next project.
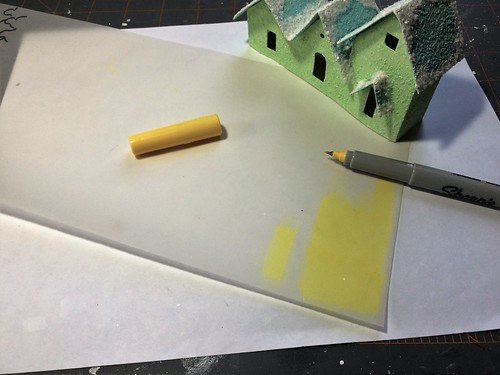
I didn’t have any ink jet acetate for making window panes. Added it to my shopping list. Middle Daughter did find some vellum in the craft room for me to try. I used a yellow Sharpie to color the vellum. The little bit of yellow to the left is about how much I did at a time. Before the ink dried, I rubbed it with my finger to even out the color. Worked great.
Measuring against the house, I cut pieces to cover the window and the little hole above it.
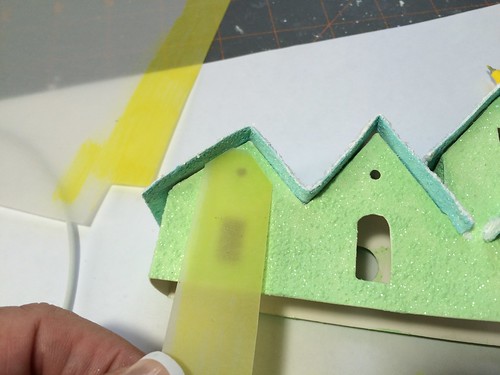
I ran a little hot glue around the yellow vellum and quickly placed it on the inside of the house. It takes such a small amount of glue that, if you hesitate, it will set before you try to stick the vellum to the inside of the house. I know this from personal experience… This would be a good time to use white glue, if used sparingly. It shouldn’t show from the outside when the vellum is in place.
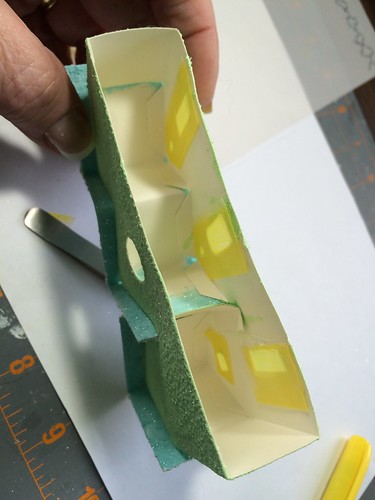
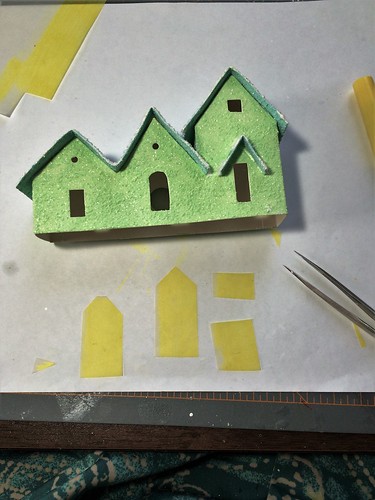
All windows covered.
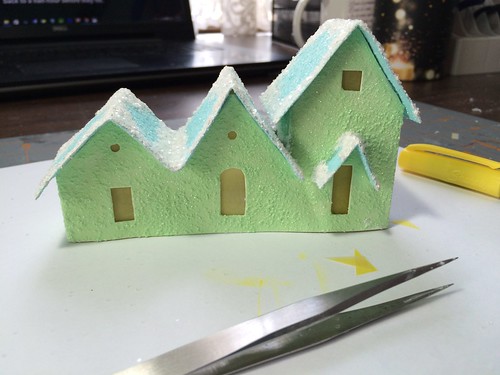
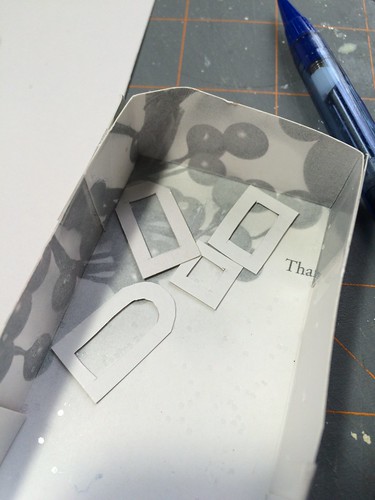
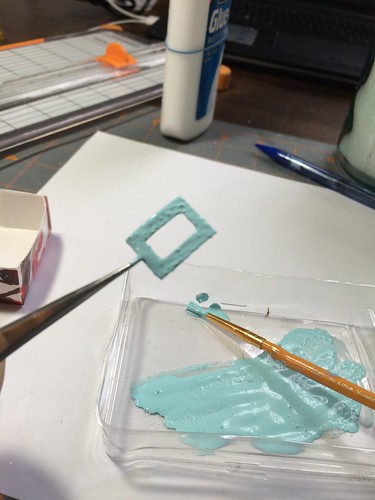
At this point, I decided the house needed window frames, so I made some with lightweight poster board. Took a little fiddling because I was working without a pattern, but it didn’t take too long.
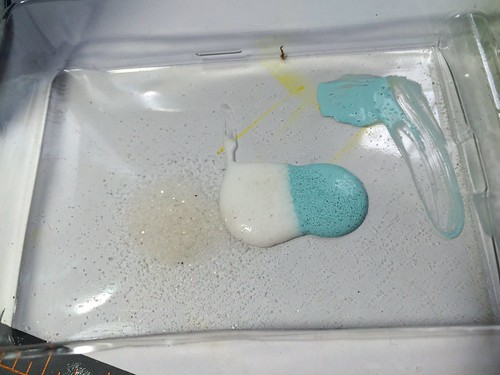
I mixed a bit of sand, glue and paint.
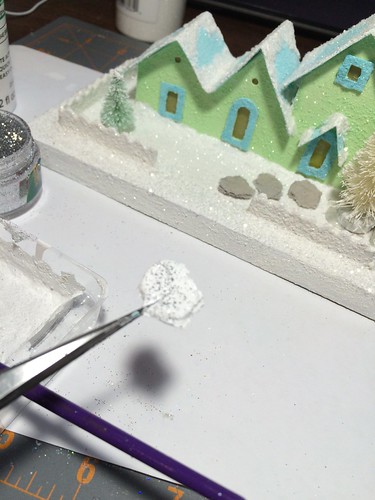
The needle nose tweezers are very handy for working with little pieces.
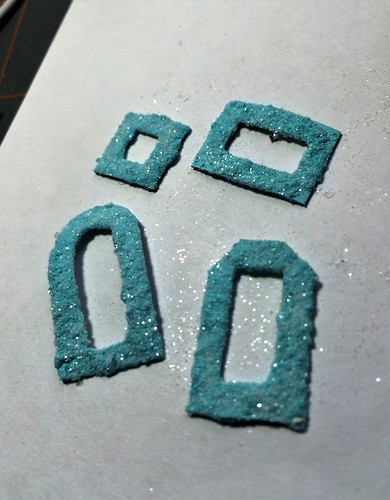
All the frames got a base coat of color.
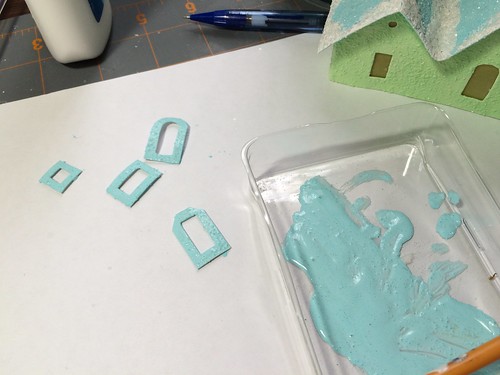
When they were dry, they received a second coat of paint and a sprinkle of fine glitter over the wet paint. In this closeup, you can easily see the texture the sand adds to the paint.
When dry, I attached each frame to the house with a bead of hot glue on the back of the frame. Then the house was ready to be attached to the base. First by pinning…
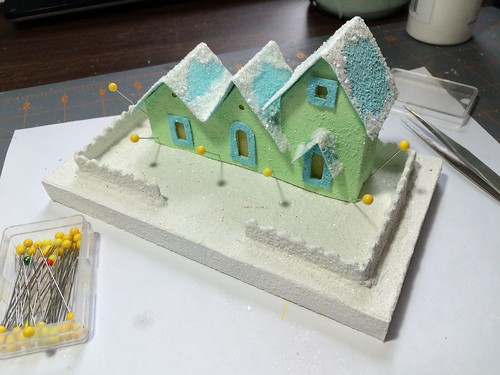
Back…
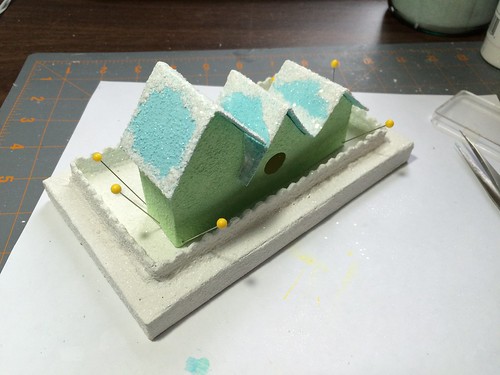
Then the glue was applied.
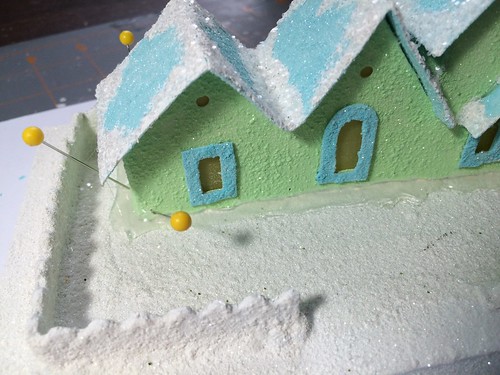
When the glue set, the pins were removed by twisting them so they didn’t pull off any glue or paint.
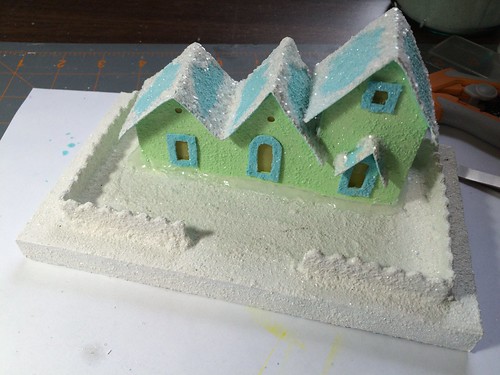
At this point, I mixed sand, glue and white paint and covered the bead of hot glue. I gave it two coats and used the thick paint to hide the contours of the hot glue. While the second coat was still wet, I sprinkled it with fine glitter.
I glued the bottle brush trees down and then decided to put stepping stones to the front door. I used egg carton cardboard to make small circles because they have such a nice texture. One layer didn’t seem thick enough, so I glued two pieces together. Seems to me that egg cartons used to be thicker.
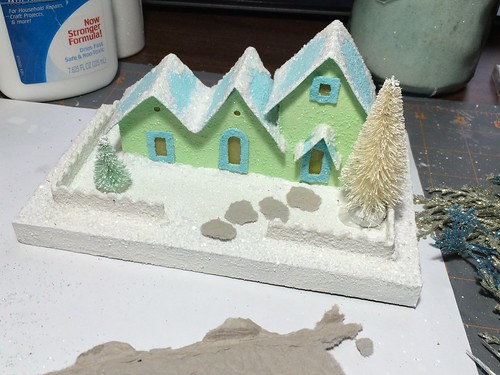
I painted them white. My grand-daughter thought they should be grey because they would be hard to see if they were white like the background. So I sprinkled them with silver glitter.
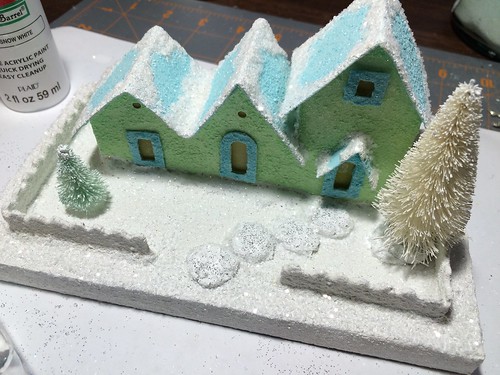
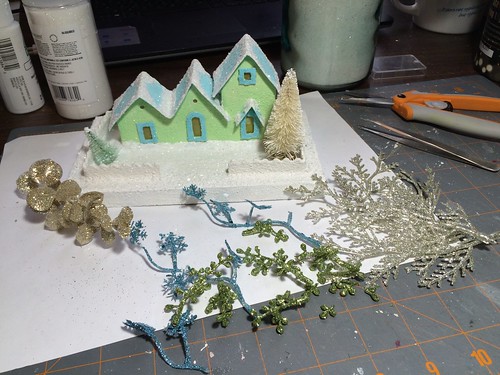
Here are some of the “bits and bobs” I may use on this house. It’s always a process and could totally change once I get into the actual placement. In case you wonder about the tipsy trees, I took this picture before they were glued down!
The grands are here this weekend, so I’m not sure when I will be able to proceed with the embellishment of the little house. I’ll post the process when I finish it. I hope you have enjoyed the post. More to come soon!
~~Rhonda
One Trackback
[…] « green gabled house, continued […]