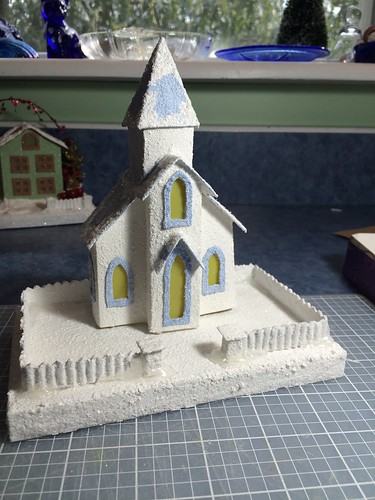
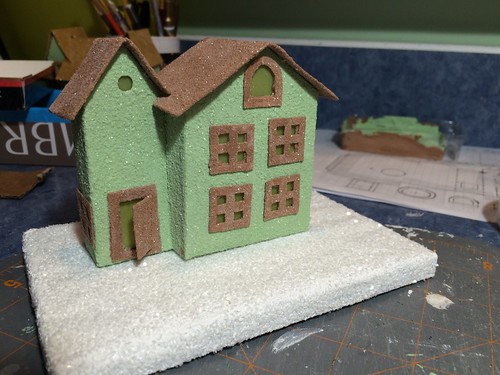
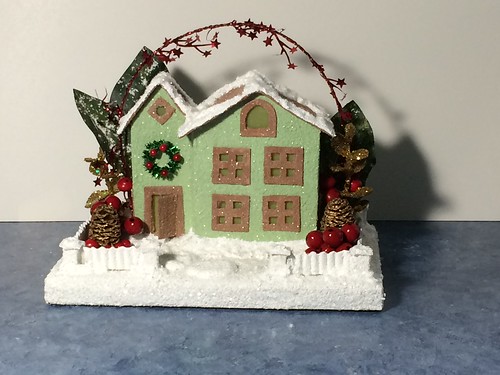
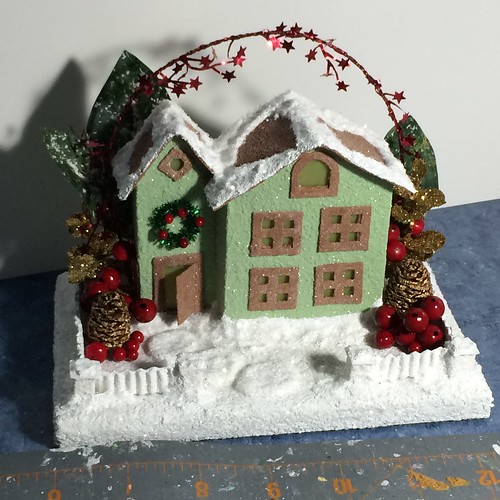
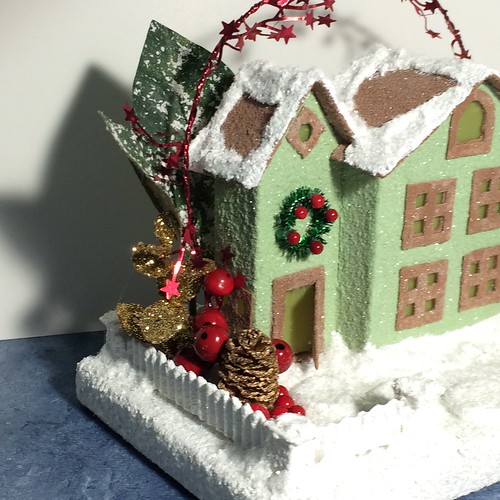
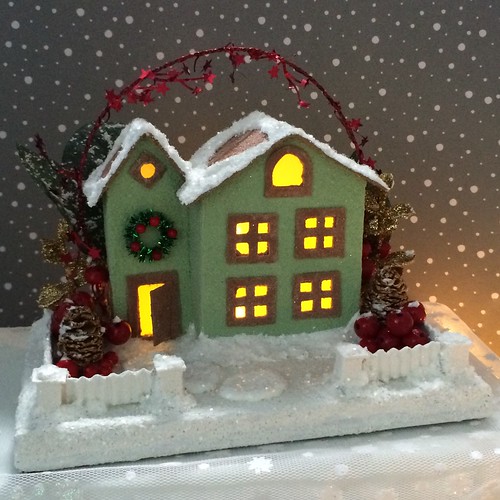
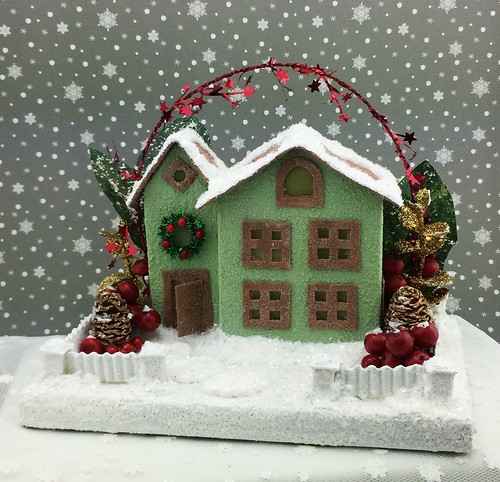
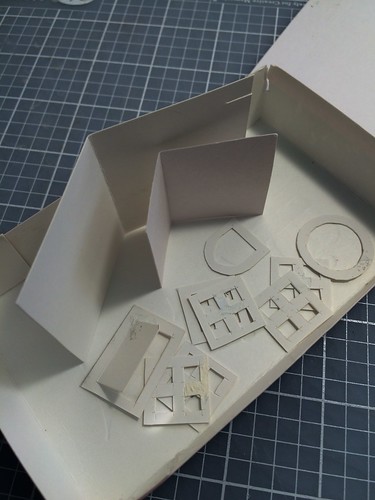
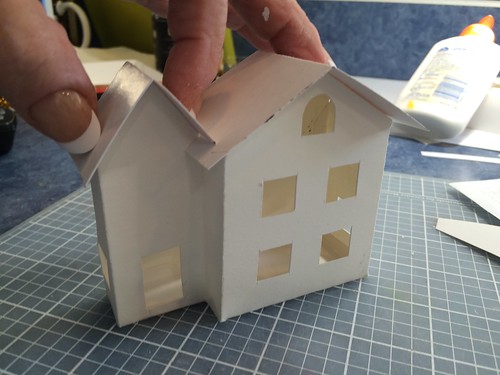
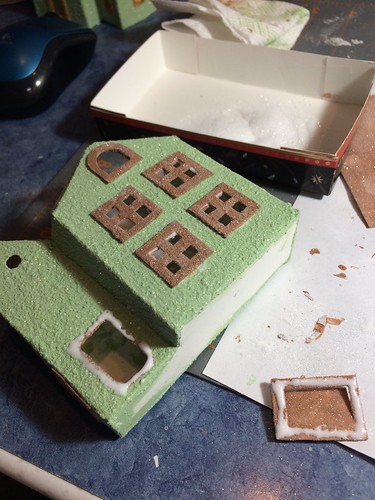
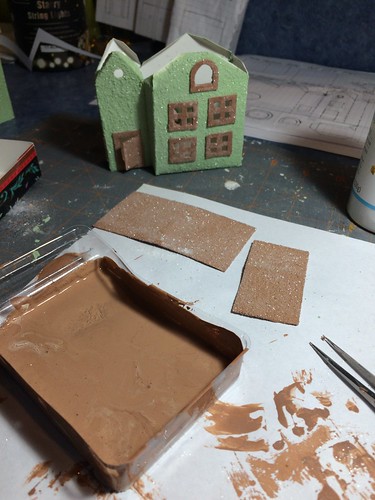
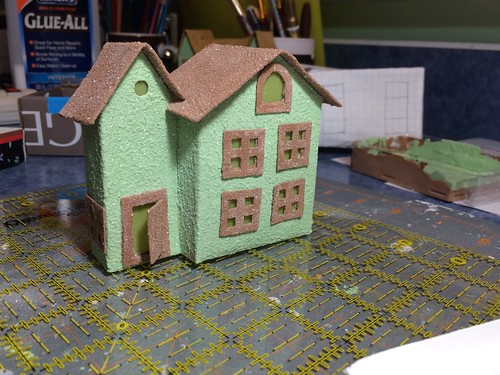
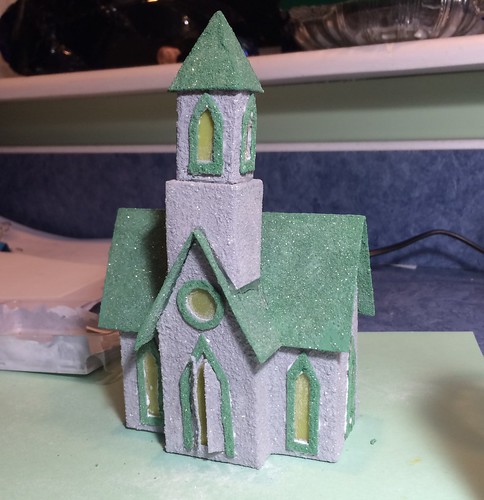
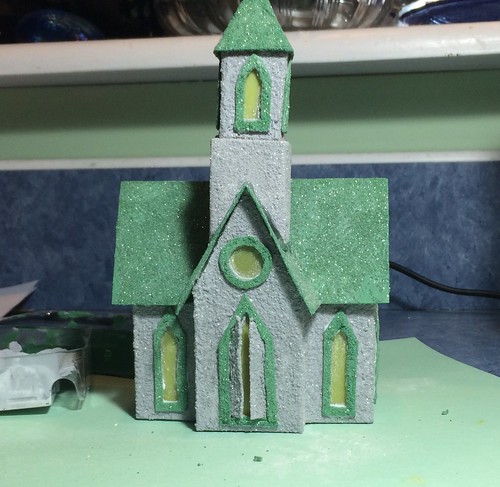
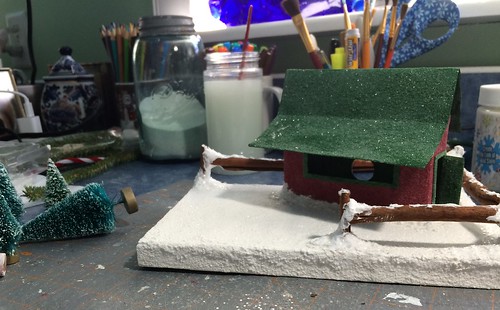
little gray putz church

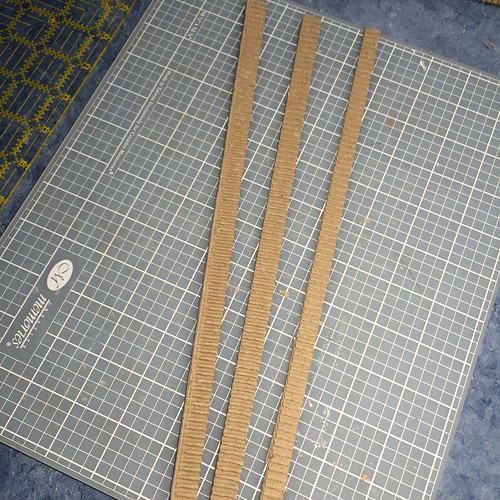
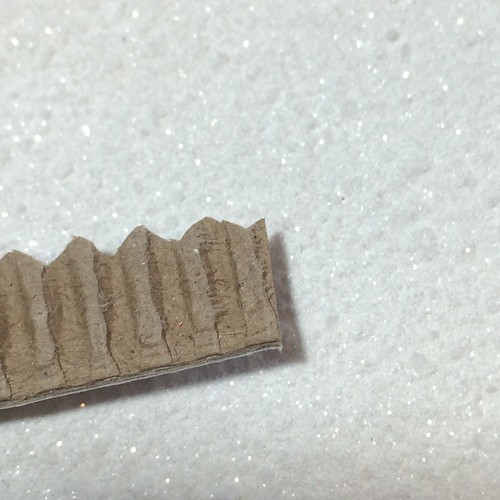
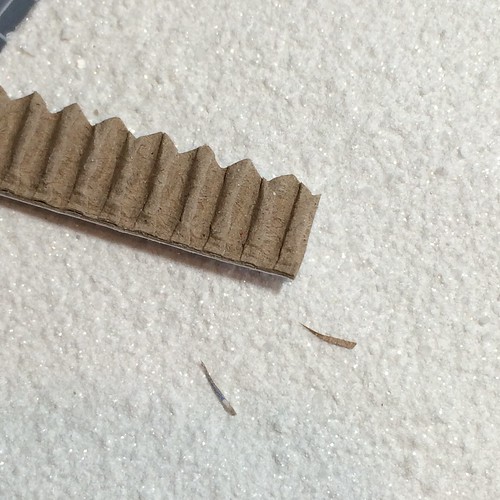
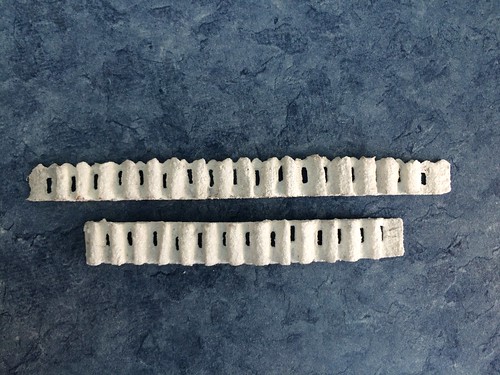
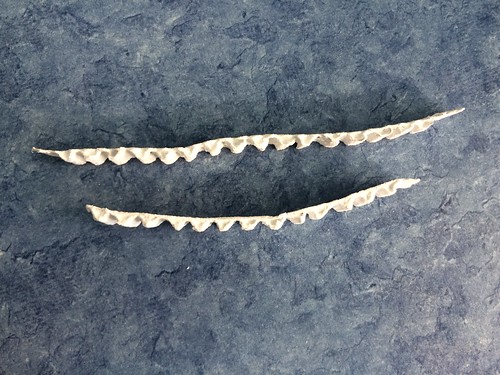
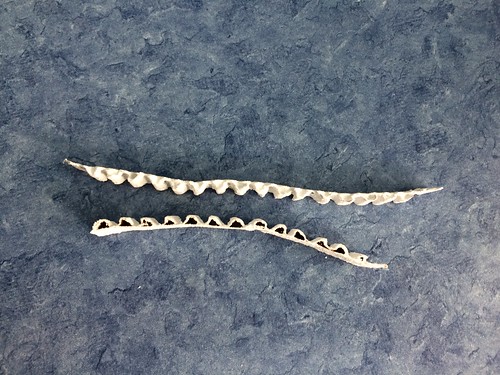
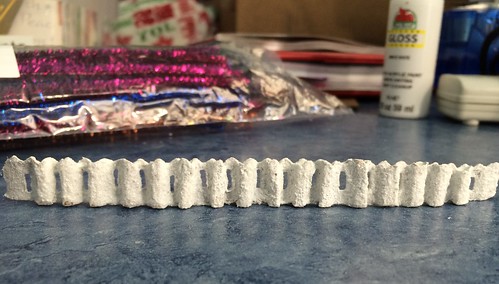
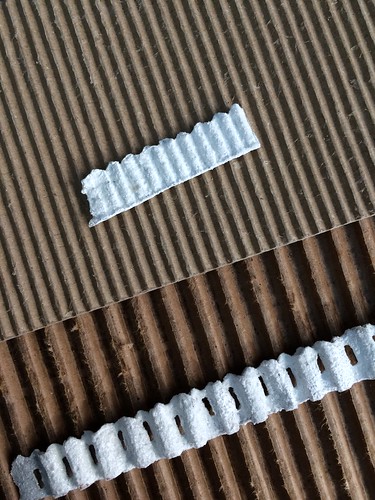
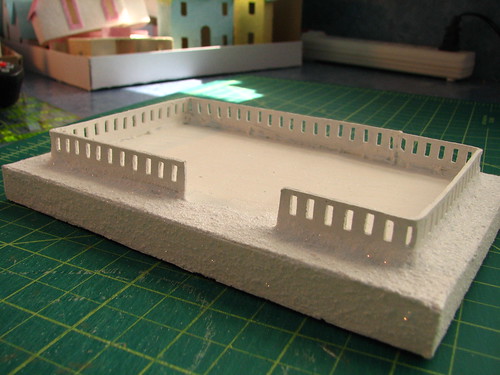
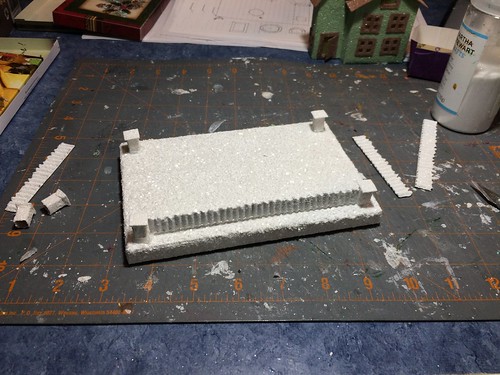
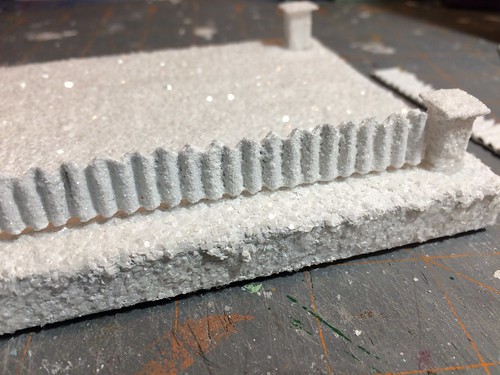
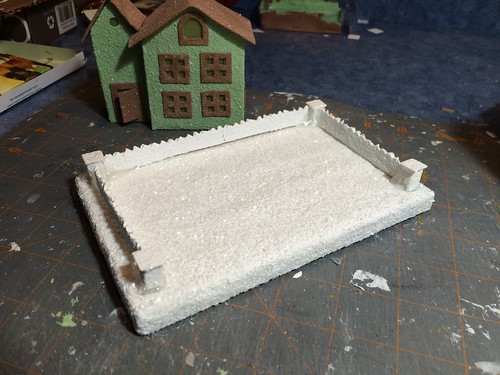
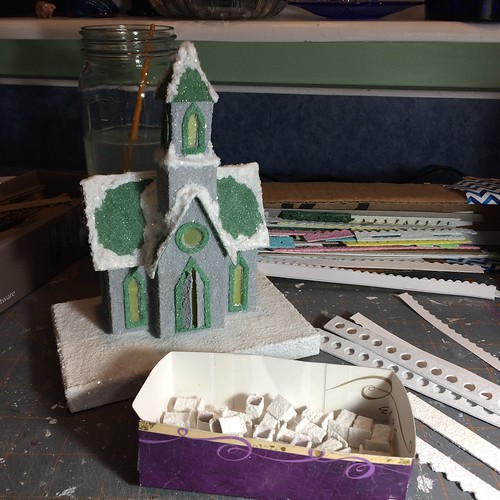
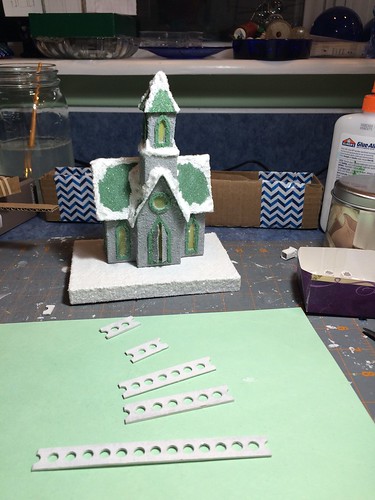
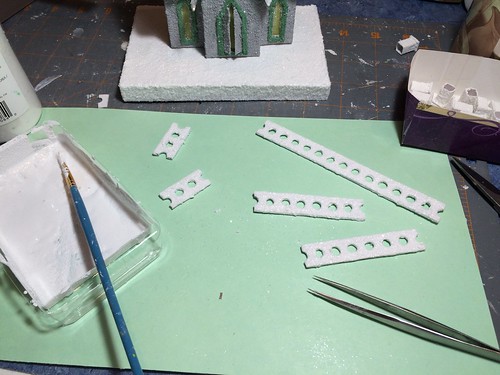
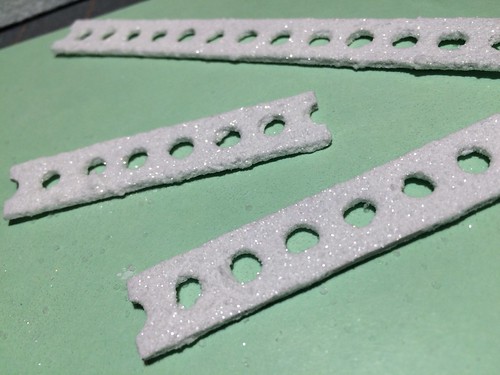
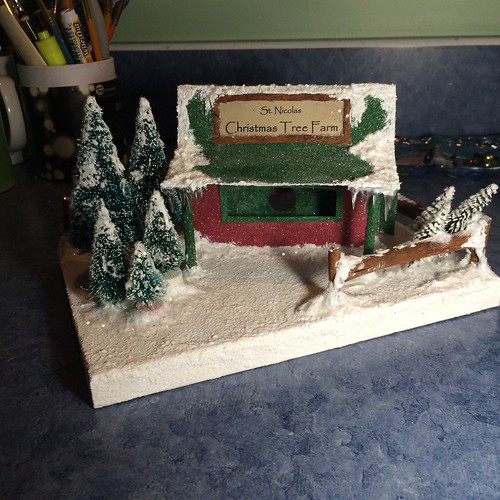
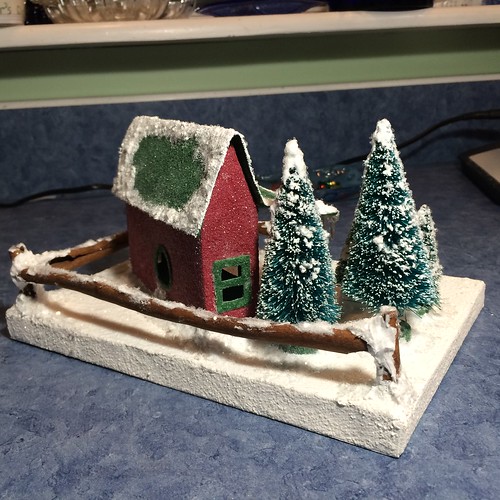
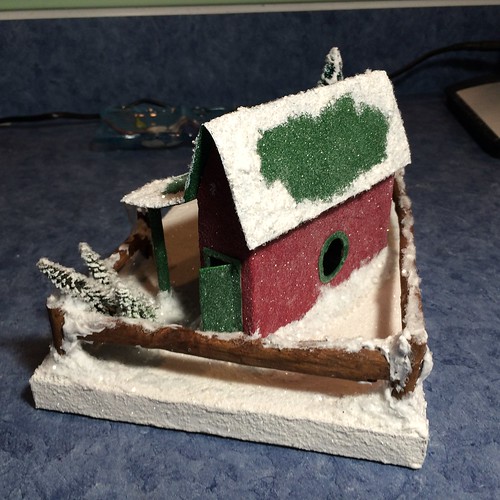
I worked on the little gray church on Friday. I chose some fencing from my stockpile.

putz house

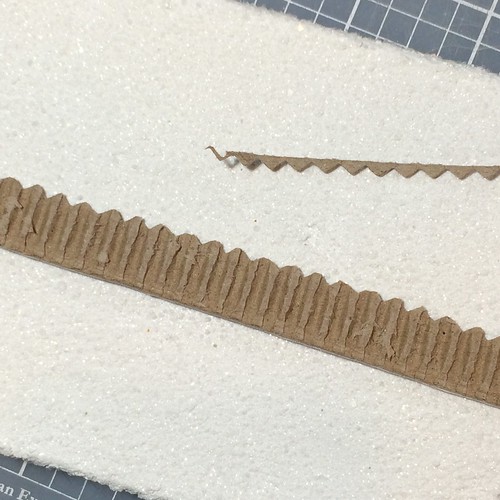
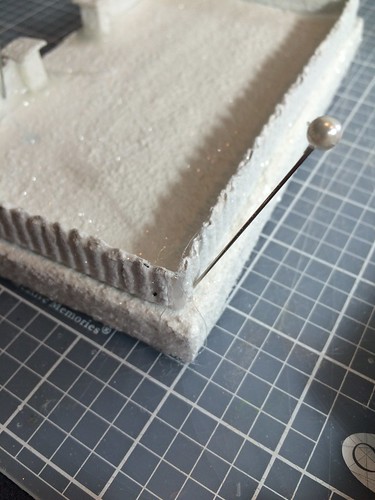
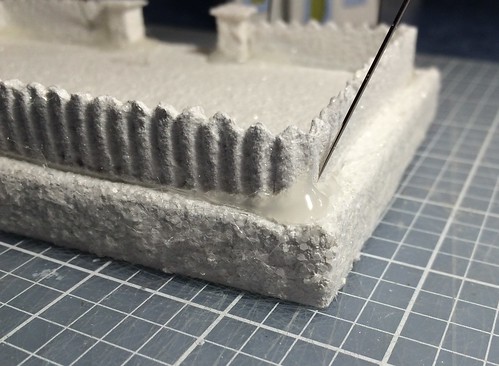
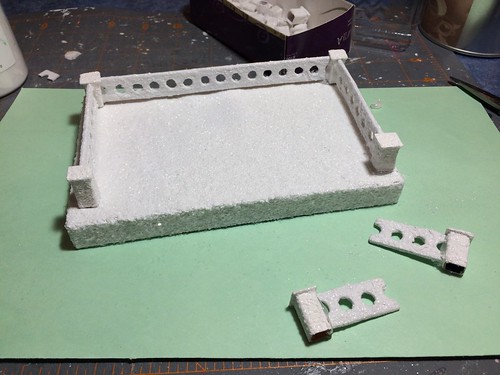
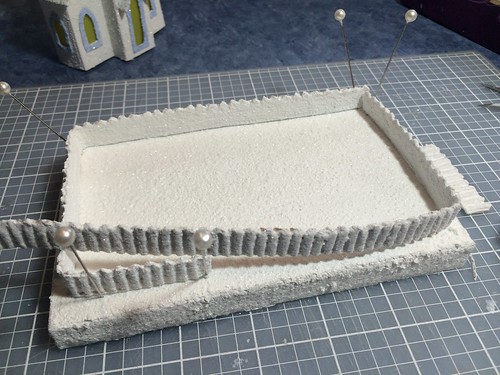
Then cut it to fit the base.

putz house

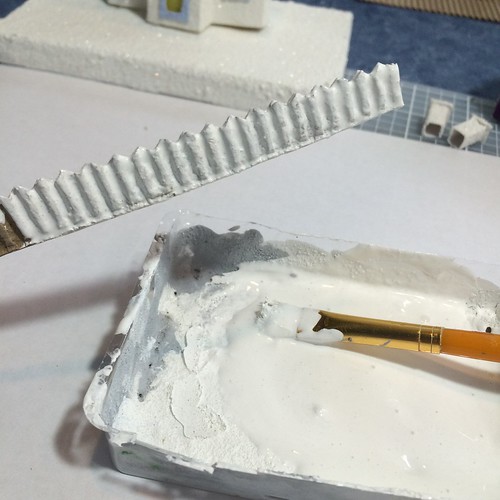
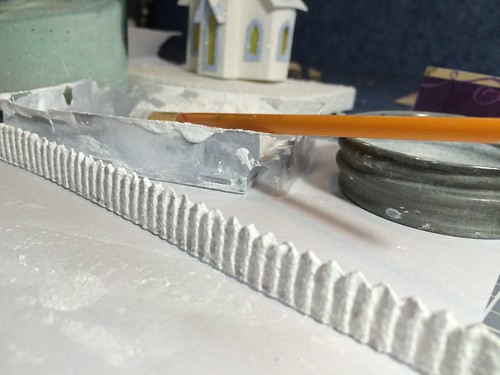
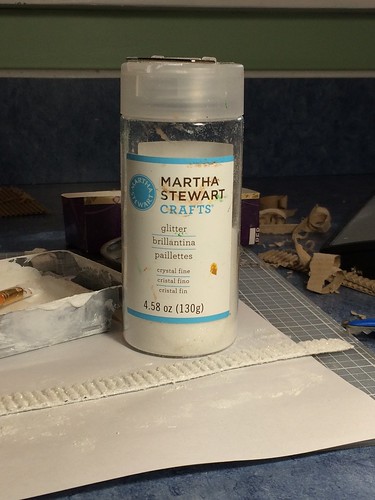
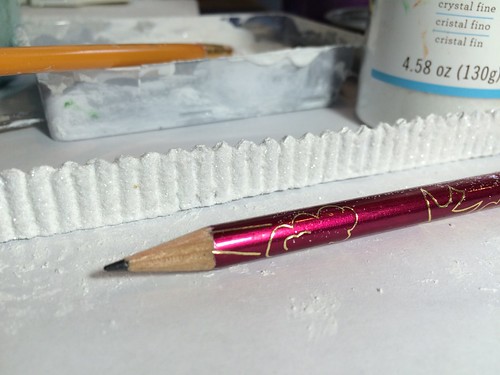
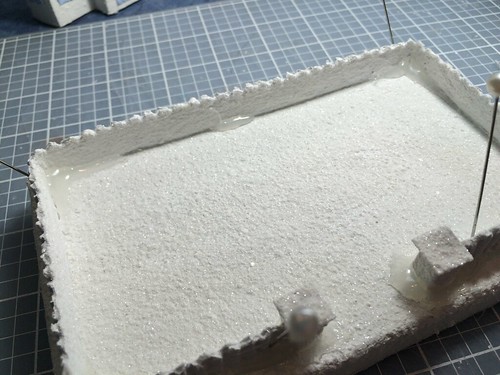
Paint and glitter…

putz house

putz house

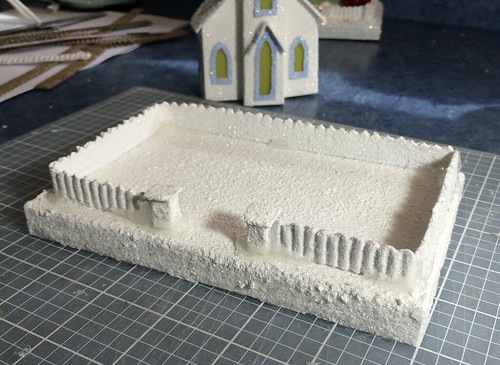
And assembly…

putz house

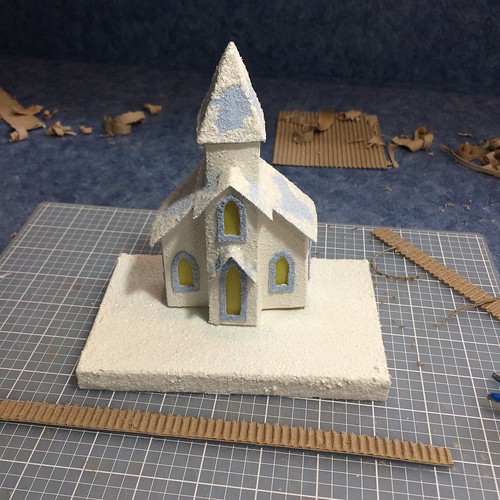
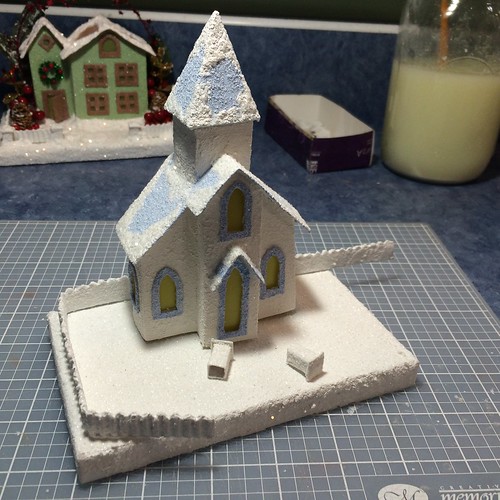
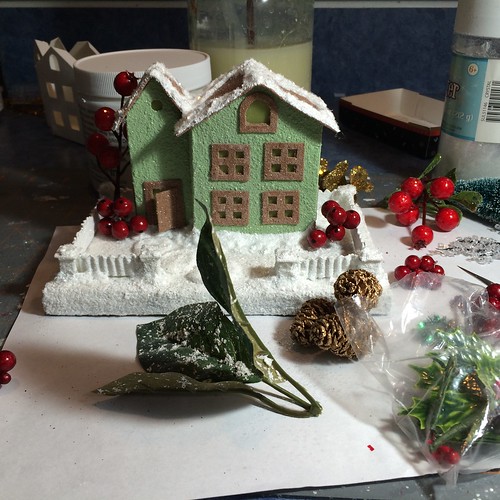
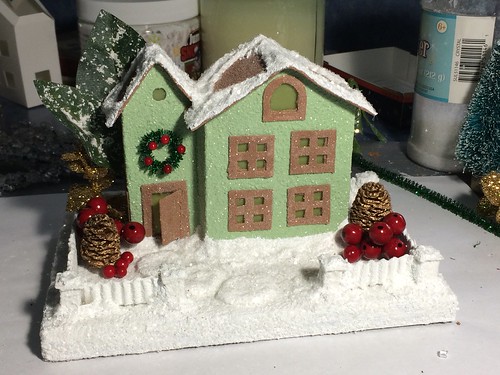
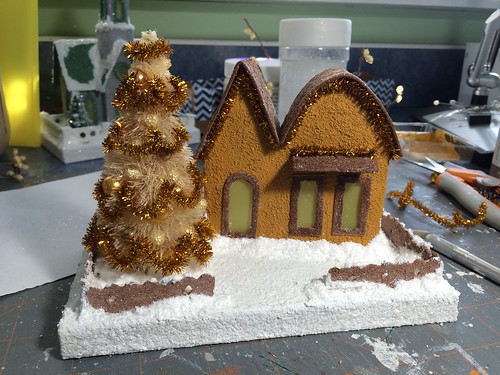
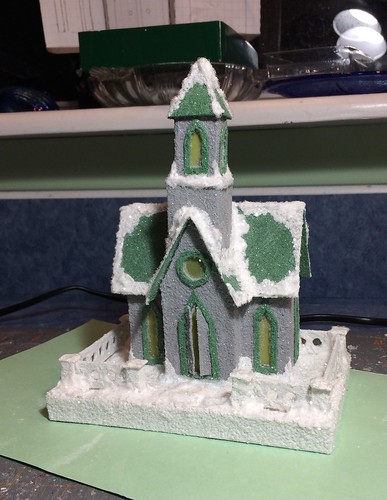
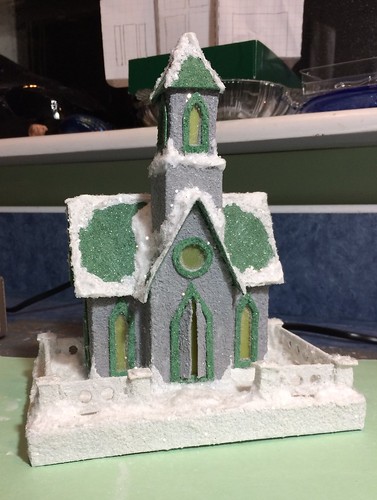
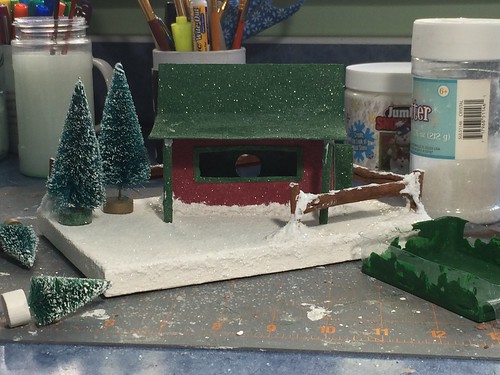
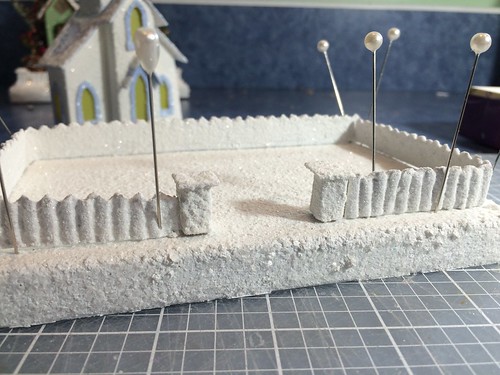
The church is glued down and snow has been put around the bottom of it. Not much room for embellishments.

putz house

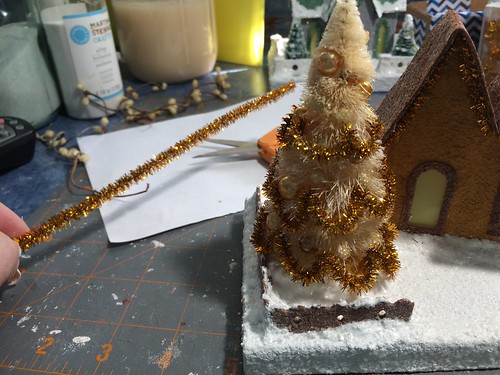
I think I will add two small bottle brush trees, one on each side.

putz house

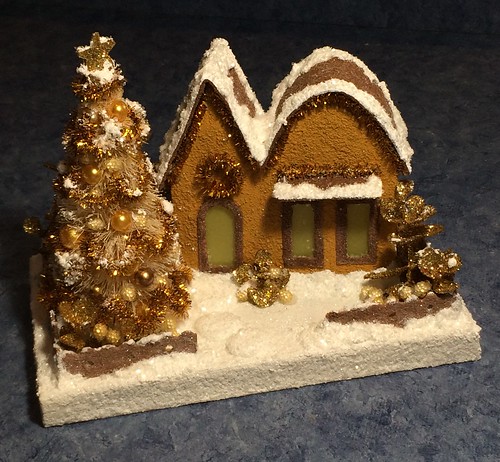
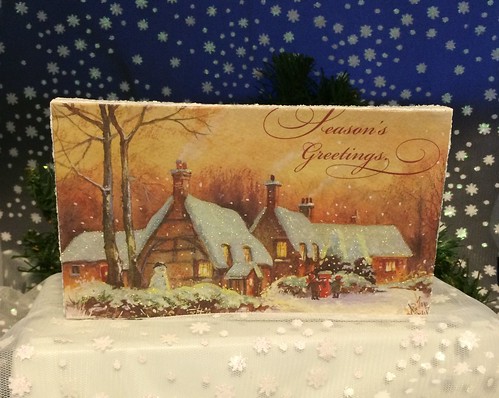
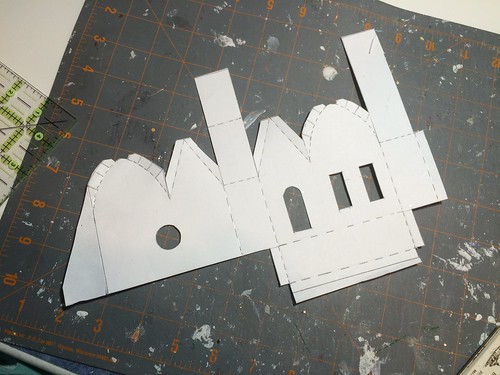
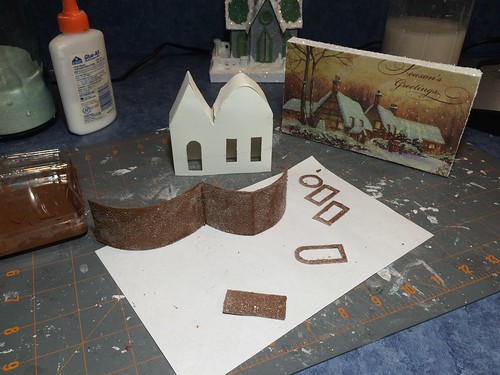
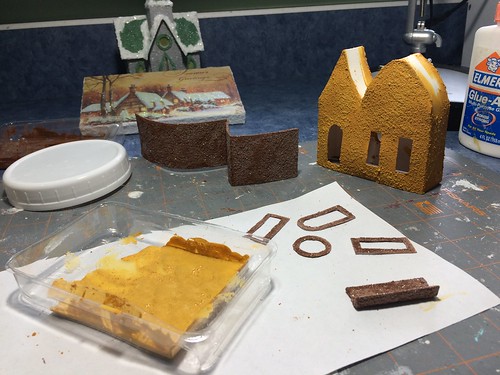
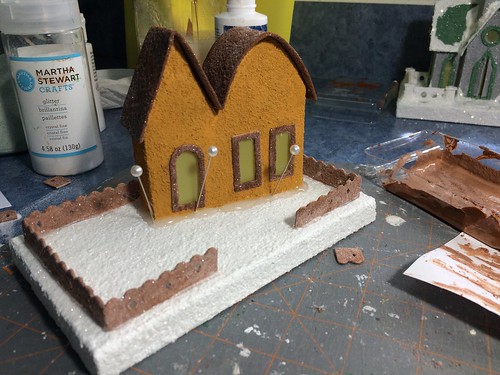
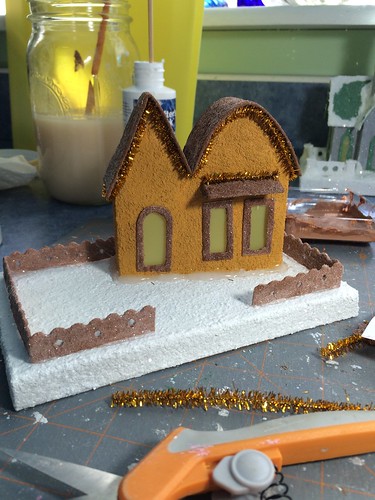
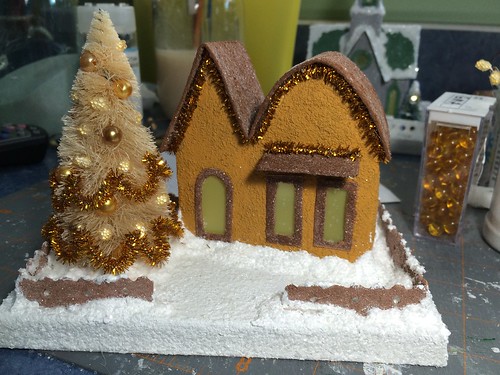
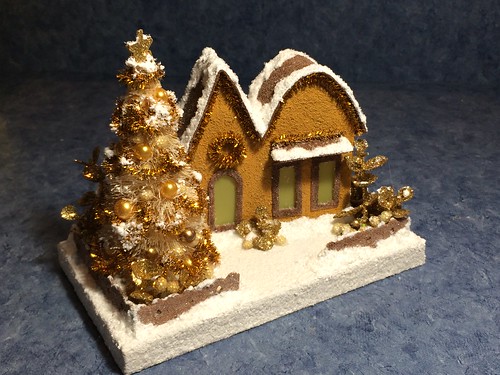
I came across a pretty Christmas card in browns and golden yellows. I plan to make a Putz house for it. I haven’t used that color combination on any of my Putz houses yet. I hope to work on that today.

~~Rhonda

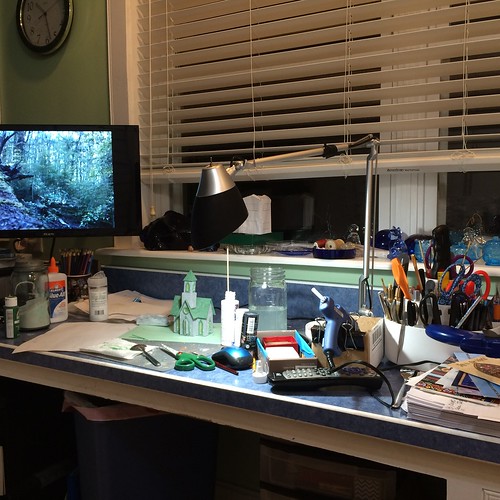
my happy place

This is it. My happy place. Just looking at the picture makes me happy.

my happy place

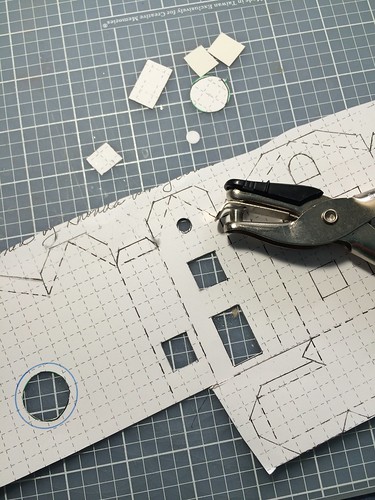
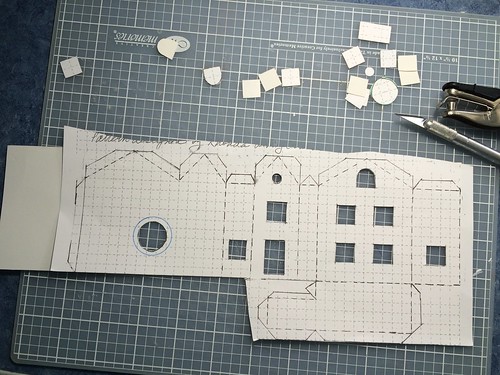
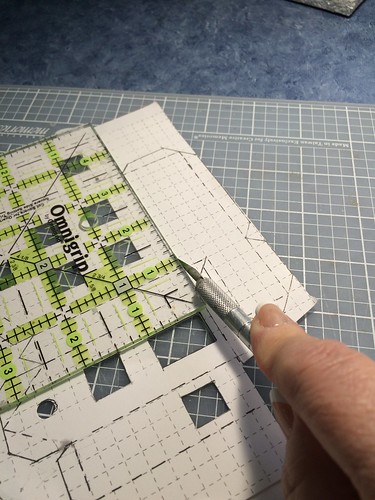
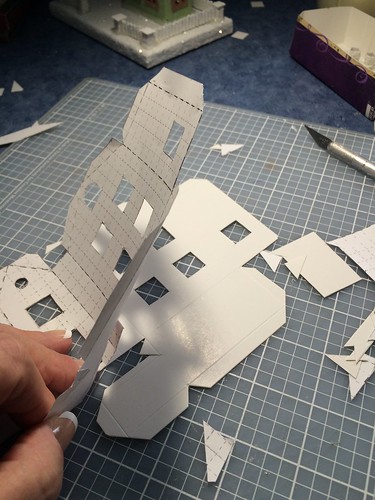
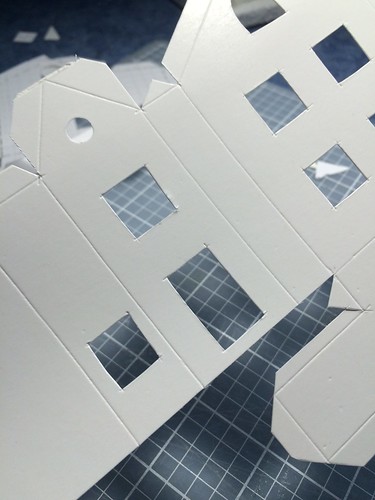
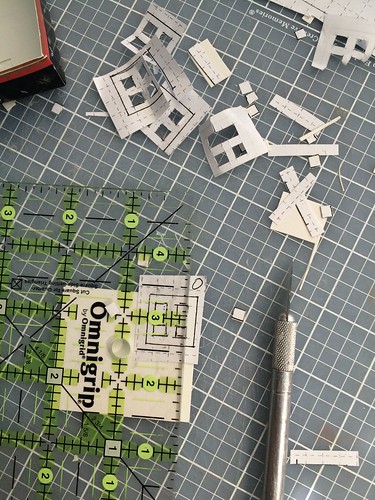
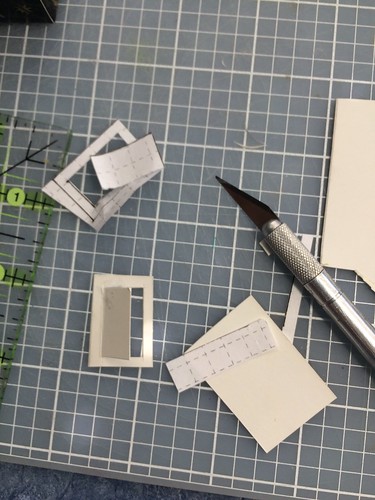
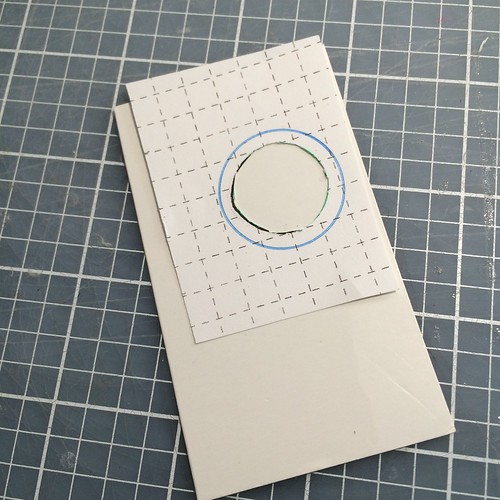
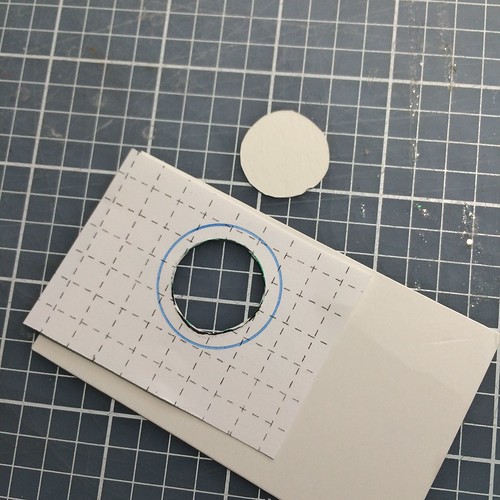
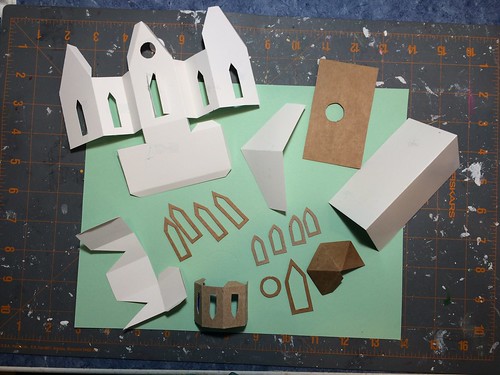
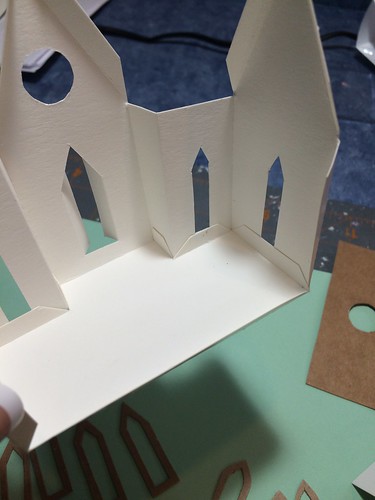
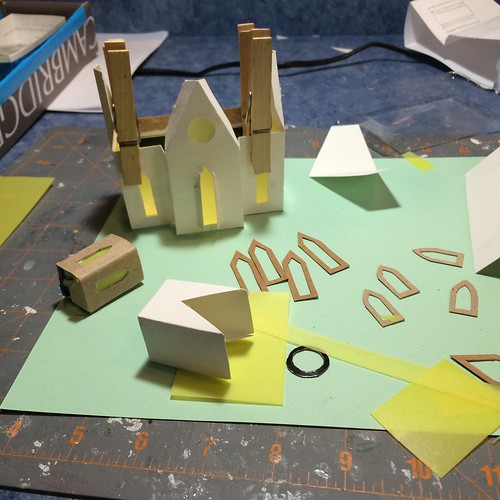
I haven’t felt very well the past few days, so I settled into the craft room and watched a lot of TV. And worked on a little gray Putz church. For me, that’s relaxing. The first order of business? Cut out the pattern pieces.

little gray church

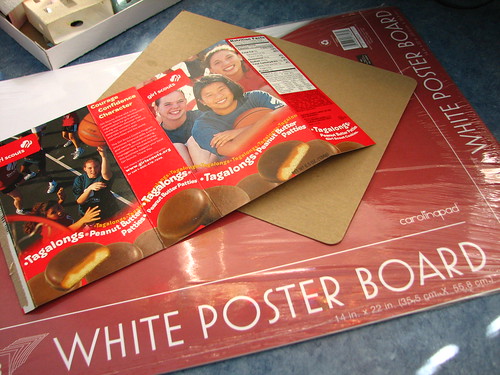
The white pieces are poster board, which I find at Wal-Mart in a package of half size sheets (14″x22″). The brown pieces are cut from a grocery box. Cracker and cereal boxes are a good weight for making Putz houses. As are Girl Scout Cookie boxes…

building a base for Putz houses

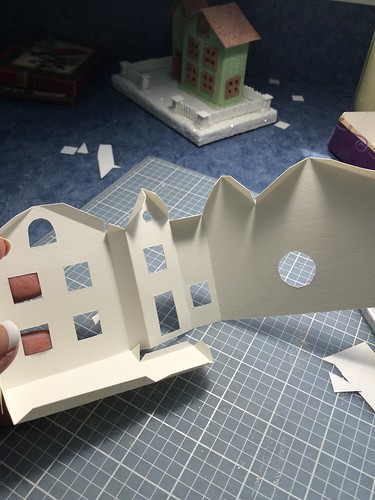
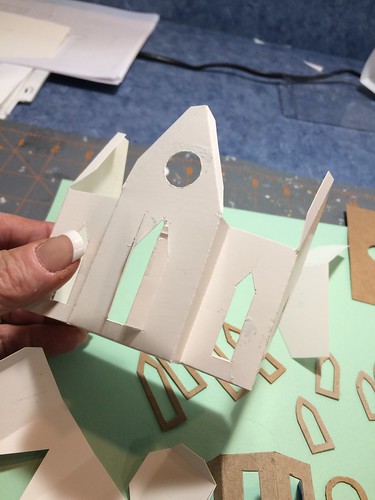
After cutting, the pieces are scored and folded.

little gray church

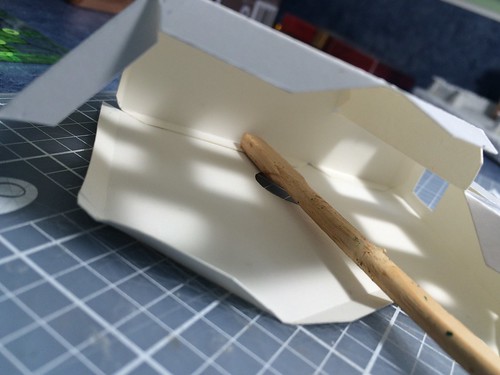
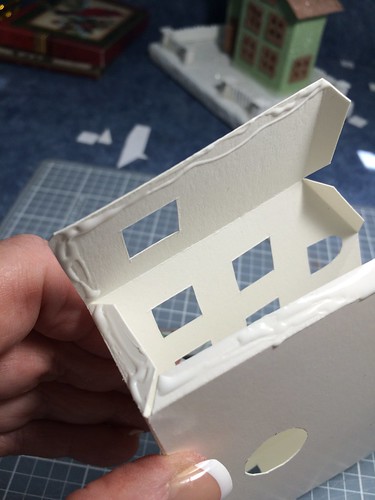
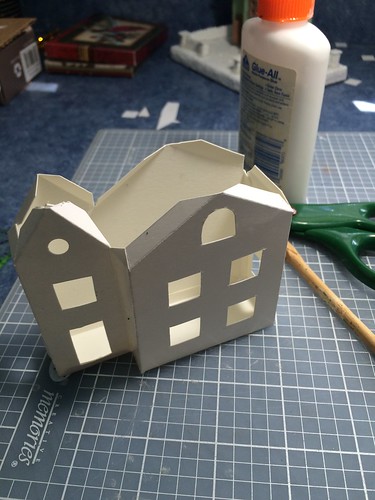
The tabs are glued down. I put a bottom on this church because it has a bump out. If the building has a rectangular footprint, I leave the bottom off. But the bottom does give the bump out a lot of stability and that comes in handy when gluing it to the base later.

little gray church

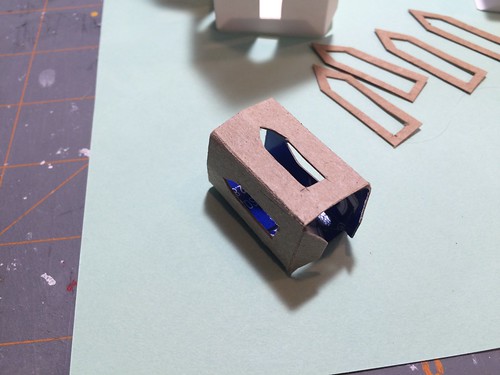
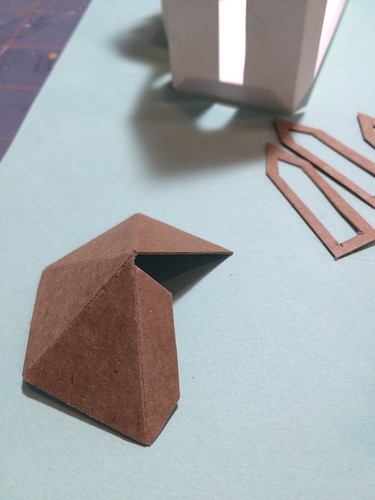
The steeple and steeple roof are folded and glued.

little gray church

little gray church

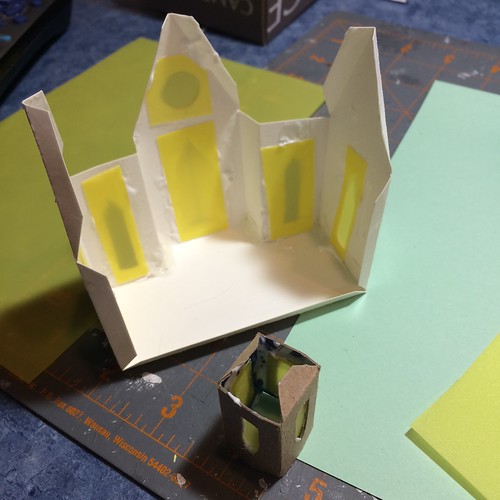
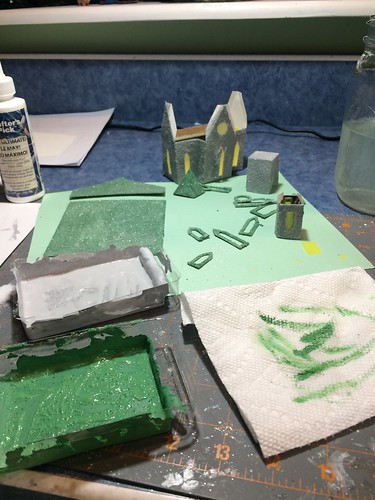
Next, I glued in the window panes. Should have painted the walls first…

little gray church

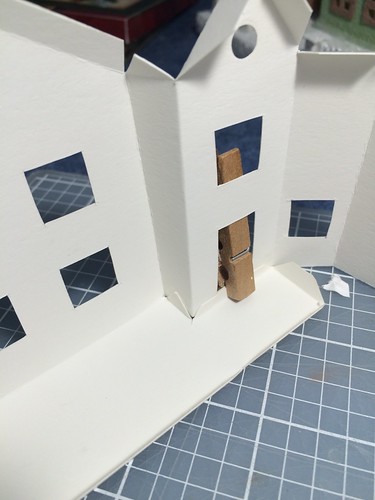
The white glue is wet, so it sometimes warps the thin poster board. I use clothespins as clamps to hold things together until dry.

little gray church

The painting is done.

little gray church

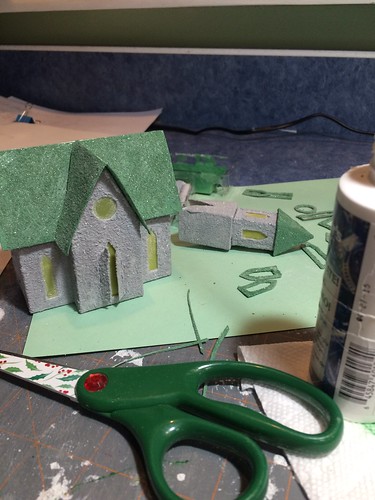
Roofs are glued down. Don’t you love my Christmas scissors, BTW?

little gray church

Putz houses are forgiving. Bits of glue or other minor flaws can be covered with “snow” later in the process.

little gray church

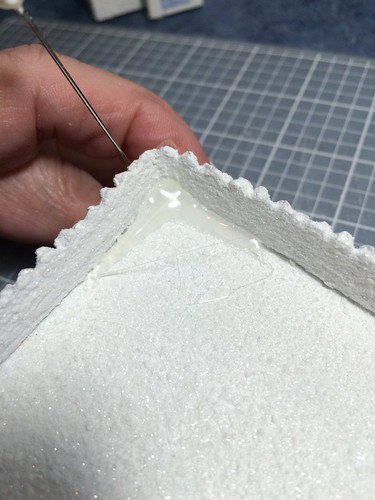
Any white glue showing now, will dry clear and not show later.

little gray church

I was glad to get back to Putzing today. Missed it the past few weeks as I’ve been very busy with other things. One of those things was a visit with my Dad. He was in the hospital for nine days a few weeks ago, but is doing well with his recovery. He will have gallbladder surgery in a few months. Your prayers on his behalf are much appreciated. It was good to see him! I also got to see three of my four sisters, one sister-in-law and both my brothers. We had a good time!

Tomorrow, I plan to build the base for the little gray church. When it’s dry, I’ll attach the church and a fence, and embellish the piece. I’m excited to get to that point! I never know which direction the embellishments will take. It’s always fun to find out!

~~Rhonda
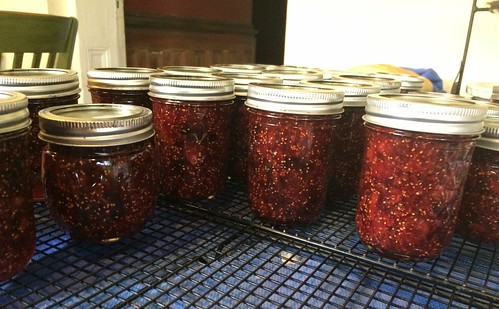
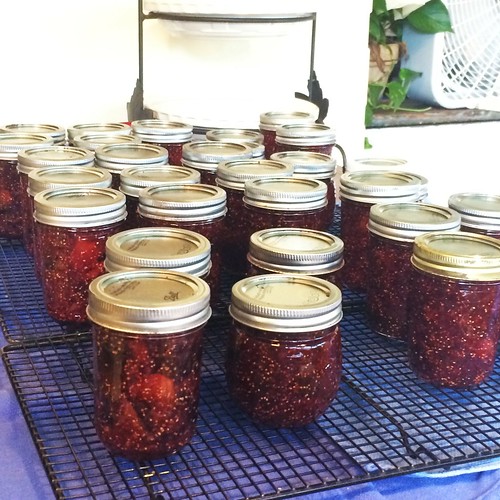
31 jars of fig jam

Home canning is something I enjoy. I love to make jelly and jam and canned apples, canned peaches, etc. Today DH and I worked together to make 31 jars of fig jam. This is the recipe I used:

How to Make Fig Preserves/Jam

I left out the cinnamon. For the pectin, I used Ball Real Fruit Low or No Sugar Needed Pectin. For each batch of jam, I used 3 tablespoons of pectin and four cups of sugar.

making fig jam

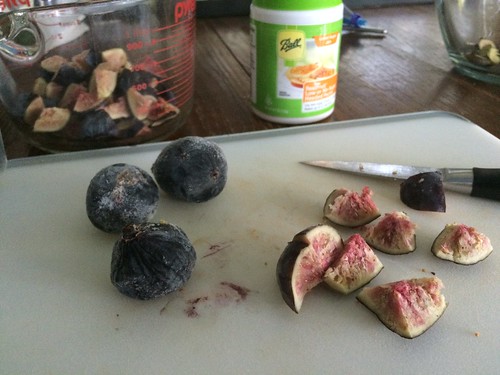
Our DDIL brought the figs to us when the store she works at had them on sale. Some of the figs had been purchased earlier and were frozen to hold them till it was time to make jam. I haven’t used frozen figs before, but they worked as well as the fresh ones did. They were actually less messy to cut up. I trimmed the stem ends. The skins were thin enough to leave on. I just chopped them and measured out four to five cups for each batch.

making fig jam

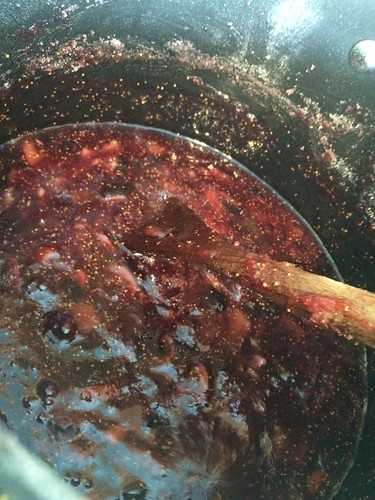
So easy to make!

making fig jam

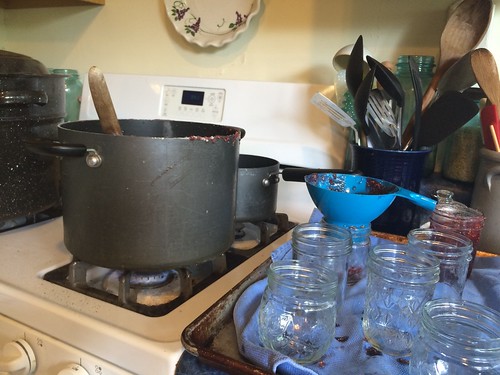
Our usual canning set up. The hot water bath goes to the left on the front of the stove. The fruit cooks on the front right burner and the jar flats warm up on the back right side of the stove. A cookie sheet under the jam jars helps to corral any drips.

making fig jam

Thirty-one jars later…

making fig jam

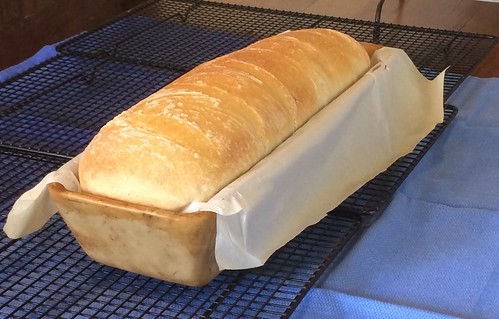
A fresh loaf of sourdough bread came out of the oven just as we started the first batch of figs.

making fig jam

How providential!

making fig jam

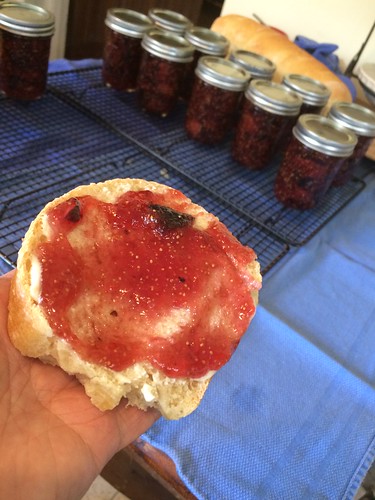
Delicious! I am so happy to have the fig jam made. It’s a favorite of mine. I’d hate to have to face winter without it. 😉

Here’s my post about making fig jam two years ago. fig jam

More canning fun:

October 2015 twenty jars of spiced apples

August 2013 peaches, peaches, and peaches

August 2011 the rule is jam tomorrow and jam yesterday but never jam today…

June 2010 apricot jam ~ sunny summer goodness

~~Rhonda
menu plan monday ~ september 5, 2016

Happy Labor Day! Our son and his family came over this afternoon. We grilled and chatted and ate pie and chatted. It was a fun afternoon.

The grilled shrimp was delicious!

Love me some BBQ shrimp.

Pa took the twins out to drive the golf cart. Rose Red is pretty sure she and Snow White are the only eight year olds permitted to drive a golf cart!

Rose Red said, “I feel like a pretty lucky eight year old.”

golf cart driver

Snow White didn’t want to stop. It’s a favorite activity when they are here.

golf cart

The day was hot and breezy. Looks like cooler weather will be coming toward the end of the week. We’ve had the windows open, and I’m looking forward to being able to do that again. Here’s the menu for the week.

Monday
Labor Day and that means grilling.
Grilled Marinaded Chicken
Grilled Beef Steaks
Grilled Shrimp
Grilled Corn on the Cob
Corn Casserole
Salad
Fresh Fruit ~ pineapple, melons, strawberries, grapes
Key Lime Pie, Apple Pie and Ice Cream

Tuesday
Grilled Hamburgers
Homemade Buns
Leftovers

Wednesday
Pan Seared Tilapia
New Red Potatoes
Garden Salad

Thursday
Chicken and Broccoli Casserole
Garlic Bread
Garden Salad

Friday
Mexican Casserole
Lettuce, shredded cheese, tomatoes, sour cream
Homemade Tortilla Chips

Saturday
Fridge Food

Sunday
Spicy Creamy Tomato Pasta
Steamed Sugar Snap Peas
Garden Salad

You can find more menus and ideas at Menu Plan Monday.

~~Rhonda
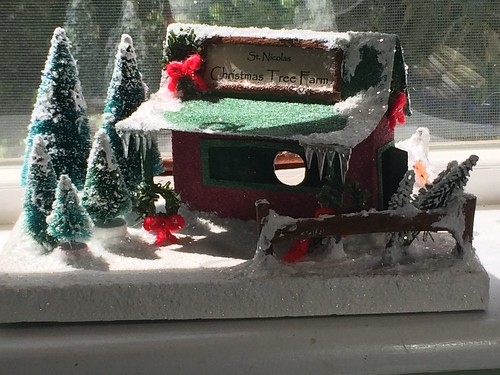
putz Christmas tree lot

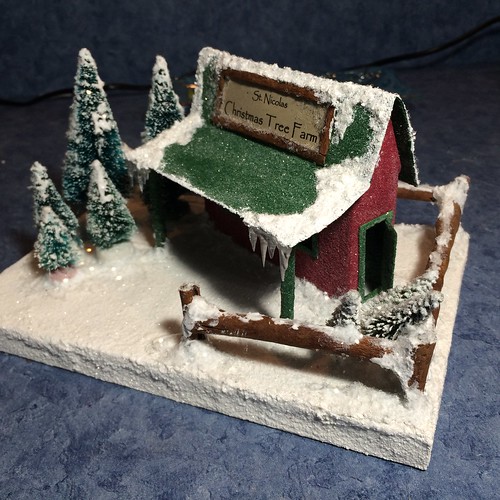
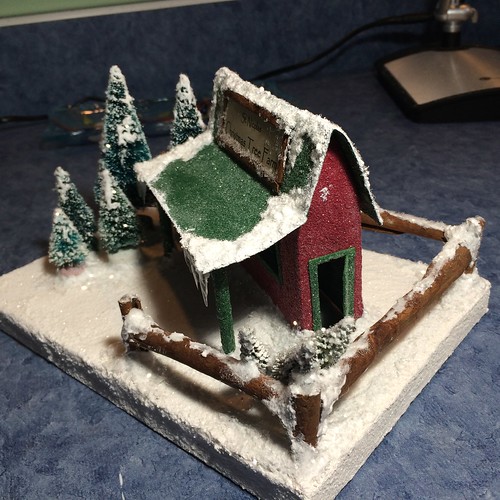
I am still tweaking the Putz “Christmas Tree Lot” that I’ve been working on the past few days, but it is almost done. In my last post, I explained how I made the base for the Christmas Tree Lot. It had to be larger than those I usually make to have room for the trees, a mail box, wreaths, etc. You can see that post here: putz Christmas tree lot…making the base

Today, I’ll show you the progress I’ve made on this little cutie.

Putz Christmas Tree Lot

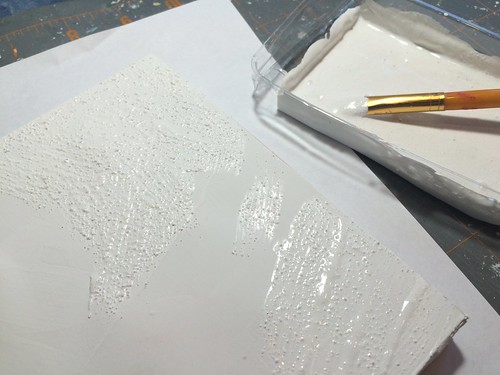
Painting and glittering the base was the first step. This picture shows the texture the paint adds when it has a little sand mixed in.

Putz Christmas Tree Lot

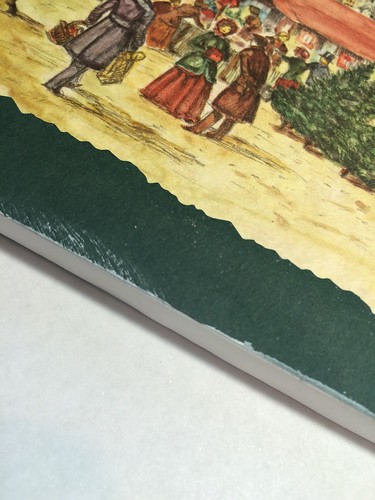
In the last post, I showed how I made the base for the Christmas Tree Lot, and also how I added a Christmas card picture to the bottom. I didn’t think about being careful as I painted until I had marked up a few places on the green frame.

Putz Christmas Tree Lot

I have found that I can remove acrylic craft paint by gently wiping it down with a baby wipe. The kind I use are Pampers Sensitive wipes. I just have to be careful not to saturate the paper or it will tear, even with gentle scrubbing.

Putz Christmas Tree Lot

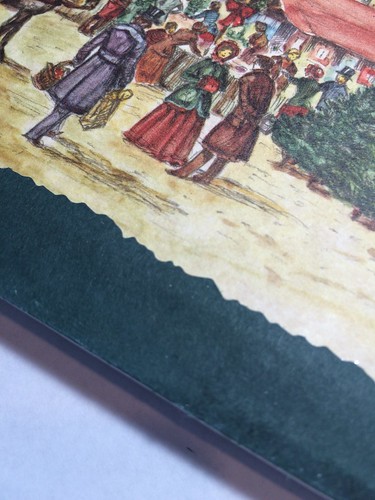
I took this picture to show how the base absorbs moisture and warps a bit while wet. Not to worry. Most, if not all of that, will flatten when it dries.

Putz Christmas Tree Lot

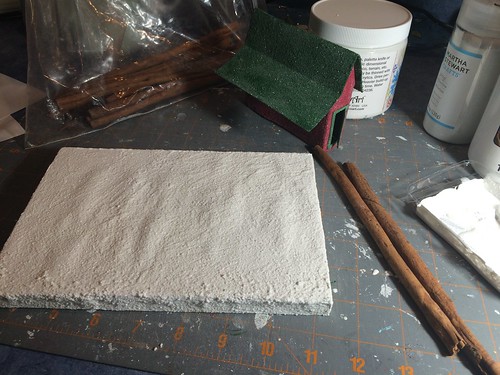
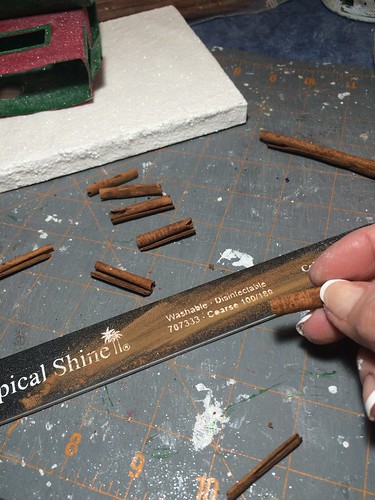
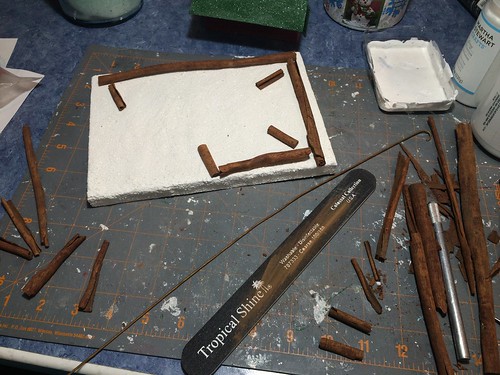
I made the fence rails and the fence posts from cinnamon sticks. A nail file makes quick work of leveling the ends of the posts. That smelled good, by the way!

Putz Christmas Tree Lot

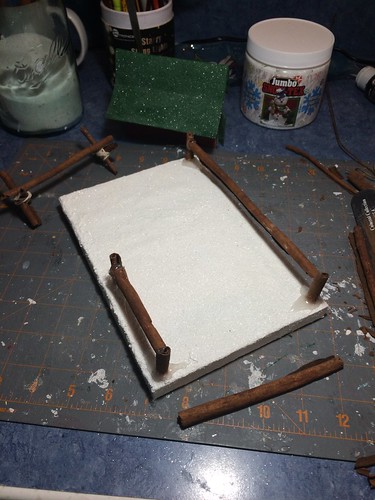
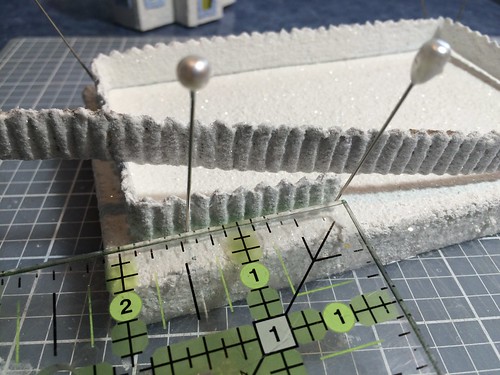
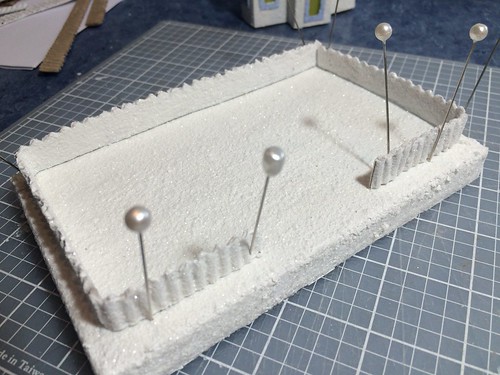
All the lengths were checked and adjusted before gluing the fence to the base.

Putz Christmas Tree Lot

I found that my small wire cutters worked well to cut the cinnamon sticks, if I just cut into them a little at a time rather than trying to cut the whole thing with one cut. That tended to shatter the stick.

Putz Christmas Tree Lot

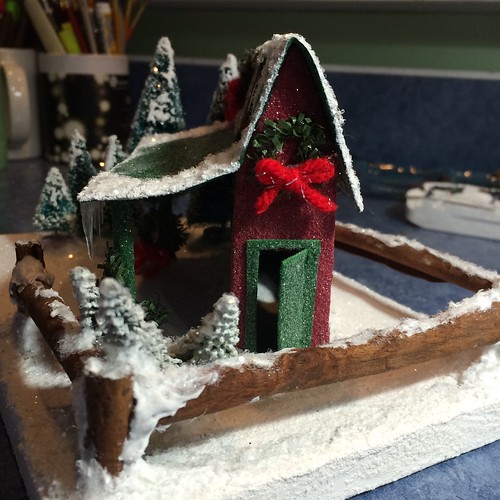
The fence is glued on, snowed and glittered. The shack is also glued to the base and I’ve applied “snow” and glitter all the way around it.

Putz Christmas Tree Lot

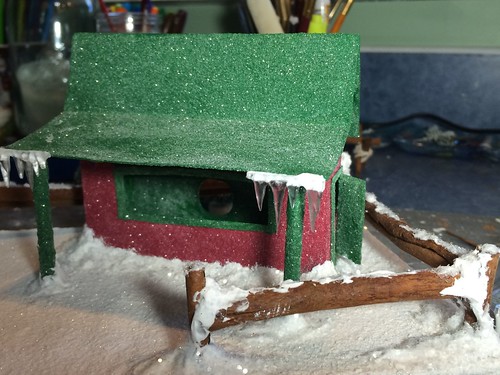
And now the porch posts are glued in place. The posts are made from bamboo skewers. They are about 1/8″ in diameter. I cut them with wire cutters.

Putz Christmas Tree Lot

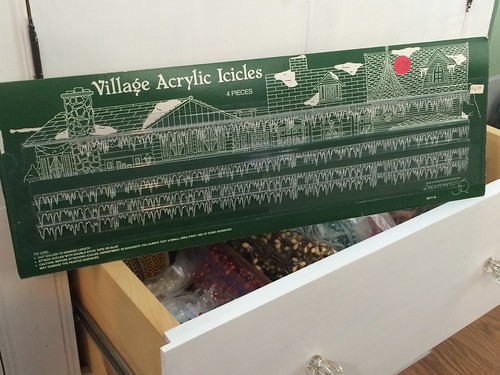
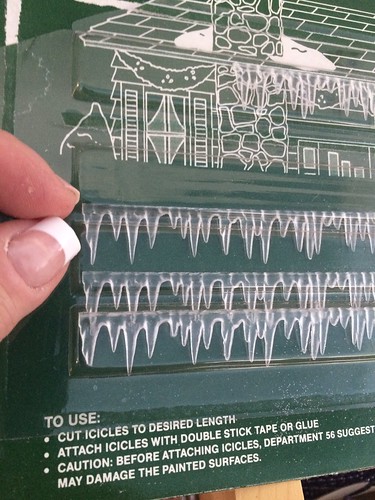
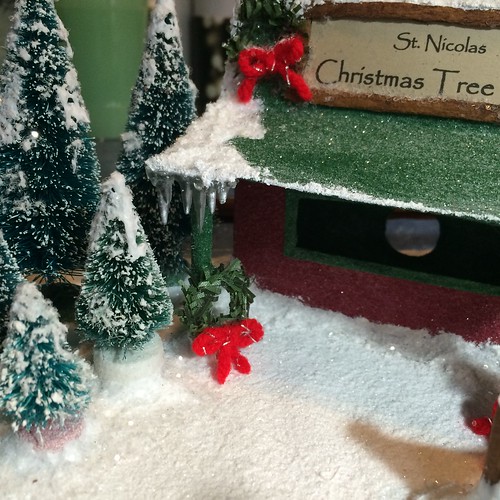
I have a package of miniature icicles that my sister found in a thrift shop and I cut a few off for each side of the porch. The white glue (Crafter’s Pick) dries clear and has a great hold.

Putz Christmas Tree Lot

These are the icicles I am using. Genny found this package for $1.70 in a thrift store. You can google < "village acrylic icicles" > with the quotes to find buying options and a wide range of prices, if you are interested. Amazon sells them through third-party sellers. As you can see, I have a nice supply that should last a while.

Acrylic icicles

Acrylic icicles

I am liking the way it is turning out. It has been more work than some of my other houses, and I am finding my way as I go along. The next one I make will be easier. I’ll know how much room I need and how I can add some other features I wasn’t able to add to this one.

Putz Christmas Tree Lot

Putz Christmas Tree Lot

Putz Christmas Tree Lot

Putz Christmas Tree Lot

Putz Christmas Tree Lot

Yesterday, I made tiny wreaths to decorate the Tree Lot.

Untitled

Wreath

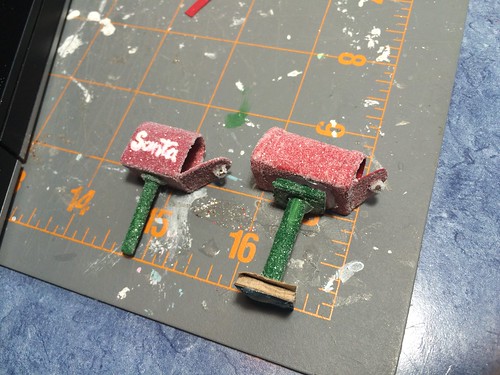
I also made two mailboxes. Both are too large for the Christmas Tree Lot. I’m going to attempt to make an even smaller one this afternoon. Not sure I can manage it but we’ll see!

Mini mailboxes

Christmas Tree Farm

I hope to get this posted to my Etsy shop in the next day or two. ChristmasNotebook

~~Rhonda
putz Christmas tree lot…making the base

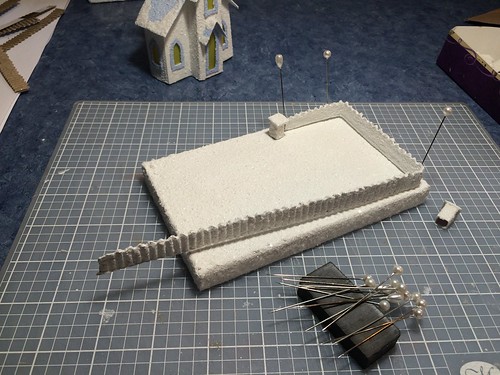
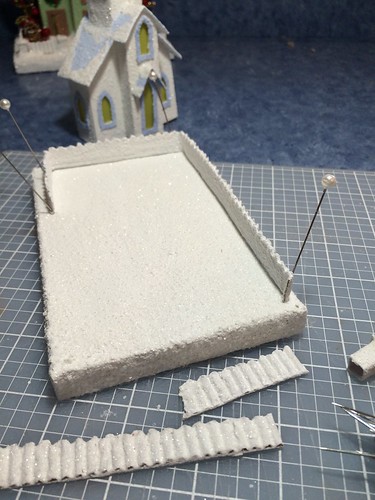
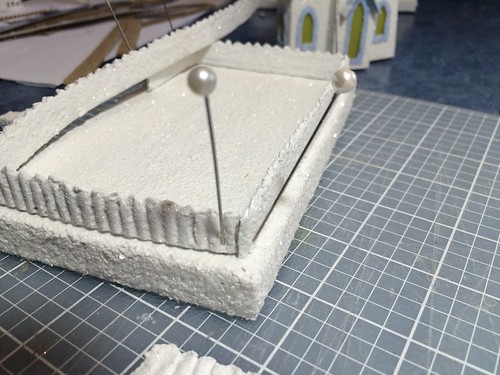
This past Friday, I made the base for my new Putz / little glitter house, the Christmas Tree Lot. This is the bottom of the base. I like to add a Christmas card surprise on the bottom.

Putz house base

Because I want to add trees and a sign and wreaths and roping, etc., the base needed to be larger than I usually make. It turned out to be eight inches by five and a half inches. That’s the largest base I’ve made for my Putz houses.

Putz house base

I did find a Christmas card I liked for the bottom of the base, but I had to frame it because it was smaller than the base.

Putz house base

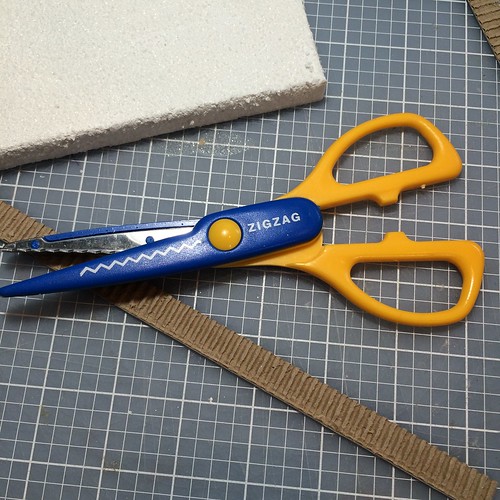
I used deckle patterned scissors to trim the edge.

Putz house base

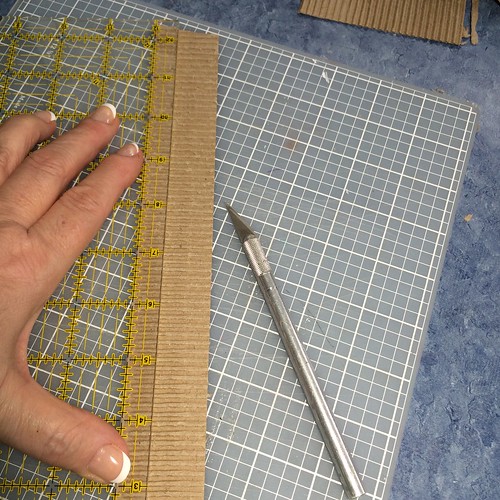
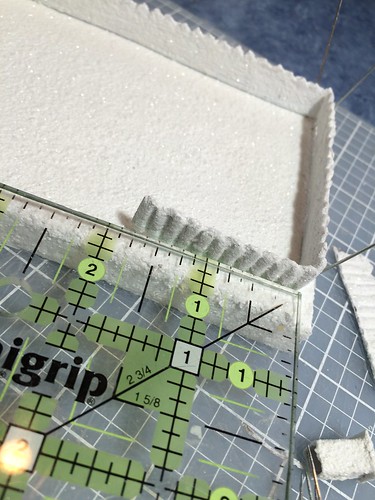
I used a five inch square ruler that has 45° angle lines on it to miter the corners. The X in the middle of the ruler are the 45° angle lines.

5" square

I lined the edge of the paper with the straight line on the ruler, then cut the angled edge with a craft knife.

Putz house base

Putz house base

Putz house base

After making sure the miter fit well, I marked the other end of the frame piece.

Putz house base

Putz house base

I put a pencil mark at the point where the mitered cut should meet the corner of the base.

Putz house base

Then I made another pencil mark to show me the angle I should cut the paper, to the left of the frame piece. Just a reminder to me of how the cut should be made, so I don’t cut it at the wrong angle.

Putz house base

The glue should completely cover the back of the frame piece.

Putz house base

Applied, edges matched, and pressed well.

Putz house base

All the way around. Looks good! When I paint the base, I will put a couple of coats of clear sealer over the Christmas card and the frame just for a little added protection.

Putz house base

The next step is to paint and glitter the base. I’m going to clear my craft counter first. It amazes me how quickly my counter gets too cluttered to work at!

And later this evening, we get to FaceTime with Youngest Daughter who went off to college yesterday. I’m looking forward to that!

Moving in.

If you’re interested in making bases for Putz houses, here’s the link to my tutorial. tutorial for making putz house bases

~~Rhonda
drafting a new putz design

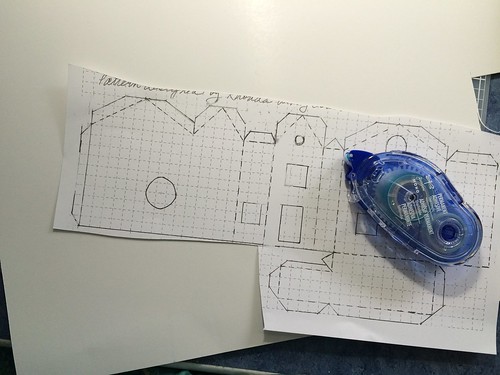
I wanted to add a Christmas Tree Lot to my collection of Putz patterns so I drew up a pattern for the sales shack. This is as far as I got with the project today.

Putz Christmas Tree Lot

I will make a base for it tomorrow and, once I have it glued to a base, I can start decorating! Can’t wait! I started by making a rough sketch of what I wanted. I googled < Christmas tree lot > and took some ideas from the pictures that popped up.

Putz Christmas Tree Lot

Free drawing a pattern on graph paper was next. I drew it in pencil, didn’t use a ruler, and made adjustments as I drew the pattern out and mulled over it.

Putz Christmas Tree Lot

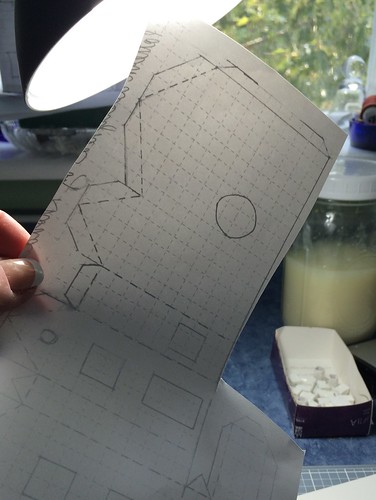
After it was the way I wanted it, I drew the MASTER on another sheet of graph paper, using a ruler, and added the window frames, the door frame, and directions for the roof. I made a copy and assembled a model from the paper just to be sure it all fit.

Putz Christmas Tree Lot

Putz Christmas Tree Lot

A few details changed, even after this pattern was made. And for just that reason, I used an erasable ink pen to draw the MASTER. I always write MASTER on the master pattern sheet in highlighter. I copy the pattern in black and white. That helps me know right away which sheet is the MASTER and which sheet is the copy.

Putz Christmas Tree Lot

This is the MASTER after I had tweaked it a few times.

Putz Christmas Tree Lot

A wooden skewer provided perfect posts for the front porch overhanging roof.

Putz Christmas Tree Lot

Putz Christmas Tree Lot

Time to make a copy of the MASTER and cut it from poster board. I always cut the windows, doors and any other openings first, including the hole on the back of the house for a little light to fit through. If you look closely at this picture, you will see that I had forgotten to add that little hole, but I realized my mistake later and fixed the pattern.

Putz Christmas Tree Lot

House, door and window frames are cut and ready to assemble.

Putz Christmas Tree Lot

Time to cut the roof.

Putz Christmas Tree Lot

And fold it…

Putz Christmas Tree Lot

Now it’s time to paint.

Putz Christmas Tree Lot

And glitter…

Putz Christmas Tree Lot

Though the roof is curved while wet, it will straighten out when dry.

Putz Christmas Tree Lot

I mixed acrylic craft paint and white glue half and half to paint the first coat on the house.

Putz Christmas Tree Lot

Putz Christmas Tree Lot

The second coat has a bit of clean sand added to the paint and glue mixture. The glitter is added one side of the house at a time, while the paint is still wet. I don’t usually paint the inside, but since the service window is so large, I did paint the inside green and glittered it, too.

Putz Christmas Tree Lot

Clothes pins serve as clamps for gluing on the window frames and the door.

Putz Christmas Tree Lot

Ta-da! How cute is that??

Putz Christmas Tree Lot

I think I will add a little ledge on the window sill. And I need to add the chimney. I’m sure they’ll have a pot belly stove inside the shack, aren’t you?

Here’s a link to my more detailed tutorial for making a Putz house from scratch. Building a Putz House

~~Rhonda
menu plan monday ~ august 15, 2016

We have had a very busy week with a couple of big events going on. First of all, my Dad has been in the hospital for eight days. He is now doing better and may go home tomorrow, but it has been a hard week and he has gone through a lot. My sister and her husband live with Dad and she has stayed at the hospital with him 24/7. They are both weary of being there! We are praying he will indeed be able to go home tomorrow. Here is a picture, taken a few years ago, of my Dad and my children and two dear-daughters-in-law.

my dad and our kids

Secondly, our church is seeking a pastor, as our long time pastor is retiring. Saturday evening, we hosted a dinner at our home for the pastoral candidate, his family, the elders, deacons, the search committee and their spouses. That adds up to 26 people. We were busy during the week preparing for the event. It turned out to be a wonderful evening, as we had hoped it would be. Lots of laughter and lots of talking. The pastoral candidate preached on Sunday and after church there was a church dinner so everyone had a chance to visit with them. It was great to meet the candidate and his family and we look forward to their next visit in September.

So we’ve had a week of two big, but entirely different, kinds of events. I am looking forward to this week, which should be much more relaxed…until Friday when my baby goes off to college! That may be a tough day…

At the end of the week before last, I was working on more spool ornaments.

Spool ornaments

I hope to finish those off this week and get them listed in my Etsy shop ChristmasNotebook.

Saturday, DH spotted a box turtle in the yard. We keep pictures of the box turtles we find and it’s always fun to see if ones we find in the current year have been spotted before. This big boy looks like a new one.

Box turtle

Sunday afternoon was definitely a day of rest. Even for Clark and Winston, who joined us in the library where we visited with Older Daughter who was home for the afternoon to give her best to Youngest Daughter who leaves for school at the end of the week. Clark had to be shaved earlier this summer because of fur mats. His coat is finally beginning to grow back in. Normally, he would have longer fur than Winston.

Clark and Winston

Down to business…here’s the menu for the week.

Monday
Marinated Chicken (leftovers from Saturday evening)
Corn on the Cob
Sliced Garden Tomatoes

Tuesday
Chicken Tacos

Wednesday
Mongolian Beef in the Crock Pot
Brown Rice

Thursday / Requests from Youngest Daughter before going to college on Friday.
Fried Chicken
Mashed Potatoes
Corn on the Cob
Green Beans
Baking Powder Biscuits
Gravy
Chocolate Cake / Ice Cream

Friday
Fridge Food

Saturday
Turkey Sandwiches
Sliced Tomatoes
Pretzels

Sunday
Spaghetti
Homemade Spaghetti Sauce
Garlic Bread
Sweet Corn
Steamed Sugar Snap Peas

You can find more menus and ideas at Menu Plan Monday.

~~Rhonda
glitter test

I’ve been emailing back and forth with an online friend who is making her own little glitter houses. She is having a problem with glitter loss after the houses are done.

My friend did some experimenting with different kinds of glues and glitter, but hasn’t found a solution yet. I decided to do a glitter test on my own Putz houses to see if they would lose glitter, too. My houses aren’t sprayed with any kind of fixative, clear coat, hair spray, etc.

The little yellow house before testing.

glitter test

I held the house and faced it down toward the black paper. I gave it a gentle thump on the paper. It didn’t lose very much at all.

glitter test

This is what it looked like after two heavier thumps. Not bad.

glitter test

I tried another house and got similar results.

Before any thumping.

glitter test

After a gentle thump.

glitter test

After two heavier thumps.

glitter test

Not bad. It lost a very small amount of the larger glitter that I use on the “snowed” areas, like the roof, the tops of fence posts, etc. It didn’t seem to lose much of the fine glitter that is used on the house and those portions of the roof without snow.

Here’s a shot of the roof of the yellow house. The pink roof has been glittered with Martha Stewart Fine Glitter. The snow has been glittered with Sulyn Crystal Glitter.

glitter test

These are the results of rubbing my finger along the roof of the house. Some glitter loss, but not much.

Yellow house…

Glitter test

Blue house…even less loss from rubbing the roof with my finger than on the yellow house.

Glitter test

To paint my Putz houses, I use a mixture of acrylic paint and white glue, equal parts, more or less…I don’t measure, just pour and stir together. Then I add a sprinkle of clean white sand to add some texture. After I paint the house, and while the paint is still wet, I sprinkle on the glitter. Perhaps the glue in the paint helps it adhere well.

I was happy with the way the tests turned out. The houses didn’t lose much glitter, which is good to know. And nothing else fell off, either, which is good! LOL!

These houses are two of the thirty little glitter / Putz houses available in my Etsy shop. Stop by and see what else is in the shop. As always, all proceeds benefit ministry to those who live in one of the largest slums in Africa. Thank you for your support! ChristmasNotebook

~~Rhonda
menu plan monday ~ august 8, 2016

It has been a busy few weeks! We had the grands here the last week of July for Bible School. It was structured as an art camp. On Sunday evening, VBS hosted an art show so the children could show their parents the work they had done. Everyone was asked to bring snacks, so we made “art cookies.” We dipped graham and Ritz crackers in white candy coating and, when they had hardened, the girls drew pictures on them with food markers. Fun! And a hit at VBS!
art cookies

art cookies

art cookies

Our church’s youth camp was last week. DH is the director and he was very busy there. I put together a twenty page “yearbook” for the campers each year, using pictures Middle Daughter takes during the first three days of camp. So those days were pretty much yearbook, day and night. By the time I had that done, my eyes were very tired of looking at the computer screen! I could have used a quiet day at camp overlooking the lake! The campers weren’t there for quiet, though! DH came home tired, but grateful for another wonderful week of youth camp.

summer camp

We slid through last week without a menu plan. I don’t really want to do that again! So here’s what we’re looking at:

Monday
Fridge Food

Tuesday
Chicken Quesadillas with Avocado Sour Cream
Mexican Chopped Salad

Wednesday
Hamburgers
Homemade Buns
Honey Mustard Pretzels
Sliced Tomatoes

Thursday
Crock Pot Mongolian Beef with Broccoli
Brown Rice

Friday
Ham or Turkey Sandwiches

Saturday
Dinner for Twenty
We’re making the meat. Our guests are bringing sides and desserts. Thank you, all!
Alton Brown’s Pot Roast
Delicious Marinated Chicken

Sunday
Fridge Food

You can find more menus and ideas at Menu Plan Monday.

~~Rhonda