the best banana muffins

Recently I posted a recipe for chocolate chip banana muffins. I found a banana bread recipe from Martha Stewart while web surfing that was touted as being extra special, so I decided to give it a try because I had these bananas that were on their last legs.
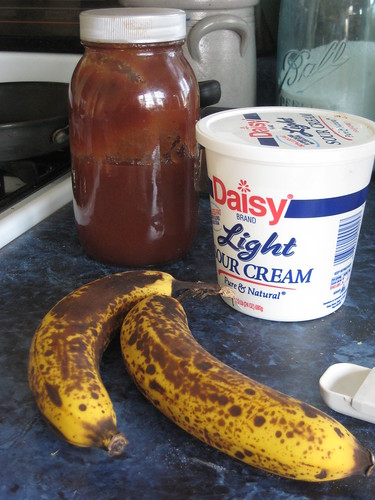
on their last leg

Here’s the recipe with the slight changes I made. Makes about 18 muffins.

  • 1/2 cup (1 stick) butter, at room temperature [I used 1/4 c. butter.]
  • 1 cup granulated sugar
  • 2 large eggs
  • 1 1/2 cups unbleached flour
  • 1 teaspoon baking soda
  • 1 teaspoon salt
  • 1 cup mashed very ripe bananas [I added some apple butter.]
  • 1/2 cup sour cream [I used light sour cream.]
  • 1 teaspoon vanilla
  • 1/2 cup chopped walnuts or pecans [I omitted these.]
  • I added 1/2 c. mini chocolate chips.

Preheat the oven to 350°F.

Line muffin tins with paper liners.

Cream the butter and sugar until light and fluffy.

Add the eggs, beating well.

Sift the dry ingredients together and combine with butter mixture, mixing well.

Mash the bananas, then add them, the sour cream, and vanilla and mix well.

Stir in the nuts and/or mini chocolate chips.

After mashing the bananas, I didn’t have quite the cup required, so I added some apple butter to make up the difference.
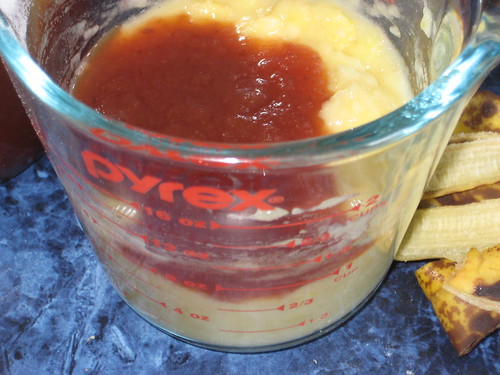
not quite enough banana

The batter looked like this when done.
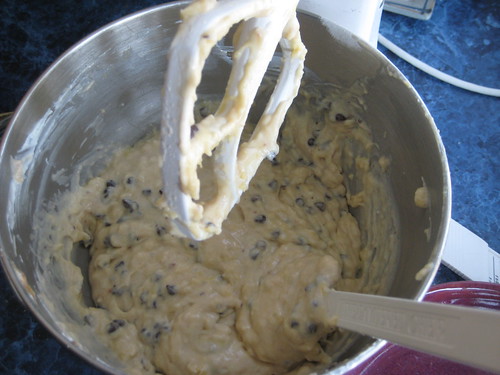
banana muffin dough

Pour batter into muffin tins.

I took the crumb topping from this recipe for Banana Crumb Muffins.

  • 1/3 cup packed brown sugar
  • 2 tablespoons all-purpose flour
  • 1/8 teaspoon ground cinnamon
  • 1 tablespoon butter

Mix together the brown sugar, the flour and cinnamon. Cut in butter until mixture is crumbly. Sprinkle topping on muffins. I put about one and a half teaspoons on each muffin.
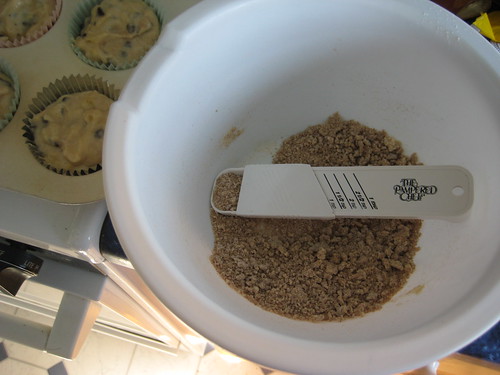
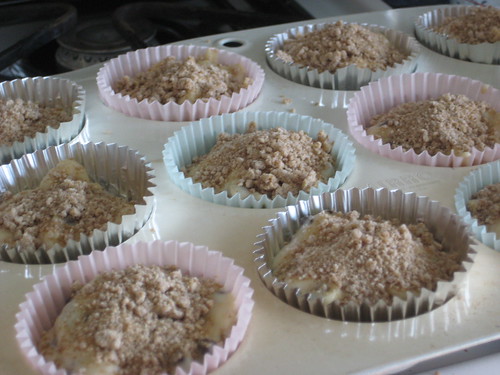
topping mixture

struesel topping

Bake 350* for 18-20 minutes.

Allow to cool for about 15 minutes before removing paper liners.

Delicious! This is now my favorite banana muffin recipe.
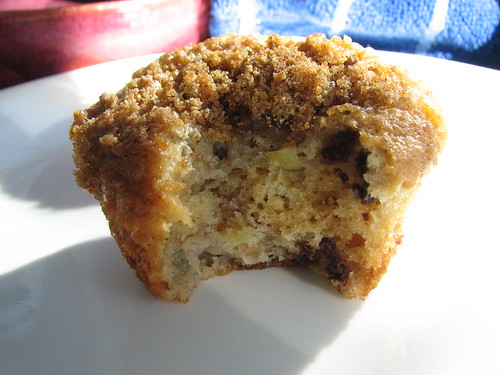
banana streusel muffin

After a day or two, the flavor is enhanced by warming them in the microwave for 15 seconds or so.

~~Rhonda 🙂
flatbread pizza

Timing for supper was off a bit as DD had volleyball practice and DH got home sooner than I thought he would. So we waited to eat until after practice. I had planned to make pizza dough, but decided to use the last of the flatbread for pizzas, instead. These make quick and easy pizzas. DH said he prefers them over commercial pizzas (i.e., Dominoes, Caseys, Pizza Hut…the ones available in our town). And they are way cheaper to make than pizza is to order!

Preheat oven to 425*. Begin by placing the flatbread on a cookie sheet lined with no-stick foil. Or spray regular foil with vegetable spray. Or use a pizza stone. Or set them on parchment paper (I’m out…it’s on the grocery list). Bake the flatbread for four or five minutes. Prebaking the crust helps keep it crisp while baking the finished pizza.

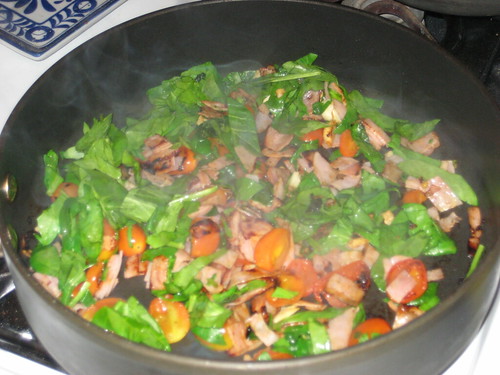
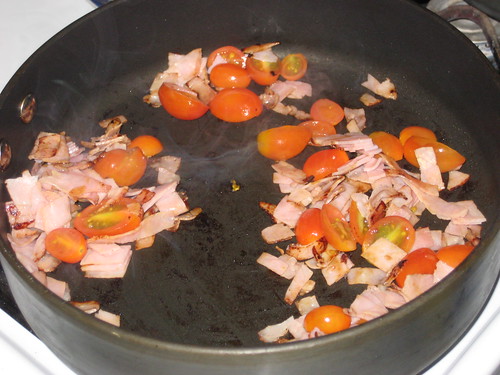
While the flatbread is baking, spray a pan with vegetable spray and saute any veggies or cooked meat you want on your pizza. I used what we had on hand: lean ham, grape tomatoes, and fresh spinach. I’ve used green onions, zucchini, yellow squash, mushrooms, bacon bits, and cooked hamburger before, to mention of few. Go with anything that sounds good to you. Sauteing the veggies/meat before baking the pizza keeps the baking time short.

saute

After the meat and tomatoes had seared a bit, I added 2 cloves of minced garlic and sauted for another minute or so. Then I added diced spinach leaves. Use about twice what you think you will need as it wilts by a lot while cooking. Toss the spinach with the other ingredients until well mixed, then remove from the heat. Set aside until needed.

add spinach

Remove the flatbread from the oven and spread it with spaghetti or pizza sauce. I used leftover spaghetti sauce I had in the freezer. Sprinkle the sauce with some basil and oregano, if you like. I do, so I did.

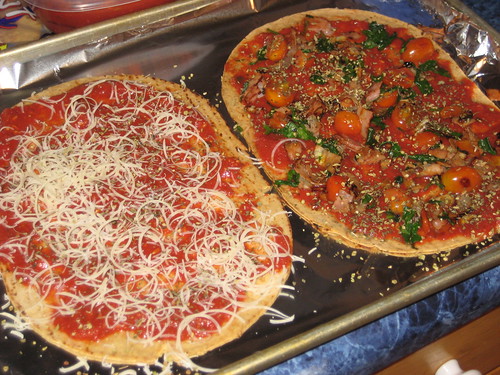
Sprinkle the pizzas with some freshly grated Parmesan cheese. Spread the sauted toppings over the pizzas. DD likes cheese pizza, so I left one plain.

parmesan and toppings

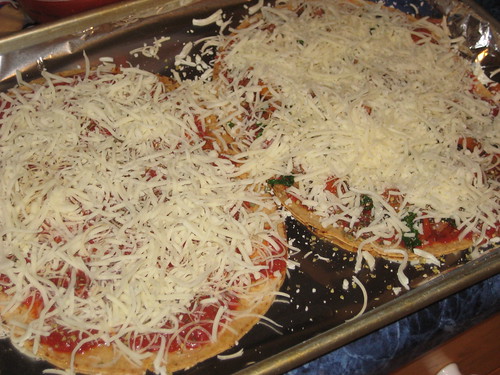
Top with shredded mozzarella or other cheeses of your choosing. Amount depends on your personal preferences.

mozzarella

Bake at 425* for about 8 minutes, until cheese just begins to brown. Let cool slightly, cut and serve. I had four flatbreads so I made four pizzas. Worked out fine, though one pizza per person is plenty, unless you’re feeding growing boys.

Very good, quick and easy. And for those of you counting Weight Watcher points, this is an easy meal to customize for a low point lunch or supper. It’s a fun meal for children, too, as they can make their own versions with available ingredients. Flour tortillas can be used in place of flatbread.

One tip, do line the cookie sheet or the shredded cheese will be hard to clean off the pan.

~~Rhonda

birthday bears

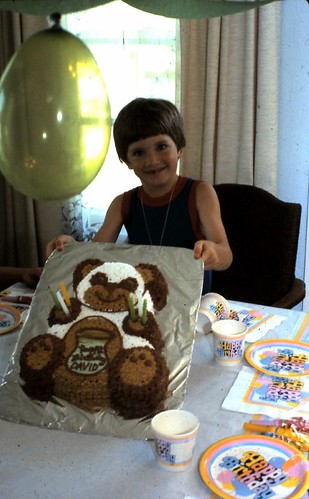
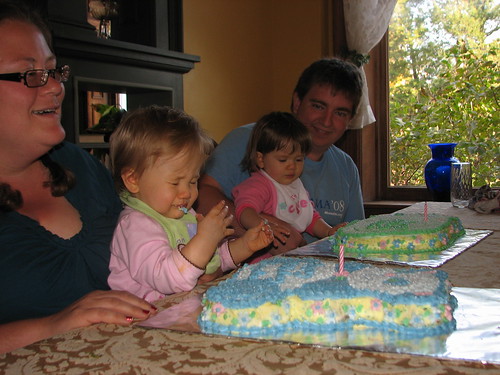
Last night, DH spent a little time with a new slide scanner. He scanned several and one of them was this picture of our older son’s 6th birthday in 1985.

David's 6th birthday party ~ 1985

I used the same pan (and a cat cake pan that is just as old) for his twins’ first birthday last year.

ewww...what IS that??

DD#3 wanted it for her birthday just a few weeks ago.

an era ends

I also have a star. That’s the extent of my themed cake pans. They’ve been well used over the years. Worth every penny. 🙂

~~Rhonda

menu plan monday ~ february 23, 2009

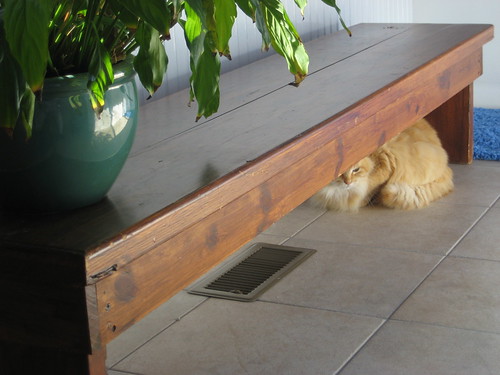
I’m hoping for sunshine this week, though the forecast does not look promising. So I’m staying indoors, looking out. I feel like Happy looks…I need a cozy spot to curl up until spring comes.

Happy under the bathroom bench

The menu has to accommodate a couple of busy nights this week. And we didn’t get to the Bisquik chicken fingers last week, so have it planned again. DD asked for it particularly, so I’ll try to get it done this time.

Monday
pizza with homemade crust

Tuesday
grilled cheese sandwiches
tomato soup

Wednesday
Bisquick chicken fingers
honey mustard dipping sauce
oven fried potato wedges
carrot/celery sticks

Thursday
leftovers

Friday
pasta with walnut sauce
Ceasar salad

Saturday
crock pot beef stew

Sunday
crock pot chicken cordon bleu
spinach salad with strawberries
broccoli
corn
mixed berry clafouti

More menu and recipes ideas can be found at Menu Plan Monday.

~~Rhonda 🙂

drapes in the guest room

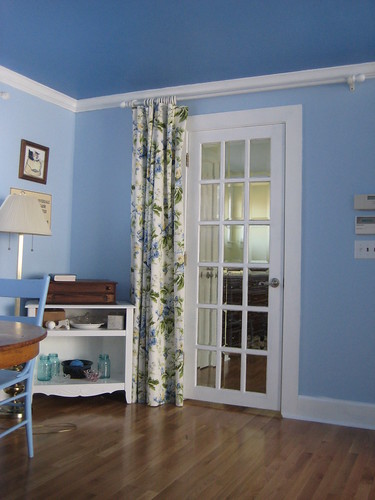
Redecorating the guest room, which was such a priority just before the holidays, has slowed way down. Thank goodness! I have been enjoying some time off from that project. I was just in there, though, sitting in the comfy chair, pondering some rearranging. I realized I hadn’t shown you the drapes! Laurie, my very sweet and dear friend, volunteered to make the drapery panels for the room.

Laurie saw this idea in a decorating magazine. So cute! And it leaves the beveled glass door panes free of covering, which I like a lot. Here, they are pulled to the left.

guest room door drapes

They can stand at both sides of the door.

guest room door drapes

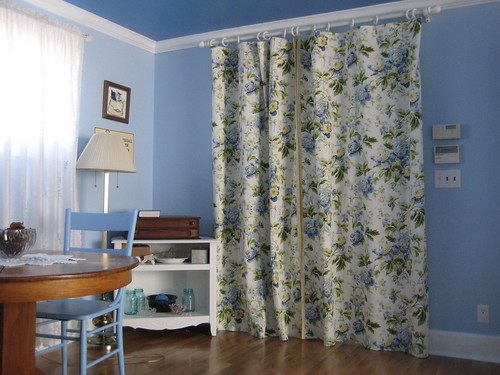
Or be pulled shut when privacy is wanted. I have the panels for the window on the left wall in this picture. Laurie is working on the ones for the opposite larger window. For the holidays, we repurposed sheer panels that came from the master bedroom, which got new panels this year. These look perfect in this room and I plan to leave them up, under the drapes.

guest room door drapes

I *love* them. Exactly what I had in mind. BTW, I also love, love, love the darker blue ceiling! This room has 8′ ceilings and I was worried the dark color would not work. But it looks great and gets a lot of compliments when visitors see the room.

~~Rhonda

farm-country multi grain bread

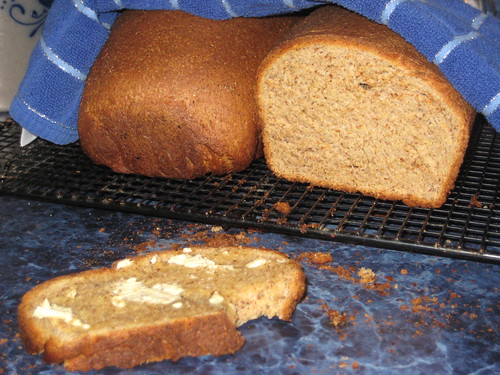
This afternoon I tried the recipe for Farm-Country Multi Grain Bread. Delicious!

multi grain bread

2 cups milk
1 cup old fashioned oats
2/3 cup brown sugar
5 tablespoons butter, softened
2 teaspoons salt
2 eggs
2 tablespoons active dry yeast
1/2 cup wheat germ (or substitute whole wheat flour)
3 cups whole wheat flour
3 cups all purpose flour, plus more if needed

Heat the milk to about 115*. Pour the milk into the bowl of a standing mixer. Add the oats, sugar, butter and salt, and mix well, using the dough hook.

Add the eggs and mix well. Add the yeast, wheat germ and whole wheat flour. Mix well. Add the remaining flour until the dough pulls away from the sides of the bowl. Knead for about five minutes.

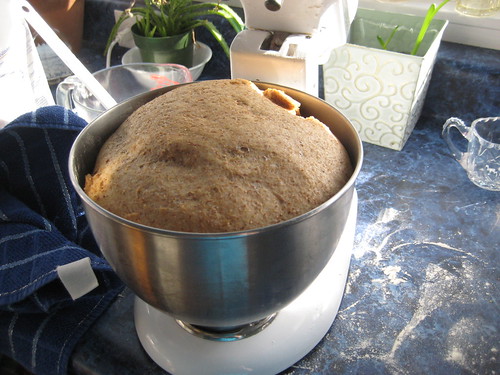
Pour a little oil into the bottom of the bowl and turn the dough to coat well. Cover with a dish towel and let the dough rise until doubled in bulk, for about an hour.

multi grain bread

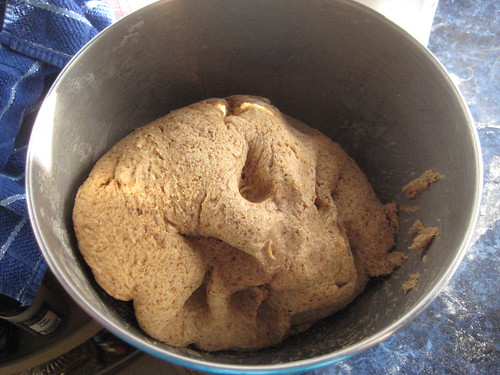
Punch down and let rest for a few minutes.

multi grain bread

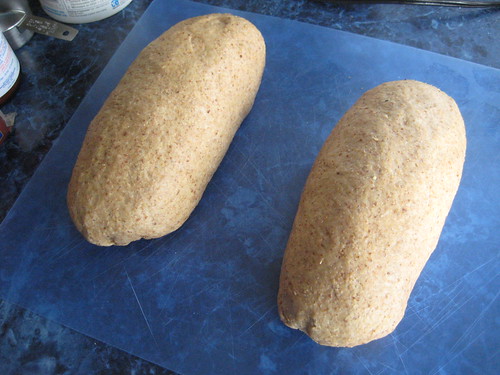
Cut in half and form two loaves.

multi grain bread

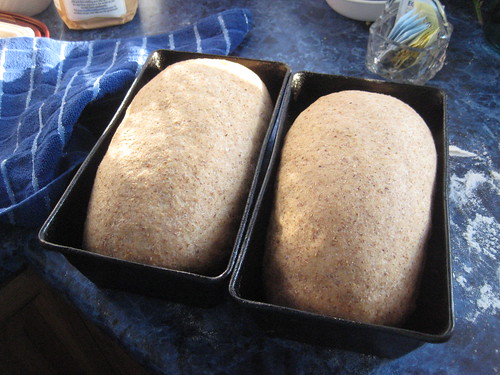
Place the loaves into greased loaf pans and let rise for about an hour, until doubled in bulk.

multi grain bread

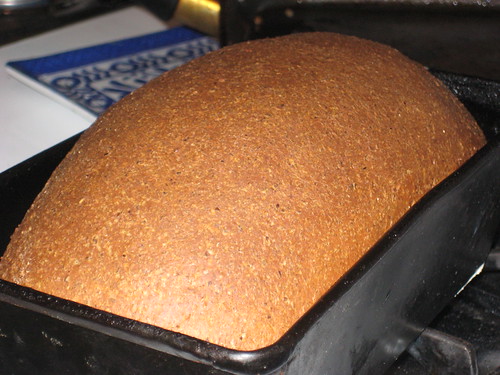
Bake at 350* for 55-60 minutes.

multi grain bread

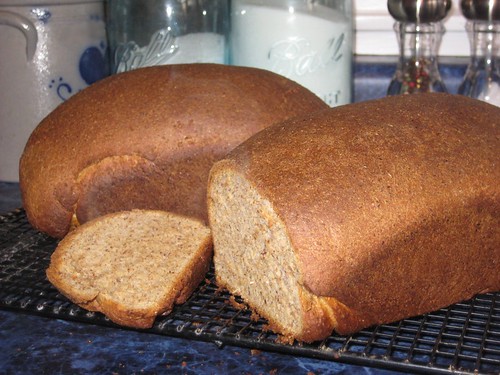
Turn out onto a cooling rack and cover with a dish towel to cool. My bread turned out darker than the original recipe because I added milled flax seed in place of wheat germ.

multi grain bread

Everyone loved the bread. I’ll make this again. Soon. 🙂 ~~Rhonda

blokus

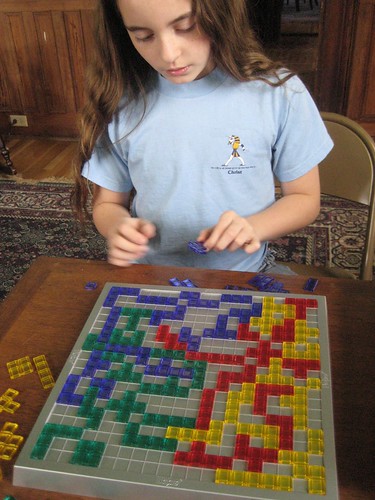
A birthday gift, Blokus has proven to be lots of fun. It is easy to play, at any skill level, and can be used by 2-4 players. We broke it out this afternoon and gave it a try. Fun!

blokus

~~Rhonda

cold and windy today, but yesterday smelled like spring

Yesterday, as I drove to school to pick up DD, the air smelled like spring. It’s on its way! We went out to do some yard work today, but, even though the thermometer said 50, the 16 mph wind said 40. Too chilly for me.

We put down one load of mulch and picked up quite a few bundled Christmas tree lights that were still sitting under the red bud trees. DH is cutting up the apple tree that fell over last summer. I took a few pictures and then came in to warm up. I’ll wait for a sunnier and warmer day to be outside.

The first crocus of the year popped up today.

first crocus of the year

The daffodils are working their way skyward, as well.

daffodils waiting to happen

daffodil shoots

There are a few buds showing. A promising sign of spring!

daff buds

The garden sorrel is poking its way through the winter debris.

garden sorrel

Can’t stop spring when the time is right. ~~Rhonda 🙂
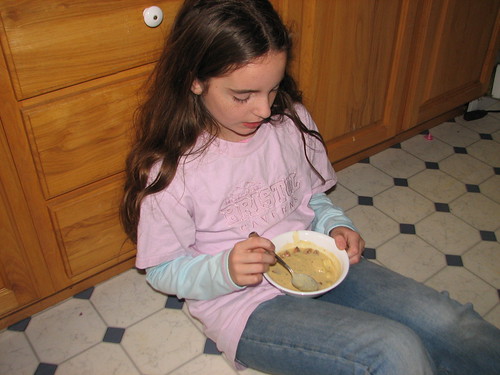
better cheesy potato / sausage soup

Recently I posted a cheesy potato soup recipe, which was pretty good, but I have a better one now. 🙂 I have a tried and true recipe for a potato sausage casserole that I often take to church dinners. I modified that to make soup for a church dinner and made it again last weekend for an easy lunch that could sit and wait till we were ready.

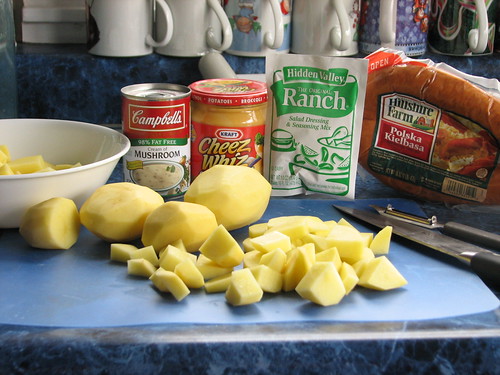
ingredients

2 1/2 pounds white potatoes, diced (can be peeled or not)
1 pound Kielbasa sausage, diced and browned
8 oz. jar Cheez Whiz [I used half a 16 oz. jar, as that’s what I had on hand]
1 can cream of mushroom soup
1 envelope Ranch dressing mix
1 T. dried parsley flakes
salt and pepper to taste
milk, cream, and/or half and half

Dice the potatoes, cover with water and boil until just tender.

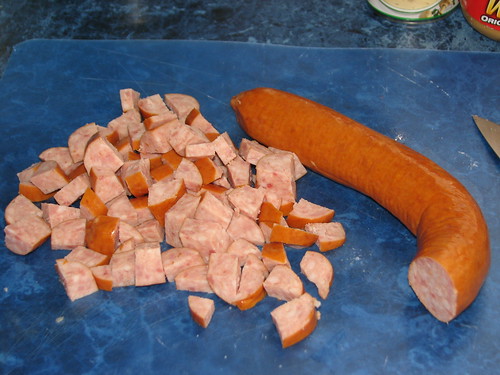
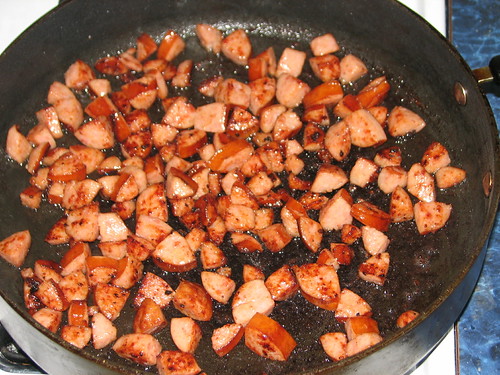
As the potatoes boil, dice the sausage and brown it in a skillet. Drain well.

dice the sausage

brown the sausage

[Update…I now broil the sausage on a foil-lined cookie sheet instead of browning it in a pan. Much easier clean up.]

When the potatoes are fork tender, drain and return to the pot. Add the sausage and other ingredients, except for the milk. Stir to blend well.

Pour enough milk (may use half ‘n half and/or cream, as well) to cover the contents of the pan. Heat to simmer and serve.

cheesy potato sausage soup

soup for lunch

To make the original recipe as a casserole, follow above, but leave out the milk. Pour into a greased casserole dish and bake, covered, in a 350* oven for an hour. Remove the lid/cover and bake 10 minutes longer.

I like to double the recipe (leaving out the milk) and put it into a greased crock pot. Cook on high for 3-4 hours and you have a great take-along dish for a potluck dinner or even a wiener roast. It always gets rave reviews.

~~Rhonda 🙂
enchiladas

Time for a confession…I have never made enchiladas before. I was looking for a recipe to use a pound of ground beef for supper and came across this enchilada recipe.

Another confession…I improvised quite a bit. Is that fair when you’ve never tried a particular kind of recipe before??

These are the ingredients for the original recipe:

1 1/2 pounds lean ground beef
1 bunch green onions, finely chopped
1 diced fresh jalapeno pepper, or to taste
1/4 cup water
1 (1.25 ounce) package taco seasoning mix
1 cup plain yogurt
1 (10.75 ounce) can condensed cream of chicken soup
2 cups shredded mozzarella cheese
6 (6 inch) corn tortillas

I used a pound of ground round, instead of one and a half pounds, as that’s what I had. I had 8 oz. of left over Cheez Whiz in the fridge, so I added that to the meat after it had browned.

I didn’t have a packet of taco seasoning mix, so I added (without measuring) a little dry onion flakes, garlic powder, oregano, cumin, chili powder, salt and pepper, dash of hot sauce, and some parsley.

Instead of adding water, I added the juice from a can of corn I used for a black bean and corn salad. I could have left this out, as I wasn’t using the taco seasoning packet.

Instead of yogurt, I used 1/2 c. sour cream. I *did* use cream of chicken soup and the mozzarella cheese, though I plan to use cheddar cheese next time I make the recipe.

Instead of corn tortillas, I used whole wheat ones as that is what I had on hand.

And I added enchilada sauce to the recipe.

Hmmm…doesn’t sound like the same recipe, does it? To make it the way I did, begin by preheating your oven to 350*. Pour a little enchilada sauce into the bottom of a greased casserole dish.

Brown the meat, and add the seasonings and the Cheez Whiz.

In a separate bowl, stir together the sour cream, the soup, and the mozzarella cheese.

Warm a stack of six tortillas in the microwave for 30 seconds to soften them, so they are easy to roll.

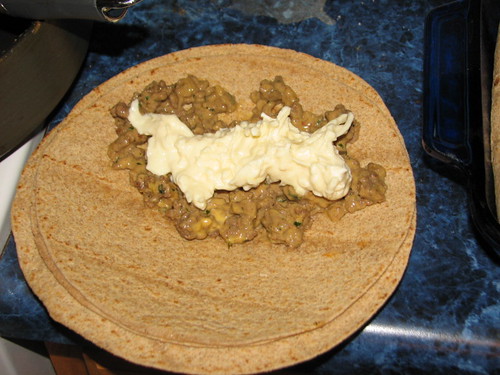
Spread 1/6th of the meat mixture over half the tortilla, and spoon about 3 Tablespoons of cheese mixture over the the meat. Don’t bother to measure, just put a big dollop on top the meat.

enchiladas

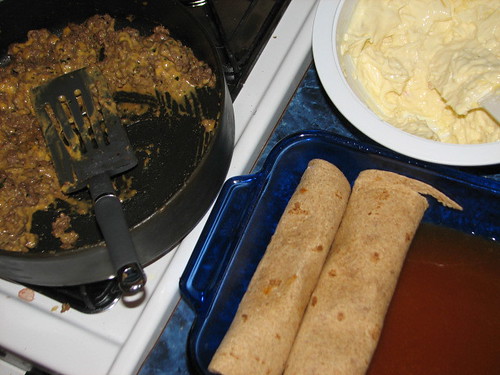
Roll the tortillas and place on top the enchilada sauce in the greased pan.

making enchiladas

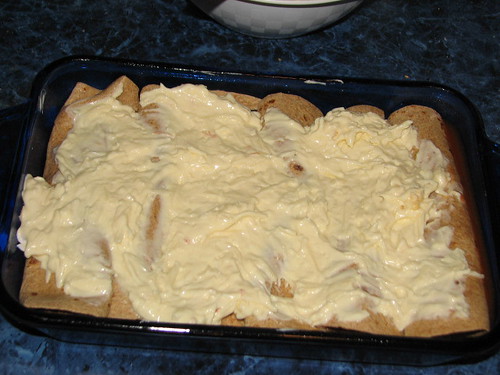
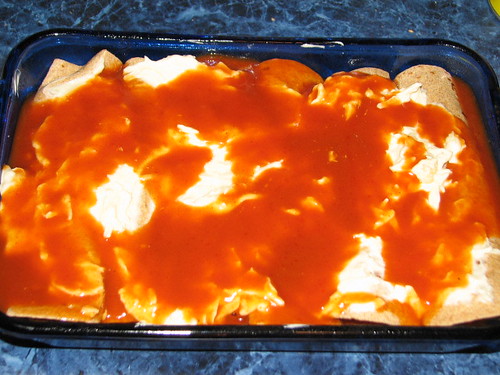
Spread any remaining cheese mixture over the enchiladas and top with enchilada sauce.

enchiladas

My glass dish is a bit smaller than a 9×13 pan. Six enchiladas fit perfectly.

ready for the oven

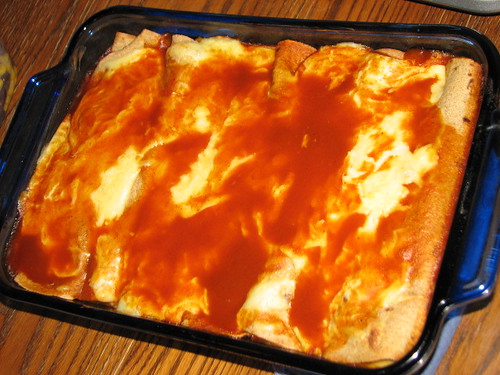
Bake 30 minutes, until hot and bubbly. Let set about ten minutes prior to serving.

enchiladas

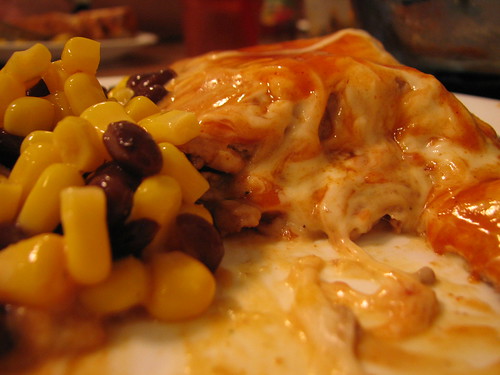
I served black beans and corn salad with it. It would be good with cornbread or tortilla chips, too.

enchiladas for supper

DH liked it and would like to see it on the menu again. Several of the reviews I read regarding the original recipe said it was even better as leftovers. DD wasn’t home for supper but sampled a forkful when she came home. She liked it, too, so this will definitely find its way to our supper table again.

Layered, instead of rolled, it would probably make a good enchilada casserole for a potluck dinner.

~~Rhonda