I have stored this magazine page in my Christmas Notebook since 2003. I wanted to make one for myself. As you can imagine, Martha’s was a little pricey for my budget.
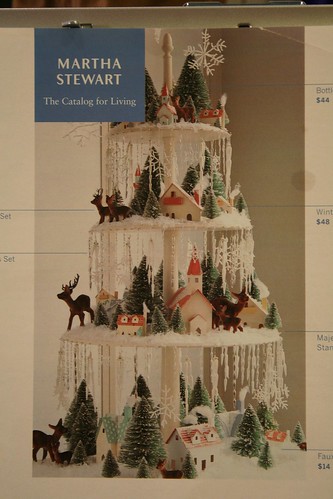
Personally, I think the deer are a bit large for this display. My daughter calls them “deerzillas.”
Anyway, I have been collecting pictures and information about Putz houses for some time. This year, I decided it was time to make my own when I found the Little Glitter Houses web site and Big Indoor Trains with patterns and instructions for making the houses. I also found my way to a blog called Pink Trees with patterns from an old crafting magazine called “Pack-O-Fun.” That blog is no longer available, but the patterns can now be found at bigindoortrains.com.
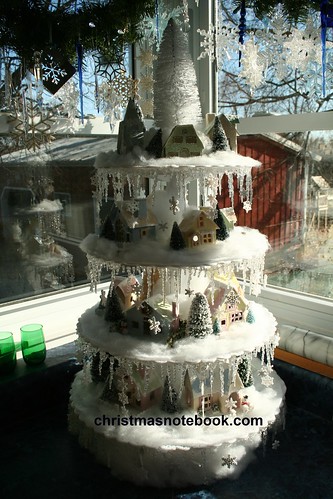
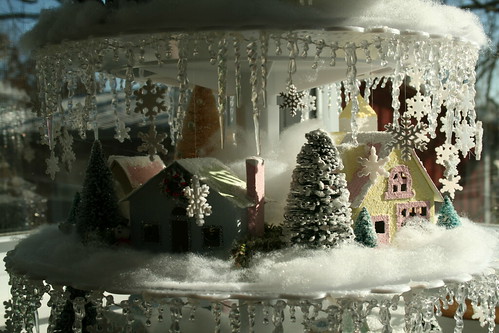
I had a great time making the houses and churches. Here is my finished display.
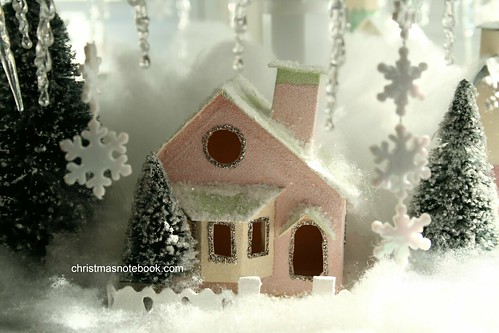
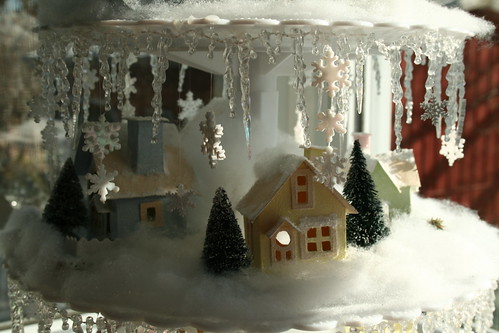
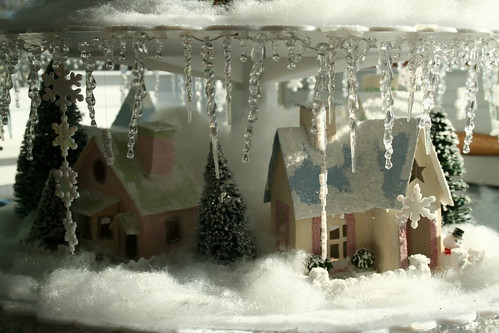
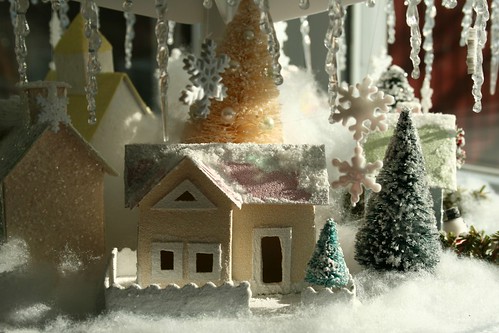
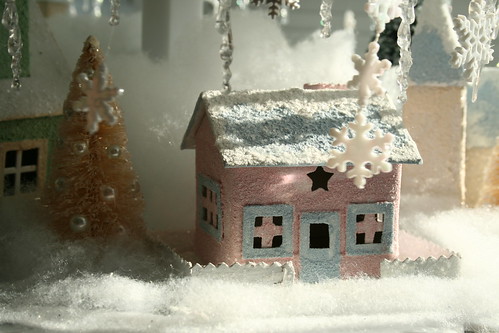
And here are some closer shots of the buildings. I used the “Bay Window House” pattern for the pink house.
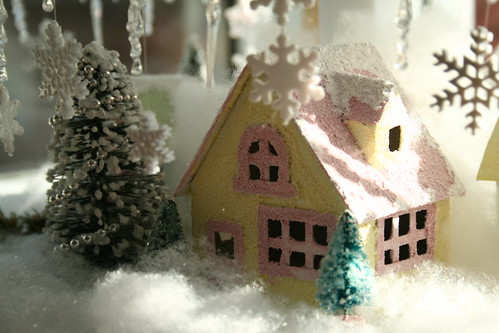
The little yellow house was made with the “Vintage-style Stone Cottage” pattern. The blue house to the left is made from the same pattern, though I enlarged and reversed the pattern for the blue house.
The house on the right, with the blue roof, was the second one I made. I used this “Little Charmer” pattern.
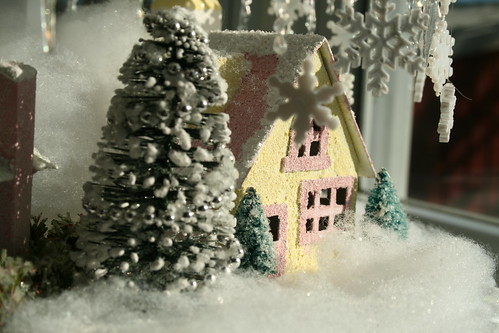
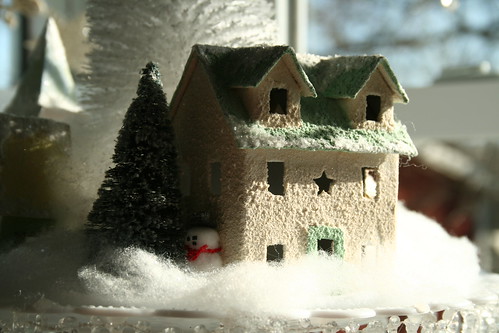
This yellow house was a store bought house that I repainted and glittered, and then I added the trees. I added the silver beads and the glitter to the larger bottle brush tree.
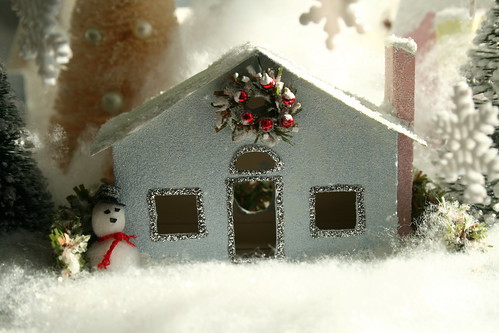
I made this house, using glitter glue to outline the door and windows. I added the wreath, which I made from a small piece of “evergreen” pipe cleaner. I also made the snowman. This house has a pipe cleaner hedge around it, but it’s hard to see in this photo. I used the pattern titled “Green House” at this site for this house, though I had to remake the pattern as it is incorrectly drawn in the article.
The little yellow house was made with the pattern titled “Yellow House” on the same site.
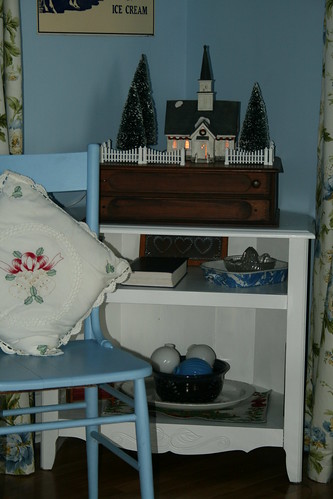
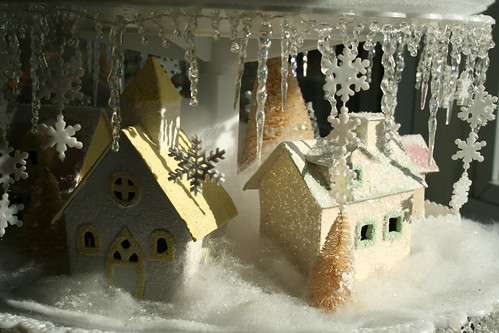
I repainted and glittered this manufactured church to match the houses I made myself.
The fence around this repainted manufactured house was made by cutting thin cardboard with scrapbooking scissors.
I love the door and windows on this manufactured church. I think this one was all white before I reworked it.
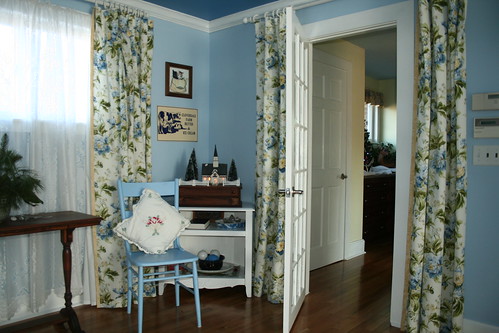
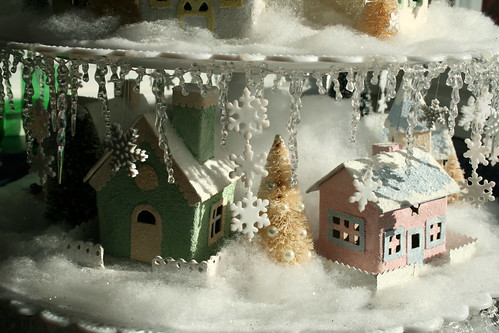
I made the bases and fences for these repainted manufactured Putz houses.
Another repainted store bought house. I like my colors a lot better than the original. 🙂
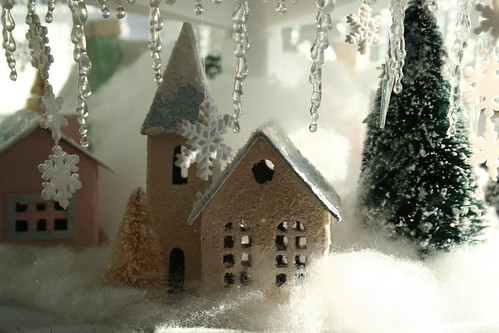
The church and the small house were made from patterns at the Pink Trees site. The house is the pattern titled “Brown House.”

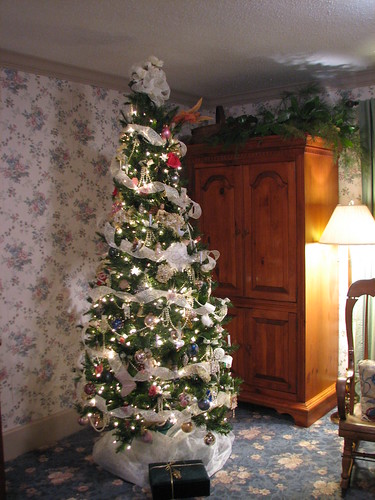
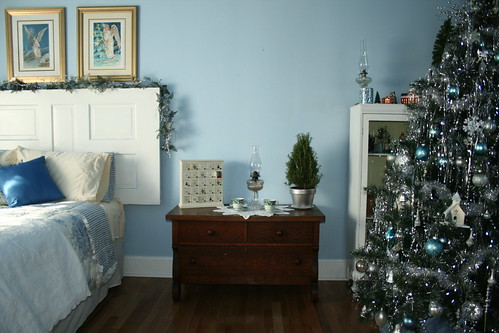
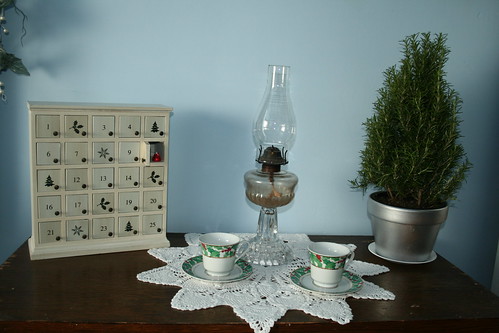
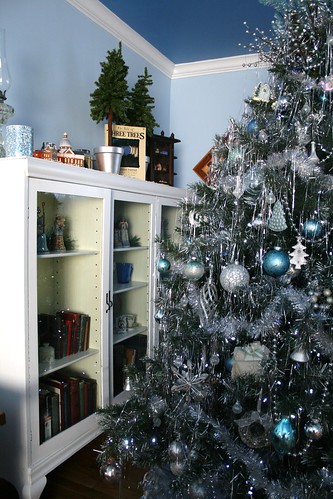
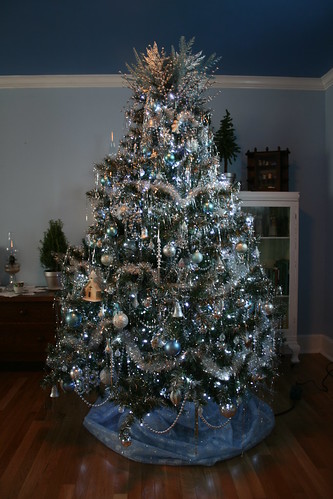
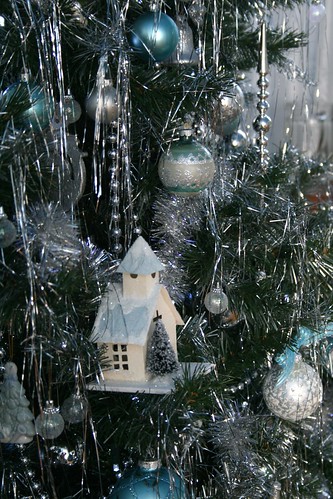
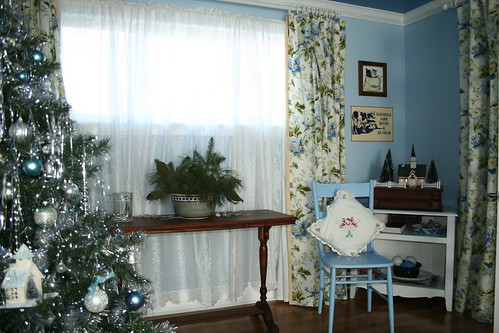
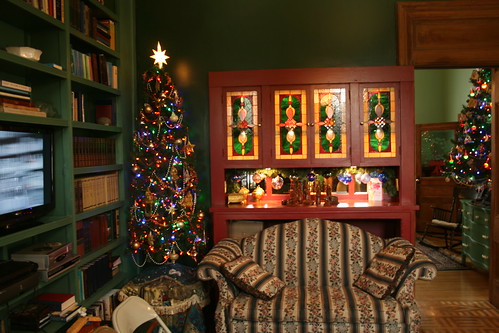
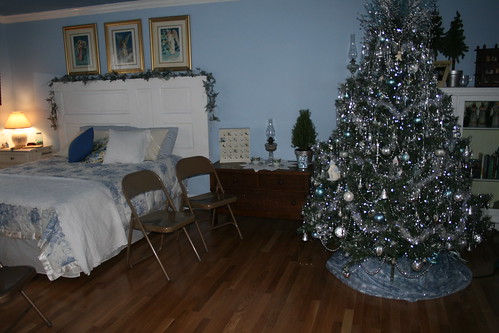
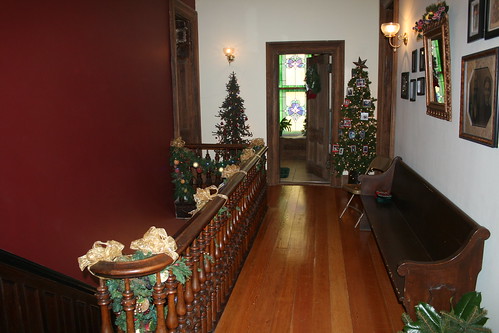
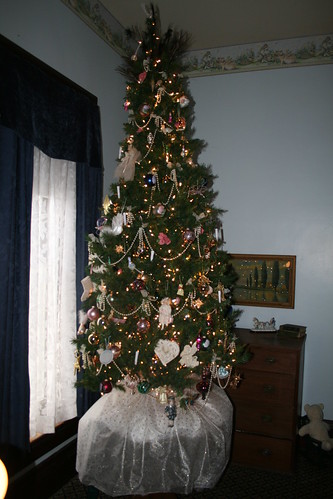
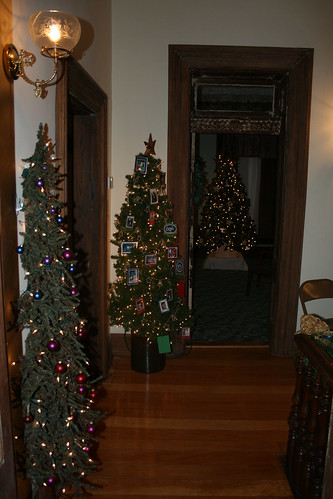
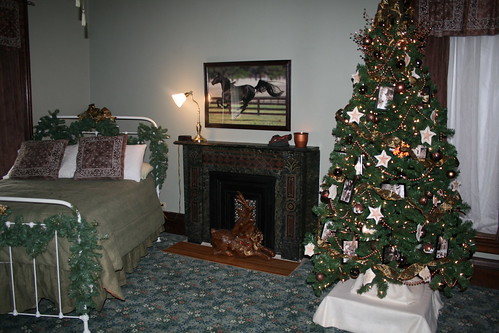
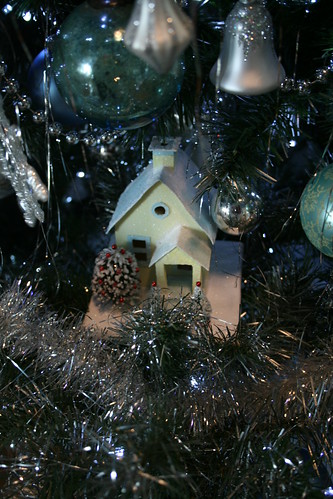
I had a few houses that ended up too large for the display, so I put them on the Christmas tree in the guest room, including this Cottage Beach House.
The patterns I found online at Little Glitter Houses, Big Indoor Trains, and Pink Trees were extremely helpful! My thanks to those sites and their authors for their inspiration!
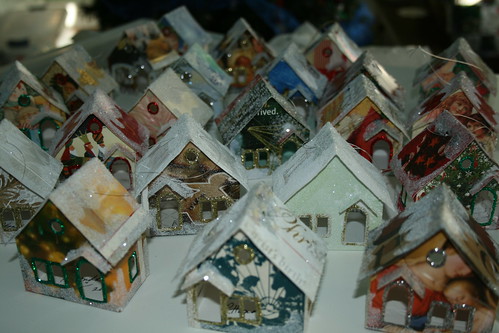
I moved from making the above houses to making glitter house ornaments from Christmas cards. They turned out beautifully! And they were faster to make as they have fewer details and embellishments.
Overall, I am very happy with the way the little glitter houses came out. And they were a lot of fun to make!
Click this link to see my tutorial for making a little glitter / putz house.
Click this link to see my tutorial for making little glitter house ornaments from Christmas cards.
Update 2016 / My Putz houses have come a long way since 2009, when I wrote this post. If you would like to see more of my Putz houses, as well as Christmas ornaments I have made from upcycled holiday cards, please visit my Etsy shop.
ChristmasNotebook at Etsy
~~Rhonda