I’ve had a lot of fun the past few weeks working on little shadow boxes made from Christmas cards. Follow this link to a tutorial for making the boxes. I’ve learned a few things since I posted the tutorial. First a few tips, then a few samples of what I’ve been doing.
I now make the box tabs folded to the top and the bottom of the box, instead of to the sides. And I don’t cut them short most of the time. I think leaving the entire tab makes the box a bit stronger.
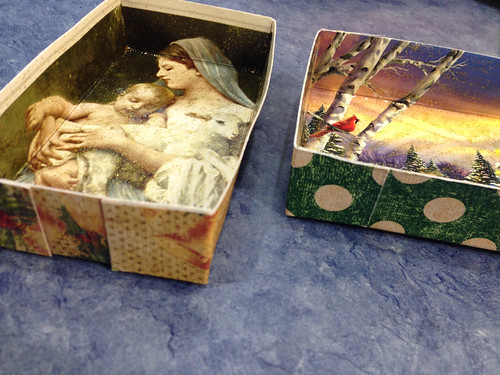
The way I do it now, with tabs on top and bottom:
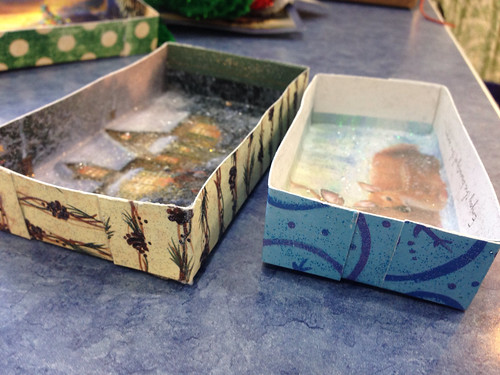
The way I did it before with tabs on the sides:
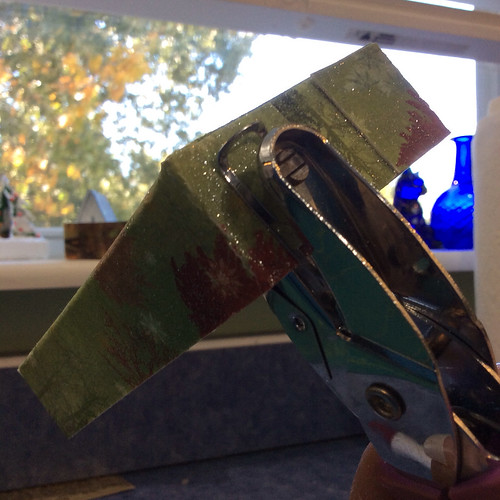
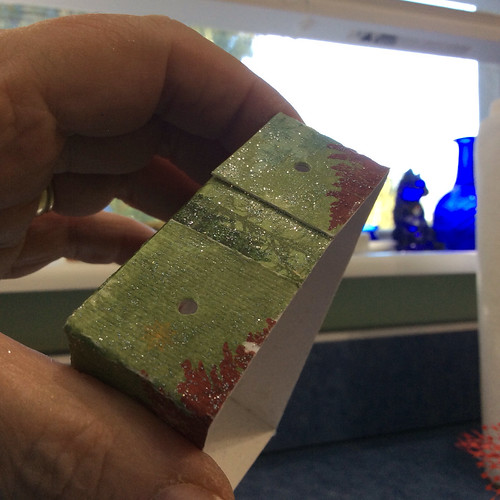
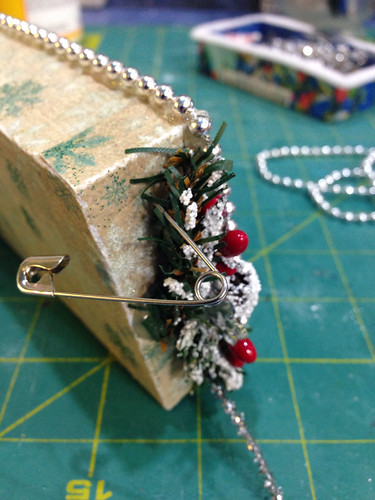
I also am making most of the holes to hold the hanging cord with a punch instead of a pin or an awl. It makes a nice smooth hole.
The pin method. Works fine.
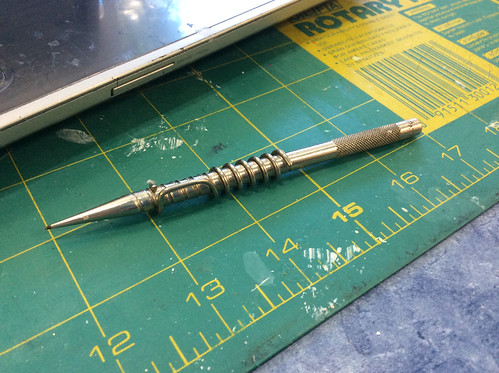
My handy dandy awl. Also works well. I don’t remember where I found this tool, but I do love it. Comes in handy for a lot of different uses.
In the tutorial, I glued the beaded string around the outside of the box.
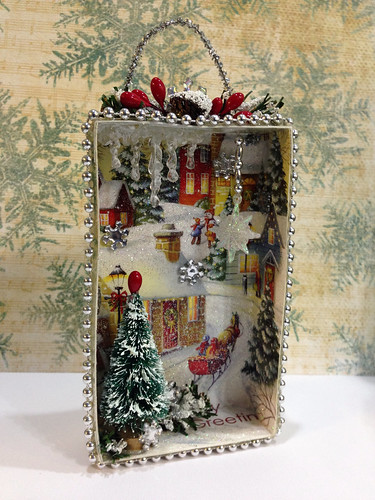
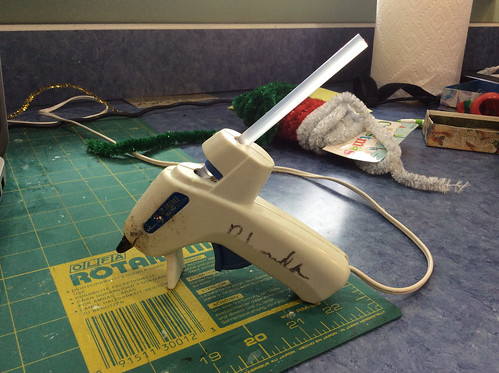
After making a couple of dozen boxes, I decided it looks better with the edge of the box covered. My small multi-temp glue gun puts out a small bead of glue without dripping while it rests. Perfect for edging the boxes with trim.
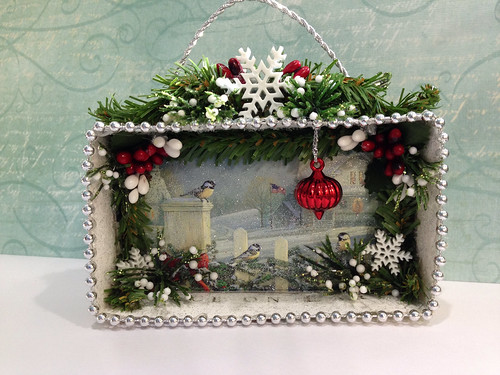
Chickadees in the snow
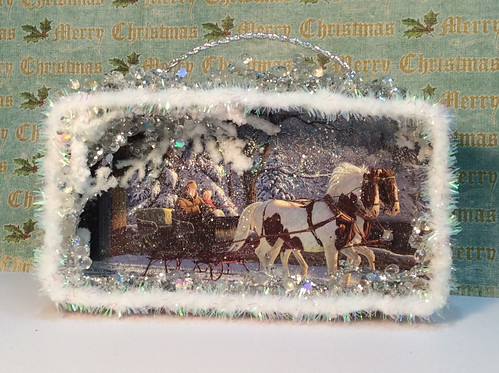
This is one of my favorites. Over the river and through the woods…
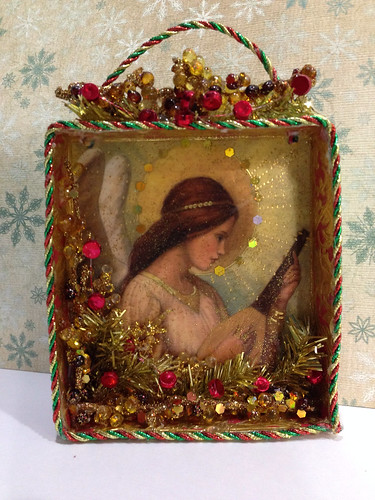
Good tidings of great joy!
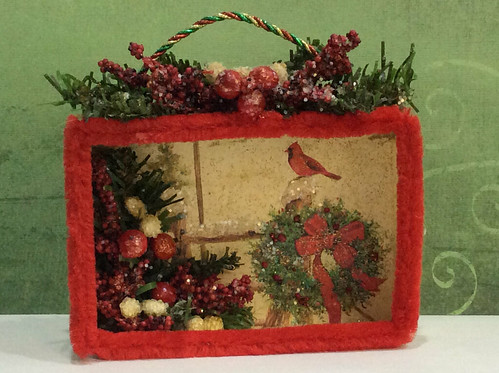
Christmas Cardinal
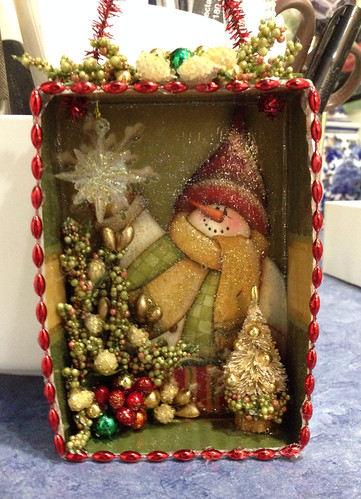
Happy snowman
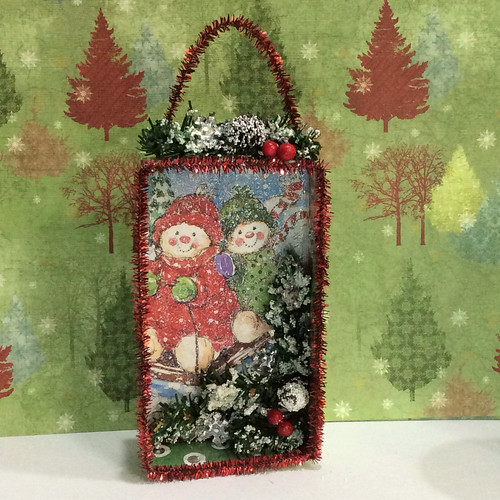
Sledding snowmen
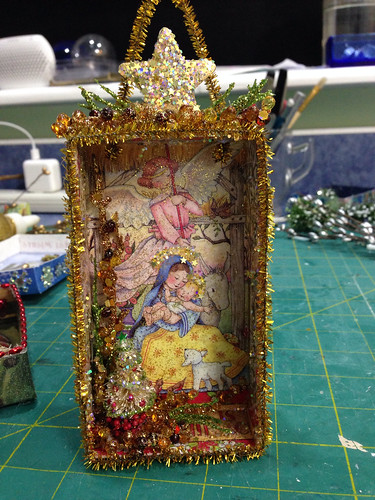
Sweet nativity
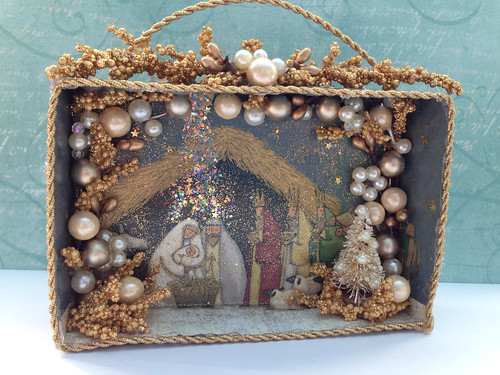
Another nativity
My dear friend Marsha came to visit on Tuesday and we made shadow boxes. I have quite a few card boxes made, and will be embellishing them soon. More to come!
Similar Christmas card shadow boxes I have made are featured in my Etsy shop. ChristmasNotebook
~~Rhonda