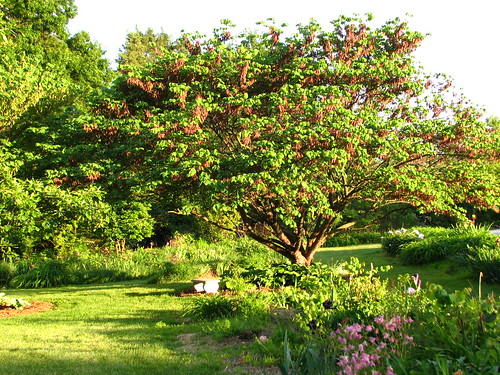
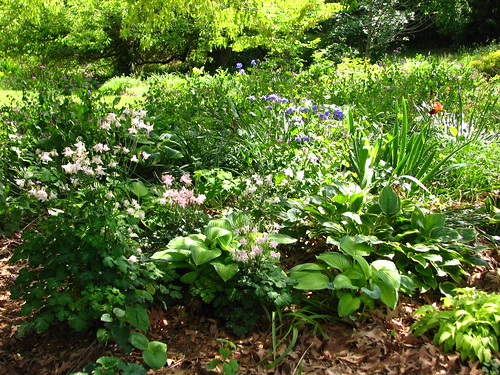
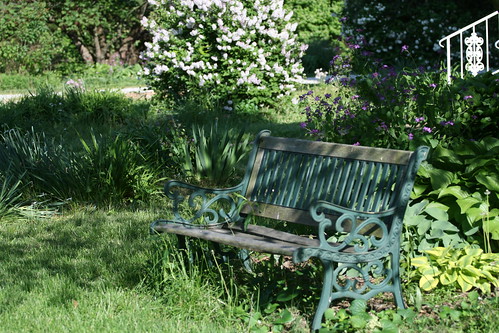
Here are some pictures from the garden this past week. I haven’t been out the past few days as it has been chilly and wet. Hopefully, I’ll be able to get out tomorrow or Tuesday. We shall see. If it turns sunny and warm, this would be a nice spot to enjoy the garden. That’s the lilac ‘Miss Kim’ in the background.
These Johnny-Jump-Ups really did jump up where least expected. We didn’t plant them, but there must have been a few seeds that managed to find their way to the garden. After a few years, the spot is now loaded. A sweet little flower. My paternal grandmother had these in her yard. And it seems there was a spot in the pasture where they covered a slope every spring. Anyone else remember that?

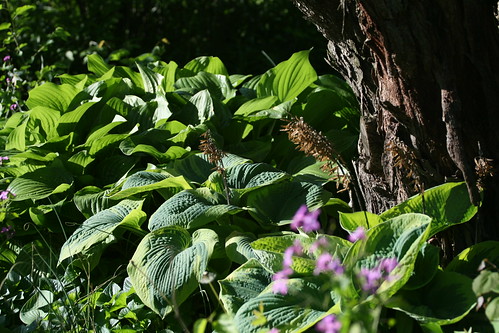
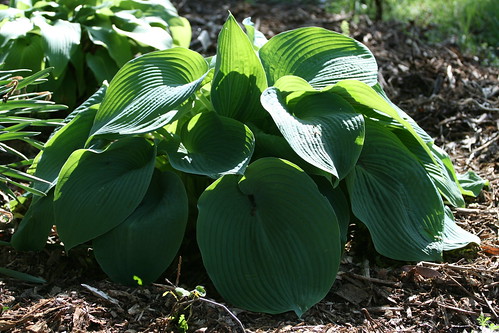
Hosta ‘Frances Williams’ with ‘Royal Standard’ in the background. ‘Frances Williams’ can be persnickety about getting sun. Too much at all and the leaves burn and brown. But she seems to like it here under the redbud tree where she gets late evening light.
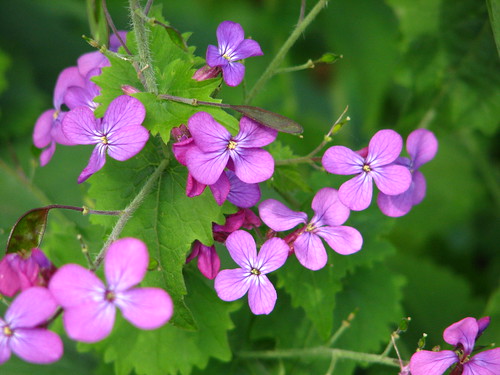
The honesty plant (otherwise known as “money plant”) is making its “coins.” If the plants are cut back to just under the flowers before the coins get too mature, they will send out new shoots and bloom again in a month or so.
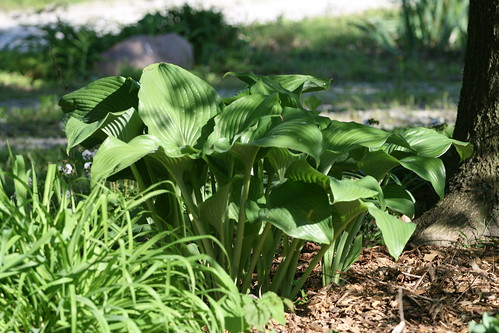
The hosta ‘Flower Power’ is a large upright hosta. It will have fragrant white flowers in early summer.
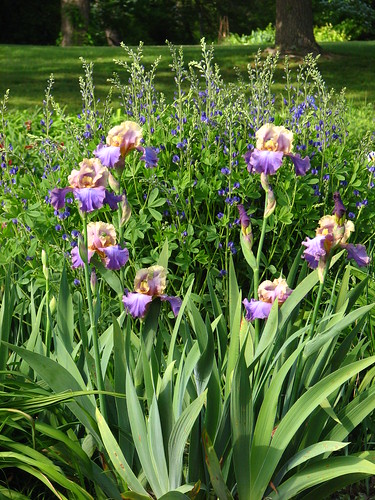
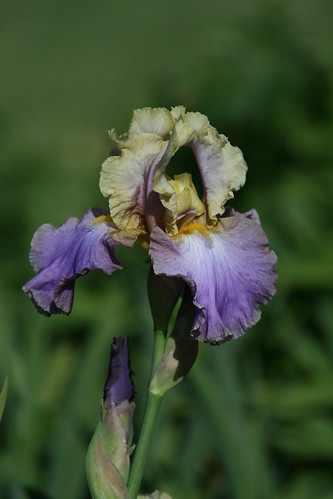
Iris ‘Fjord’ has a pretty blue cast to the blossoms.

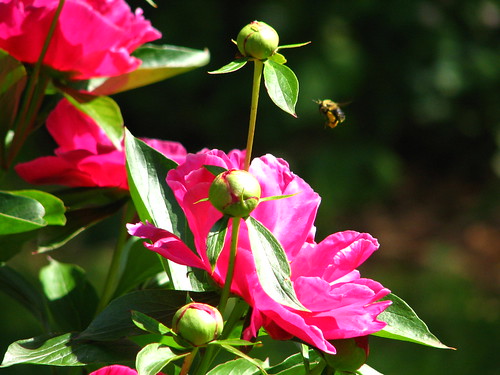
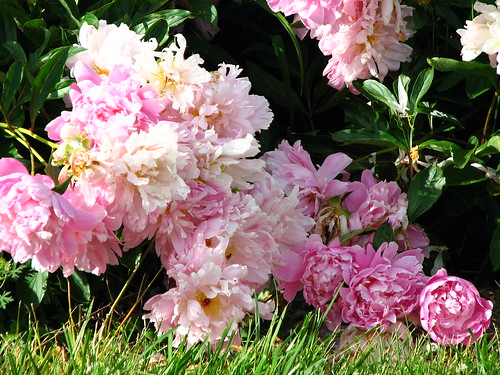
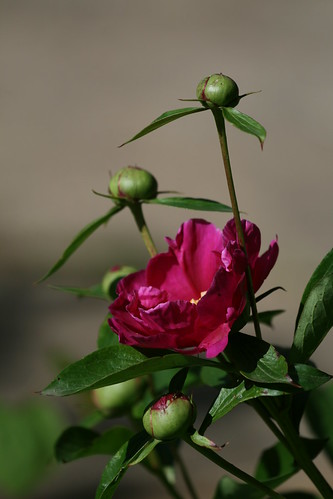
‘Illini Warrior’ is a single peony in a beautiful shade of dark red. I like the single blossomed peonies. The flowers, with one layer of petals, are light enough to stand up to even heavy rains. Anyone with the larger bomb type peony blossoms knows what happens when it rains…floppy flowers.

Here’s a picture taken in 2010, of peonies after rain. Singles won’t do this.
Another single…’Lavender Lady.’ This is a plant sold in the past by Wal-Mart. It is not a registered peony as far as I can find out. But it does have a pretty single pink bloom.

Hosta ‘Big Mama.’ This is one we’ve waited on for several years. Hosta growers are fond of saying, “First year it sleeps, second year it creeps, third year it leaps.” Well, this one has been on a “sleep” hold for a few years, but this year it looks great. Maybe it has decided to leap.
Hosta ‘Torchlight’ This is a great hosta. Fast growing. It made a large clump quickly.

And it has a secret…red petioles. So pretty! Here’s a picture of DH moving it in 2010.

Iris ‘Red at Night’

Unknown irises…these were in the yard when we bought the house in 1994.

Hosta ‘Guacamole’ with ‘Sagae’ in the background. ‘Guacamole’ is another nice hosta. Large, grows well and has pretty guacamole green leaves with a darker green margin. It was named “Hosta of the Year” in 2002.

Another unnamed iris. This one is from my Aunt Jane’s yard. Perhaps the most fragrant iris we have in our garden. You can smell it’s lovely scent from across the yard.

Iris ‘Kevin’s Theme’
Iris ‘Northwest Progress’

Iris ‘Mary Frances’

Hosta ‘Invincible’ is a very pretty hosta with shiny solid green leaves. It is one of the first ones up in our garden.

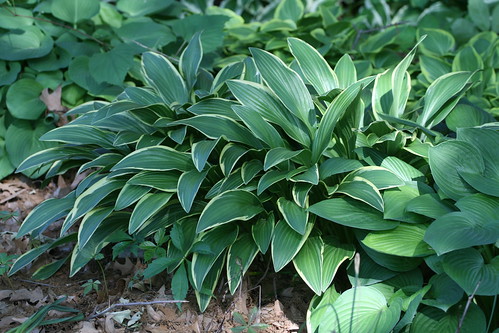
Hosta rectifolia ‘Nakai’ is one of my favorites. I like the shape and length of the leaf, as well as the creamy border.
Another lovely single blossom peony…’Dancing Butterfly.’
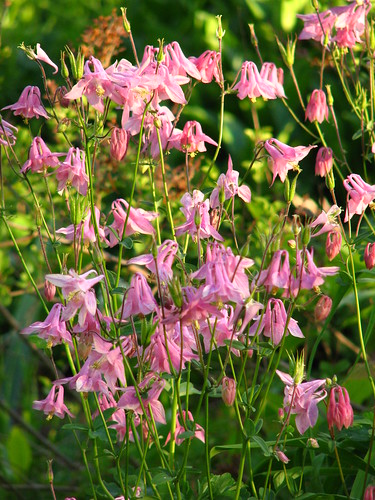
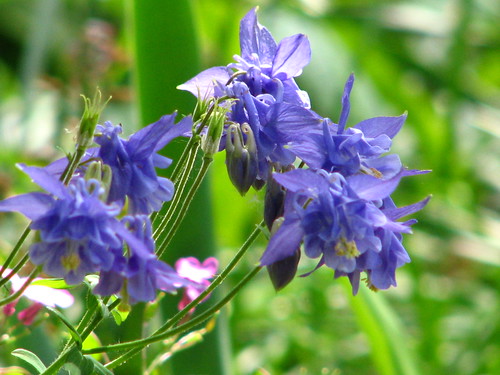
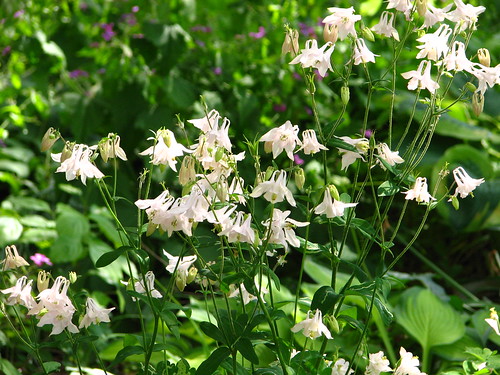
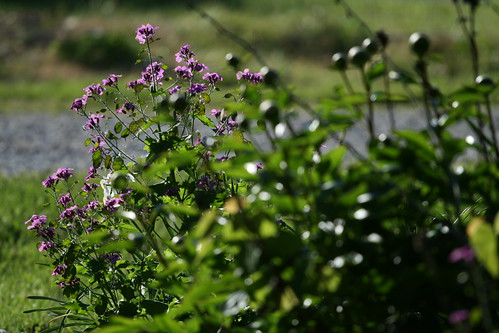
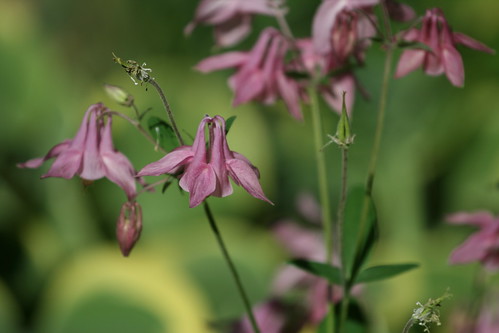
We’ll finish with the columbine. It’s a long lasting spring flower. Very pretty with hostas.
I hope you enjoyed the garden this week. If you’re local, come by and see the irises and peonies in person. Take note of what you like and we’ll dig some for you at the next plant sale.
You can check out more gardens at Tootsie’s place.

~~Rhonda