this year’s chalkboard tree

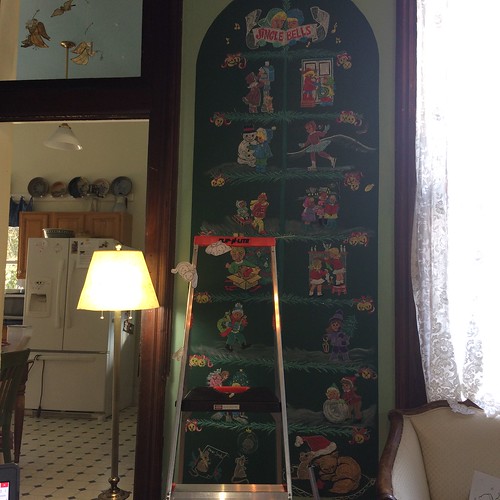
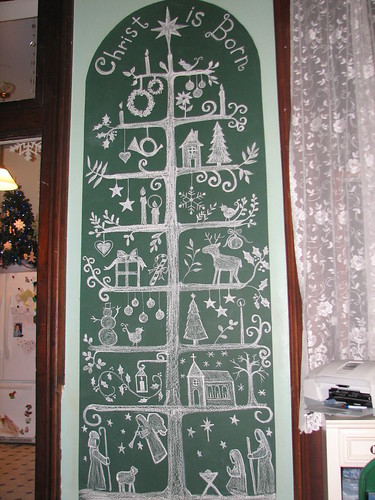
We have done a chalkboard tree for the Christmas season the past four years. This will be our fifth one. The first one was based on one I saw online. Our chalkboard is eight feet tall. The ceilings are twelve feet. Lots of room to play!

Finished.

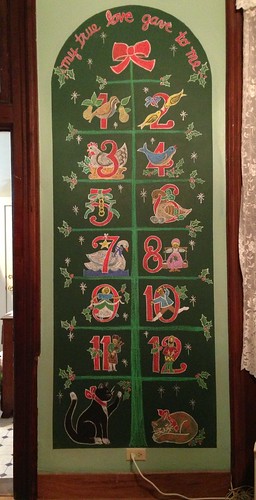
The second tree was done with a “Twelve Days of Christmas” theme and featured two of our cats.

12 Days of Christmas

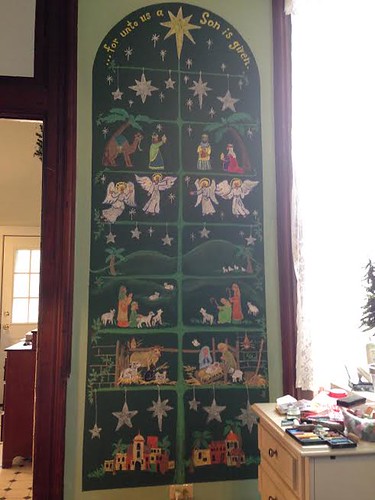
Our third tree was a nativity theme. I love the city at the bottom of the tree.

chalkboard

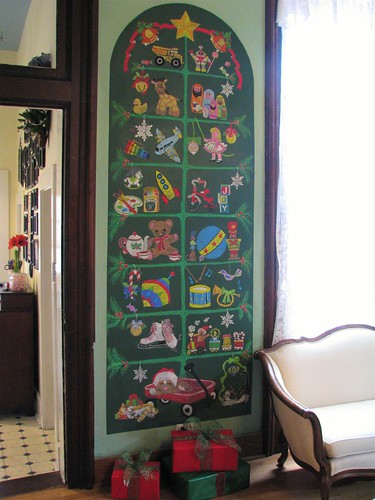
Last year the tree was decorated with toys.

2015 chalkboard tree

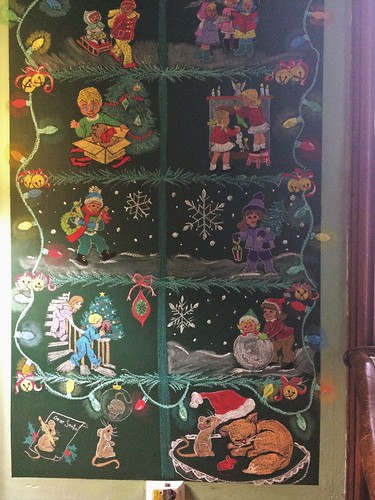
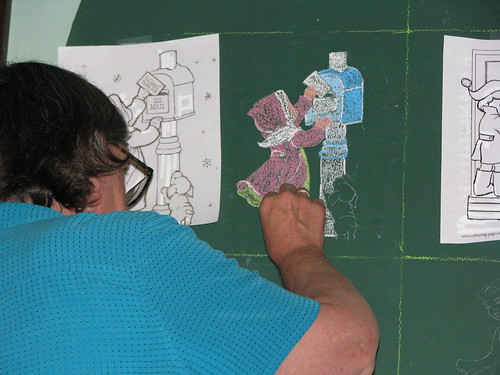
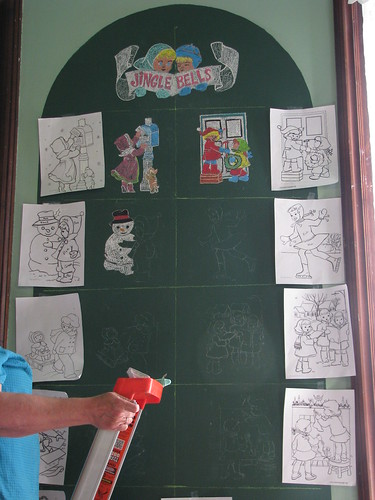
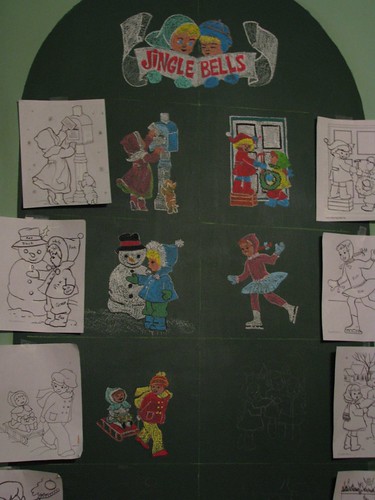
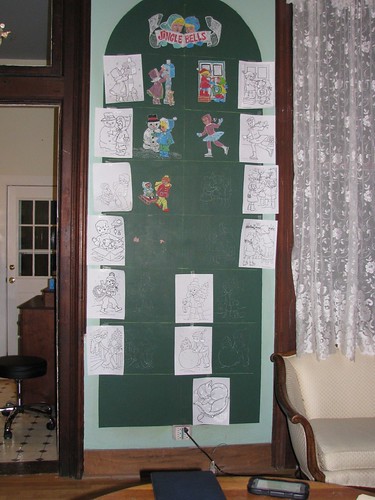
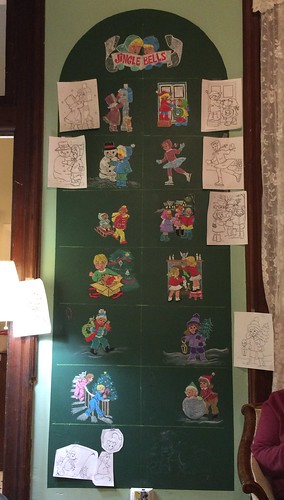
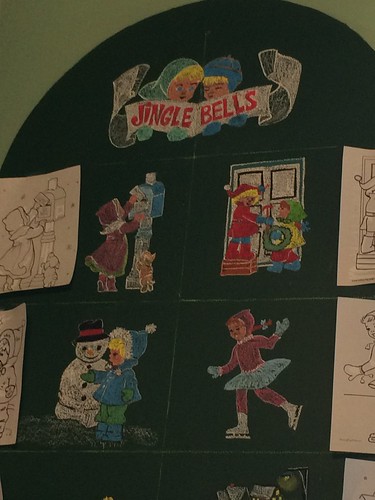
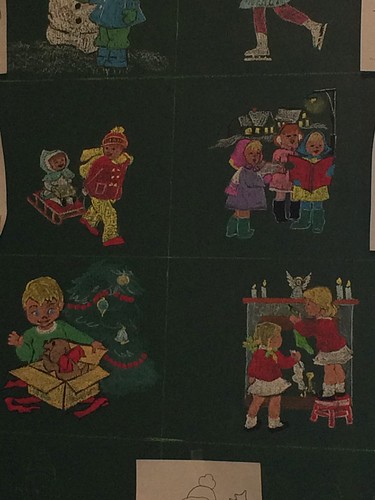
This year I wanted a vintage feel, so I googled “children christmas vintage coloring pages” and got a lot of great ideas. I printed off the ones I liked and my sister and I decided which ones to use for this year’s tree. The biggest job is transferring them to the chalkboard. Genny found some white graphite paper and used that. It worked very well. After all the pictures had been transferred, the chalking began.

2016 chalkboard tree

2016 chalkboard tree

2016 chalkboard tree

This is as far as she got before she had to leave.

2016 chalkboard tree

It takes many hours to chalk the entire tree, counting the transferring of patterns. We plan to add a border of Christmas tree lights, too. Stay tuned for more pictures!

~~Rhonda
menu plan monday ~ october 3, 2016

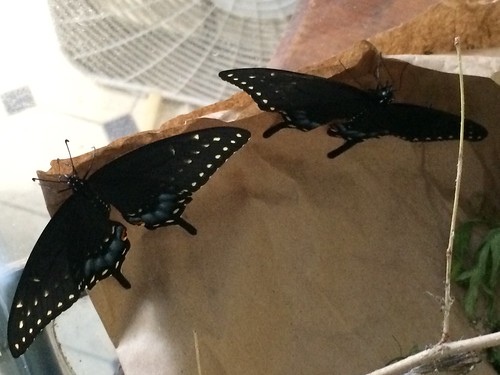
We raised five Black Swallowtail caterpillars that DH found on the parsley late this summer. Last week four of them emerged.

raising butterflies

raising butterflies

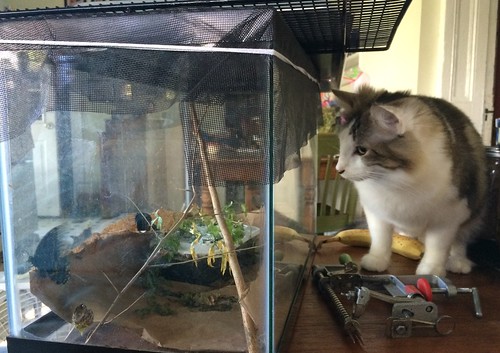
Clark ignored the caterpiller tank until the first one emerged. Then he was totally focused!

raising butterflies

The butterflies were released as soon as their wings had dried. Clark hasn’t shown any interest in the fifth one. We’re still waiting for it to come out. If it doesn’t emerge this fall, we will overwinter it outside and let it emerge in the spring when it’s ready.

We make sourdough bread at least once a week. I have to share this photo. The loaves come out so beautifully. DH does a great job getting it ready.

sourdough bread

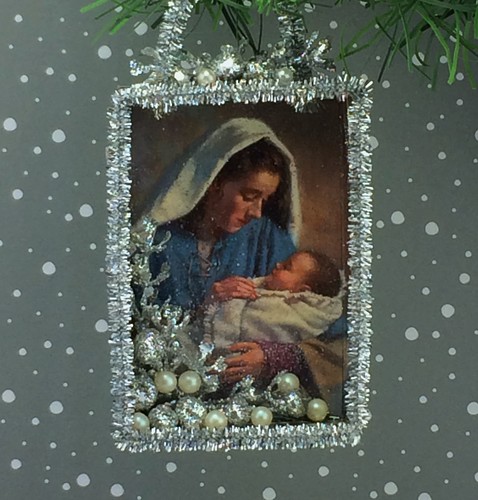
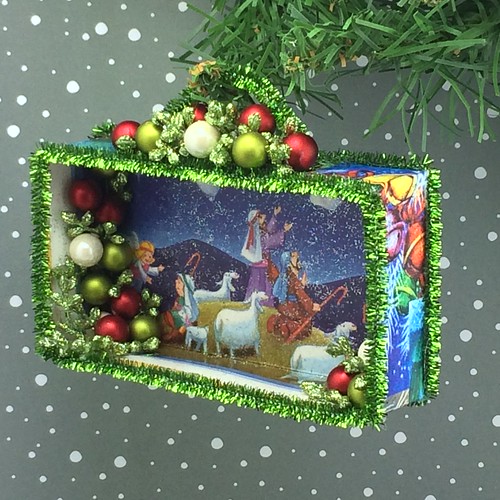
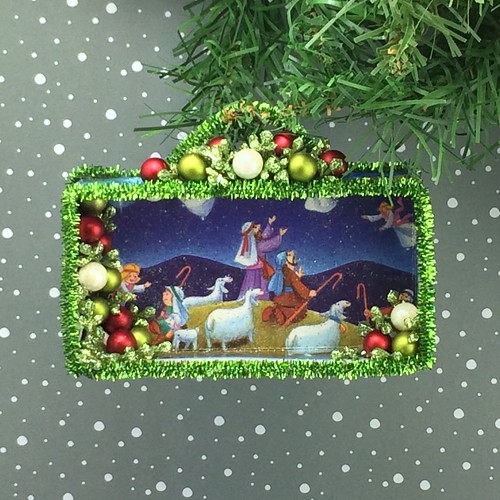
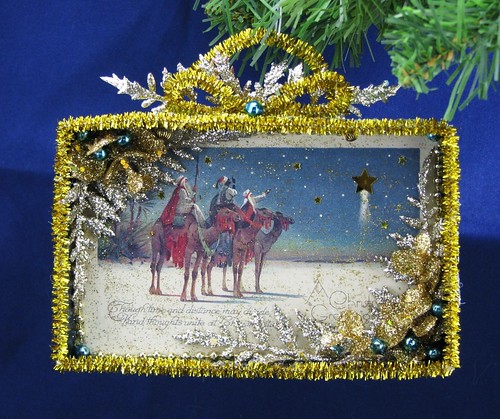
I posted two new Christmas card shadow boxes to my Etsy shop yesterday. ChristmasNotebook

Mary and Baby / Christmas card shadow box

Shepherds and Angels / Christmas card shadow box

Shepherds and Angels / Christmas card shadow box

Here’s the menu for the week. I’m working on producing stock for my Etsy shop. Several crock pot recipes make meals easy to prepare and help to free up my time.

Monday
Fridge Food

Tuesday
Tortellini
Garden Salad

Wednesday
Heat Free Chili in the crock pot.
Crackers and Peanut Butter

Thursday
Pan Seared Tilapia
Steamed New Potatoes
Green Beans

Friday
Smoked Pork Shank with Beans in the crock pot.
Cornbread

Saturday
I’m hosting a quilt-in-a-day on Saturday. Some of the church ladies are coming to participate. They are bringing salads for lunch. I’m providing the rest.
Salads
Cheese and Crackers
Fruit Tray
Coffee, Tea, Lemonade

Sunday
Alton Brown’s Pot Roast in the crock pot.
Mashed Potatoes
Broccoli
Corn

You can find more menus and ideas at Menu Plan Monday.

~~Rhonda
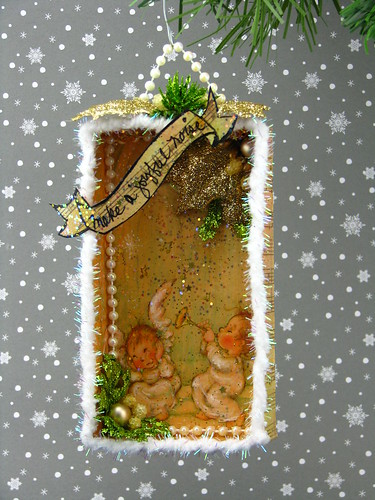
make a joyful noise! Christmas card shadow box

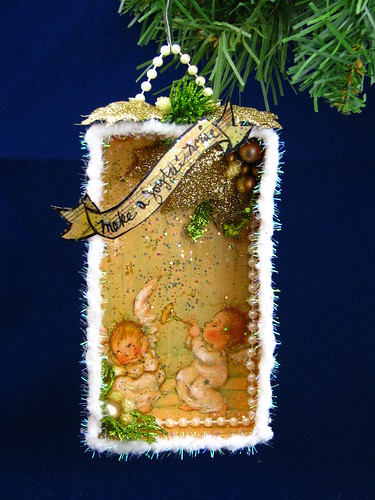
I am making new stock for my Etsy store. Today I finished a shadow box that I particularly like. I call it “Make a Joyful Noise!” It is listed in my shop -ChristmasNotebook.

Make a Joyful Noise shadowbox

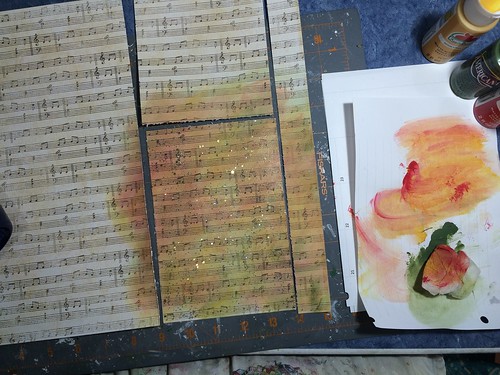
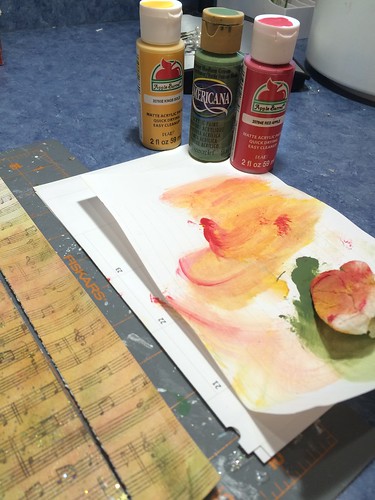
The paper I wanted to use for the back of the box wasn’t quite the right color, so I used some thinned acrylic paint to make the colors match the card I was using.

Make a Joyful Noise shadowbox

I used these three colors. A wet paper towel worked very well to spread the paint over the paper. First I spread some green, then I mixed the orange and the red and applied it.

Make a Joyful Noise shadowbox

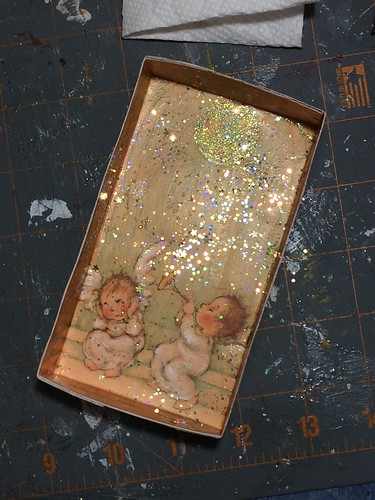
I put Mod Podge and glitter on the paper for the outside of the box before I made the box. But I Mod Podged and glittered the inside after the box was made. Works either way.

IMG_2646

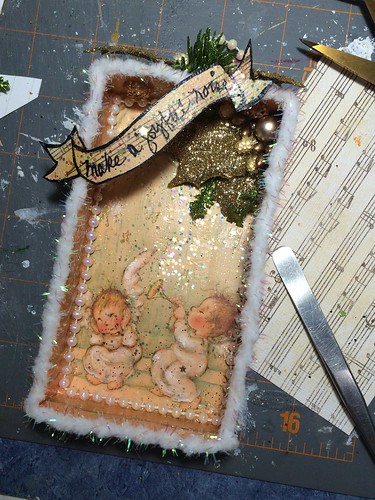
After the box was made, I trimmed the inside with string pearls, then made a hanger from the same pearls. To cover the ends of the bead string inside the box, I use bead caps. These were old gold. I painted them to match the colors of the box and glittered them before gluing them inside the box.

Make a Joyful Noise shadowbox

Make a Joyful Noise shadowbox

Make a Joyful Noise shadowbox

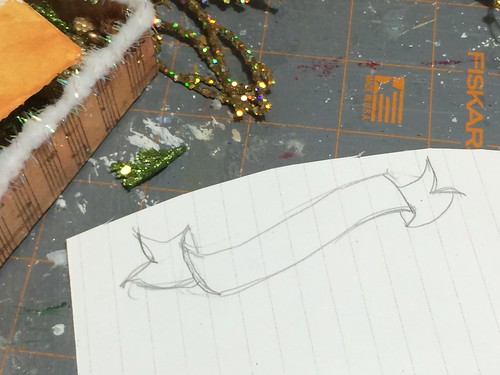
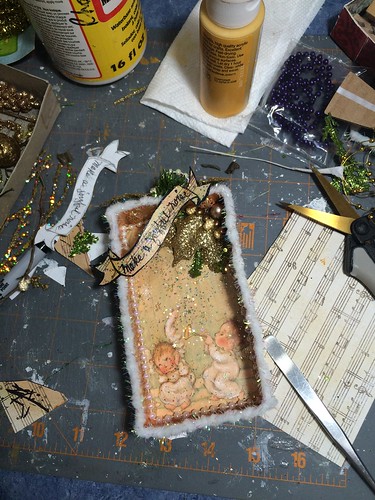
I wanted to add a little banner that said “make a joyful noise,” so I sketched out one I liked, then cut it from the same paper I used to cover the outside of the box. I glittered both sides of the banner.

Make a Joyful Noise shadowbox

Make a Joyful Noise shadowbox

Make a Joyful Noise shadowbox

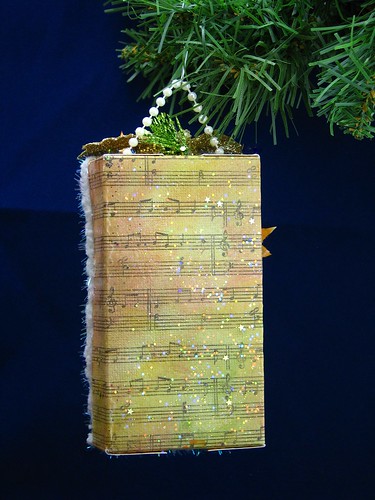
Front and back…

Make a Joyful Noise shadowbox

Make a Joyful Noise shadowbox

I enjoyed making this one. Lots of fun!

~~Rhonda

menu plan monday ~ september 26, 2016

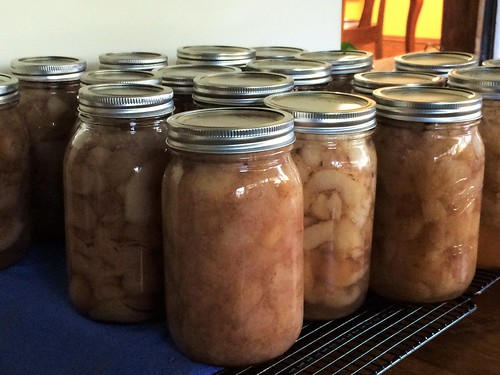
I’ve had another busy week. Older Daughter and Middle Daughter helped me can 21 jars of spiced apple slices, plus two quarts we put in the fridge for immediate enjoyment.

IMG_2591

I am working on beefing up the inventory for my Etsy shop before the Christmas season arrives. I’ve posted some new Christmas card shadow boxes to the shop and plan to post some new spool ornaments tomorrow. My Christmas Tree Lot Putz sold, so I need to make a few more to post on Etsy. I would like to get at least one of those done this week.

I am used to cooking for a lot of people, but now there are only three of us here at the house. Youngest Daughter is in and out, but mostly out, as she is in college. We have too many leftovers, so I have planned some big meals and then Fridge Food days to use the leftovers. Perhaps that will help! I’d rather do that than cook for two or three every day. It’s more fun to be in the craft room! Here’s the menu for the week.

Monday
Tacoritos
Tortilla Chips
Lettuce, Sour Cream, Tomatoes

Tuesday
Fridge Food

Wednesday
Grilled Pork Steaks
Grilled Chicken
Roasted Veggies in Foil

Thursday
Chicken Tortellini Soup
Toasted Sourdough Bread

Friday
Fridge Food

Saturday
Roast Beef in the Crock Pot
with New Potatoes and Carrots
Steamed Green Beans

The recipe for the Roast Beef calls for it to be oven-roasted. And it is fabulous that way. But it is also delicious made in the Crock Pot, so that’s the way we are going to roll this week. Put in the meat. Put in the other ingredients. Cook on low for eight hours. Faster to prepare, easier to cook, still tastes wonderful!

Sunday
Fridge Food

You can find more menus and ideas at Menu Plan Monday.

~~Rhonda
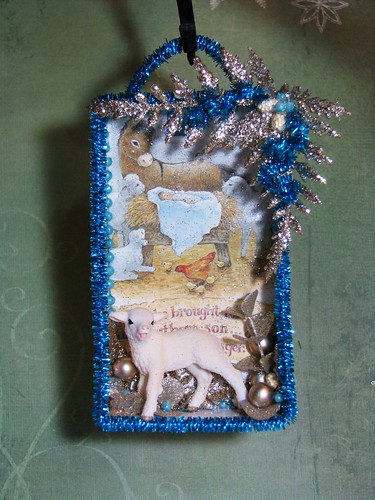
shadow boxes from Christmas cards

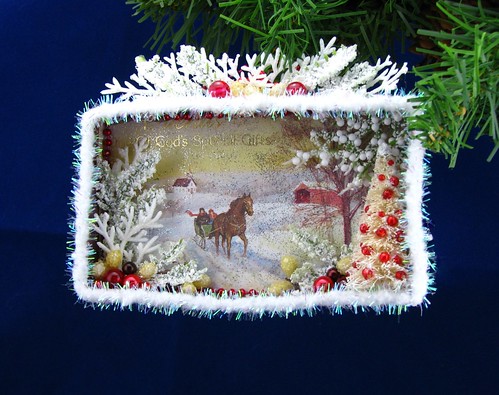
I’ve been working on Christmas card shadow boxes the past few days.

Christmas shadow box

They are made from Christmas cards.

Christmas shadow box

They are about 4″ x 6″ x 1″.

Christmas shadow box

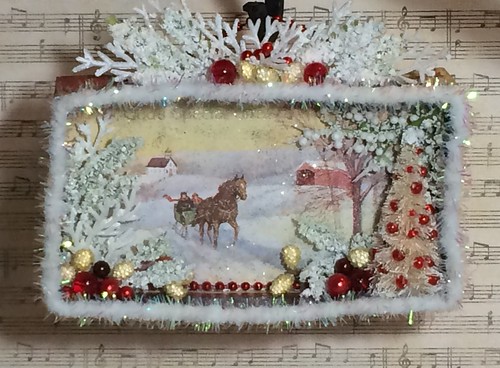
The winter sleigh ride scenes are always a favorite of mine.

Christmas shadow box

Christmas shadow box

Up close…

Christmas shadow box

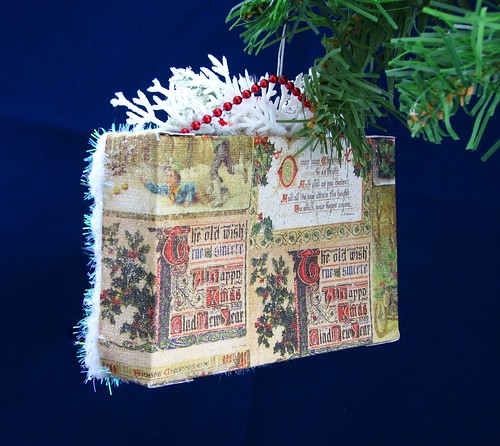
The back is scrapbook card stock.

Christmas shadow box

I really like the way this one turned out.

Christmas shadow box

These will be posted to my Etsy shop tomorrow. ChristmasNotebook

If you would like to try your hand at making a Christmas card shadow box, here is the link to my tutorial.

shadow boxes from Christmas cards

If you would like to see more examples, here is a link to ten shadow boxes I made. Or search my blog for < Christmas shadow box > for even more examples.

ten Christmas shadow boxes

~~Rhonda
menu plan monday ~ september 19, 2016

This past weekend, our church continued a long held tradition of making apple butter. Apple Butter Day means fall is right around the corner.

It is great to see the younger members of our church family stepping in for their first turn at stirring the kettle.

apple butter day

Rose Red was happy to have so many other kids to play with.

apple butter day

It wasn’t all play, though. They pitched in when asked. The shopping cart made it easy for the littles to carry the sugar when it was time to add it to the copper kettles.

apple butter day

Snow White is always drawn to the babies. She thinks they are “SO-O CUTE!”

apple butter day

Time to can the apple butter!

apple butter day

I have worked on Putz houses the past week or so. Tomorrow I may be canning apples. Later in the week, I hope to make more Christmas card shadow boxes for my Etsy shop. For now, here’s the menu for the week.

Monday
Hamburgers
Homemade Buns
Corn
Pickles

Tuesday
Tacoritos
Mexican Rice
Lettuce / Tomatoes / Sour Cream
Tortilla Chips

Wednesday
Crock Pot Apple Bacon Pork Roast
Spinach Salad
Corn and Peas

Thursday
Chicken and Dumplings
Cornbread

Friday
Slow Cooker Broccoli Beef
Rice

Saturday
Grilled Chicken
Grilled Veggies

Sunday
Chicken and Bacon Pasta
Garlic Bread
Green Salad

You can find more menus and ideas at Menu Plan Monday.

~~Rhonda
picket fence tutorial, using corrugated cardboard

I have been trying several ways to make picket fences for Putz houses. I came up with some options, using corrugated cardboard. The cardboard I used is a thin cardboard with about seven ridges per inch. It came from a box for a dustbuster.

picket fence tutorial

The “picket” fence I describe in this post was inspired by Laney at SugarplumPatchwork.com. She used corrugated cardboard as a fence for her little Putz houses. At the end of the post I will show a couple of more detailed options.

The first job is to clean the cardboard. One side has to be removed so the ridges show. I used fine point tweezers, slipping them under the side of the cardboard and peeling it off.

EDIT / 2020  I now use a spritz bottle to put a fine mist of water on the side of the cardboard I am removing. I let it set a 10-15 seconds and it helps the cardboard layer come off more easily. Sometimes it needs a second misting.

picket fence tutorial

Sometimes you can peel a strip off by gripping it with the tweezers or with your fingers.

picket fence tutorial

picket fence tutorial

A stiff-bristled brush will take off some of the small bits that are left on the cardboard.

picket fence tutorial

Before using a brush on the cardboard…

picket fence tutorial

After…

picket fence tutorial

Cleaned. After brushing, little leftover bits can be picked off with tweezers, but I find that most of that doesn’t show after the cardboard is painted.

picket fence tutorial

I cut 1/2″ strips to make fencing. The height of the fence should be in proportion to your house. A larger house than I usually make would need a taller fence.

picket fence tutorial

picket fence tutorial

Zigzag scissors add a good “picket” finish to the top.

picket fence tutorial

picket fence tutorial

The end of the cardboard strip isn’t cut quite straight, so I trimmed that next.

picket fence tutorial

picket fence tutorial

I chose a church to sit on this base.

picket fence tutorial

When I paint a fence, I use two coats. The first coat is 1:1 white glue and paint.

picket fence tutorial

The holes made by the cardboard can be filled with molding paste, spackling, artificial snow (like Snow-Tex), or just paint over them. Painting over them worked well for me because the holes were very small in this thin cardboard.

picket fence tutorial

picket fence tutorial

The second coat of paint gets an addition of fine white sand to give the paint some texture.

picket fence tutorial

picket fence tutorial

picket fence tutorial

While the second coat of paint is still wet, I put glitter on it. This is the glitter I like to use.

picket fence tutorial

The pencil may give you some sense of the scale.

picket fence tutorial

When the fencing is dry, it’s time to add it to the base. I begin by making a judgement about how long the fence will be. Should there be a large gap in the front or a small one? And should I add fence posts or not? How many? Depends on the house, your own judgement, what you do or don’t like. As with all crafting and art work, each artist brings his or her own skill and judgement to the project. Don’t compare your work with someone else. Develop your own style!

picket fence tutorial

For this one, I decided to use two fence posts in the front. I bent the fencing around the corners. When I got to the back right hand corner, I cut the fence.

picket fence tutorial

Making cuts like that are best done at the back where they are not as noticeable. They are easy to disguise with faux snow, paint and glitter, though, so if you need to make a cut in the front, do that. I never make a cut in the middle of a fence length, though. Always at a fence post or in a corner.

picket fence tutorial

I use large pins to hold the fence in place until I am ready to glue it down.

picket fence tutorial

Now, where to cut the fence in the front?

picket fence tutorial

Measure the side you’ve already worked on. Then use that measurement as a guide for the other side.

picket fence tutorial

picket fence tutorial

Pinned and ready to set the fence posts.

picket fence tutorial

Before gluing…

picket fence tutorial

I use hot glue to attach the fence to the base. When gluing the cut corner, I spread a little glue all the way up and down the cut.

picket fence tutorial

Each inside corner gets a bit of glue. I start in the corner and pull it away, in both directions. That gives the glue a larger area of contact and also makes it is easy to camouflage the glue as a snow drift.

picket fence tutorial

I do the same on the outside corners.

picket fence tutorial

If the fence is one long piece across the back, I will add an anchor of glue in the middle, on the inside of the fence to give it more stability. Just another little snow drift. 🙂

picket fence tutorial

I glue all the way around the fence posts, drawing the line of glue a little bit down the fence line. People can’t resist touching the fence or the fence posts, for some reason. Those items need to be very stable for the sake of longevity.

picket fence tutorial

And there you have it. Ready to paint and glitter before gluing down the church. Much easier to do without the building in the way.

picket fence tutorial

I experimented with two other options, using a hand punch that makes a small rectangular hole. These pieces were made with larger corrugated cardboard (four ridges per inch). The top piece of fencing was trimmed with the zigzag scissors. The other piece was left straight.

picket fence tutorial

This is the Fiskars punch I used for these fences. It makes a 1/4″ rectangular hole. Yes, it is a bit tedious to punch all those holes, but it is worth it to me. I think the fences add a lot of lovely detail to the Putz houses.

Picket fence tutorial for Putz house

Picket fence tutorial for Putz house

The little white rectangle on the punch is one I added. I do that to all my punches so I can easily see which is which. Why they don’t come that way is beyond me.

Punches

Here is a view from the top to show how well the sandy paint filled in the holes.

picket fence tutorial

This picture shows the filled holes in the top bit of fencing. The other piece of fencing is sitting upside-down so you can see the holes. I don’t fill those as they will be glued down to the base and won’t show when the house it done.

picket fence tutorial

Close up of the bit of fencing that was trimmed on top with the zigzag scissors. Personally, I think the zigzag worked better with the smaller corrugated cardboard.

Picket fence for Putz house

This picture shows the two sizes of corrugated cardboard I used. The top piece has about seven ridges per inch. The bottom piece has four ridges per inch.

picket fence tutorial

I think that is all my mind can handle about picket fences for Putz houses for now. %-)

Here is a tutorial I made about making fences for Putz houses. It has instructions in it for a picket fence made with the above punch and a flat piece of cardboard. tutorial for making fences for putz houses

fence with no posts

Here is a previous tutorial about attaching fences and posts to bases. tutorial: attaching putz fence and fence posts to the base.

If you make picket fences for Putz houses, I would love to see examples. However you make them!

~~Rhonda
vintage inspired putz house, part 2

The little green house with the brown roof is coming right along. Here is where we left it. I’m planning to add a wreath over the door and a picket fence around the house.

green and brown putz house

It’s hard to wait until the paint is totally dry when I’m putting up a new fence. And I was eager to try this one out because I have been looking for a way to make a picket fence. This has worked very well. Not really a picket fence, but looks like one. Thanks, Laney, for the fence idea!

green and brown putz house

green and brown putz house

green and brown putz house

When I sit down to embellish a Putz house, I pull out a lot of different items and check them against the house. Usually something jumps out at me as a good fit.

green and brown putz house

Getting there…

green and brown putz house

Thought I was done at this point…

green and brown putz house

This is the first time I have put a tinsel arch over a Putz house. I like it! I’ll be using that again.

green and brown putz house

Details…

green and brown putz house

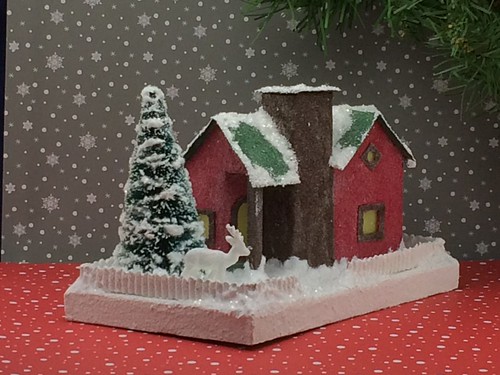
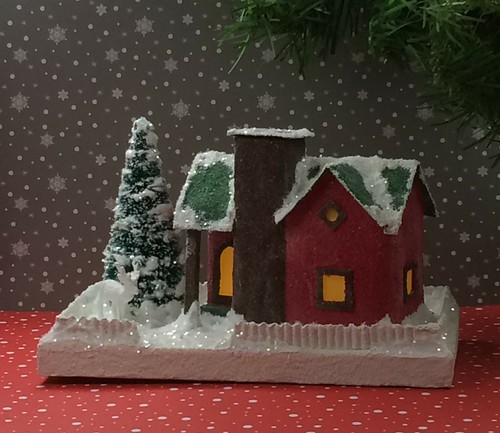
I added a bit more snow to the embellishments and called it done.

green and brown putz house

green and brown putz house

green and brown putz house

The house has been listed in my Etsy shop. Click on over and check out the Christmas card I used as a base. 🙂 ChristmasNotebook

~~Rhonda
vintage inspired putz house

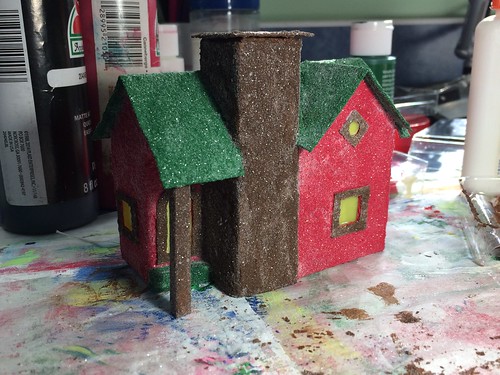
I used the Putz house on the front page of cardboardputzhouses.com as my inspiration for a new Putz pattern. The one I made isn’t as elaborate as the one pictured. I may go back and add the porch and the first story roof to the pattern at some point. It certainly adds a lot of detail to the house.

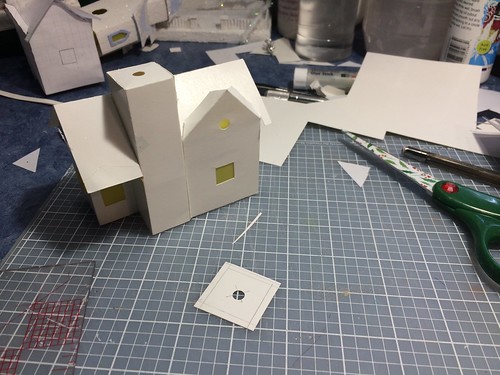
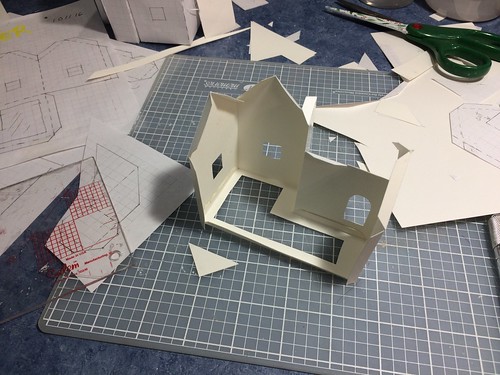
After I drew the pattern, I made a copy and cut out all the pieces. To do that, I attach the pattern to the poster board with some tape runner.

green and brown putz house

I put a few pieces of tape runner on the back of the pattern. Holding it to the light helps me see where the windows and door are, and that is where I put most of the tape. A few bits on the rest of the pattern will hold it in place after the windows are cut out.

green and brown putz house

Just a few very small pieces.

green and brown putz house

Cut the windows and the doors before cutting the edges. It gives more support while cutting the windows.

green and brown putz house

I use a hole punch for the little hole above the front door.

green and brown putz house

The next step is to score all the fold lines. I use the back of the X-acto knife for scoring.

green and brown putz house

After it is scored and the edges are trimmed, the pattern paper will peel off.

green and brown putz house

Score lines…

green and brown putz house

Folded house…

green and brown putz house

Gluing the base to the walls.

green and brown putz house

After I glue the flaps, I rub them with a wooden stick (chop stick) to be sure they make good contact.

green and brown putz house

Put glue on both sides, let it sit for 20 or 30 seconds, then press them together.

green and brown putz house

green and brown putz house

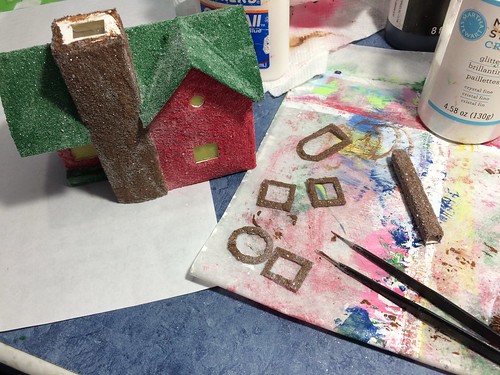
Cutting window frames.

green and brown putz house

The front door is a frame and door in one.

green and brown putz house

I use the pattern to cut the frame for the hole in the back of the house. Leaving extra poster board around the frame makes it easier to cut.

green and brown putz house

green and brown putz house

The outside of the frame can be cut with scissors.

green and brown putz house

A little box or container is a good way to keep all those little pieces together until needed.

green and brown putz house

Before anything else, I check the roof to be sure it fits the house.

green and brown putz house

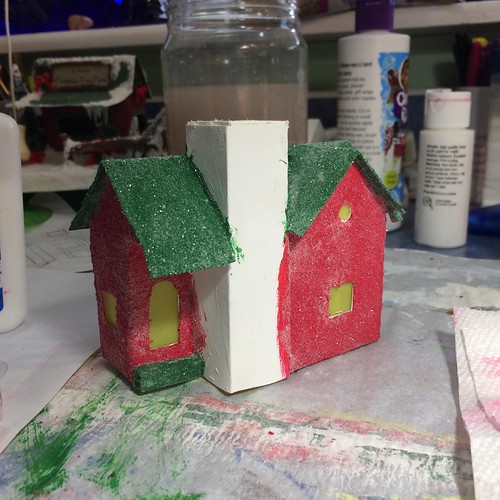
[Insert painting the house here.] I must have forgotten to take pictures of that step. For more information on painting Putz houses, check out my tutorial. Building a Putz House

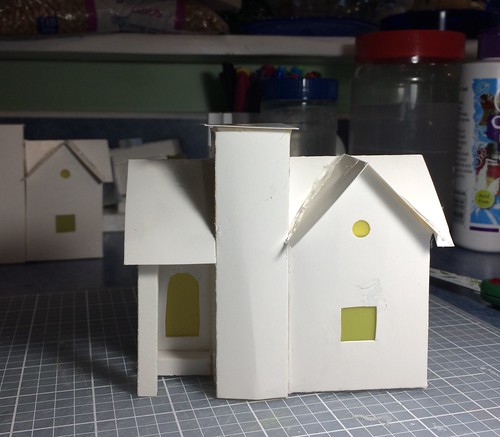
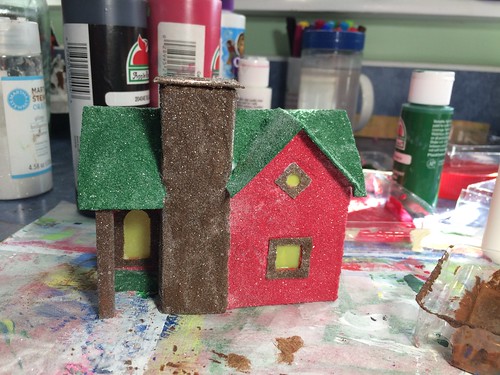
Attaching the window and door frames makes a big difference in the looks of the house.

green and brown putz house

The roofs are painted and ready to attach.

green and brown putz house

green and brown putz house

That’s enough info for one post. I will save the base, fence and embellishments for the next one.

~~Rhonda
glittery gold and brown putz house

This cute little Putz house came together pretty fast.

Putz house

I found a very pretty Christmas card in tones of gold, yellow and brown.
Putz house

I decided to make a Putz house to match. The pattern is one I made from a picture of a vintage Putz house several years ago. I like the rounded roof line. Something a little different than the usual.

Putz house

Friday evening, I cut out the pattern and painted the roof and the window and door frames.

Putz house

Saturday morning, I painted the house. I wasn’t sure about the color. Not my personal favorite. But then I’m a winter and not an autumn when it comes to coloring. The color does go perfectly with the Christmas card.

Putz house

The fence went up quickly. Then it was time to glue the house to the base. I decided to set the house at an angle so I would have room to the left side for a large tree.

Putz house

I added gold chenille stems under the roof-line, then glued on the window awning. It got a little piece of chenille trim, too.

Putz house

An ivory colored Christmas tree seemed right for this house. It is decorated with beads in gold shades that compliment the house. I decided to add a “garland” to the tree using more of the same chenille stem.

Putz house

I used 6mm tinsel chenille stems (otherwise known as pipe cleaners).

Putz house

To make the loops, the chenille stem is wrapped around a pencil. If larger loops are needed, a larger object should be used to wrap the stems. Smaller? Maybe a paint brush handle.

Putz house

To make the loops, slide the chenille stem off the pencil. Flatten the circles and pinch the tops of the loops to help define them. Here you can see the ones I’ve flattened on the left and the ones that are still curled on the right.

Putz house

Make enough flattened scallops to fit around the part of the tree you are decorating.

Putz house

I hot glue the ends together to make the circle, then slip it over the tree into position. Then I hot glue the tops of the loops to the tree. Make as many garland loops as you need for the size tree you are using. I have used 3mm chenille stems to make a similar garland for a smaller bottle brush tree.

Putz house

After the garland was on the tree, I went back and added a few more beads to fill in between the loops of garland. I think I’ll try putting the garland on first next time.

Putz house

The space above the door seemed too empty, so I made a tiny wreath from a bit of leftover chenille stem and glued it over the door. A gold star for the tree top and some snow for the roof..the house is done!

Putz house

The house has been listed in my Etsy shop. ChristmasNotebook

I hope you enjoyed watching as I put the little glitter house together. If you have any questions, please ask! I am happy to help.

~~Rhonda