


Archives
Categories
Links
Meta
April 2026 S M T W T F S 1 2 3 4 5 6 7 8 9 10 11 12 13 14 15 16 17 18 19 20 21 22 23 24 25 26 27 28 29 30
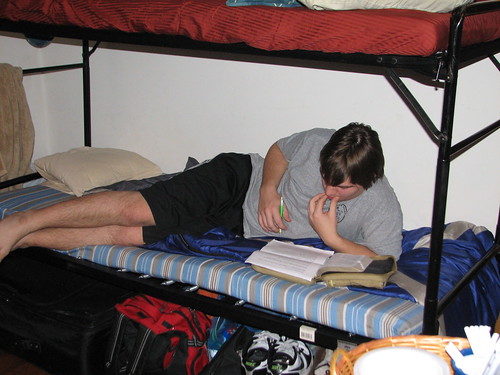
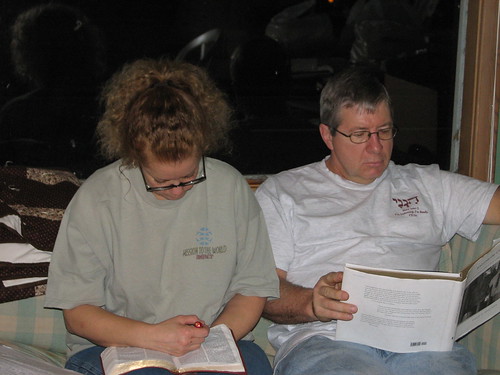
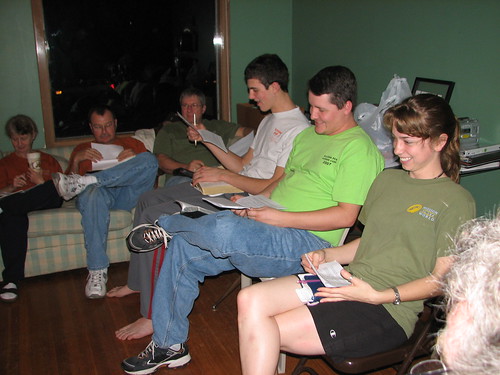
Davey chose Scripture and developed questions for us to read and answer each day during our morning devotions. We go over them by ourselves in our quiet time. Later, in the evening, we will meet together to go over the same Scripture and the same questions, sharing insights and prayer time.
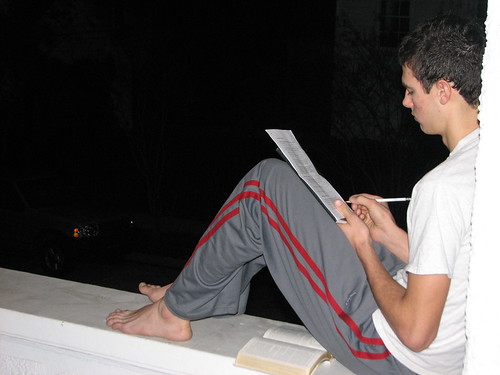
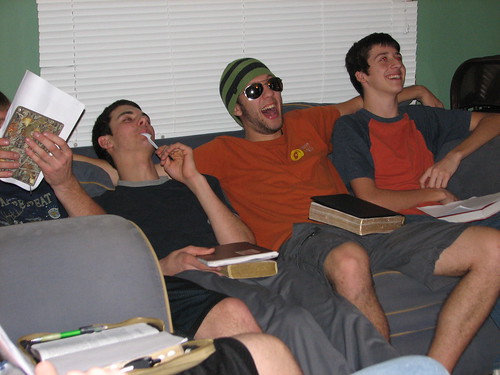
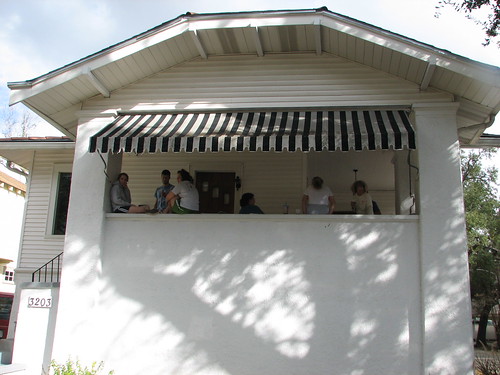
The bunk, the couch, the front porch…all good places for reading and studying God’s Word.
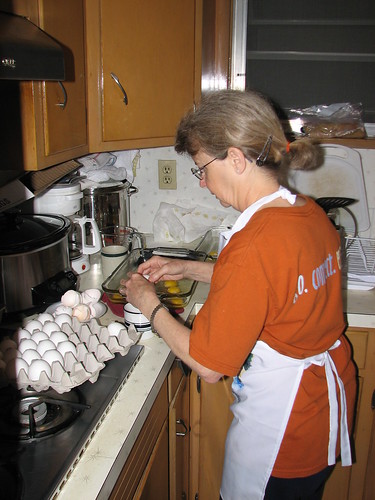
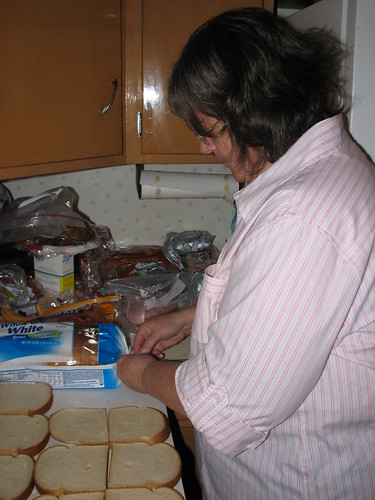
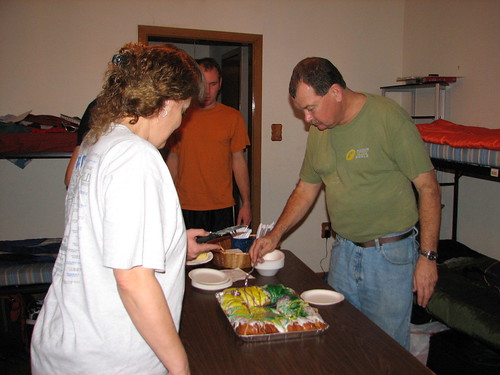
When’s the last time you cooked 24 eggs for breakfast? Liz can say, “This morning!” We love her baked eggs!
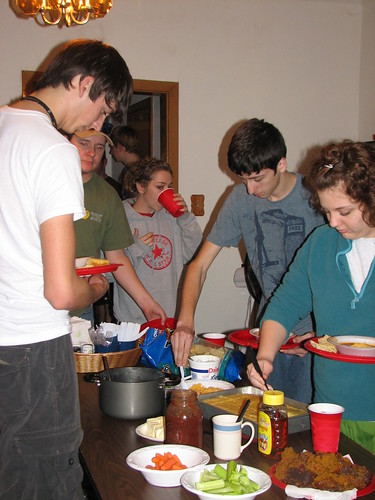
Prepraring sandwiches for lunch.
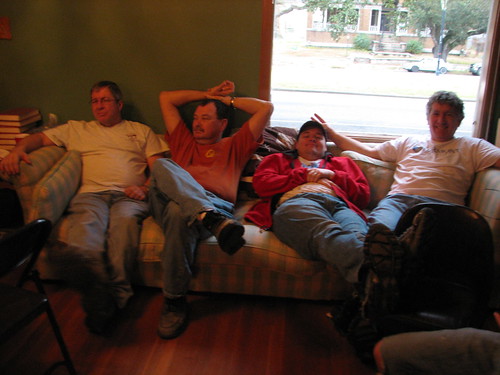
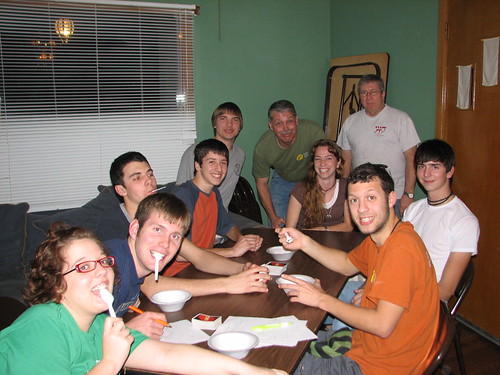
The gang waits for breakfast. Two deacons, a seminary graduate, and a doctor…who would’a guessed??
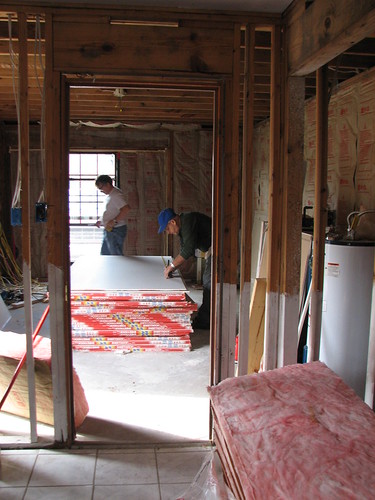
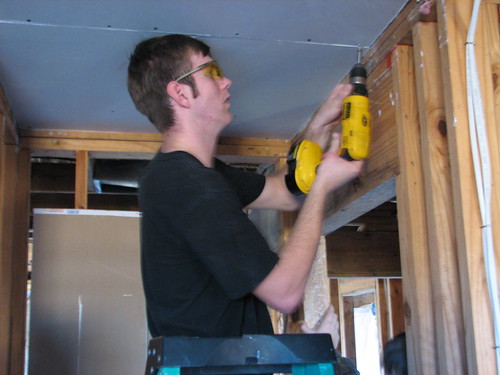
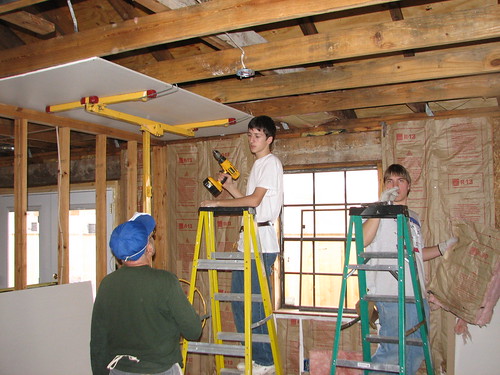
At the job site, preparing drywall seems an unending task.
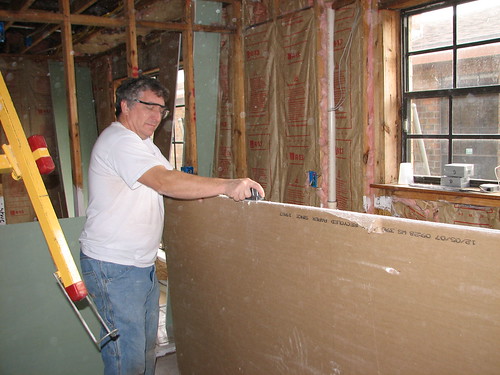
But what a difference it’s making in Gloria’s home! Today she said, “It’s beginning to look like a house and not a shed!” 🙂
They’re smiling…I can tell…

As the work progresses, there is always someone in the prayer chair. This was Caleb’s turn.

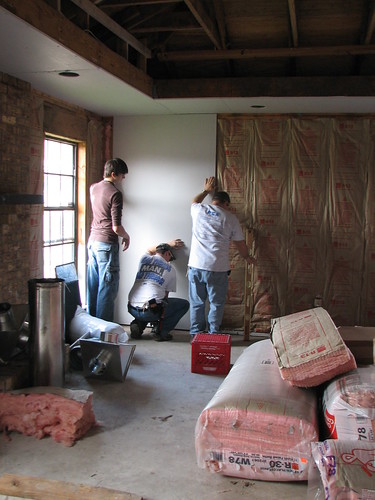
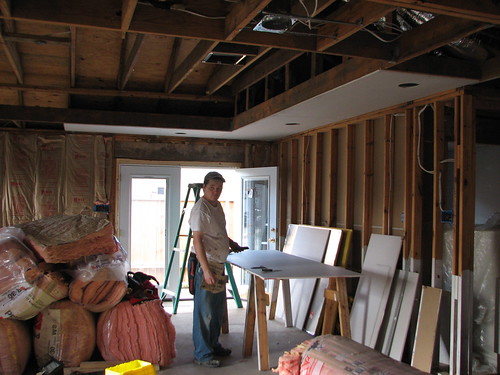
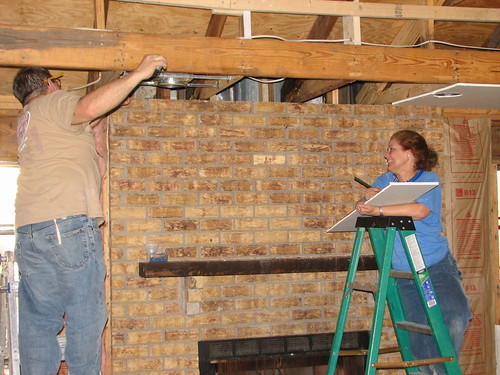
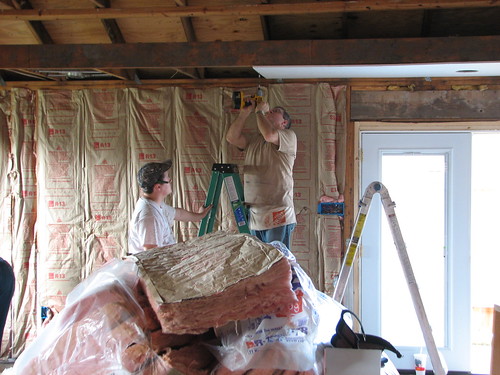
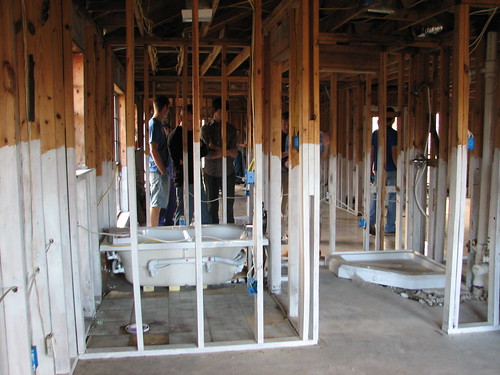
Inside, the work continues.
We are very grateful for the lift!

Gloria holds down two jobs, but she makes time to come by each day and check the progress of her team. Please pray for Gloria, her family, and her home. We are so happy to serve Gloria with our efforts. We want her to know we appreciate the opportunity to show her Christ’s love in this way. Thank you, Gloria!
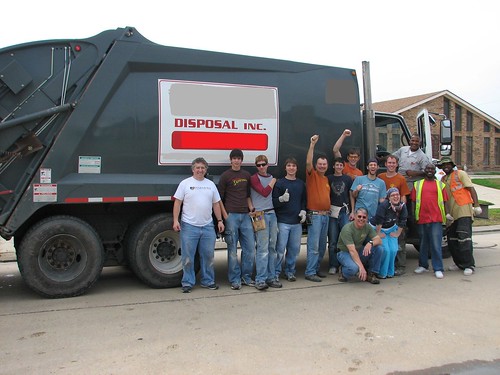
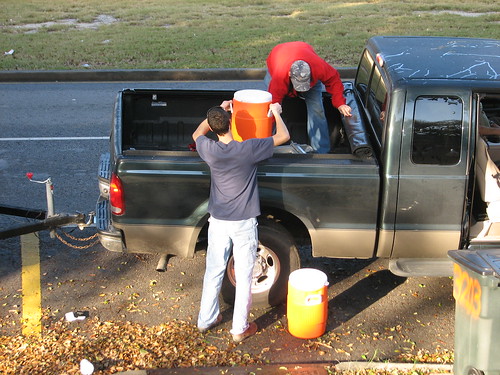
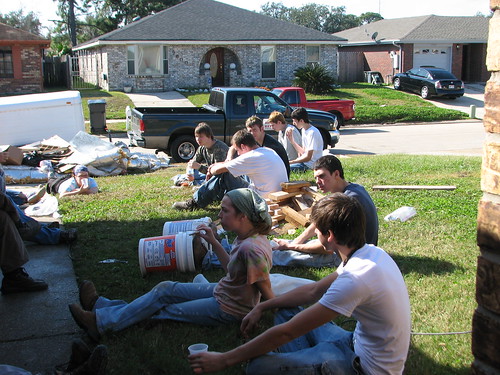
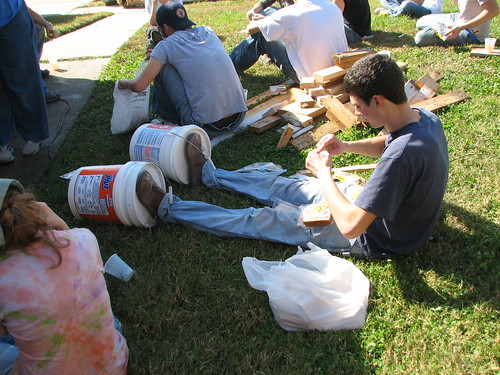
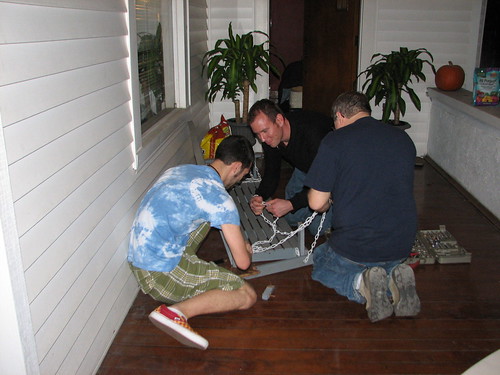
Talk about an answer to prayer! We didn’t know what we would do with all the construction debris. As the trash pick-up truck went by, someone flagged it down and they agreed, after a little coaxing, to haul it away for us! Thank you, thank you! These three men were an answer to prayer, and they were the highlight of our day! The team gave them thank you gifts of peanut butter and jelly sandwiches and snacks.
Adam is planning, God willing, to go to Nairobi this summer as an MTW intern, to work in the slums of the city. Pray for Adam as he seeks financial support and please pray for his safety, for his work, and for his spiritual growth as he seeks God’s will for his life.
The team received another special visitor today. We were happy to see Doug Mallow, Sr. Project Administrator of MTW’s Global Support Ministries, who visited the site this afternoon. By good planning, he arrived just in time for lunch. He later joined us at the mission team house for supper and fellowship. His visit was a great encouragement for our team and for our team leaders.
Future leaders.
I’m sure everyone else is fast asleep by now…time for me to be the same. ‘Night! ~~Rhonda
Wednesday Devotions – Nehemiah 1:1-11, 6:15-16
This passage is a challenge for us to consider the importance of prayer and the power of God to answer prayer, even in the midst of oppostion. Consider areas of your life where you may feel opposition, or are enduring some kind of trial. Have you committed that to God in prayer?
Take some time right now to come before the Lord in prayer. Bring Him all of your burdens. God completed the enitre wall of Jerusalem in 52 days, despite opposition.
God wants to show us His awesome power and blessing. Take some time right now to pray for our work, for those we are serving for those with whom we serve, and for God to be glorified.
The day starts early for the mission team. By 6:15, the team members are up, doing devotions, making their beds (just kidding, Moms!), and Liz and Rhonda are in the kitchen preparing a hearty breakfast.
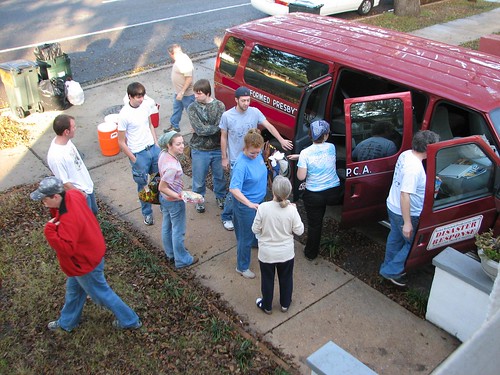
By 8:00 a.m., the van and truck are being loaded with provisions and team members.
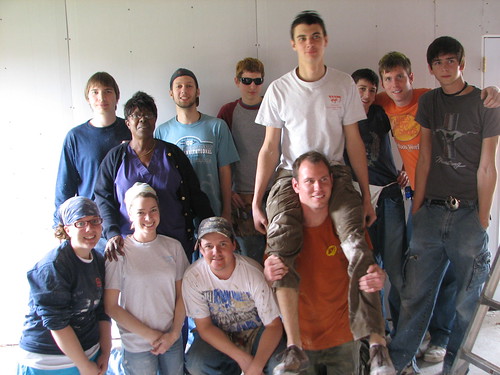
Most of the young adults on this trip have been on several, if not more, mission trips. They’ve learned a lot about construction, about serving others, and about serving their Lord.

Lunch time gives an opportunity for refreshment and a much needed rest.
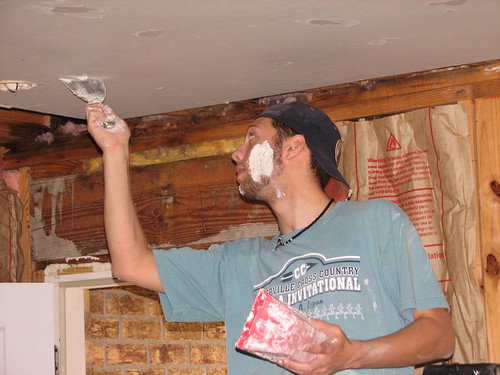
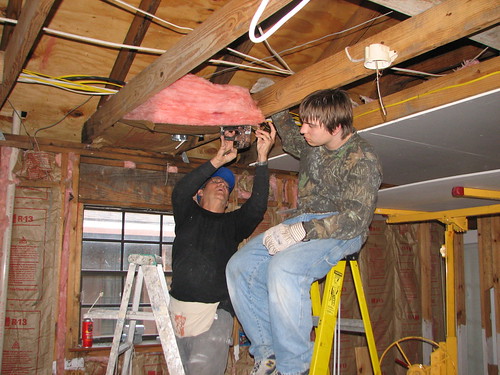
Noah wears the latest in footwear fashion.
There is a method to his madness…he needs the added height to reach the coved ceiling in the bedroom.

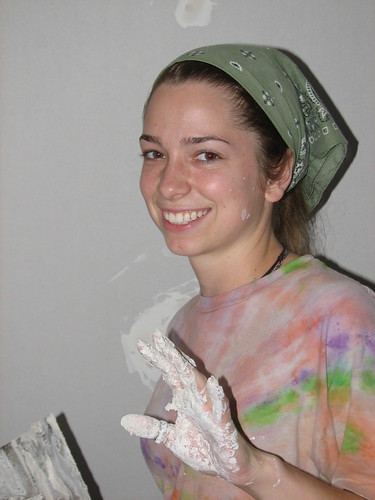
I see that hand. Mudding is fun, right?
Meanwhile, back at headquarters, as I sat on the porch this afternoon, enjoying a brief rest and the beautiful weather, I saw a red van drive by. I thought, “Wow, that woman looked just like Marilyn!” A few minutes later she walked up the front steps. It WAS Marilyn! She and Roger drove down to visit, to tour the area for a couple of days, and to encourage the team.

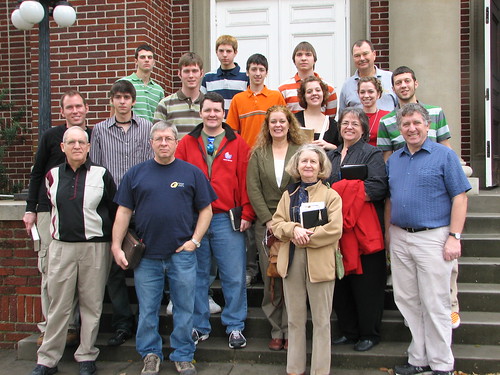
We have some special partners on our mission team.
Husband and wife
Father and son
Grandfather and grandson
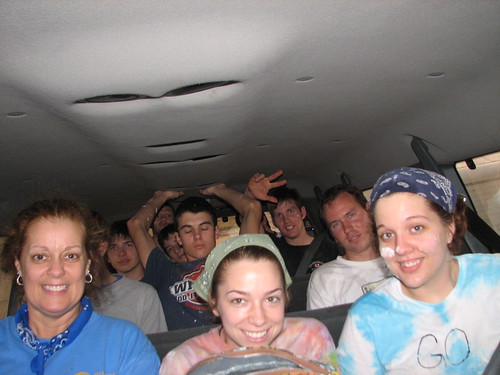
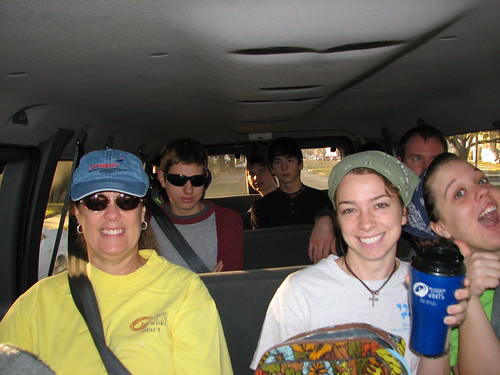
Not quite as peppy on the way home, but just as happy.
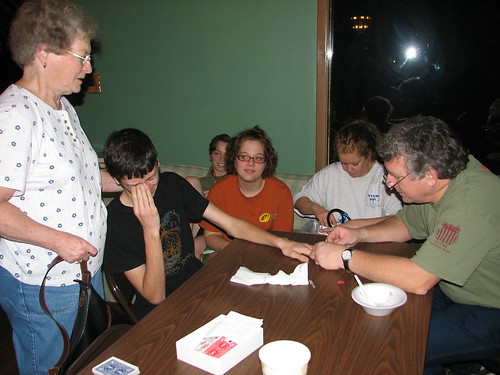
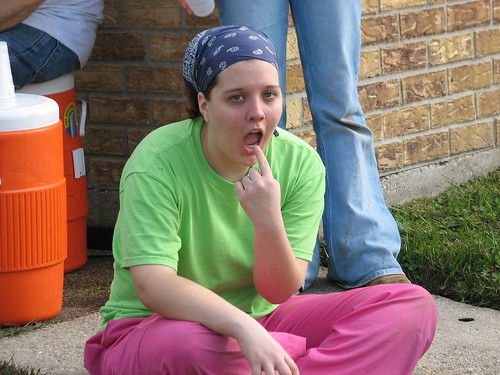
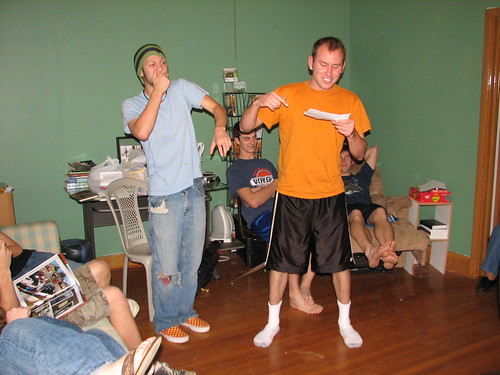
Brooke volunteered to perform the surgery, but, after dinner, Russell lanced an infection on Christopher’s finger. In spite of the way it looks in this picture, Christopher did fine. Marilyn gave loving support, Laurie assisted the good doctor, the girls took pictures, and Brooke said, “Aw, come on, let me do it!” Russell summed it up…”a chance to cut is a chance to heal.” Right, Christopher? (Mom, Christopher is fine and we’ll keep an eye on his finger.)
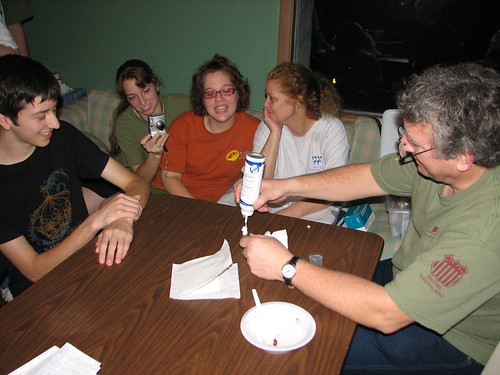
After the delicate surgery, Russell demonstrated his artistic abilities by forming snowmen with the foaming hand sanitizer. Can’t you tell the onlookers are impressed?
Following dessert (brownies and ice cream), Dave led devotions.
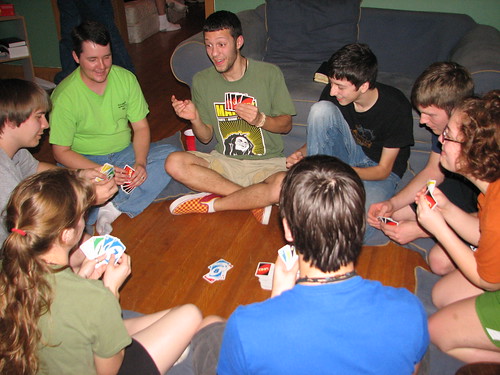
And then, for those young enough to have any energy left, Uno until lights out.
We appreciate your prayers for the work of our mission team. Check in tomorrow evening for another update. ~~Rhonda
Tuesday’s Devotion – 1 Corinthians 9:19-23
What do you think it means to become all things to all men? What could that look like for you? Try to think of one person in your life back home who you could serve, like Paul is challenging us here. Who is it and how do you think you could serve them?
What does Paul mean when he says he “might win some of them.”
What would you say is the main theme of this passage?
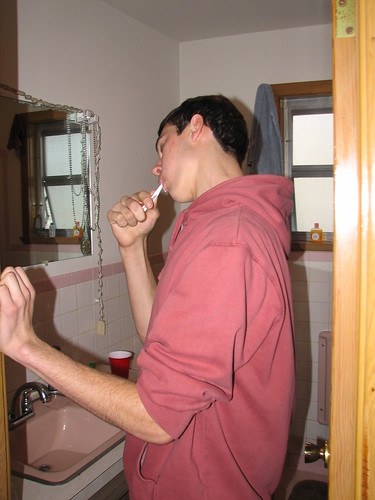
Lights on at 6:00 a.m., devotions, breakfast, good hygiene…all part of early morning on the mission trip.
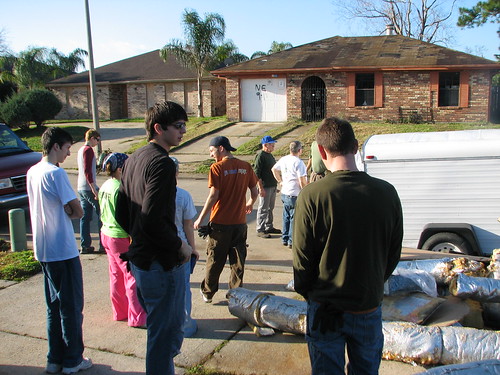
On the way to the site, and the team is eager to get started.
Across the street, one house has been repaired, the one next to it is not. You see this same scenario street after street.
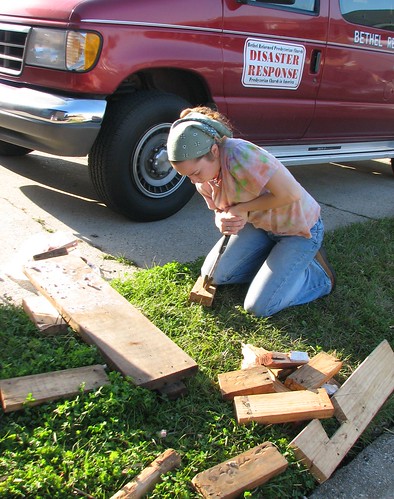
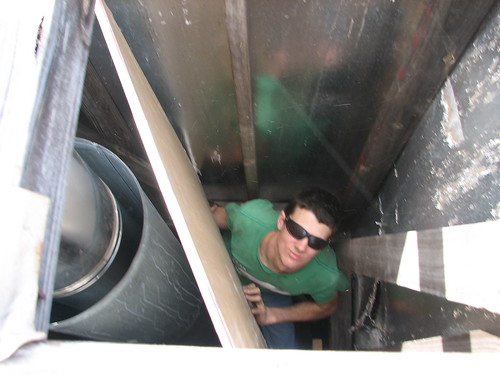
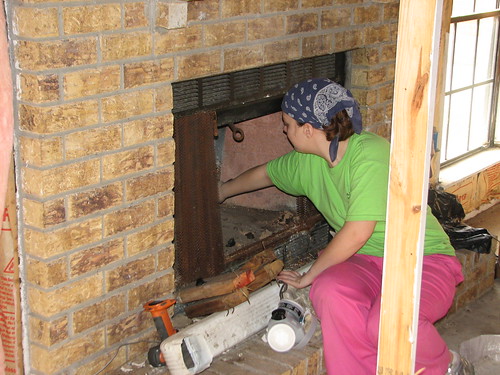
The frame around the fireplace was rotted from water damage during the hurricane.

Noah climbed down into the chimney to replace rotted framing.

Our team members have servants’ hearts. No job is too dirty, too hard, or too tiring to tackle.
Lunch break. The weather has been lovely, with temperatures in the lower 70s.
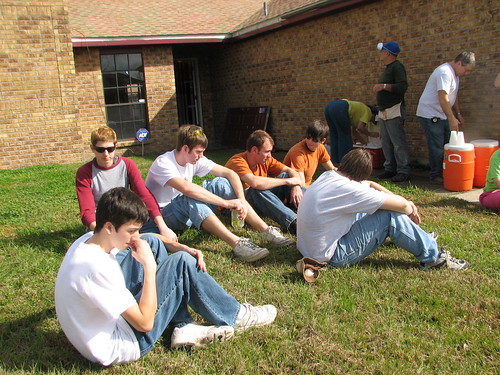
I’m hungry….
The first sheet of drywall goes up.
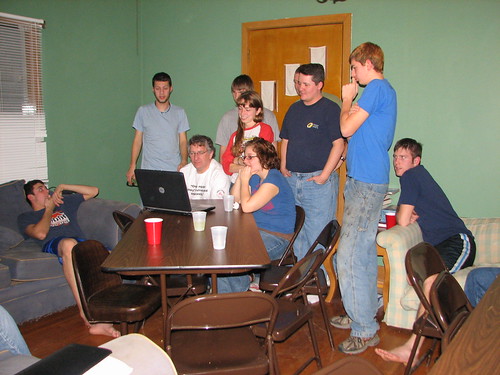
While waiting for supper, the team members look at yesterday’s pictures.
After a supper of noodles and spaghetti sauce, garlic bread, Italian green beans, and Pear-Walnut Salad, the crew enjoyed a Kings’ Cake, the traditional cake that celebrates the coming of the wise men to worship the Christ Child, the season of Epiphany.
After a time of devotions and prayer, we were entertained by Adam and Shane with a brand new rap song. You’ll have to ask for a command performance!
Please continue to pray for us. Pray for stamina and strength to do the necessary work, pray that the team is able to minister in a way the shows Christ’s love, and pray for Gloria who will go through a wide range of emotions as she watches her home take shape.
Good night, all! ~~Rhonda
We all join together for devotions after supper. I will post them after each day’s update.
Monday’s Devotion / Luke 17:7-10
After reading this passage, consider what it means to be a servant. What does it look like for you to be a servant?
Also to consider in this passage is what Christ means when he says we are unworthy because we have only done what was our duty. What do you think that means?
What does it meant to be worthy? Is it possible to be worthy?
I want us to take a little time each day this week to reflect on what it means to serve for God’s glory. Reflect on what you have learned about yourself, about serving, about your brothers and sisters, about God, about His Word, and how you have seen God glorified today.
Take some time in prayer to cry out to God in thanksgiving for all that Christ has done for you. Ask God to show you how to serve as Christ served and to give you visible opportunities even this week for such service. Pray that God will open your heart and teach things about Himself that you never thought to consider. Pray that this week will refresh your spirit and grow your faith.
We left Bethel at 5:00 AM, Saturday morning.
Proof we made it into Louisiana!

Thirteen hours after we left home, we were in New Orleans at the home the church has set aside for housing mission teams.
Sunday morning we attended the worship service at Redeemer Presbyterian Church. Redeemer coordinates missions teams who come to work on Katrina damaged homes. It’s a small congregation, undertaking a very large work. They would appreciate your prayers on their behalf.
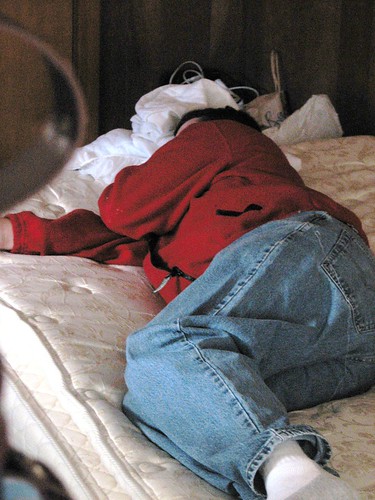
After lunch…kitchen duty….
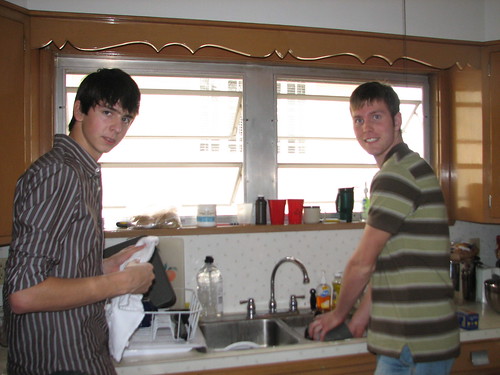
…and nap time…

Like father, like son…
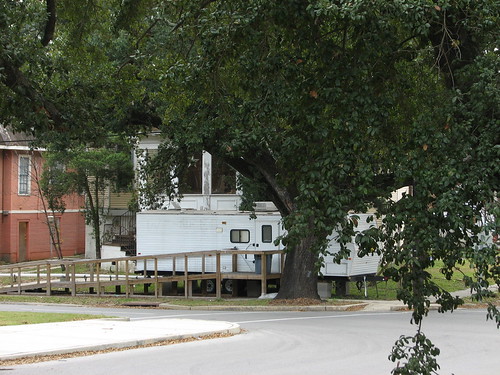
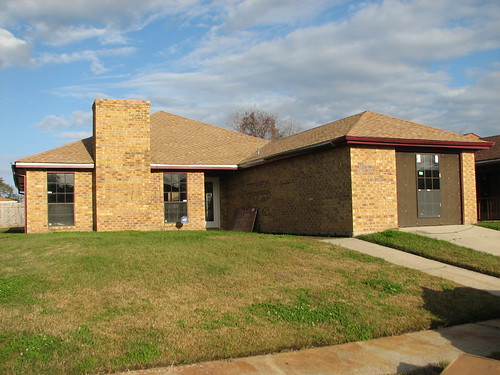
Across the street from the mission team’s house is a FEMA trailer in a front yard.
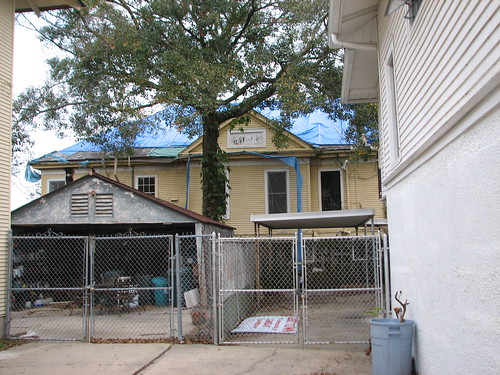
Behind the house, a home with tattered blue tarp, still waiting for roof repair. The house on the far left of this picture, across the driveway from the mission team’s house is owned by someone Laurie went to high school with! Ask her and she’ll tell you all about her visit with Marsha.
The home the team will be rehabbing was bought by the home owner after Katrina. Gloria is doing the work as she is able to save the money needed for the repair. She told us rent is about $1500 to $2000 a month and it is cheaper for her to buy a home than to rent.
While we wait for Gloria to arrive, Gary just has to take a peek…he can’t wait to get started. The team will be insulating and drywalling the home.

The team unloaded the first load of supplies.
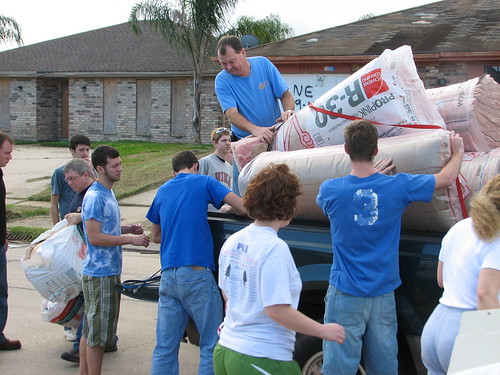

This home had two feet of water in it. A lot of work has already been done.
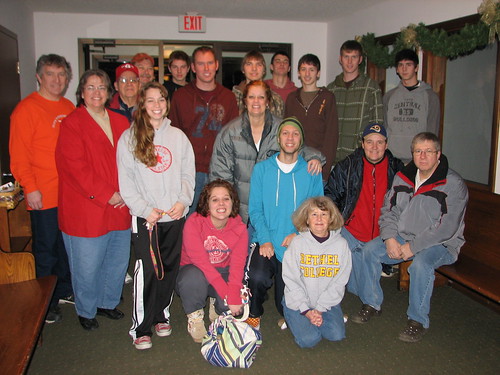
Gloria and the mission team…the “before” picture.
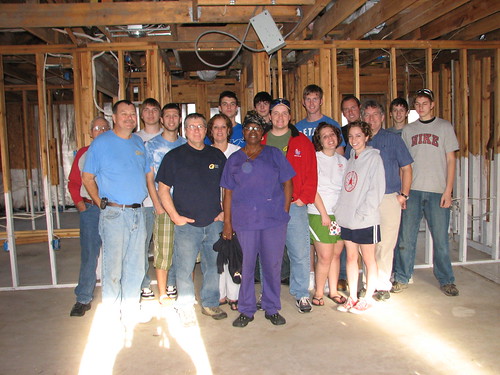
This house will look a lot different at the end of the week. Check back for the “after” picture!
After meeting Gloria, Chuck took us on a tour of some of the damaged areas in New Orleans. You can see those pictures on my flickr site.
We returned to the mission team’s house and a few of the guys repaired the porch swing for Cambria and Mary, our house hostesses. A previous team had overloaded the swing, pulling it out of the ceiling.
A supper of taco soup, cornbread with Bethel apple butter, and chips and veggies hit the spot.
I will up update as I have time. Please check back!
~~Rhonda
These oatmeal cookies are one of my favorites. Not a fancy cookie, but crispy delicious! I’m always glad to see some left over after the open house. I put a few in the freezer to enjoy later.
Holiday Icebox Oatmeal Cookies
Makes 6-8 dozen
2 c. margarine or butter, softened
2 c. confectioners’ sugar
2 tsp. vanilla
3 c. flour
1 tsp. baking soda
1/2 tsp. salt
2 c. uncooked, quick-cooking oatmeal (I measure, then grind the oats in the blender)
red and/or green sugar crystals
In large mixing bowl, cream margarine and confectioners sugar until light and fluffy. Stir in vanilla.
Sift together flour, soda and salt. Add dry ingredients to creamed mixture. Stir well.
Stir in oatmeal.
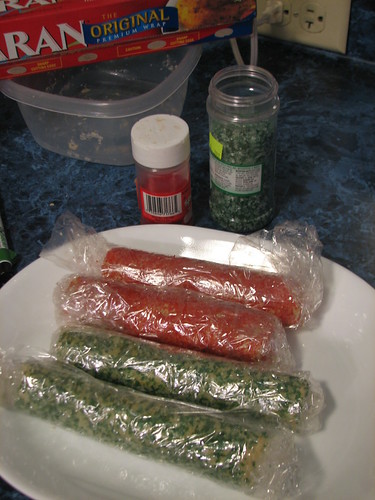
Chill dough until firm enough to form into rolls. Shape into four rolls and roll in red or green sugar crystals. Cover with foil or plastic wrap. Chill until firm. (Or freeze at this point until needed.)
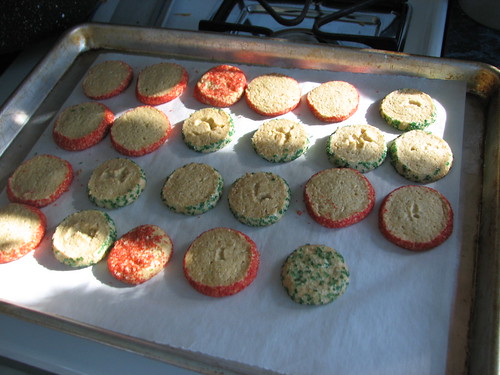
Just FYI, the green and white sugar in this picture is a coarse sugar and the red in the picture below is a sanding sugar, which is a finer grain than coarse, but a larger grain than the white sugar used for baking.


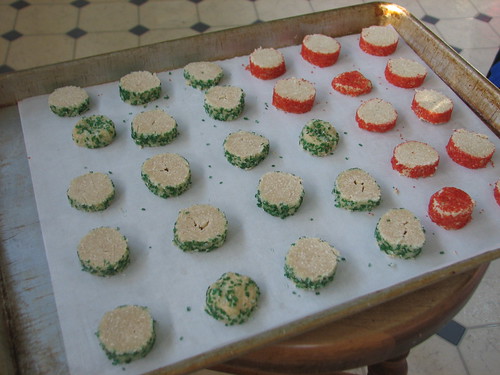
Slice into 1/4″ to 1/2″ slices and place on ungreased or parchment-lined baking sheet. Bake in preheated 325* F oven about 15-20 minutes or until set and lightly browned.
From Country Folk Art’s magazine Quick ‘n Easy Home Cooking, p. 15, December 1995

The cookies could be made without the sugar crystals or made with other colors, as well. They freeze well.
2013 – This year, instead of rolling the cookie dough into logs, I used a small cookie scoop to scoop the cookies onto the cookie sheet. I didn’t chill the dough as called for in the initial recipe. I rolled the scooped dough into smooth balls and dipped the balls into sanding sugar. After placing them on the cookie sheet, I made a crosshatch design on top the a fork, flattening the balls. They were baked as usual and came out very well. Just an alternate to slicing refrigerator rolls of dough.

~~Rhonda
I hope you have had a good New Year’s Day. We spent a quiet day, working on a few projects that need to be done before we leave on a mission trip to New Orleans this month. Happy New Year, one and all! ~~Rhonda