The bed in the guest room has been changed out more times than I can count. Several different frames, some in there more than once, and the bed has waffled between a full and a queen size. I couldn’t find pictures of the other frames that have been in there, but here’s the iron bed in November of 2006.
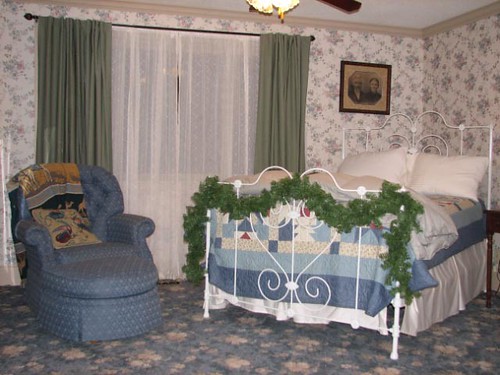
Last year, it looked like this…that’s a full size mattress.

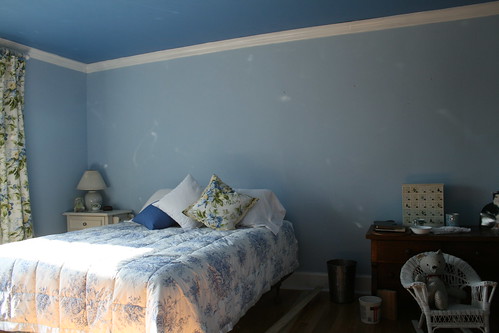
We want to have a queen size bed in the guest room, though, so, for now, the queen mattress is sitting on a simple metal frame.
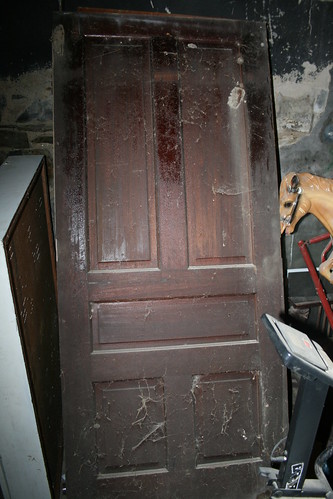
I do have a plan to have a bed made for the guest room. We had two large pine trees taken down last year and the wood was milled and saved. I want to use that and two old doors to make the new bed. But for now, we decided to hang an old door on the wall as a headboard.
The door came from the church my in-laws attended for years. This is what it looked like in our basement…not a promising start.
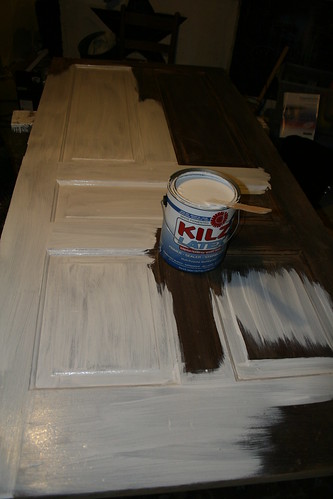
But DH cleaned it up, sanded it, and painted it.
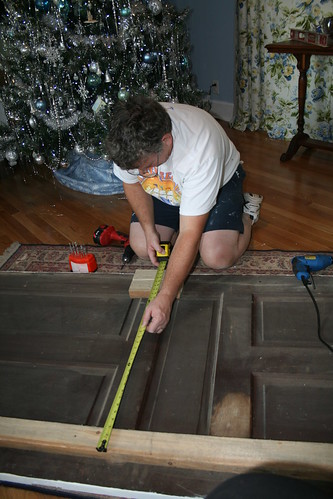
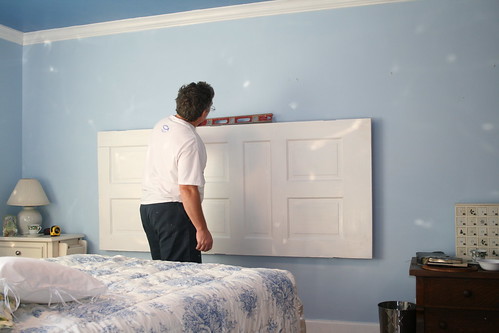
Using the instructions on Martha’s site, DH modified the plans a bit and secured the door to the wall. Instead of a 2×4, he used a 2×6. The picture shows it after it has been cut on a 45 degree angle to make a cleat to hang the door on the wall. One piece is secured to the wall studs and the other piece is secured to the door.
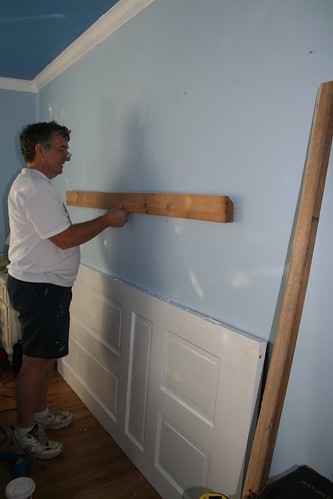
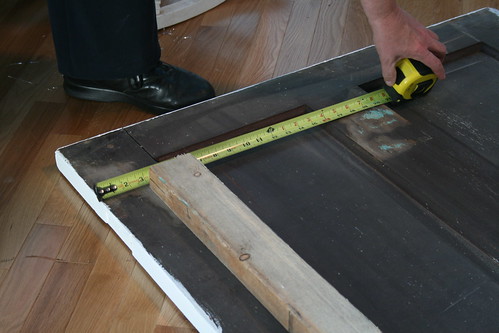
The top cleat was made a bit shorter than the door to make it easy to adjust the headboard to the right or left without having the cleat show. He also added a small cleat to the bottom of the door to make it a bit more secure.
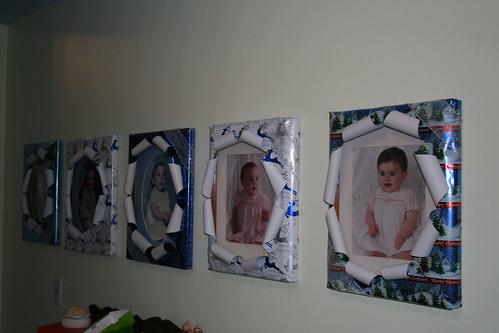
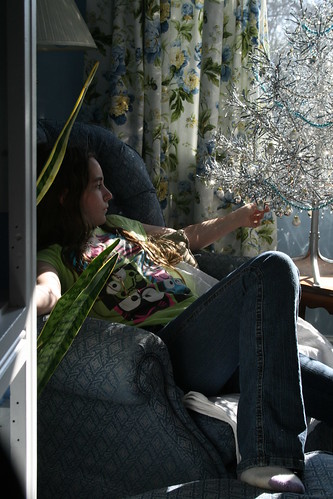
After hanging the headboard, DH put my angel pictures back up, centered over the headboard. The pictures are blown up copies of vintage Christmas postcards. By the way, the white spots on the pictures are reflections from the sun shining off the aluminum Christmas tree in the window.

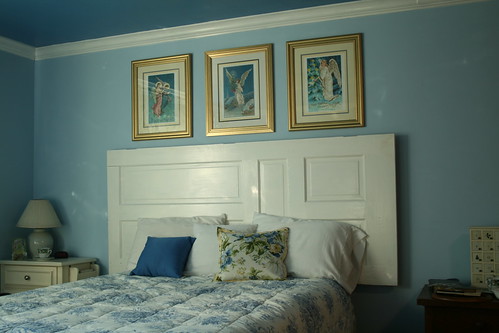
The headboard made the whole room look more finished. I love it!
~~Rhonda