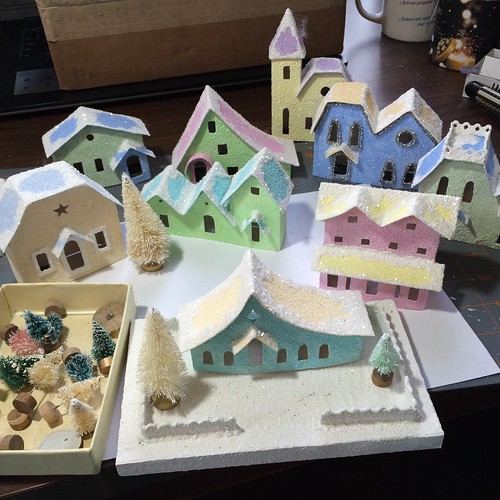
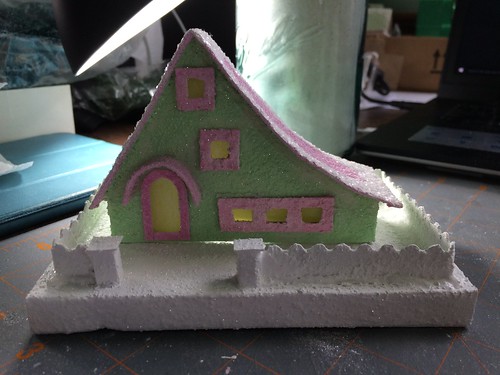
I have started the next Putz house embellishment. I thought I took a picture of it before I started, but I can’t find it anywhere. In this photo, it is the green house with pink roof toward the back. I love the ski-slope roof on this one.
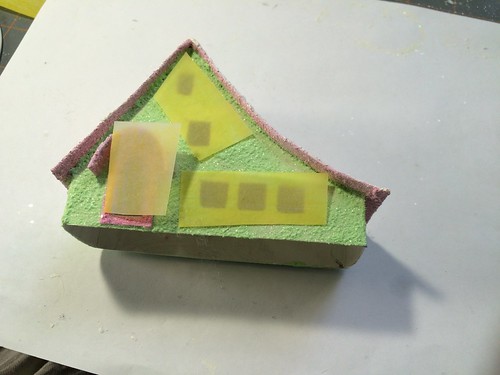
The first thing I did was to add window panes. I used the same vellum that I used in my last Putz house, but used a yellow pencil to color it instead of using the yellow Sharpie marker. Worked well and I didn’t have to blend it with the tip of my finger. I measured bits of vellum against the windows that needed to be covered and cut it to fit. Leave room around the edge for applying the glue.
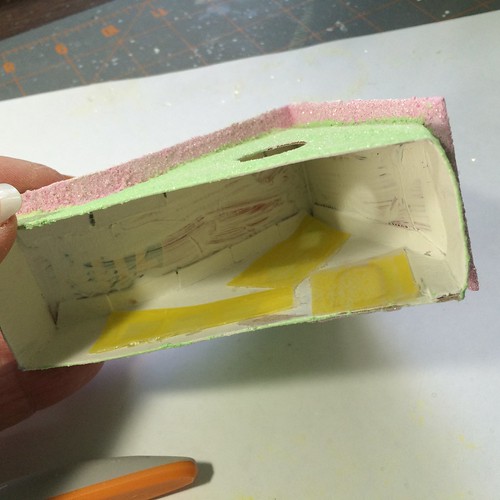
I used a small bead of hot glue to affix the vellum to the inside of the house. Look closely and you can see that this house was made with the cardboard from a Ritz cracker box.
At this point, I stopped to make a base for the house. You can find the tutorial for making bases here:
tutorial for making putz house bases
I took this picture to show the difference a little texture can make. I used my usual blend of 1:1 paint and glue with a sprinkle of sand in it. It doesn’t take a lot of sand, especially when mixing very small batches of paint.
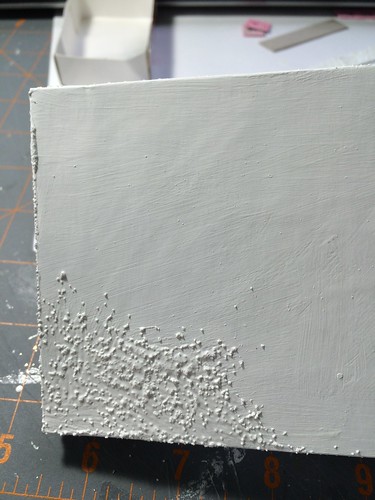
And here is the finished base. Still wet.

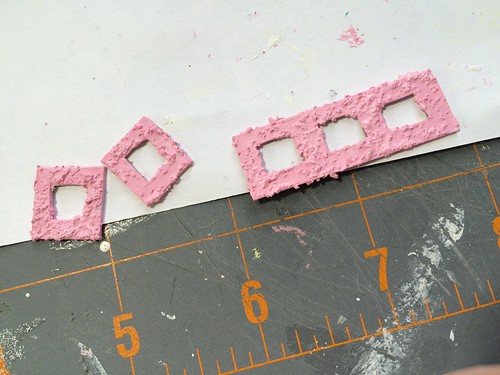
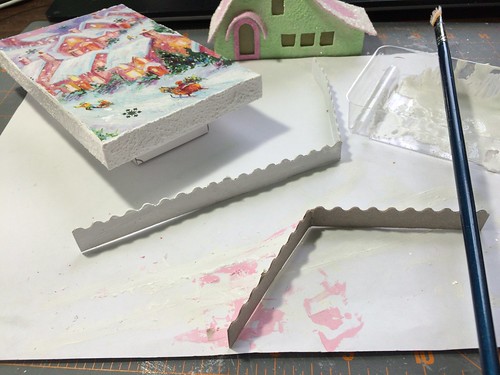
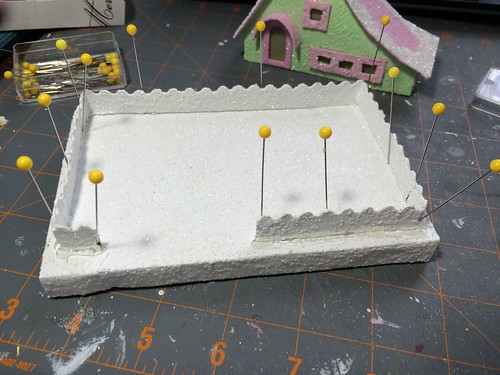
I keep strips of 1/2″ wide cardboard on hand for fences. I decided to use the curved design scissors for this fence. Didn’t take any time at all to cut the pieces. I needed to use two strips of cardboard to get the length I wanted, so I made them the right length to meet in the back right hand corner to disguise the seam. I also cut frames for the windows.

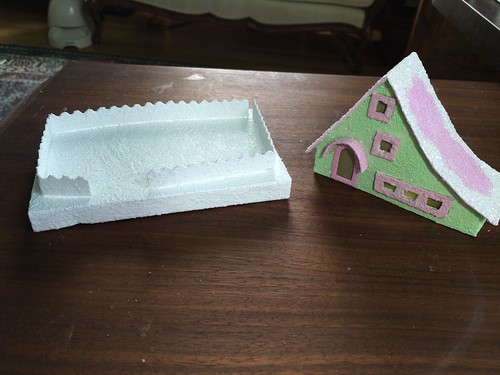
I gave the window frames a base coat of pink. When dry, I added a bit of sand and gave them a second coat.
Then I gave the fence a base coat of white paint, followed by a second coat of sanded paint.
Time to pin the fence to the base.
I had to fiddle with the fence a bit to make it fit. I ended up refolding the pieces to make the sides a bit longer.
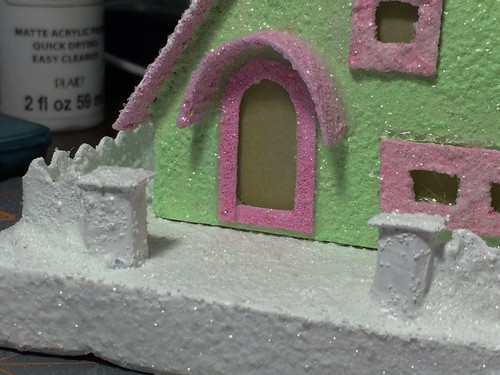
After gluing the fence down, removing the pins, and painting over the glue bead, I made fence posts for the front entrance. The opening became wider than I had planned after I made the two sides of the fence longer. The posts helped fill in some of the extra space.
Detail of the fence posts…
My tutorial for making fence posts can be found here:
tutorial for making fence posts for putz houses
As you may have noticed, there was a tiny bit of hot glue showing above the triple window frame. I wanted to cover that, so I chose some coordinating tinsel (pipecleaner).
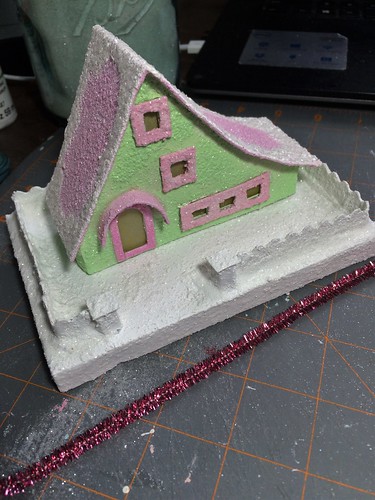
I put a bit over each window and over the door. I think I will add one more over the door.
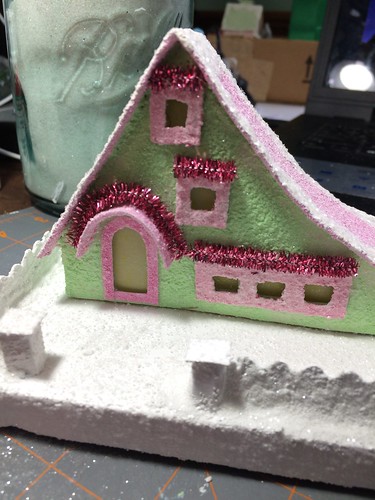
That’s were I left the project today. Tomorrow, I hope to glue the house to the base and add some embellishments.
~~Rhoda
One Trackback
[…] « next putz house is a green ski-slope […]