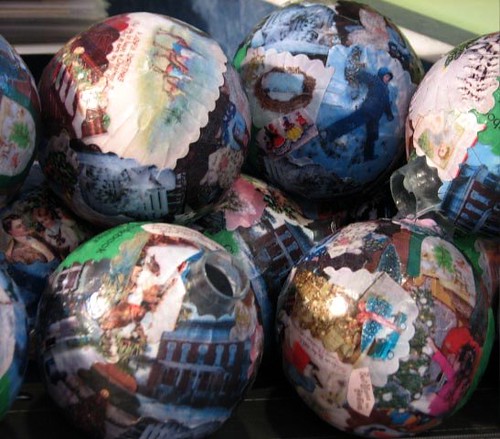
In my last post I shared some of the decoupaged ornaments I’ve made over the past few years. This post is a tutorial to explain how they’re made in case you want to try them yourself.
Here’s what you’ll need:
I use old glass ball ornaments, but you could use anything that can have paper glued to it. Craft stores have paper mache ornaments that would work. I just use what I have on hand. And old ornaments have nice toppers which give the ornament a finished look.
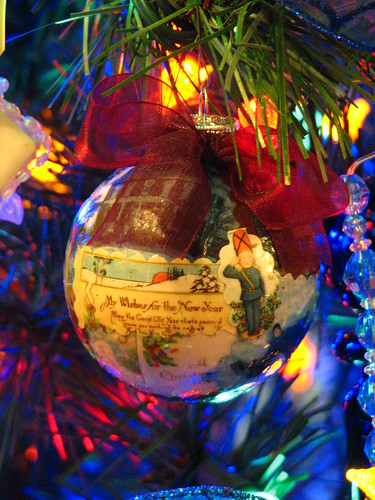
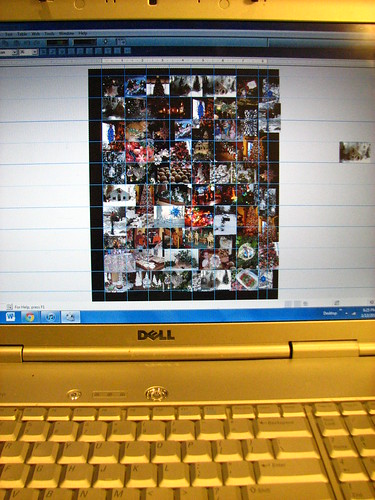
Because I was making ornaments with family pictures on them, I used Print Shop to compose sheets of pictures to use. Here’s one I made for ornaments made with cookie cutters. Lots of little pictures on one page.
Here’s the ornament I made from that sheet of pictures…not a decoupaged ornament, but the page I used is the same as one I would make for decoupage. Of course, you don’t have to use your own pictures. Any paper can be used, as long as it is thin enough to conform easily to the curve of the ornament. Magazine pictures, newspaper, tissue paper, napkins, printed pages from old books, etc. For inspiration, google < decoupage ornament >, click IMAGE and peruse all the possibilities.

For ornaments that require a lot of little pictures right next to one another, I start in Print Shop with a blank page, divide it into 1″ squares with guides, then import pictures. I crop the pictures to just the portion I want to use. The guides help me place the pictures right next to one another and also help me size them. I like to keep them small, not more than two inches square. Most are one inch square. Once the page is filled (pictures can be duplicated, as it won’t take an entire page to make an ornament), I print the page on regular printer paper. It’s thin enough to mold around the ornament. Heavier paper and photo paper are more difficult to shape and also leave bigger ridges under the paper when overlapped.
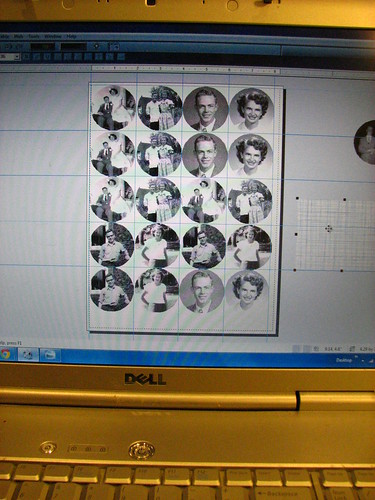
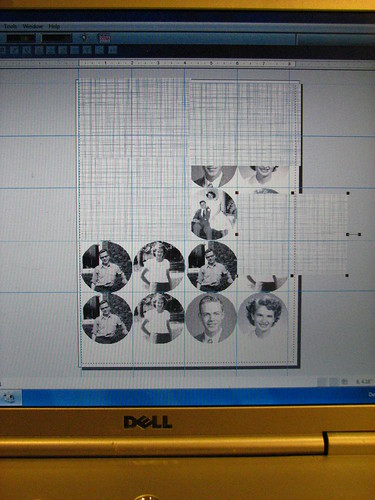
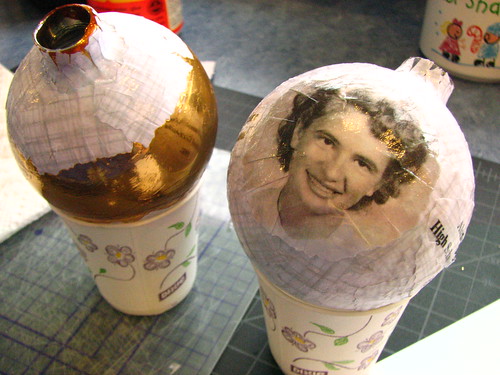
For an ornament that will have a large picture on it, like the ones I made of my parents’ high school pictures, I use print shop again.
I divide the blank page into two inch squares, import the pictures I want to use, crop them to circles, then put them in the two inch grid. They can be right next to one another. They will be cut on the edge, so there is no need for a margin. This way, I can get 20 picture to a page. As you can see in this sample, I duplicated photos, but each one can be different, of course, if you have that many to use.
In the same file, I have the image I used for the neutral background on the ornaments of my parents. I print a full page of it and cut it into pieces the size I need.
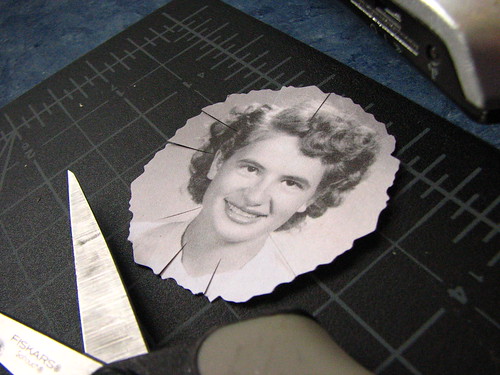
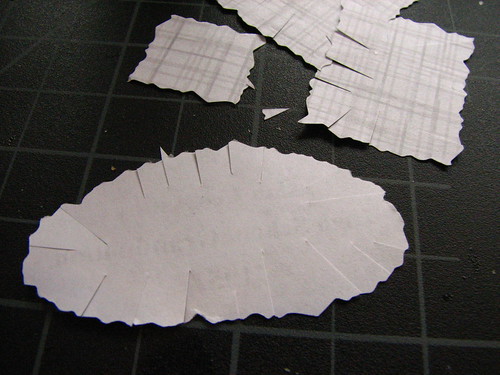
To begin, prepare the paper. Scissors can be used to cut the paper or the paper can be torn. For the ornaments with my parents’ pictures, I used deckle scissors to cut the paper/pictures. For this ornament, I used a decorative scallop scissor.
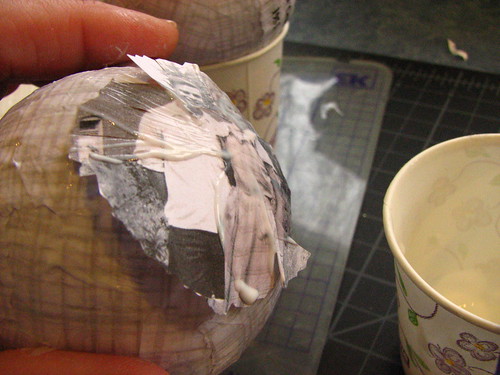
When the paper is cut into different sizes, snip the bits of paper all around the edge with regular scissors so they more easily form to the shape of the ornament.Here’s a picture of my Mom, snipped all the way around. When snipping pictures like this, try to cut in a way that won’t compromise the picture itself. In this instance it was pretty easy.
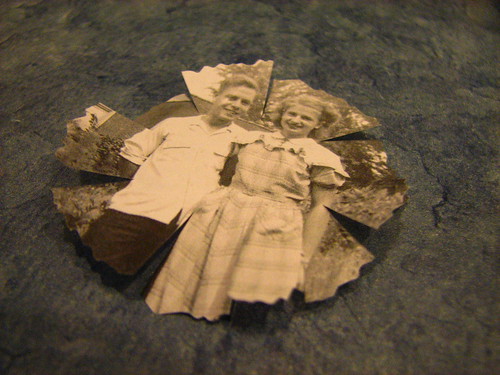
Sometimes the picture has parts that shouldn’t be snipped through. Try to cut so those parts are left whole. Like this example of my parents in high school. I cut between their heads and along the lines in the photo across the bottom.
Bits of clipped papers…the oval one has my parents’ names and high school graduation dates printed on the other side.
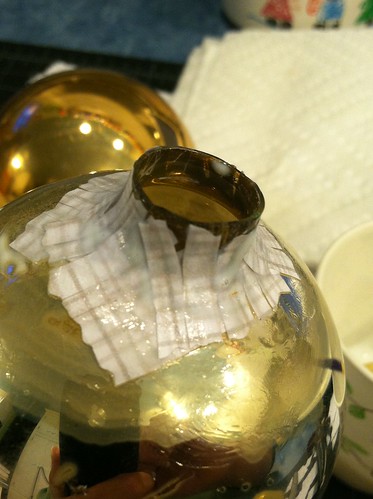
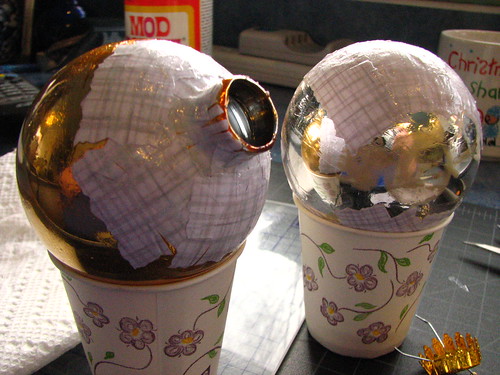
Remove the topper from the ornament and use small pieces of snipped paper to glue around the top of the ornament. Larger pieces won’t fit very well around the sharper curve of the top of the ornament.
When the topper is replaced, it will cover the top of the paper where it is pulled apart.
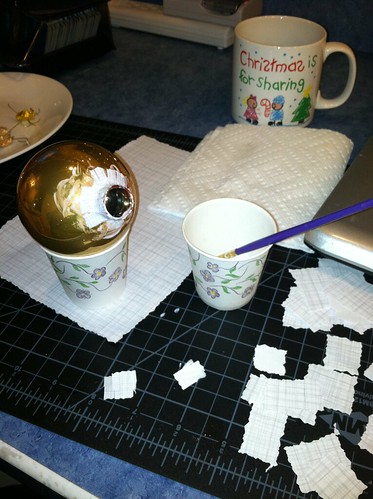
When gluing paper to the ornament, I first apply glue to the space to be covered, apply the paper, then glue over the top of it. I use the end of the handle of my paint brush to roll over the glued picture which helps remove air bubbles and flattens the paper. If I’m not reusing the paint brush immediately to apply more glue, I immerse it in the cup of water to keep it wet. Otherwise the glue will dry and the paint brush will be useless. Just blot the water before applying more glue to the ornament.
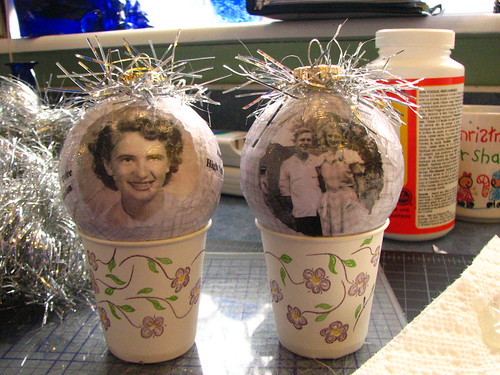
It’s helpful to work on more than one ornament at a time, because you can go back and forth between them, letting one dry before you continue. Some kind of holder is helpful. I use small paper cups.
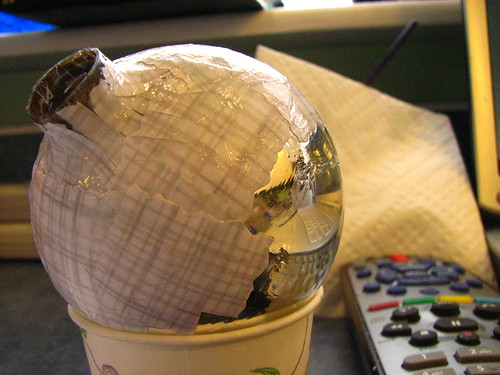
When gluing down a larger piece, I apply glue from the center out, in four places, like a plus sign. Straight up and down, and across from side to side. Then I finish gluing the remaining bits down. Doing a large piece this way helps the whole piece fit more precisely.
When finished with the decoupage, I topped the ornaments with some tinsel, by hot-gluing it down around the topper. The ornaments can also be finished with ribbons.
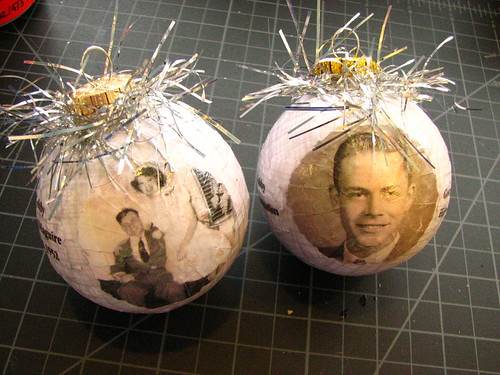
When finished, the ornaments can be sprayed with a clear acrylic sealer to prevent tackiness.
The Graphics Fairy is an excellent source of vintage images and would be a great resource for a decoupage project.
~~Rhonda
3 Comments
Your work is beautiful! I’m attempting my first decoupage ornament now (yes, as a gift and yes, it’s 12/24!) without too much luck. I had a really hard time finding instructions for what I wanted that were easy to understand AND detailed enough. Now I have enough ideas and inspiration to keep me busy until next Christmas! Thanks so much and have a wonderful Christmas and New Year!
Thanks so much for posting this! I have been searching the internet for over a month now, trying to find someone that knew how to do this!! Thanks again!!!!
Thanks for posting this! I wanted Breaking Bad ornaments for my tree but couldn’t find any I liked so I thought maybe I’ll make some! So I came across this, and I am excited to try it. If it comes out well, I’ll be making some as gifts as well.
Thanks and happy holidays! (:
One Trackback
[…] Here’s a few tutorials if you want to try making decoupage ornaments yourself check out Festive and Frugal, Old Father Christmas, and Christmas Notebook. […]