Our annual Christmas open house was yesterday. The weather was wet and chilly, with light rain during the first part of the afternoon. It didn’t dampen the holiday spirit, though! We had a wonderful time with 195 guests signing in. We are told each year that this party begins the Christmas season for many of our guests. It certainly does for us! We want to thank everyone who came and a special thanks goes to all the helping hands who made the day possible.
As we were planning for this year’s party, I wanted to save money while still trying some new ideas. I made long lists, gave them to my sister Genny, and she shopped thrift stores and found some great items for me. As I share pictures of the decorations, I’ll mention the thrifting we did. Maybe it will inspire you to do some thrift shopping of your own!
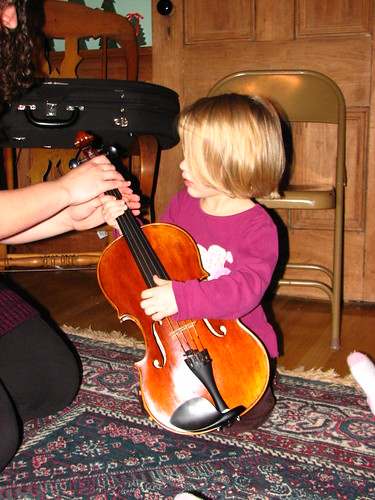
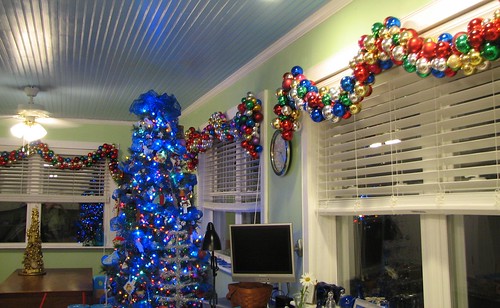
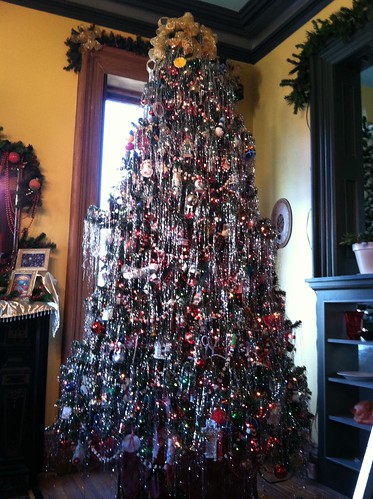
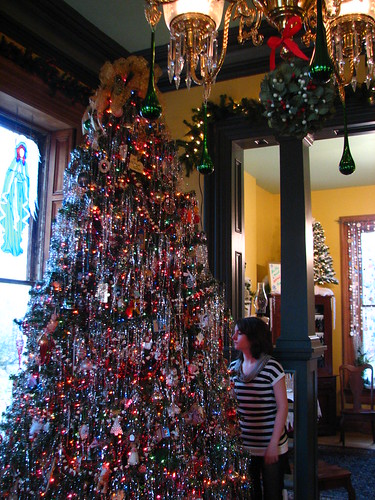
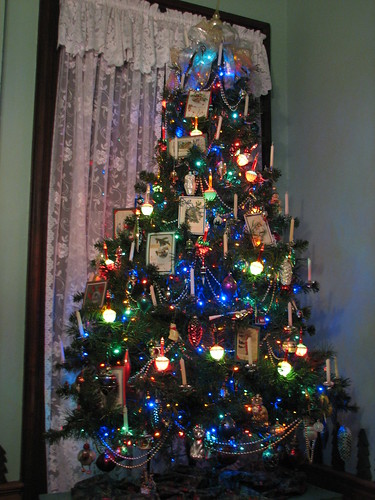
The family tree in the living room is a 9′ tree on a 2′ box that DH built as a stand for it. Pictured is our third daughter. The room in the background is the dining room.
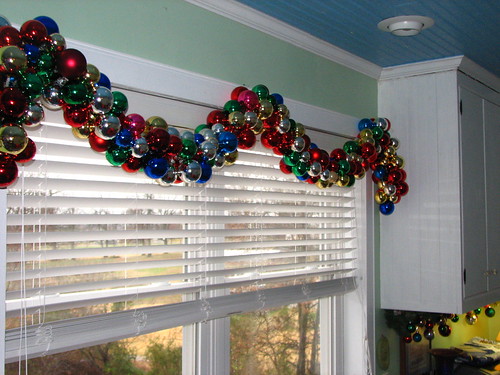
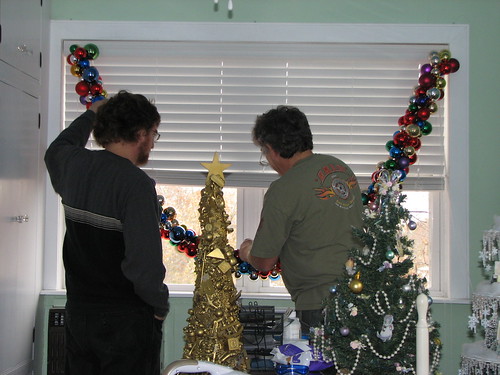
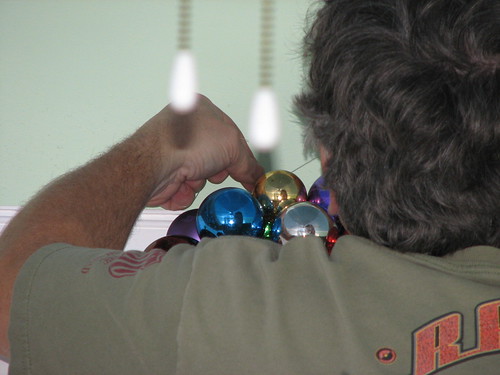
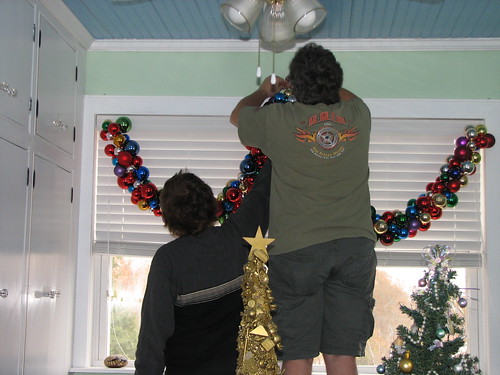
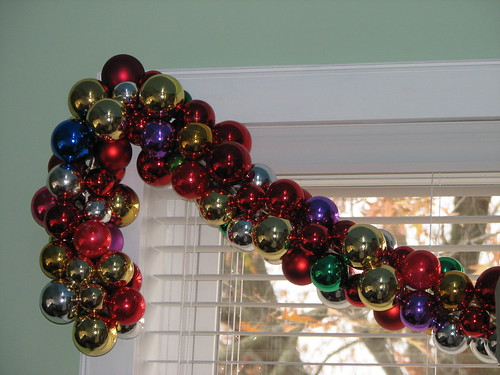
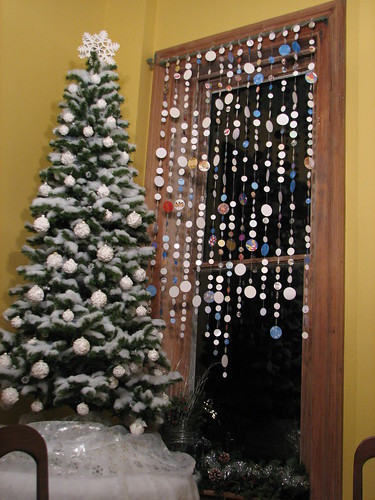
I made the paper garlands for the dining room windows with circles I punched from old Christmas cards and winter themed scrapbooking papers. I then sewed them together. Genny helped with the punching after we realized how many more circles we needed when we began to hang them. The tree is “snowed” with fluff. I’ve always used shredded plastic snow before, but we are working at using less one-use plastic and finding alternatives when we can. I am hoping the trees will store well with the fluff snow so it can be used again.

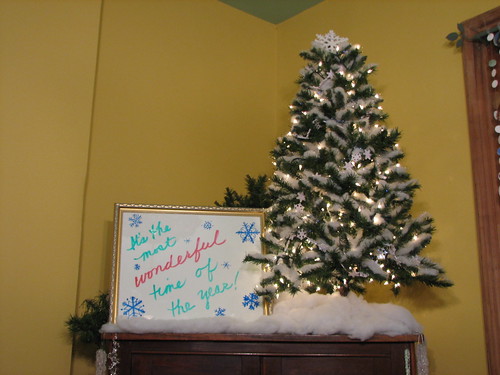
A thrifted frame, poster board and dry erase markers made a great Christmas message board. We placed it on top the cupboard in the dining room.
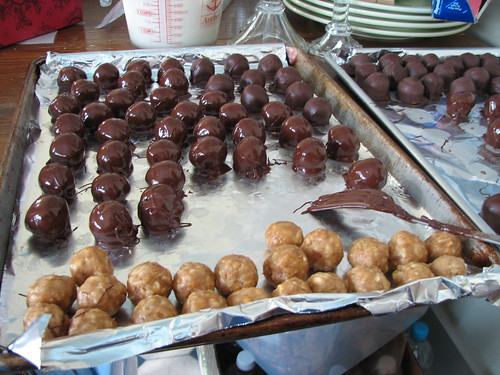
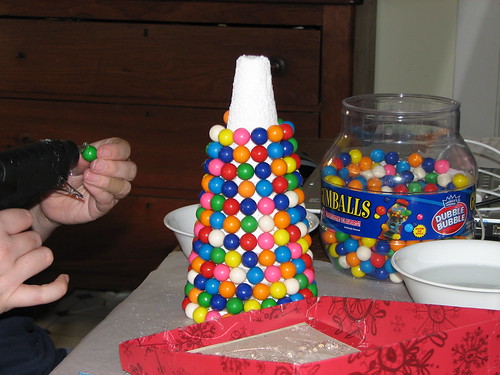
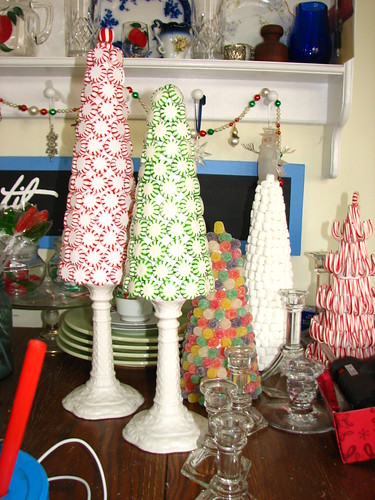
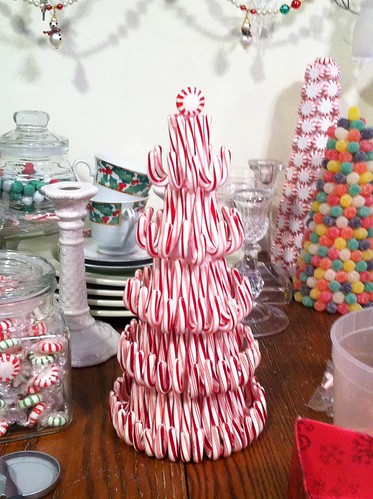
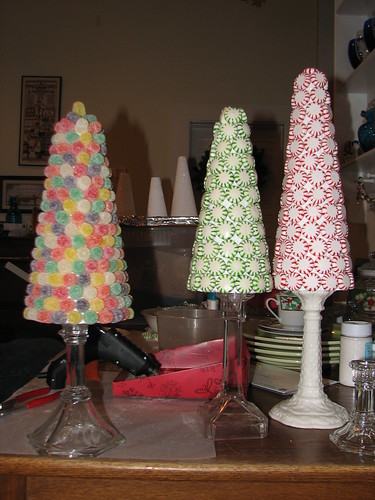
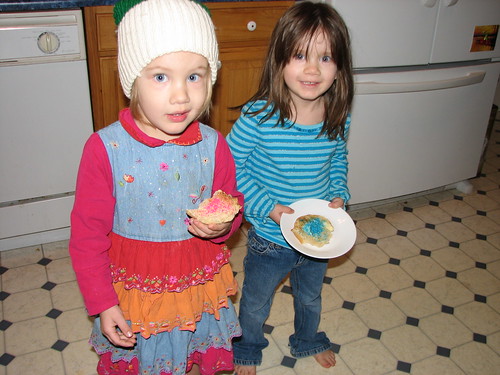
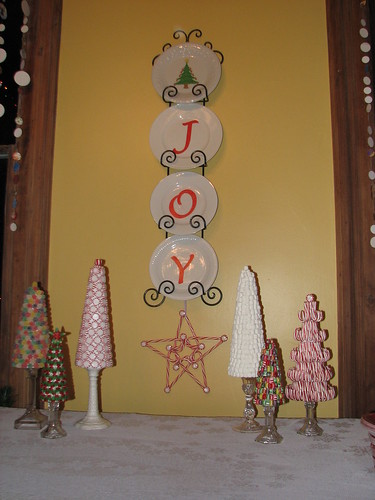
The candy trees on the cookie table were made by my daughters. The trees turned out beautifully. And they look great on the candlesticks. I made the candy star after seeing one on rubberstampingdiva.com. The plates and plate hanger are thrifted items. I cut printed letters and a printed tree and decoupaged them onto the plates. If I had a Cricut machine, I would have used that to cut letters, but the option I used was a cheaper one and just as effective.
We call the tree in the music room the “bubble light tree.” It is decorated with old style ornaments and, of course, bubble lights. It always reminds me of my Grandma Ruth. I can remember seeing bubble lights on her tree.
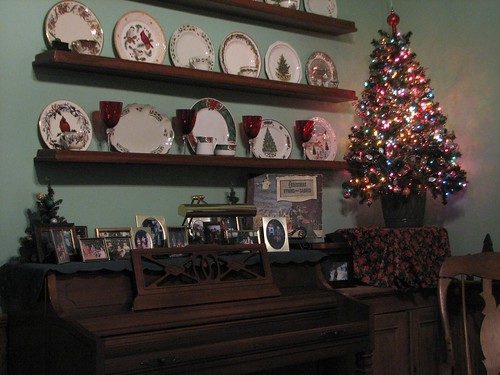
On the other side of the room, I display my Christmas china collection year round. The small tree holds small vintage ornaments from DH’s mother.
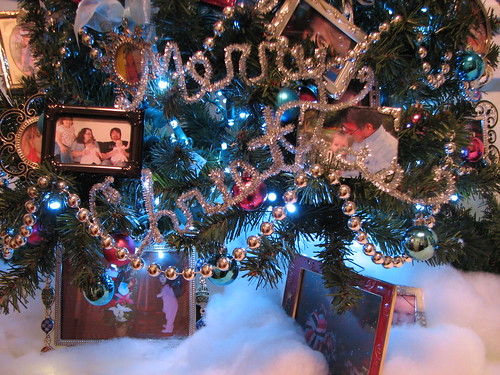
We display pictures of our granddaughters on a small tree on the counter in the addition hall. I made “Merry Christmas” and the names of our three granddaughters using silver pipe cleaners and displayed them on the grands’ tree.
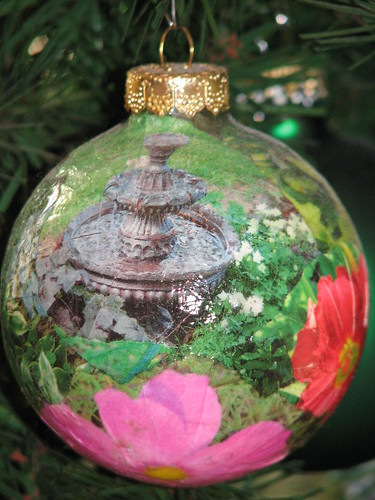
The bath in the addition has a garden themed tree.
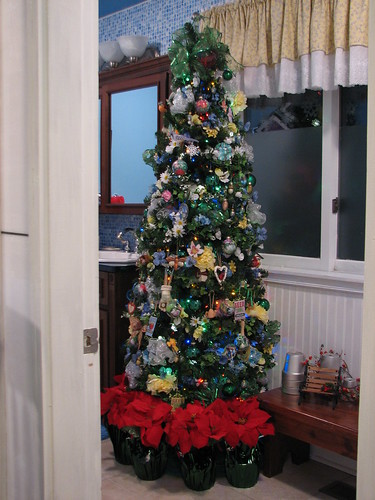
It has some ornaments I made in 2008, by decoupaging pictures of our garden onto glass balls.
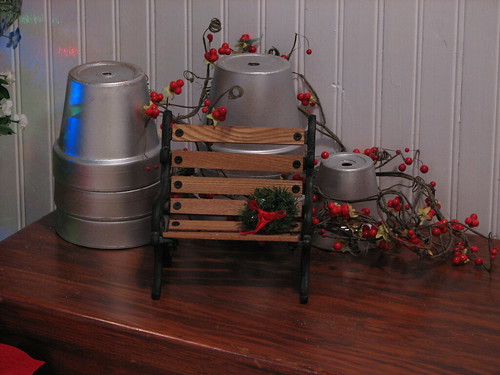
These items were left on the bench in the bathroom after one of our decorating sessions. A little rearranging and they made a great little vignette for the garden theme. The little bench is a thrifted item. The silver pots are recycled garden pots spray painted silver.
In the laundry room, we put thrifted vintage ornaments on the small tree. Can you believe Genny and I painted the upholstery on that wing chair this fall? We did! That’s a whole ‘nother post at a later date.
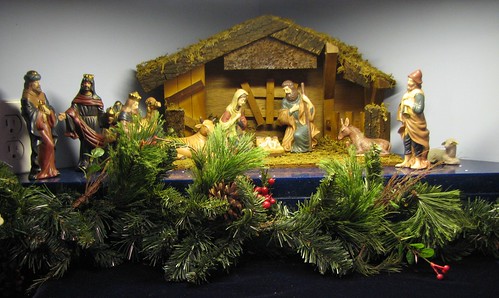
The nativity on the laundry room counter is also thrifted.
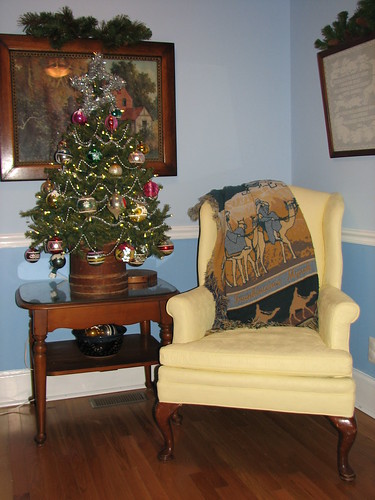
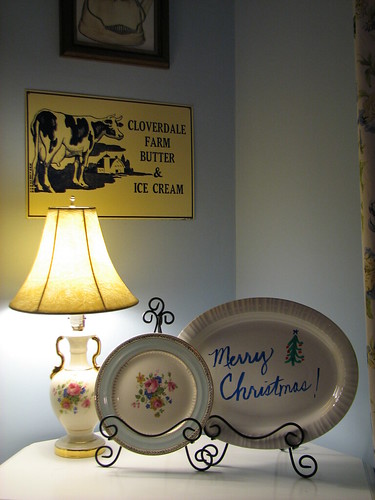
In the guest room, you’re greeted with a “Merry Christmas” on this small corner cabinet. Everything on the table top is thrifted except the large white platter. I used dry erase markers to write the message.
The tree in the guest room is decorated in silver and blue.
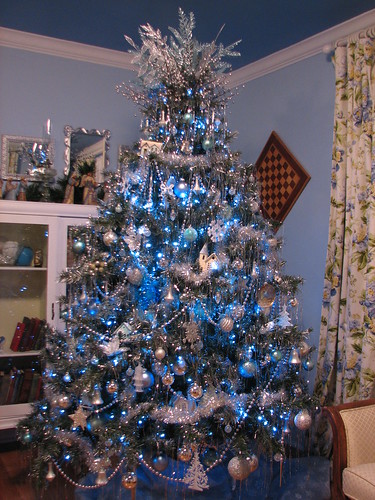
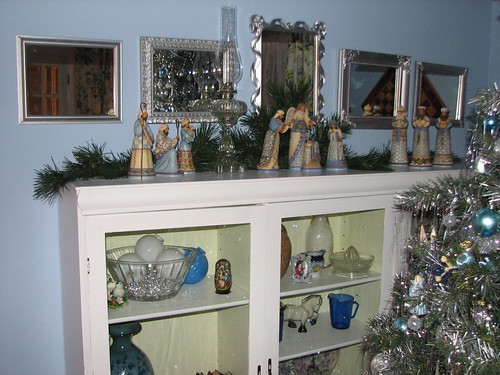
Behind the tree, above the bookcase we placed five frames with mirrors. All thrifted. Three of the frames came with prints in them and they were replaced with mirror glass. The frames were spray painted silver. I received quite a few comments on these frames.
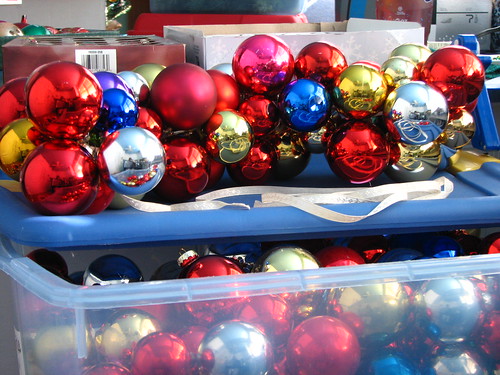
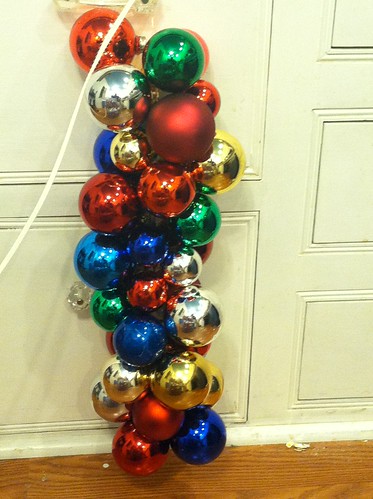
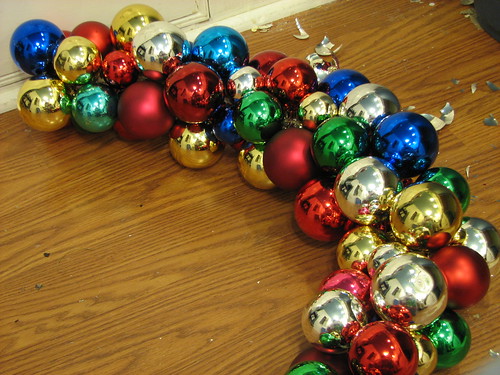
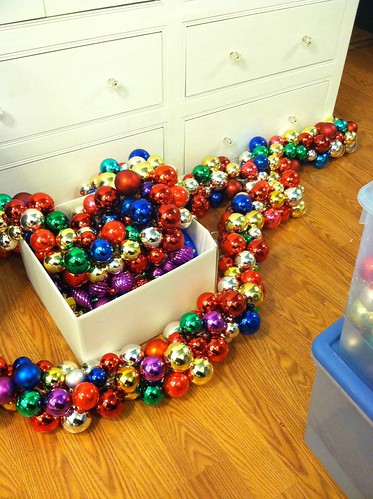
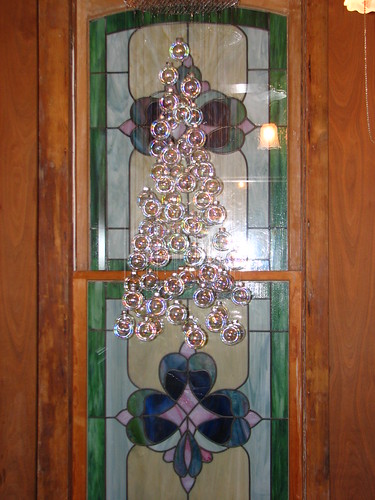
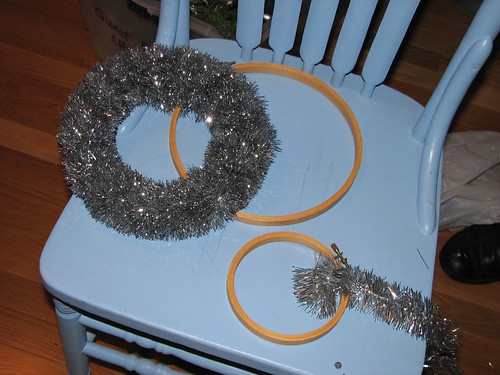
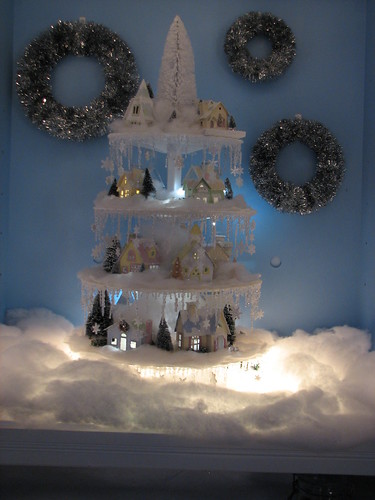
We put the putz display in the armoire again and it looked so pretty there. I added battery powered LED lights to the houses, but forgot to turn it on for the party! I made the tinsel wreaths with my sister Genny’s help. It was easier with four hands than two. They are made from tinsel ropes wrapped around embroidery hoops. Easy! I’ll post more about that soon.
I keep dozing off. As tired as I am, I may leave you in the guest room for now and continue the tour with another post. More to come! Merry Christmas!
~~Rhonda