menu plan monday ~ march 5, 2012

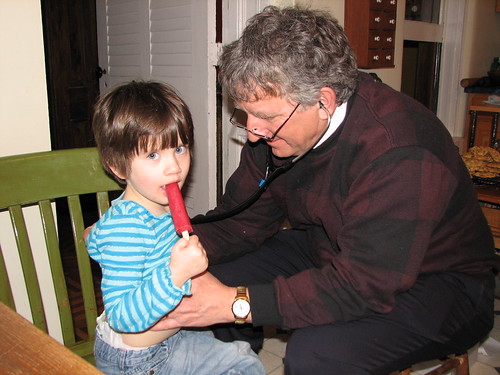
We had fun keeping the girls overnight last weekend, though the twins were a little croupy. This sweet girl stayed home from Sunday School because she was running a low grade temp. Pa listened to her lungs to be sure she wasn’t verging on pneumonia. Thankfully, all clear!

Pa listening to our girl's croupy cough

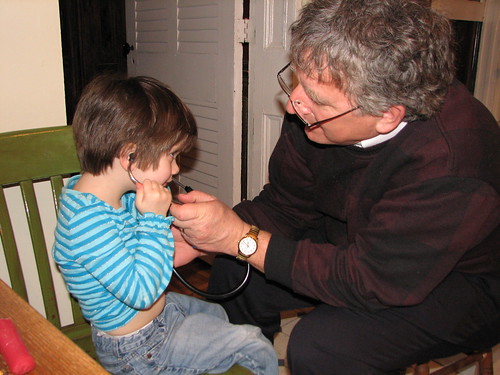
Then she took a turn listening to her heart. All clear there, too. 🙂

using Pa's stethoscope to listen to her heart

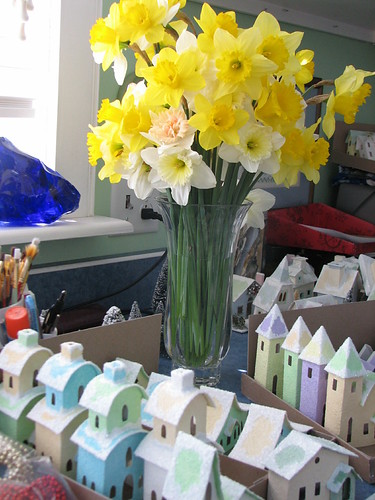
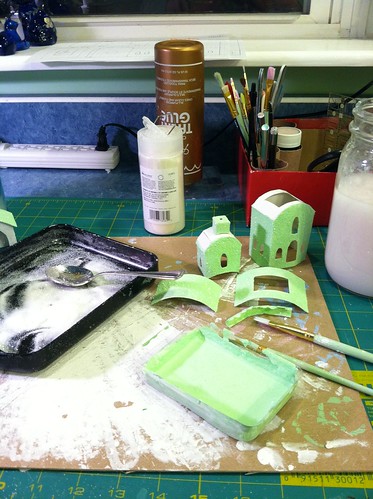
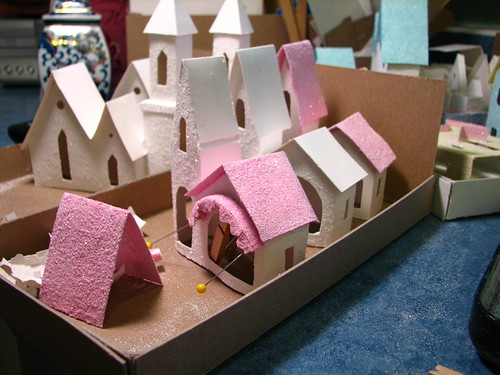
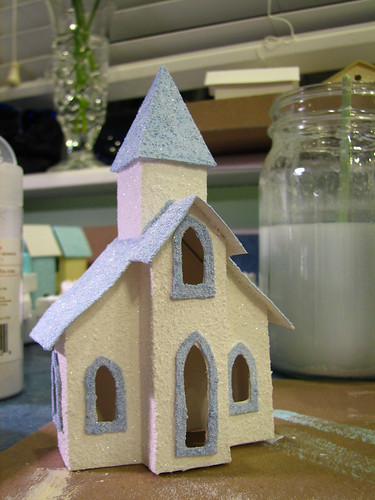
I have been working hard on my Putz houses. Had to wait for more glitter to arrive before I could take up painting again. But I’m back in business now.

back to painting

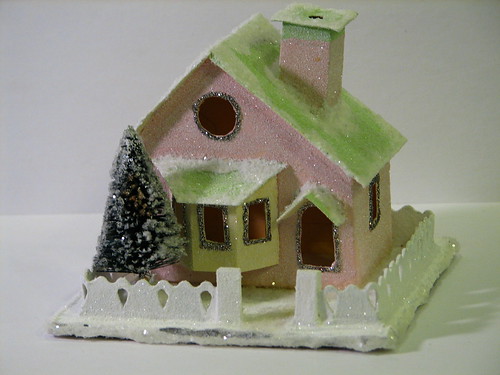
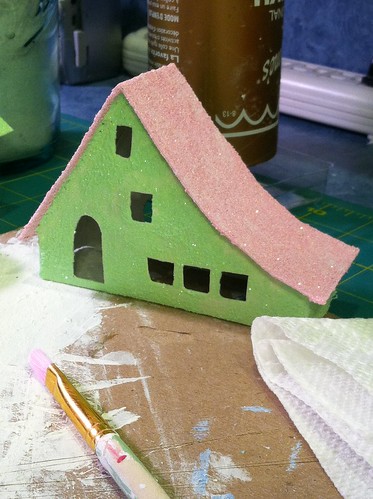
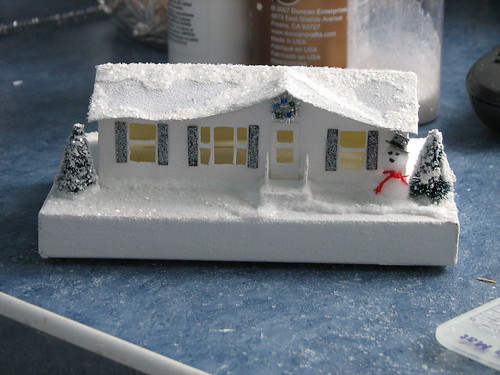
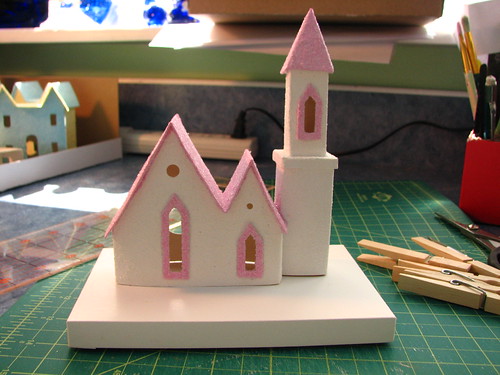
sloped roof Putz

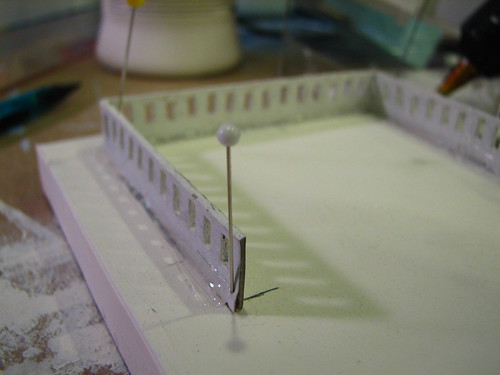
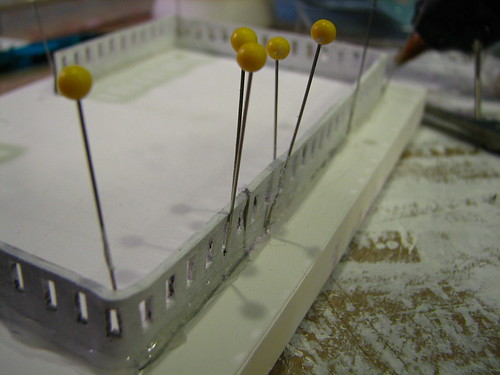
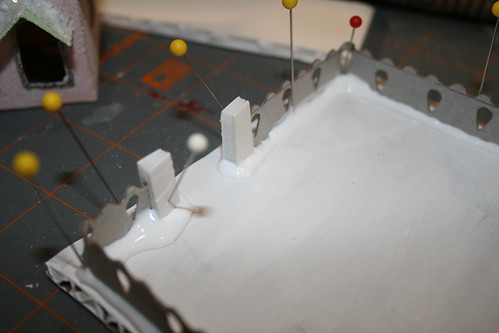
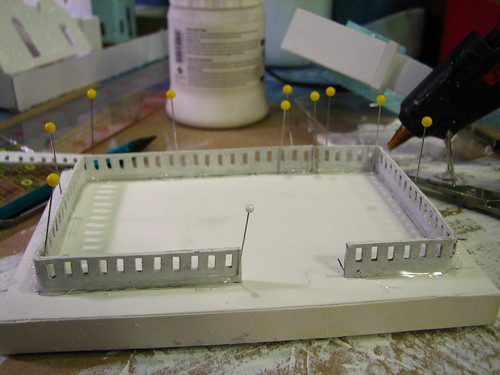
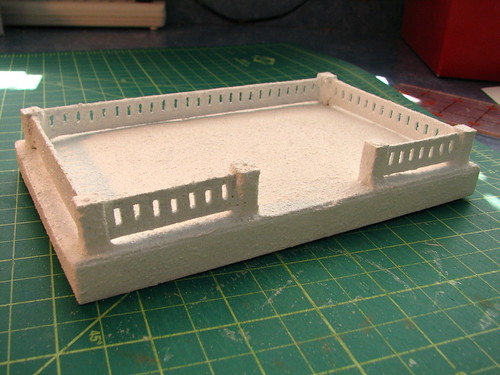
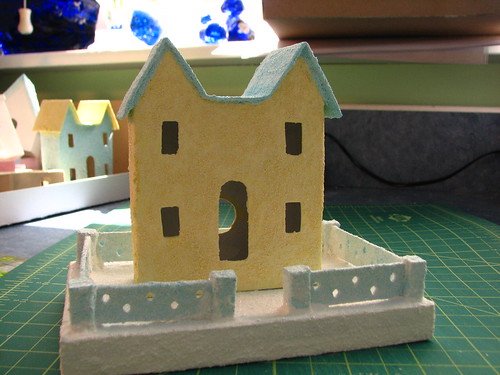
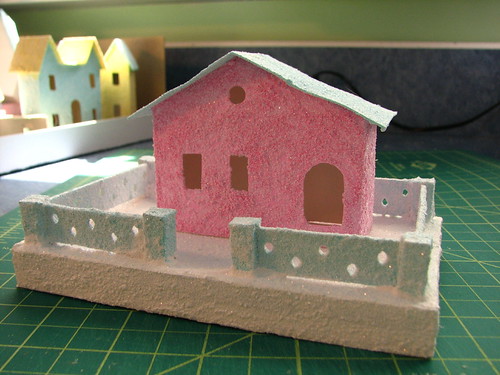
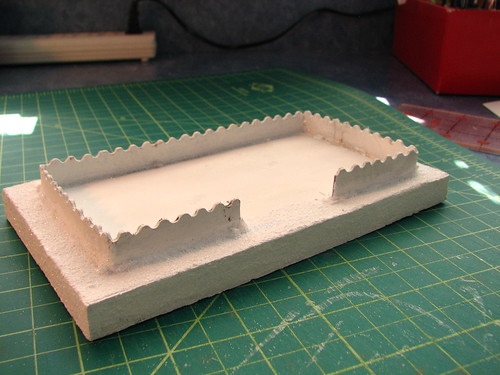
I’ve been working on fences for the Putz house bases, too. I plan to post a tutorial on that soon.

painting the fence

I’m keeping the menu pretty easy this week. All that putzing to do, you know…

Monday
Fridge Food

Tuesday
Turkey over Rice
Green Salad

Wednesday
Chicken Caesar Pita Sandwich
Homemade Pita Pocket Bread

Thursday
Baked Chicken
Steamed Sugar Snap Peas
Green Salad
Roasted Cauliflower and Carrots

Friday
Hearty Ham Casserole
Green Salad

Saturday
Fridge Food

Sunday
Spaghetti
Garlic Toast
Green Salad
Corn
Stir-Fried Green Beans

You’ll find more menu and recipe ideas at Menu Plan Monday.

~~Rhonda

spring color

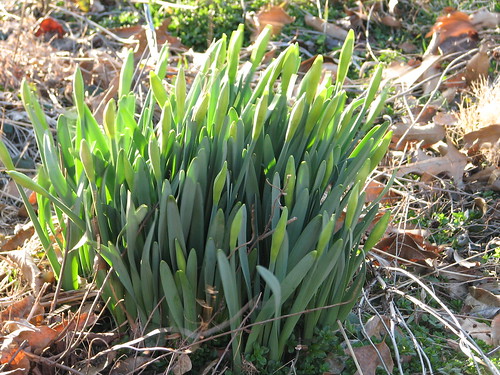
The mini daffodils ‘Tete-a-Tete’ are making bright patches around the yard.

Tete-a-Tete daffodils

I love the color of the Lenten Rose. So welcome this time of year.

Lenten Rose

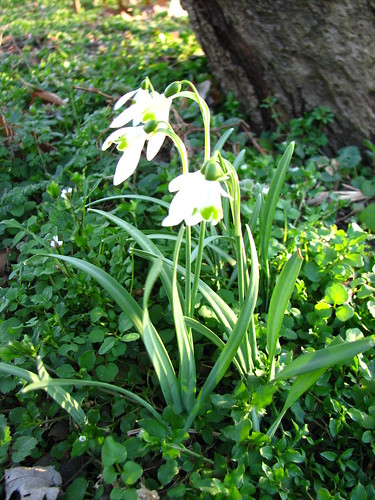
A few years ago, I found a single snowdrop blooming under the apple tree. This year, there are five blossoms.

Snowdrops

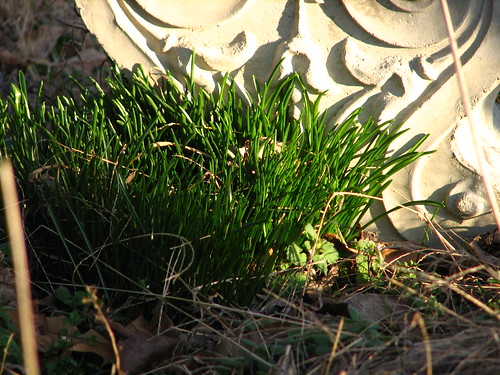
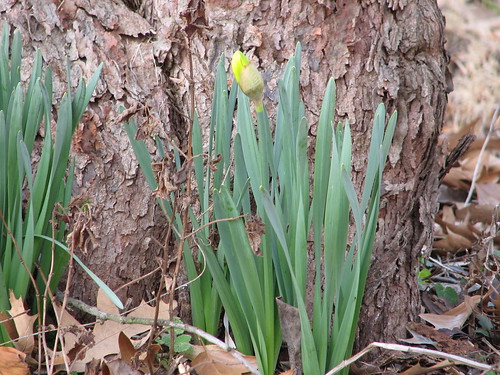
The leaves of ‘Star of Bethlehem’ sprout a bright green under a garden bench. When I was a child, we called this “Easter grass” because it makes beautiful clumps of green “grass” perfect for hiding Easter eggs. The flower stalks will pop up in late April / early May as the leaves begin to fade. After flowering the plant goes dormant for the rest of the season.

Star of Bethlehem

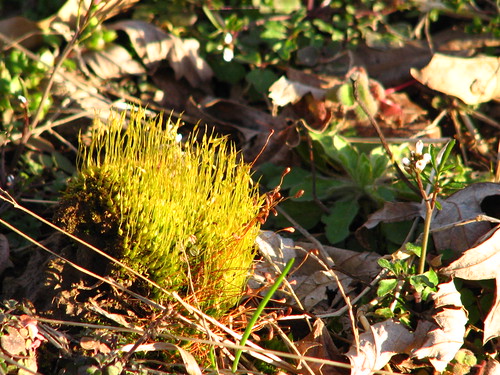
This tiny clump of moss caught my eye with its bright yellow-green color. The clump is only about an inch and a half wide. It’s always fun to get a close up look at the detail in nature. So easy to miss as you walk by, but a camera can capture those details for a closer look.

funny moss

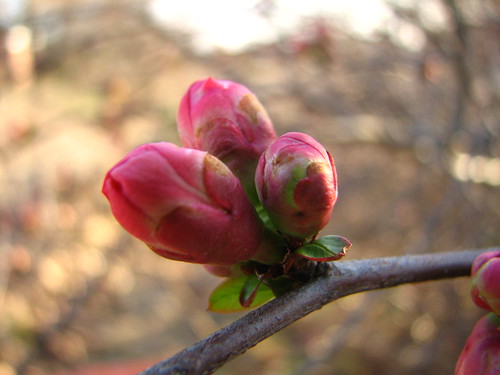
The quince bush is covered with pink buds.

quince blossom

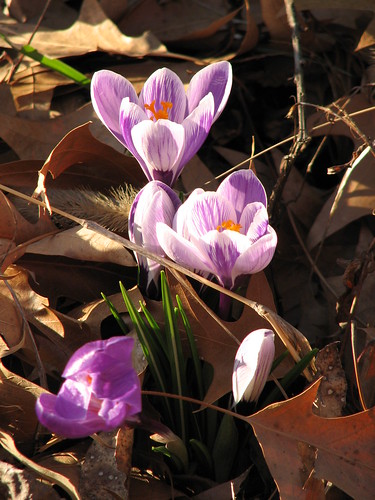
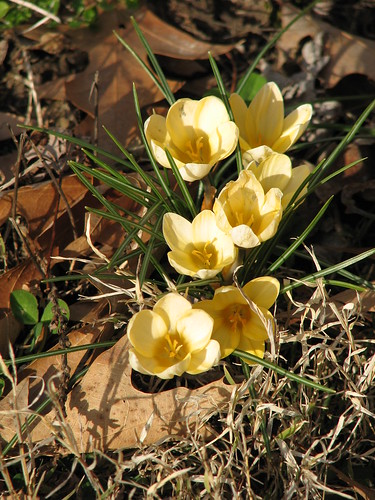
The crocus are still blooming. We find new ones popping up here and there in unexpected places. I guess the squirrels plant those for us.

crocus

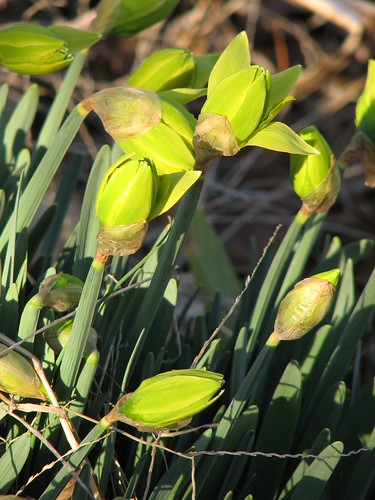
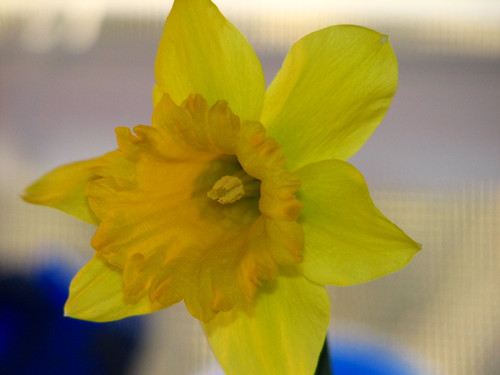
And the daffodils…so refreshing!

daffodils

‘Von Sion’ daffodils

'Von Sion' daffodils

This little clump of ‘Tete-a-Tete’ daffs near the back door is only five inches tall. I love the minis.

'Tete-a-Tete' daffodils

And many more to come!

daffodils

The chalkboard over the kitchen table is keeping track of the days until spring, but I think spring has other ideas…

how many days until spring?

~~Rhonda

tutorial for making putz house bases

I have had a few questions about making bases for the little glitter houses, so I decided to post a tutorial explaining how I do it. Here is an example of a house I made on a base. This is actually a model of the house my son and DDIL lived in before they moved. At the time, I didn’t know they’d be moving the following year, so am glad I made this house and gave it to my DDIL for Christmas.

little glitter house

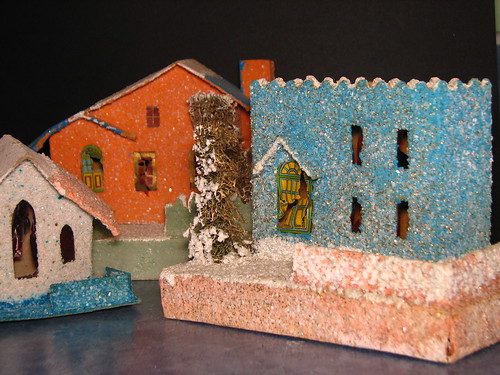
Here are three vintage houses that the above DDIL gave me for Christmas one year. You can see that two of them have bases that are about 1/2″ tall. The white house has a flat piece of cardboard with a very simple fence as its base.

vintage Putz houses

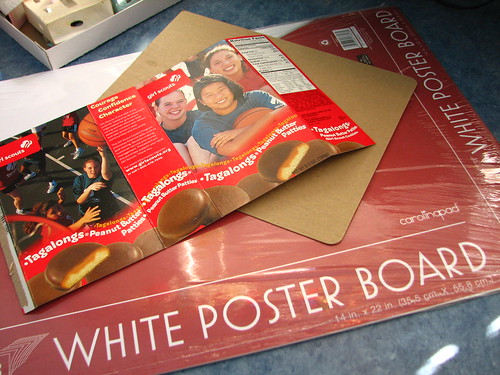
The bases for my little glitter houses are made from thin, not corrugated, cardboard. I use poster board, cardboard from cracker/cereal boxes, cardboard sheets from packaging (like those that sometimes come in new shirts or bed linens), greeting cards, etc., to make boxes for the bases.

building a base for Putz houses

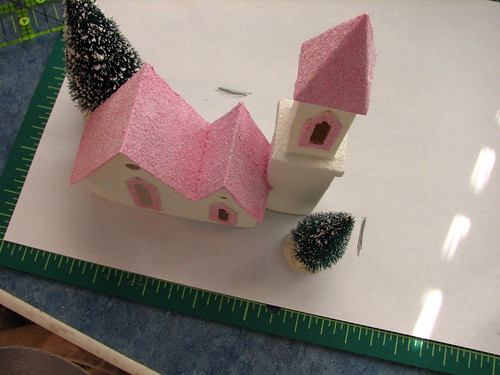
Before you start, decide how large your base should be. I find 4×6 to be a good size for many of the houses I make, but if a Putz house is very small or extra large, the base may need to be adjusted in size to fit. An easy way to do this is to set the building on a piece of paper, arranging the trees and embellishments you want to use. Keep in mind that you may want to put a fence around part or all of the base.

building a Putz house base

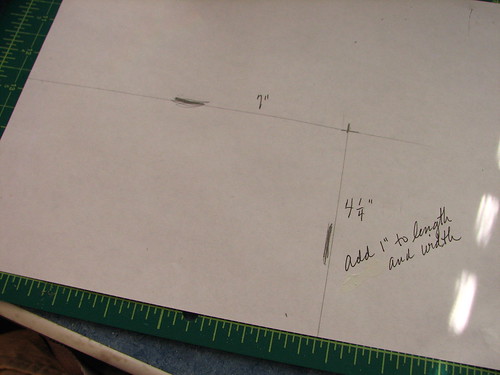
Mark the size for the finished base. Remove the building and the embellishments. Measure the size of the base. Add 1″ to the length and to the width for the 1/2″ sides of the base. On this particular base, the length measured 6 7/8″. I rounded up to 7″.

building a Putz house base

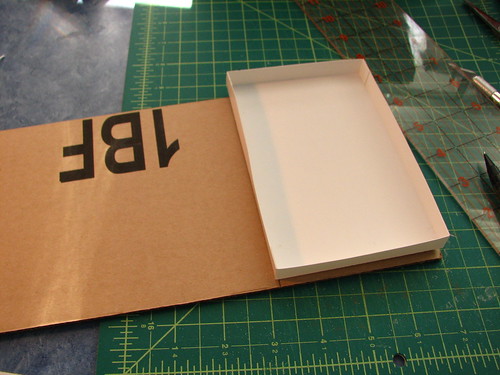
Cut two pieces of cardboard the size of the finished base, plus an additional one inch on the length and the width of each piece. Trim about 1/32 of an inch off one long side and one short side of one of the pieces. This will be the bottom of the box that will make up the base. The thicker the cardboard, the larger this sliver needs to be. Cutting the bottom of the box a bit smaller insures the top of the box will fit over the bottom.

building a Putz house base

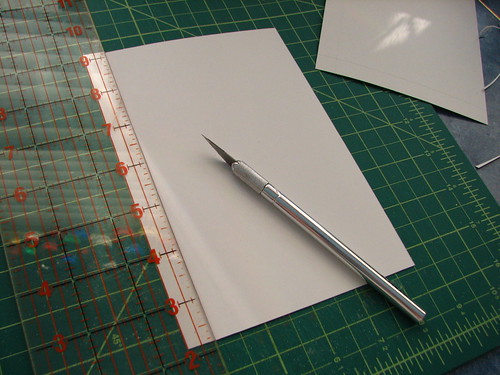
Score a line 1/2″ from the edge of each side of both pieces of cardboard. I use the back of my X-Acto knife to do the scoring, but you can use anything you have on hand that will do the job.

building a Putz house base

When the scoring is done, cut into the cardboard pieces on the long sides, just to the other scoring line. This creates flaps for the box.

building a Putz house base

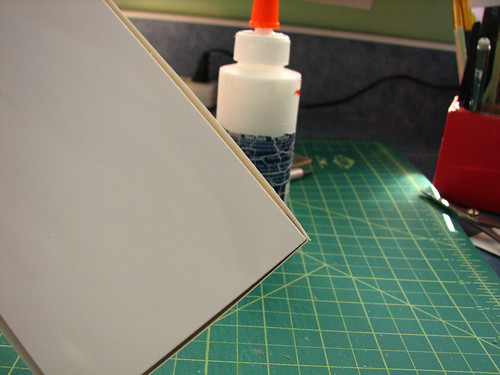
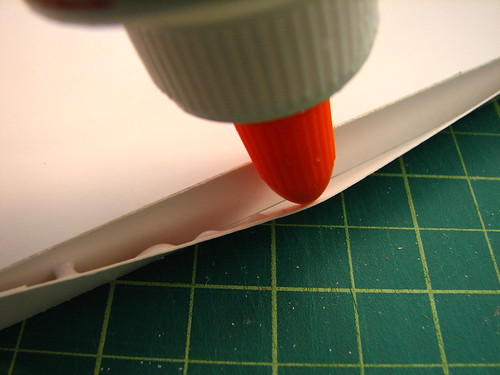
Fold along all the scoring lines. Place a little white glue on the inside of the box, where the flap will rest.

building a Putz house base

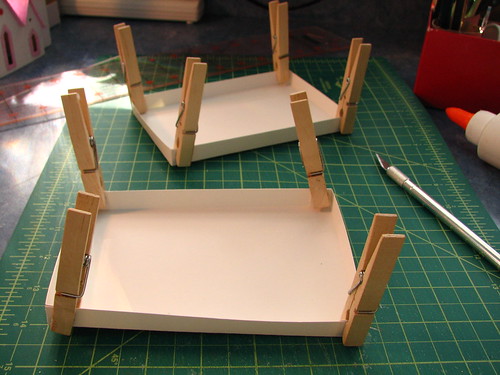
Clothespins make great clamps for holding the flaps down until the glue dries.

building a Putz house base

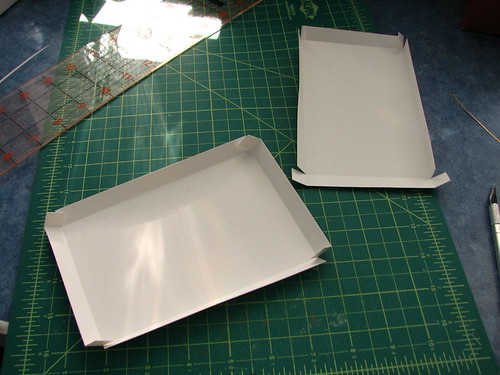
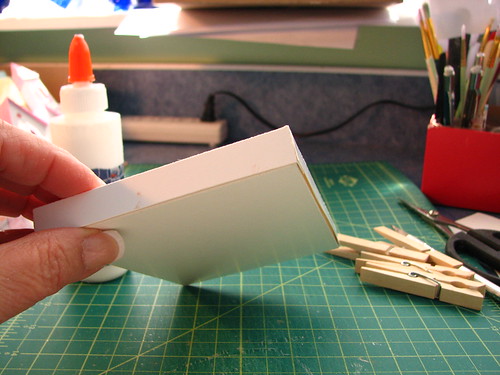
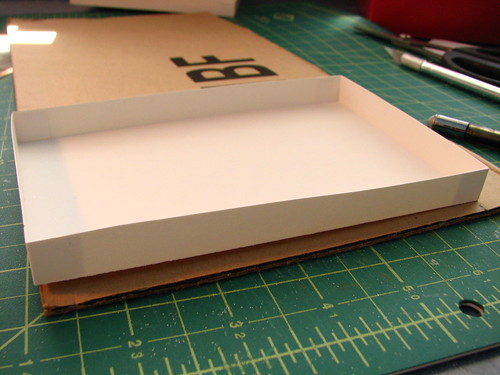
When the glue is dry, remove the clothespins and put the top and bottom together to make a box. They should fit snugly.

building a Putz house base

building a Putz house base

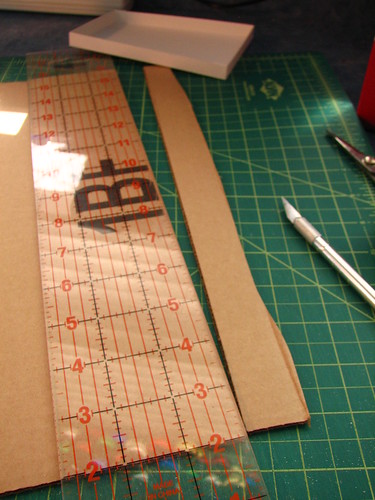
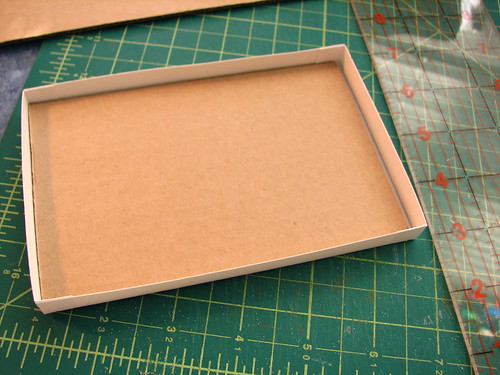
I fill the base with corrugated cardboard from shipping boxes to make it strong and to give the house more stability. Use the bottom of the box to determine the size of the cardboard fillers. Measure the cardboard just a bit smaller than the box bottom.

building a Putz house base

In this example, I cut the length all at one time, then cut the width.

building a Putz house base

building a Putz house base

After one piece of fill cardboard is cut, place it in the box to see if adjustments need to be made.

building a Putz house base

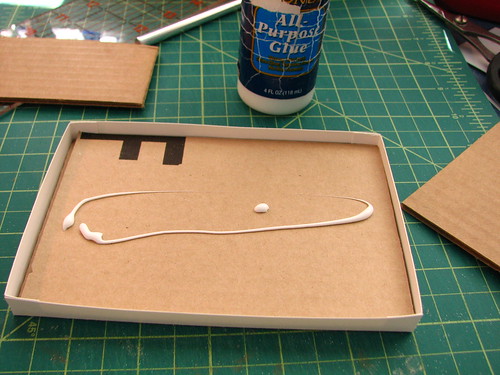
Layer fill cardboard until it comes to the top of the sides. For a box with 1/2″ sides, I find four pieces cut from a box like an amazon.com shipping box to be just the right height to fill the base. A little glue between each layer doesn’t hurt. If the cardboard is a bit short in one direction, alternate the pieces to meet one end, then the other, as they are layered.

building a Putz house base

Filled with pieces cut from corrugated cardboard, the base is strong and won’t sag under the weight of a house and embellishments.

building a Putz house base

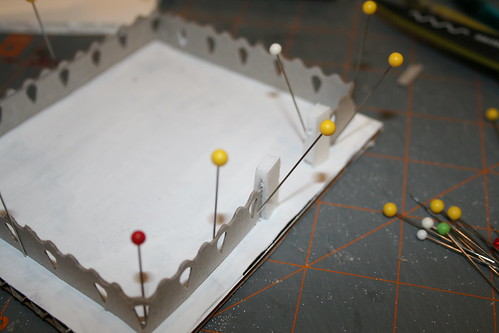
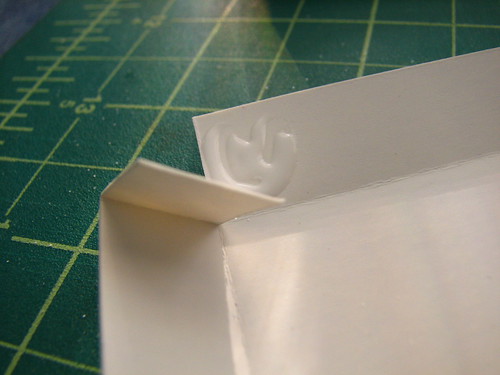
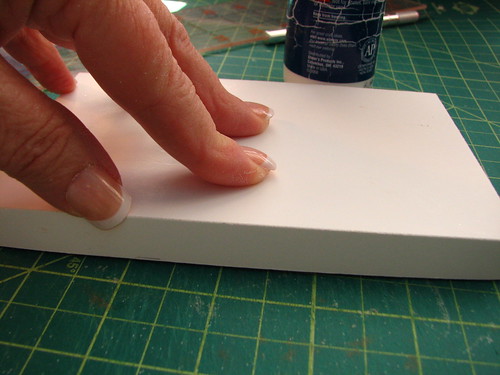
There will be a gap between the sides of the top of the box and the bottom. Draw a line of glue in there and hold the side tight until the glue holds it without gaping. If you like, you can bind the box with large rubber bands to hold everything together until dry.

building a Putz house base

building a Putz house base

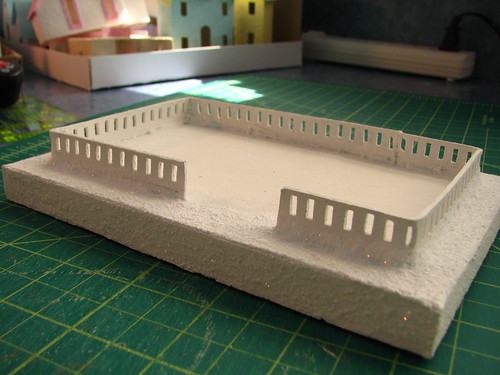
Now it’s ready for painting and glittering. Add a fence, if you like.

building a Putz house base

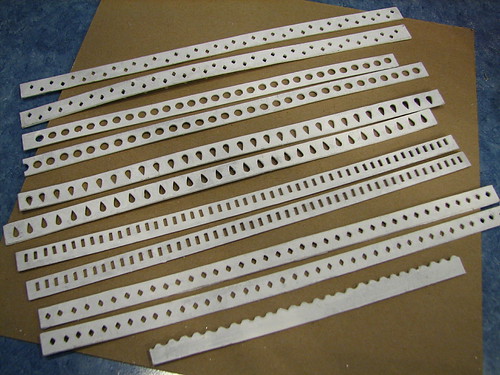
To make this fence, I used a hand-held, diamond-shaped punch.

small fence with posts

If you have some houses already made, you can try different ones until you find one that seems just right.

building a Putz house base

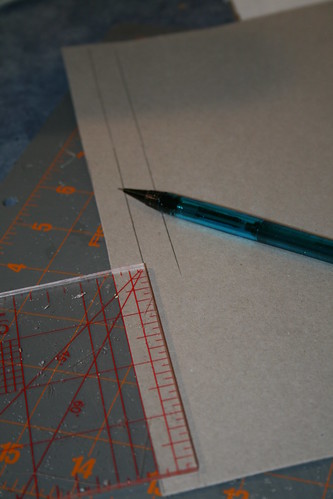
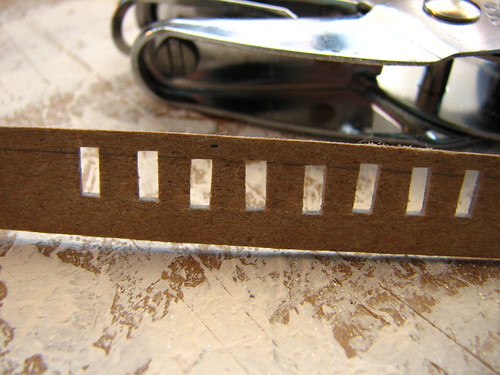
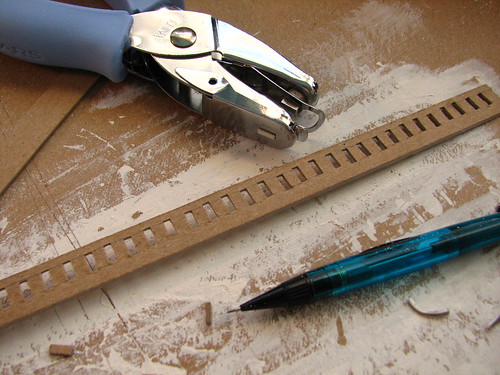
To make this fence with no posts, I used a hand-held, rectangular-shaped punch. I cut the cardboard 1/2″ wide, then drew a pencil line 1/8″ from the edge as a guide for placing the punch. Next time, I’m using thinner cardboard. This was hard to punch.

fence with no posts

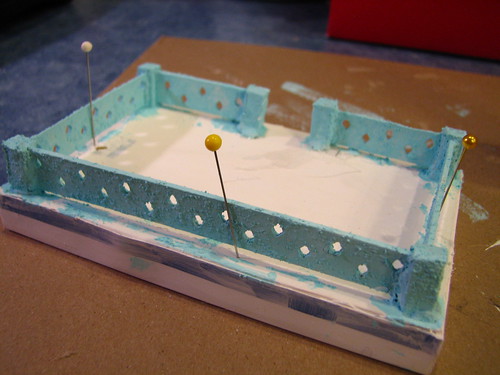
This is the same style fence, but with posts.

fence with posts

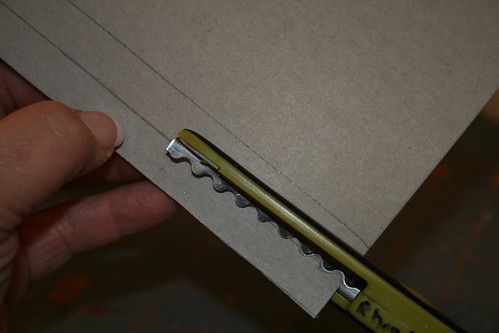
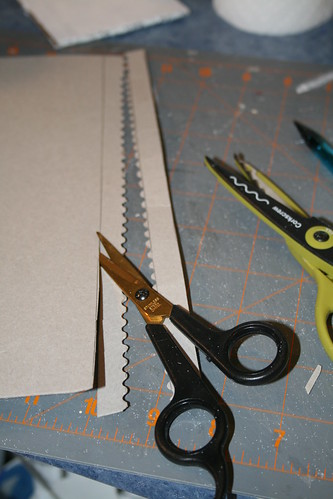
This fence was cut from thin cardboard, using a wavy patterned scissor. I cut the cardboard 1/2″ wide, then trimmed the edge. Worked great.

fence with no posts

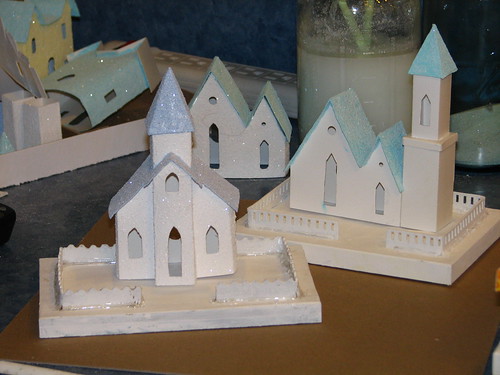
I have a lot of churches and houses under construction. I’ll be busy making bases for a long time!

under construction

Fencing and other details are the stuff of other posts. I’ll try to get to that soon.

If you have any questions about constructing bases for your Putz or little glitter houses, please ask. I’m happy to help if I can.

Here are links to some of my other tutorials for making Putz houses.

Making Putz Houses

Making fences for Putz houses

Making fence posts for Putz houses

Making Putz house ornaments from Christmas cards

Visit my Etsy store to see more Putz houses and other Christmas ornaments I have made. ChristmasNotebook

~~Rhonda

menu plan monday ~ february 27, 2012

On a daily basis, time is passing slowly. But the weeks seem to fly by quickly. How does that work?? Spring will be here soon, and, for that, I am grateful. The first daffodil opened on Sunday. It’s a wonderful promise of what’s to come.

first daffodil of the season

I’ve been working on Putz houses.

framing windows and door

They are still under construction.

fenced Putz bases

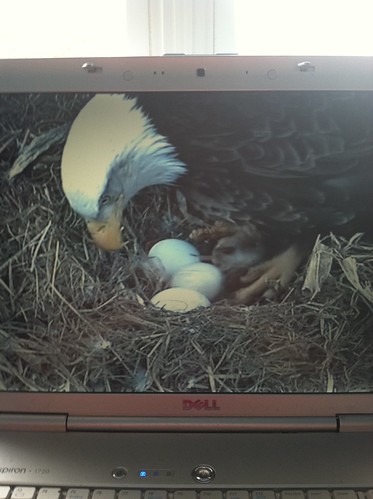
I am also enjoying watching the Decorah eagle cam. I watched them last year, too. It’s a fascinating close up of nature. The eagles have three eggs. It will be exciting to follow them as they hatch, then grow and fledge.

Decorah eagle cam

Here’s the menu for the week.

Monday
Crock Pot Rotisserie Style Chicken
Rice
Green Salad
Asparagus

Tuesday
Chicken Taco Chili
Baked Tortilla Chips
Cornbread

Wednesdays
Grilled Pork Steaks
Grille Chicken Wings
Veggie Packets

Thursday
Homemade Pizza

Friday
Skillet Pork Chops
Mashed Potatoes
Steamed Green Beans
Corn
Green Salad

Saturday
Fridge Food

Sunday
Baked Ziti
Green Salad
Toasted Garlic Bread
Corn
Stir Fried Sugar Snap Peas

You’ll find more menu and recipe ideas at Menu Plan Monday.

~~Rhonda

first daffodil of the spring

Makes me happy.

first daffodil of the season

~~Rhonda

a little bit of garden work

This afternoon, DH and I got out into the yard a bit. The crocus are blooming in the back yard. So pretty!

crocus

crocus

crocus

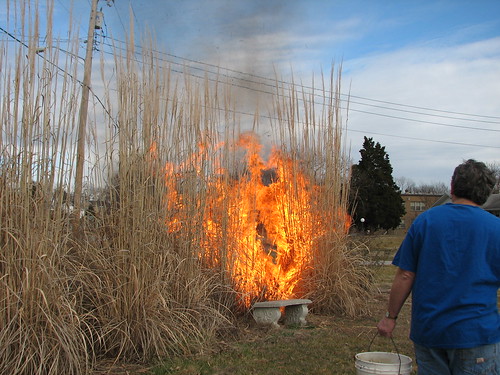
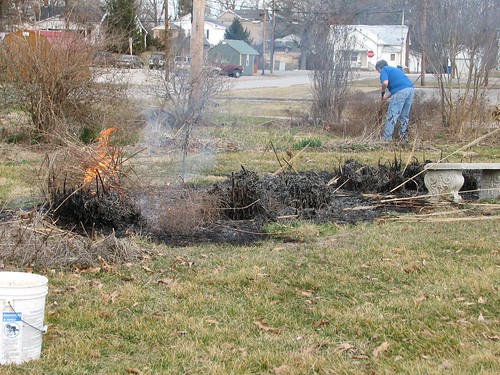
Each spring, DH burns the tall grasses in the yard. Get rid of the old growth…make way for the new growth.

burning the tall grasses

burning the tall grasses

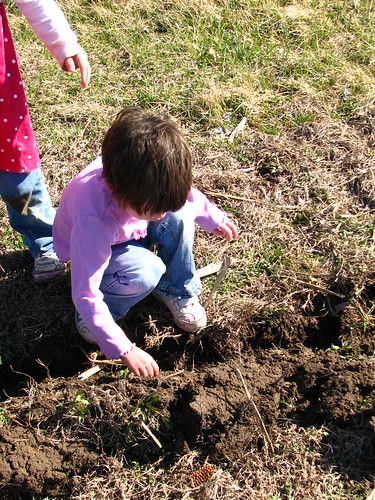
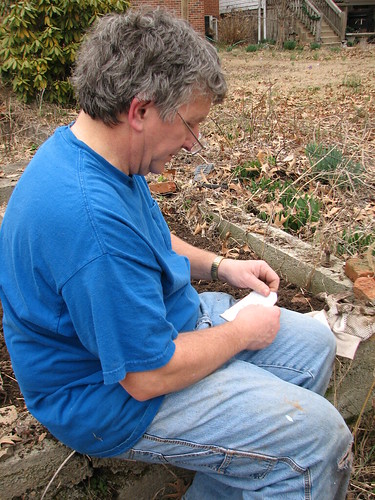
DH planted a little lettuce, too. Can’t wait until it starts to sprout!

planting lettuce

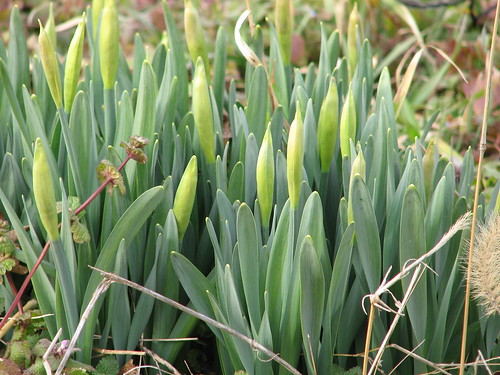
The daffodils are growing taller and showing more blooms.

daffodil buds

This one is ready to pop open!

about to bloom

Every spring is the only spring, a perpetual astonishment. -Ellis Peters

~~Rhonda

menu plan monday ~ february 20, 2012

I’m getting a late start to posting the menu this week. We’re sharing a cold around here. DH had it, the girls had it, now I have it. Things are slow all the way around.

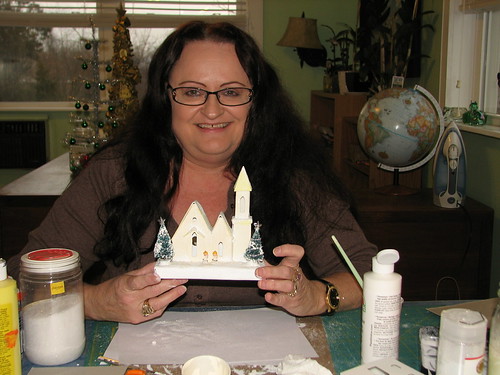
We had some fun last week, though. My friend Jane and her husband came over for the day. Jane and I made Putz houses.

my dear friend Jane and her Putz church

And the twins spent a couple of nights. Lots of fun then! I got a lovely present from one of them…

a wonderful present!

Here’s the menu for the rest of the week. We’ll see how it goes.

Monday
Fridge Food

Tuesday
Rice and Eggs

Wednesday
Chicken and Noodles

Thursday
Homemade Pizza

Friday
Lasagna
Green Salad
Corn
Peas
Garlic Bread

Saturday
Cheesy Potato and Sausage Soup

Sunday
Spaghetti with Homemade Sauce
Green Salad
Garlic Bread Sticks
Corn
Steamed Sugar Snap Peas

You’ll find more menu and recipe ideas at Menu Plan Monday.

~~Rhonda

menu plan monday ~ february 13, 2012

Here’s a pretty plant that my mother passed on to me last year. She got her start of it from her uncle’s home. It’s an orange amaryllis, Hippeastrum striatum, I believe. Correction is appreciated, if anyone knows it is something else. It blooms in January/February, each year.

orange amaryllis from my mother

Down to business…here’s our menu for the week.

Monday
Hamburgers
Homemade Buns
Stir Fried Cabbage and Garlic
Oven Fried Potato Wedges

Tuesday
Pork Chop and Potato Casserole
Green Salad
Crock Pot Apples
Steamed Sugar Snap Peas
Corn

Wednesday
Spicy Shredded Pork in the Crock Pot ~ I follow the pork recipe’s ingredient list, but I don’t blend them. I put the roast in the crock pot and throw everything in on top. I know it’s not the same as roasting it, so it’s different than the meat the original recipe would produce, but it’s still delicious! And easier.
Homemade Buns
Home-baked Tortilla Chips
Celery and Carrot Sticks

Thursday
Mongolian Beef with Broccoli
Rice

Friday
Homemade Pizza

Saturday
Dinner with extended family. I’m providing:
Spicy Shredded Pork
Alton Brown’s Pot Roast
Homemade Buns

Sunday
Crock Pot Turkey
Mashed Potatoes
Corn
Steamed Green Beans
Green Salad

You’ll find more menu and recipe ideas at Menu Plan Monday.

~~Rhonda

making putz houses

There is a lot of interest currently in Putz houses, or little glitter houses, that were once used to make village scenes under Christmas trees and on mantles. You can read more about them at Little Glitter Houses and Papa Ted’s Place, just to mention two sites. My Pinterest Putz House Tutorial board has more links.

I’ve been drawing patterns for Putz houses this week. Here are the assembled houses and churches, ready for painting and glittering. Can’t wait!

This is a fairly simple church with a nice bump out on the front.

Putz church

This church has a few more details than the others. It’s already on a base and has a fence. I used a hand punch to make the lattice fence.

Putz church

This is a very simple vintage-style Putz.

Putz house

Another simple one, with a bump out front door.

Putz house

This is the church, this is the steeple.
Open the doors and see all the people!

Putz church

I like the roof trim on this house. I made it with a hand punch.

Putz house

Very simple two-story Putz. The little roof in front of the house will be glued over the door after painting.

Putz house

I like the two chimneys on this house.

Putz house

It’s a bit hard to see in this picture, but the steeple tower sits back a bit from the front of the house.

Putz church

Next comes the fun of painting and glittering. I’ll be posting about that soon.

If you would like to see more of my Putz houses, as well as Christmas ornaments I have made from upcycled holiday cards, please visit my Etsy shop.

ChristmasNotebook at Etsy

~~Rhonda
menu plan monday ~ february 6, 2012

DD has a birthday today. Over the weekend, we took her and a friend out to dinner. She loves sushi, so we enjoyed that. Delicious!
birthday sushi

A busy week ahead. We’re still taking down Christmas. It doesn’t take as long to take down as it does to put up, but I haven’t been in the mood to do it. I’m grateful that our son and his wife came over Friday to help, and they cleared most of three rooms. That’s a lot, in case you haven’t been here at Christmas… The lights were a big hit with our granddaughter. She had fun just holding them. She thought they were “bootiful.” Later the twins pretended they were a campfire, though there was some disagreement about just where the campfire should be placed. Didn’t take too long to straighten that out. Then they got pillows and blankets and “slept” by the campfire for a while. Fun. 🙂

she loves the lights

Tonight is DD’s family birthday party. And DH’s sister and her husband will be here for a few days. So I’m planning to keep things as easy as I can menu-wise.

Monday
The birthday girls wants:
Pork Chops
Mashed Potatoes
Corn
Steamed Sugar Snap Peas
Green Salad
Minecraft Cake (lemon flavored)
Chocolate and Vanilla Ice Cream

Tuesday
Alton Brown’s Pot Roast for sandwiches
Homemade Hamburger Buns
Coleslaw with Peanuts and Raisins
Veggies and Ranch Dip
Grapes

Wednesday
Wild Rice and Chicken Soup
Homemade Rosemary Crackers

Thursday
Mongolian Beef and Broccoli Stir Fry
Rice

Friday
Hamburgers
Homemade Buns
Stir Fried Cabbage and Garlic
Corn

Saturday
Homemade Pizza with Mushrooms

Sunday
Baked Chicken
Herb Roasted Fingerling Potatoes and Carrots
Corn
Steamed Asparagus
Green Salad

You’ll find more menu and recipe ideas at Menu Plan Monday.

~~Rhonda