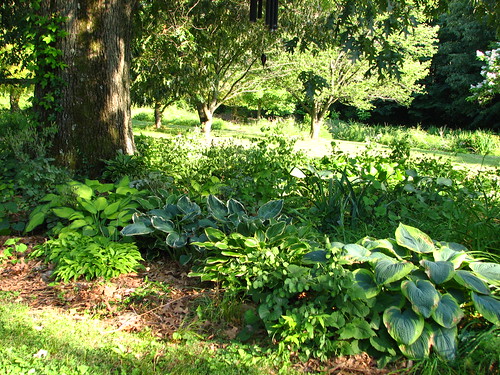
As I may have mentioned before, the hostas seem to be especially beautiful this year.
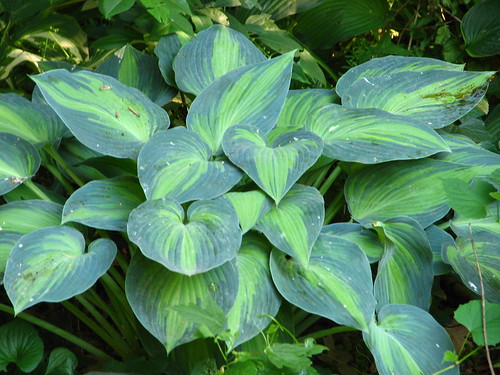
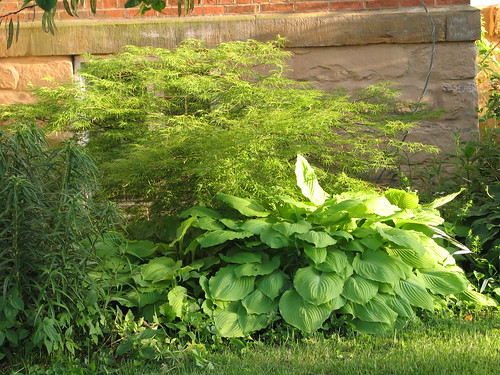
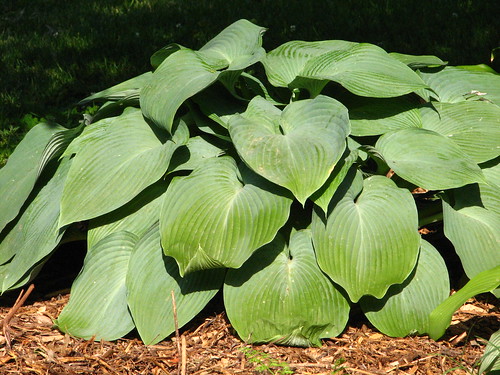
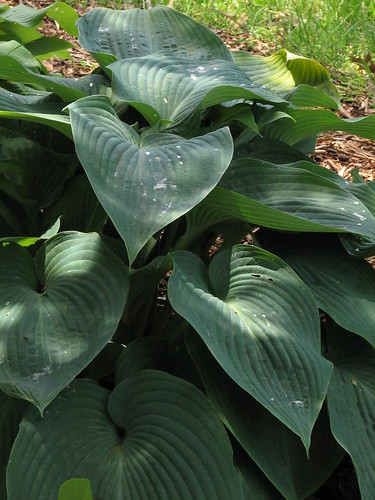
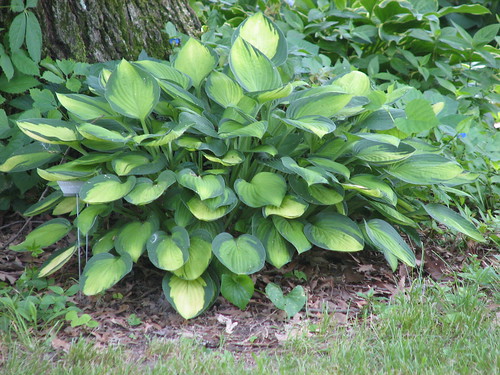
‘Blue Angel’ is just getting started in our garden. We’ve had it for several years, but this one will be quite large when it reaches maturity. It can take 7-10 years to reach maturity, so plant it where you can leave it. If you dig it up to move it, it may take longer to mature. Also, it will be bluer in shade than it will if it’s planted where it gets some sun. The sun will reduce the waxy coating that gives the hosta its blue color.
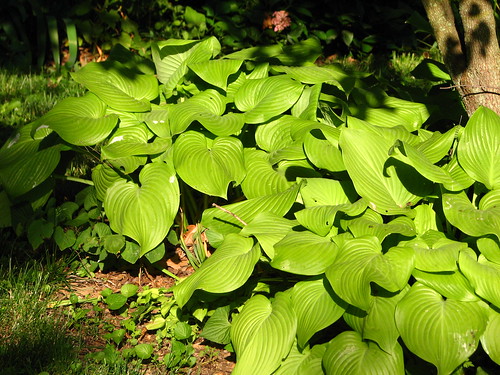
Hosta ‘Big Mama’ has decided to take off this year, after a few years of doing nothing. It’s looking great.
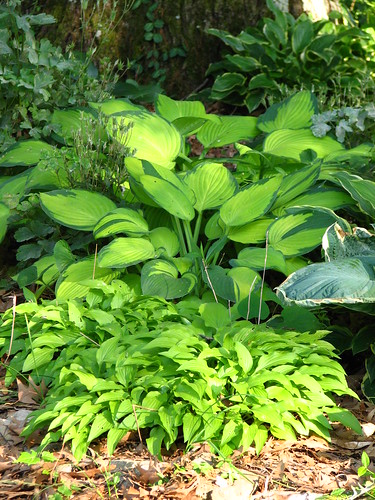
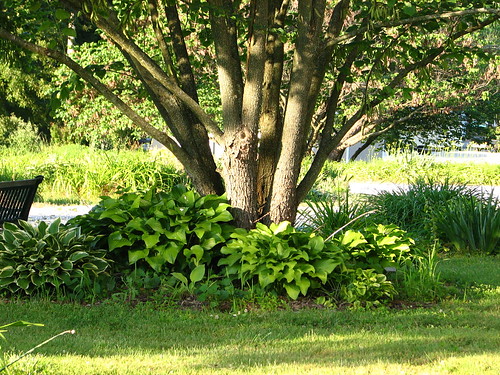
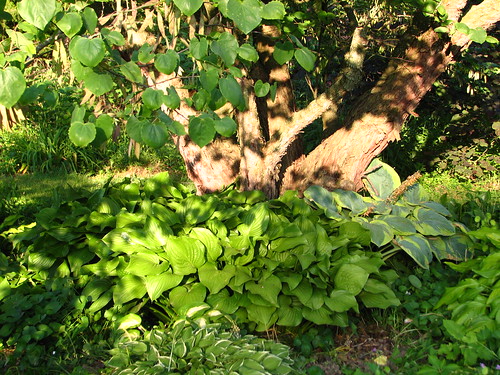
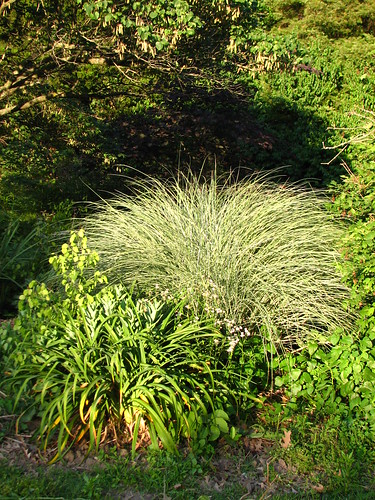
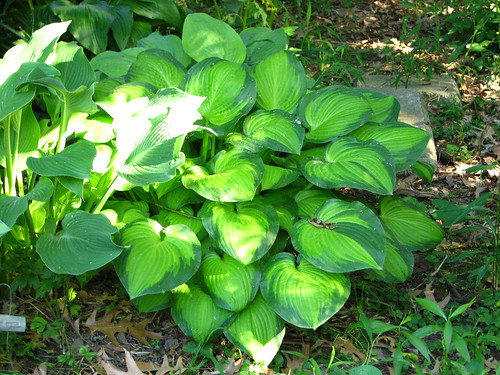
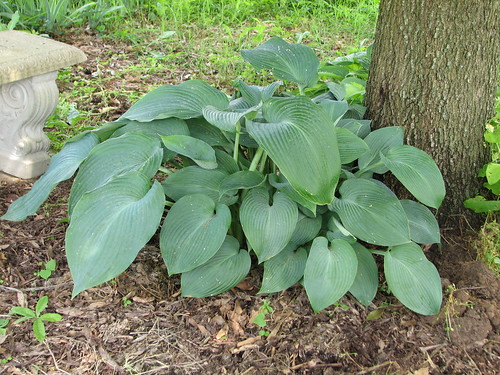
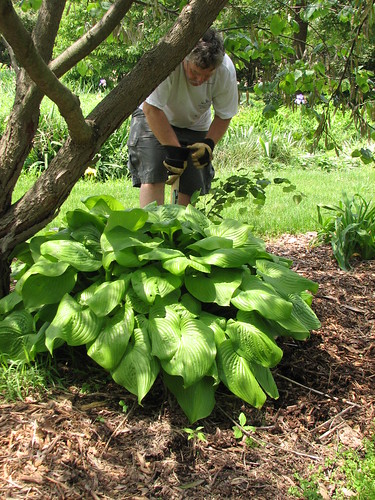
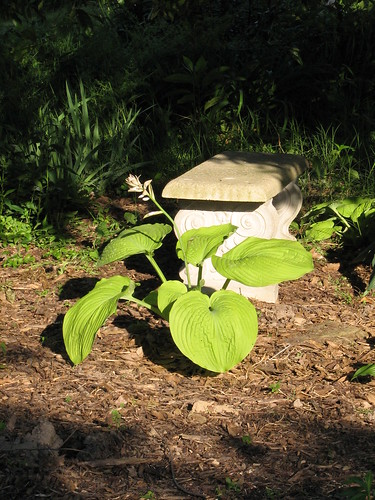
Never ending task…digging tree seedlings out of the flower beds. We’re not sure which hosta this is, but I’m guessing it may be ‘Fried Bananas.’ It has grown quickly and looks great under this redbud tree.
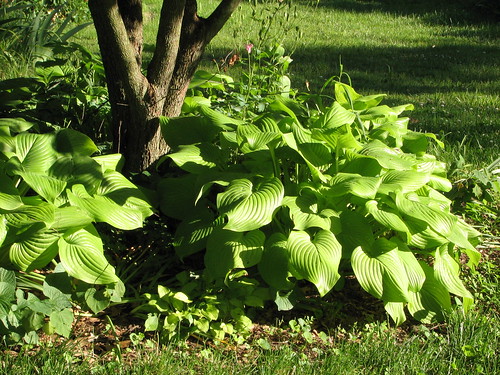
We have ‘Fried Bananas’ ringing a redbud tree in the back yard. Planted between each one is a smaller hosta called ‘Emerald Tiara.’
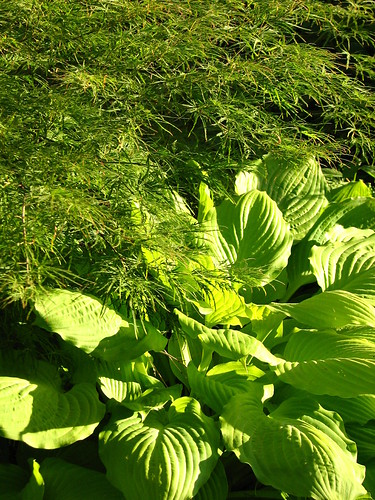
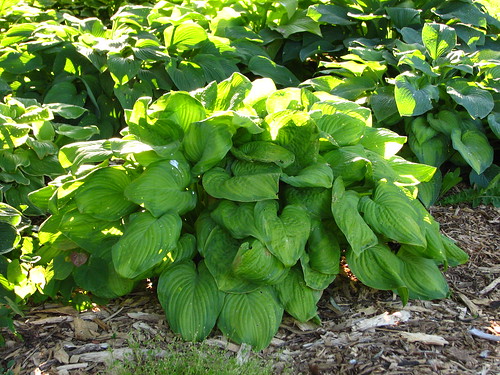
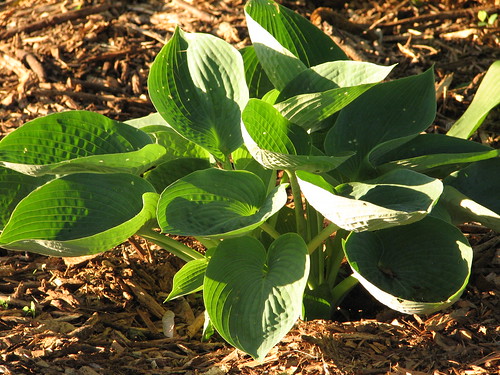
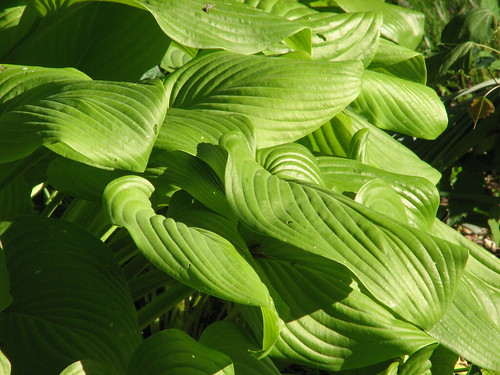
Great corrugation on ‘Fried Bananas.’ The late afternoon sun shows off the veining.
Planted in 2011, ‘Sutter’s Mill’ was the first hosta in our garden to put up a flower scape this year.
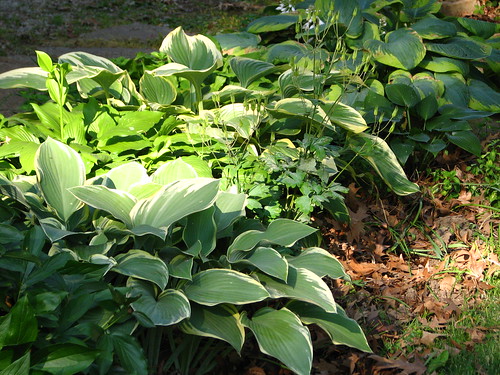
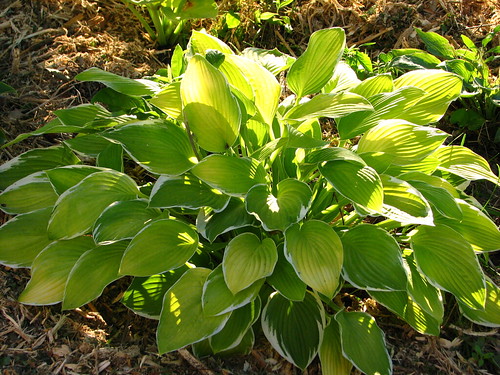
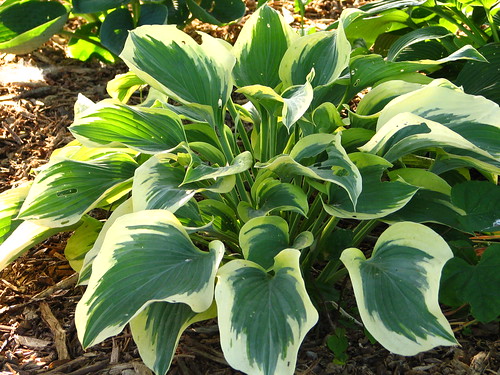
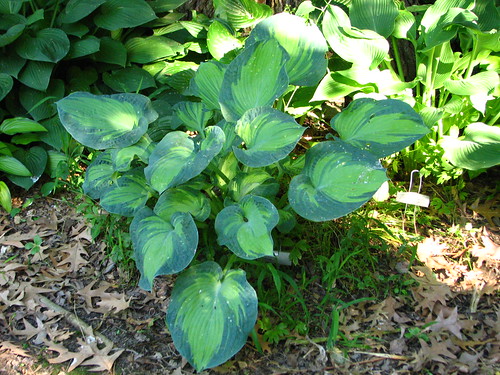
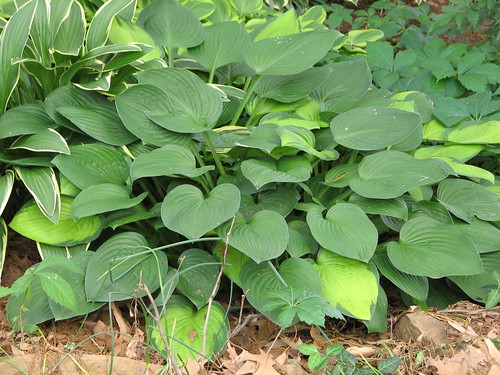
‘Janet’ is a sometimes confused with ‘Gold Standard’ which is a larger hosta than ‘Janet.’ I wanted to show you this one in particular because it has produced a green sport. A sport is a shoot of a plant that is different from the original plant. ‘Janet’ is supposed to have a lighter center, with a darker border. The all-green leaves are a sport. This hosta needs to be dug and all the eyes separated to get the green out. We’ll replant the sport elsewhere in the garden and will let ‘Janet’ get back to normal.
Here’s a picture of ‘Janet’ taken in our garden in 2007, in all her loveliness. We had several years of dry summers around that time and ‘Janet’ stayed lush and green when other hostas dried up and burned.
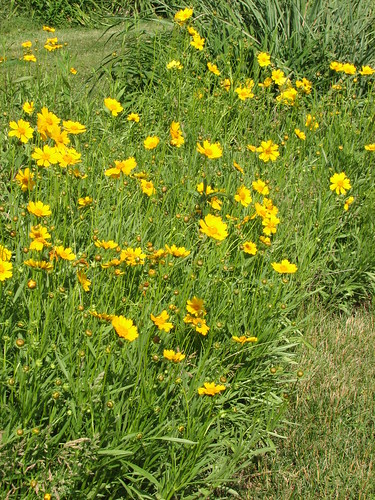
It’s not all hostas in the garden. Volunteer coreopsis is beginning to bloom. It adds a bright note to the beds.
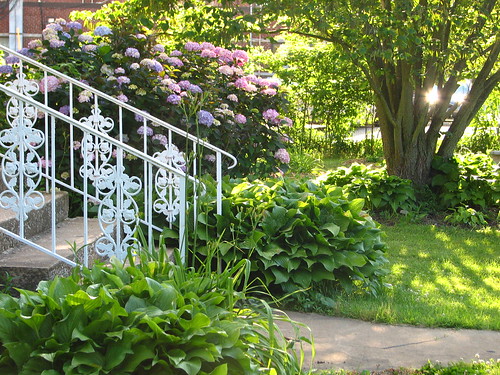
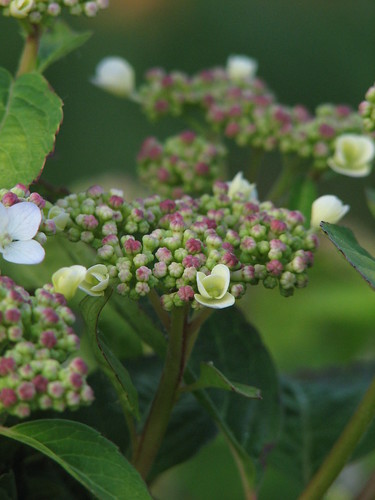
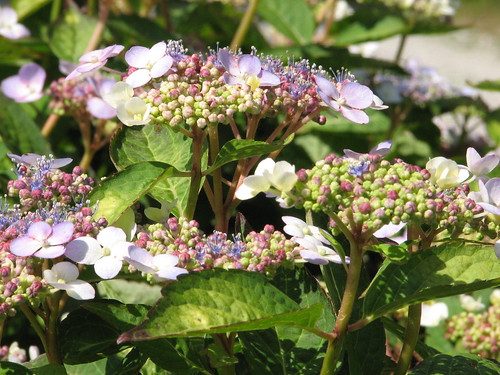
The lacecap hydrangea is looking better this year than it ever has. I wasn’t very impressed with it before this year. But it’s looking pretty!
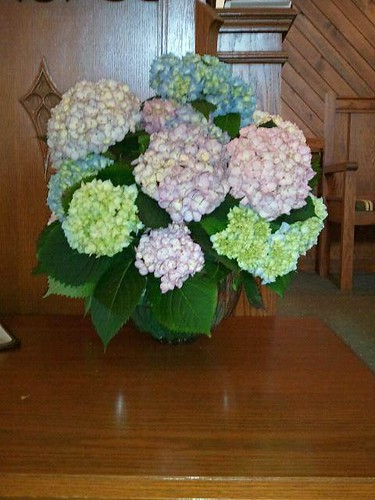
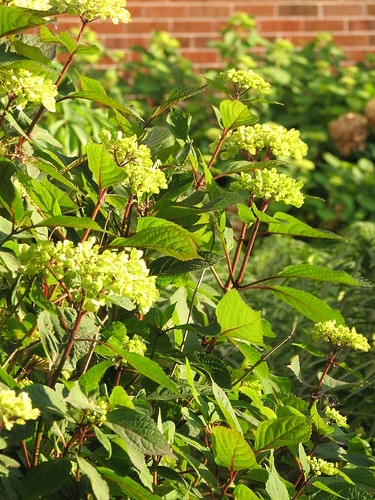
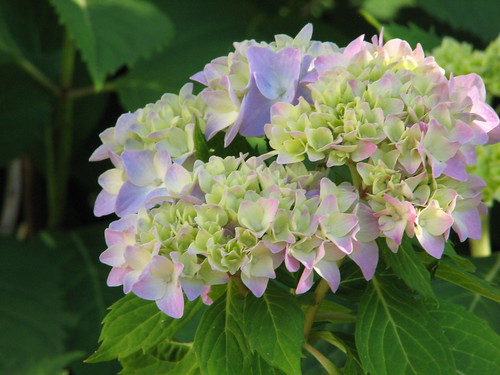
The other hydrangeas are loaded with blooms, as well. They are just beginning to turn from green to pink and blue.
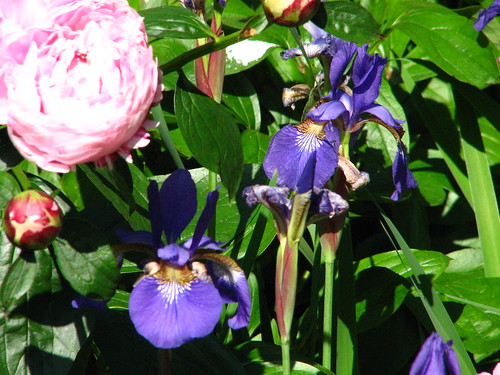
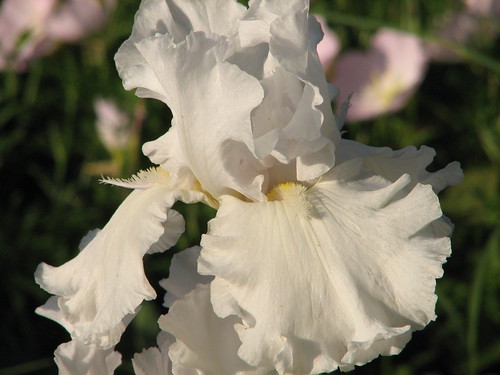
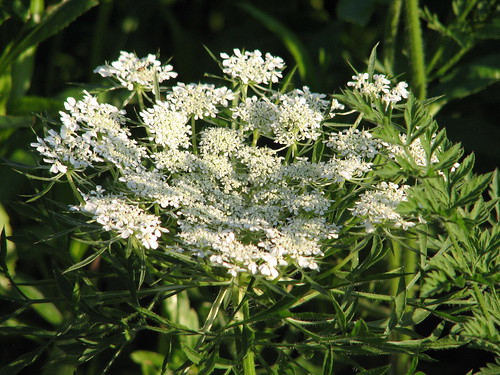
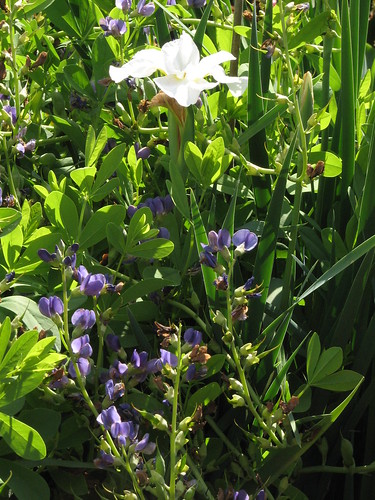
The Siberian Iris ‘Gull’s Wing’ is one of the whitest irises we have. It looks nice paired with the blue of the false indigo.
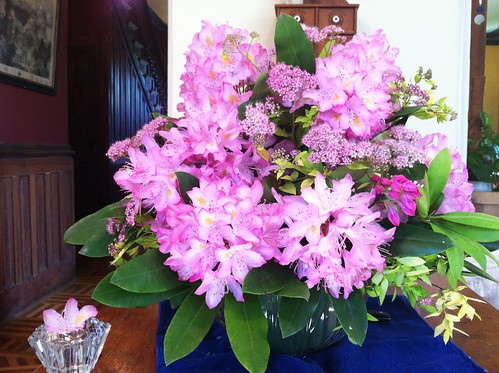
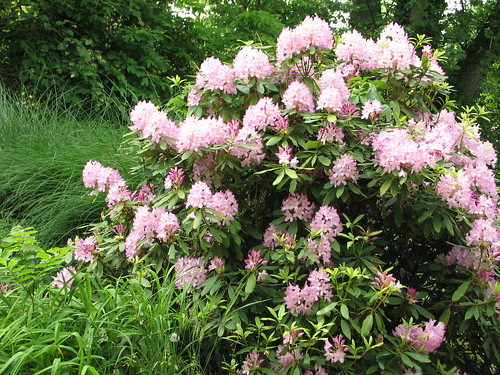
In the back yard, the rhododendron is making quite a splash of color. This was sold to us as a white rhodie. Imagine our surprise when it bloomed pink. But such a lovely pink. I’m glad we have it instead of the white one.

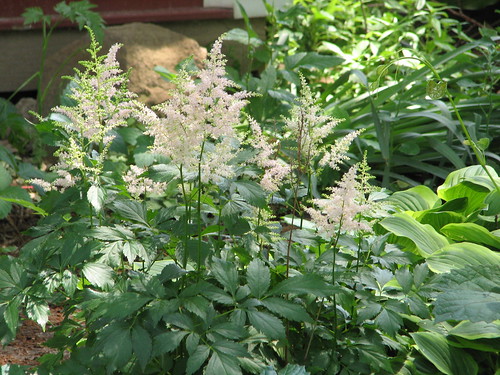
We don’t have enough astilbe. It’s such a pretty, fluffy spike of a flower.
Plants aren’t the only things that grow in our garden. The variety of wild life sometimes surprises me. This week, when DH brought an iris blossom in, a hawk moth rode in on the petals. We put it outside and it spent the entire day on the back porch. It was still there when I went out to visit the garden that evening.

I hope you have a garden to enjoy. If you’re local, you are always welcome to visit ours. Or you can visit a lot of other gardens at Tootsie’s Place. Enjoy!

We’re planning a plant sale for June 2, by the way. All proceeds will go to the mission fund at our church. If you want to be on an email list for plant sale reminders, email me at reacoulter@gmail.com.
~~Rhonda