Not in any particular order…
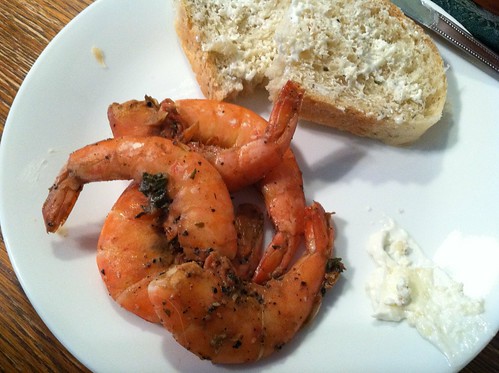
Cooking from scratch is cheaper, tastier, and healthier than processed ready-made food.
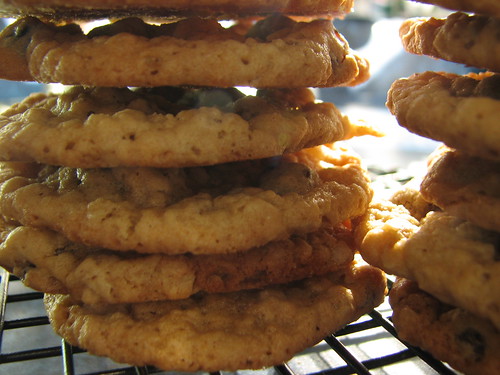
Cookies taste better when made with butter.
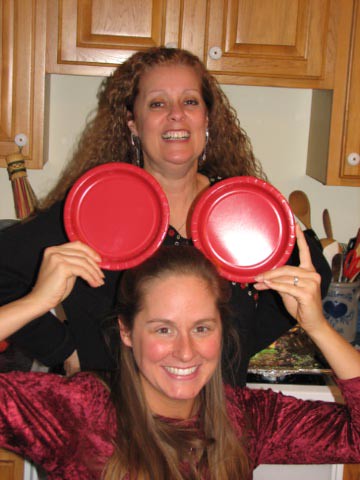
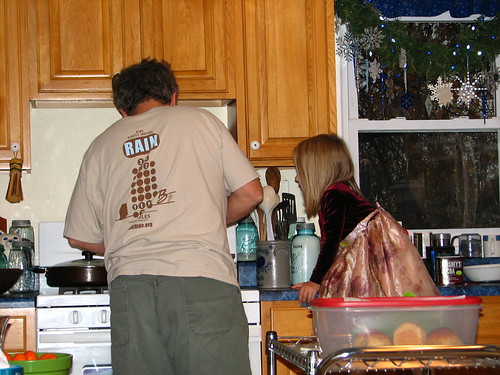
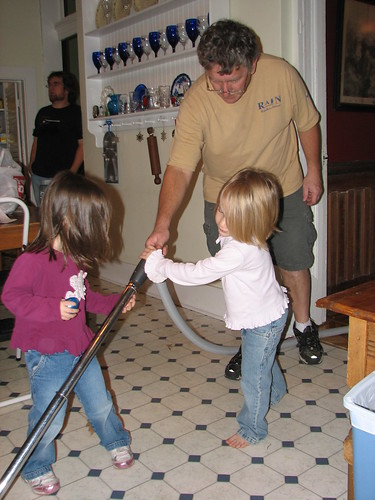
Guests always want to stand around in the kitchen, even if you are busy. Accept and enjoy it. And give them something to do.
Guests, given a kitchen job, may do something differently than you would. Not a bad thing. Just different. Learn from it.
You can’t beat homemade chicken broth. Anything you add it to will taste better.
Eating together as a family is more important than you may think.
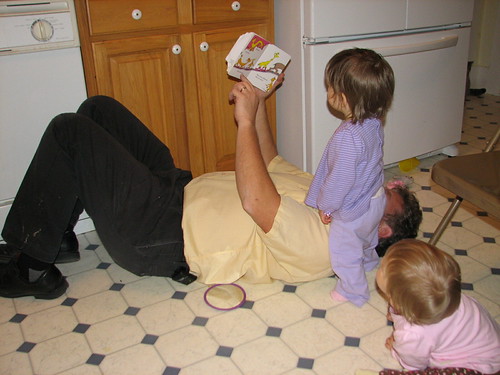
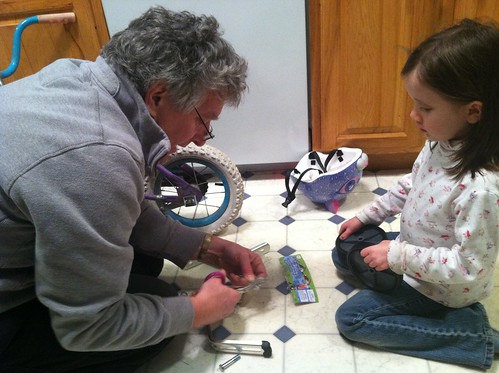
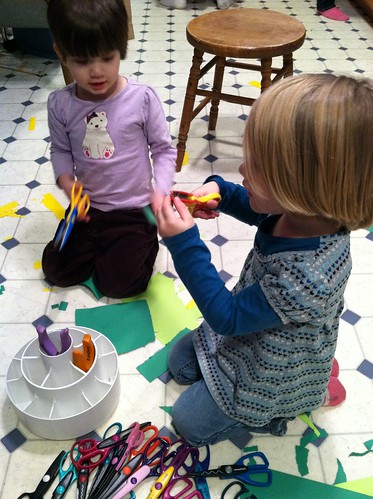
The kitchen is not just for cooking.
When people say “you’re a good cook,” they mean the food connected to something emotional inside them. It made them happy.
Making your own bread is relaxing and fulfilling. And nothing tastes better than bread, fresh from the oven.
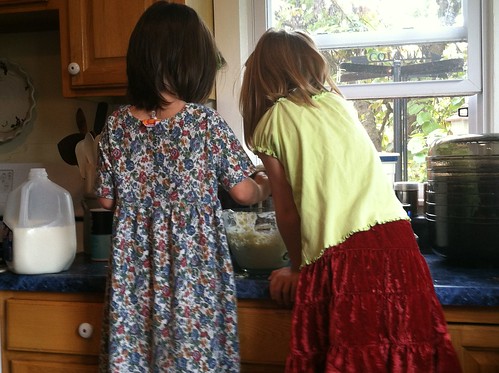
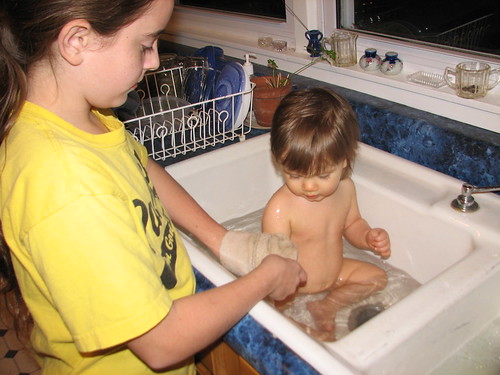
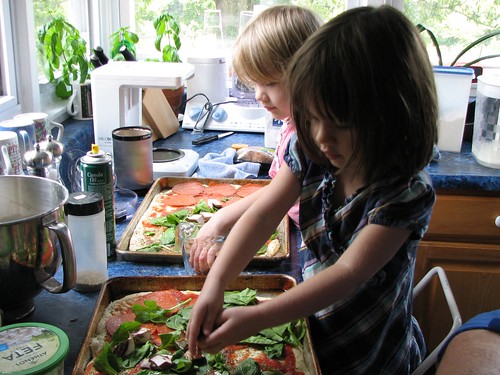
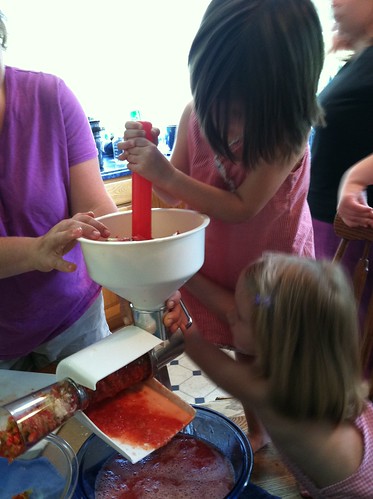
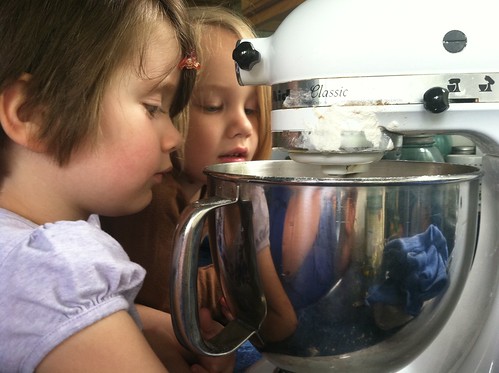
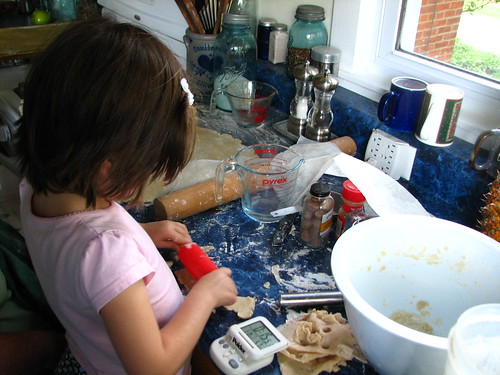
Littles love to help in the kitchen.
I can’t make fudge. But DH can, so we’re covered. It’s good to have backup.
It’s more fun to cook for others than it is to cook for yourself.
Cooking is a mystery to some people. But it can be learned. Like anything else. One step at a time. It takes a lot of practice to do anything well.
The kitchen is not just for cooking.
Cooking with “make do” ingredients will not make food that is as delicious as food made with the best ingredients.
The best food, meticulously prepared, will not entice picky eaters. Don’t bother. At each meal, make at least one thing they will eat. Until they’re grown. Then make what you want and they can fend for themselves.
The kitchen is not just for cooking.
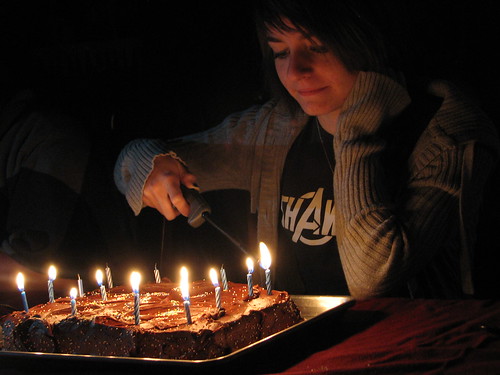
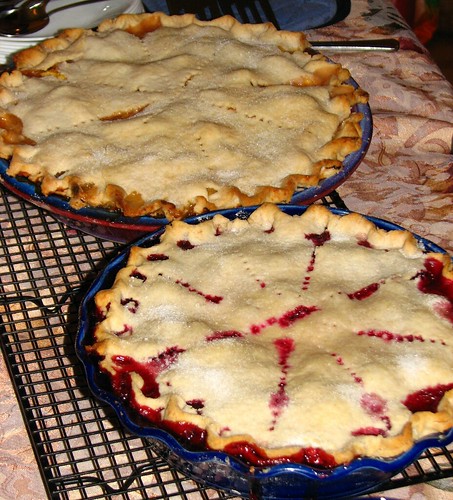
Meals do not have to end in dessert. But desserts can be wonderful.
There are more cheeses out there than cheddar and mozzarella. Taste some of them. Some stores offer free tastes of many cheeses. Find something you like that you’ve never had before. Enjoy it.
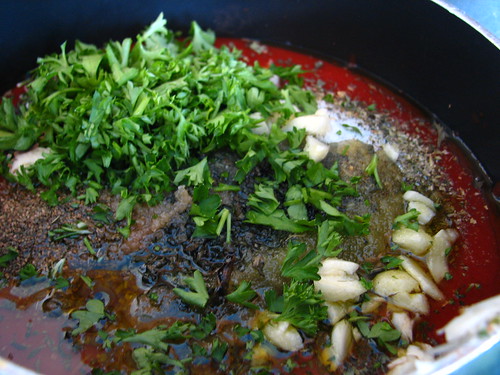
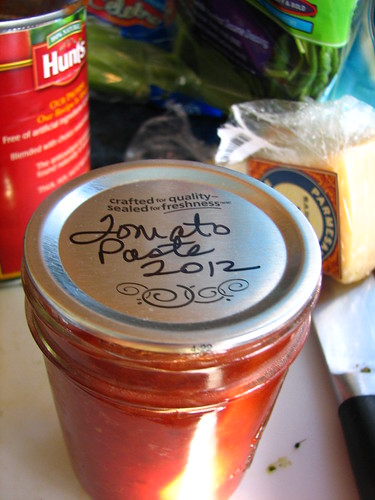
Homemade jelly, jam and tomato sauce are easy to make.
One great chef’s knife is worth it’s weight in gold.
The only two knives I really need are a sharp chef’s knife and a sharp paring knife.
The kitchen is not just for cooking.
Failure is just a learning experience. Try again.
Sometimes when you fail as a cook, those you serve it to do not know it’s a fail. Keep your mouth shut.
Experimenting with new recipes and new foods is fun. Most people make the same few recipes over and over. Get out of the rut. There is a whole wide world of food out there.
A Kitchen-Aid mixer is not a must, but it sure is helpful.
Meat on the menu is not necessary for a satisfying and delicious meal.
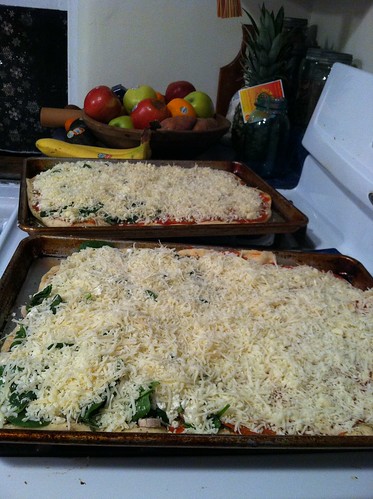
More food than you might think can be made ahead, then reheated, and will taste just as good as freshly made. This can be a great time-saver.
A clean kitchen is a happy kitchen.
You don’t have to cook a fancy meal to entertain guests. Popcorn and a movie or game night will do it.
You can make popcorn in a brown paper bag.
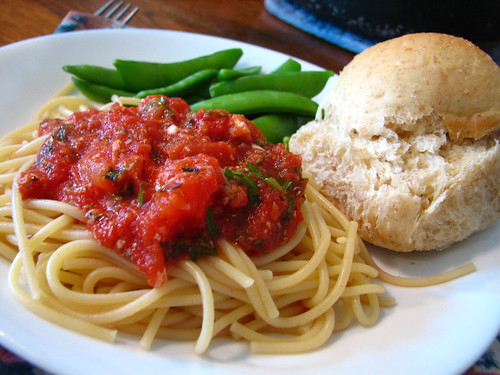
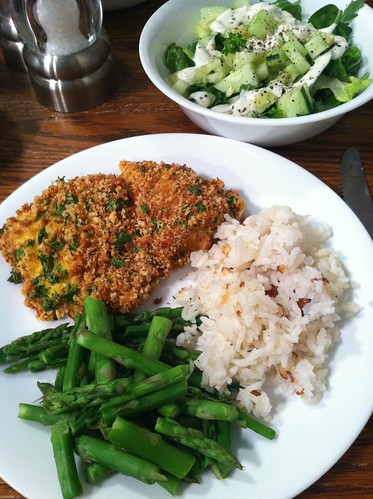
Meal plan: entrée, something green, something yellow or red or orange, and something fresh.
You can’t go wrong with chocolate.

When you begin eating more fresh veggies, your body begins to crave more of them.
You can learn new things and grow as a cook at any age.
Cook for leftovers. They make great lunches and snacks. And some days you don’t feel like cooking. Fridge food can feed your family when you don’t want to.
You can live life without ever sifting flour.
Recipes do not have to be complicated or time consuming to be good.
Preparing food is a basic human experience. You should be participating.
There’s more, but I’ll quit here.
~~Rhonda ::who, I have to admit, loves to cook::