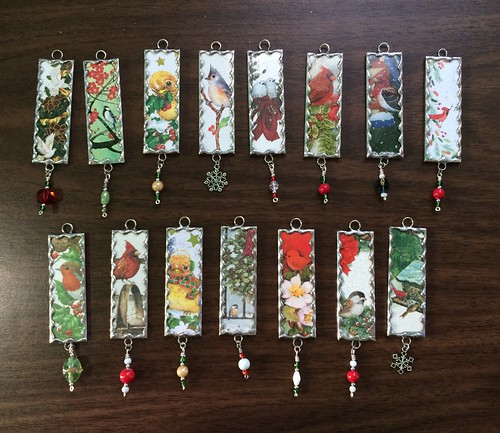
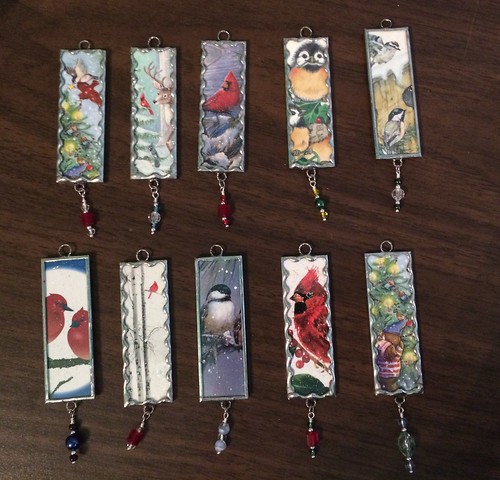
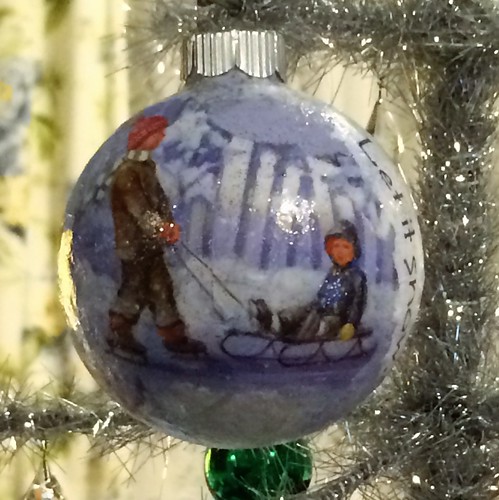
I worked on decoupaged ornaments today. I have a Ziploc bag full of Christmas cards that I think would be good for this method. Today, I pulled out three of them and made these ornaments.
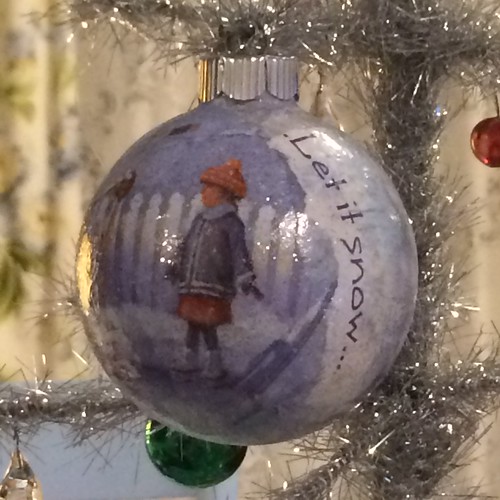
This is the front of the ornament I call “Let it Snow.”
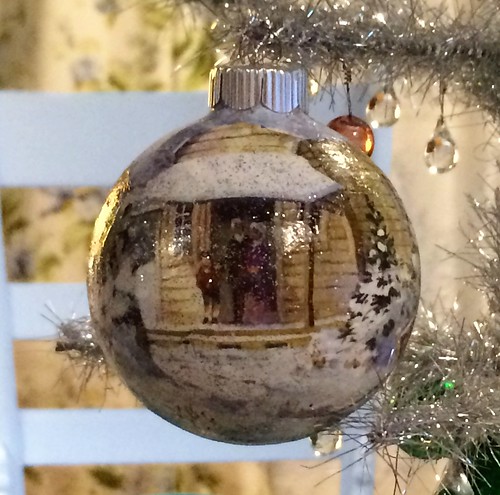
And the back…
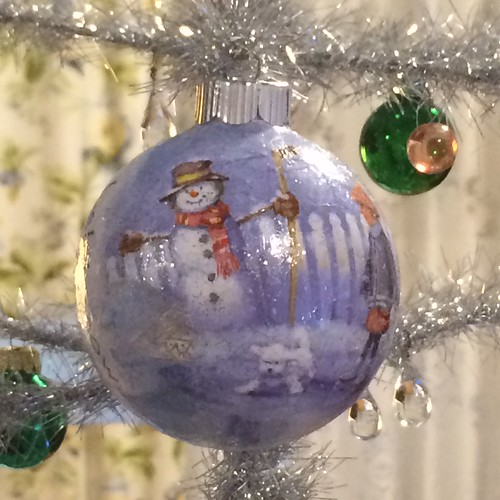
The Christmas card I used for this ornament had enough pictures that I could add this part to the right of the snowman.
The front of “Sleigh Ride.”
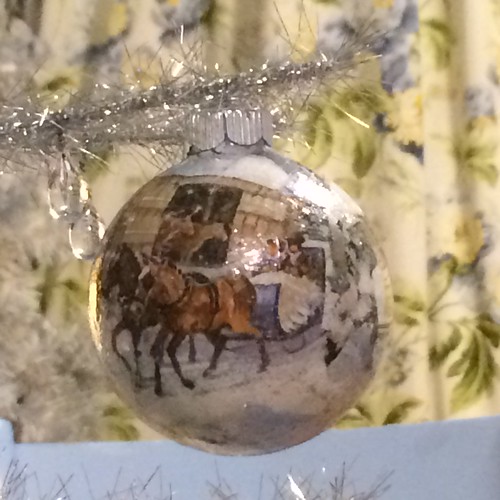
And the back…
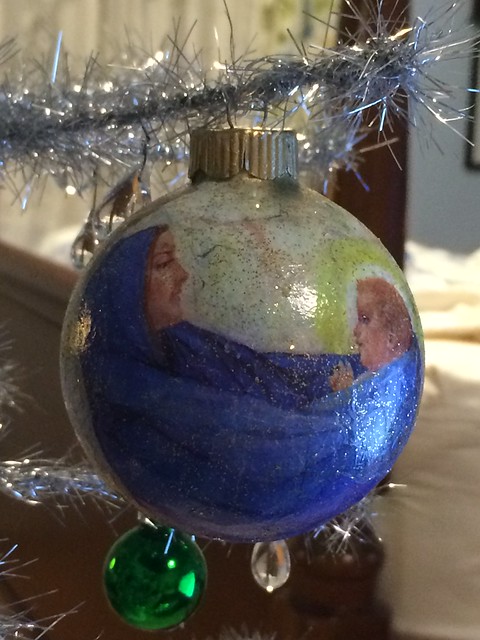
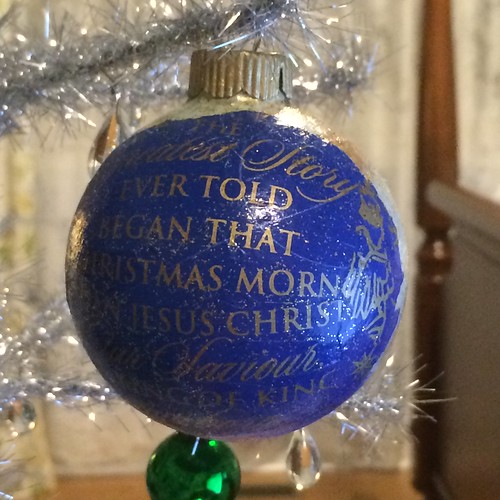
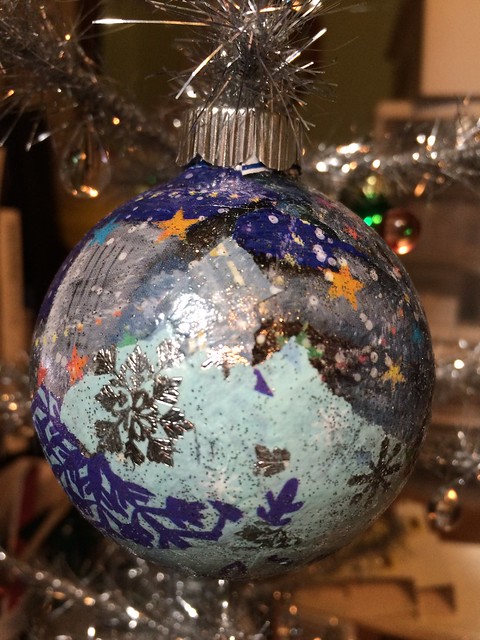
And I call this one “Blue Nativity.”
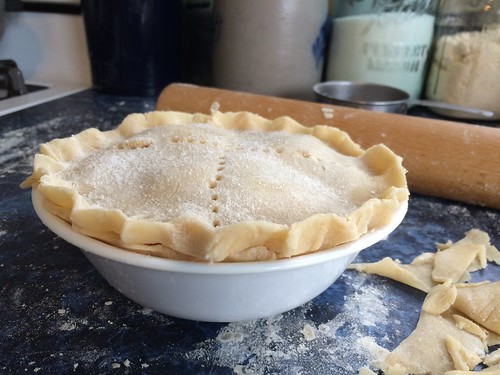
Not sure what I’ll work on tomorrow. I’ve been wanting to get back to my Putz houses. I’ll let you know.
~~Rhonda
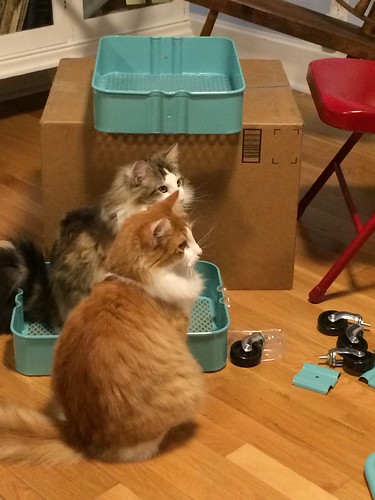
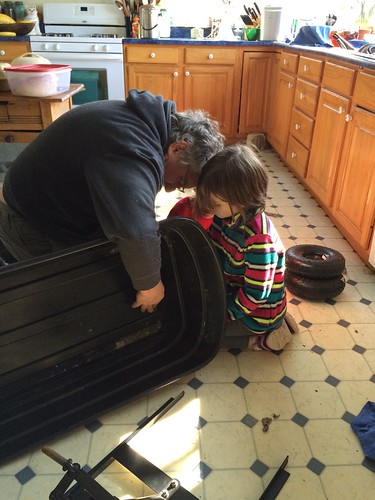
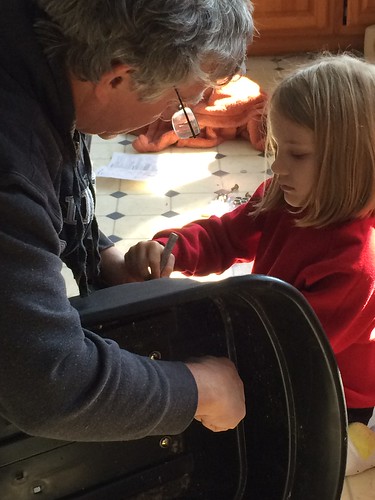
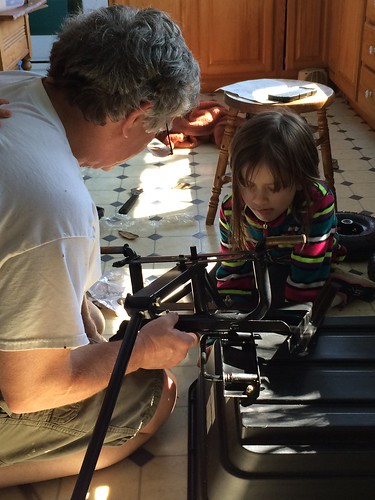
While the twins were here yesterday, they helped Pa put together the garden cart he received at Christmas. It was quite a project!
Rose Red (looking at the instruction manual): “Which of these is English and which is Spanish?”

Pa: “Where do these holes go?”
Snow White: “PA! Look at the instruction manual!!”
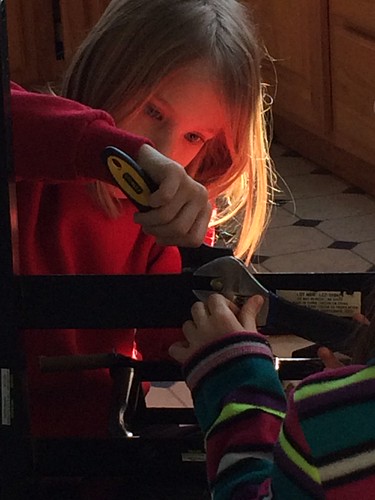
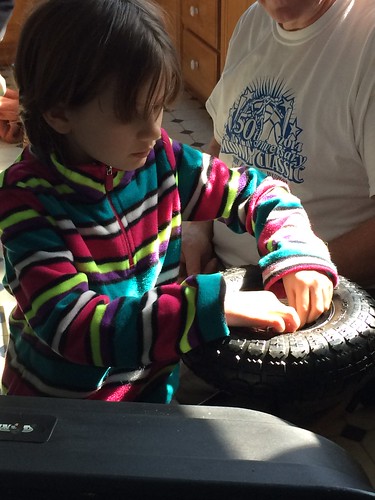
Snow White: “I never got to use a wrench before!”
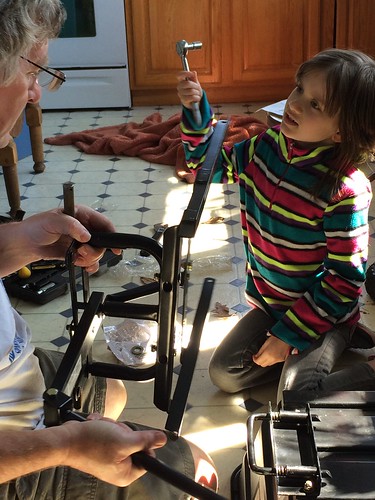
Snow White: “This is like we learned in first grade. First things first. First we work, then we play!”
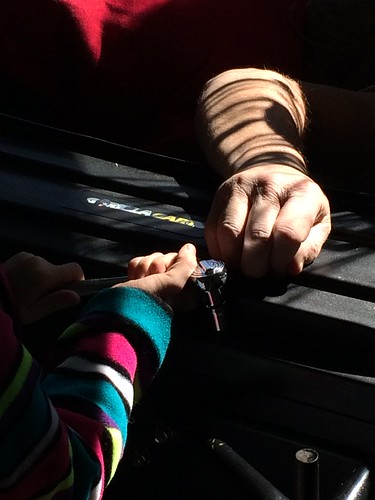
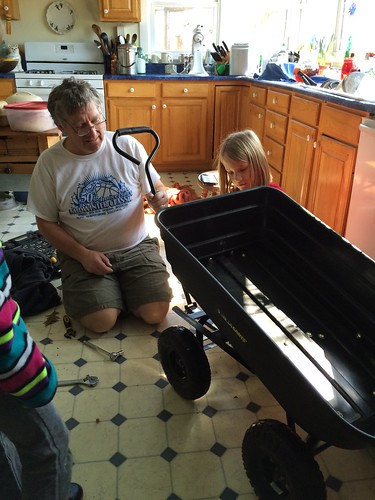
Pa’s patient hands…Grand’s eager helping hands…
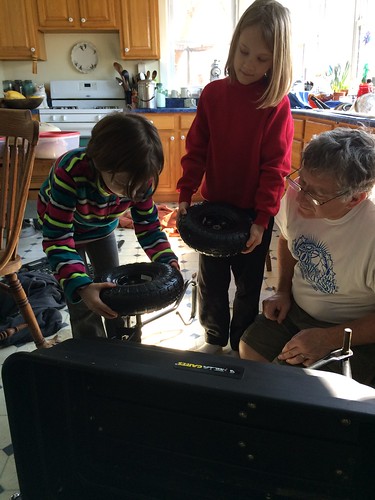
They learned about nuts and bolts and washers.
Pa: “Zero spare parts left over.”
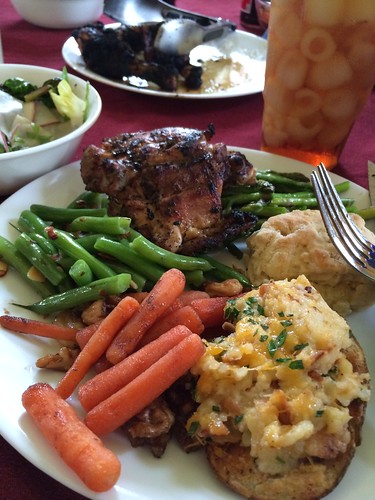
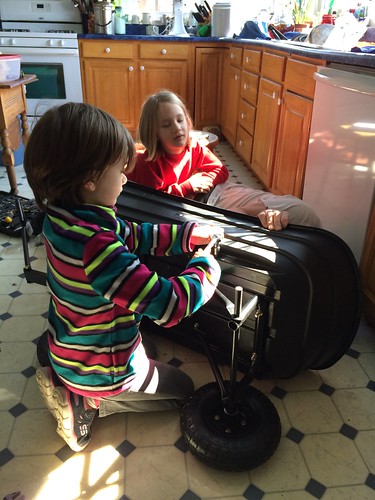
Time to play…
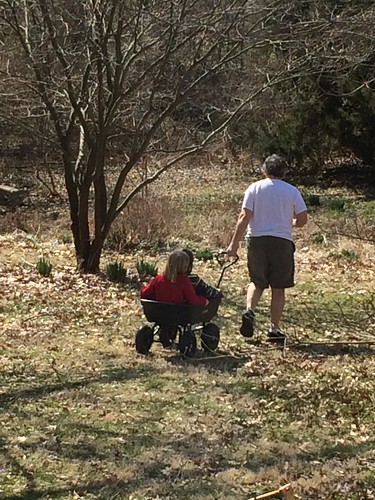
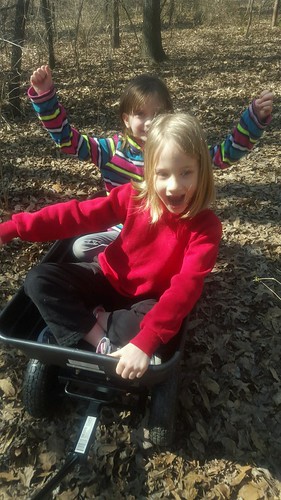
Thanking God for the wonderful gift of grandchildren!
~~Rhonda, AKA “Ma”
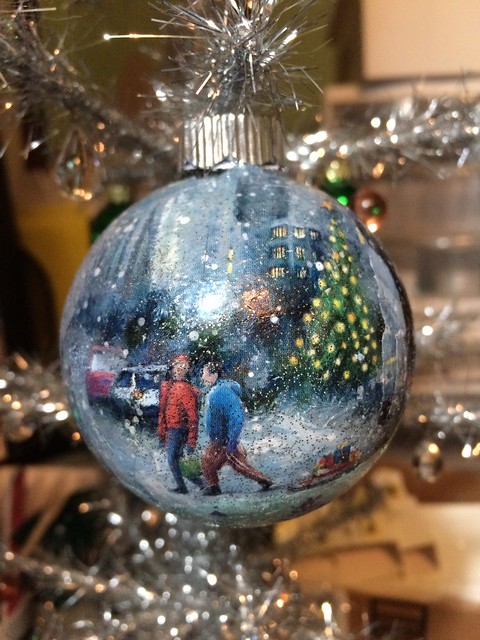
This week I made two new decoupaged ornaments. These are made with pictures from Christmas cards.
The first one is a city scene with a couple pulling a sled piled with gifts. This is the front…
…and the back.
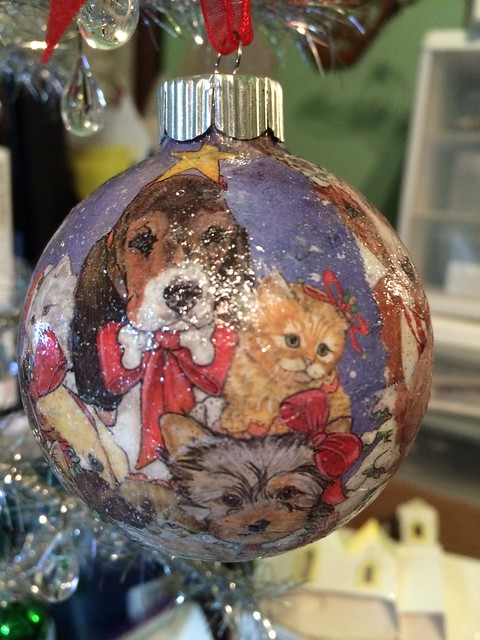
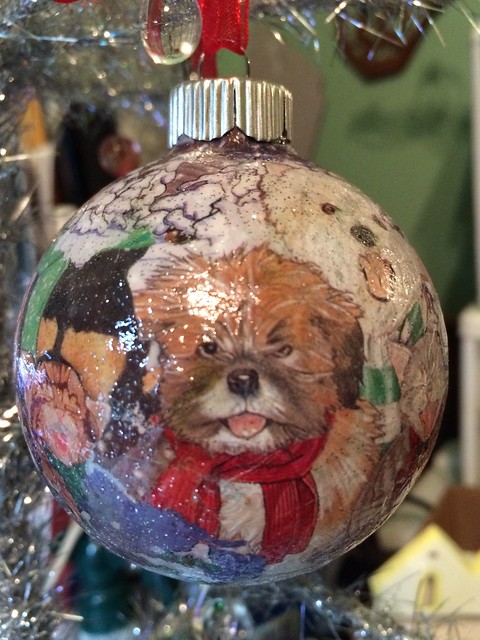
The second one has dogs and cats on it. These pictures came from two different Christmas cards.
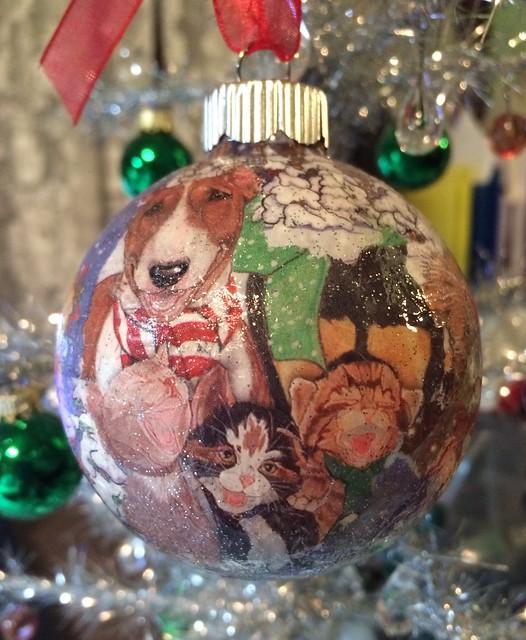
I wrote a tutorial for decoupaged ornaments in 2012. Decoupaged Ornaments Tutorial. Reading over it now, I find it inadequate. I’ve learned a lot since then and have some tips that help produce a nicer looking ornament. I will work on a new tutorial and post it soon.
~~Rhonda
February 20, 2016 – 12:58 pm
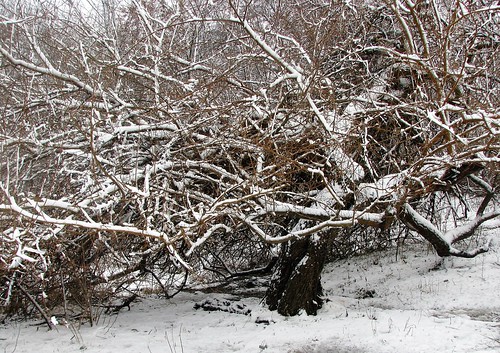
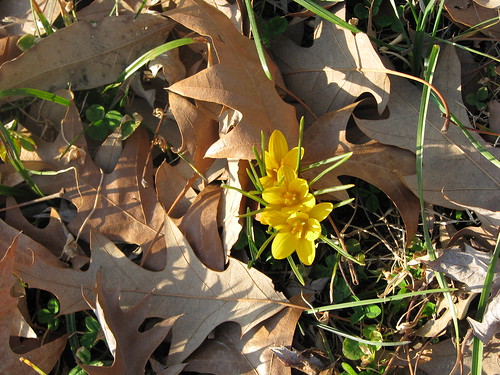
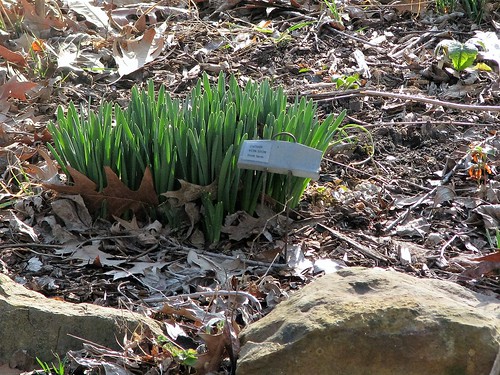
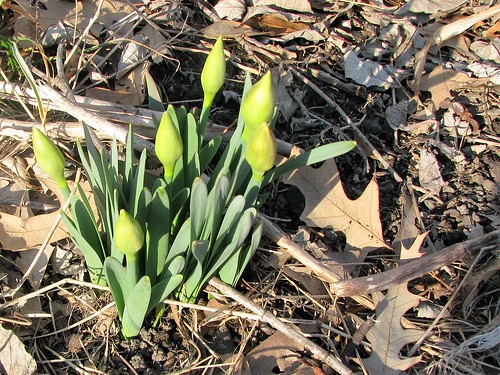
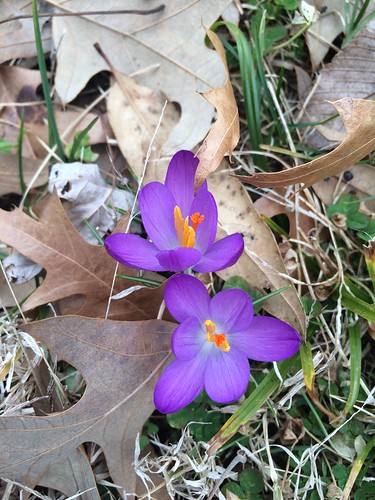
DH found these in the back yard yesterday. I am so happy to see them!
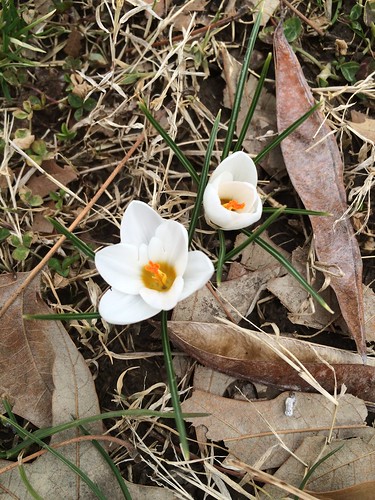
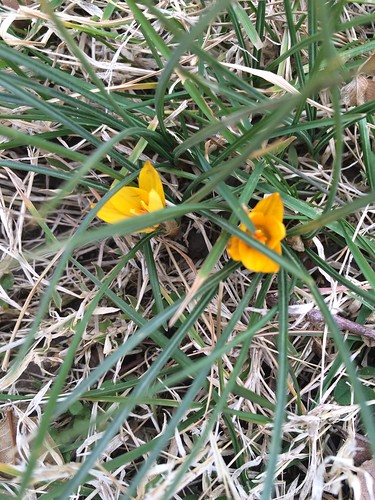
So refreshing to see the beautiful colors of crocus blooms.
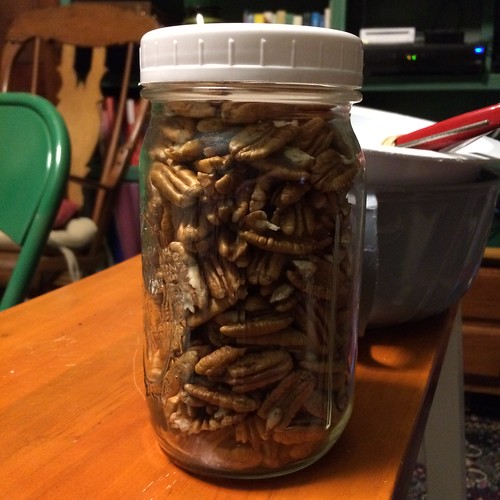
In the evening, Middle Daughter and I caught up on several episodes of Top Chef. A friend gave us ten pounds of pecans, so while I watched, I picked pecan meats. Got a quart with lots more to crack and pick.
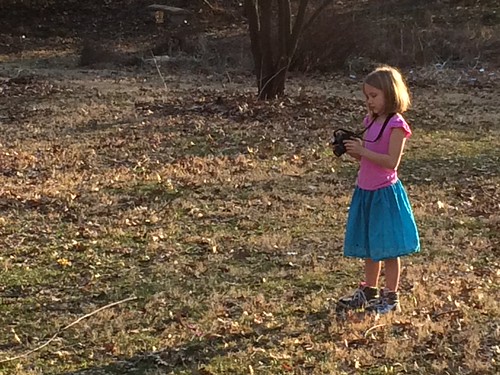
The grands are here today and the weather is beautiful. I think we’ll have some fun!
~~Rhonda
February 11, 2016 – 3:16 pm
Wednesday afternoon, my friend Tricia came over and we worked on picture puzzle blocks together. I made a set four years ago. The tutorial is here:
picture puzzle blocks
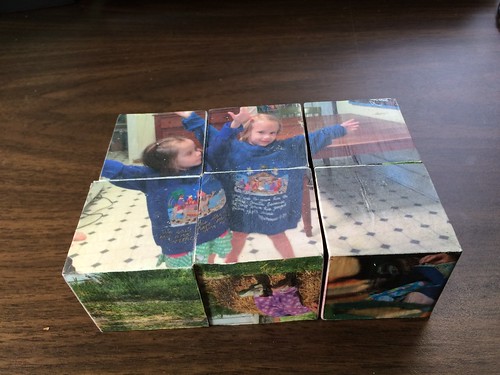
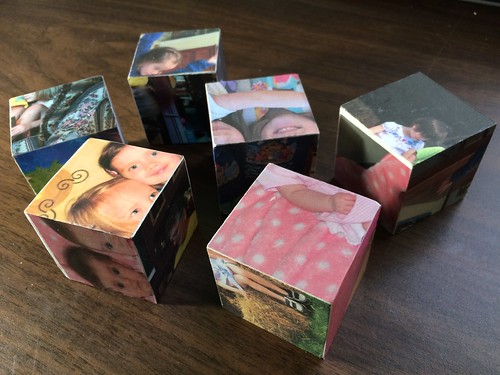
This time, I made a set with pictures of the twins. The blocks still need another coat of Mod Podge and then a sealer. I’ll get to that later today. The finished size for this puzzle is six inches by three inches, using two inch square blocks.

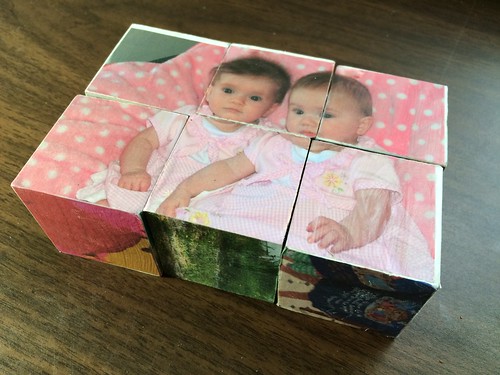
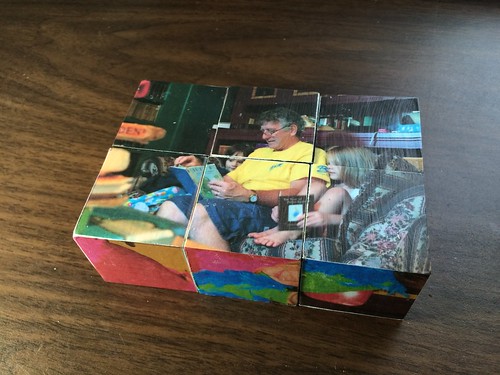
This one shows what happens if the picture isn’t cropped to avoid having someone’s face caught in the wrong spot. This picture had been cropped previously and then saved, so I didn’t have the original. I had to work with what I had. But I love the picture, so used it anyway. If these were gifts for children, they wouldn’t mind, or even notice, probably.
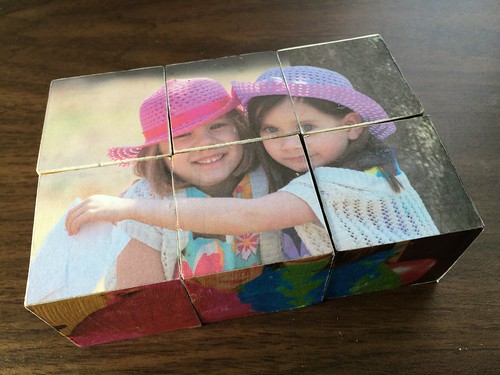
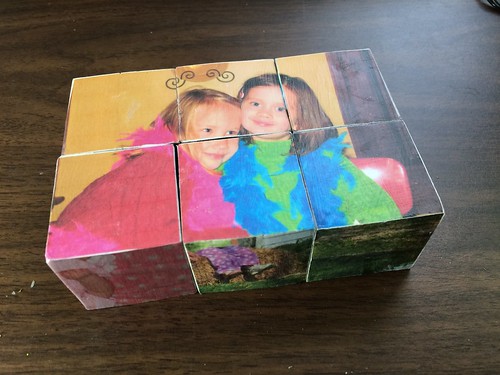
This picture shows Snow White and Rose Red wearing Christmas sweatshirts I made for DH and our children about 25 years ago. Snow White (on the left) is wearing the one her daddy wore and Rose Red is wearing the one her grandpa wore.
Your turn!
~~Rhonda