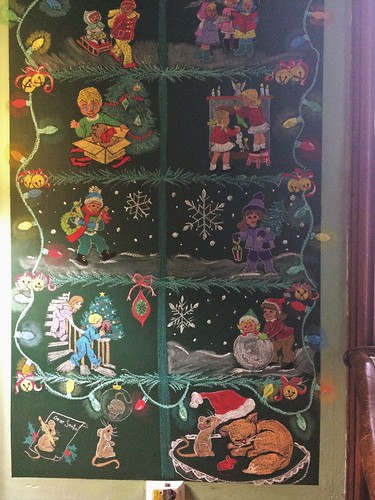
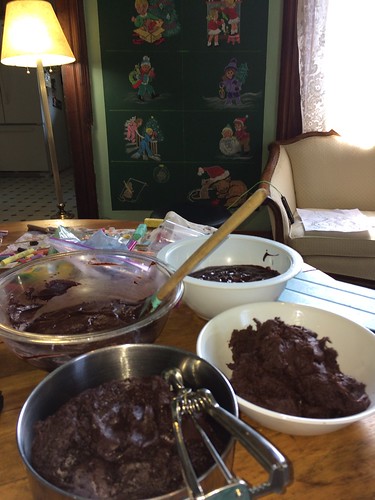
I’ve been meaning to post but am so busy that, by the time I can, I am too tired to think about it. But I’ll take a stab at it now and see if I can get something coherant up. As most of you know, this is the busiest time of year for us. We are focused on getting the house ready for our annual Christmas Open House. It takes a lot of work and a lot of coordinating of what we’re doing.
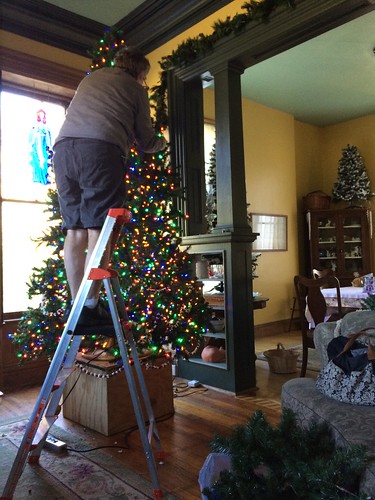
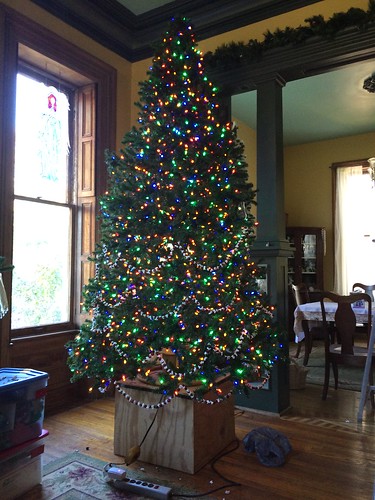
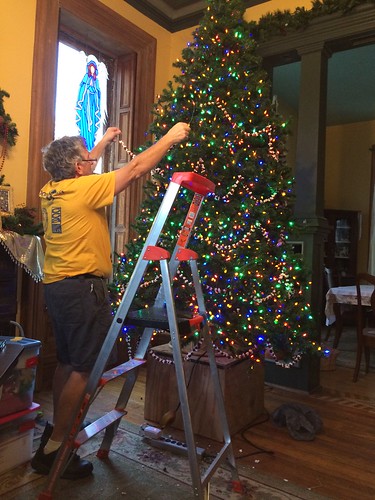
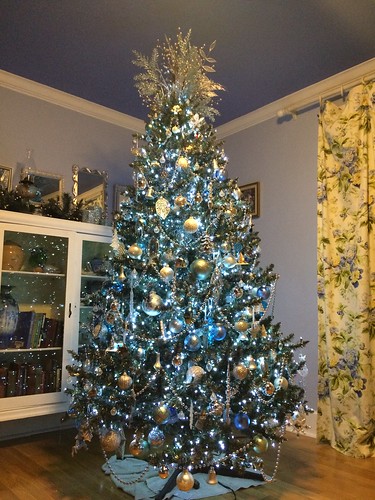
Today, DH worked on the 9′ living room tree. We’ve had incandescent lights on it for years. The past few years we have had trouble with it blowing a fuse, so this year we are moving to LED lights on this tree. Not a happy choice for me, because I think colored LEDs are a bit garish and bright. But it’s a big tree and needs a lot of lights, so I am willing to make the change. Besides, burning the house down doesn’t seem like a good trade off.
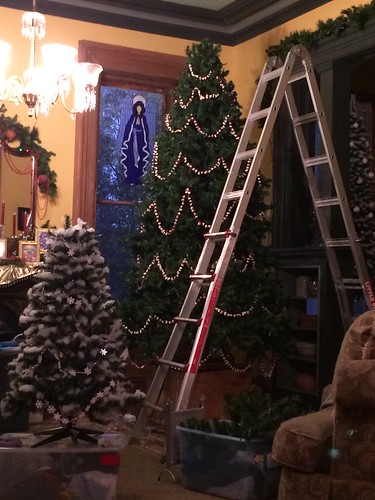
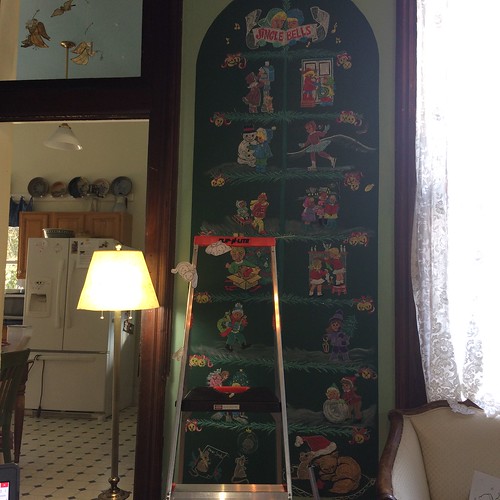
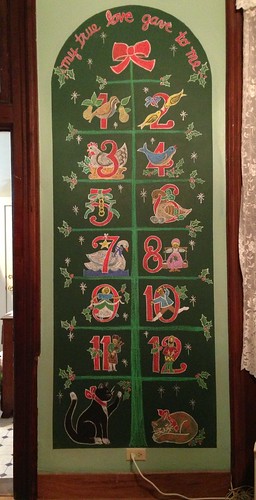
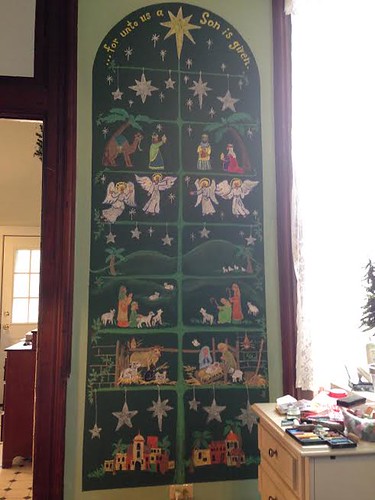
Because we aren’t having the upstairs open this year for the party, we are juggling some of the trees around. We won’t be using the second 9′ tree for the nativity tree in the library this year and it is already strung with LEDs, so we’ll use that in the living room. I took all the lights off the first 9′ tree and we stored the tree without lights. If we need it another year, we can string it with LEDs. I will miss the incandescents.
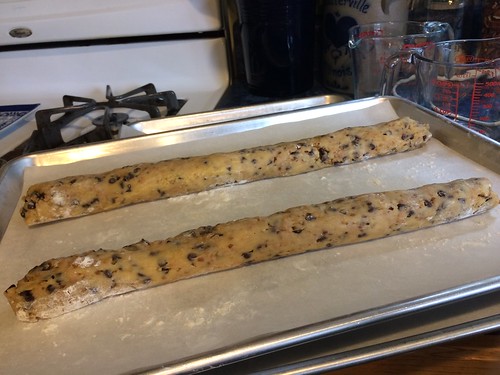
In the afternoon, a friend stopped by to help me string popcorn and cranberries for the living room tree. It was great to have time to chat and catch up with her. We managed to string four and a half bags of cranberries (out of six needed for the tree). A second friend stopped by unexpectedly and she gave us a hand, too. It’s a good feeling to have that much of the project done. I’ll finish the rest tomorrow or Friday.
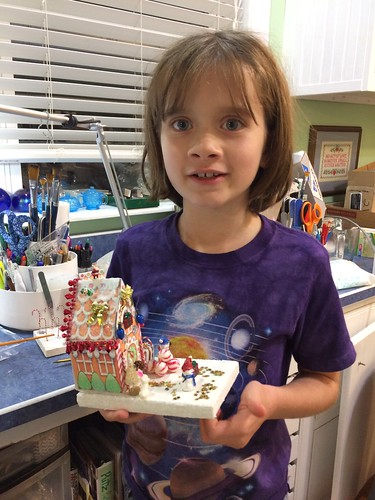
I have been asked to put some of my Putz houses and Christmas ornaments in a new gift shop opening locally, so I am going through my inventory and deciding what to send over for that. I am also trying to make some new inventory so I don’t have to take too much out of my Etsy ChristmasNotebook shop.
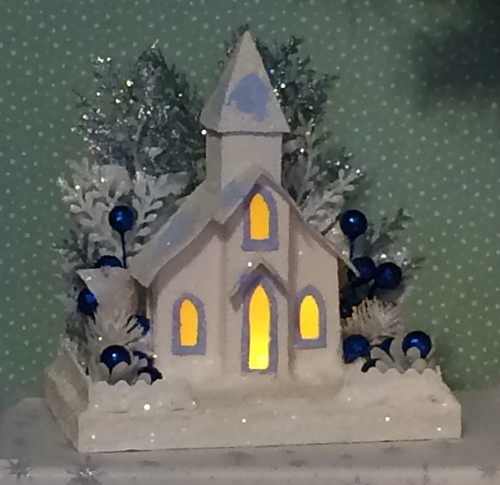
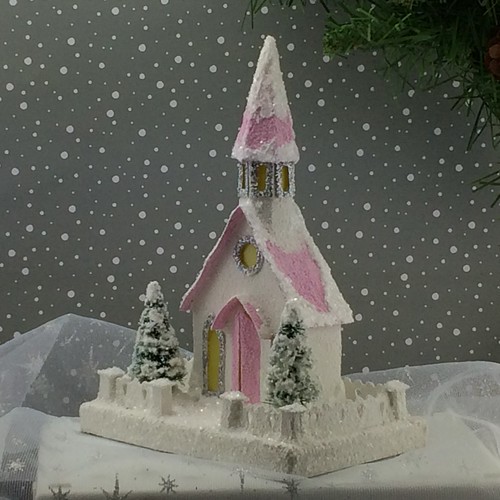
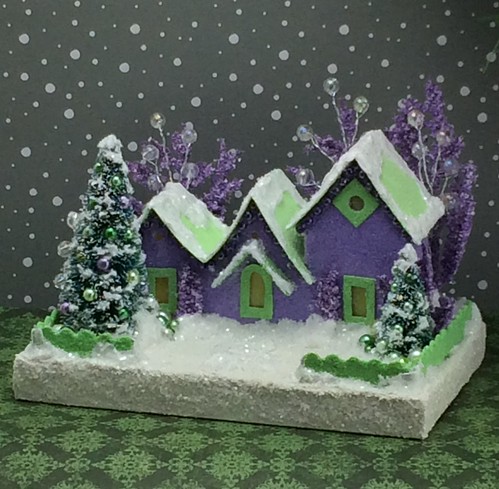
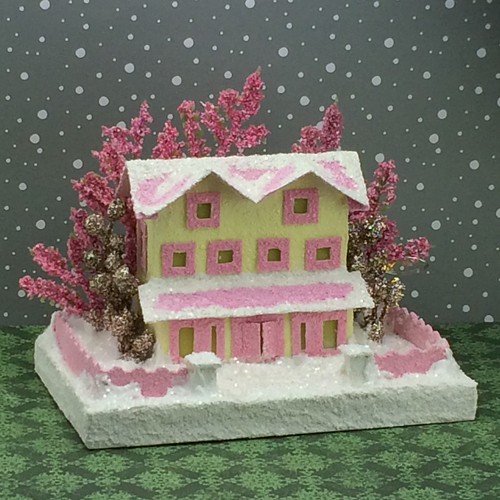
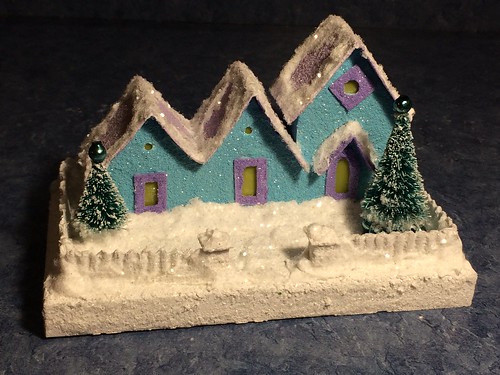
A friend stopped by to pick up a special order today. She wanted three yellow and grey houses on one base to use below a table top tree. Nothing green. The ivory colored bottle brush trees were perfect for this project. I am very happy with the way it turned out.

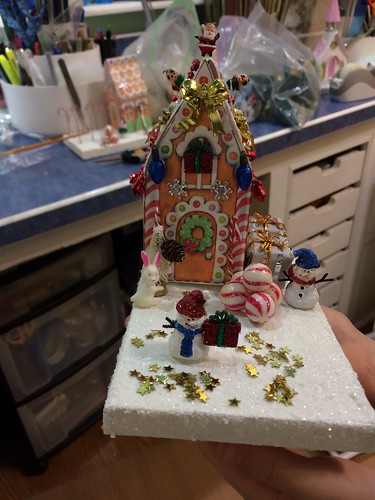
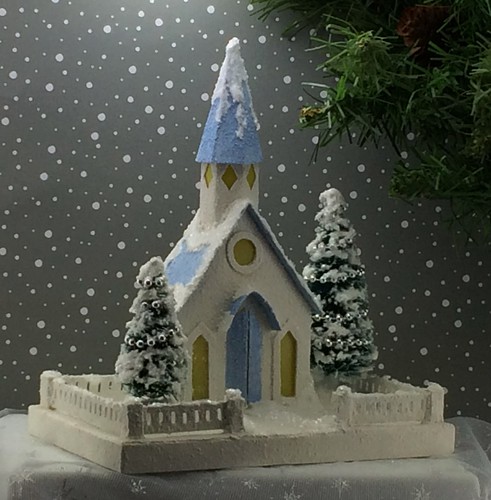
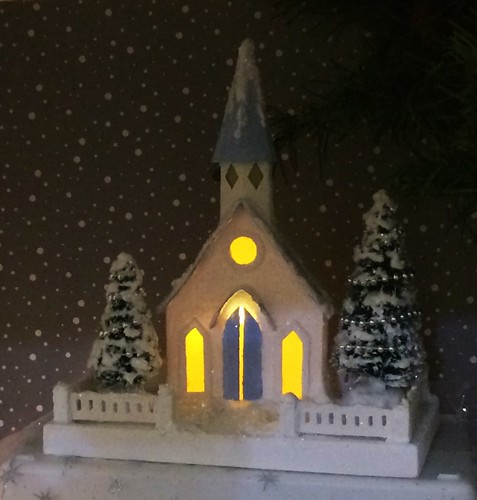
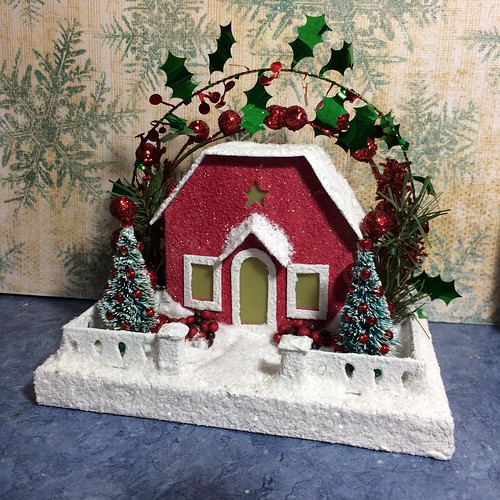
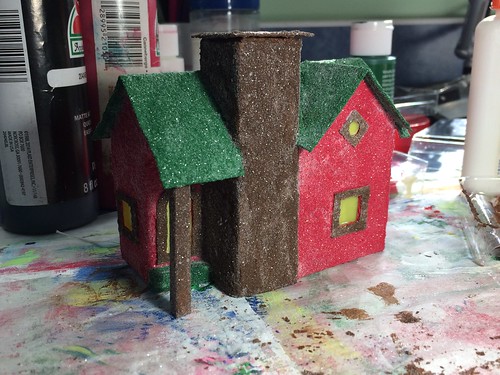
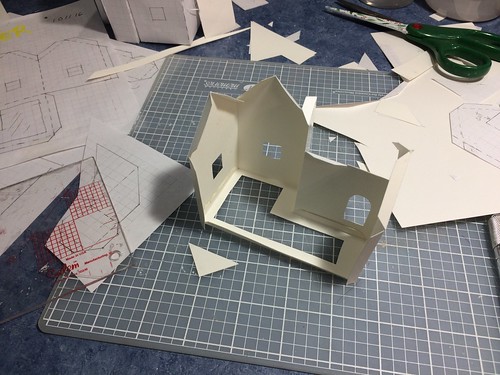
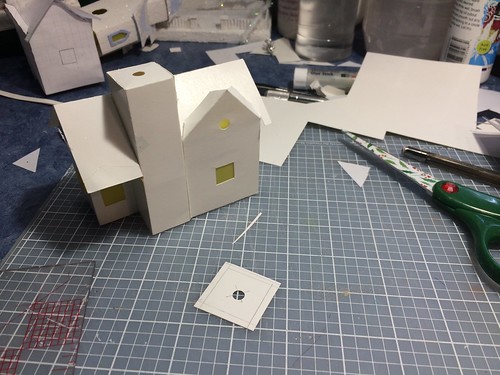
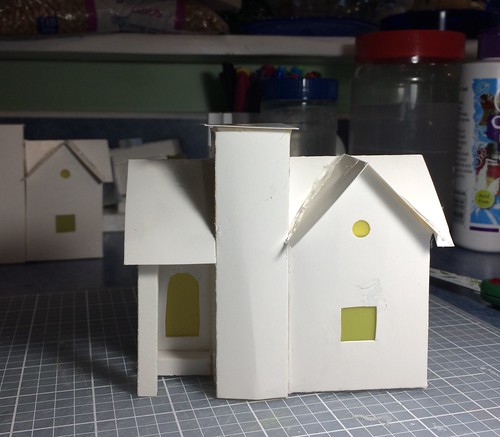
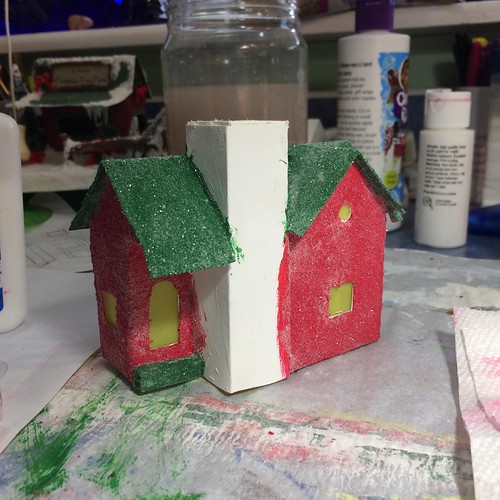
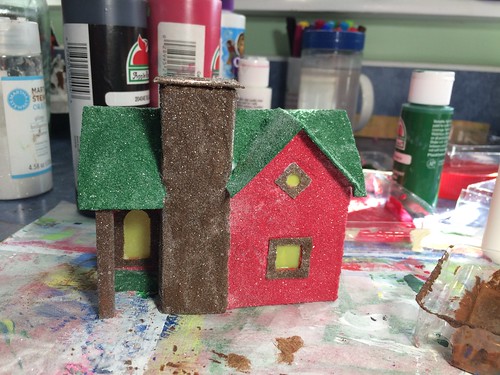
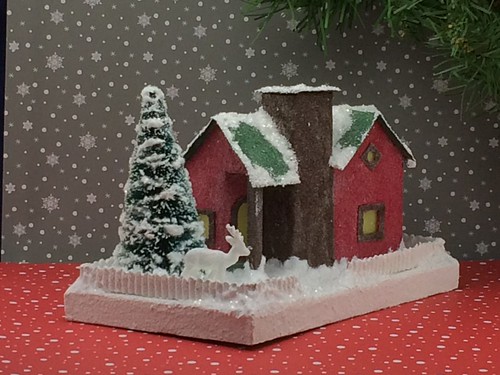
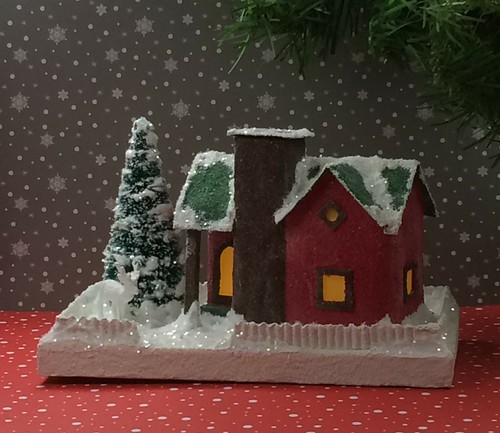
I finished this little Putz house this week and it is posted to my Etsy shop.
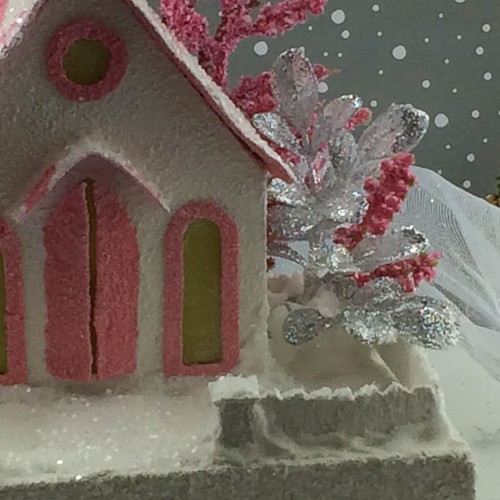
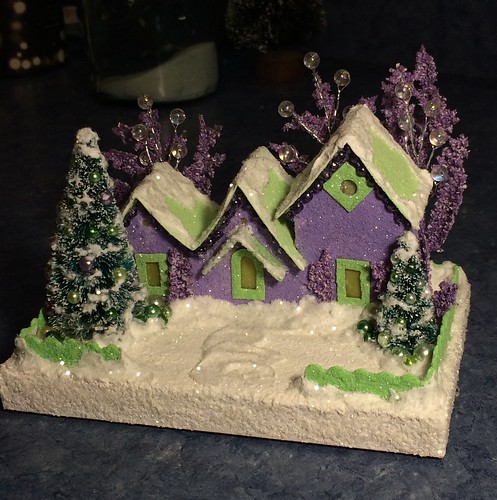
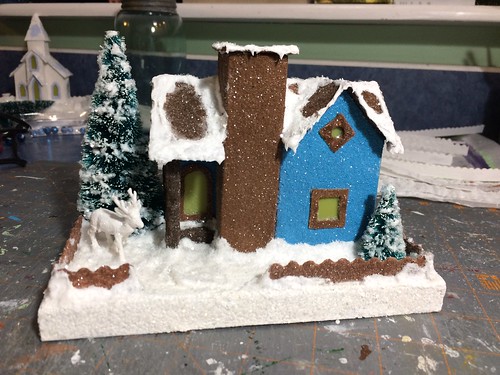
I also made this little house. I like it so much that I’m keeping it for myself. But I will be making a few houses in that color to post to Etsy.
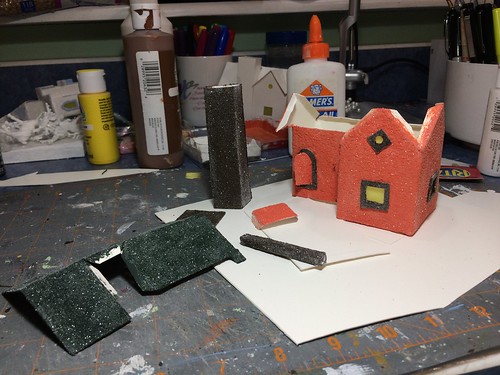
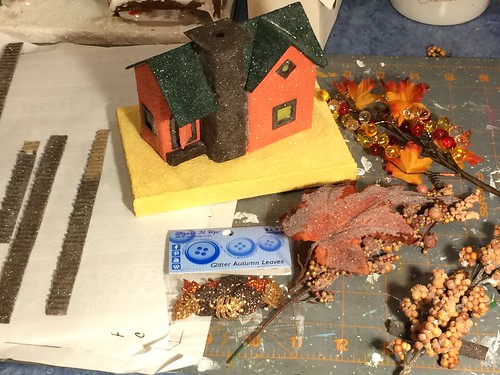
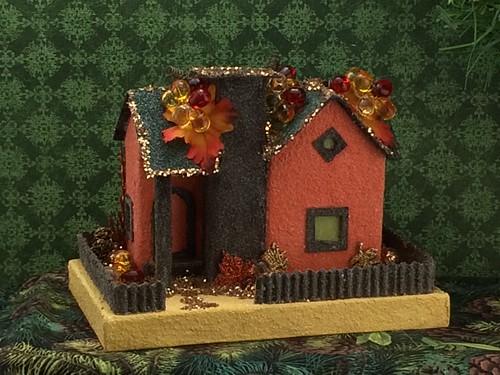
I finished the little autumn house.
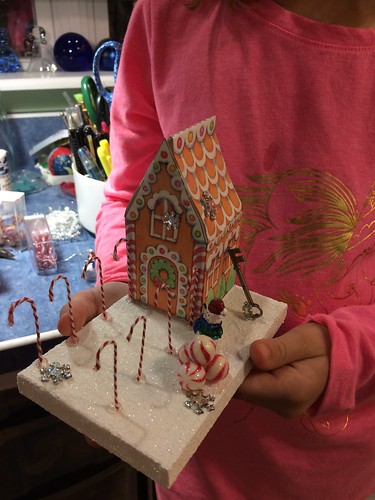
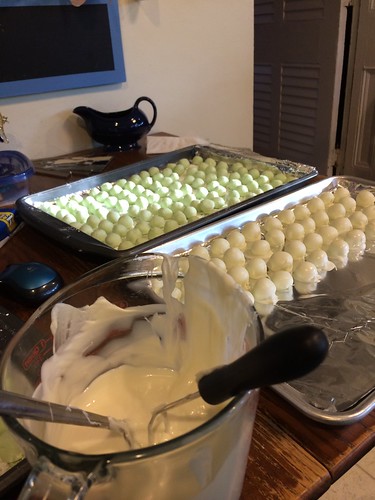
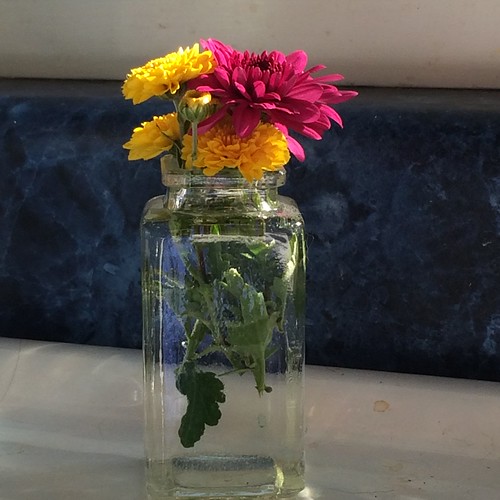
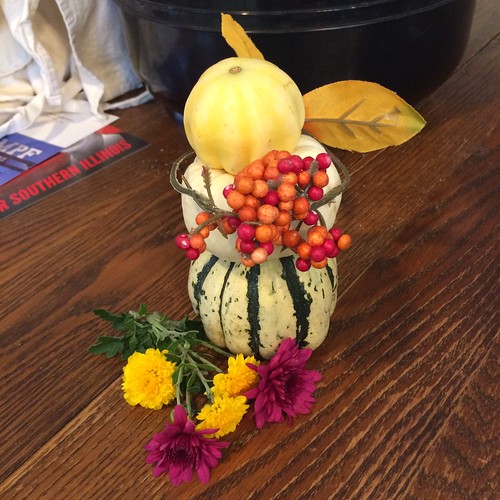
My dear friend Marsha and her husband visited last Thursday. Marsha and I crafted and Paul watched soccer. He grew up in Brazil so loves the sport. It is always refreshing to visit with them and I enjoyed the day a great deal. Totally forgot to take pictures, though! I did take this picture the night before their visit.
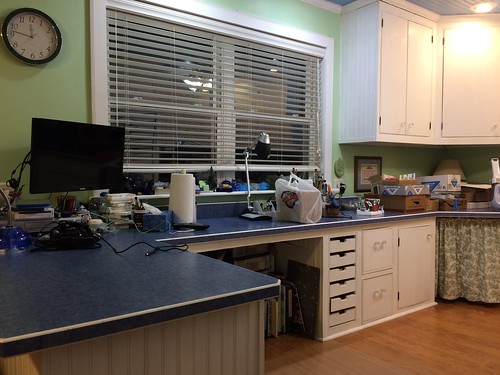
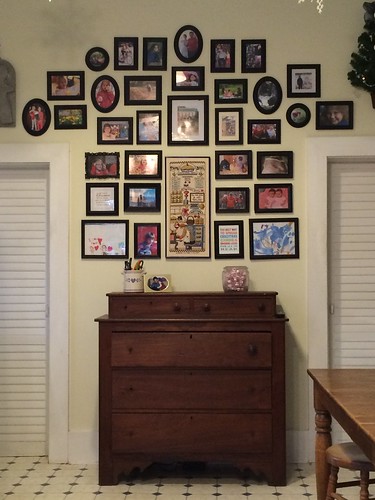
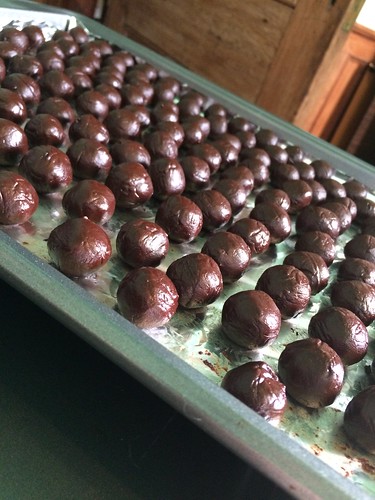
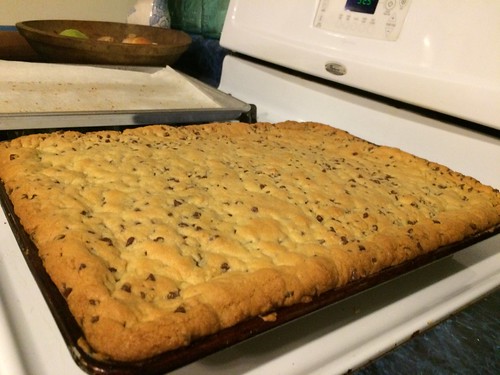
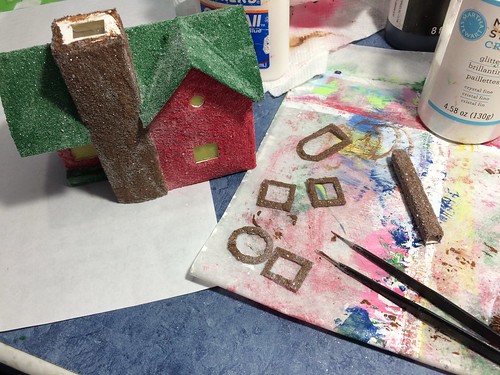
And that is about as clear as my craft counter ever gets. So it’s good to invite friends over. Gives incentive to tidy up!
~~Rhonda