Last night, I made Baked Chicken Parmesan and Baked Zucchini Sticks from the website Gina’s WW Recipes. The chicken was delicious and moist! I’m putting this on my company-worthy list. The family commented several times on what a good supper this was.
Baked Chicken Parmesan Check the link for Gina’s version. I changed a few small things.
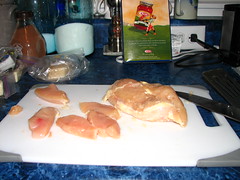
3 or 4 large chicken breast halves [about 2.5 pounds], sliced in half horizontally, to make 6 or 8 large flat pieces
3/4 cup seasoned breadcrumbs
1/4 cup grated Parmesan cheese
cooking spray
3/4 cup shredded reduced fat mozzarella cheese
1 cup spaghetti or marinara sauce (homemade or store-bought)
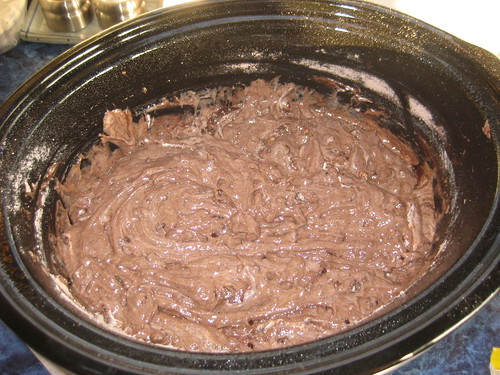
I didn’t have spaghetti sauce on hand, so I mixed half a 29 oz. can of tomato sauce and a bit of each of the following. I didn’t actually measure…
1 tsp. basil
1 tsp. oregano
1/2 tsp. celery seed
1 T. dry onion flakes
1/4 tsp. garlic powder
freshly ground black pepper
a dash of salt.
I had plenty of sauce left over. It can be used to dip the zucchini sticks, or saved for a later meal. I’ll use it to make pizza or put it on pasta.
Preheat oven to 450°. Line a large baking sheet with parchment paper. Or line it with foil sprayed with cooking spray. Or spray the baking sheet with cooking spray. Whatever you have available. But learn to use parchment paper if you don’t use it now. Saves a ton of cleanup!
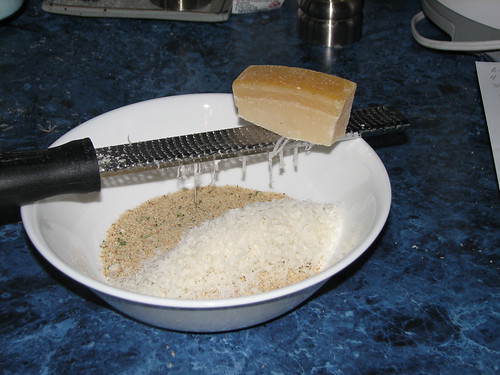
Combine breadcrumbs and Parmesan cheese. Sprinkle a little of the breadcrumb mixture on the baking sheet.
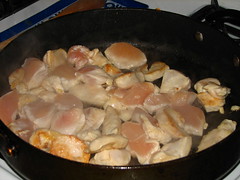
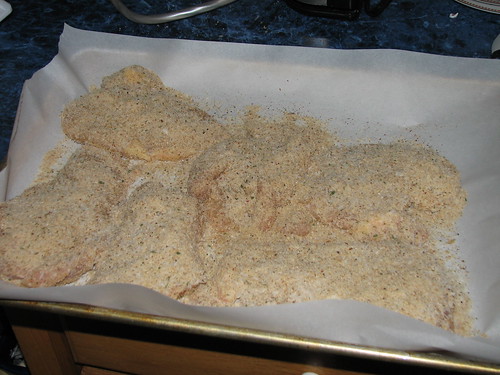
Spray both sides of the chicken with cooking spray, and dip into breadcrumb mixture. Place on the baking sheet. Sprinkle remaining breadcrumb mixture over the chicken.
Lightly spray chicken with cooking spray and bake in the oven for 20 minutes.
Flip the chicken and bake another 5 minutes.
Remove from oven, spoon sauce over the chicken and top with shredded cheese.
Bake 5 more minutes or until cheese is melted.
.
I used freshly grated Parmesan cheese. You may use the canned shredded Parmesan if that is what you have, but take my advice…get yourself a Microplane zester/grater and a block of Parmesan. Freshly grated REALLY is better. An entirely different flavor than processed shredded Parmesan.
Ready for the oven.
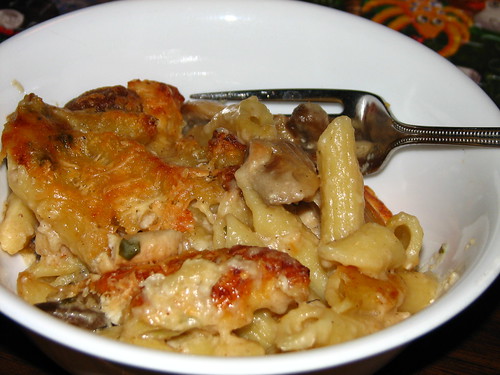
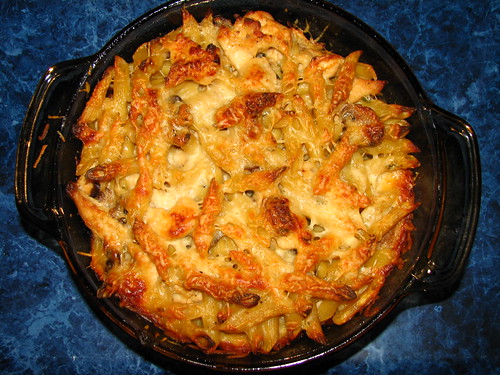
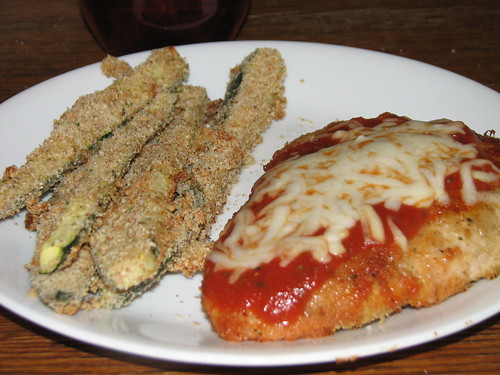
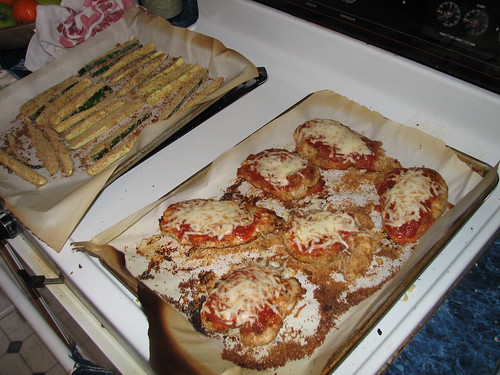
Baked Chicken Parmesan and Baked Zucchini Sticks, ready to serve.
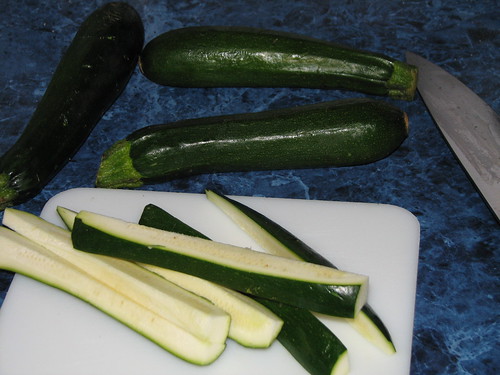
Cutting zucchini for baked zucchini sticks. Choose small young zucchini that are heavy for their size.
The zucchini sticks were also good! We had them with light sour cream. A nice green salad rounded out the meal. I had planned to serve corn, also, but thought we had plenty on our plates.
~~Rhonda