When crafting Putz houses (or little glitter houses as they are also called), the details are up to you. These little buildings have their own charm, from the simplest to the most ornate. When crafting your own, you are free to detail and embellish them as little or as much as you like.
I have discussed making fences for Putz / little glitter houses in my post “Tutorial for Making Fences for Putz Houses.” The addition of fence posts for Putz fencing adds another layer of detail.
For a fence that is made from a 1/2″ wide strip of cardboard, I make posts that are 5/8″ high and usually 1/4″ wide on each side. That can certainly be varied. I’ve made fence posts in other sizes, but for the purpose of this tutorial, they will be 1/4″ on each side.
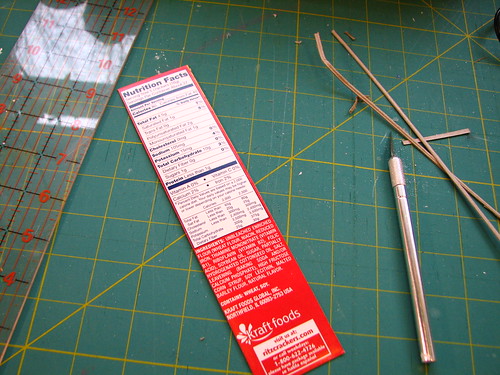
I use cracker/cereal box cardboard for this project. It is thin enough to fold well, but thick enough to hold its shape. This piece is from a Ritz cracker box. The printed side will be folded inside the fence post, so there is no need to paint over it with a base coat. The first thing to do is trim the cardboard piece. Cut off any folds in the cardboard, making sure to keep the cut line straight and the long and short sides at a right angle.
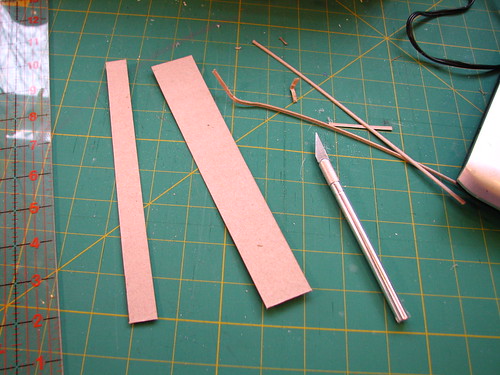
Cut a strip of cardboard 1 and 1/8″ wide and as long as you like. The extra 1/8″ is for a tab to glue the post shut. I make posts with and without the flap. If gluing with white glue, the flap is easier for me. If using my glue gun, not having a flap is easier, as the hot glue hardens quickly.
Cut 5/8″ pieces from the cardboard strip.
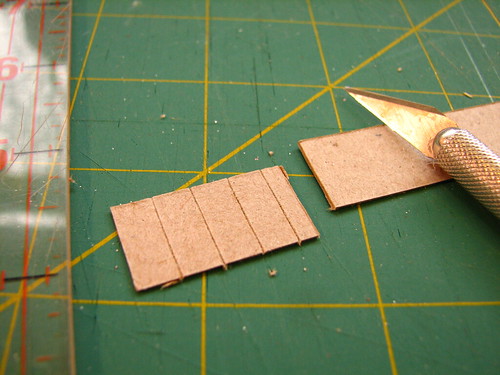
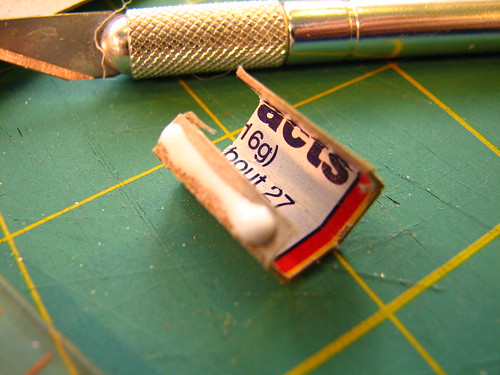
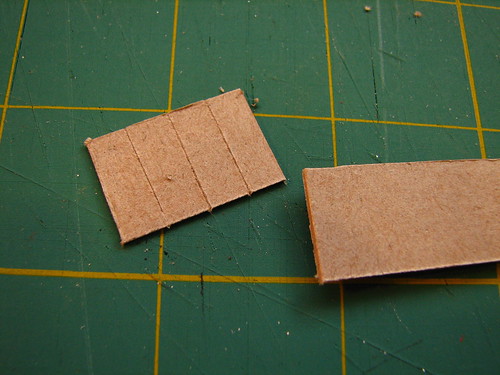
Score the cardboard in 1/4″ sections, ending with a 1/8″ piece. I use the back of the X-Acto blade for scoring.
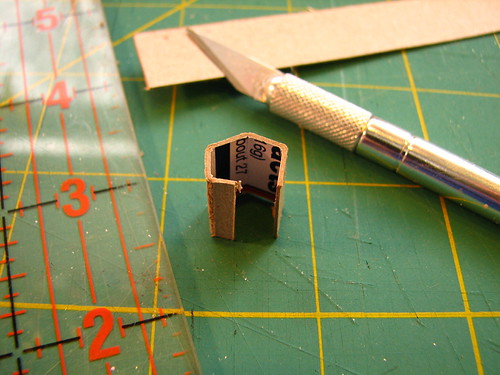
Fold along the crease lines. You should end up with this:
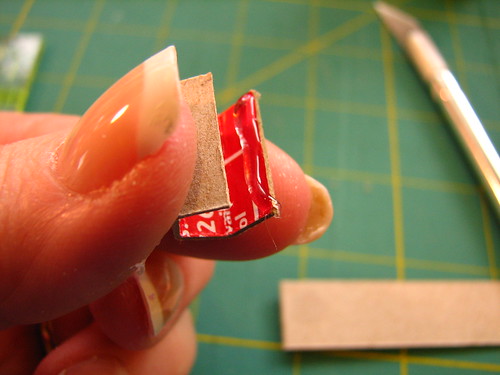
Add a line of white glue to the flap.
When using white glue, the post will have to be held together until dry enough to hold on its own. Doesn’t take long.
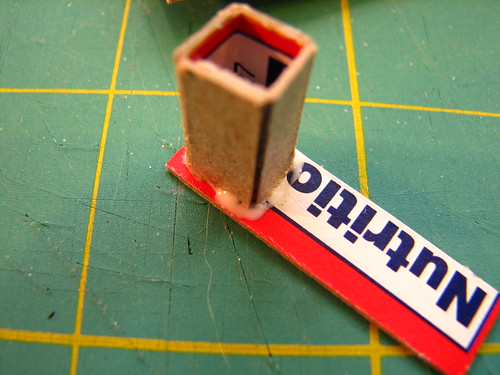
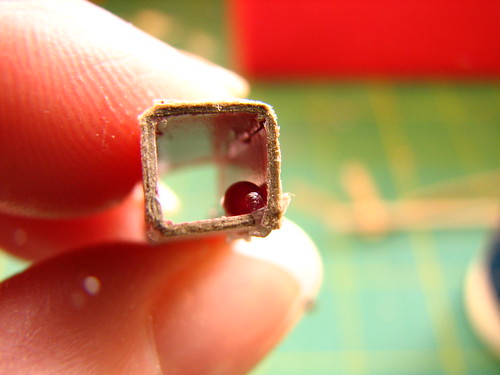
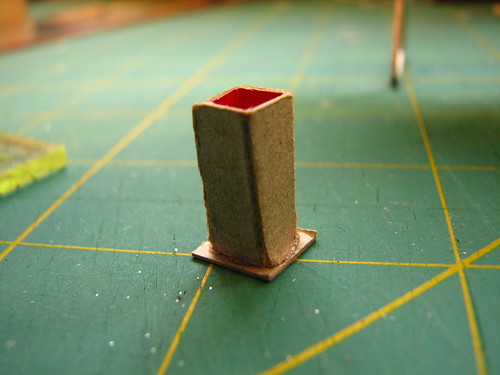
To make caps for the posts, cut a strip of cardboard just a bit bigger than the post is wide. Glue the post down.
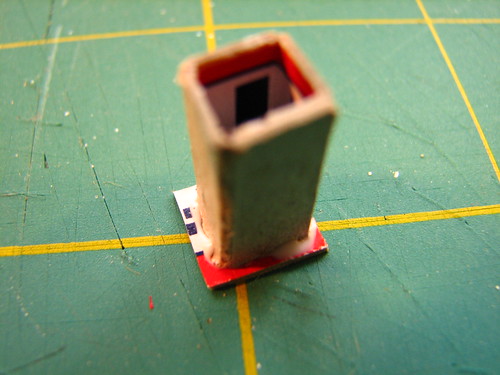
When dry enough to stay together, cut the end of the strip off.
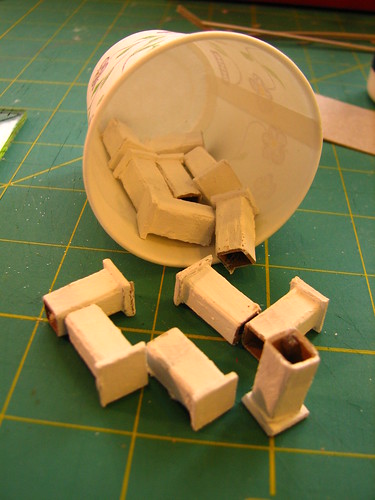
Give the posts a base coat of white acrylic paint. Soon you’ll have a nice stockpile for future Putz houses.
Whether to use white glue or hot glue is a personal preference. White glue gives you some wiggle room for getting everything arranged just right. Hot glue is now or never. It bonds so quickly that you may not have time to position the pieces where they should be.
If you prefer hot glue, cut the post pieces without a flap. These are 5/8″ tall and the sides will be 1/4″ wide.
Apply a line of hot glue just inside the edge of the cardboard. I use a small glue gun that produces a thin line of glue. Much easier to control than a big runny glob.
Quickly bring both sides of the post together to adhere the glue.
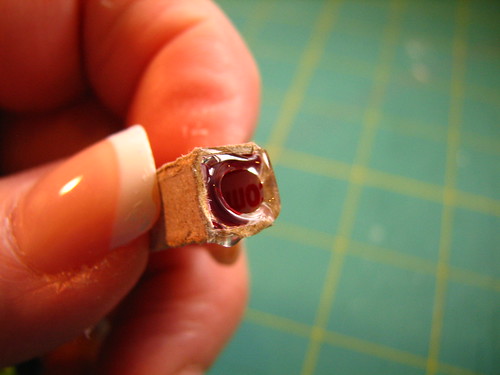
Prepare pieces of cardboard cut to the right size for post caps, then apply hot glue to one end of the post.
Stick the post onto the cap piece.
When bonded, cut the cap piece to fit.
White glue / hot glue…one isn’t better than the other. It’s all about which one you prefer. When making Putz houses, I prefer white glue for most applications, but do use hot glue for things that can happen quickly. Like making fence posts, gluing posts to the base, etc. I find white glue better for those things that need to be done carefully, like gluing roofs to the house.
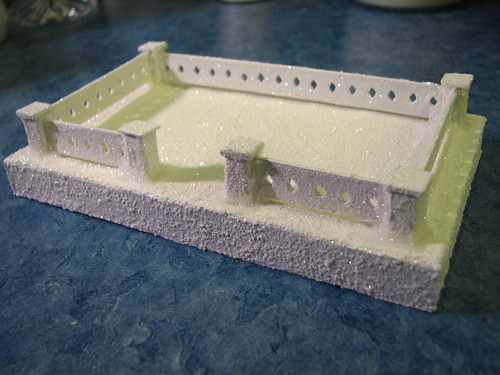
Once again, details make the post long! I’ll close here and put up another post with helps and hints about attaching fence and fence posts to the Putz base. This is what we’re going for…
When I have the next post up, I’ll link it from here.
Here are links to some of my other tutorials for making Putz houses.
Making Putz house ornaments from Christmas cards
If you would like to see more of my Putz houses, as well as Christmas ornaments I have made from upcycled holiday cards, please visit my Etsy store.
~~Rhonda



2 Trackbacks
[…] Cute, huh? I love this fence. It is so easy to make. If you are interested, here is a tutorial for making these fence posts. tutorial for making fence posts for putz houses […]
[…] tutorial for making fence posts for putz houses […]