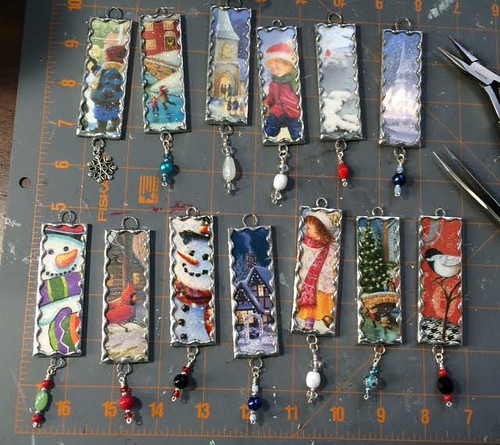
I have been using Christmas cards that were kindly shared with me to make some new shadow boxes and diorama ornaments. Following are a few of them. Note: the pictures don’t give a good sense of scale. These ornaments range in size from two inches to three and a half inches.
Tutorial for shadow boxes from Christmas cards: shadow boxes from Christmas cards
Tutorial for diorama ornaments: Christmas ornament diorama tutorial
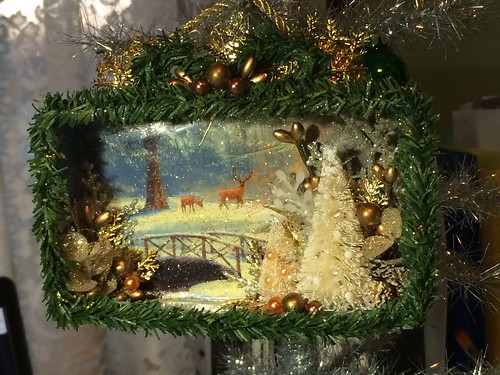
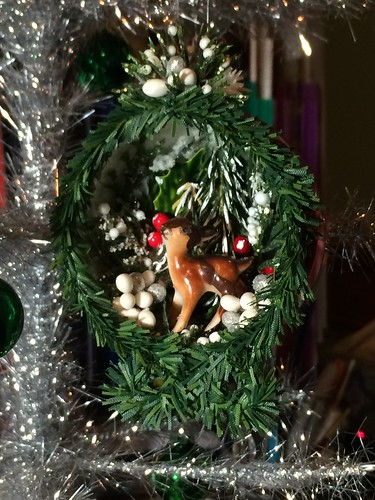
This Christmas card seemed to ask for copper colored embellishments. I have a smattering, so was able to utilize some of them on this project.
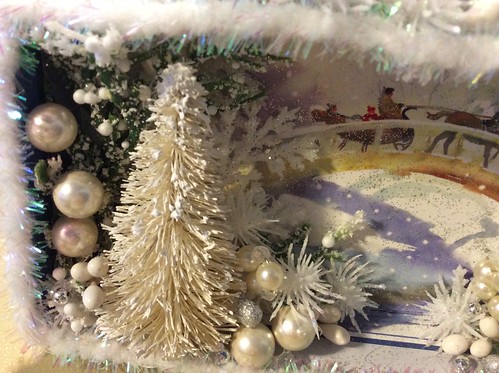
I always like the white snowy themed shadow boxes. The Christmas card used for this little box was perfect. The placement of the sleigh and bridge and the river running to the front all worked to make a pleasing scene.
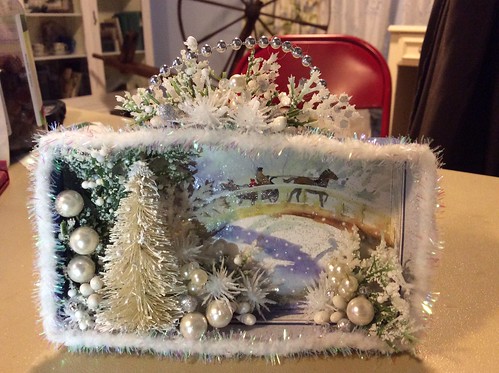
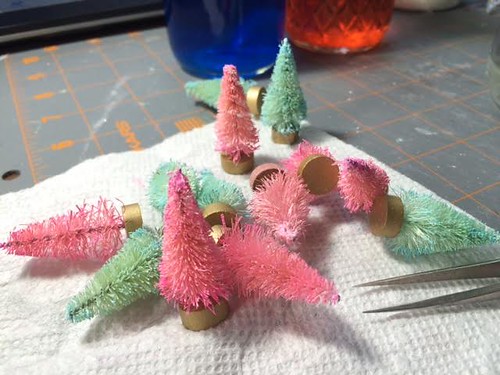
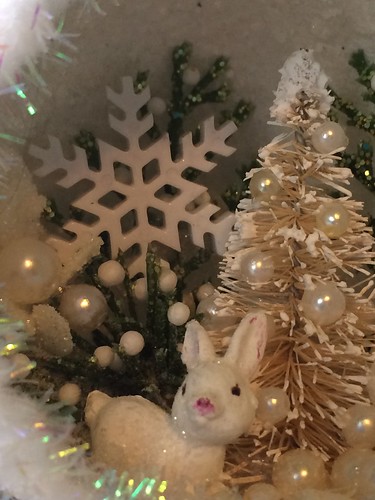
A close-up of the bottle brush tree and embellishments…
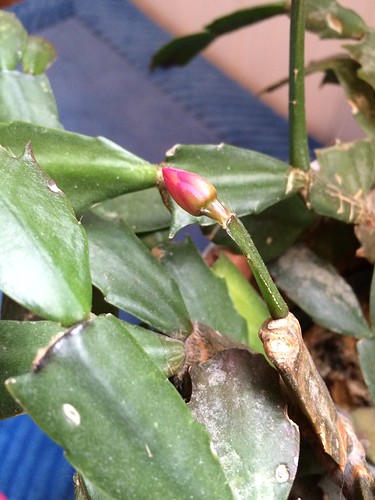
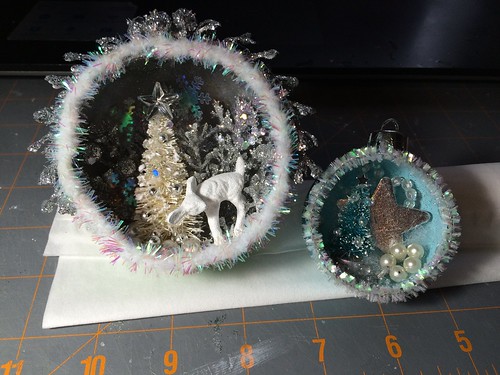
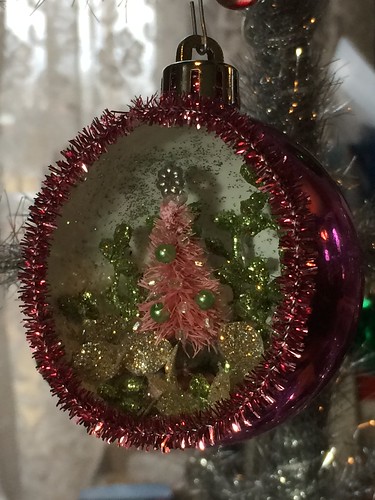
I thought this pink ornament needed a pink pipe cleaner trim. I had to order the right color so it sat aside for a few days until the order arrived.
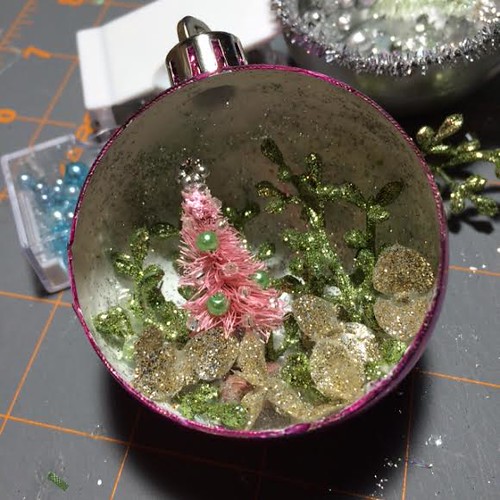
Finished. The tree topper on the little pink bottle brush tree is a spacer bead.
The ball for this ornament is three and a half inches wide. The bigger ornaments give more wiggle room for placing embellishments.
This diorama is in a two inch wide ornament ball.
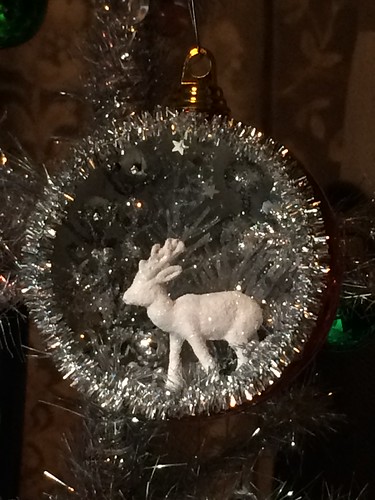
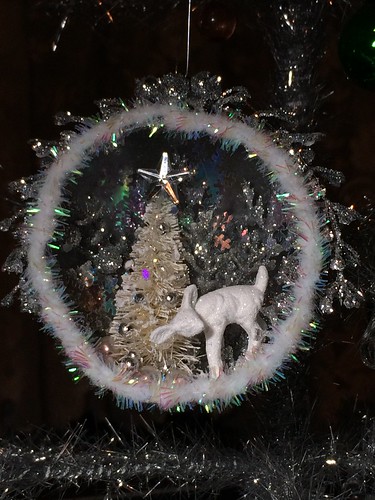
The scene with the large white deer is in a three inch ornament ball. The outside of this ball has white snowflakes on a dark blue background and a frosty beaded finish. It looks very nice with the white interior.
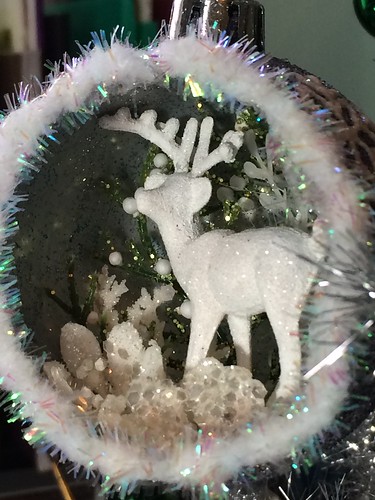
This ornament has a snowflake on a short chain, dangling from the bottom.
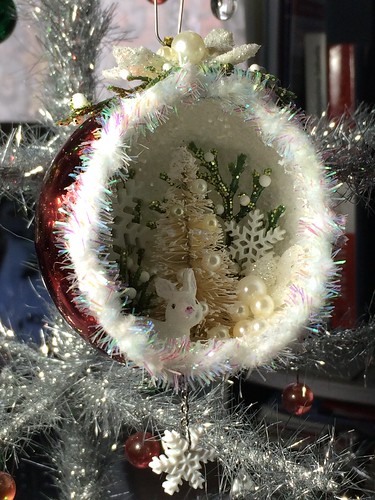
I painted the bunny white and, while still wet, doused him in fine white glitter. When the paint dried, I added the black eyes and pink nose with fine tip Sharpie felt pens.
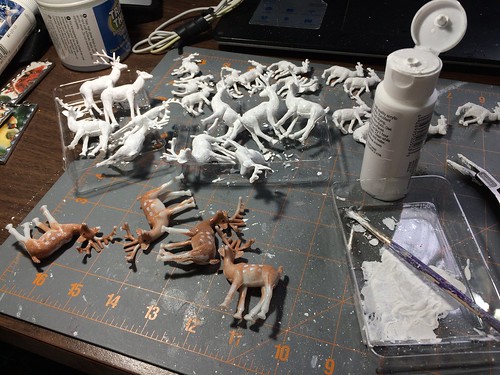
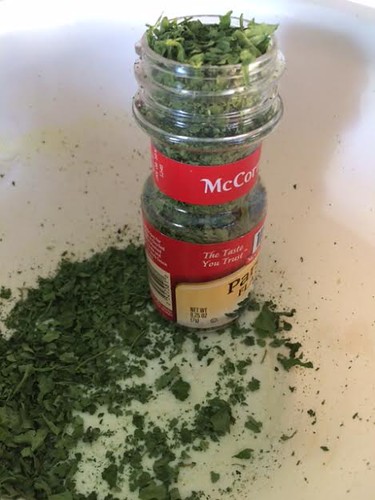
I spent some time online looking for items I can use in new ornaments. I ordered some mini deer, snowmen, and bunnies. Also some greenery and more pipe cleaners in new colors.
If you’re interested, I have a Pinterest board that contains a few links to places I’ve found that carry items I can use when making Putz houses or other crafts that use miniature figures or Christmas craft supplies. Follow this link:
Putz / Supplies
A piece of advice for those who want to collect embellishments for art/craft projects. Keep track of where you bought each item. I wish I had kept track of where my embellishments came from. It would make it easier to replenish the supply when I run out of a particular item. It’s a little frustrating to run out of a favorite embellishment and not know where to find it again. I have started a file in Evernote for just that purpose. I take a picture of the item, make notes about where it was purchased and how much it cost and the date I bought it. In Evernote, I can add tags and/or write a description in my notes of the item. That makes it is easy to do a search on my Evernote files to find what I need.
I hope you enjoyed the new ornaments. I’ll post again as I work on others.
My Putz Christmas card shadow boxes and diorama ornaments are featured in my Etsy shop. ChristmasNotebook
~~Rhonda