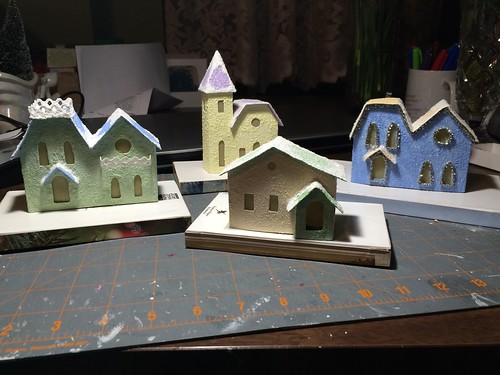
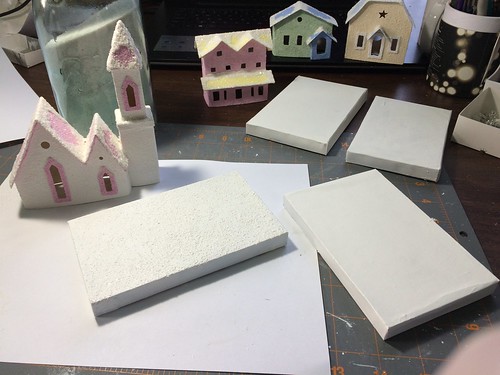
Today, I made bases for four Putz houses. That takes some time because the base has three layers of cardboard inside, with glue on both sides of each layer. It takes time to dry and cure. If a house or fence is glued to the base before it has dried, the base or fence may buckle and then dry that way. Not good.
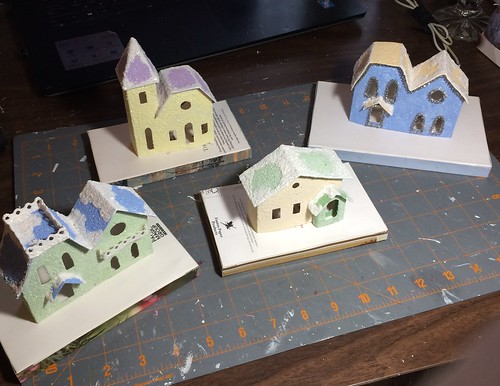
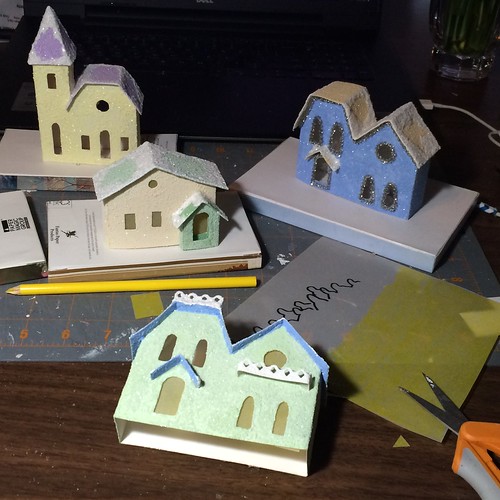
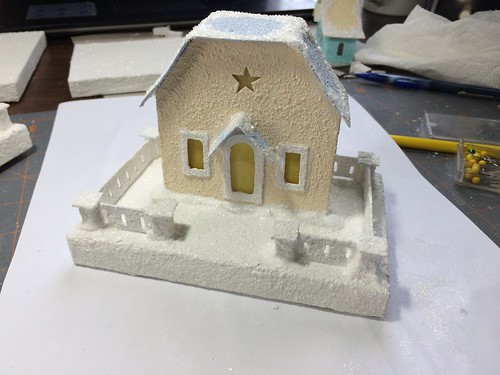
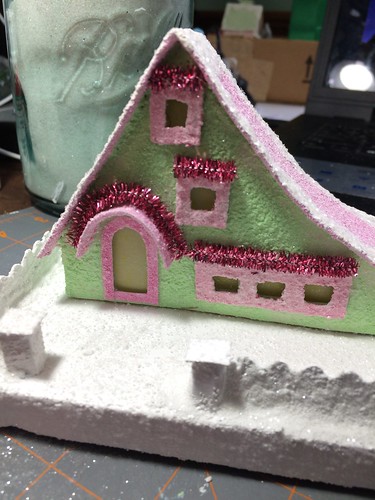
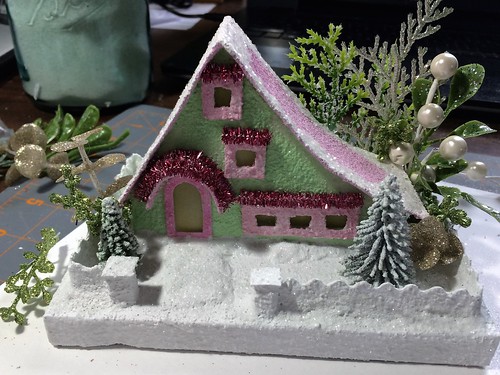
With the bases made and drying, I took time to give the little houses window panes.
 .
.
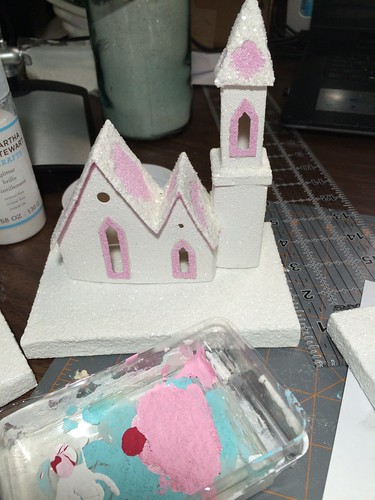
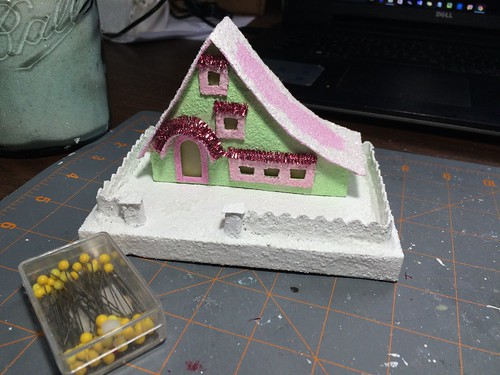
The windowpanes are installed. Tomorrow, if I have time, I will make fences for the houses.
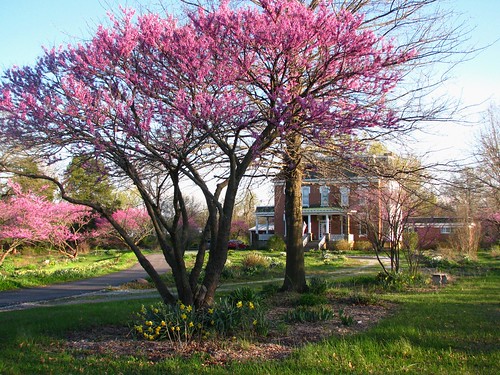
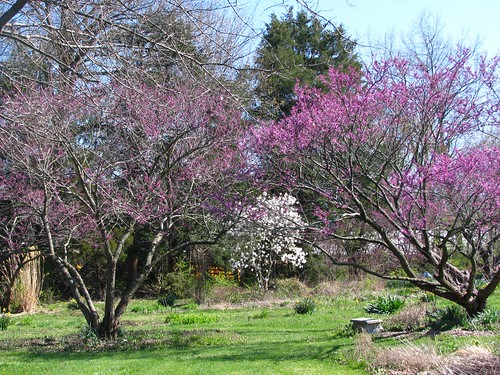
Meanwhile, spring is breathtaking right now. The redbud trees are at peak bloom, the lilacs are blooming, and the late daffodils are blooming. Beautiful!
~~Rhonda
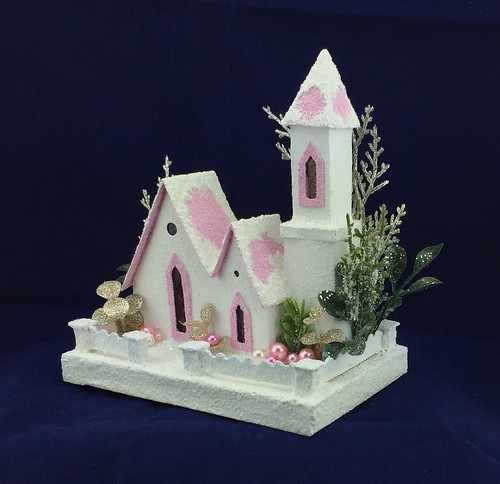
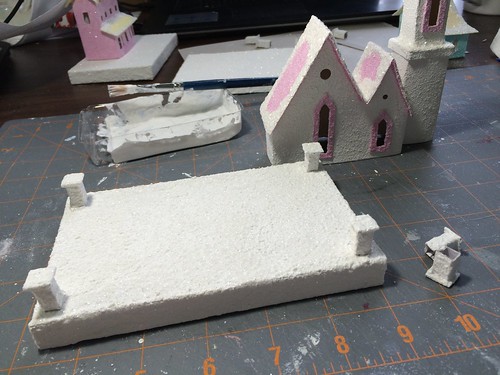
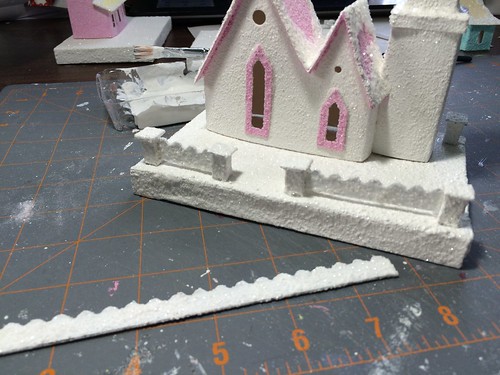
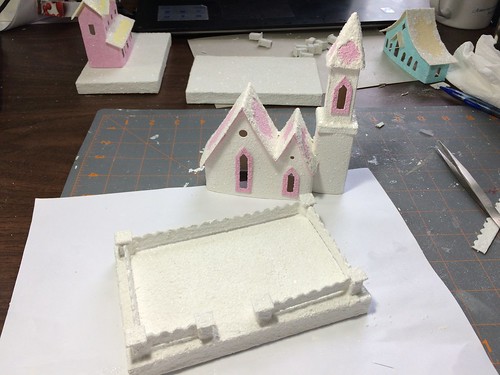
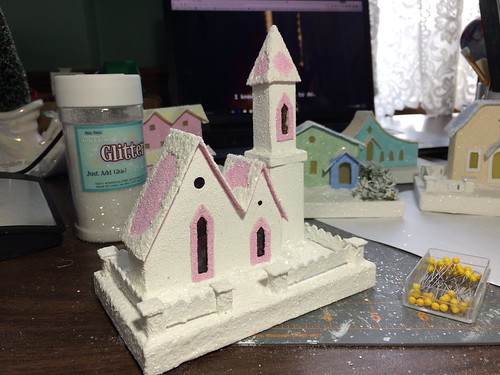
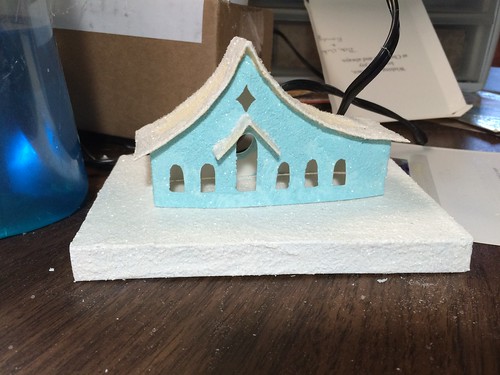
The little Putz churches are some of my favorites. Here is the white one with pink trim, in process.
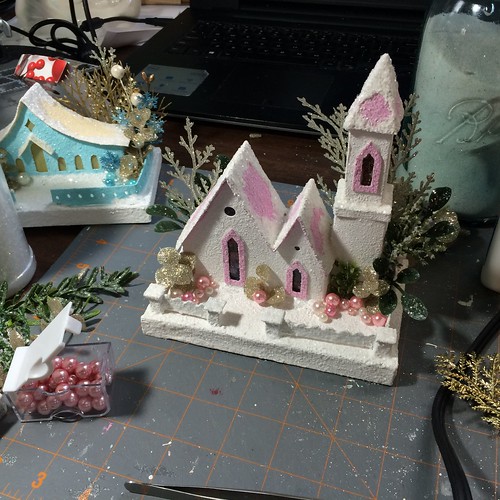
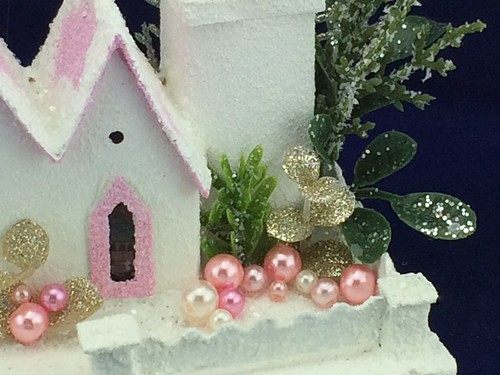
Do you like the pink beads?
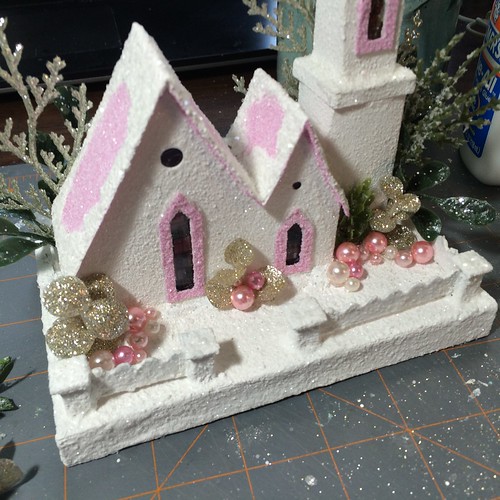
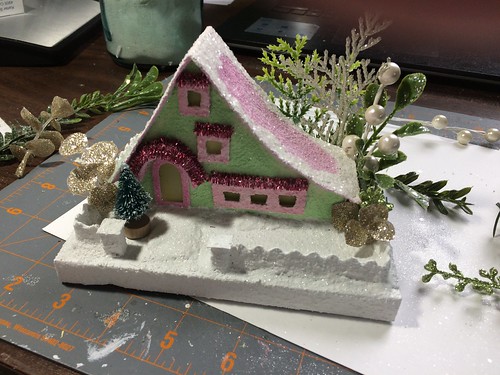
Here it is finished. I didn’t add a bottle brush tree to this one. Not sure if I should have put one on there or not.
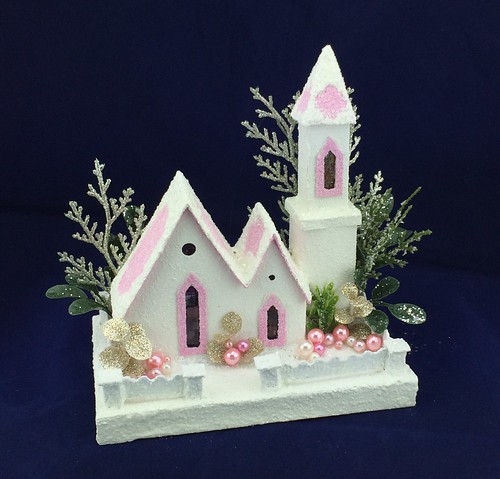
Do you have a favorite of the few I’ve posted lately?
~~Rhonda
March 31, 2016 – 10:35 pm
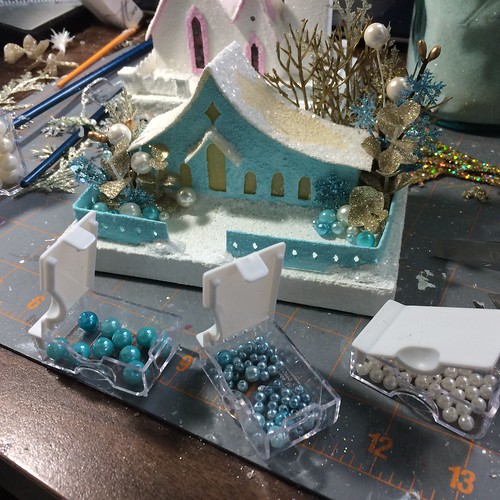
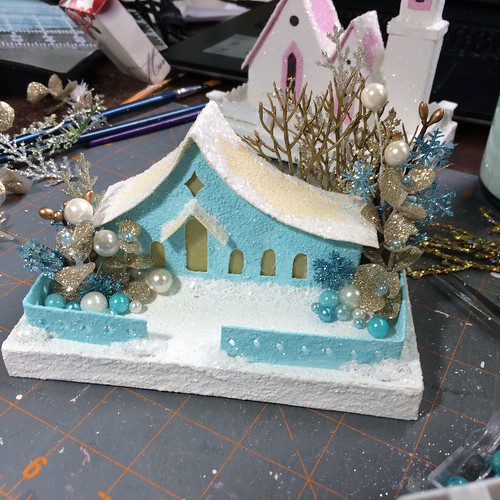
Today I worked on the embellishments for the little blue house.
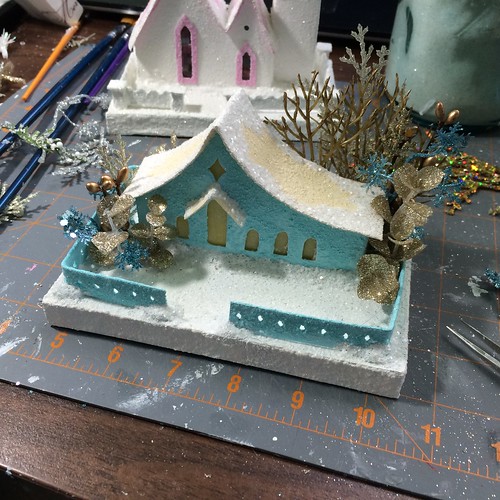
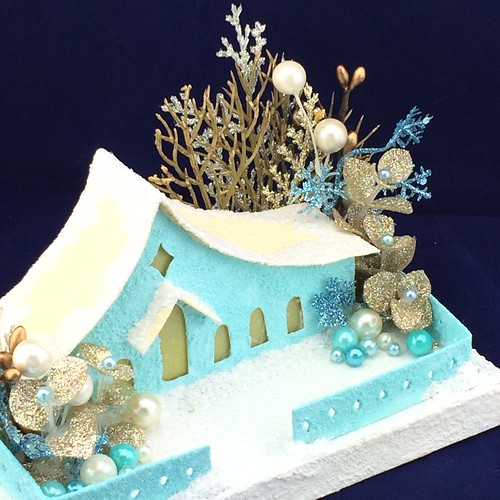
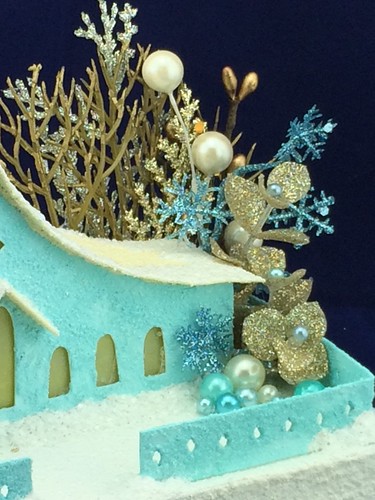
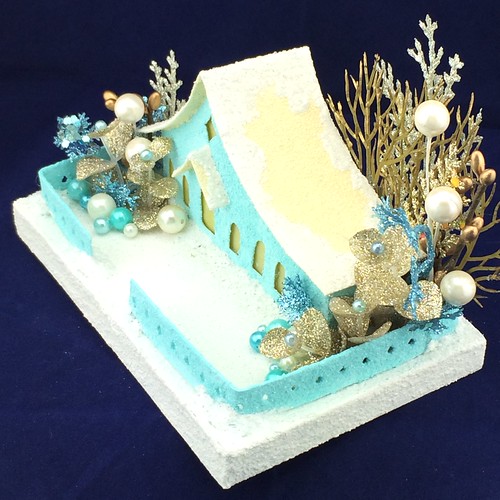
Tomorrow, the church. ~~Rhonda
March 31, 2016 – 12:03 pm
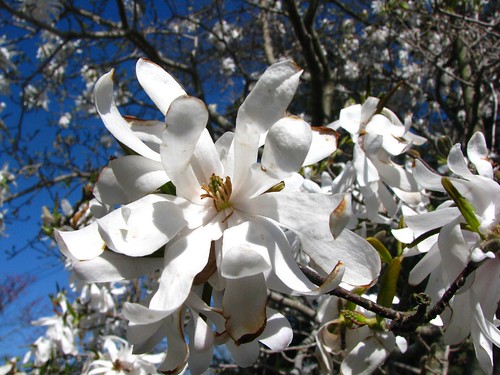
Spring. What’s not to love?!
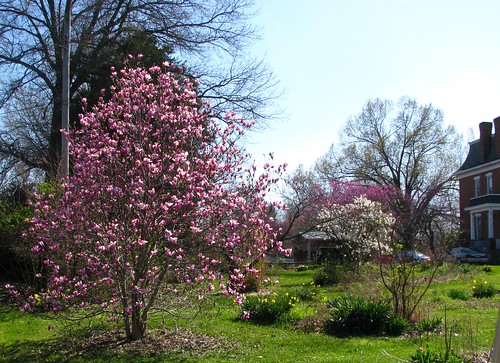
Star Magnolia
Spring Beauties in the green grass.

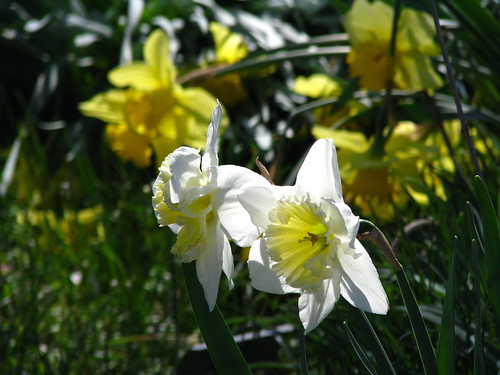
Daffodils in the sun.
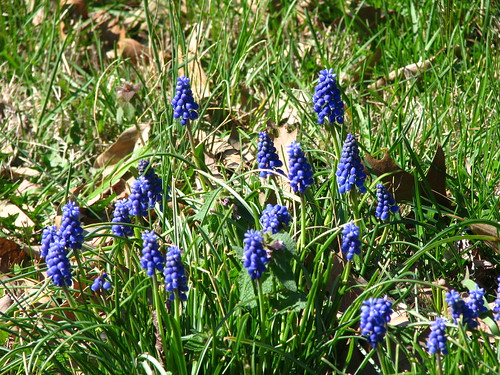
Grape Hyacinths coming up in the most unlikely places.
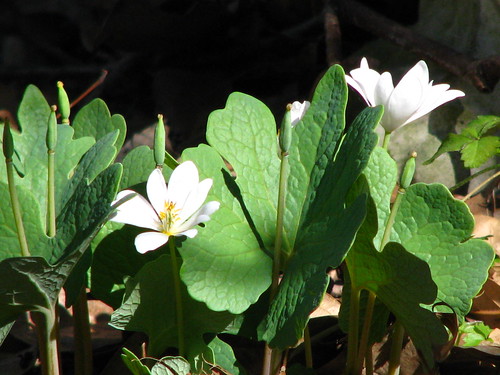
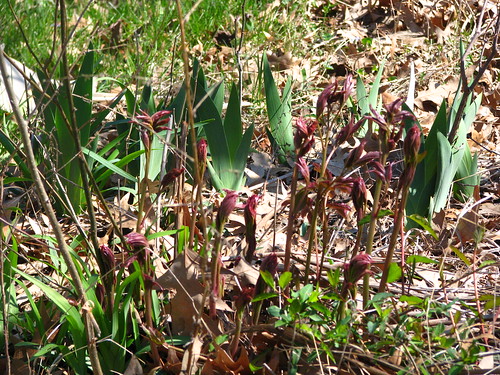
Bloodroot in the woods. The whitest of white flowers.
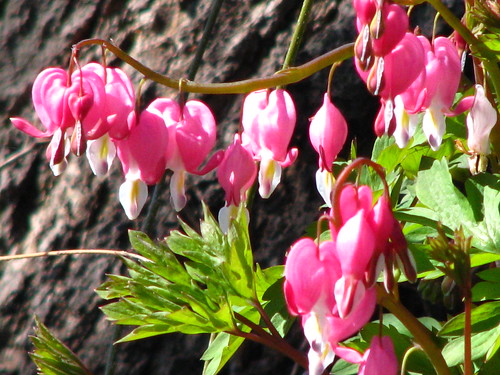
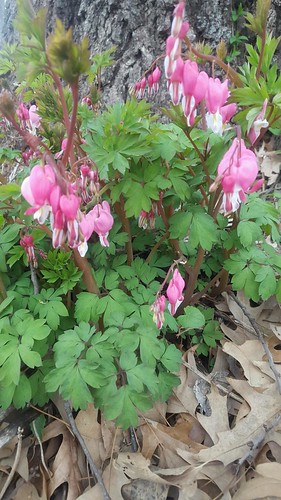
And Bleeding Hearts, of course. I was six or seven years old the first time I saw Bleeding Hearts. I still have the picture in my head. I was so impressed by their shape and beautiful color. They were blooming in the garden of our neighbor Gladys Love. It was one of our jobs as kids to carry drinking water from her well to our house across the street. I always enjoyed her flowers as I filled the bucket with water.
The peonies are shooting up!
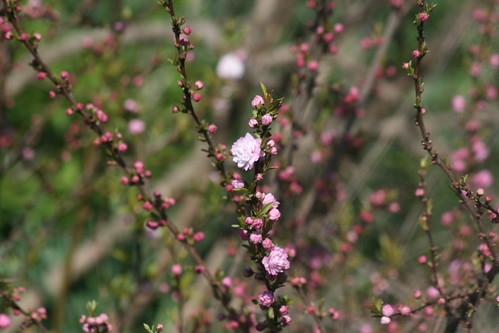
The flowering almond is a shrub we had at our house as I grew up. It sat next to the steps to the front door.
Daffodils…
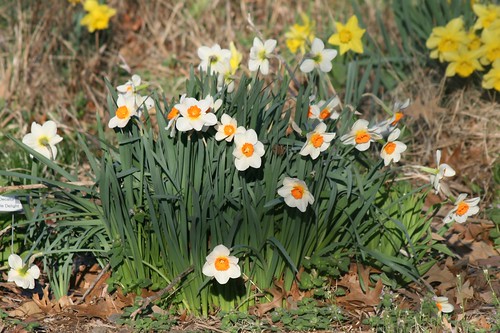
And more daffodils…

It’s a beautiful time of year.
If you’re going to the nursing home, stop by and pick some daffodils for your loved ones.
~~Rhonda
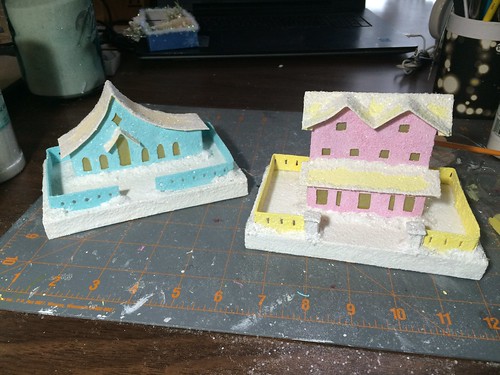
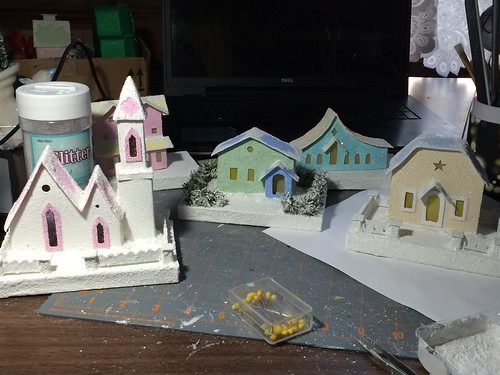
Today, I continued work on the five Putz houses I have on my desk currently. Last night I left off with three houses and their fences glued to their bases. Today, I glued down the other two houses and their fences. I promised to paint at least one fence a different color than white. Here are two.
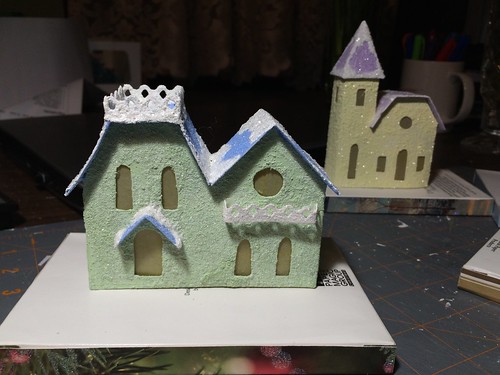
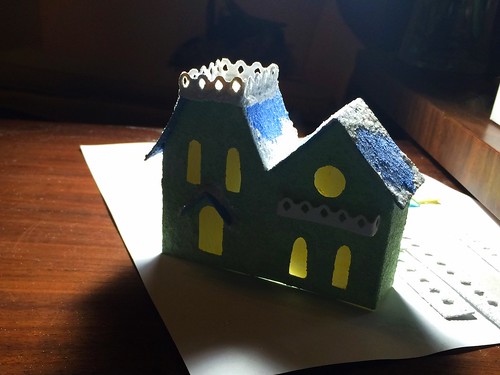
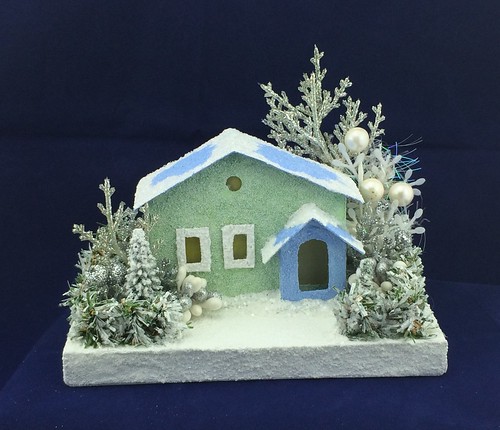
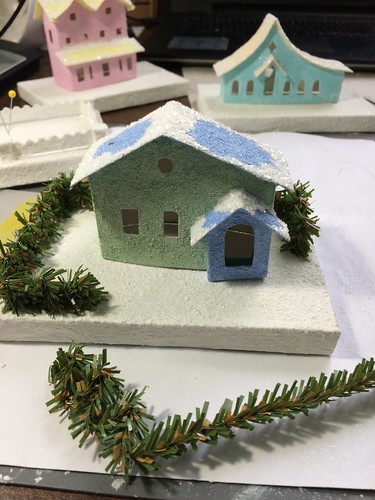
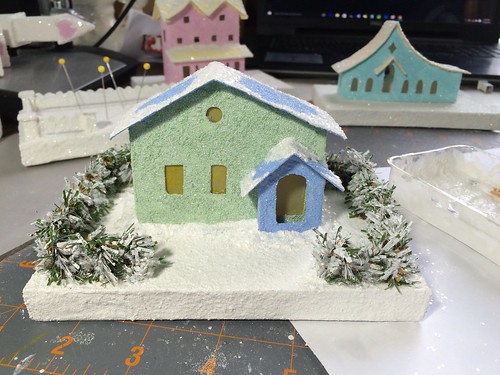
Today I finished this little green house with a blue roof. This is partway through the embellishing.
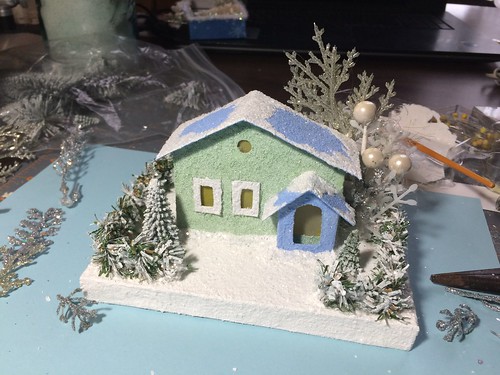
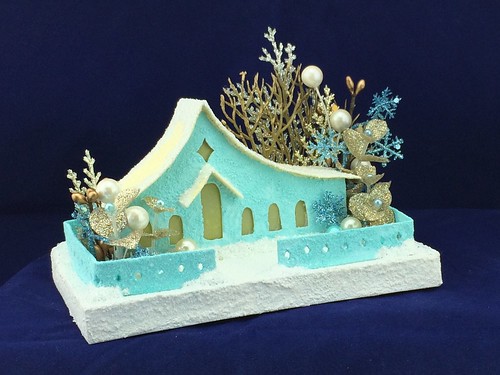
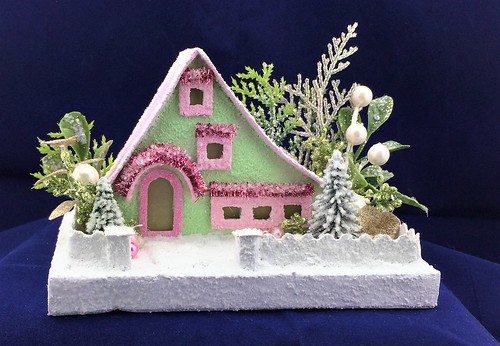
Finished…
I have a new light box for taking Etsy-worthy pictures of the items I am selling in my Etsy shop.
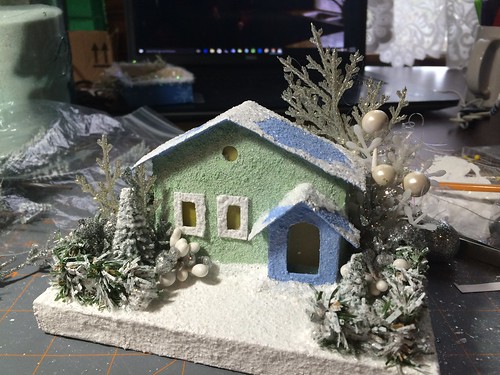
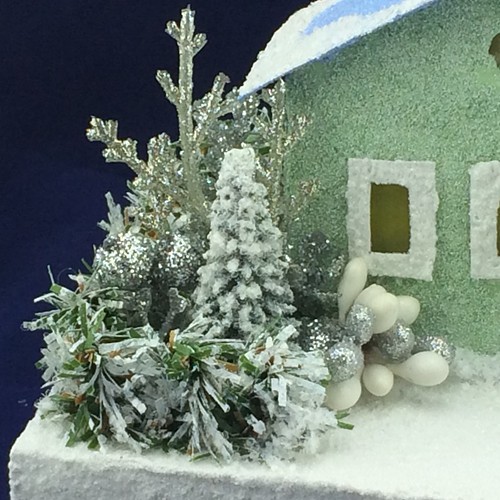
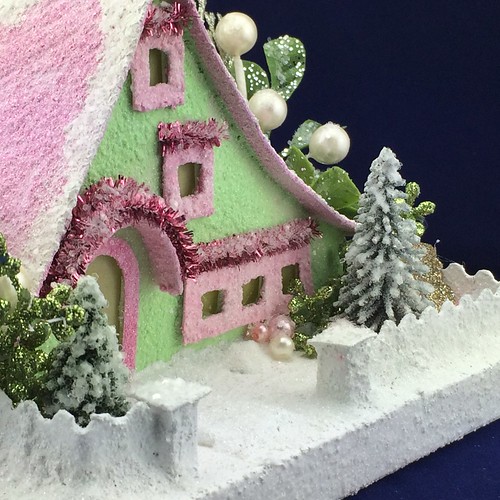
Up close…
Tomorrow I will work on embellishing the other houses and the church.
~~Rhonda
March 29, 2016 – 10:14 pm
Today I made fences for some of the Putz houses.
You can read the tutorial here: making fences for putz houses
I start with 1/2″ strips of cardboard and use punches or scissors to give them some decoration.
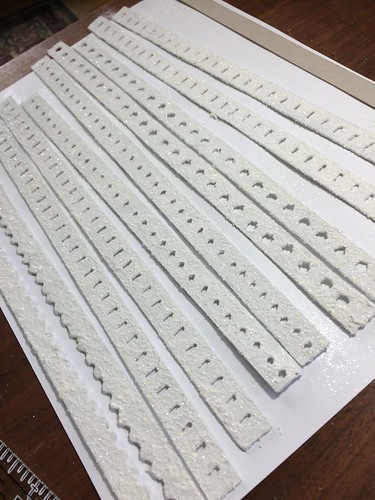 oration.
I used some of the fence posts I made yesterday.
The little yellow house got a fence, too.
I made a hedge for this house. I formed the greenery stem into a zigzag pattern and hot glued it to the base.
I gave it white paint and glitter for a pretty snowy effect
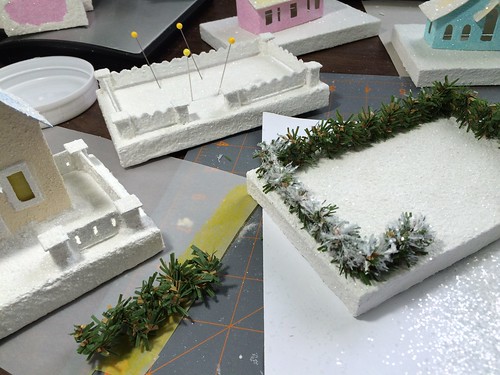
Finished hedge…
Two fences and a hedge done today. I will do the other two fences tomorrow. I need to remember to paint one a color other than white!
~~Rhonda
March 28, 2016 – 11:37 pm
I worked on bases for Putz houses on Monday. Took most of the day to finish five. It always takes longer than I remember! All five are completed. Construction, base coat of paint, two coats of sandy paint, and a dip in the fine glitter. It’s hard to tell from the pictures that they’ve been glittered. In person, they sparkle like new snow.
The next step is to make fences for them, then embellishments. I’m looking forward to that part.

Should keep me busy for a few days!

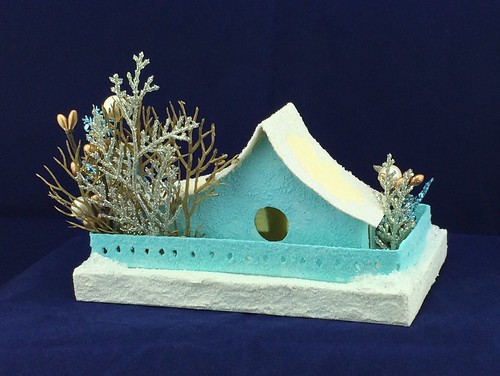
Another church.
Love this shade of blue.
I also made a stockpile of fence posts.
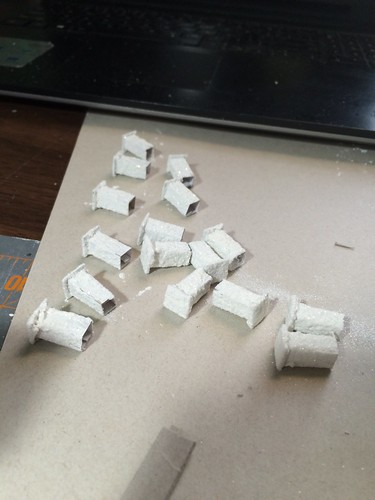
Maybe I’ll paint the fence for one of these houses a color other than white. Check back. I’ll post as soon as I have one done.
~~Rhonda
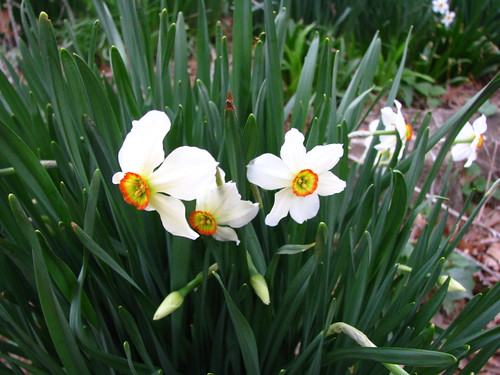
Just a quick note. I’ve had a bad cough this week that wears me out. But I am doing what I can. I don’t want to be left behind with spring to enjoy. The yard is full of daffodils and other plants are popping up. The Poet’s daffodils are later than most and the first ones have opened this week.
And the Bleeding Hearts are looking beautiful under the big oak tree out back.
I have been busy stocking my new Etsy store which will be open soon. I’m doing the tedious part now. Taking pictures of products, writing up descriptions, etc. I’ll let you know when it’s open!
~~Rhonda
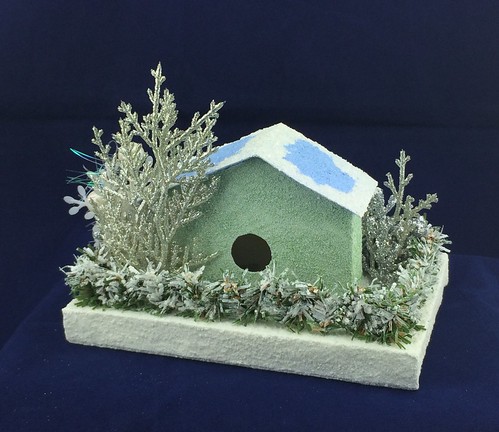
In my last post, the little green Putz house was ready to be attached to the base.
Somehow I missed taking pictures of the pinning process. This one was pretty easy to pin down, though.
This is after pinning and gluing the house. If you look closely, you can see the bead of glue around the house and also a hot glue sidewalk from the front door to the gate. This is prior to painting.

Close-up of sidewalk.

Here’s the house after painting and glittering both the bead of glue around the house and the sidewalk.

I pulled out several different bits and bobs for this house. After working with them for a while, I finally began to see a direction.
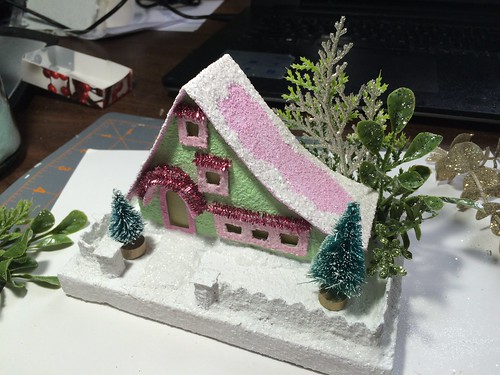
The green bottle brush trees seemed too dark for this house. I tried these trees and liked them much better. They have a softer look. I brushed glue over them and sprinkled them with large glitter.
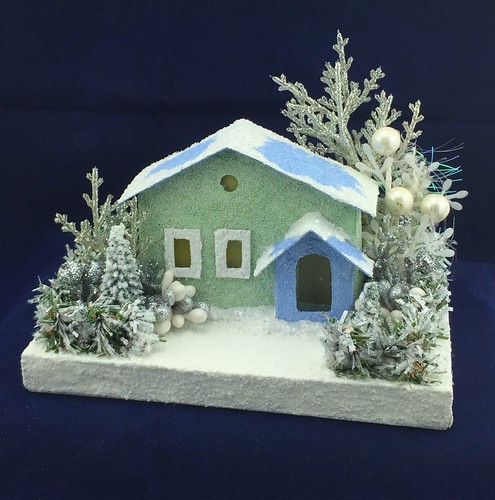
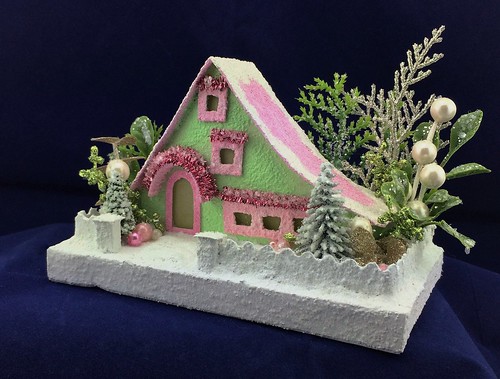
And the finished Putz house…

~~Rhonda