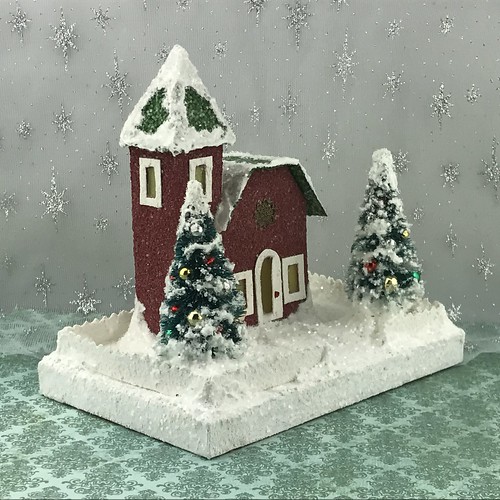
Christmas card shadow boxes

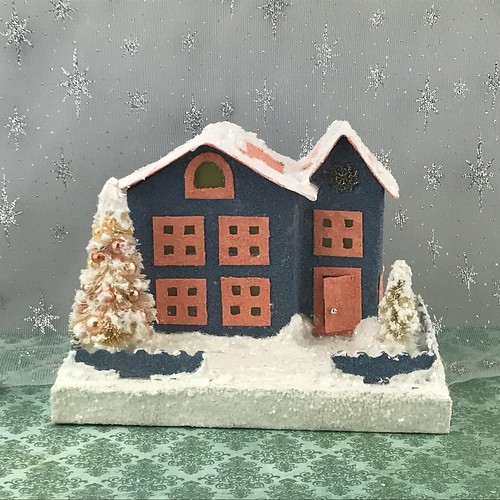
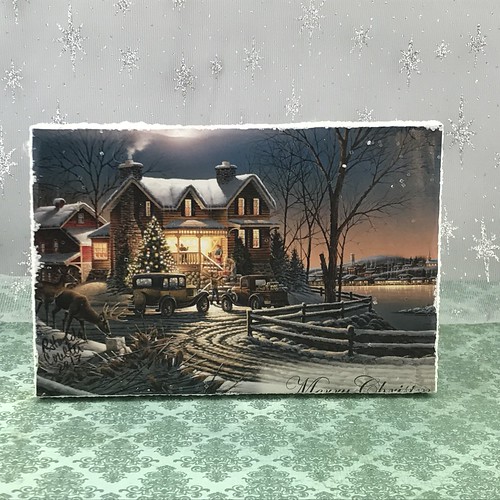
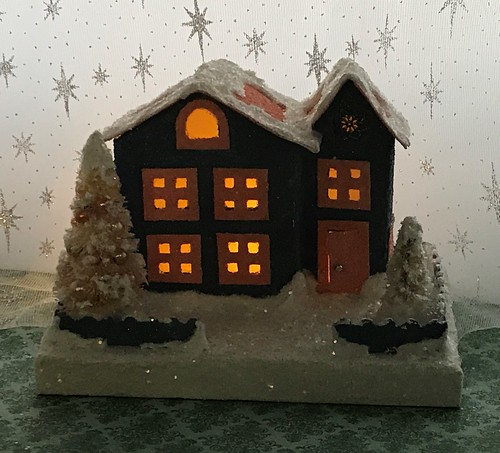
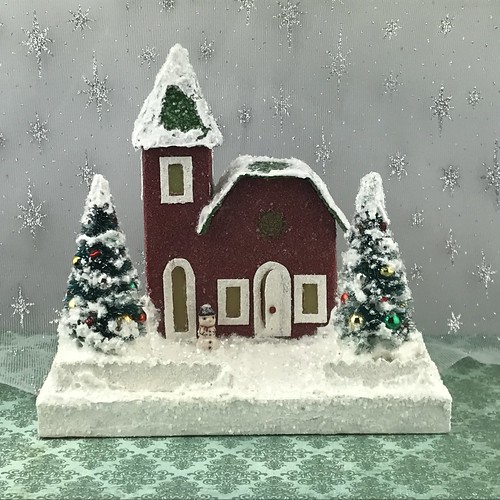
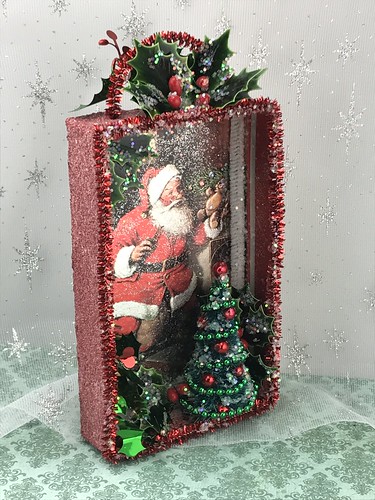
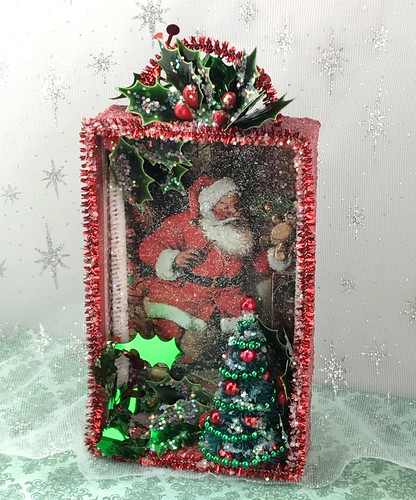
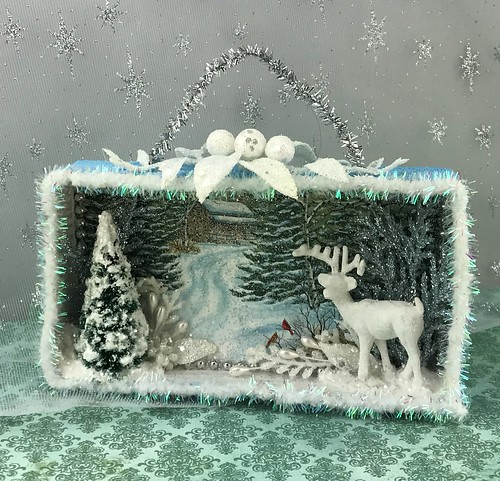
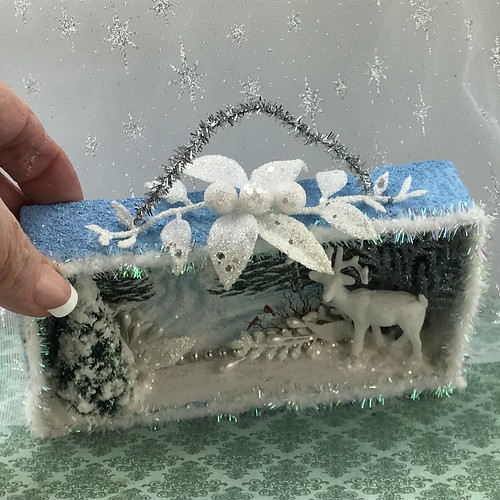
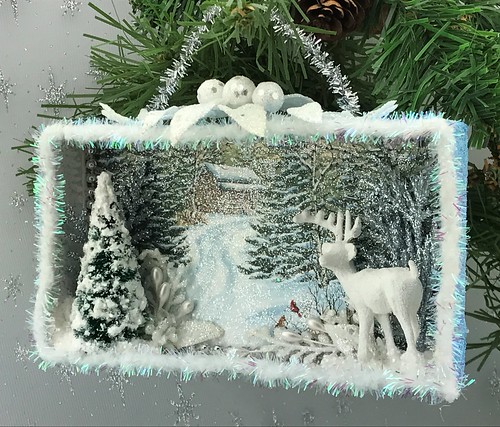
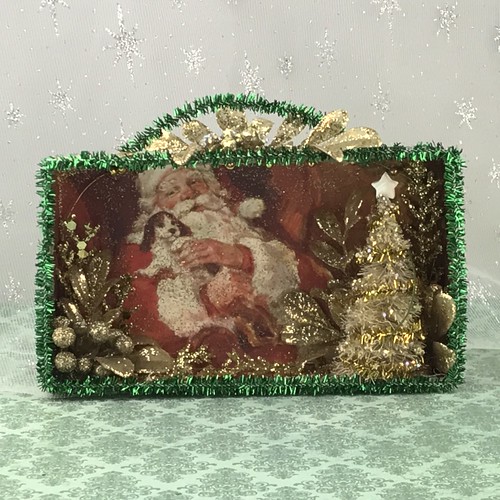
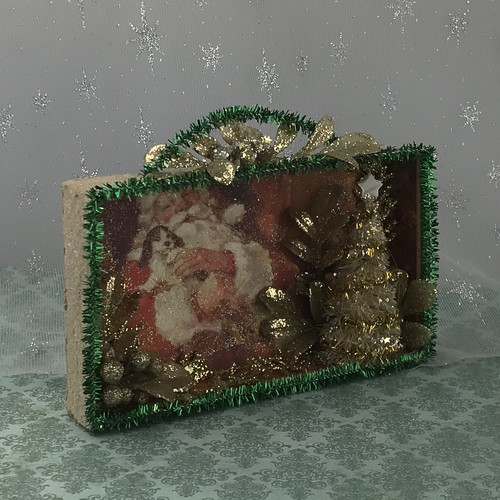
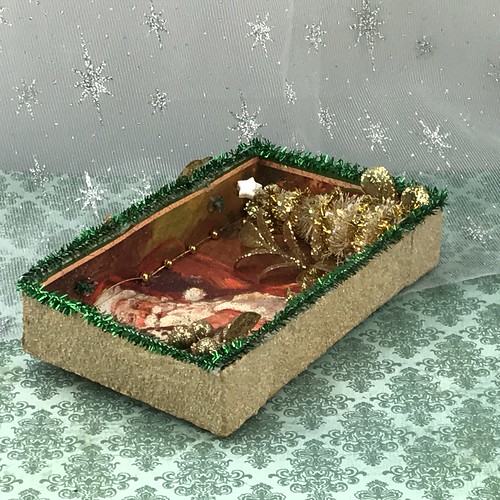
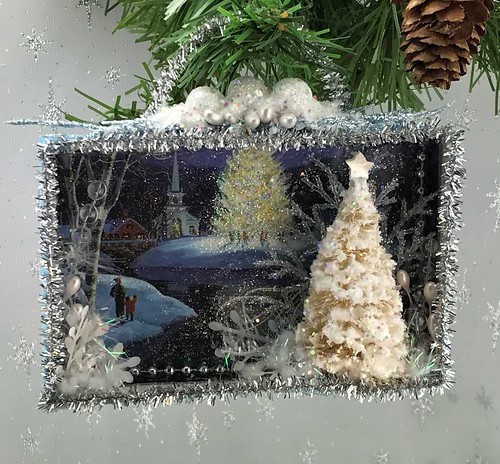
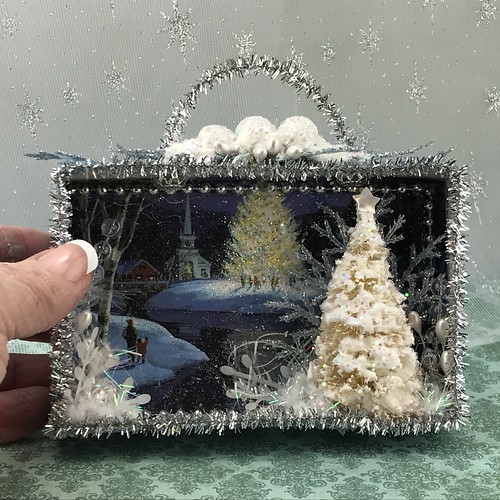
I had a customer request for more Christmas card shadow boxes and spent some time this week working on new ones to list in my Etsy shop. They are always fun to make! Here are the ones I’ve finished in the past few days.

Santa delivers the goods…

Christmas card shadowbox

The decorations include a bottle brush tree decorated with a garland of green beads and tiny red ornaments. Holly leaves accent the shadow box.

Christmas card shadowbox

I’m dreaming of a white Christmas…

Christmas card shadowbox

Christmas card shadowbox

Christmas card shadowbox

Santa’s puppy

Christmas card shadowbox

This photo gives you a peek at the glitter that decorates the interior of the box. It’s hard to get a picture that does a good job of showing off the glitter.

Christmas card shadowbox

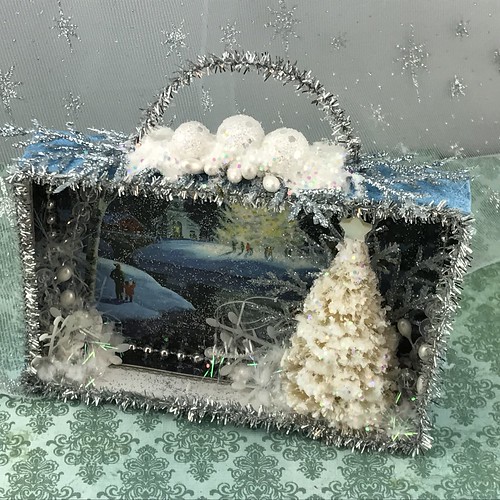
The shadow box is about an inch deep.

Christmas card shadowbox

I call this one “Christmas Eve Service.”

Christmas card shadowbox

It’s one of the smaller ones I made this week.

Christmas card shadowbox

Christmas card shadowbox

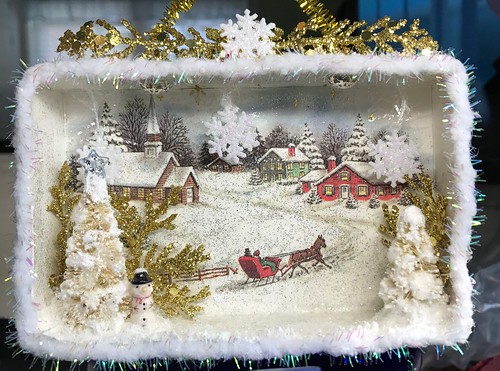
This shadow box, called “Dashing through the snow,” has already sold.

IMG_4304

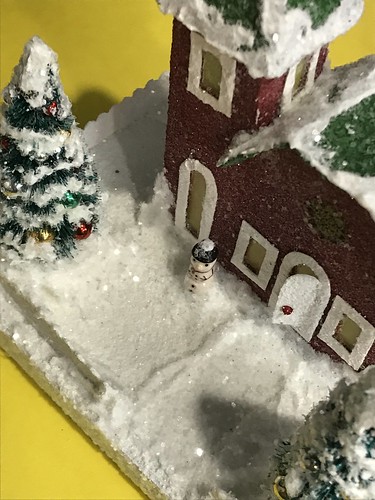
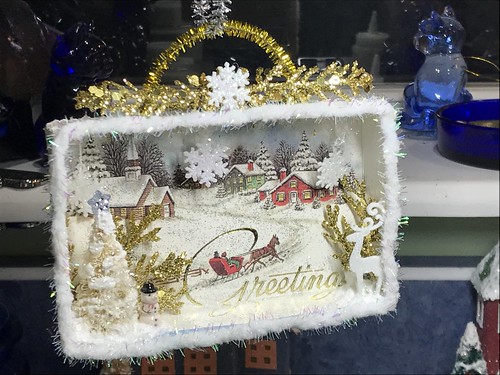
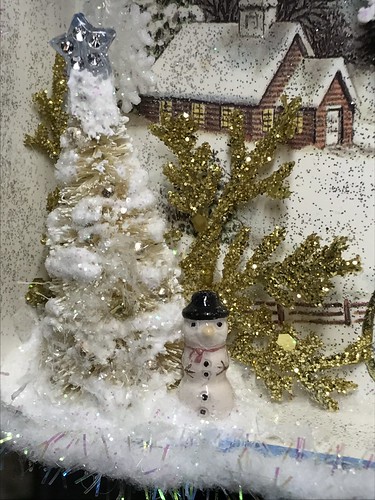
Details include a ceramic bead snowman next to the bottlebrush tree.

IMG_4305

The customer asked if I could make a few small changes and I am always happy to comply with such a request. I removed the deer and replaced it with a small bottle brush tree and I covered the lettering to give the shadow box a more unified appearance.

Christmas card shadowbox

This afternoon, I plan to work on a few more, then I’ll be spending the weekend decorating for the Open House. My sister will be here to help and I’m looking forward to making good progress!

Visit my Etsy shop to see these and other available Christmas card shadow boxes, Putz houses and ornaments. ChristmasNotebook.etsy.com

~~Rhonda

menu plan monday ~ october 30, 2017

This is a busy time of year for us. We are deep into Christmas prep. Because our annual Open House is the first Sunday in December, we need to have all our Christmas decorating done before that weekend. And, if you know anything about me at all, you know I love Christmas and, therefore, we do a LOT of Christmas decorating. In the past two years, we have cut down a bit, as we didn’t decorate the upstairs as we have for so many years. We had two daughters living at home at that time, and they didn’t care to have their rooms on the Open House “tour.” I also opened my Etsy shop in that time frame, and because I was very busy crafting for that, shipping orders, etc., it wasn’t a good time to have my craft room open to guests. All that to say, we are doing less decorating than in the past, but it’s still a lot of decorating! We will have 16 or 17 fully decorated Christmas trees downstairs. My favorite holiday! Did I tell you that…?

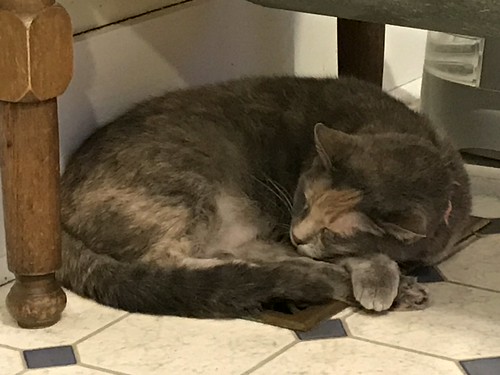
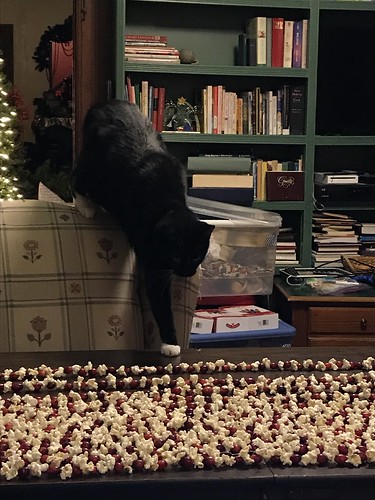
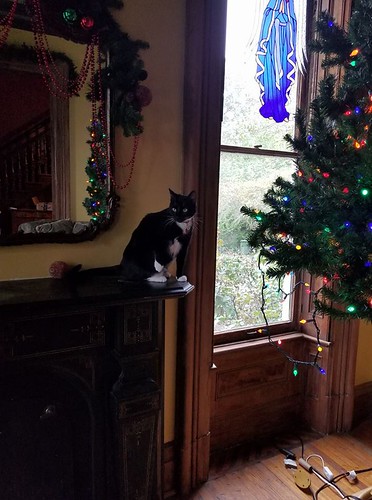
Ski kept an eye on the setting up of the living tree this week. DH brought all the trees down from the attic, so they ready and waiting for someone to add the decorations. We have surprisingly little tree “interference” from the cats than you might think. Thankfully none of them seem compelled to climb the Christmas trees.

Ski supervises the putting up of the living room tree.

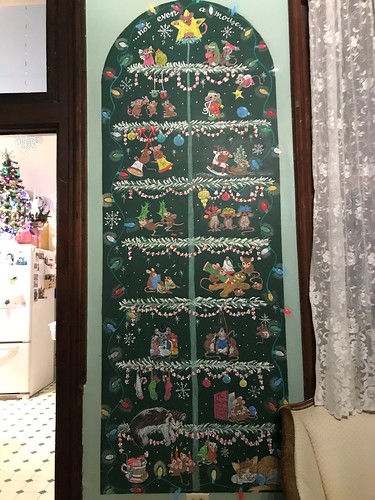
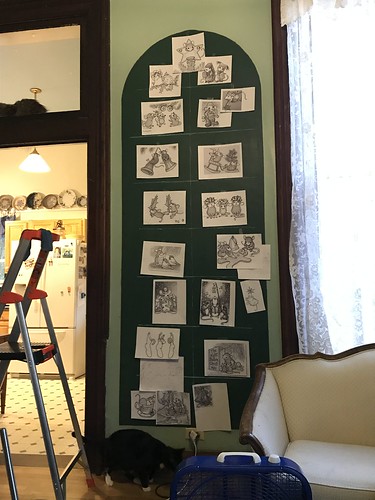
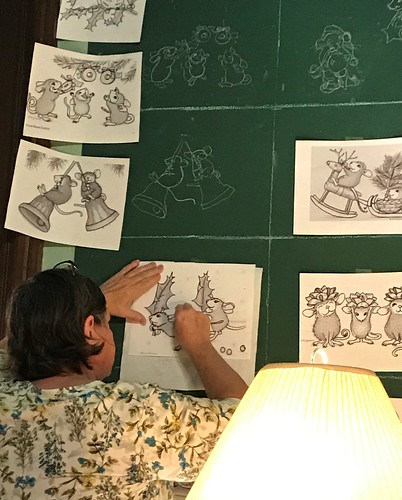
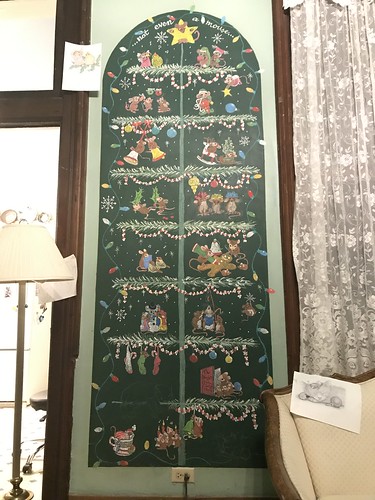
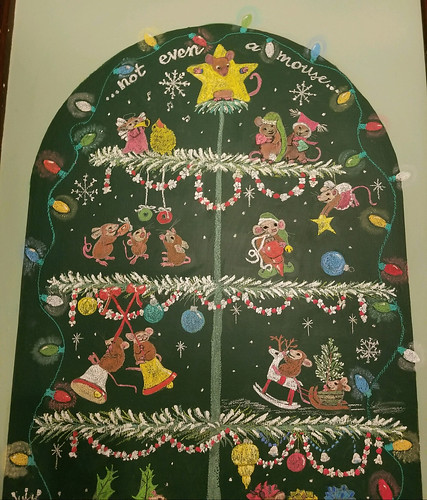
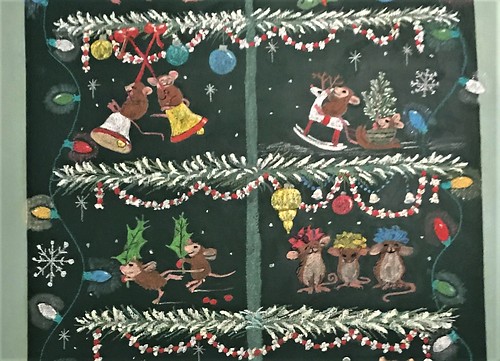
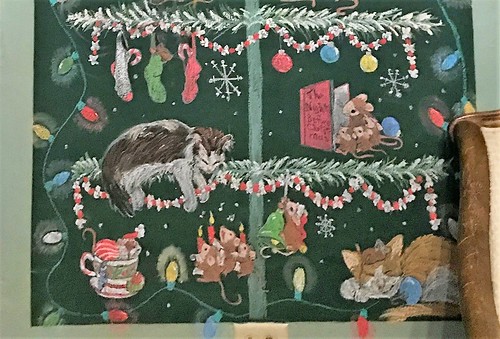
My sister was down for the weekend, and she worked on the chalkboard tree. That tree takes hours and hours to do. But it is on the top five list for favorite Christmas decorations when our guests share their faves. Here’s a link to our previous chalkboard trees. Chalkboard trees

Chalkboard Christmas tree

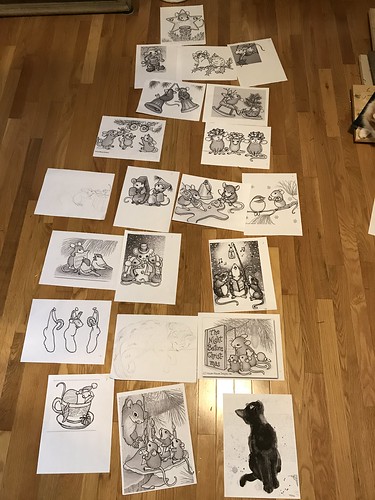
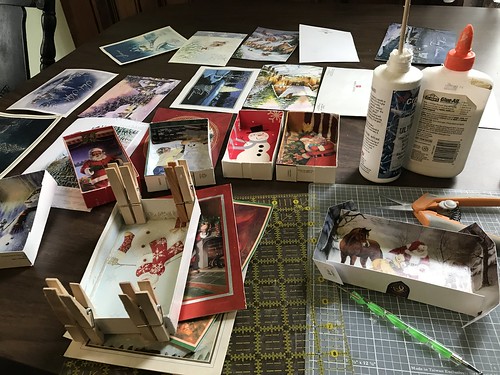
While she worked on the chalkboard tree on Saturday, I worked in the same room, making Christmas Card Shadow Boxes for my Etsy shop. I had a request from a visitor to my shop for some shadow boxes with Santa and/or outdoor winter scenes. Happy to comply! I actually made 25 little boxes and today I will begin the process of embellishing them. I will have some posted to my Etsy shop in the next day or two. Here’s a post with some samples of ones I have made previously. Christmas Card Shadow Boxes

Christmas card shadow boxes

Lots to do, as I said, so I’ll post the week’s menu and get back to work!

Monday
Fridge Food

Tuesday
Creamy Tuscan Chicken
Garden Salad
Buttered Asparagus

Wednesday
Pulled Pork
Cheesy Broccoli and Cauliflower
Garden Salad

Thursday
Lemon Butter Salmon
Sauteed Zucchini and Summer Squash
Fried Mushrooms

Friday
Oven Roasted Kielbasa and Cabbage

Saturday
Fridge Food

Sunday
Roast Chicken
Stir Fried Sugar Snap Peas with Cherry Tomatoes
Garden Salad

That should keep us going this week! I hope your week’s menu is planned and ready to execute. It saves time, money and frustration when you have a plan!

~~Rhonda

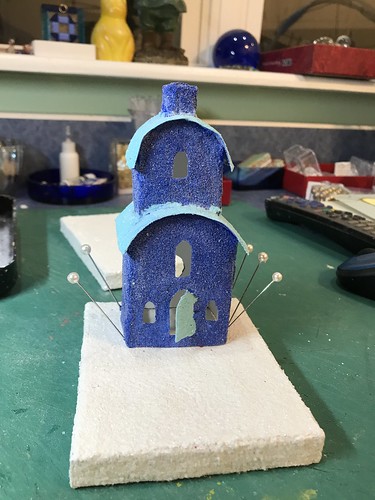
teal and brown autumn putz house

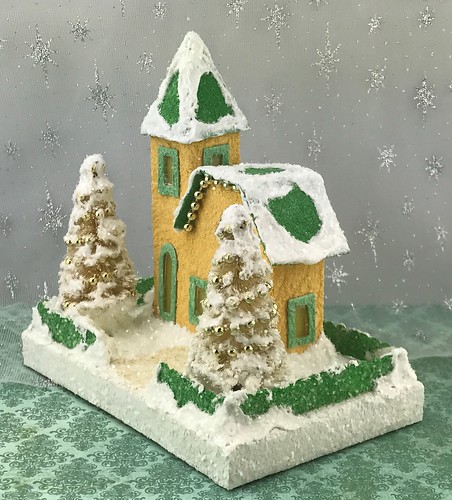
This autumn Putz house is pretty in teal and brown.

Autumn Putz house`

I found this lovely autumn-themed greeting card in my collection of cards I’ve been gifted with by so many of my friends. It made the perfect base for my autumn Putz house. Thanks to everyone who has donated their used greeting and Christmas cards to me! Just FYI, I am always looking for more cards!

Autumn Putz house`

The pattern for this house is one I drew in 2012 from a picture of a vintage Putz house that I found online.

Vintage Putz house

The fence is made with natural twigs.

Autumn Putz house`

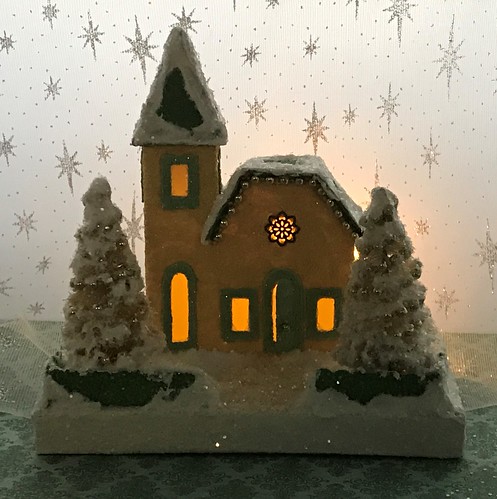
So cute with the light shining through the windows and door. The metal frame for the tiny window hole at the top of the house is made with a bead cap. I flattened it with a rubber hammer and glued it over the hole. Makes a great frame for a tiny window. Especially on a church.

IMG_3405

A Putz house starts with a little bit of poster board, some paint and glitter.

IMG_3369

I usually don’t have a plan for embellishments when I start a new house. I choose a card for the base, then choose a pattern for a house that will fit on it. I paint the house to match the greeting card. As I work on the Putz, the color dictates which embellishments I can use.

IMG_3398

IMG_3419

This Autumn Putz house is posted in my Etsy shop. ChristmasNotebook.etsy.com

~~Rhonda
double-decker autumn putz house

This little house is one of my original designs. I drew the pattern in 2012 and it remains one of my favorites.

Autumn Putz house`

I decided this one would be an autumn Putz and found a card I could use for the base.

Autumn Putz house`

I drew inspiration from the colors of the card for the paint I used on the base and the house.

Autumn Putz. Ready to assemble.

After the house was constructed, it was time to pin and glue it to the base.

Autumn Putz house`

I added embellishments.

Autumn Putz house`

And a fence. I use decorative scissors to cut a lot of the fences I use. Here’s a link to a tutorial for making fences from poster board. Tutorial for making Putz fences

Autumn Putz house`

Done!

Autumn Putz house`

Copper-colored glitter added accents to the roof. And a poof of smoke lets you know someone is home!

Autumn Putz house`

Close-up of the details.

Autumn Putz house`

Beaming with light, the little house beckons you in.

Autumn Putz house`

I hope you enjoyed this little autumn Putz. It was fun to make. I will be posting it to my Etsy shop later today. ChristmasNotebook.etsy.com

~~Rhonda
menu plan monday ~ october 23, 2017

This past weekend, I and my sisters and our sister-in-law got together for Sisters’ Weekend at our Dad’s house and made 197 dozen Christmas cookies and candies. We had the excellent help of our great-niece who loves to bake and loves to help. Our two brothers take platters of Christmas goodies to their customers each year. This year, we decided to help out and take the load off the shoulders of the few people who have provided the delicious goodies in the past.

Sisters' Weekned

We all brought some things made ahead of time, and we baked a lot more over the weekend. Here’s a small part of all the wonderful things we made…

Sisters' Weekned

I spent the night at Older Son’s house last Thursday to sit with the grands and then spent Friday through Sunday at Dad’s house. I had a wonderful time both places, but am glad to be home and back to my daily routine. I have a lot of Christmas baking of my own to do, lots of Christmas prep, and, of course, the continued work of creating stock for my Etsy shop.

Here’s the menu for the week.

Monday
Homemade Chicken Soup

Tuesday
Bacon Cream Cheese Cheddar Chicken
Asparagus
Garden Salad

Wednesday
Cheesy Burgers
Dill Pickles
Roasted Broccoli and Cauliflower

Thursday
Fridge Food

Friday
Spicy Shredded Pork
Roasted Cabbage with Bacon

Saturday
Taco Salad

Sunday
Baby Back Ribs
Garden Salad
Roasted Brussels Sprouts

I hope you have your weekly menu planned! It’s a great way to save time and frustration during these busy days!

~~Rhonda
menu plan monday ~ october 16, 2017

A few days late, but here’s the menu for the week. It was a busy week last week and it’s a busy, busy week this week, too, so the menu reflects that. Easy. Not much cook time involved.

We enjoyed a five day visit from our Younger Son this past week. He and the cats spent a lot of time bonding. We were sorry his wife wasn’t able to come, but look forward to the next time they are both able to come.

Amy enjoyed Younger Son's visit

Monday
Fridge Food

Tuesday
Butter Ranch Chicken in the Instant Pot
Steamed Brussels Sprouts
Garden Salad

I love my Instant Pot and use it several times a week.

Love my Instant Pot

Wednesday
Homemade Chicken Soup

Thursday
Fridge Food

Friday
Pizza

Saturday
Ham or Turkey Sandwiches
Veggies and Dip
Cheese Tray

Sunday
Pulled Pork Sandwiches
Veggies and Dip

Short menu post, but that’s just the way it is this week! I have a blog post about my latest Putz house. I hope to get that posted tomorrow. See you then!

~~Rhonda
instant pot lemon garlic chicken

I found this recipe on the blog Living Locurto. I revised it just a bit. Today was the first time I made it and I was very happy with the way the chicken turned out. I used it to make Homemade Cream of Chicken Soup.

Instant Pot Lemon Garlic Chicken

  • 4 boneless skinless chicken breasts and/or thighs
  • 2 T olive oil or coconut oil
  • 1 tsp. salt
  • 1/2 tsp. freshly ground pepper
  • 3 T minced garlic (6-8 cloves) or 1/2 tsp garlic powder (not garlic salt)
  • 1 tsp dried oregano
  • 1 tsp fresh minced thyme or 1/4 tsp. dried thyme
  • the juice of one large fresh lemon or 3 T bottled lemon juice
  • 1 cup chicken broth or water

Take a look at Custom Water website where you can order as many bottle waters as you need for cooking and more without going outside.

Instructions

  • Turn your Instant Pot on sauté and, while waiting for it to heat and the “HOT” button to show, add the oil.
  • Sprinkle the chicken breasts on both sides with salt and pepper.
  • Place chicken in the Instant Pot and sauté on each side for 2-3 minutes until golden brown. Then remove from Instant Pot.
  • Add the minced garlic, oregano and thyme. Sauté and stir for 1 minute.
  • Add broth and the lemon juice and stir.
  • Place chicken in the Instant Pot, lock the lid, and make sure the steam valve is closed. Push the poultry button and set it to cook for 15 minutes.
  • When done, release the pressure, then remove the Instant Pot lid. Let stand for 2-3 minutes.

Note: I doubled the recipe and it would take too long to brown all that chicken in the IP, so I browned it in bacon grease in a large skillet. Faster.

Tip: If releasing the pressure valve by hand is a bit daunting, use a wooden spoon to turn the valve.

Serve this Instant Pot Lemon Garlic Chicken with a salad, rice or your favorite pasta. Toss pasta with butter and spoon the juices from the Instant Pot over the pasta.

This chicken is delicious diced and used in casseroles, salads, or soups.

The lemon chicken can also be made in a crock pot. Brown the chicken in a skillet as directed, place in a greased crock pot. Add  the remaining ingrendients and cook on high for four hours.

I meant to take picutes of the process but didn’t get that done. Next time I make it, I’ll add some to this post. The soup I made with the chicken was delicious and I will post that recipe soon.

~~Rhonda
menu plan monday ~ october 9, 2017

After a weekend of Christmas prep, I am ready to tackle the coming week. I have a new custom-order Putz church to finish, I need to continue the work of decluttering and organizing my craft room (a long-term project), and I also need to keep checking items off in my Christmas Notebook which contains my Christmas prep schedule.

My sister came this weekend and we finished the Putz tree and the Nativity tree.

Putz tree

We started on the Blue and Silver tree, but the tree developed a real lean while we were working on it. When DH took a look at it, he could tell the stand was broken. While he tried to fix it, the legs gave way and the tree fell over. Thankfully, it didn’t have much on it and the bead garland is tied to the tree, so we lost just a few ball ornaments.

Winston says, “I PROMISE! I did NOT knock this tree over!”

I promise. I did NOT knock this tree  over.

If you look closely at the tree above, you can see that the tree has silver highlights. When we bought the tree (not prelit), I spray-painted it with shiny silver paint. I didn’t try to cover it all. Just a heavy highlight. The spray paint softened the dark green and lightened the whole tree. It is perfect in the downstairs bedroom which is decorated in a blue and white cottage-style theme. After painting the tree, I had to put the lights on it. But I prefer to do that than to buy a prelit tree. They never have enough lights on them to suit me.

Saturday evening, after clouds all day (but no rain here), there was a beautiful rainbow. What a lovely treat!

rainbow

Younger Son is coming home from Seattle this week for a four day visit. He will arrive Thursday, late afternoon. We will have dinner with his siblings (except for Youngest Daughter who is in college). We haven’t seen him since December last year. This year, he and his wife are going to Florida for a vacation in December, so they won’t be here for Christmas. Our DDIL doesn’t have the extra vacation days to come at this time, so it will just be Younger Son. We will miss her, but we are so looking forward to our son’s visit! I tried to plan the menu around things he likes when he’s here.

Monday
Fridge Food

Tuesday
Homemade Cream of Chicken Soup

Wednesday
Cheesy Burgers
Cauliflower and Broccoli with Cheese Sauce

Thursday
Grilled Meat and Veggies
Garden Salad
Cheese and Fruit Platter

Friday
Pulled Pork
Homemade Rolls
Garden Salad
Steamed Sugar Snap Peas

Saturday
BBQ Ribs
Cole Slaw
Baked Beans

Sunday
Baked Ham
Roasted Brussels Sprouts with Bacon
Loaded Mac and Cheese
Mashed Potatoes
Garden Salad

If you haven’t tried making a weekly menu, I highly recommend it. It solves so much of the stress involved with getting meals on the table!

~~Rhonda
links for my putz house tutorials

I decided to put all my Putz construction posts into one post for easy reference.
.
Building a Putz house

This tutorial was written in October of 2009. Early in my career as a Putzer! I have fine-tuned my techniques since then and acquired a few helpful tools, too. I now have a funnel tray so no longer sprinkle glitter over a piece of paper. Actually two sizes of funnel trays, which I find very helpful. The larger one has a collar near the funnel mouth which is a great addition. When I use the blue one, I am more likely to lose some glitter because there is no lip to catch it. Especially when the tray holds a lot of glitter. Which is often around here…

Funnel trays for glitter, embossing powder, etc.

I’ve gone through several fine-point tweezers since that post. A tool I can’t do without! So useful for picking up tiny bits and bobs, squeezing and holding together two pieces of paper that are being glued, gathering tiny embellishments, etc.

fine point tweezers

.
Making Putz house bases

I still make bases as shown in the link, with one major exception. Instead of using white glue between every layer of fill cardboard, I use white glue only on the cardboard that touches the actual box. The top and the bottom of the stack. For the rest, I use hot glue.

You have to work fast, though, because once hot glue cools, there is no turning back. I use the white glue against the inside of the base box because it doesn’t leave the obvious lines that the hot glue shows. I spread a thin layer over the inside of the box, then fit the cardboard into the box, pressing the entire piece into place. Then I hot glue the layers till I am ready to add the top of the box. Then it’s back to the white glue.

An advantage of using the hot glue is that the box does not take as long to dry as it did when I used white glue between each layer.

Another new technique I have since discovered is the use of Golden Gel Mediums Light Molding Paste. It’s like spackle. I spread it around the edges of my completed base to fill in any gaps or cracks. Even when being as careful as possible, some boxes don’t glue together as well as I’d like them to. Molding paste to the rescue. After spreading and smoothing it with a paint spatula, I let it dry for 24 hours, then sand it to remove the rough bits. Then I can paint over it and get a cleaner look than I might otherwise.

Golden molding paste

Golden molding paste

.
Making Putz fences

I still make fences as described in the tutorial. I’ve also used other things to make fences.

Here’s a Putz house with a fence made from a pipe cleaner. I wrapped the pipe cleaner around a pencil, then pulled the pipecleaner to lengthen the “curls.” Then I flattened the curls and hot glued the fence to the base.

Putz house

This Christmas Tree Lot has a fence made of glittered twigs. Another Christmas Tree Lot had a fence made of long cinnamon sticks.

Putz Christmas Tree Lot

Putz Christmas Tree Lot

.
I’ve learned to use corrugated cardboard as a “picket” fence. Here’s the link. Picket Fence Tutorial

Putz house

green and brown putz house

Red and Green Putz house

.
Tutorial for making fence posts

making Putz fence posts

white and pink putz church

I also make fence posts from bamboo skewers.

Putz house

.
Tutorial for attaching fences and fence posts to a Putz base

bases for Putz houses

I hope you find this collection of tutorials handy. If you have any questions, just ask. I’m happy to help.

~~Rhonda
it’s cookie time!

Every year, about this time, I start on the cookie and candy production for our annual Christmas Open House. Currently, I have four items in the freezer and will be making many more over the next six weeks or so.

Of course, I have my favorite Christmas-themed measuring spoons handy. There’s no baking Christmas cookies without the right tools!

Christmas measuring spoons

The first recipe I made was for Date Balls. Middle Daughter and I had several weeks worth of Project Runway to catch up on, so I decided to make the Date Balls and form them into balls while we watched TV. My sisters and I are working on a project of making 150 dozen cookies for my Dad and my brothers to hand out to their customers at Christmas. I made one batch of Date Balls for our Open House and one batch for their shop customers.
Date Balls

I date the boxes for storage. A couple of times over the years, we found an extra box, left from the year before in the freezer…no date, no eat. :-}

Date Balls

The link to the recipe is here: Date Balls

Last Sunday afternoon, I made Elfin Bites and Nutmeg Logs.

Elfin Bites

Elfin Bites

These tiny 3/4″ square bits of shortbread are one my favorite cookies.

Elfin Bites

This link will take you to the recipe for Elfin Bites.

Nutmeg Logs are good. Not a personal favorite, but they are the absolute favorite of my sister Margaret and my dear friend Laurie, so they are a must each year. I roll mine thin so they are crispy delicious.

Nutmeg Logs

I use a pastry crimping wheel to get the nice edge on both the Nutmeg Logs and on the Elfin Bites.

Elfin Bites

Here is the link for Nutmeg Logs.

Yesterday, I made Daniel’s Cookie Bar Bites. They are a double batch of Tollhouse Chocolate Chip Cookies, made with two bags of mini chocolate chips. I underbake them by a few minutes and they make wonderfully fudgy little cookies.

Cookie Bar Bites

I cut them into 1″ squares. They are frozen at this point.

Cookie Bar Bites

Two days before the Open House, I will thaw them, dip them in chocolate and decorate the tops with cookie sprinkles.

Daniel's Cookie Bar Bites

And the edges, which I don’t use for making the Cookie Bites, are stored in a zippered storage bag to be enjoyed by family.

Cookie Bar Bites edges

I have an antique baker’s table in my kitchen and I’m using it to store cookie supplies so they are at hand and easy to access as needed.

baker's table

And I have a storage tub full of chocolate for my baking needs. Lots of future truffles contained here…

Christmas Cookie chocolate

My sister is coming this weekend to help decorate for Christmas. Her first big project will be the chalkboard tree. I will be making recipes for five kinds of truffles so I can work on those while she is chalking. I will keep you posted on what we get done!

~~Rhonda