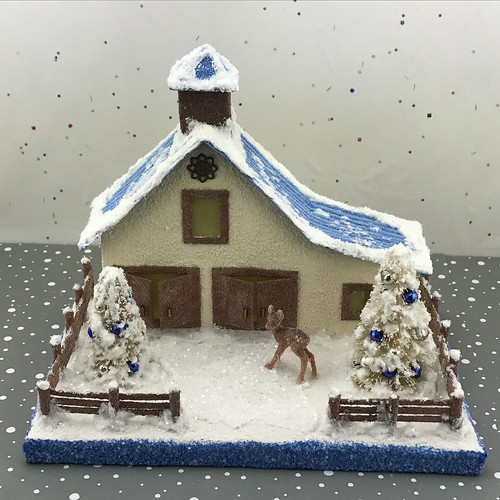
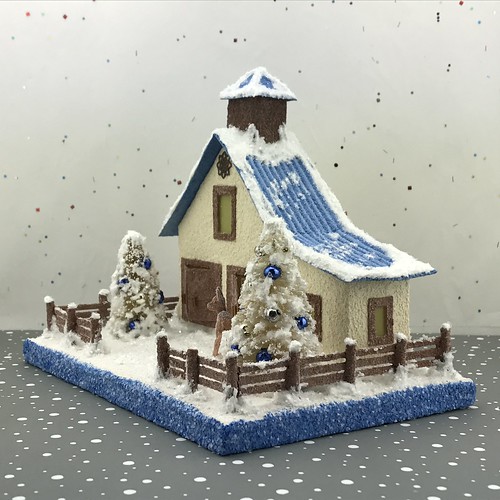
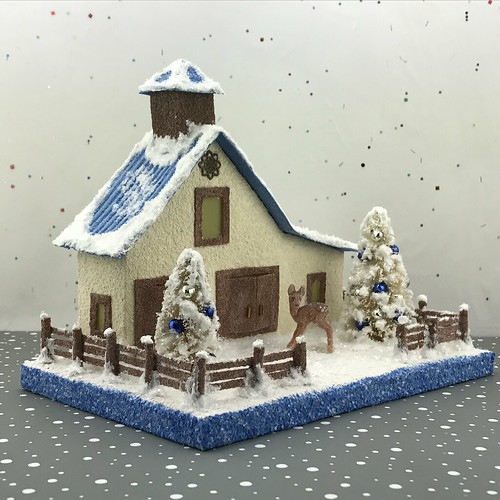
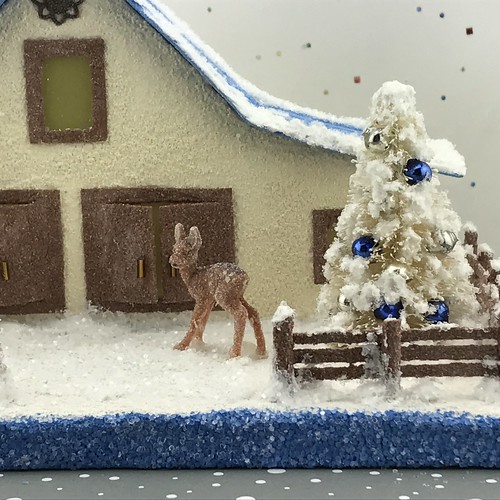
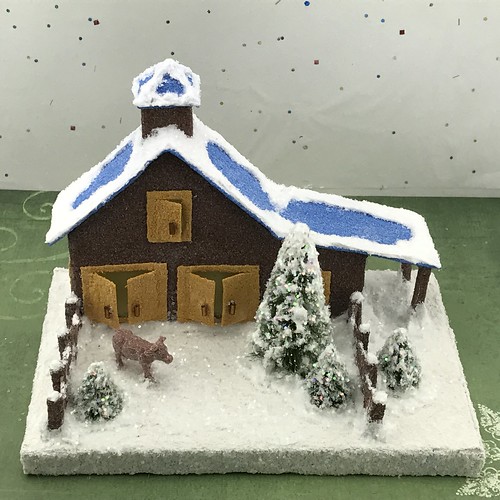
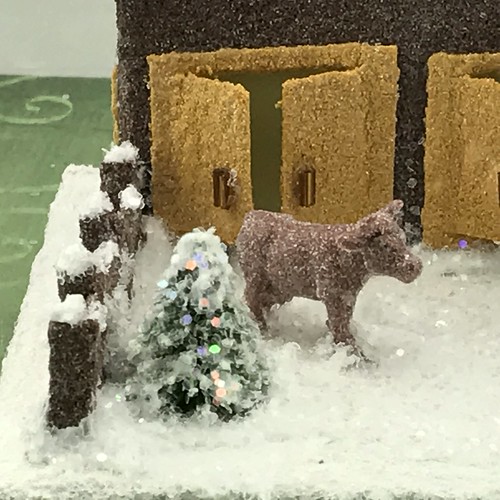
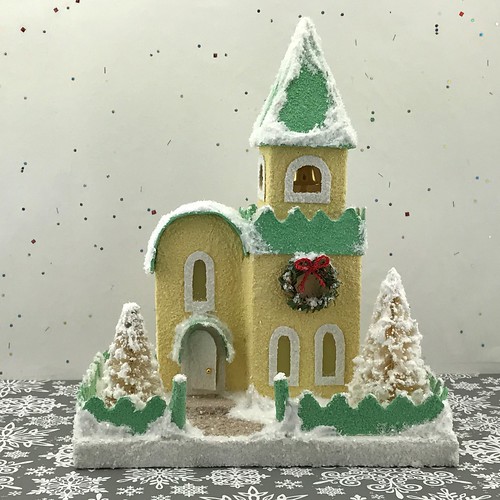
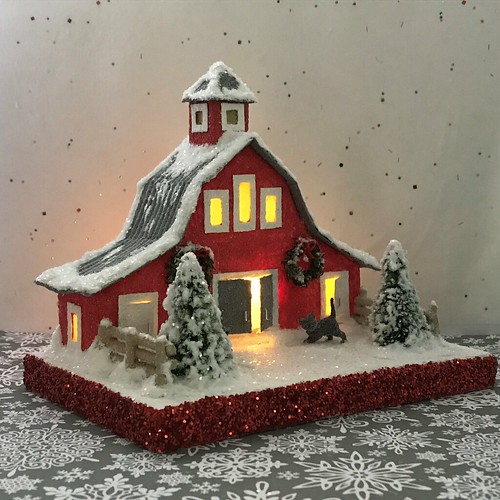
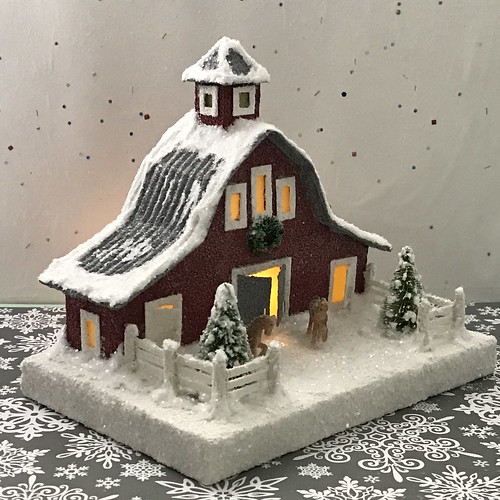
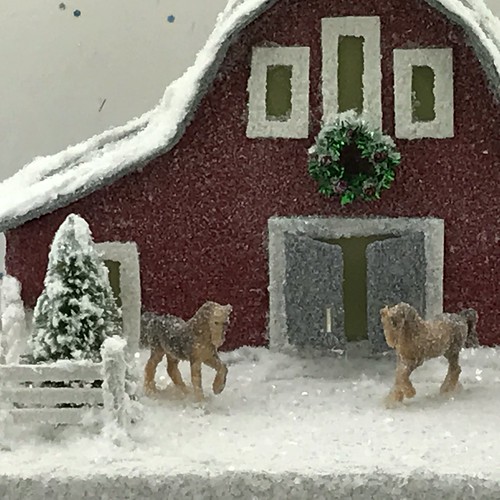
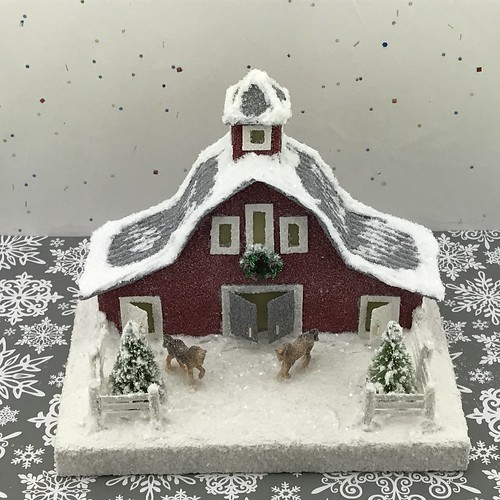
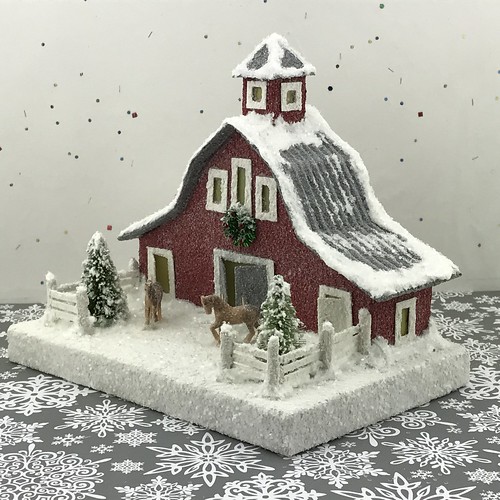
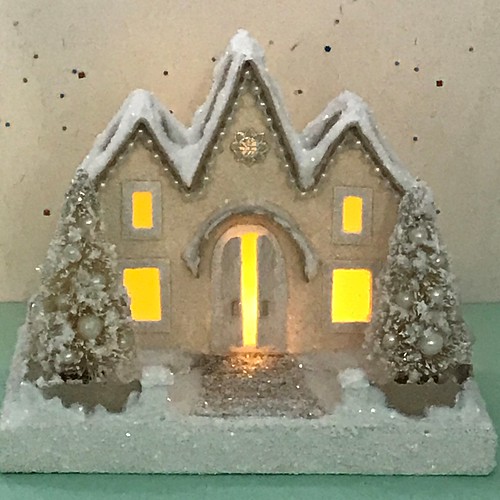
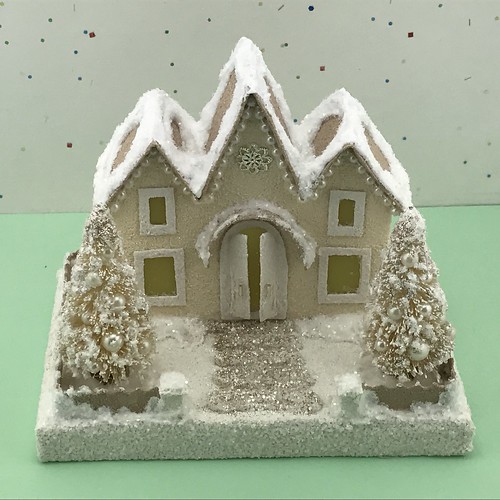
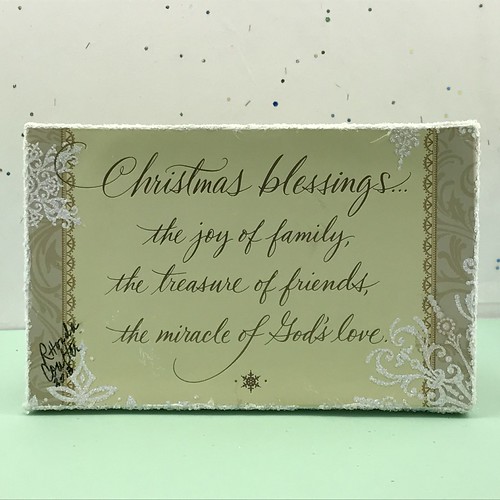
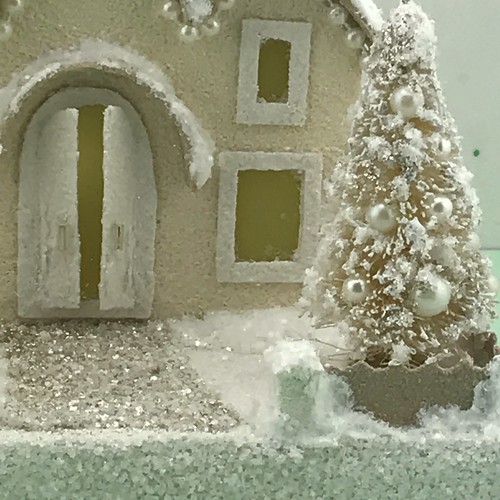
tutorial ~ make a board fence for your putz barn

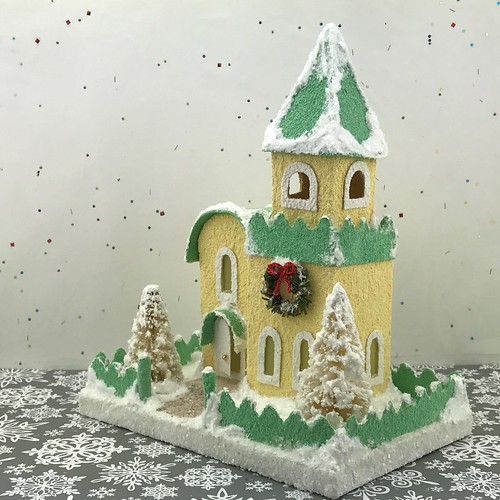
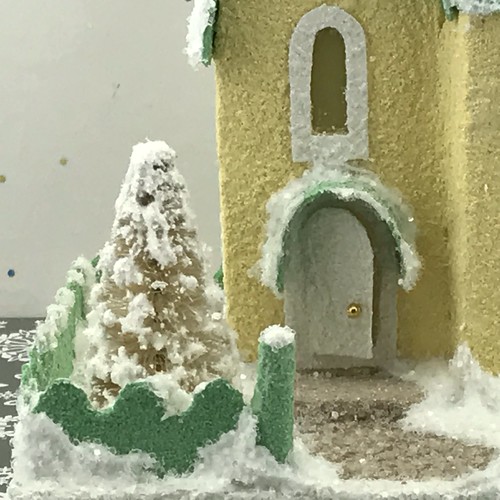
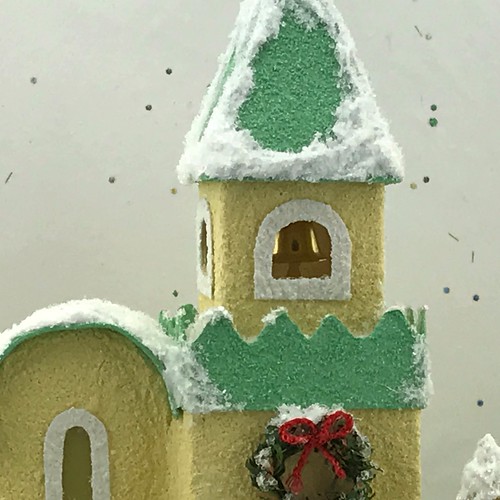
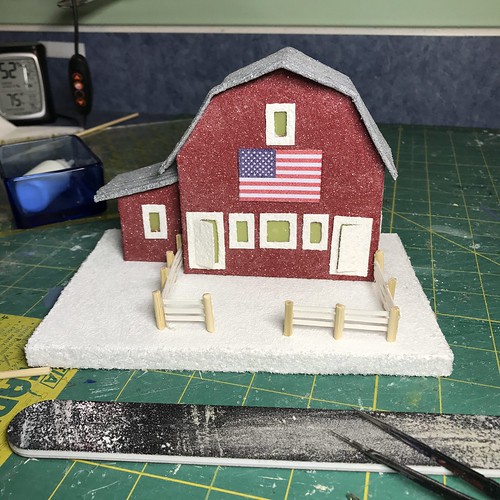
As I worked on this Putz barn, I took some pictures of the process I used to make the fence. It was my first effort at this type of fence, and it worked well. If you like the look of a board fence for your miniature barn or house, give it a try!

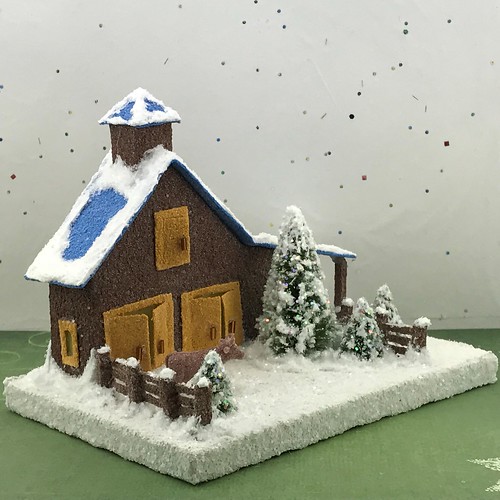
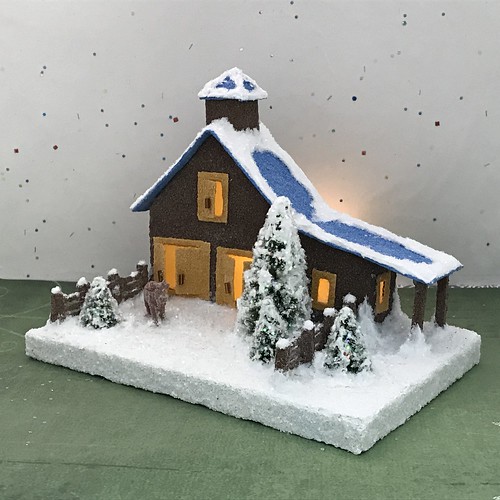
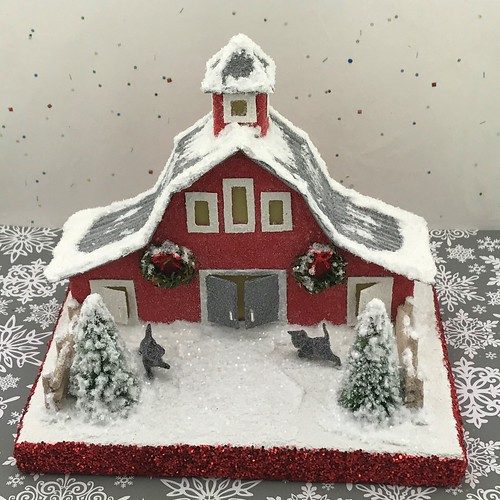
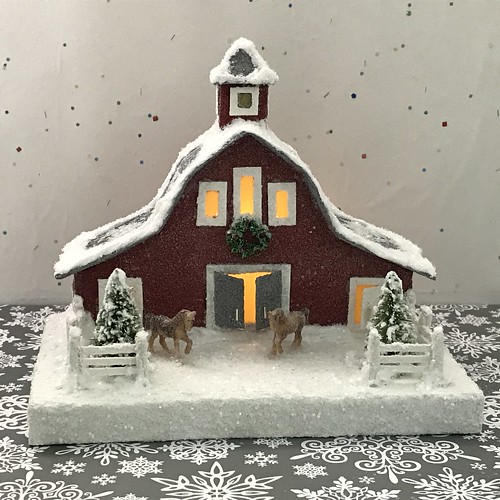
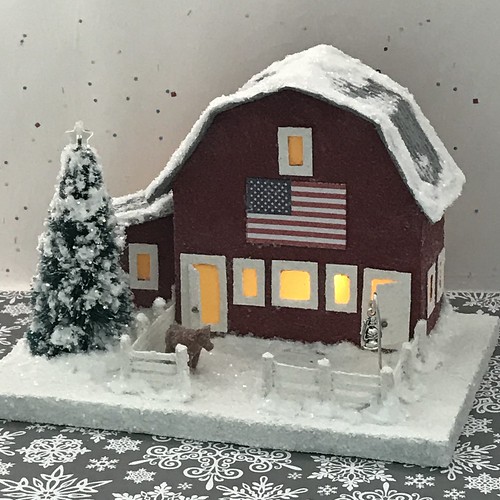
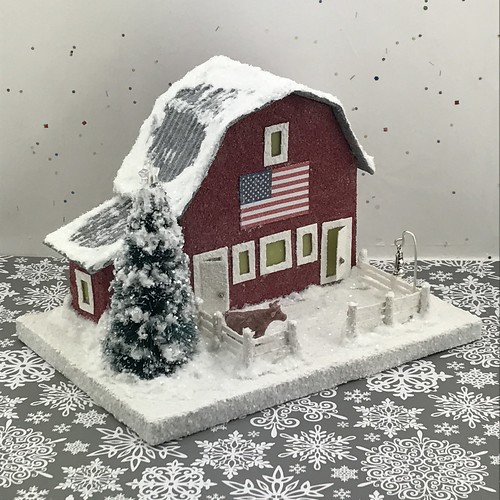
Putz Barn with Flag

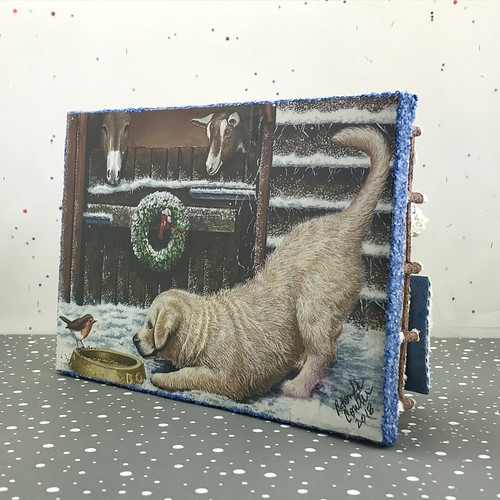
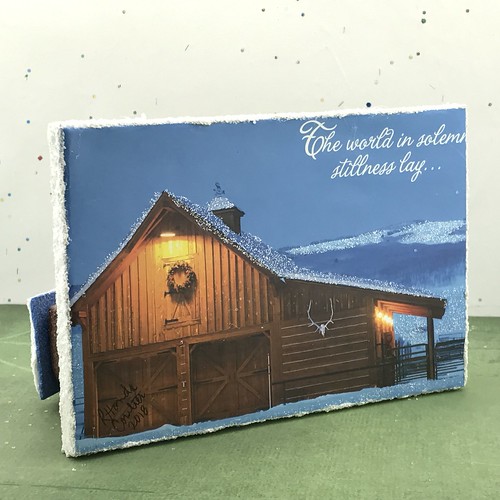
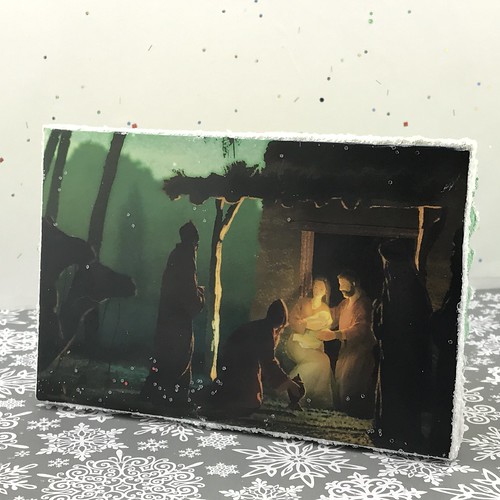
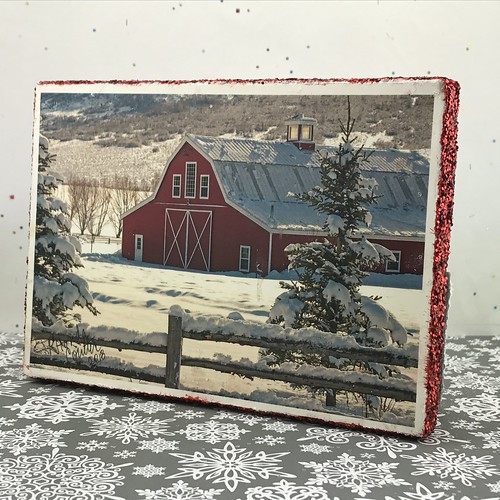
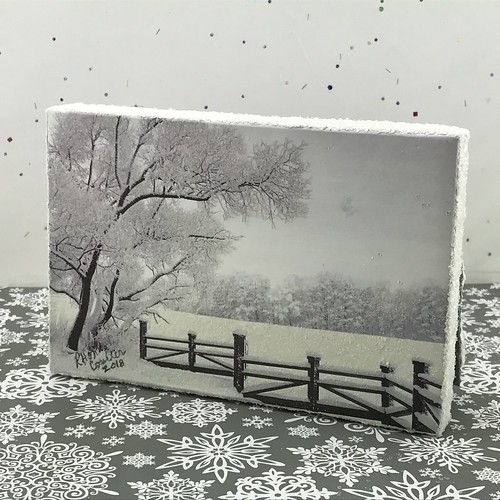
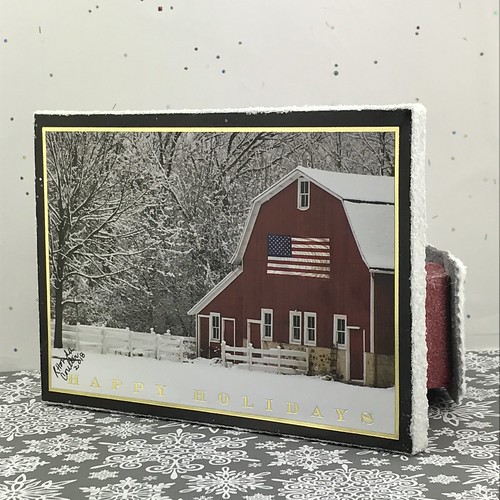
The inspiration for the pattern I drew to make this Putz barn came from the Christmas card I used to make the base. I really liked the look of the fence in the picture and wanted to try to replicate it for the Putz.

Putz Barn with Flag

FYI ~ My tutorial for making Putz bases from greeting cards can be found here: Putz bases from greeting cards

Supplies Needed for fence project

heavy-weight chipboard
Acrylic ruler
Craft knife
Alligator clips (without teeth)
Bamboo skewers
Wire cutter (for cutting skewers)
Fine-nosed tweezers
Hot glue gun
Scissors
Nail file or fine sandpaper
Acrylic paint
Glitter

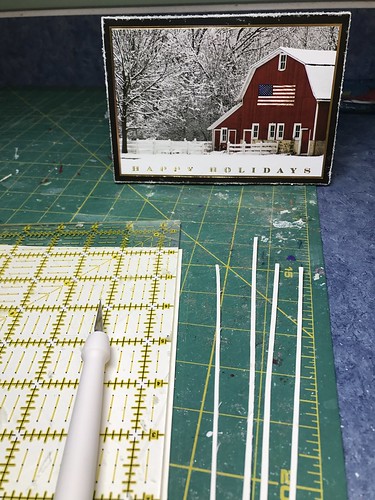
To begin, I found some heavy white chipboard and cut very thin strips from it. No wider than 1/8″. The chipboard was a scrap I had. I am not sure what it came from. It is heavier than poster board or the chipboard you would get from a cereal or cracker box. Had a thickness to it. Didn’t bend under its own weight when held horizontally. I eyeballed cutting it, but you could use the acrylic ruler to measure and draw lines for precise cutting, if you prefer. Use a sharp blade to cut more easily and to ensure clean edges.

making a board fence for a Putz barn

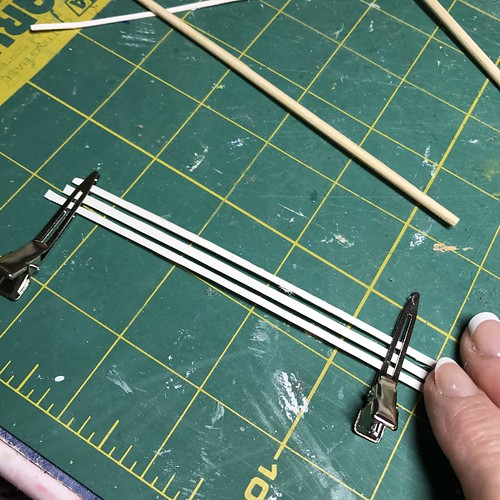
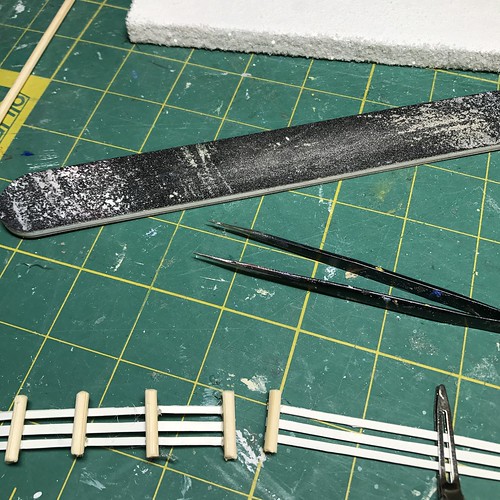
I like using alligator clips (the ones without teeth) as clamps when making my Putz creations and I found them very useful for this project. I used them to hold three strips of chipboard in postion for gluing.

making a board fence for a Putz barn

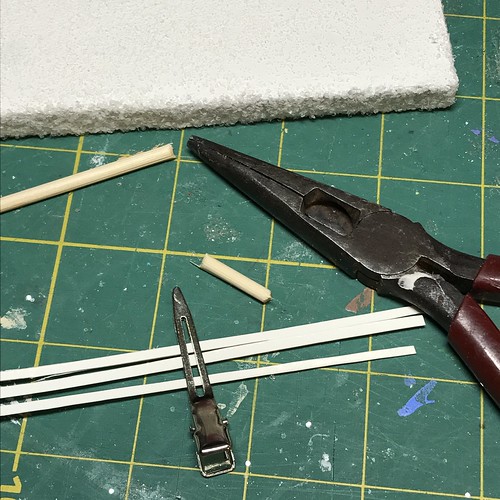
The fence posts are made from bamboo skewers. These are about 1/8″ thick. I used a wire cutter to cut through the skewer. Beware. The cut piece may go flying! After they are cut, use a nail file or a bit of sandpaper to smooth the cut ends of each post.

making a board fence for a Putz barn

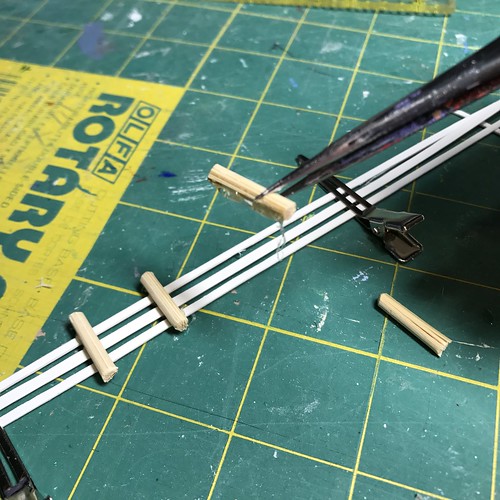
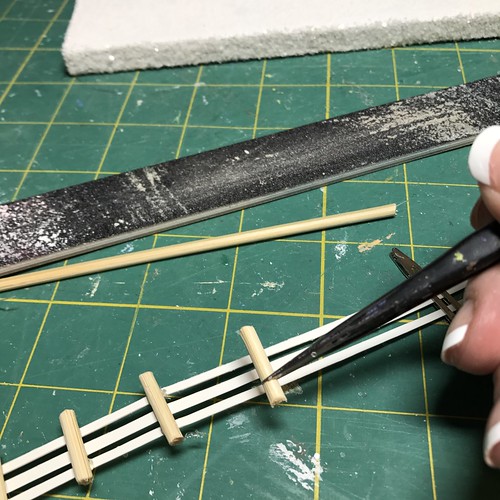
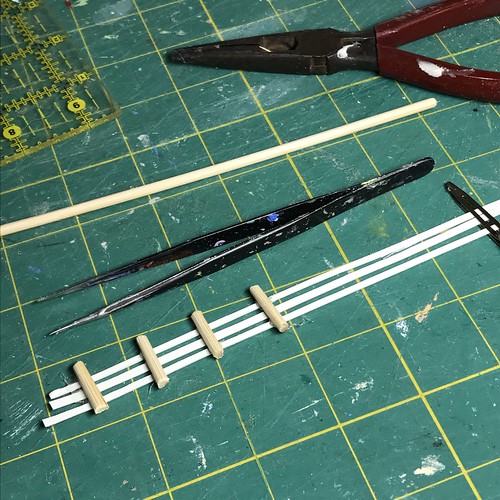
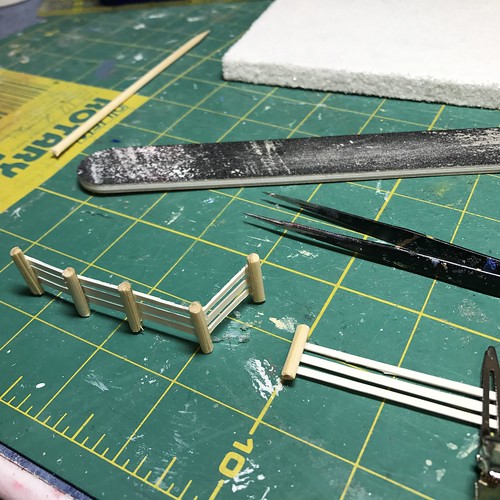
I put a small strip of hot glue on one side of the fence post and set it on the “boards.” I find a fine-nosed tweezer is useful when setting small pieces.

making a board fence for a Putz barn

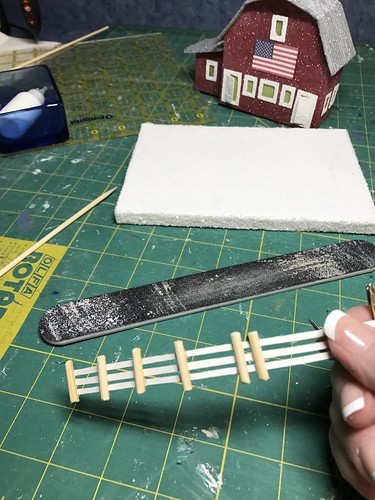
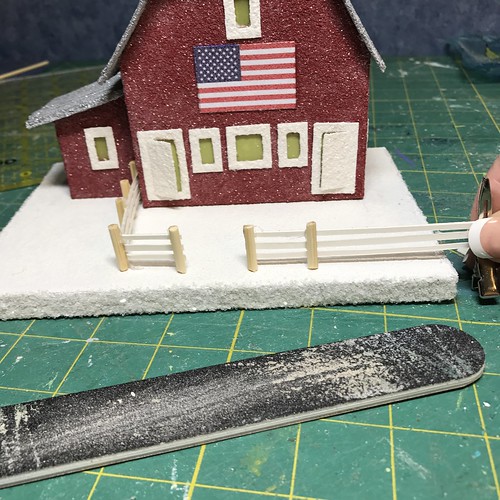
Think ahead about spacing of posts. Check the Putz for how much space needs to be fenced. Adjust fence posts accordingly.

making a board fence for a Putz barn

making a board fence for a Putz barn

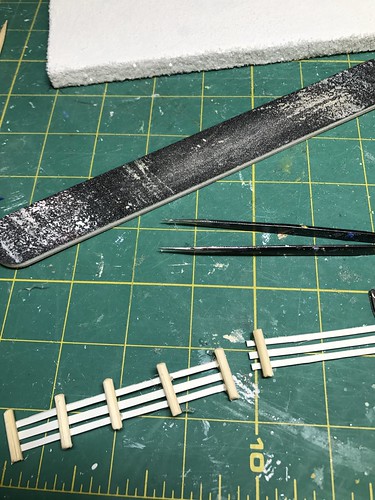
In this picture, the first five posts are part of the left section of the fence. Before I cut that length off, I placed the first post of the right section to keep the boards in alignment.

making a board fence for a Putz barn

Then I cut the left section off.

making a board fence for a Putz barn

And trimmed the right section.

making a board fence for a Putz barn

making a board fence for a Putz barn

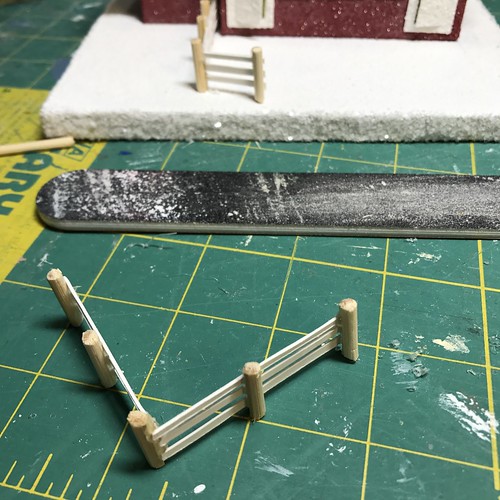
I eyeballed the fencing for the placement of the corner post.

making a board fence for a Putz barn

making a board fence for a Putz barn

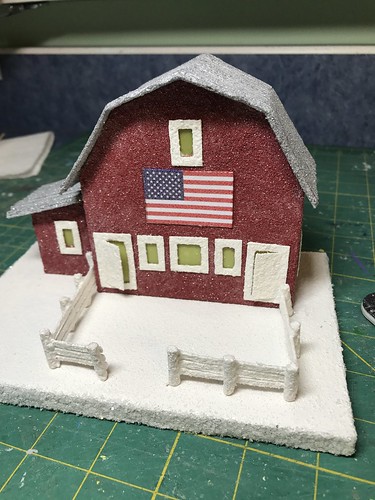
Check placement of the fence on the Putz piece before painting. Be sure you have it the way you want it. It’s easier to make adjustments prior to painting and glittering.

making a board fence for a Putz barn

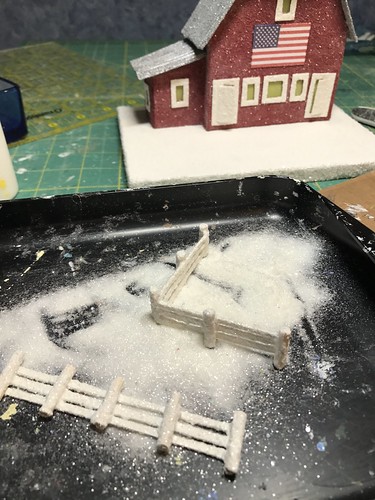
Paint and glitter.

making a board fence for a Putz barn

Glue in place using hot glue. Remember that blobs of extra glue are just fodder for snowdrifts. 🙂

making a board fence for a Putz barn

I am very happy with the way this project turned out. I’ll be making more board fences for future Putz.

Putz Barn with Flag

If you are interested in crafting some Putz houses and bottle brush trees of your own, check out my Putz tutorials for more information. Putz House Tutorials

I am always happy to answer questions about the process. Please ask, if you are wondering about the details of putzing!

You can see my Putz houses and other Christmas ornaments in my Etsy shop.

ChristmasNotebook.etsy.com

All proceeds from my Etsy shop benefit Kenya Mercy Ministries. They work with the urban poor of Nairobi, Kenya, particularly the children and their families who live in Kibera, the largest slum in Africa. Thank you for your part in helping these children when you purchase items from my shop!

~~Rhonda

acrylic paints for crafting

I’ll start by saying this should be titled “MY experience with acrylic paints for crafting” because that is all I am bringing to the table. I don’t know which brands are considered best by the general crafting community. I don’t know how long paints are “supposed” to be kept, when it is recommended to discard them (I never throw out a bottle of usable paint), and I don’t know the general rule of thumb for deciding their quality. If they’re usable, I use them. I have some very old bottles of acrylic paint, collected from a long history of crafting. Once in a great while, I open a color and it’s just a solid block of plastic. That’s some old paint. Out it goes.

I keep my paints in a large drawer behind me as I craft. I have a lovely craft room where I spend a lot of time. This picture is a few years old, and the counter is unusually uncluttered (must have had company coming…), but it gives you a good idea of the layout. As I sit at the desk, my paint drawer is behind me and easily accessible. The paint drawer is the one just below the tall stack of smaller drawers to the right side of the picture.
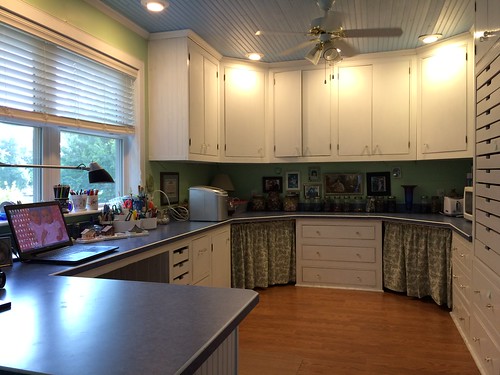
craft room>

I have nice deep drawers for my paints. The two drawers at the top of this picture are my glitter drawers.
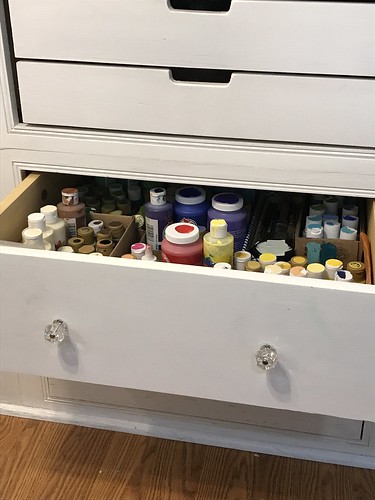
acrylic paint

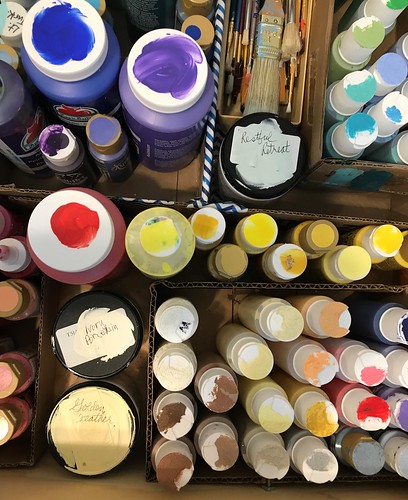
I dab a bit of paint on the top of each paint bottle lid so I can immediately see exactly what I have.

The bottles along the right side, front and back of the drawer, are “leftover” paints from making Putz houses. This paint was made for particular Putz projects and is a 1:1 mixture of acrylic paint and white glue. To that, I add a tiny bit of Floetrol (paint additive/conditioner) and some sand for texture. The Floetrol helps the paint resist cracking, which can be an issue on corners when you’re painting a house and then try to give a corner of the building a tighter crease after it’s been drying for a while. I bought some small plastic bottles and use them to save this extra paint for future use.
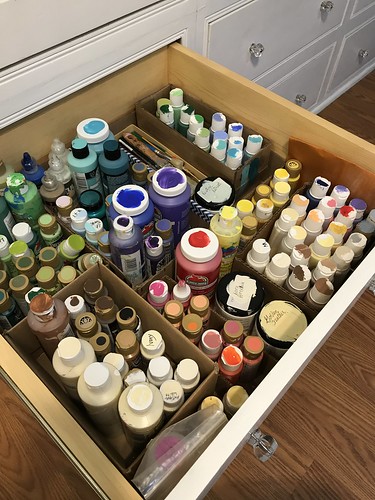
acrylic paint

Most of the paints I have are 2-ounce bottles. Since I’ve amped up my Putz house production, I have been buying 8-ounce bottles.
acrylic paint

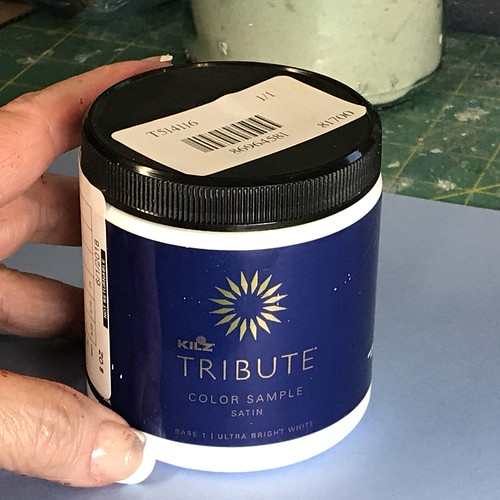
I recently bought a sample bottle of Kilz Tribute Acrylic Paint. The sample size is 8-ounces and costs $4.98 on Amazon. The paint is high quality, smooth and silky. And the price is lower than many of the craft acrylic paint options for the same amount of paint. Find the best art and craft materials like epoxy resin and more on this website here.
acrylic paint

You can go to Amazon and search < Kilz Tribute acrylic paint > to find what is available. Click on a color and it will take you to the page, where you will see other paint colors available. Most have the option of buying a sample bottle for $4.98.

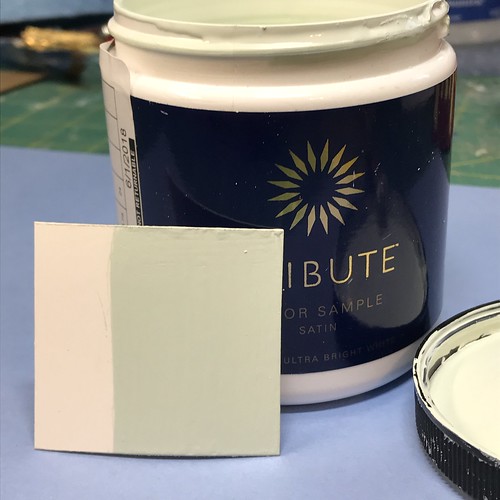
I have since bought several more colors of Kilz acrylic paint. If you use a lot of acrylic paint, Kilz (or other brands of acrylic house paint) could be a good option. Check prices of craft paint for comparison. Some colors are cheaper than the Kilz, but many are not, particularly specialty color blends. I am sure other brands of house paint have similar sample bottles available. This is Kilz “Restful Retreat.”
acrylic paint

I went to the Home Depot website and they have 8-ounce sample bottles of acrylic house paint from $3.27 up. Depending on brand and color. Check out your favorite home improvement store for their selection. Be sure you’re looking at acrylic paint and not oil-based paint. When trying a new brand, I would suggest buying one sample and giving it a try before buying more.

When I find that an older bottle of paint from my collection has thickened, I add Floetrol to the bottle and mix well. Just a half teaspoon or so can make a lot of difference. Sometimes it takes more. The Floetrol revives the paint, thins it a bit and makes it flow well. If you don’t have a paint conditioner, you can use water. Works quite well. Just add it sparingly until you find the right amount.

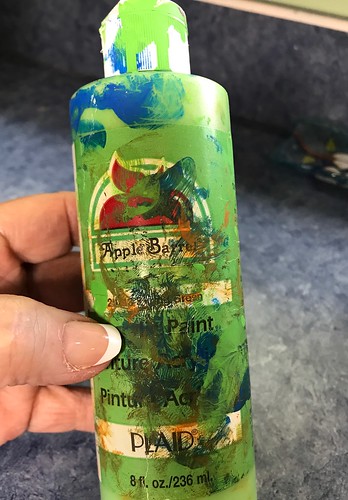
When you use a color you just plain love, keep a record of it. The brand, the color number and the name. Add a picture if you’re saving info digitally. Add a dab of the paint color if you are saving the info on paper. You may want this information some day. And, if your paint bottles look like some of mine do, one day it may be difficult to get this info from the original bottle. Believe me, I have more than one bottle that looks like this (straight out of the paint drawer, no extra paint added!)…
paint bottle

A word about cleaning paint brushes… I keep small plastic bottles of water at hand. I use some nut containers that I had. I add two or three drops of Dawn dishwashing soap to each bottle of clean water and use those to clean my brushes.
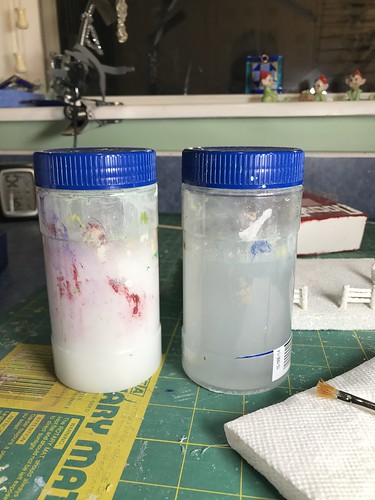
paint water

After painting, I wipe the brush on cardboard or paper, getting rid of as much paint as possible. Then I clean it in the first bottle (my “dirty water” bottle), dry the bristles on paper towels, then clean it in the second bottle (the “clean water” bottle). The Dawn gets the brushes cleaner than using plain water. I have been surprised how much difference it makes. Because I add sand to my Putz house paints, my brushes take a beating. I have noticed they are easier to clean with the addition of Dawn to the bottles.

If you have questions, please ask. I am happy to share what I have learned.

You can see my Putz houses and other Christmas ornaments in my Etsy shop.

ChristmasNotebook.etsy.com

All proceeds from my Etsy shop benefit Kenya Mercy Ministries. They work with the urban poor of Nairobi, Kenya, particularly the children and their families who live in Kibera, the largest slum in Africa. Thank you for your part in helping these children when you purchase items from my shop!

~~Rhonda
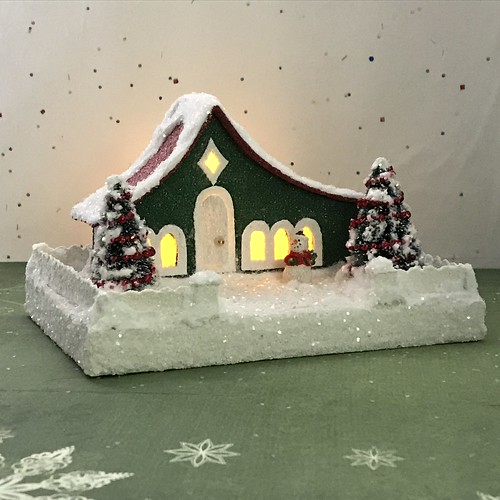
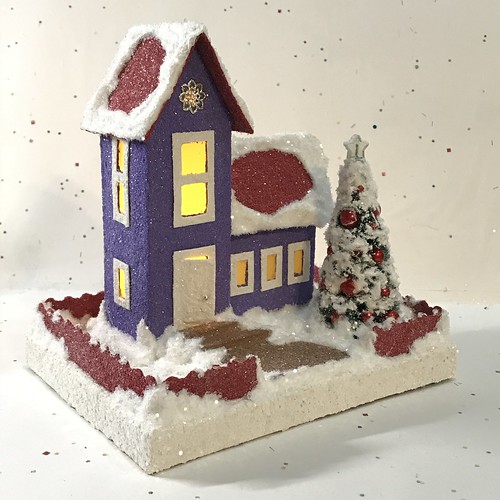
purple and red putz house

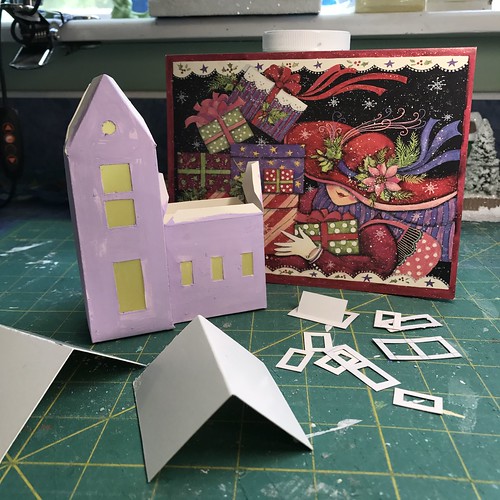
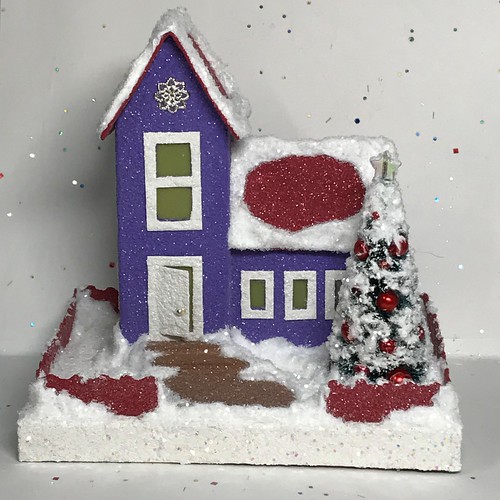
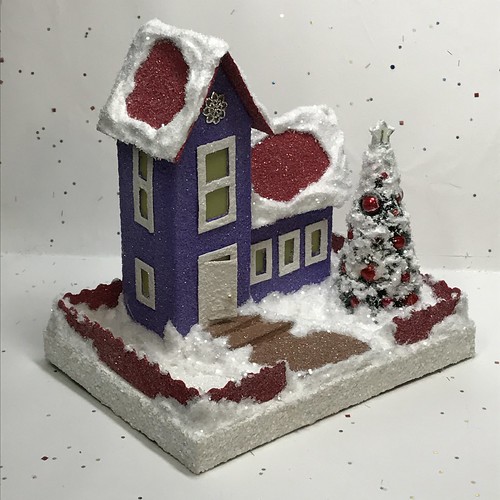
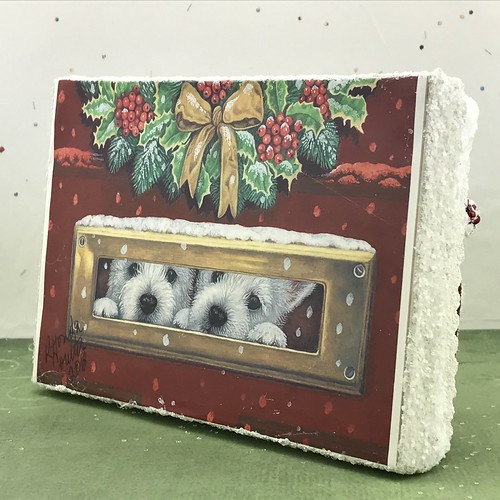
I was rummaging through some drawers in the craft room last week and found a few Putz houses I had cut from poster board but hadn’t finished. I don’t remember when I actually started putting this house together. I couldn’t find the original pattern for it, so I drew a new one, with a few tweaks, so I can make it again. I chose the “red hat lady” card for the base and painted the house to match.

Purple and Red Putz house

The metal cover over the small hole over the door is a bead cap that has been flattened.

Purple and Red Putz house

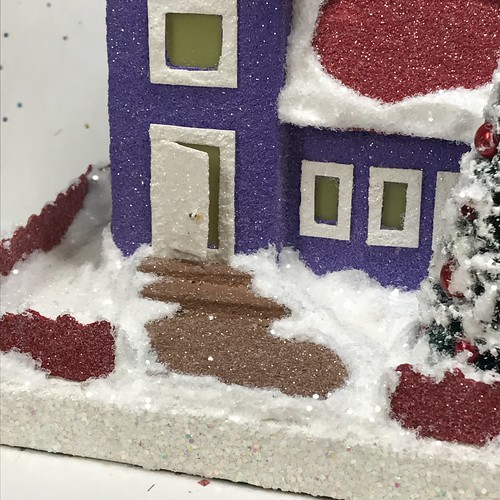
The front steps are made from the cheap kind of nail files that have foam layered in them. Easy to cut to fit and easy to paint.

Purple and Red Putz house

Purple and Red Putz house

The lights make it come alive.

Purple and Red Putz house

If you are interested in crafting some Putz houses and bottle brush trees of your own, check out my Putz tutorials for more information. Putz House Tutorials

I am always happy to answer questions about the process. Please ask, if you are wondering about the details of putzing!

You can see my Putz houses and other Christmas ornaments in my Etsy shop.

ChristmasNotebook.etsy.com

All proceeds from my Etsy shop benefit Kenya Mercy Ministries. They work with the urban poor of Nairobi, Kenya, particularly the children and their families who live in Kibera, the largest slum in Africa. Thank you for your part in helping these children when you purchase items from my shop!

~~Rhonda
setting bells in putz church bell towers

When I began to make Putz churches, I had to devise a way to hang bells in the bell towers. Following is the method I use. The bells hang freely from a small chain and swing back and forth if the church is moved. Two examples…

Easter Putz Church

Yellow and Blue Putz Church

Basically, I make a ceiling for the bell tower and hang the bell from the ceiling. I assemble the ceiling and bell as a complete part before placing it in the tower.

Supplies needed:

  • Cardboard piece for the bell tower ceiling
  • Pencil
  • Ruler
  • Acrylic paint
  • White Glue
  • Sand / optional for vintage-style texture
  • Paint brush
  • Glitter
  • Glitter tray
  • A small bell / The type I use are called “liberty bells” in craft supply stores. They are available in gold and silver.
  • Short piece of chain link
  • Wire cutters
  • Needle-nose tweezers
  • Small jump ring
  • Hot glue gun

After cutting the pattern pieces, assemble the church to the point of placing the bell. If the pattern you are using doesn’t have a pattern piece for hanging the bell, cut one from cardboard that is the size and shape of your bell tower. The belltower I am using is a 3/4″ square, so I cut 3/4″ square of poster board.

Mark the center of the ceiling piece by drawing an X from the corners through the middle of the pattern piece.

building Putz houses

Use a sharp-pointed tool to drill a hole in the center of the ceiling piece. My tool is a bead reamer.

building Putz houses

Cut a small piece of chain.

building Putz houses

Attach the bell to the chain, using a small jump ring.

building Putz houses

building Putz houses

Paint the ceiling. Let it dry. Give it a second coat, and while the paint is still wet, coat it with glitter. When the paint is dry, reopen the hole, if needed. I also paint and glitter the inside of the bell tower because it is visible when the Putz church is finished.

building Putz houses0

Pull the chain through the hole.

building Putz houses

Set the ceiling on top the tower structure.

building Putz houses

Adjust the chain until the bell sits where you want it.

building Putz houses

Hot glue into place by putting a glob of hot glue over the loose end of the chain. Place a thin line of glue around the edge of the ceiling. Make it thin so the steeple roof will be able to sit in place when assembled. Too much hot glue and the roof won’t fit properly.

building Putz houses

At this point, continue to assemble your Putz church. Here’s the one I made today. I still need to add a front walk and embellishments.

yellow and blue Putz church

I think the swinging bell adds a nice touch to the Putz church.

bell in the Putz church

If you are interested in crafting some Putz houses and bottle brush trees of your own, check out my Putz tutorials for more information. Putz house tutorials

I am always happy to answer questions about the process. Please ask, if you are wondering about the details of putzing!

You can see my Putz houses and other Christmas ornaments in my Etsy shop.

ChristmasNotebook.etsy.com

All proceeds from my Etsy shop benefit Kenya Mercy Ministries. They work with the urban poor of Nairobi, Kenya, particularly the children and their families who live in Kibera, the largest slum in Africa. Thank you for your part in helping these children when you purchase items from my shop!

~~Rhonda
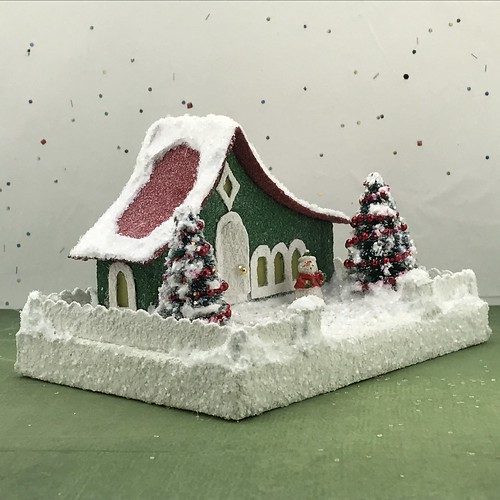
making stepping stones for a putz house

Sometimes it can be hard to decide how to finish the front walk of your Putz house or church. One of my favorite methods is to make stepping stones from the front door to the gate, using cardboard.

Stepping stones for a Putz house

Supplies needed:

  • A small piece of cardboard, poster board, or cardstock
  • Scissors
  • Needle-nose tweezers
  • Acrylic paint
  • White glue
  • Sand / Optional. Used to create texture.
  • Paint brush
  • Hot glue gun
  • Aleene’s True Snow or other artificial snow
  • Palette knife for spreading snow
  • Glitter
  • Glitter tray

The first step is to cut a piece of cardboard to the size and shape you want the front walk to cover.

Stepping stones for a Putz house

Paint it the color you want it to be. I use a mixture of acrylic paint and white glue in a 1:1 mixture. A few drops of paint conditioner, like Floetrol, is helpful, but not necessary. It helps the paint glide on easily. I add a little sand to the mix to give the finish some vintage-style texture. When the paint dries, I paint on a second coat. A pair of needle-nose tweezers are useful when manipulating pieces with wet paint.

Stepping stones for a Putz house

While the paint is still wet, pour clear glitter over it.

Stepping stones for a Putz house

Stepping stones for a Putz house

Allow the paint to dry completely.

Stepping stones for a Putz house

At this point, the walk can be used as is. For example…

Ivory and Brown Putz Church

Putz House

If you want to create stepping stones, continue with the following steps.

I usually make three stones, but there can be as many as you are able to make. Cut an elongated rounded shape for the first stone.

Stepping stones for a Putz house

Cut the rest of the stones. Set them into place to be sure you like the way they look.

Stepping stones for a Putz house

Use hot glue to glue them down.

Stepping stones for a Putz house

Stepping stones for a Putz house

Add Aleene’s True Snow, or artificial snow of your choice, around each stone. Spread with a palette knife or other blade and sprinkle glitter on the snow while the snow is still wet. Use a glitter tray or a piece of paper to catch the extra glitter and return it to the bottle.

Stepping stones for a Putz house

The finished Putz house.

green and brown Putz house

Stepping stones are easy to make and add a nice detail to a Putz house. I hope you enjoyed the tutorial.

If you are interested in crafting Putz houses of your own, check out my Putz tutorials for more information. Putz House Tutorials

I am always happy to answer questions about the process. Please ask, if you are wondering about the details of putzing!

You can see my Putz houses and other Christmas ornaments in my Etsy shop.

ChristmasNotebook.etsy.com

All proceeds from my Etsy shop benefit Kenya Mercy Ministries. They work with the urban poor of Nairobi, Kenya, particularly the children and their families who live in Kibera, the largest slum in Africa. Thank you for your part in helping these children when you purchase items from my shop!

~~Rhonda

decorating bottle brush trees

Supplies needed:

Beads or miniature ornaments
Bottle brush tree
Needle-nose tweezers
Hot glue gun
Star bead for the tree topper
Long-nose pliers
White tacky glue
Aleene’s True Snow
Palette knife or other blade
Clear glitter
Glitter tray

To decorate a bottle brush tree with ornaments, I use any combination of miniature ornaments, vintage mercury beads, glass beads, seed beads, metallic beads, etc. BTW, I love these bead storage boxes. They make sorting, storing and finding my many beads and embellishments easy to do.

miniature ornaments

Pearl beads make great ornaments and they come in a lot of different colors and sizes. I prefer glass beads over plastic ones.

pearl beads

For this project, I chose a 4″ bottle brush tree and red pearl beads in varied sizes.

decorating a bottle brush tree

I find a needle-nosed tweezer a great tool when working with beads. I always start with the largest size beads, then move progressively down to the smallest size.

decorating a bottle brush tree

Add some hot glue…

decorating a bottle brush tree

…and press the bead into the tree. I try to set the bead so the holes on the bead don’t show, but I don’t get too picky. Holes that show when the beads are all applied can be covered by artificial snow.

decorating a bottle brush tree

First bead on…

decorating a bottle brush tree

I like to set them in deep enough that the bead doesn’t stick out too far from the tree.

decorating a bottle brush tree

Here is the tree with the first size bead scattered around the tree, leaving room for smaller beads between.

IMG_3275

I used four sizes of beads on this tree.

decorating a bottle brush tree

To add a star to the top of the tree, I use long-nose pliers to clear the top of the tree. Just grab the tip of the tree wire with the pliers and turn the tree back and forth till any snow and bristles are cleaned from the tip of the wire.

decorating a bottle brush tree

I apologize for the poor focus of this picture, but it does show what you should have when the long-nose pliers have done their job.

decorating a bottle brush tree

At this point, check to see if your bead star will slide onto the tip of the wire. If it does, skip the next few steps and proceed to glue the star onto the wire tip. If the bead hole is too small to fit over the twisted wire tip, follow the next few steps.

Grab the tip of the wire with the long-nose pliers and twist the pliers counter-clockwise while holding the tree in place. This will untwist the two wires that make up the trunk of the tree.

decorating a bottle brush tree

Use wire cutters to snip off the more twisted wire, if one is more twisted than the other. Leave one wire.

decorating a bottle brush tree

decorating a bottle brush tree

Use the pliers to straighten the remaining wire as much as possible.

decorating a bottle brush tree

Apple white tacky glue to the wire and on the very top of the branches. This will help hold the star in place.

decorating a bottle brush tree

Slide the star onto the wire.

decorating a bottle brush tree

There will be a hole in the top of the bead. That needs a dot of glue.

decorating a bottle brush tree

The white tacky glue will dry clear.

decorating a bottle brush tree

The tree can be done at this point, if you are happy with the look. I like to add lots of snow, so read on if you want to snow your tree.

When the glue is dry (I wait overnight to be sure it is cured), add the artificial snow. I put Aleene’s True Snow in a squeeze bottle to apply it. A palette knife is a good tool for spreading the snow.

decorating bottle brush trees

Crafting Tip: I keep a small container on my desk. I am in the habit of dropping small items I am using into this dish so I am able to find them when needed. The small red cap for the squeeze bottle is a good example. If you could see the usual condition of my craft counter, you would understand why I need this dish!

decorating bottle brush trees

I like to start at the top of the tree when applying the artificial snow. Work around the star. The snow won’t harden right away, so there is plenty of time to clean surfaces that should be clear.

decorating bottle brush trees

Apply snow in horizontal lines around the tree, keeping beads mostly clear.

decorating bottle brush trees

Use the palette knife, swiping in horizonal lines around the tree, to spread the snow. Add more snow if needed.

decorating bottle brush trees

Sprinkle with glitter, using a glitter tray or paper to catch the extra glitter. I am using glass glitter on this tree, but any kind will work.

decorating bottle brush trees

Give your tree a look over and fill in any spots that look like they need more snow and apply more glitter. Here the star is clean and all the snow has been covered with glitter.

decorating bottle brush trees

The snow needs an hour or so to dry enough to be handled. Then the tree is ready to use as a decoration in your little glitter house village or as a tree on a Putz house base. When I use these bottle brush trees on a Putz base, I glue the tree down with hot glue, then cover the tree’s base with more snow and glitter.

I plan to write a post about using bead strings to decorate bottle brush trees. When it is finished, I’ll add the link here.

If you are interested in crafting some Putz houses and bottle brush trees of your own, check out my Putz tutorials for more information. Putz House Tutorials

I am always happy to answer questions about the process. Please ask, if you are wondering about the details of putzing!

You can see my Putz houses and other Christmas ornaments in my Etsy shop.

ChristmasNotebook.etsy.com

All proceeds from my Etsy shop benefit Kenya Mercy Ministries. They work with the urban poor of Nairobi, Kenya, particularly the children and their families who live in Kibera, the largest slum in Africa. Thank you for your part in helping these children when you purchase items from my shop!

~~Rhonda
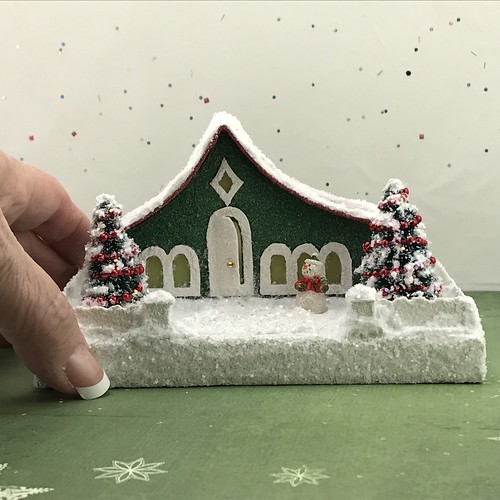
green and brown putz house

My latest house is this little green and brown one.

green and brown Putz house

The “picket” fence is made with corrugated cardboard. The fence posts at the front gate are made from wooden dowels, cut to size and painted. Picket fence tutorial

green and brown Putz house

I like to add the traditional hole in the back of the Putz house for the use of a small LED light string to light the houses.

green and brown Putz house

The front yard seemed to need something in the space by the larger tree, so I added a tiny deer.

green and brown Putz house

You can read a tutorial for how I “snow” bottle brush trees here: snowing bottle brush trees

green and brown Putz house

green and brown Putz house

This may be the second Putz base that I used this Christmas card for. It looks familiar. I must have liked it a lot to use it twice. It’s always fun to lift the Putz and find a little surprise on the bottom of the base. Christmas cards are perfect for that!

green and brown Putz house

I love to see the Putz house with the lights on. Always looks so cozy and nostalgic.

green and brown Putz house

If you are interested in crafting some Putz houses and bottle brush trees of your own, check out my Putz tutorials for more information. Putz House Tutorials

I am always happy to answer questions about the process. Please ask, if you are wondering about the details of putzing!

You can see my Putz houses and other Christmas ornaments in my Etsy shop.

ChristmasNotebook.etsy.com

All proceeds from my Etsy shop benefit Kenya Mercy Ministries. They work with the urban poor of Nairobi, Kenya, particularly the children and their families who live in Kibera, the largest slum in Africa. Thank you for your part in helping these children when you purchase items from my shop!

~~Rhonda
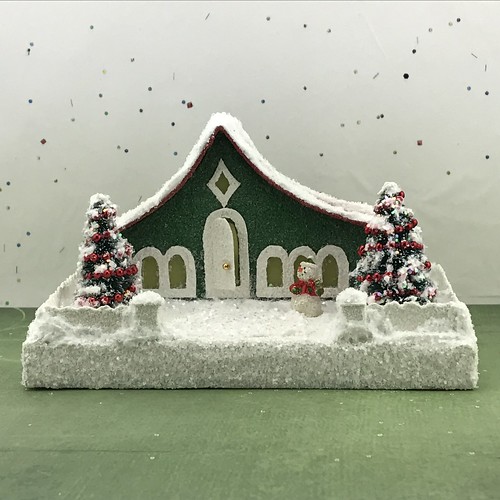
snowing bottle brush trees

This post shares how I “snow” bottle brush trees for a lush look on my Putz house displays.

green and brown Putz house

Supplies needed for snowing and glittering bottle brush trees:

In this post, I’ll show you how I make a bottle brush tree with just the snow and glitter. In a few days, in another post, I’ll show how I make them with ornaments and bead strings.

If the bottle brush tree has a plastic base, I put some hot glue on that to be sure the tree stays attached. I have found the wooden bases stay on well, but the plastic ones tend to come loose. I cover the bases with Aleene’s True Snow when putting the finishing touches on my Putz houses, so I just glob a good amount of glue on top the base, catching the lower branches and the wire trunk, to keep the tree in place.

snowing a bottle brush tree

I put the True Snow in a squeeze bottle. I use bottles sold for decorating cookies with royal icing. I like to put snow on the top of the tree first.

snowing a bottle brush tree

Then I squeeze some snow out in horizontal lines all the way around the tree. I forgot to do the top first on this particular one…

snowing a bottle brush tree

snowing a bottle brush tree

After the snow is on the tree, I use a palette knife to spread the snow, swiping across the snow in a horizontal direction.

snowing a bottle brush tree

snowing a bottle brush tree

In the following picture, you can see a hole in the branches just above the tip of the palette knife.

snowing a bottle brush tree

To fill those holes, I poke the nozzle of the squeeze bottle in there and squeeze out enough snow to fill the void.

snowing a bottle brush tree

The tip of the squeeze bottle can be used to spread the “snow” around a bit, blending it in with the other snow.

snowing a bottle brush tree

Then, while the snow is still wet, pour on the glitter of your choice. Cover the entire tree. Pour over a glitter tray to catch the extra. If you don’t have a glitter tray you can use a sheet of paper to catch the extra glitter, then fold the paper to pour the extra glitter back into the glitter bottle.

snowing a bottle brush tree

snowing a bottle brush tree

A nice full tree! Lots of snow and glitter.

snowing a bottle brush tree

To attach the tree, I use hot glue on the bottom of the tree. I like to use needle-nosed tweezers to hold the tree in the right position for placing on the base.

snowing a bottle brush tree

FYI, the “picket fence” is made from corrugated cardboard.

snowing a bottle brush tree

The heavily “snowed” trees make a beautiful snowy scene. I will write another post soon to show you how I make the stepping stones like the ones in front of this little green Putz house.

snowing a bottle brush tree

To finish the look of the trees, I always cover the bases. I don’t like to see the plastic base on the completed Putz.

snowing a bottle brush tree

Using the squeeze bottle of Aleene’s True Snow, I apply snow all the way around the base.

snowing a bottle brush tree

It looks like this before I spread it out.

snowing a bottle brush tree

I use the palette knife to spread out the snow.

snowing a bottle brush tree

Done…

snowing a bottle brush tree

I place the house in the glitter tray and pour glitter all around the tree.

snowing a bottle brush tree

Done…

snowing a bottle brush tree

And almost done…I added a deer after I took this picture. It seemed to need something in that big open space…

snowing a bottle brush tree

If you are interested in crafting some Putz houses and bottle brush trees of your own, check out my Putz tutorials for more information. Putz House Tutorials

I am always happy to answer questions about the process. Please ask, if you are wondering about the details of putzing!

You can see my Putz houses and other Christmas ornaments in my Etsy shop.

ChristmasNotebook.etsy.com

All proceeds from my Etsy shop benefit Kenya Mercy Ministries. They work with the urban poor of Nairobi, Kenya, particularly the children and their families who live in Kibera, the largest slum in Africa. Thank you for your part in helping these children when you purchase items from my shop!

~~Rhonda
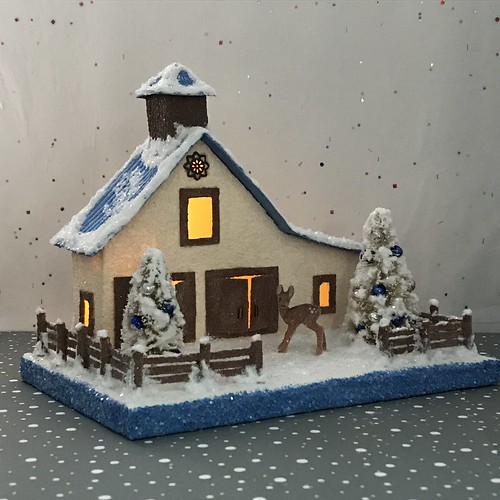
blue and yellow putz church

This little church is a pretty simple design.

Yellow and Blue Putz Church

It does have a bell in the bell tower which takes it up a step from the simplest designs.

Yellow and Blue Putz Church

The blue is Apple Barrel 21142 Cobalt lightened with white. The yellow is Apple Barrel 21474E Yellow Flame, lightened with white.

Yellow and Blue Putz Church

The fence was cut with a large-scallop scissor and then the tear-drops were punched. Pictures showing the process are at the end of this post.

Yellow and Blue Putz Church

The back…

Yellow and Blue Putz Church

The base has “O Holy Night” in silver foil.

Yellow and Blue Putz Church

The steps are made from poster board cut in a width and length to fit the area to cover. I paint it whole, then, when it’s dry, I cut it into stepping stone shapes. Once it’s glued down, I embellish around the steps with Aleene’s True Snow, sprinkled while still wet with glitter.

Yellow and Blue Putz Church

Yellow and Blue Putz Church

Lights make the Putz building come alive for me.

Yellow and Blue Putz Church

Following is how I make the fence used on the Putz church above. I use a large-scallop scissor and a tear-drop punch. I cut poster board in strips, one inch wide.

Putz fences

With a pencil, I mark a line down the middle of the strip to use as a guide when cutting the fence.

Putz fences

The two halves make two different kinds of fences…pointy and rounded.

Putz fences

Punching the tear-drops…

Putz fences

Putz fences

Putz fences

With large-size scissors, you will get fences with a large design. Here’s a Putz house with the fence piece with the points.

Dusky Rose and Brown Putz House

And this house has the part of the fence with the rounded design.

Blue and Orange Putz Church

For more ideas about making fences, you can look at my Putz fence tutorial here: Putz Fence Tutorial

I am happy to answer any questions you might have about making Putz fences. Just ask!

~~Rhonda
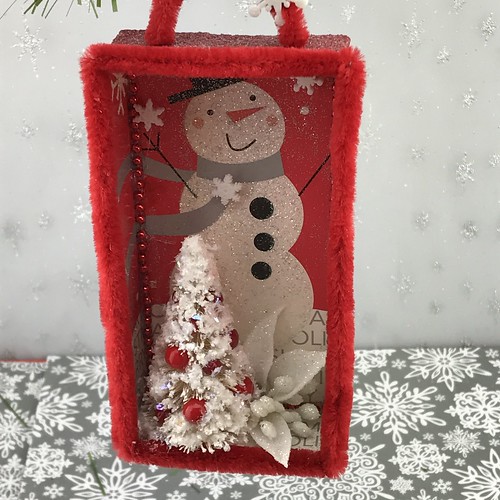
ivory and honey brown putz church

This ivory and honey brown Putz church was just finished. You can see it in my Etsy shop.

ChristmasNotebook.etsy.com

It’s a very simple design with simple embellishments.
Ivory and Brown Putz Church

I love adding embellishments but sometimes less is best.

Ivory and Brown Putz Church

The colors coordinate with the picture on the base.

Ivory and Brown Putz Church

The back has a hole for the light string.

Ivory and Brown Putz Church

Ivory and Brown Putz Church

Ivory and Brown Putz Church

A tiny tube bead serves as a door handle.

Ivory and Brown Putz Church

Ivory and Brown Putz Church

Ivory and Brown Putz Church

If you are interested in crafting some Putz houses of your own, check out my Putz tutorials for more information. Putz House Tutorials

I am always happy to answer questions about the process. Please ask, if you are wondering about the details of putzing!

~~Rhonda