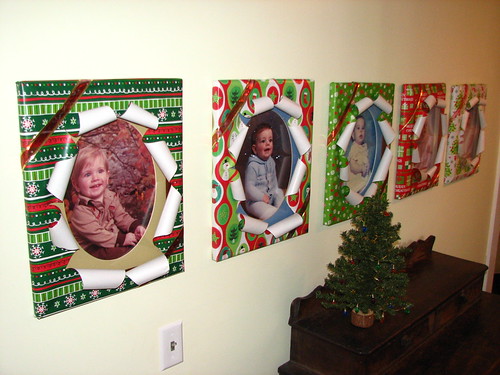
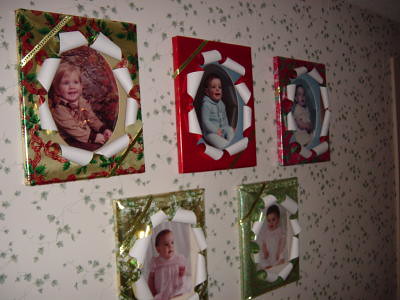
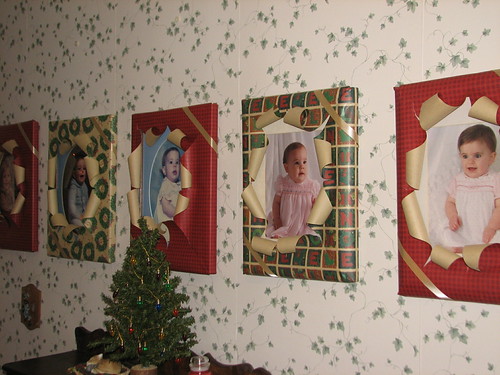
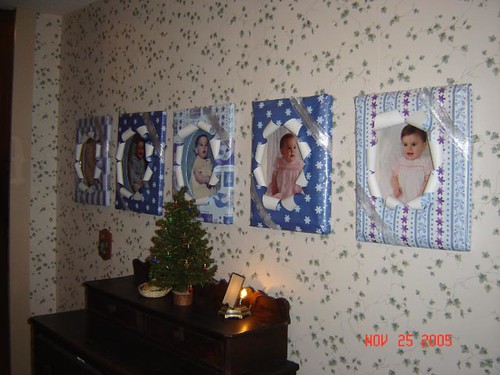
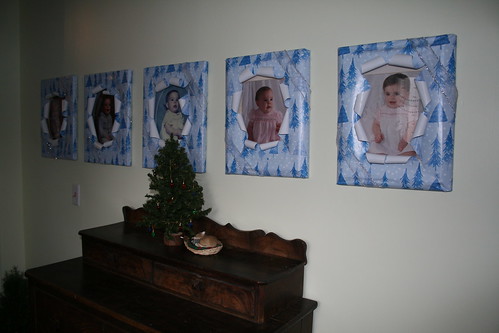
Each Christmas, I wrap the kids’ baby pictures as gifts. Usually with coordinating gift wrap paper. I saw this idea in an Olan Mills Photography studio years ago (25?) when I went with my friend Linda to have her children’s pictures taken at Christmas time. I began wrapping my own pictures then and have done it ever since.
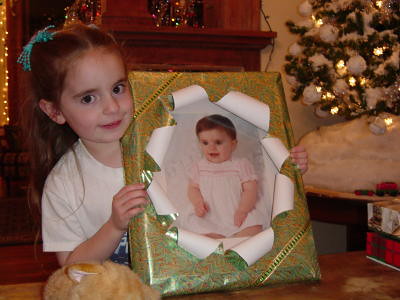
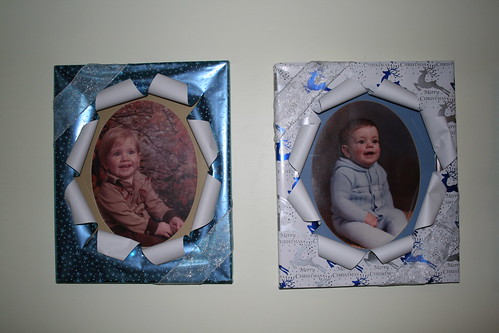
I took the following picture in 2002, so DD must have been almost four years old. Time flies!
A few years ago, I took pictures of the process, so I’ll walk you through it, if you’d like to give this cute project a try. Not hard to do on your own, but I may be able to provide a few hints to make it easier. The pictures are a combination of pics from 2002 and 2009.
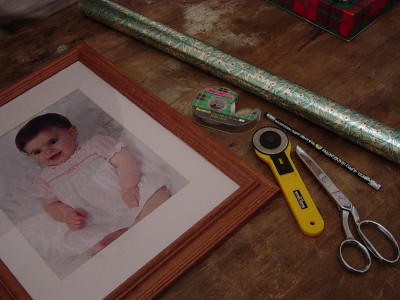
Supplies needed: a framed photo, wrapping paper, ribbon (or a bow), tape, scissors, a rotary cutter or craft knife, and a pencil. I like to use a fabric ribbon, but any kind of ribbon will work.
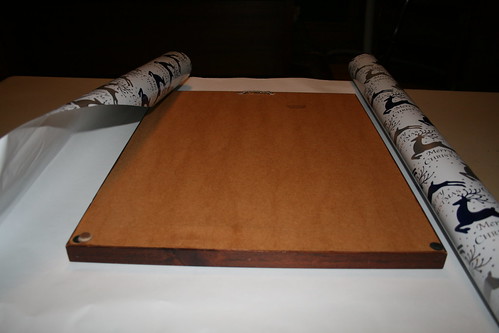
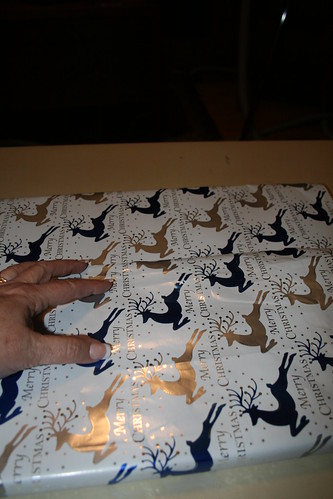
Lay the picture face down on the back of the wrapping paper. Check to be sure the pattern of the paper is running in the direction you want it to. I’ve wrapped pictures, cut them open, and discovered I wrapped them upside down. Ooops.
Overlap the paper on the back of the photo frame. Tape it down. I usually tape it in the middle and near the edge of the frame.
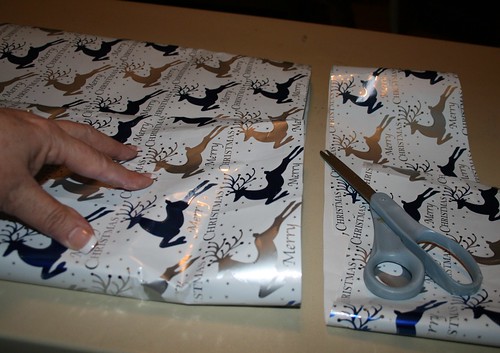
If the paper is too long, trim it so there is about five inches extra paper on the top and the bottom of the frame.
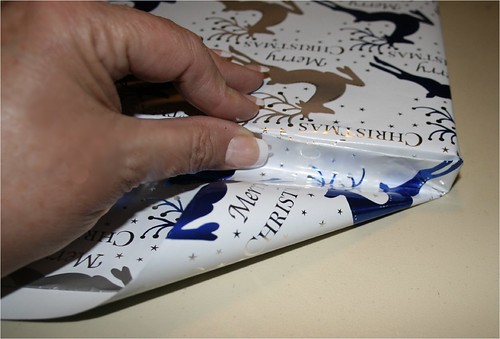
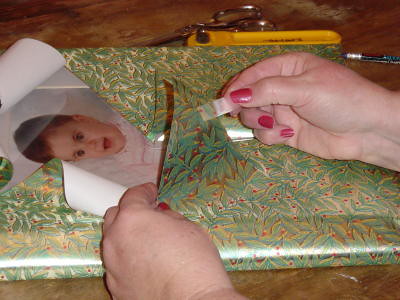
Fold the corners so the paper is close to the frame. If the paper is thin, it may tear as it’s pulled against the corner. If I think it may tear, I place a piece of tape on the paper at the corner before I fold the paper to reinforce it. If the paper does tear, open the fold, carefully place a piece of tape over the tear and refold. No one will notice the repair.
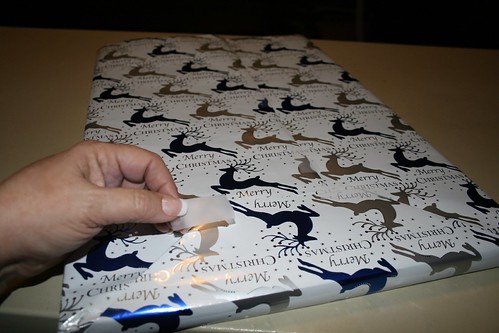
When the corners are folded, I tape the folded paper to the back just to keep everything neat and tight. Right where my thumb is in the above picture.
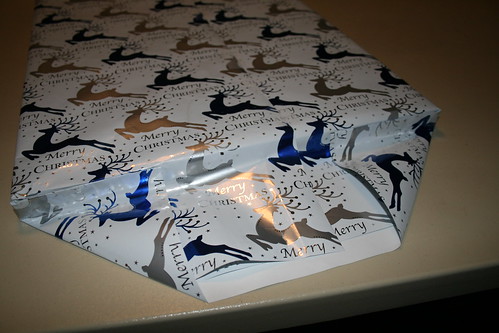
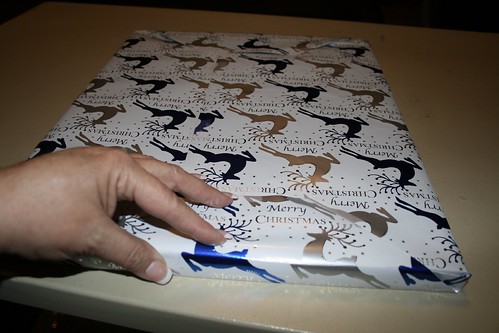
Fold the ends up and tape the paper to the back of the frame.
When both ends of the frame have been wrapped and taped, feel along the top of the frame for the hanging device. If you’ve forgotten which way the picture is hanging, don’t worry! You’ll be able to feel the metal hanging strip through the paper.
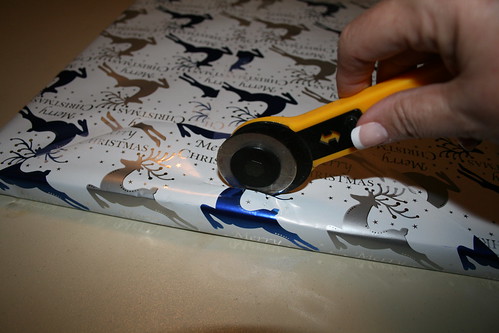
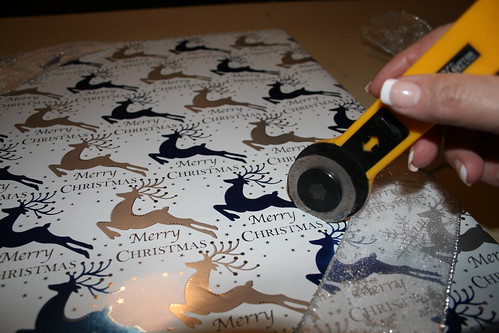
Use the rotary cutter to slice through the paper, along the bottom of the metal strip, until the hanger shows through. Cut the paper just enough to hang the picture.
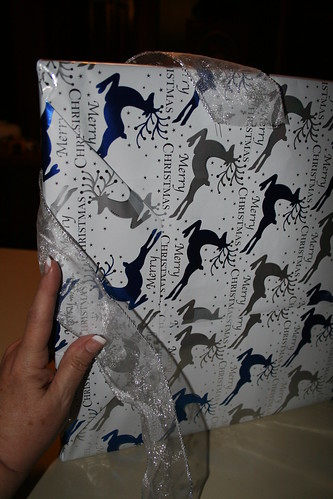
Wrap ribbon around opposite corners of the frame.
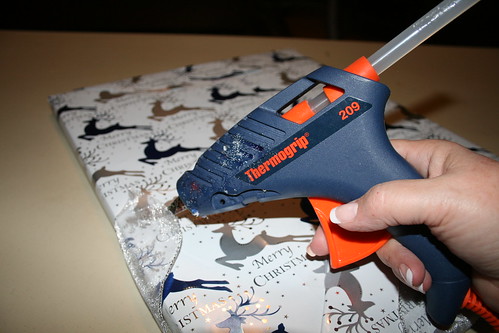
Tape the ribbon to the back of the package. Use a hot glue gun if the tape won’t hold it. It will depend on the kind of paper and ribbon you use. Some foils will not hold tape well.
The next procedure is to make an X-shaped cut through the paper on the front. Use the rotary cutter (or an X-acto knife) to carefully make a slit in the paper on the front of the frame. Stay over the glass so you don’t scratch the frame. Rock the blade back and forth with gentle pressure, until the slit is large enough to admit the scissors. Use a sharp cutter. You don’t want to push so hard that you scratch the glass.
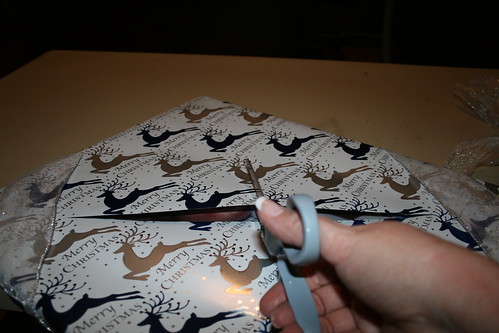
When the scissors will fit into the slit, use them to cut the X from corner to corner. I don’t go all the way to the edge. If there is an oval mat on the picture, cut from the center to the edge of the mat.
After cutting the X, use the scissors to cut each of the four sections in half, from the top of the picture to the bottom and from side to side.
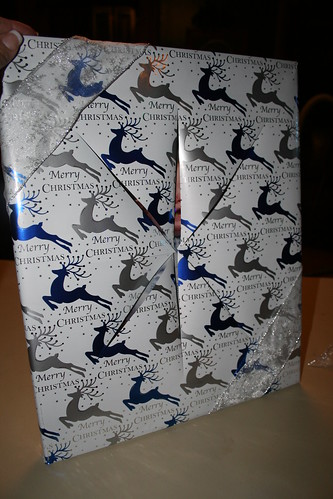
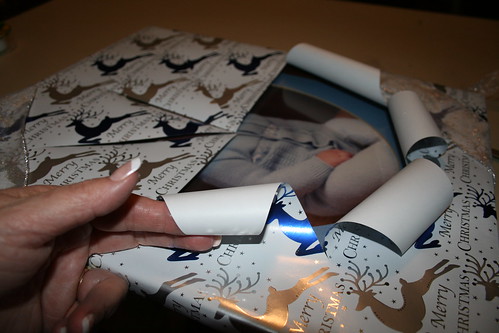
Each of the points will be curled back to make the curls around the picture. These can be taped down with a little bit of tape.
If the paper is heavy enough, it will hold the curl without tape. If you’re using a heavy paper, wrap the paper around a pencil from the point to the bottom of the triangular piece, turning it in as far as it can go. Release and the curl will stay in place.
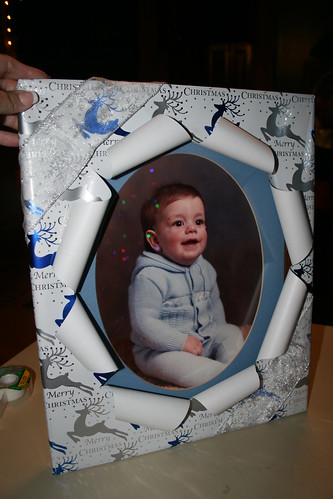
All done!
Hang and enjoy!
Tell those babies they are the best presents you ever received! Mine are now 13, 24, 27, 30, and 32. I still tell them that. 🙂
~~Rhonda
