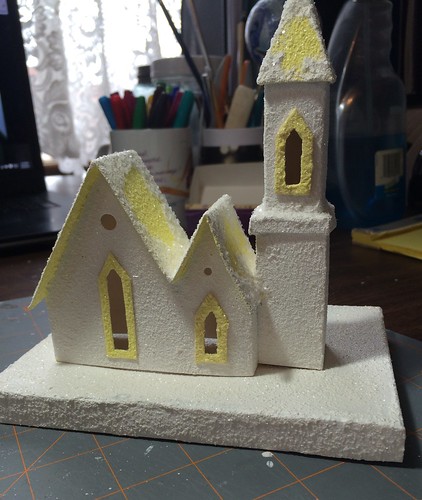
Putz houses are a favorite of mine. They are fun to make and lend themselves to many different interpretations, depending on the crafter’s personal style. Yesterday I pulled out a little church and a base I made in the past. I wanted to make a fence for the church.
Before I proceed, here are links to tutorials I’ve written regarding fences for Putz houses, also called little glitter houses.
Making Fence Posts for Putz Houses
Attaching Putz Fences and Fence Posts to the Base
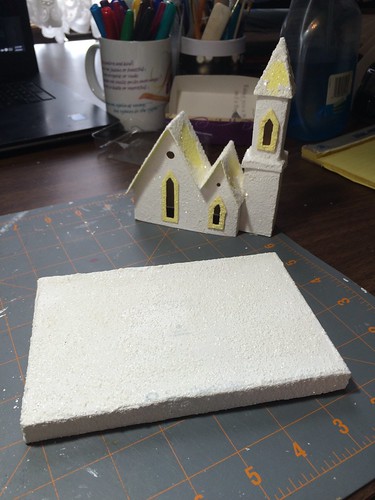
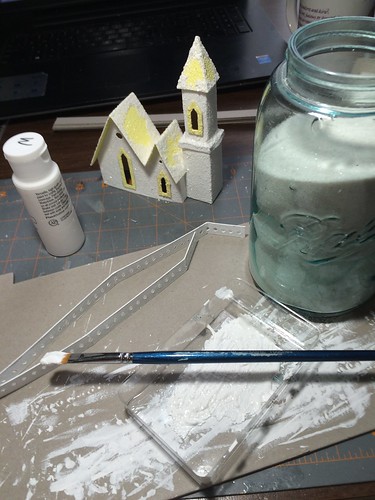
Back to today’s project…here is the church and base I used.
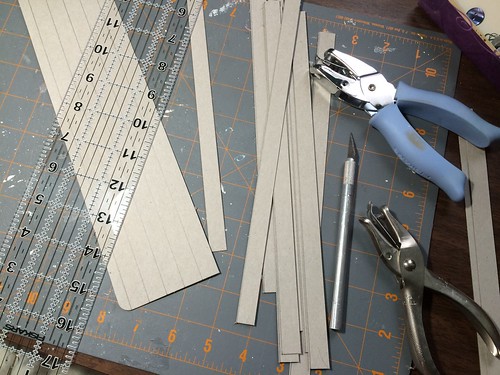
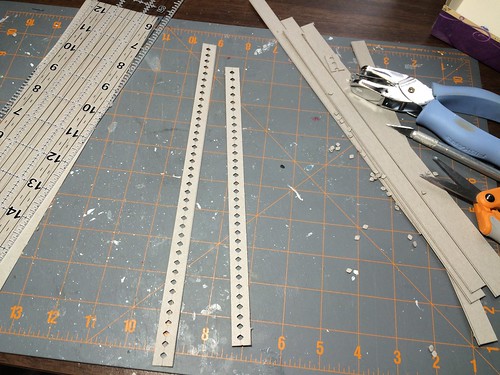
To make the fence, I used a sheet of cardboard that I had saved from a new shirt package. I marked and cut half inch wide pieces from the cardboard, along the long edge.
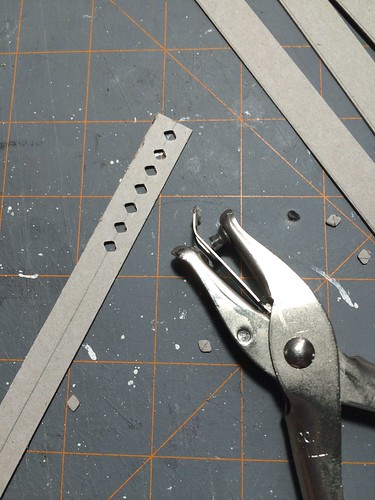
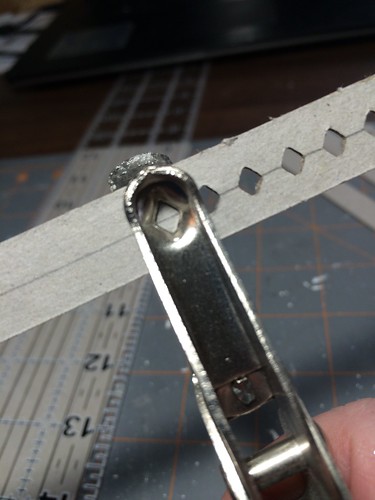
I used a small diamond-shaped, hand-held punch for the fence design.
To make the holes along an even line, I drew a line down the middle of the cardboard strip and lined up the hole of the punch with the line. Using a punch upside down gives more control over where the punch is placed.
I’ll save the extra cardboard strips for future fences.
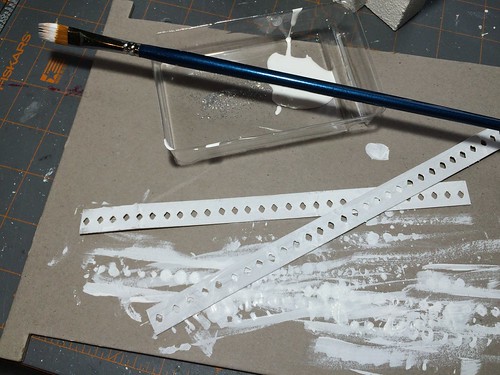
I gave both strips a base coat of white.
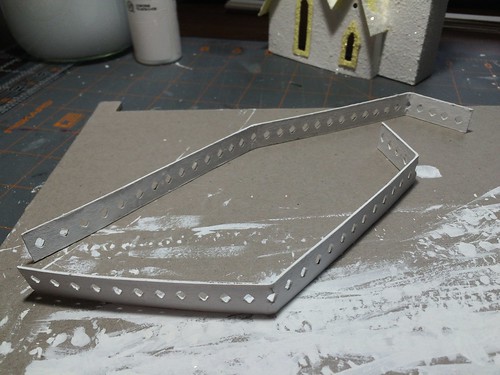
The next step was to cut the length of the fence to fit the base by placing the church on the base and bending the fence at the corners. At this stage, take into consideration where the door to the building is. To the left? To the right? In the center? I like the opening of the fence to be in front of the door. Personal preference. Make your own little houses to fit your own aesthetic.
When it’s time to paint the second coat, I add a little clean sand to the paint to give the painted surface some texture. While the paint is wet, take time to clean out the little holes in the fence design if there are any. Use a toothpick or a straight pin.
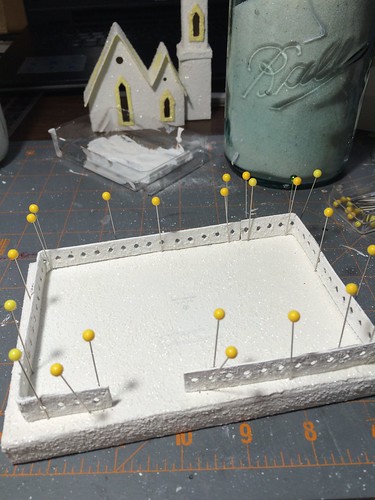
Once the fence was the right length, I pinned it into place before gluing. I set most of the pins next to the fence, but a few (like the one at the right side of the opening) were pushed right through the fence to hold it in place. A little twist of the pin, rather than pulling straight out, helps these come out just fine when the gluing is done.
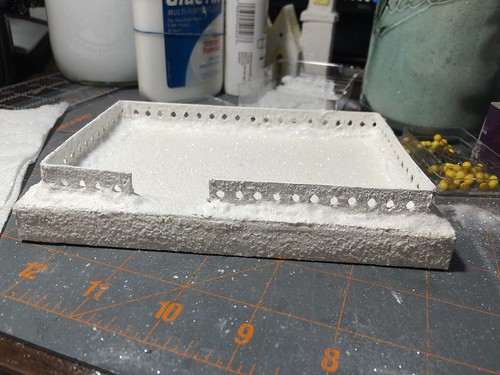
After putting a line of hot glue along both sides of the fence, I gave the fence and the hot glue a coat of paint and used the sandy paint to fill in and blend any odd looking hot glue clumps. While it was still wet, I sprinkled it with fine glitter. It now looks like snow piled along the fence.
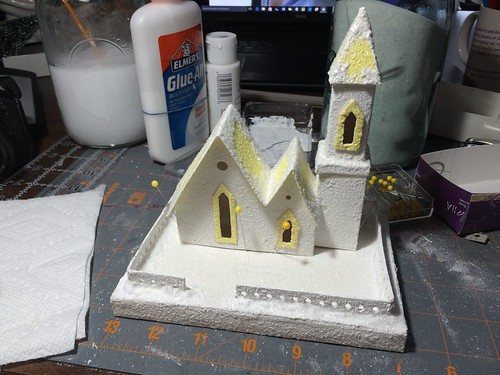
I started to pin the church down to the base to hot glue it, but then decided I want to add cellophane windows before I glue the church down, so that’s going to be another post. I set the church to the back of the base to leave plenty of room for a bottle brush tree and any other embellishments I decide to add.
~~Rhonda
2 Trackbacks
[…] « a fence for the little Putz church […]
[…] A fence for the little Putz church #2 Little Putz […]