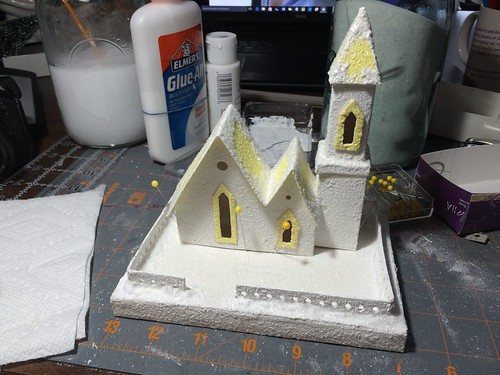
In my last post, I left the little Putz church fenced and ready to be affixed to the base.
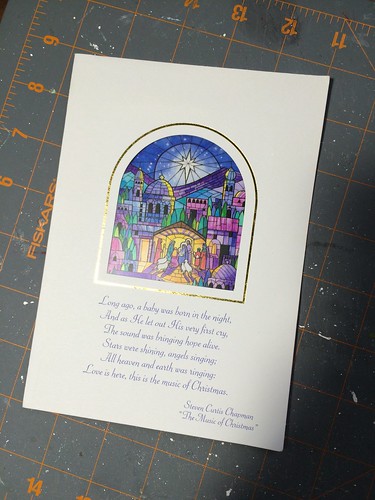
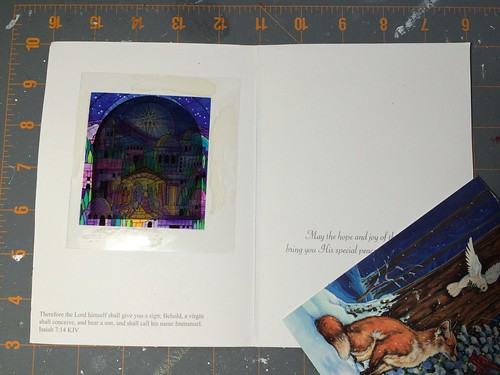
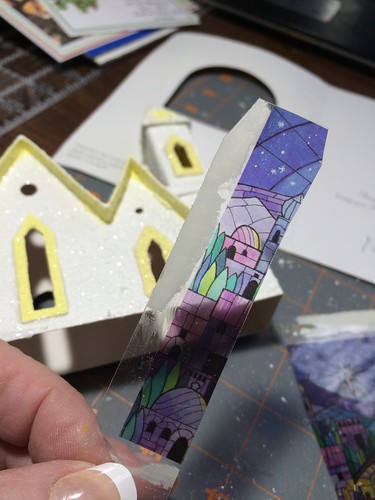
I had planned to glue the church to the base, but decided to add some window panes first. I found this Christmas card that had a piece of transparent acetate as the window pane.
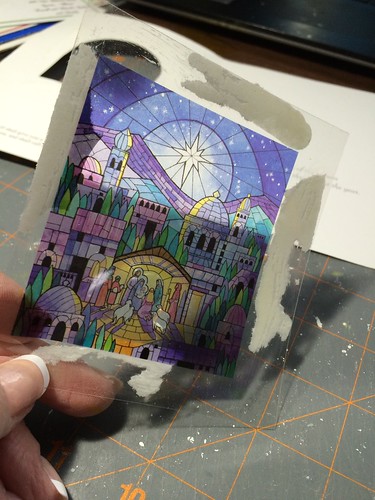
I removed the acetate for use as the windows in the church.
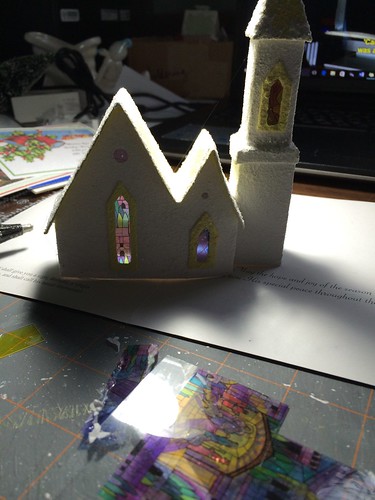
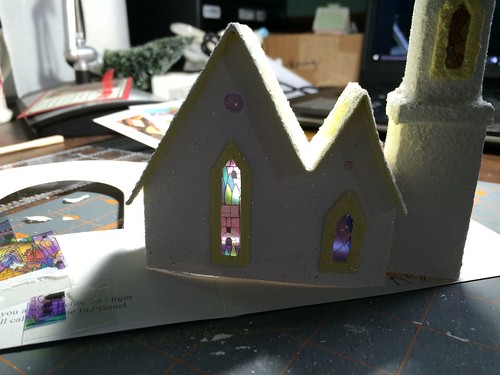
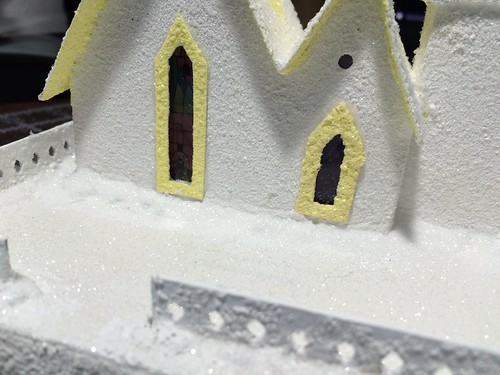
I cut pieces to fit the windows, making one long enough to cover the door and the hole above it and the other to fit the window and the hole above it. A separate piece was cut to cover the window in the bell tower.
I used hot glue to attach these to the inside of the building. I like the way it turned out.
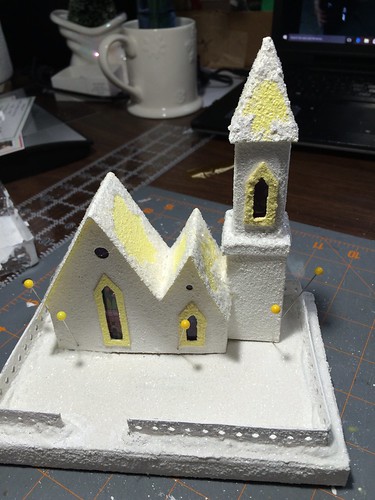
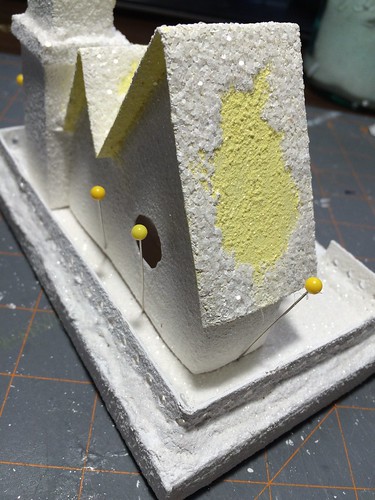
The next step was to attach the church to the base. I started by pinning the church in place. I set it to the back of the base to leave plenty of room for adding a bottle brush tree and any other embellishments I want to add.
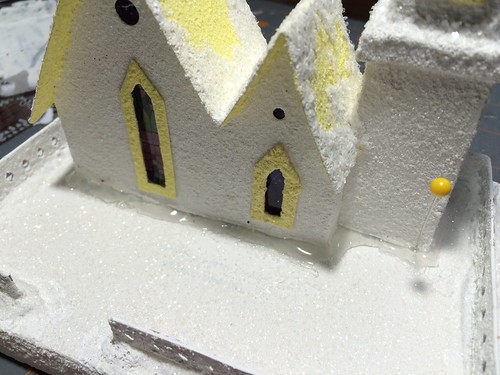
I put hot glue all around the base of the church.
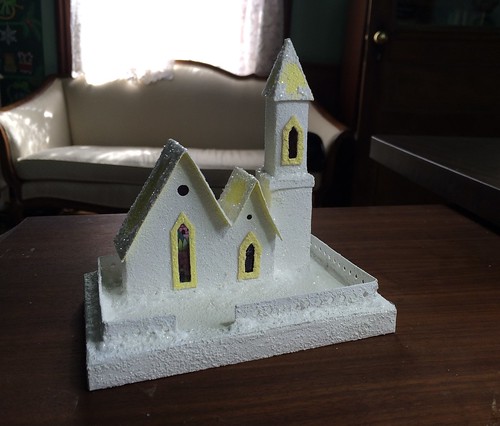
After the glue dried completely, I pulled the pins, painted the glue white and then gave it a second coat with paint mixed with white glue and a little sand. While the paint was still wet, I sprinkled it with fine glitter.
Now the church is ready to embellish.
Here are links to tutorials I’ve written regarding fences for Putz houses, also called little glitter houses.
Making Fence Posts for Putz Houses
Attaching Putz Fences and Fence Posts to the Base
My Putz houses and churches are featured in my Etsy shop. ChristmasNotebook
~~Rhonda
2 Comments
Hello, I love these houses and all your directions. I know i can print them but I would love to have all your craft directions in a book. Do you have anything like this I can buy?
Thank you for sharing
Dee
Thank you for asking. I’m glad you have enjoyed the posts. I haven’t put together a book at this time. The size of that job boggles my mind! I will give it some thought, though. 🙂 ~~Rhonda