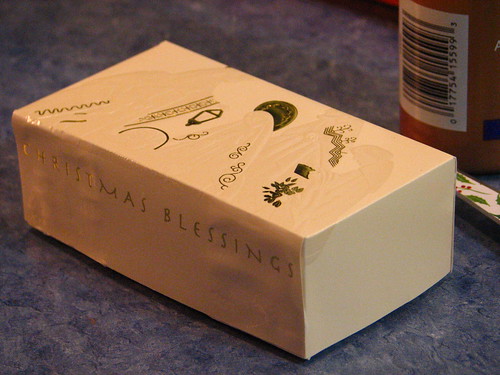
I have made little boxes from Christmas cards for a long time. Easy to make and useful, besides! I use them as gift boxes for small items, to fill with goodies to tuck into stockings, to wrap favors for guests, etc. Use your imagination! I’m sure you can think of many ways to use these special little boxes.
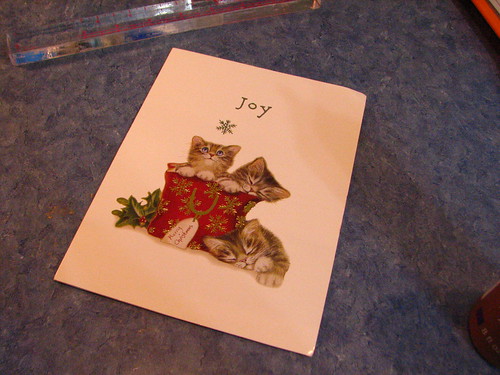
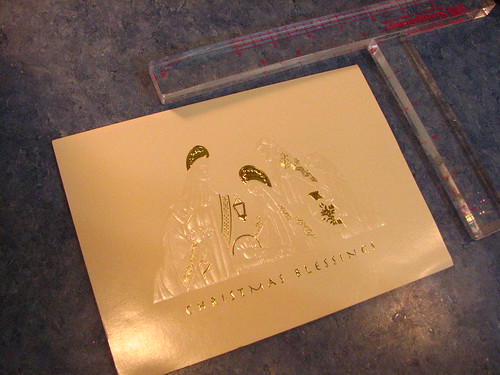
To begin, choose the card you would like to use. The larger the card, the bigger the box can be.
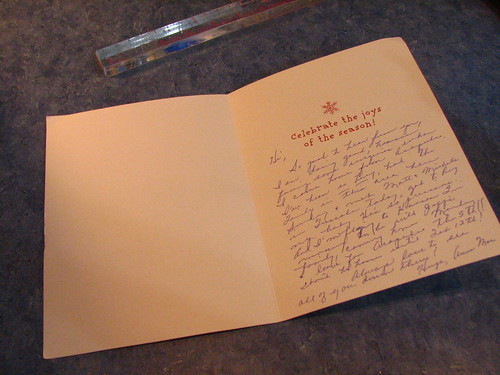
It’s fine with me if a card has writing on the inside, as long as it doesn’t disclose any private information. I find it charming to open a little Christmas card box and see evidence of someone’s Christmas greetings inside. If, however, you don’t want writing inside your box, use a card with no writing or use two card fronts to make your box.
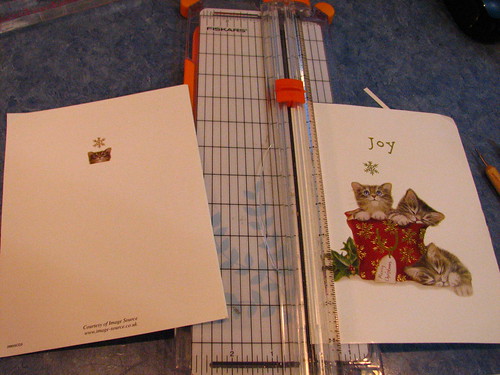
Cut the spine from the front of the card.
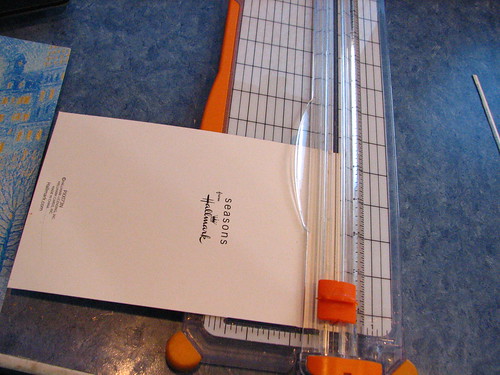
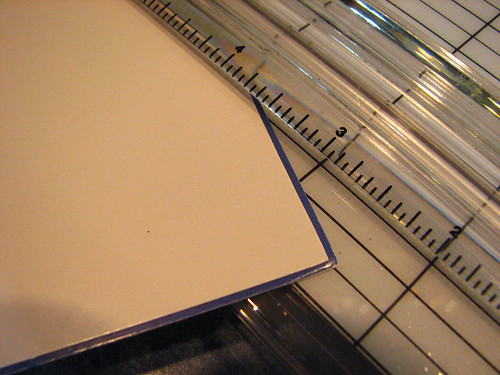
The back of the card needs to be about 1/8 inch less than the front on one long side and one short side. If you trim the sides too much, the bottom of the box will be too small to fit snugly under the top.
Here I have stacked the smaller white back on top the purple front of the card, the other sides being even, so you can see how much smaller it needs to be. Not much smaller than the front.
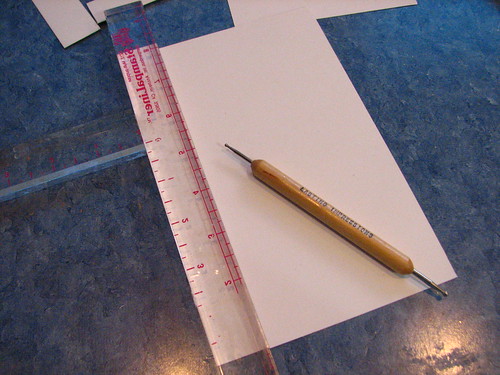
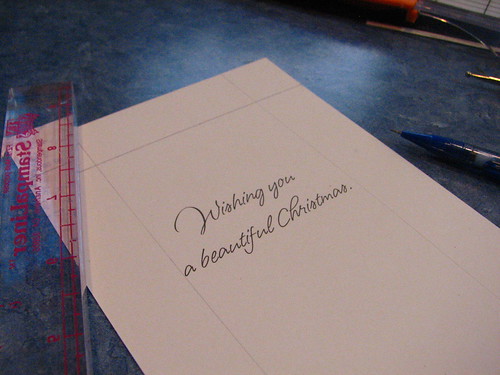
The next step is to score the sides of the card. For boxes with one inch sides, I use this handy ruler and a scoring tool, scoring each side of the front and the back.
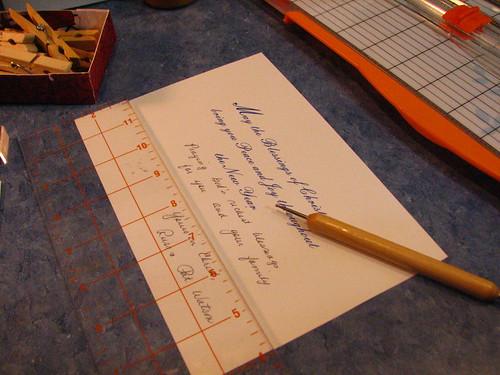
If you want taller sides than one inch, use an acrylic ruler to measure the size you want.
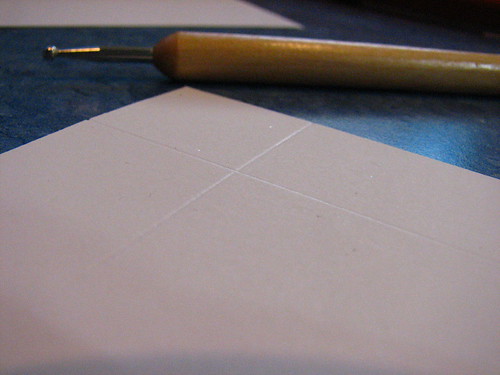
If you look closely, you can see the scored lines.
You can draw pencil lines before scoring if you want to. I find that an extra step, but it can make the cut lines easier to see in the next step.
Cut from the sides just to the other line.
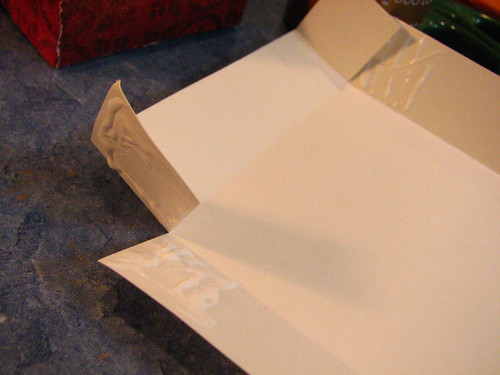
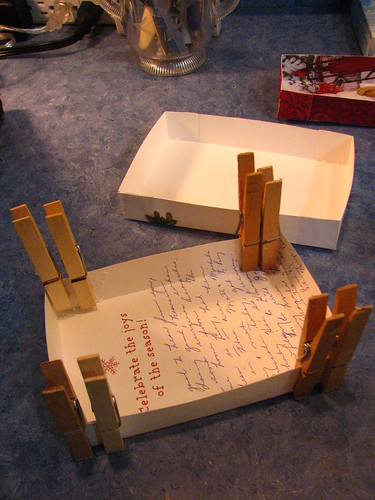
Now it’s time to glue the tabs. Glue should be placed on the outside of the tab and the inside of the box.
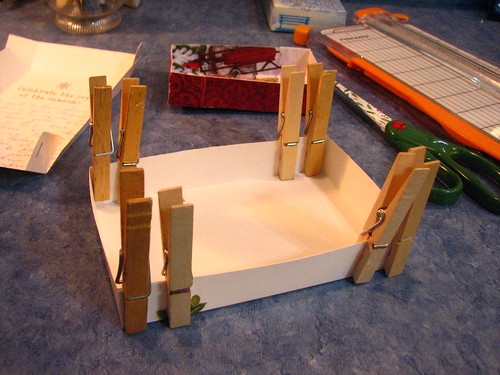
I find clothespins make handy clamps to hold the tabs until they are dry.
Remove the pins carefully. If they are stuck, wiggle them back and forth to help release them. The best plan, though, is to be sure there is no extra glue where the pins may stick.
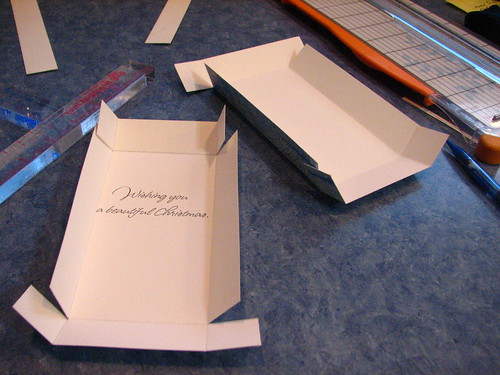
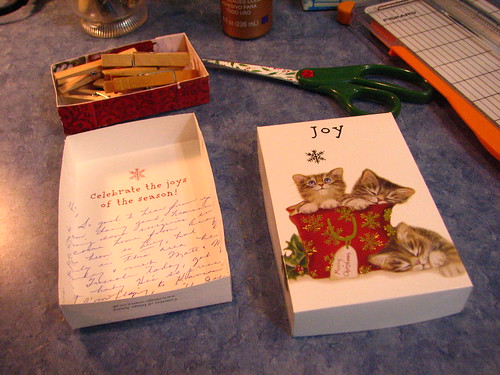
Bottom and top, finished.
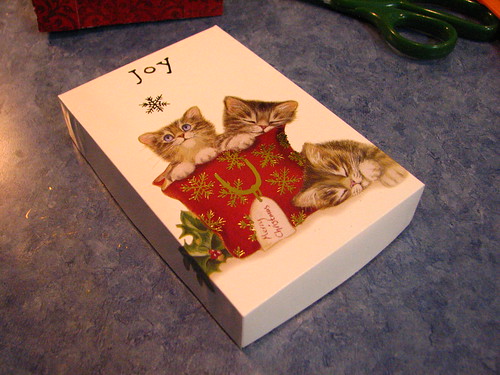
Top and bottom put together.
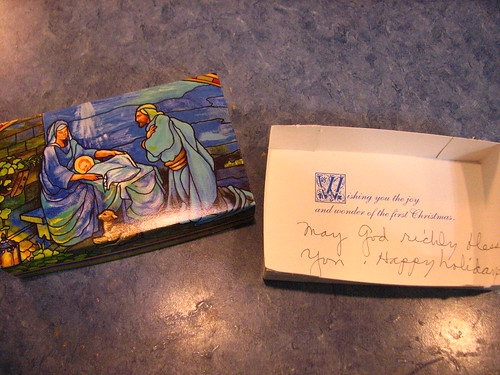
Another box I made this evening.
If you want a deeper box, choose a large card.
Use an acrylic ruler to score the sides as deep as you want them.
Finished.
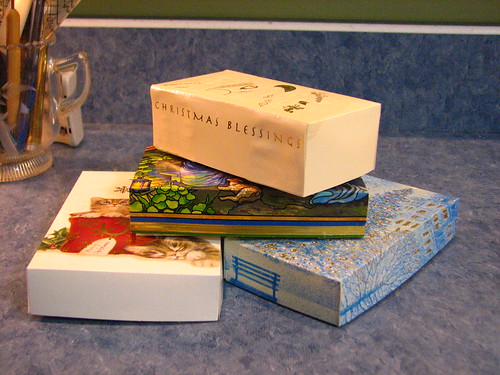
Pretty boxes.
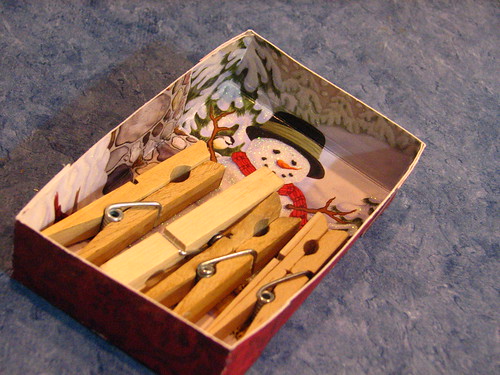
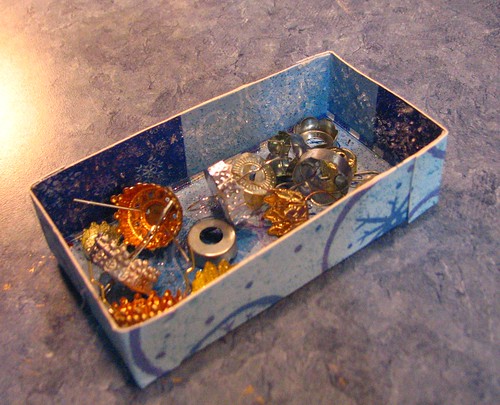
Whenever I need a little container, I reach for a cute little box. This one was made to be used as a shadow box, but I haven’t done that yet. The little boxes are great for containing small objects on the craft desk.
This one is holding ornament toppers, which I need for some decoupaged ornaments I’m working on.
Have fun making your own little Christmas boxes!
~~Rhonda
