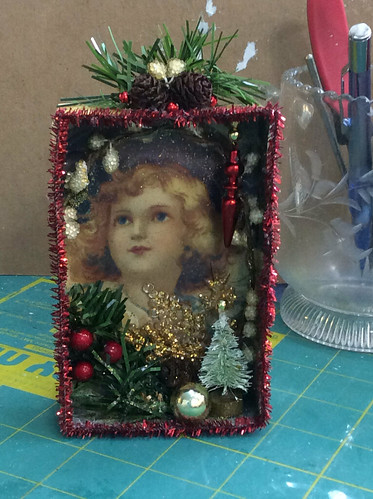
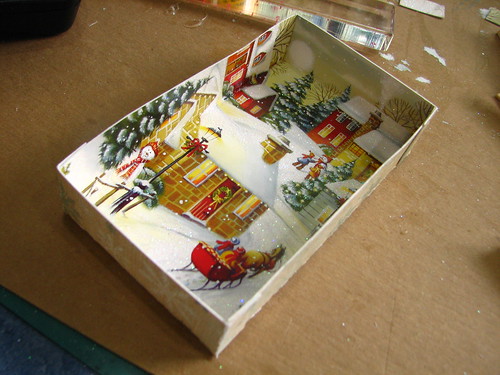
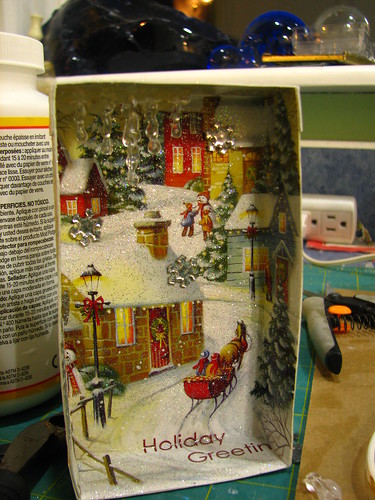
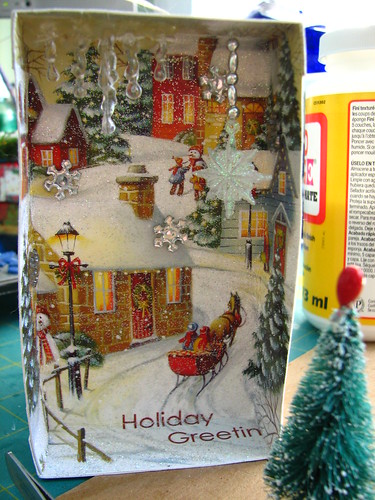
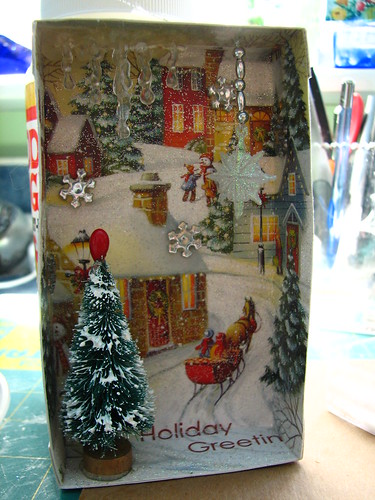
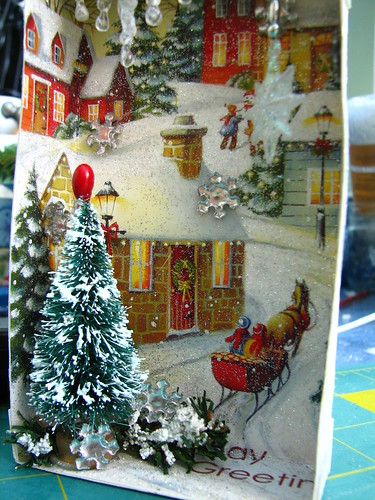
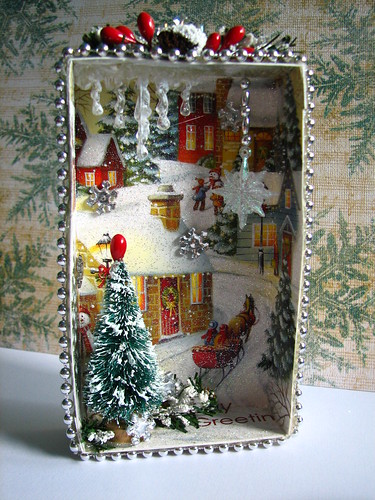
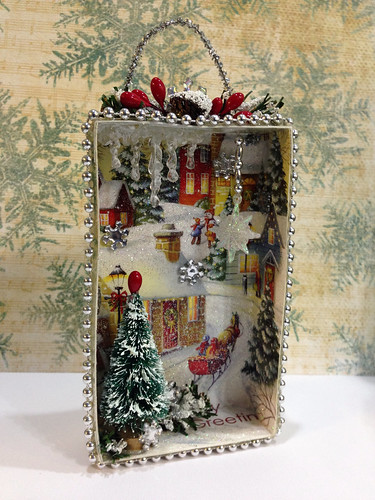
I’ve been spending the past week working on little shadow boxes made from Christmas cards. This is the first one I made.
They are getting better as I work on more of them, learning some hints and helps that make the process easier than it was initially.
2018 update: You can see many more pictures of the boxes and the process in my flickr album for shadow boxes. flickr/shadowboxes
To make a shadow box, the following items are needed:
- Christmas cards (Having a good selection to choose from makes it easier to find one that will work well. The picture has to be small enough to fit inside the box with an inch of space all around it for the sides of the box.
- backing paper (Scrapbook paper works great.)
- pencil
- paper cutter
- Mod Podge or white glue
- straight edge
- scoring tool or other dull point for scoring paper
- scissors
- 4 clothespins or other small clamps
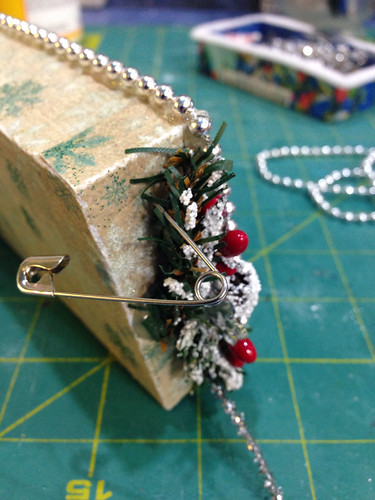
- a safety pin is useful for making small holes to hang an embellishment
- gold or silver thread (Needed if you want to hang a small ornament or embellishment inside the box.)
- needle nose tweezers are great for small details, and for plucking hot glue “hairs” off the shadow box
- a crochet hook with a small hook is handy for pulling threads through small holes
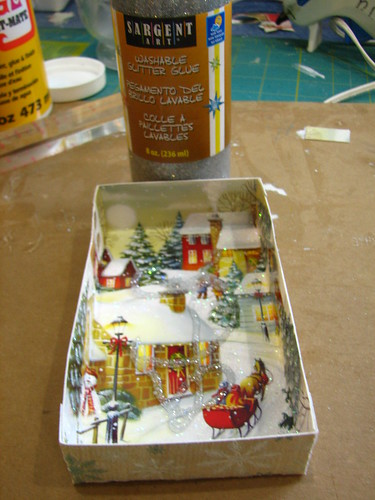
- gold and/or silver glitter glue (I use Sargent Washable Glitter Glue, available on amazon.com. Gold and silver are compatible with most Christmas cards. I also use blue, red and green, though not as often as gold and silver.)
- embellishments: small ornaments, beads, mini garlands, bottle brush trees, artificial evergreen, floral picks that can be taken apart, snowflakes, stars, jingle bells, mini deer, strands of small beads, pipecleaners, etc. Anything you can think of that can be used to decorate the box. Keep it small and in proportion to the box. If you do much Christmas crafting, you probably have a lot on hand that you can use.
- hot glue gun (Handy for adding those embellishments.)
- silver and/or gold cording to make a hanger
- wire cutters for cutting wire or pipecleaners.
- long nosed pliers may be useful for manipulating wired embellishments.
The first thing to do is choose a card to use. The card needs to be large enough that there will be one inch of space all around the picture you want to use. The one inch around the picture becomes the sides of the shadow box. Alternately, if a particular picture is chosen and it’s not large enough for the added one inch edge, a box can be made from poster board and the picture glued inside. Other paper or paint will be needed to line the edges inside the box. Scrapbook paper would work well.
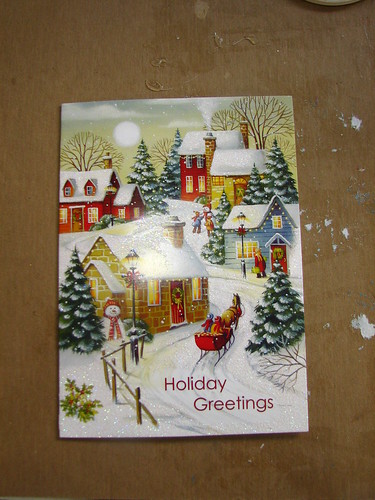
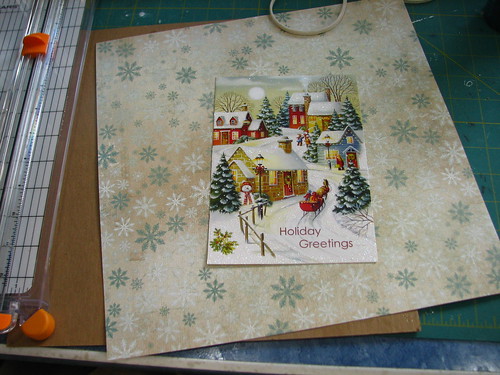
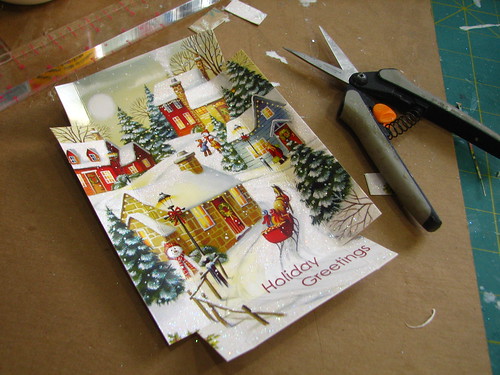
This is the card I chose for the box I’m making in this tutorial.
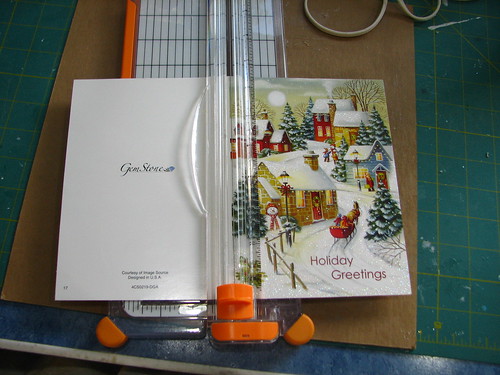
Cut the front from the back of the Christmas card. Remove the entire spine so the picture is left without ridges or folds.
Choose a paper for the back of the box. This scrapbook paper coordinated well with the card I want to use.
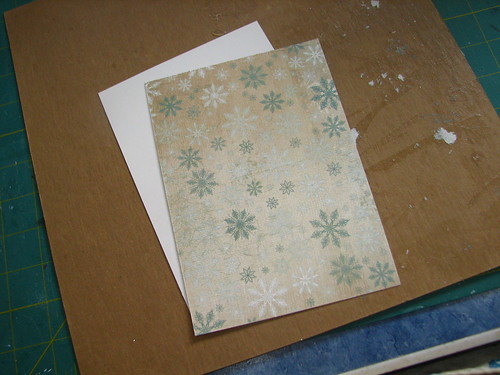
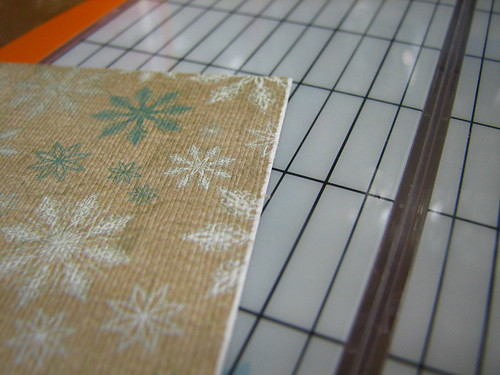
Cut the paper to fit the card front.
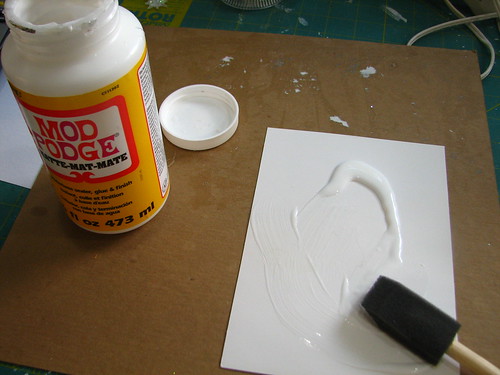
Apply Mod Podge to the back of the picture.
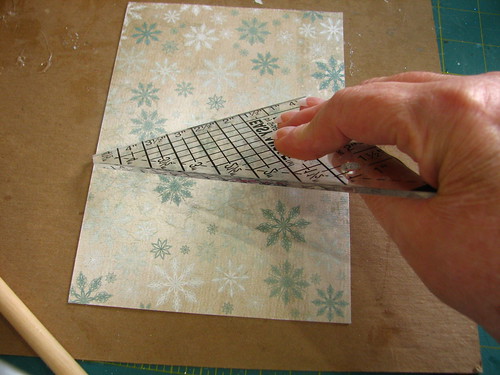
Fit the paper to the back of the card, working quickly to slip it to the edges, making it fit the back of the picture. After the backing is adhered to the front, use a straight edge to lightly “squeegee” the papers together. This removes air bubbles and makes a nice flat finish to the back of the box.
If the edges do not meet exactly, use the paper cutter to trim the edge. It works best if the paper is allowed to dry before trimming. The glue can make the paper soggy and difficult to cut cleanly.
NOTE: Since writing this tutorial, I have made some shadow boxes by painting the outside of the box instead of using paper. I find it makes a stronger box, that is less likely to warp. The paint seems to strengthen the cardstock. I use a mixture of acrylic paint, one to one, with white glue. I use Elmer’s Glue. I add a little sand to give a nice texture, but that’s optional. While the paint is wet, I sprinkle it with fine glitter and let it dry before proceeding. If painting, instead of using paper on the back of the box, continue through the following steps to construct the box before painting the back.
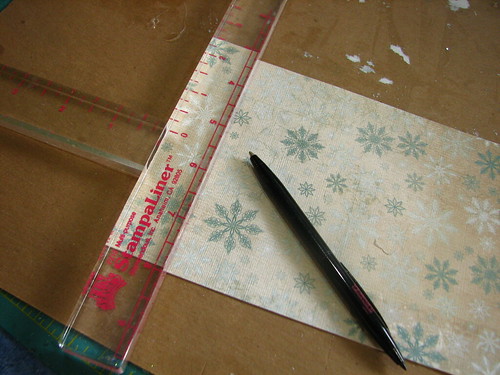
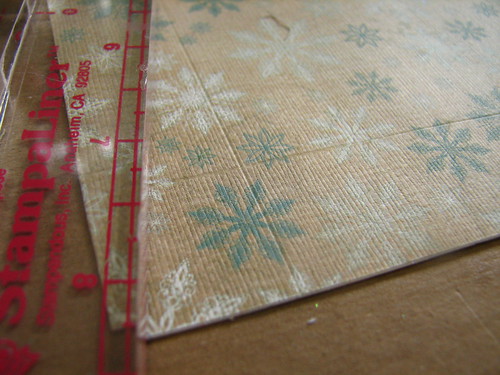
Use a straightedge to score the paper one inch from the edge of the card, all the way around. I have a very handy ruler for this, which is one inch wide, making the process very easy. Also, the stylus I am using is a handy scoring tool. It has a pen on one end and a scoring point on the other. Something DH brought home one day. Perfect!
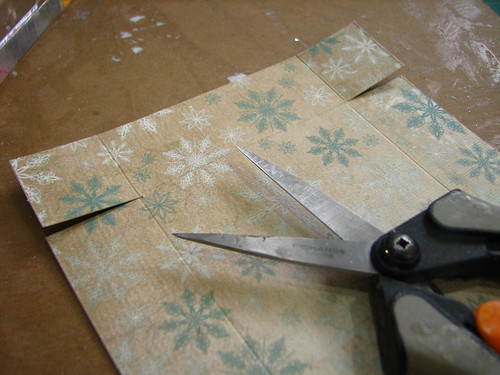
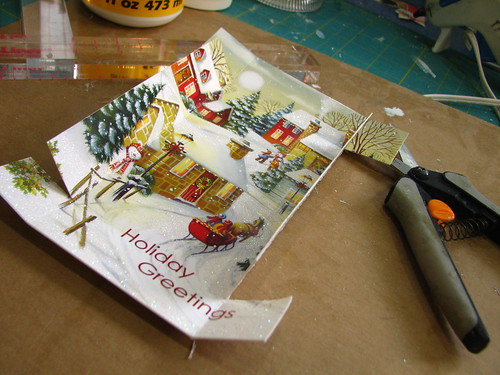
Cut along the scoring line to the point where it meets the other scoring line.
Cut all four corners, then fold along the scoring lines so the picture will be inside the box.
Cut each corner tab in half.
Edit: After making quite a few boxes, I decided that not cutting the tabs in half was a better idea, making stronger corners.
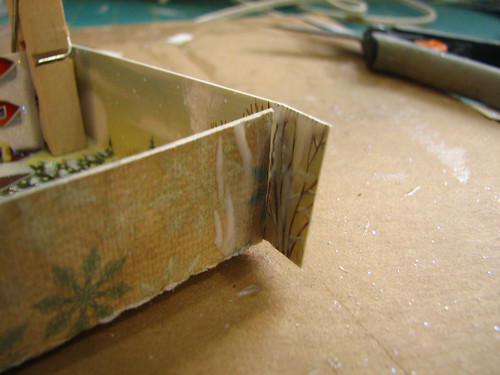
Apply glue to the outside of the box and the inside of the tab.
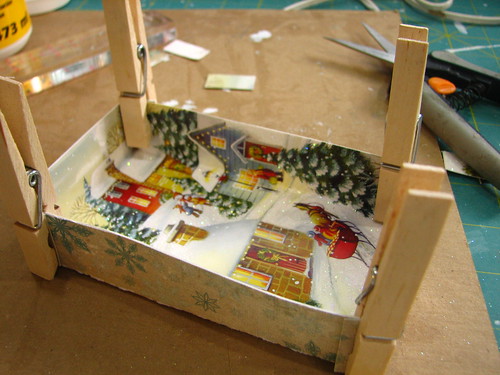
Use clothespins to clamp the sides together until bonded. Open and replace the clothespins a few times to be sure they are not sticking to the paper.
Edit: When leaving the tabs whole, I use two clothespins on each corner.
When the glue is dried enough to hold the box together, remove the clothespins.
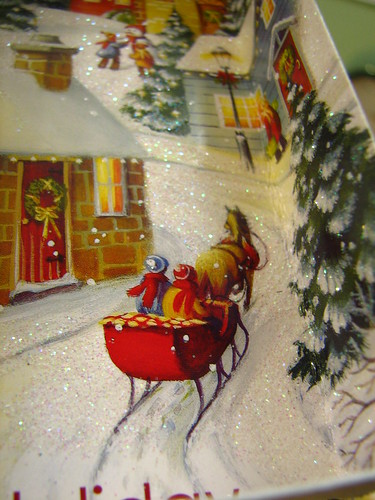
As you can see in this picture, this particular card had some glitter on the picture. It was brushed over the snow.
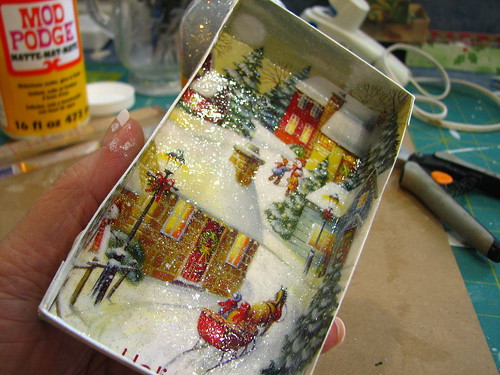
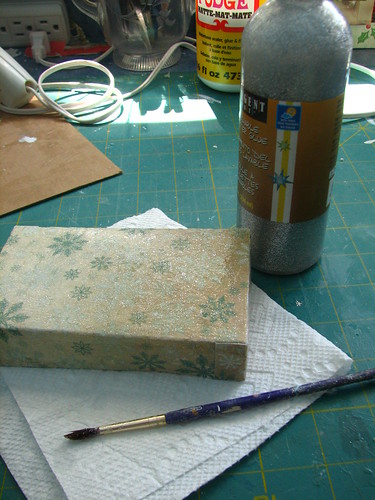
I like to add glitter to the pictures, so I chose silver for this one. The irridescent glitter that came with the card will show through the silver. Squirt some into the box and brush it over the surface.
Note: I really like Sargents glitter glue for this project. It spreads easily over the picture, but the glitter is fine and spreads thinly so it doesn’t obscure the picture. I have it in six or seven colors. I do find the silver one doesn’t squirt out of the bottle well because it is thicker for some reason, but it does spread well. I take the topper off and squeeze a glob out, then sprend it with my finger or a brush. All the other colors can be dispensed easily through the bottle topper, then spread across the picture.
Here you see the inside coated with silver glitter glue.
Wait until the first side is dry before covering the back with glitter glue. Otherwise the box may warp.
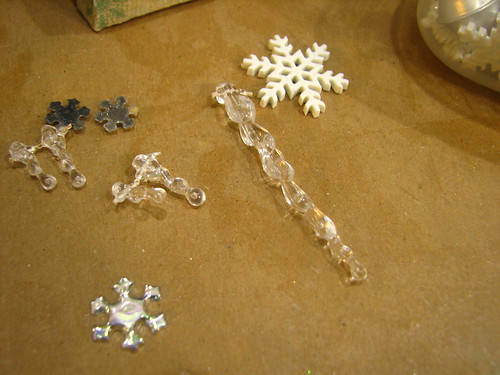
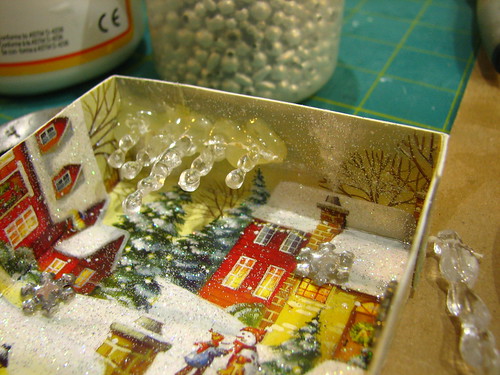
When the box is dry, consider what kinds of embellishments will be added. I decided to put some icicles in this box.
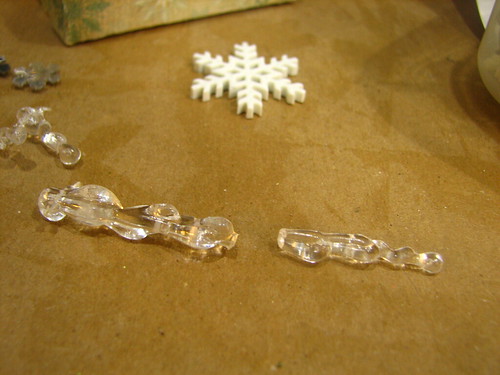
The long one was too long, so I broke it in half and used the bottom part.
I also glued some snowflakes to the picture.
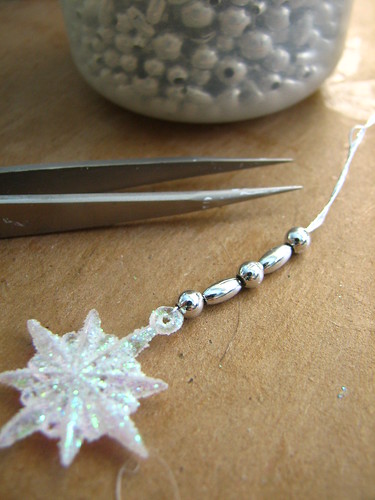
To hang an ornament or embellishment in the box, string it onto a thread, and add beads if you like. The needle nose tweezers are very handy for these kinds of jobs with tiny pieces. I added five beads because the box is tall and I wanted the snowflake to hang lower than it would have with only one bead.
I used a safety pin to punch a hole in the top of the box, making sure the ornament would not hit the side. Using a small crochet hook, I pulled the thread through the hole, chose how far I wanted the snowflake to hang, then used a bit of hot glue to adhere the thread to the top of the box.
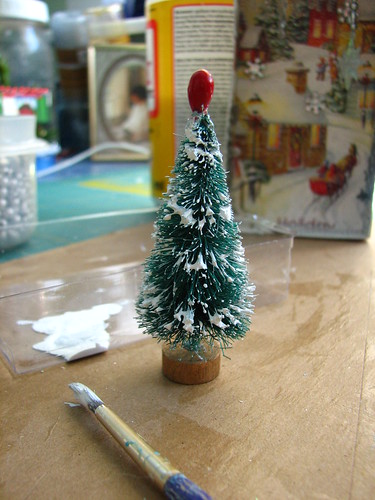
I chose a bottle brush tree for the box, added a red berry to the top, and painted the tree with white paint to mimic the trees in the picture. This link shows you how I add berry pips to bottle brush trees.
Add pips to your bottle brush trees
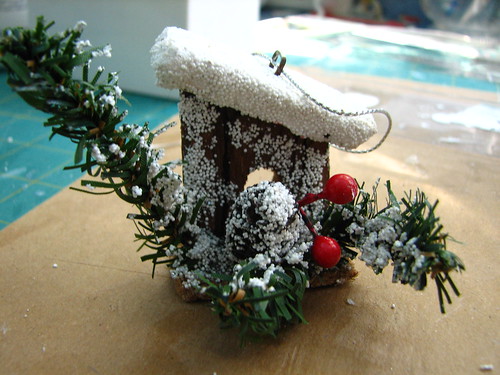
The box needed a bit more embellishment, so I took this little ornament apart and used pieces of it. The ornament was one of several in a sack of ornaments that my sister bought for ten cents at a thrift store.
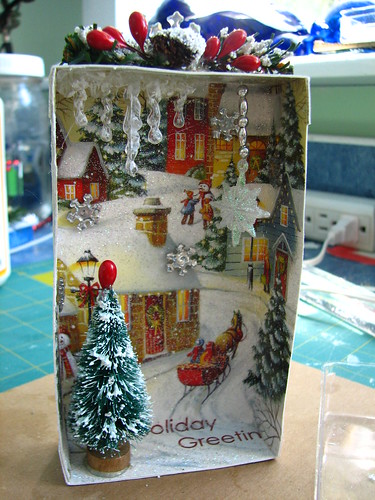
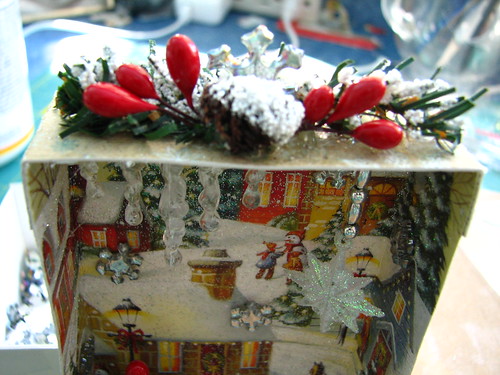
I used two pieces of the evergreen from the ornament and the pinecone, glued them to the top of the box, and added some red berries and a snowflake.
I cut another piece of evergreen from the ornament into two pieces and glued them around the base of the bottle brush tree, then added a couple of snowflakes to the evergreen.
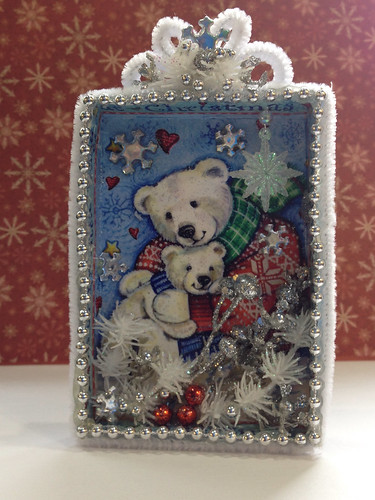
I felt the box needed just a bit more bling, so I glued a strand of silver beads around the edge.
Edit: After making a couple of dozen boxes, I decided they look better with the raw edge of the box covered. Beads can be harder to adhere, but it’s certainly doable. Other edgings include pipecleaners, wireless chenille, yarn, cording, tinsel garland, etc.
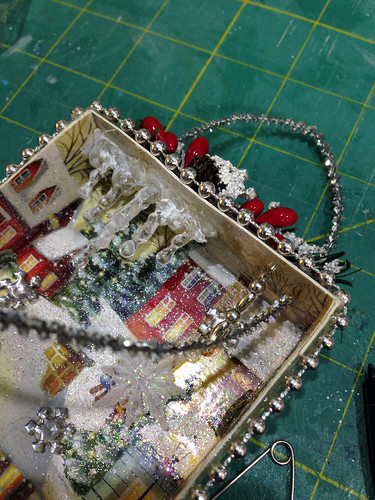
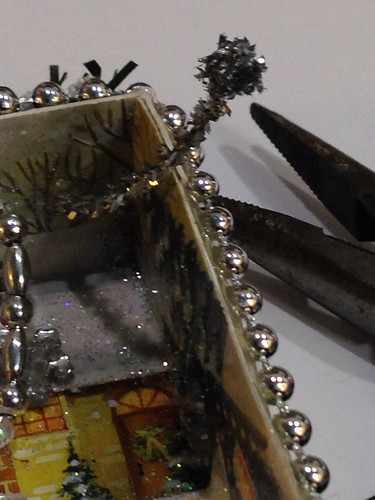
Now it just needs a hanger of some sort. I decided to use a thin silver pipecleaner. I used the safety pin to make a hole, then inserted the pipecleaner. Using the needle nose pliers, I twisted the first end to hold it in place.
After cutting the pipe cleaner to the length I wanted, I used long nose pliers to twist the end so it wouldn’t go back through the hole.
Ready to hang for Christmas, on a tree or from a shelf.
I hope you have enjoyed this tutorial. If you have any questions, just ask!
~~Rhonda
19 Comments
Of course it needed more glitter ! It’s fun for me to see you using the thrift store items. You did a good step by step. These are lovely.
So pretty! TY for passing along your expertise.
Have never left a comment on any site before, but I just had to this time. This is soooo cute and the tutorial is so informative. I always get inspired to do crafts around Xmas and usually start them but never finish–very baaad of me. This year I’ve discovered shadow boxes and dioramas. I’ve been looking at old Xmas cards for sale on Etsy and wondering what I could do with them (the old ones are so quaint). Now I know what to do. I’m certainly going to try making something like this and your tutorial will be of great help. Thank you so much for posting it.
Muriel, thank you so much for your kind comment. I am so glad my blog post about the shadow boxes will be helpful to you. If you care to share, I would love to see some pictures of your finished pieces. Happy crafting! ~~Rhonda
I just found your tutorial…Christmas is over but this was so pretty . Maybe I will do one for next Christmas .TFS …Elizabeth
So glad I found your adorable shadow boxes. Your tutorial is perfect. I have so many saved cards that I will go through to try and do one of these. Thanks.
Marlene, I’m so glad you like the tutorial. If you have any questions, please ask. Since doing that tutorial, I decided that it’s easier to add the hanger before I embellish the top of the box. Other than that, it’s still the way I do them. Thanks for posting a comment!
Making 3 boxes with matching theme. Glue to sturdy platform made from layers, glued together, pieces of unused cards, spray painted. Angel hair & glitter for snow around, upside-down painted pinecones for trees, etc,…a church, a house, a skating rink…voila’,a Christmas village…soooo exciting!!
me gusta todo su manualidad
rosalba borja
I can’t wait to try this im so impressed
This is very pretty. You are very talented with your style.
So the box consists of just the greeting card and the cardstock paper?
Yes, the inside of the box is the front of the card with the picture. The outside of the box is paper or cardstock. I like the cardstock better. It makes a nice sturdy box. The glue helps to stiffen it even more. If you have any other questions, please ask. I am happy to help! ~~Rhonda
This is brilliant i dont leave comments but just had to as your explanation from start to finish was so easy to follow and the finished product is so lovely thankyou for sharing
Thank you, Nuala. I appreciate that encouragement! ~Rhonda
I have been collecting old xmas cards & ornaments for years but forgot why(short term memory lol). I believe your tutorial is the best to follow. For those of us who need a few ideas to help get started; you have inspired me. hugz
What an inspirational way to use up old Christmas cards. Thank you for sharing.
I love this. Thank you for share….it´s so lovely
Merry Christmas Rhonda – I’m a few years late but just discovered this post a few days ago. You are so talented! Thank you for sharing your projects. I love these boxes and spent the last few days collecting things from the thrift stores to make them for next year. I found some books with wonderful images that I plan to use, as well as cards. I looked at your Flickr account and I’m wondering, what exactly are using around the edges of the box? I like the way it looks. Is it just a chenille pipe cleaner? It looks fluffier! I’d love a link if you have one. Thank you so much!
One Trackback
[…] shadow boxes from Christmas cards […]