After seeing an ornament garland on the blog Pretty Quirky, I decided to make some for my scrapbook/crafting room.
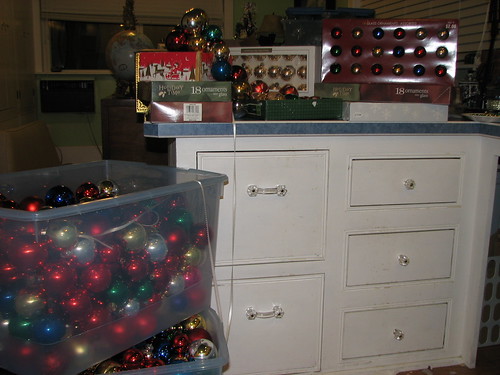
My sister Genny loves shopping thrift stores, so she began scouring them for shiny ball ornaments. Except for a few ornaments DH bought near the end of the project, all the ornaments used were thrifted.
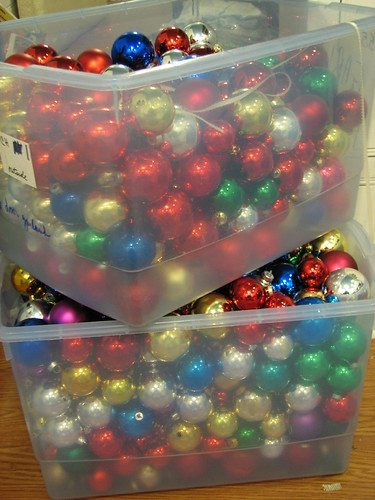
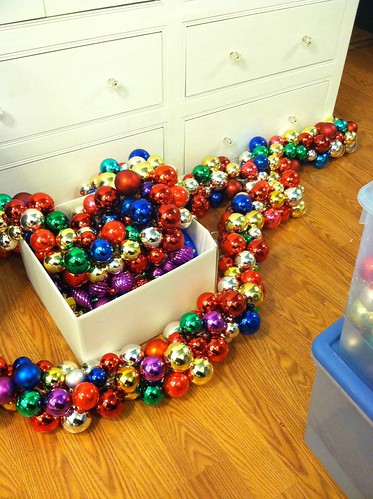
I ended up with two storage bins full of thrifted ornaments to work with.
This project took longer to complete than I thought it would. But it was very easy to do. I watched a lot of Netflix while working on it. 🙂
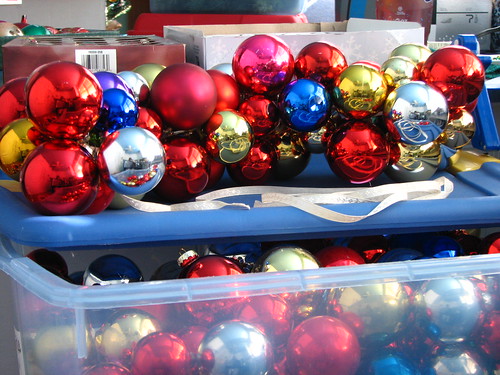
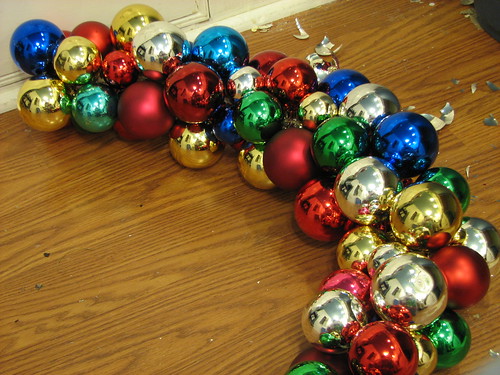
I wanted a garland for each of three 6-foot wide windows. To begin, I cut three 9-foot lengths of 1/4″ woven ribbon. I just used what I had on hand. The ribbon has to be strong enough to hold the ornaments. I didn’t think string or yarn would take the strain of holding up all those ornaments. I tied one ornament on one end of the string to keep the others from slipping off. On the other end of the string, I folded about an inch of it and hot glued that fold together to make the stringing easier. You can see that folded end in the picture below. The hot glue made the ribbon stiff and the smaller bit of ribbon was easier to thread through the ornament toppers.
The beginning of the garland.
Not accident free. I did break a few ornaments along the way.
My garland took a while because I hot glued the caps and hanger clips onto all the ornaments as I went along. It kept them from popping off as I worked. The problem with gluing them down is that if the ornament breaks, the topper has to be clipped with a wire cutter to get it off the garland. But I thought it was worth the effort. Skipping the glue would make the project go a lot faster. Some of the broken ornaments did break away cleanly and we just slipped a different ornament onto the topper.
Two done. At the end of each garland, I tied the last ornament onto the ribbon.
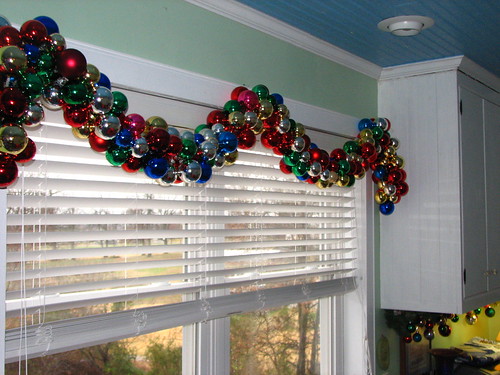
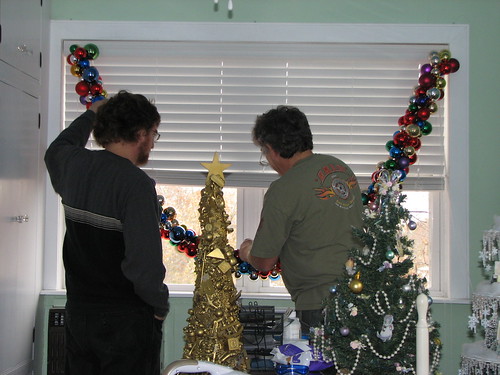
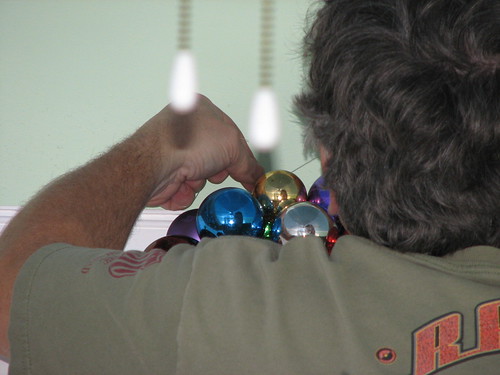
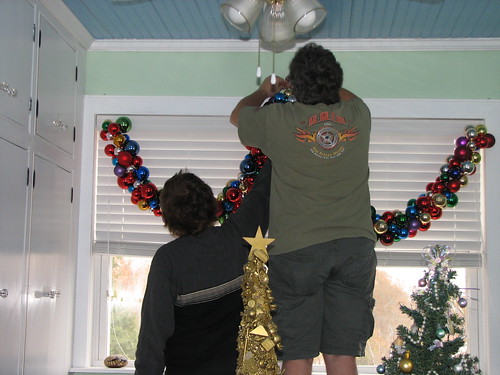
My husband and son put the garlands up. They knotted circles of fishing line to make carrying handles for the garlands. The ends were hung just to hold the weight of the garland while they placed the middle first.
Fishing line was used to hang the garlands from screws placed on the top of the window frame.
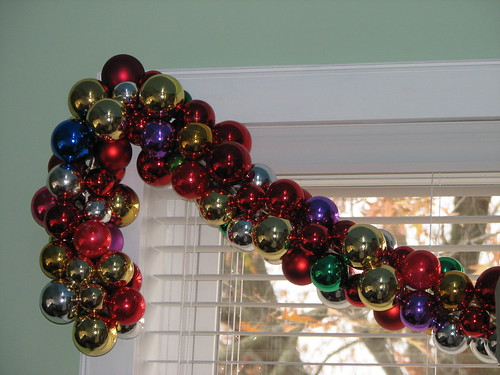
The ends of the garlands hang down about 15-18 inches.
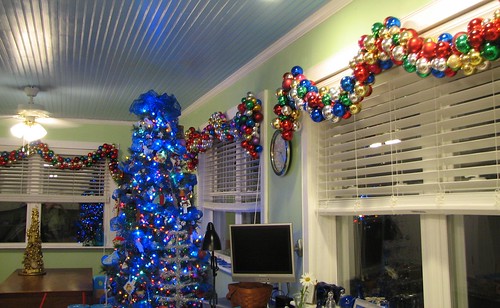
The garlands are really pretty and I enjoyed making them. Thankfully, we have a large attic where we can easily store all our decorations. I think we’ll take these down, wrap them in old sheets and carry them up that way. The sheets will make them easier to carry and will keep them dust free during storage. If I didn’t have such a great storage space, I’d consider making these in shorter sections that could be stored in containers.
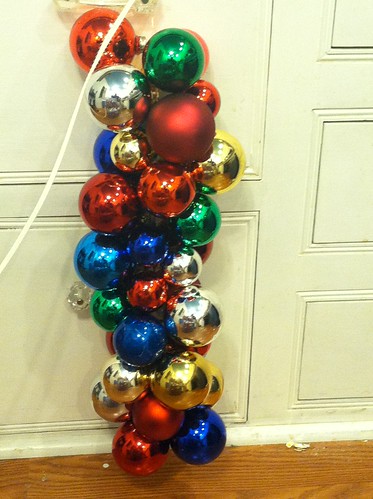
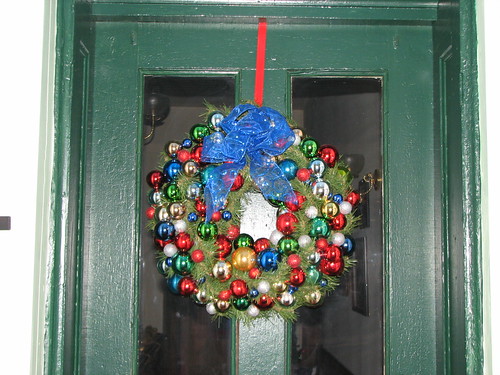
I hot-glued ornaments to an evergreen wreath to make a coordinating wreath for the scrapbook room door.
Next year, I may make another wreath, using a foam base or a wire hanger, so the wreath comes closer to matching the garlands. But for this year, I used what I had on hand. Works for me!
Hop over to The Charm of the Home for more decorating ideas.
~~Rhonda

9 Comments
Looks great! I have seen lots of wreaths like that on Pinterest but not a garland. Love the idea!
That is STUNNING. So much of a larger scale than I did — mine was a fairly short little garland. It looks absolutely beautiful!! Like something out of a magazine.
Thanks for linking, and Happy Holidays!
LOVE it! Pinning it for next year!!!
looks WONDERFUL!!!!!!! So cheery and bright and joyful and CHRISTmasy!!
I just love the ornament garland!! It turned out fabulous and really adds a festive touch.
Gorgeous!! Good thing you have a large storage area.
That turned out fabulous! What a pretty garland. Thank you for joining me at Home Sweet Home!
Sherry
Rhonda,
Please accept my sincerest sympathy at the loss of your mother. The picture of your parents from the past were very nice and touching.
could you glue the caps on before stringing them?