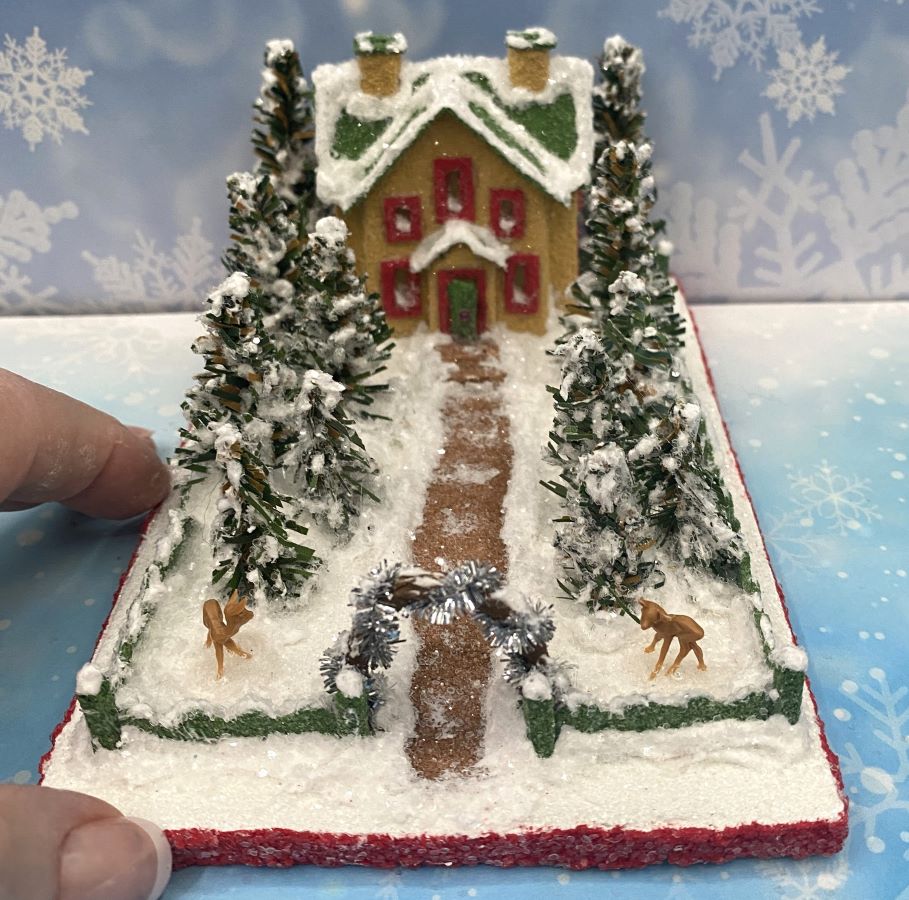
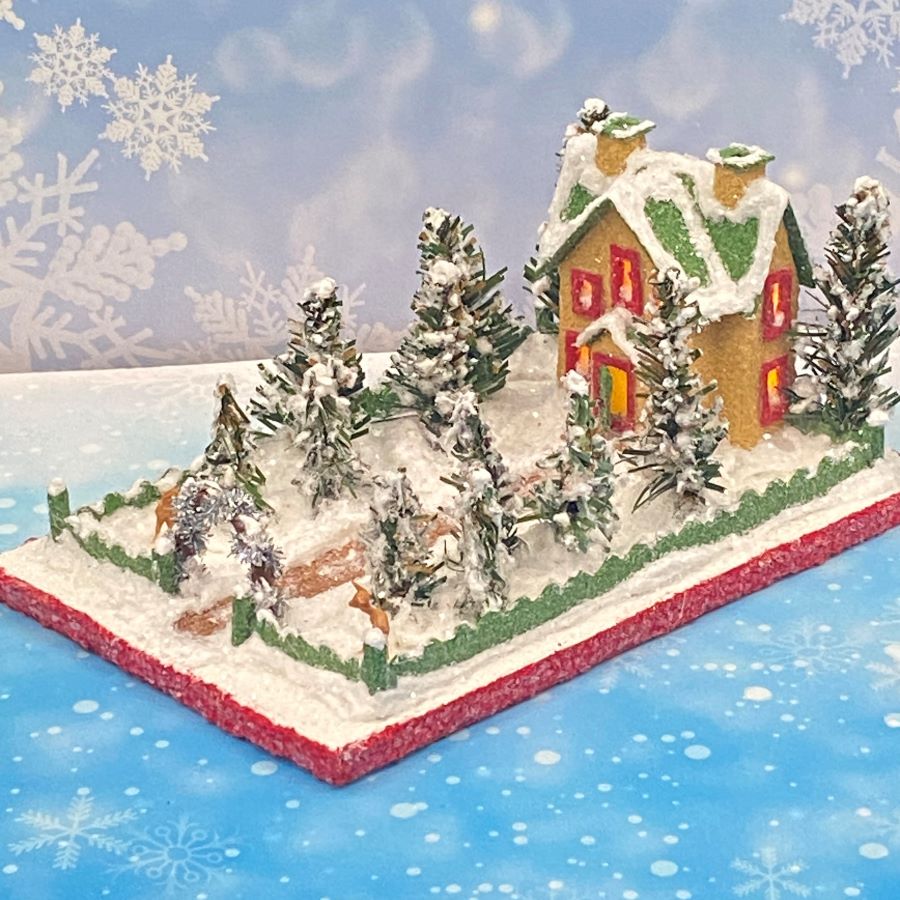
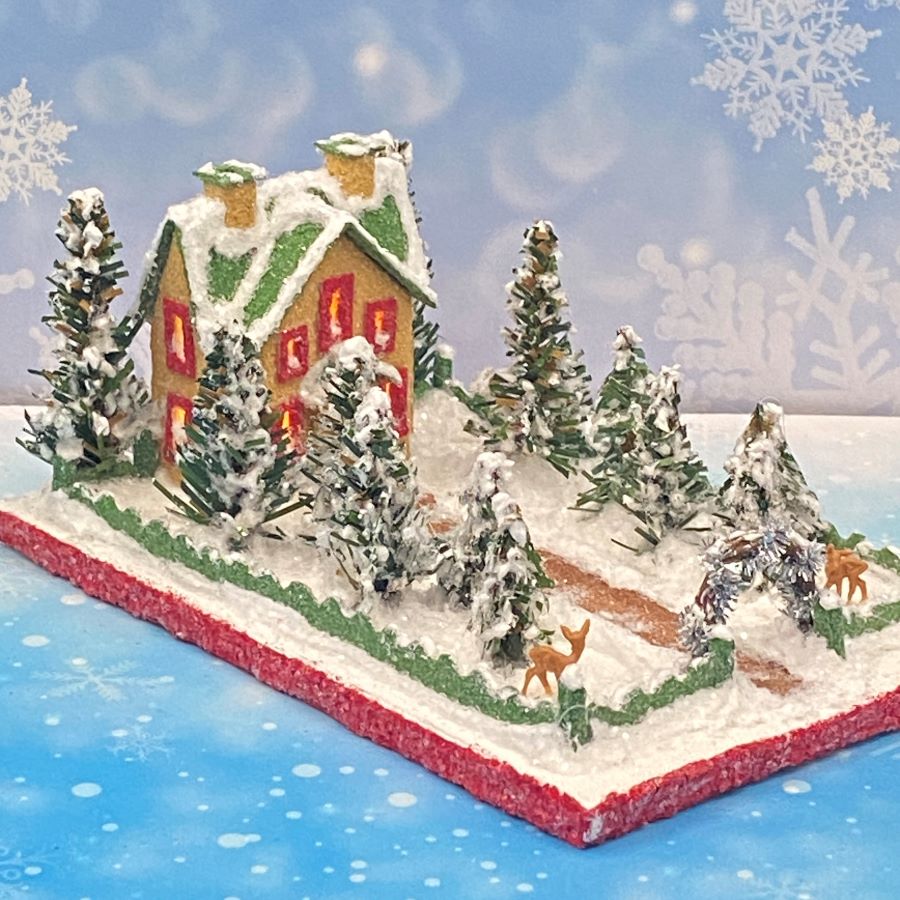
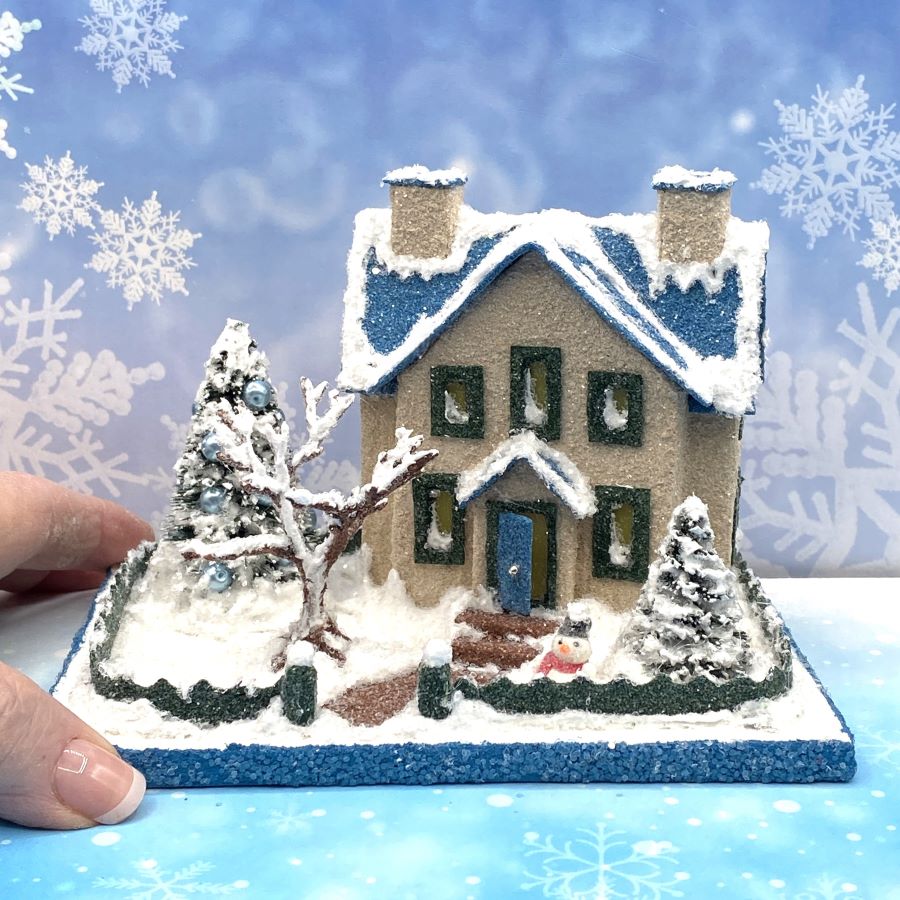
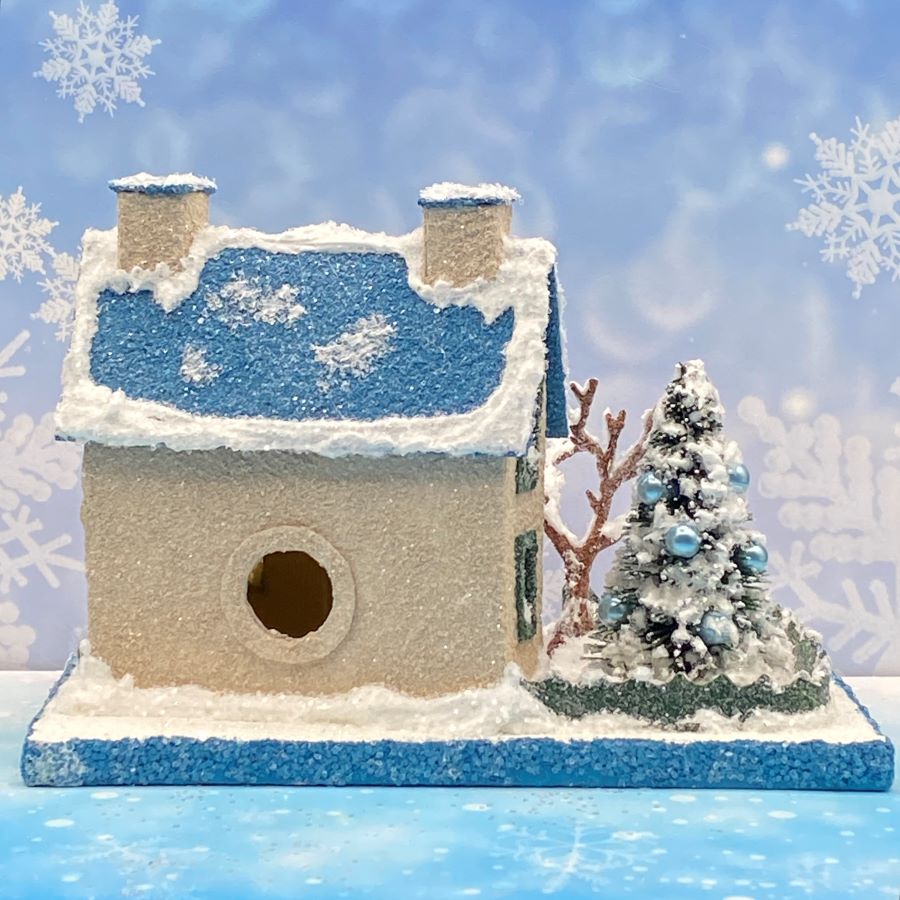
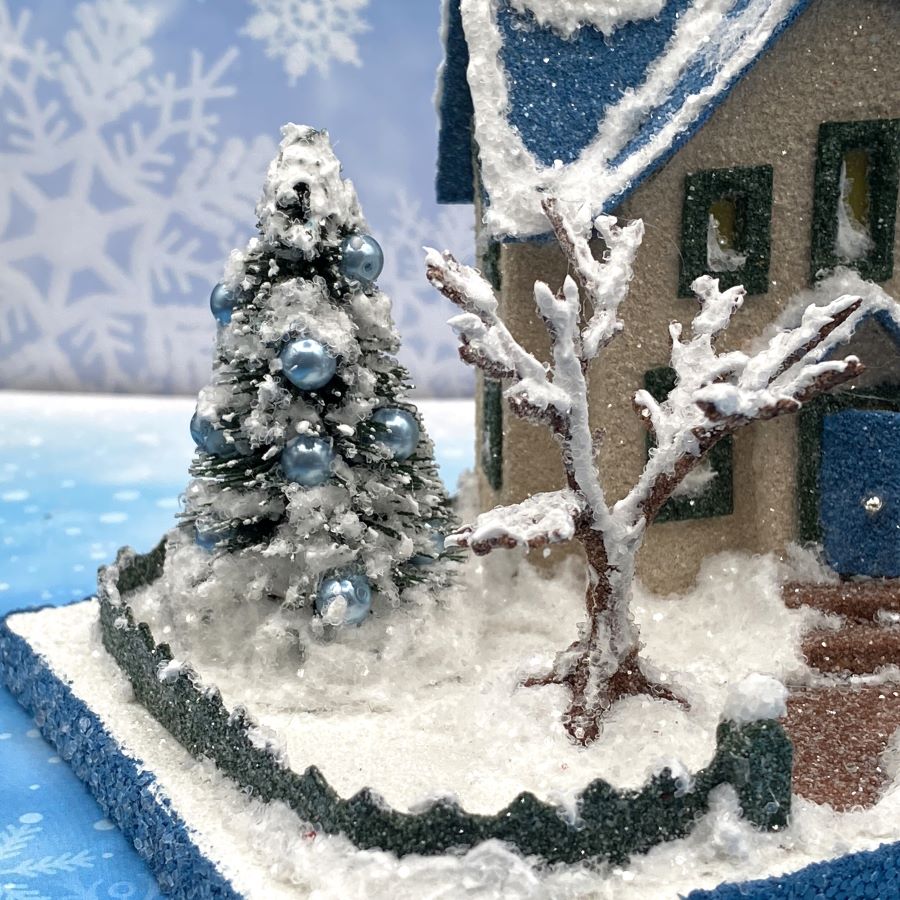
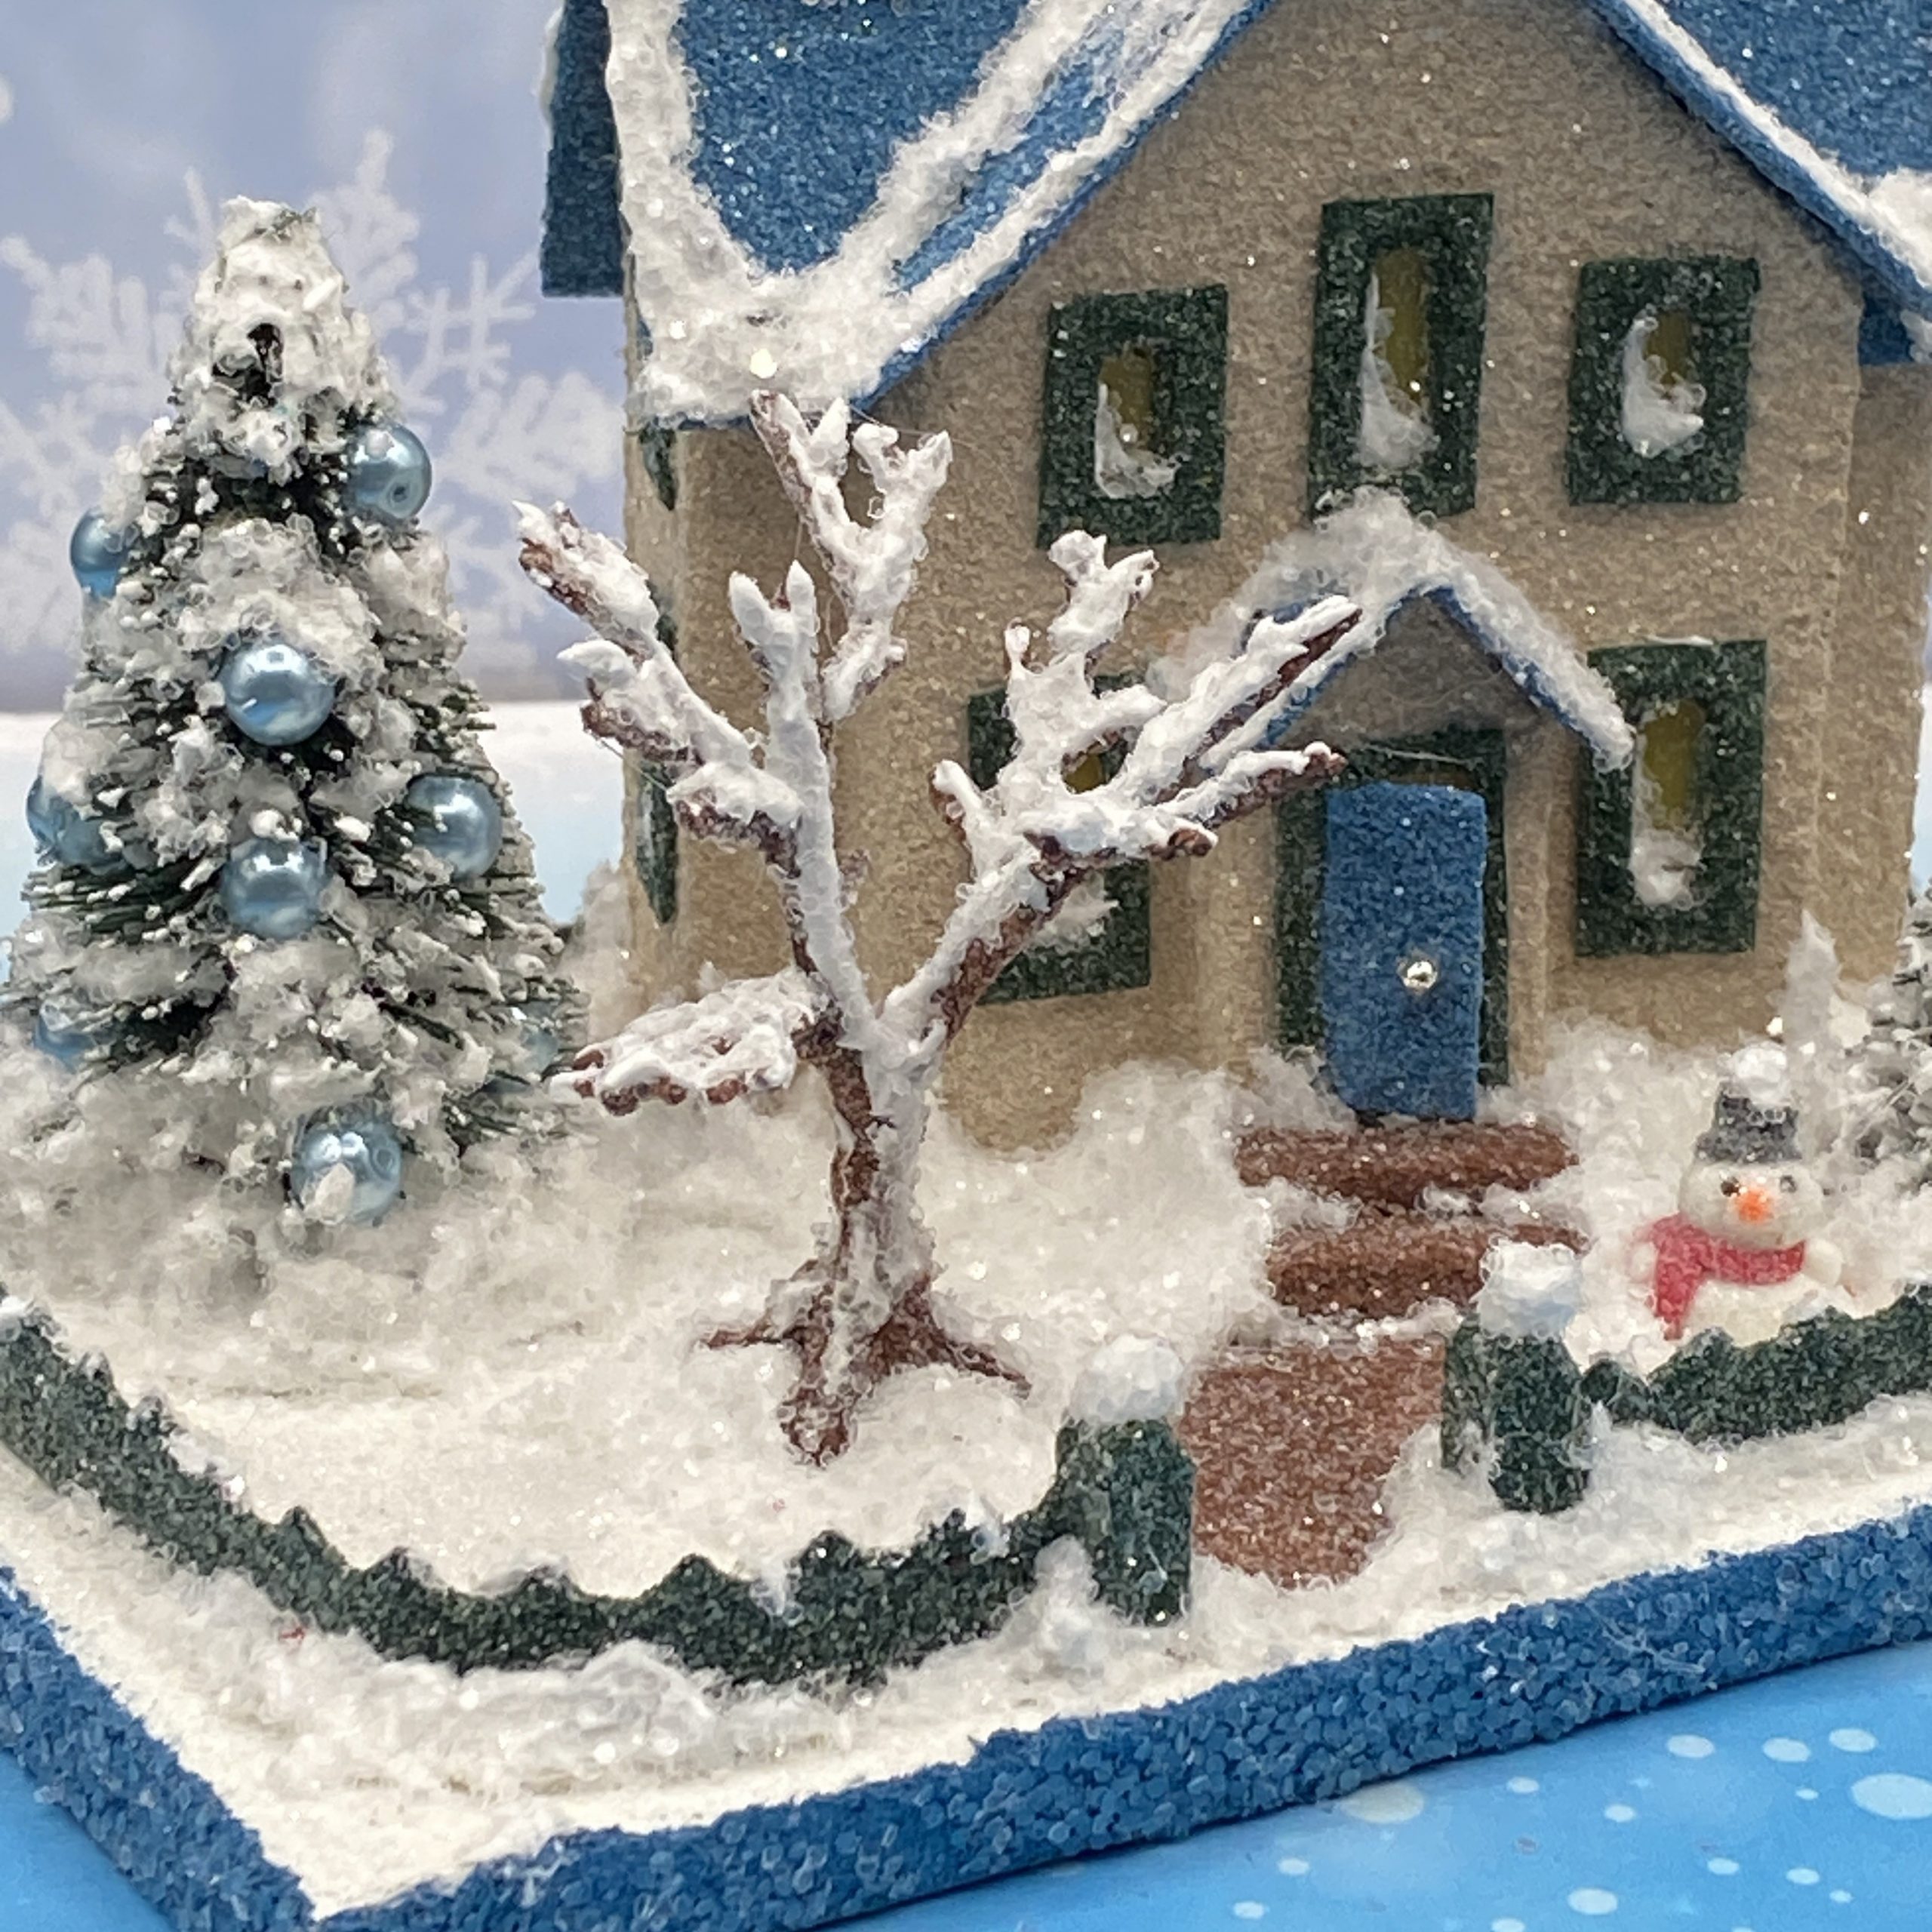
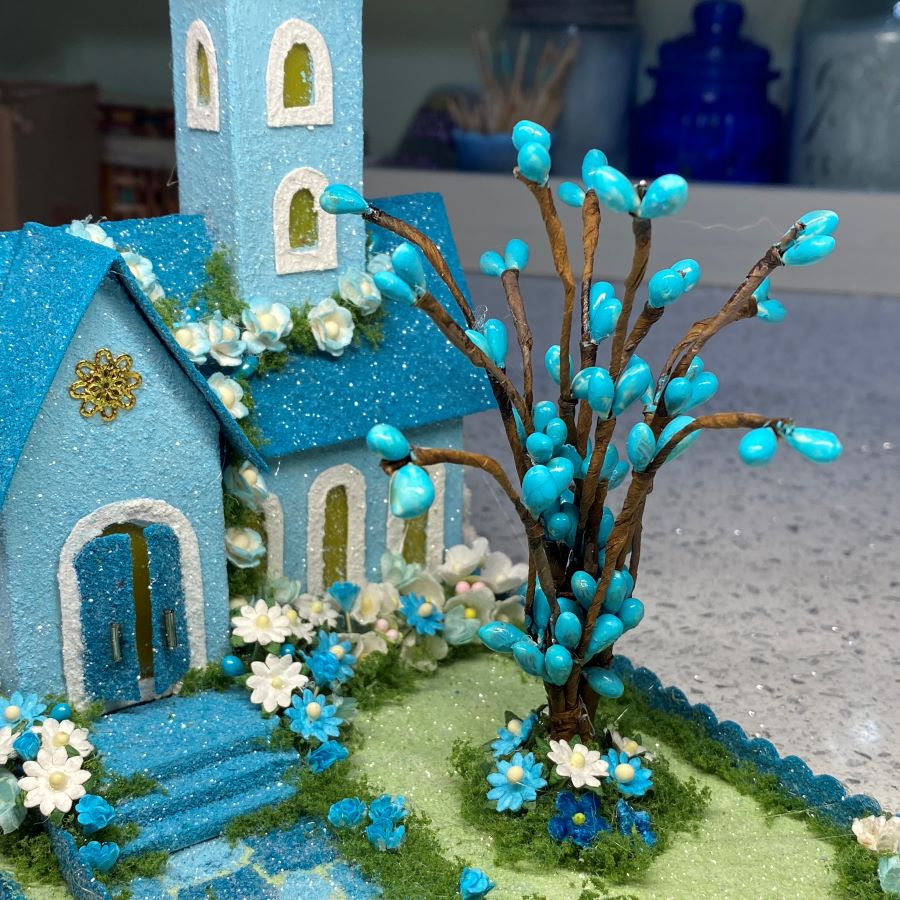
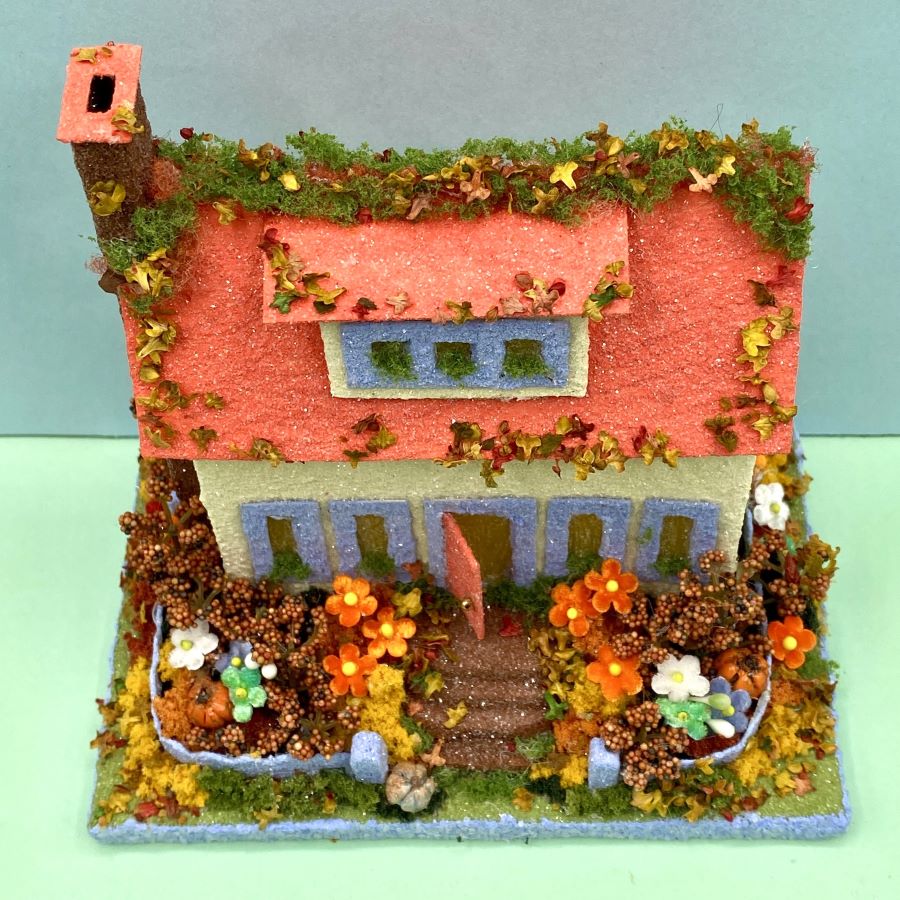
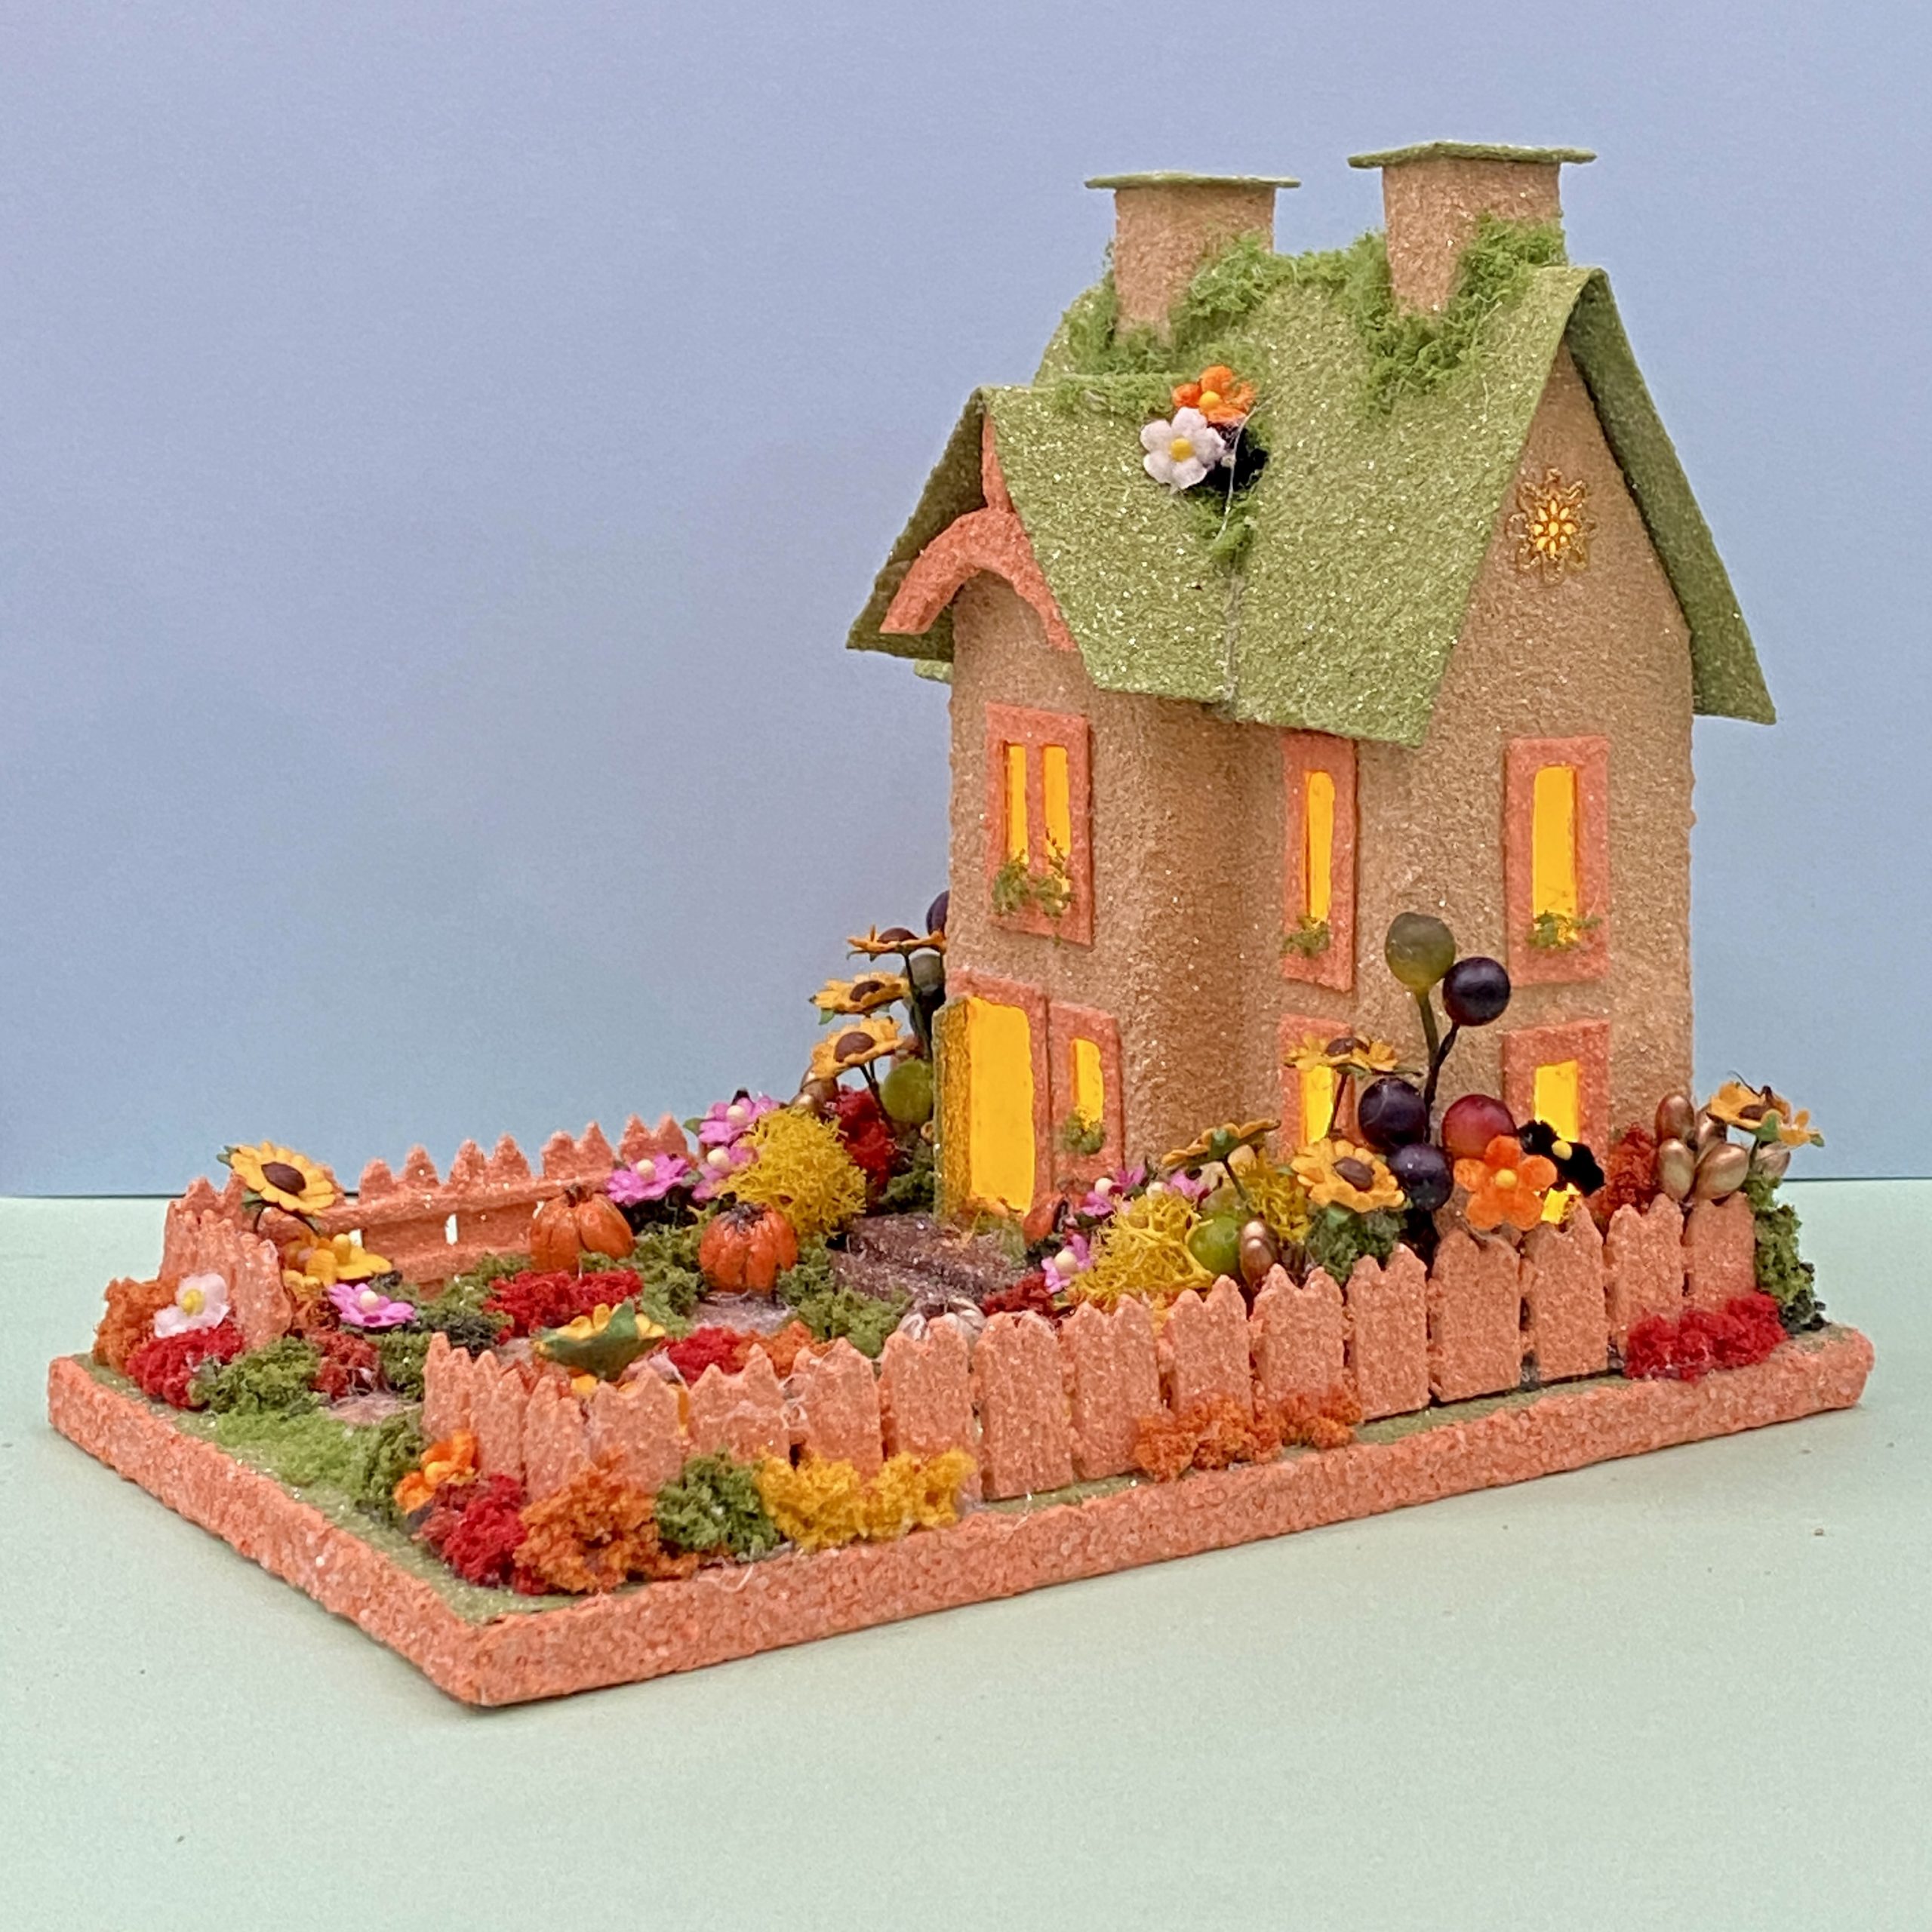
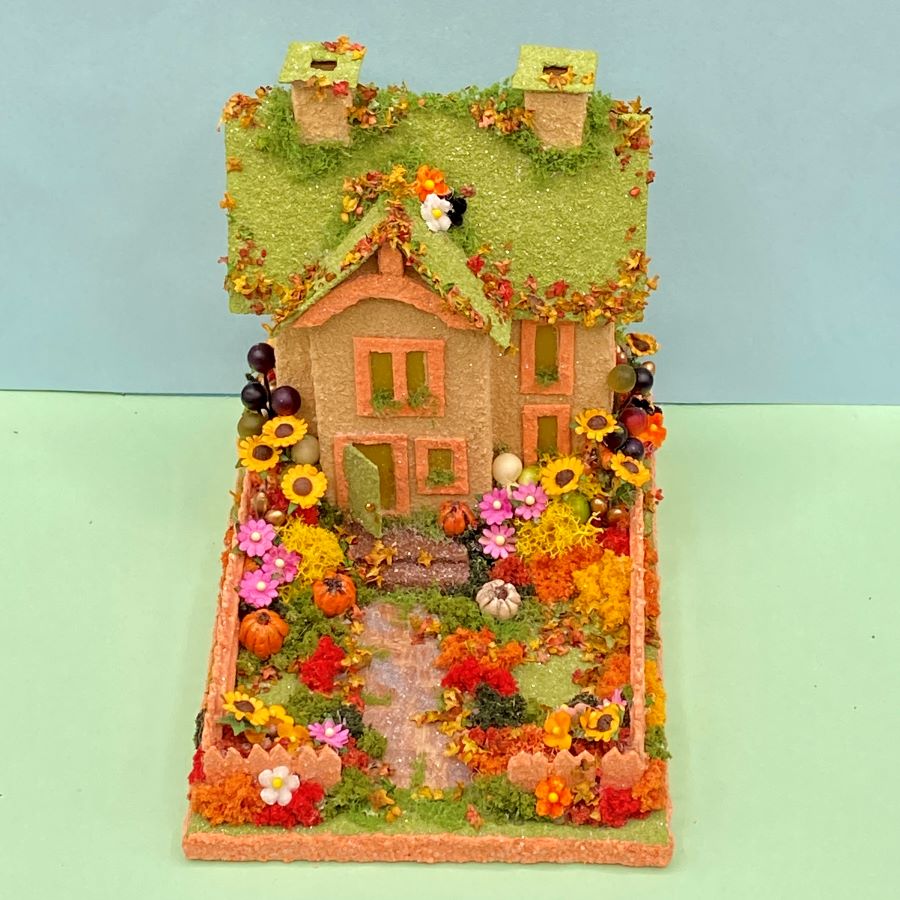
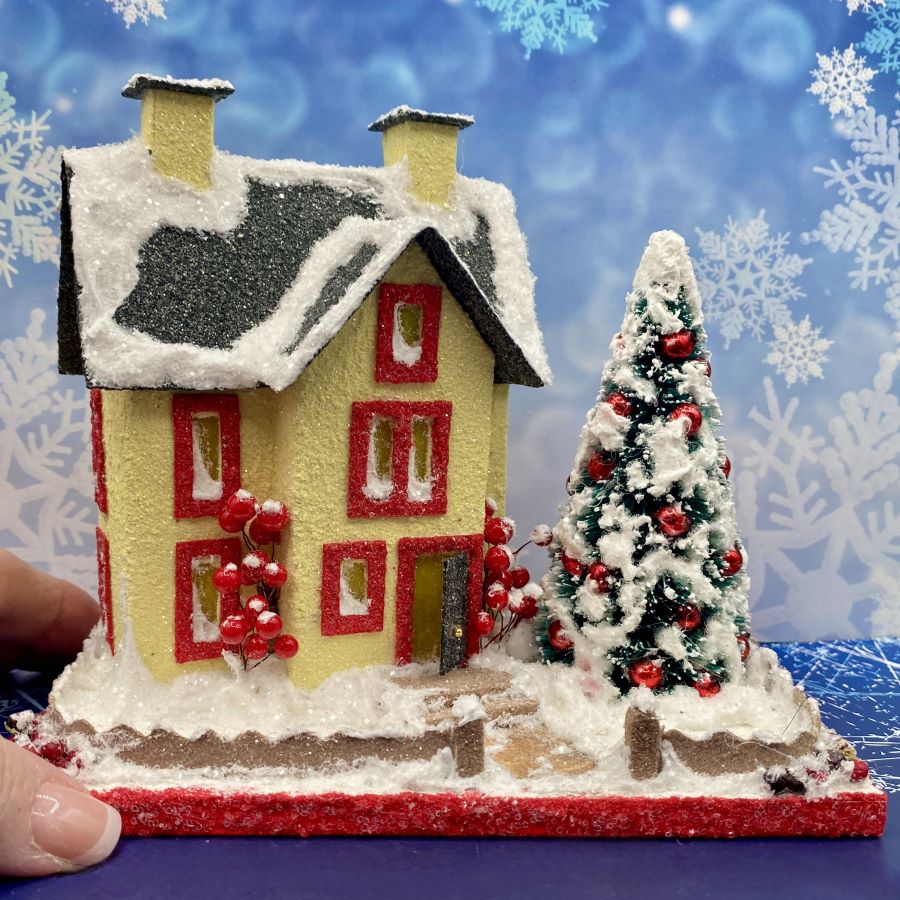
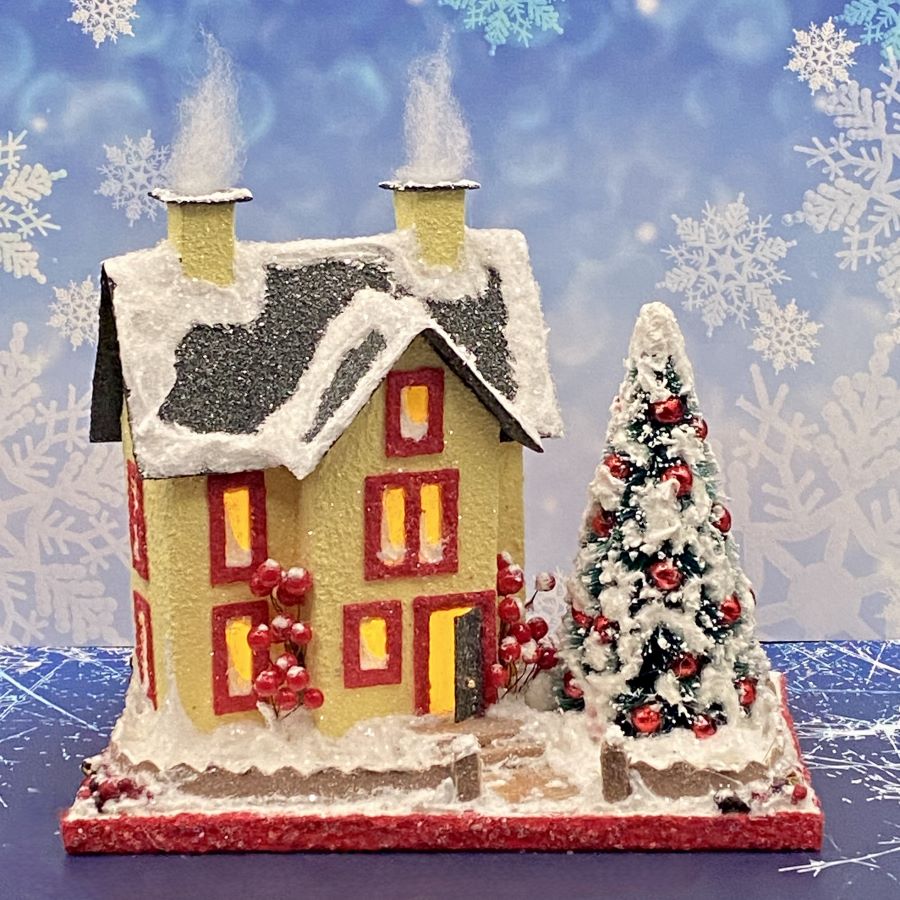
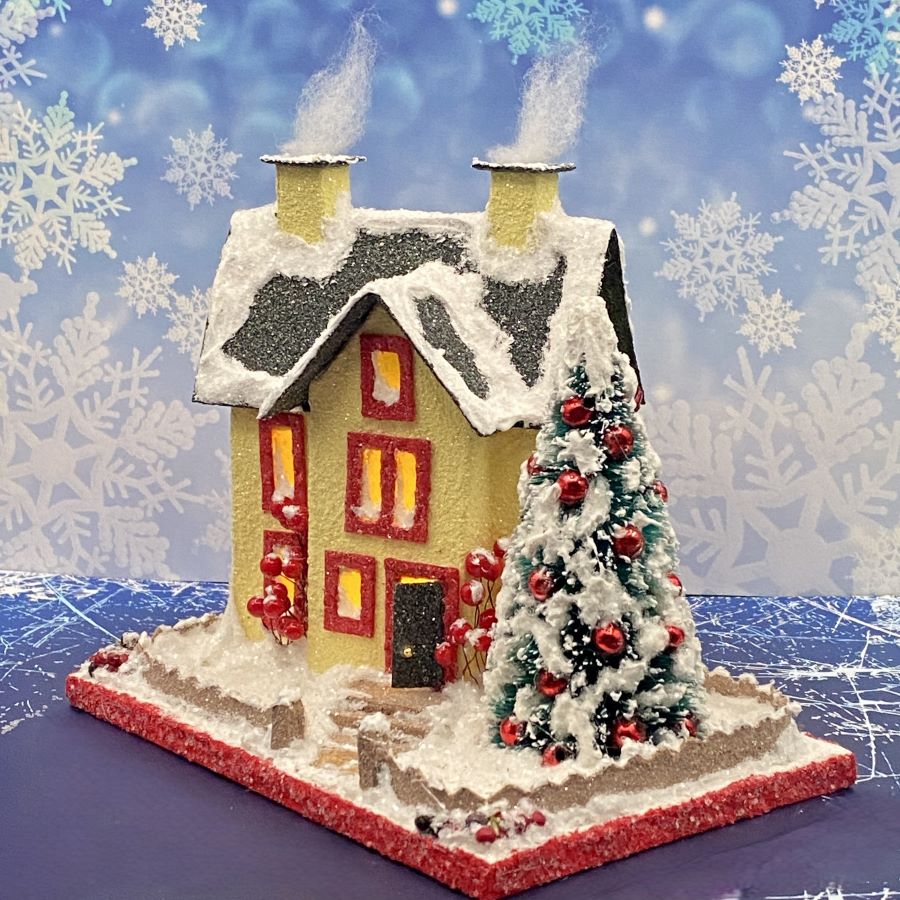
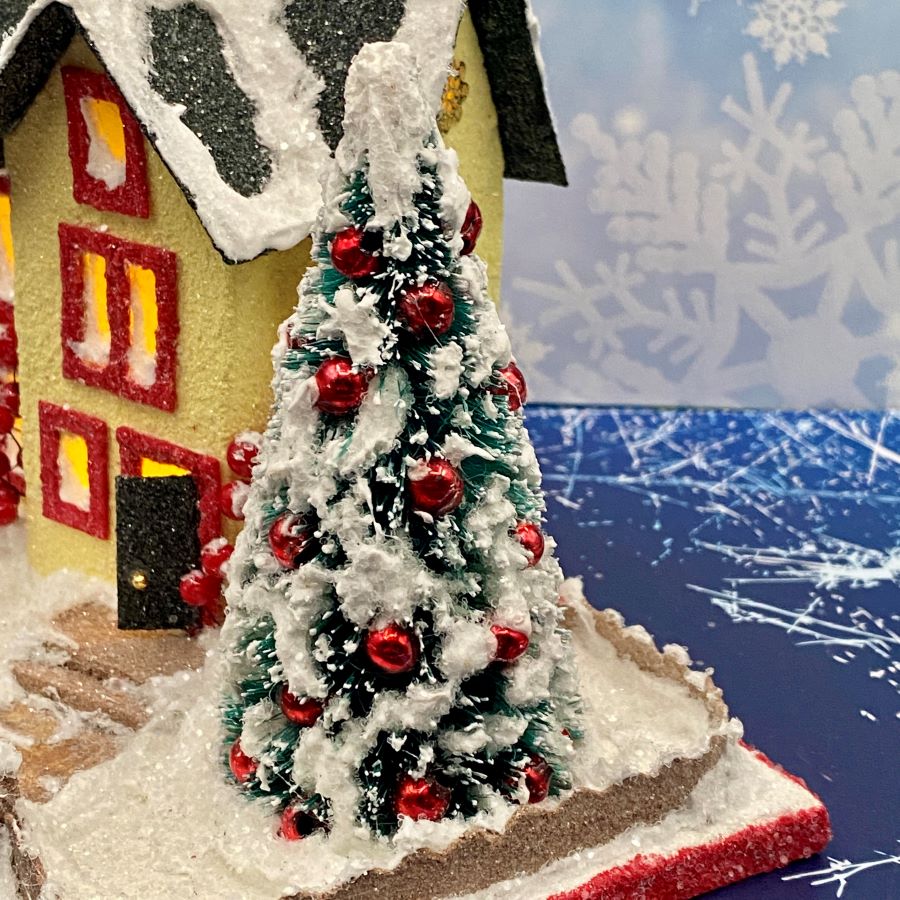
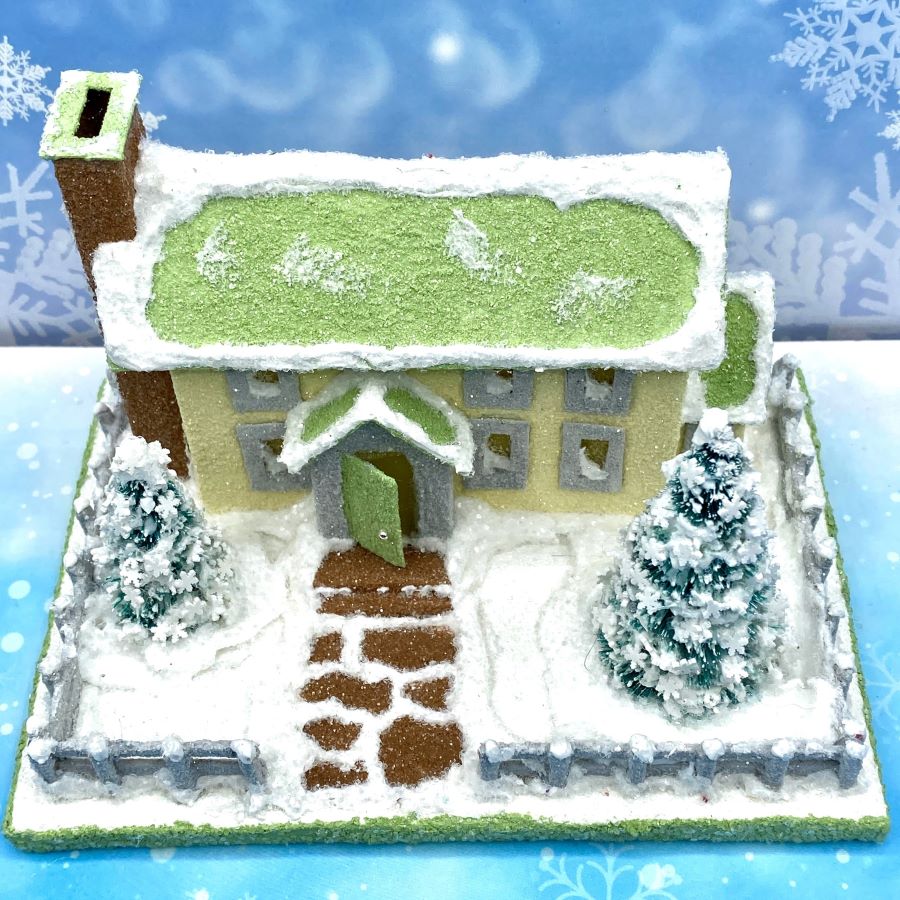
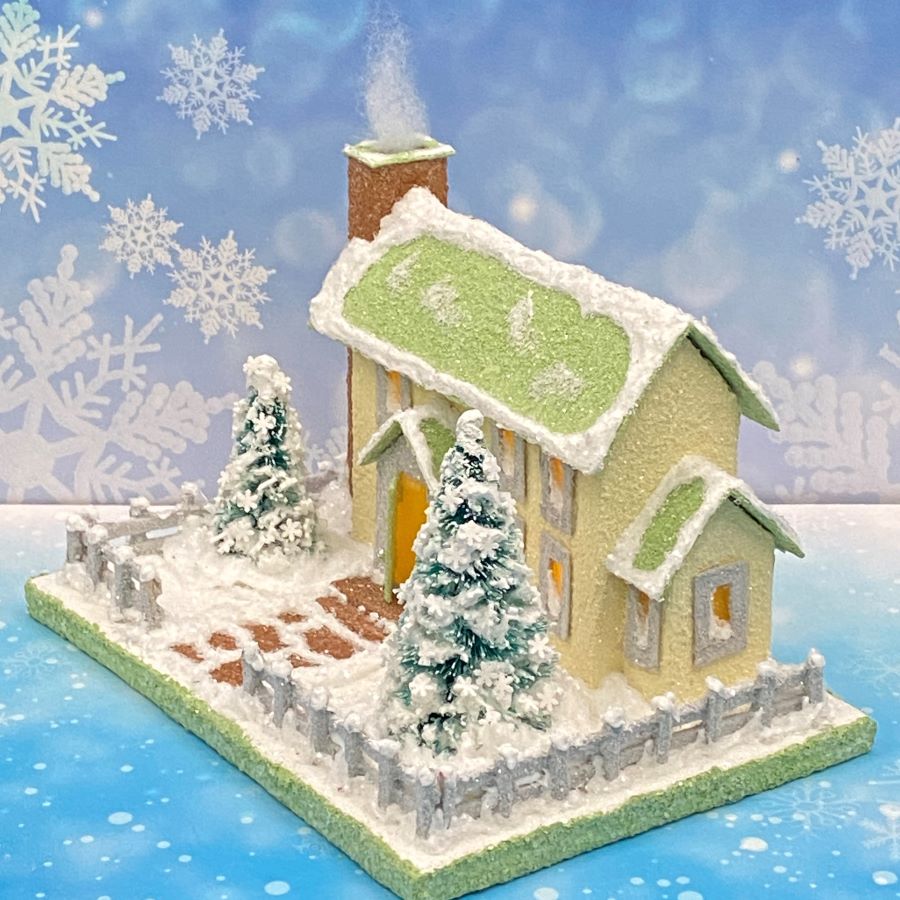
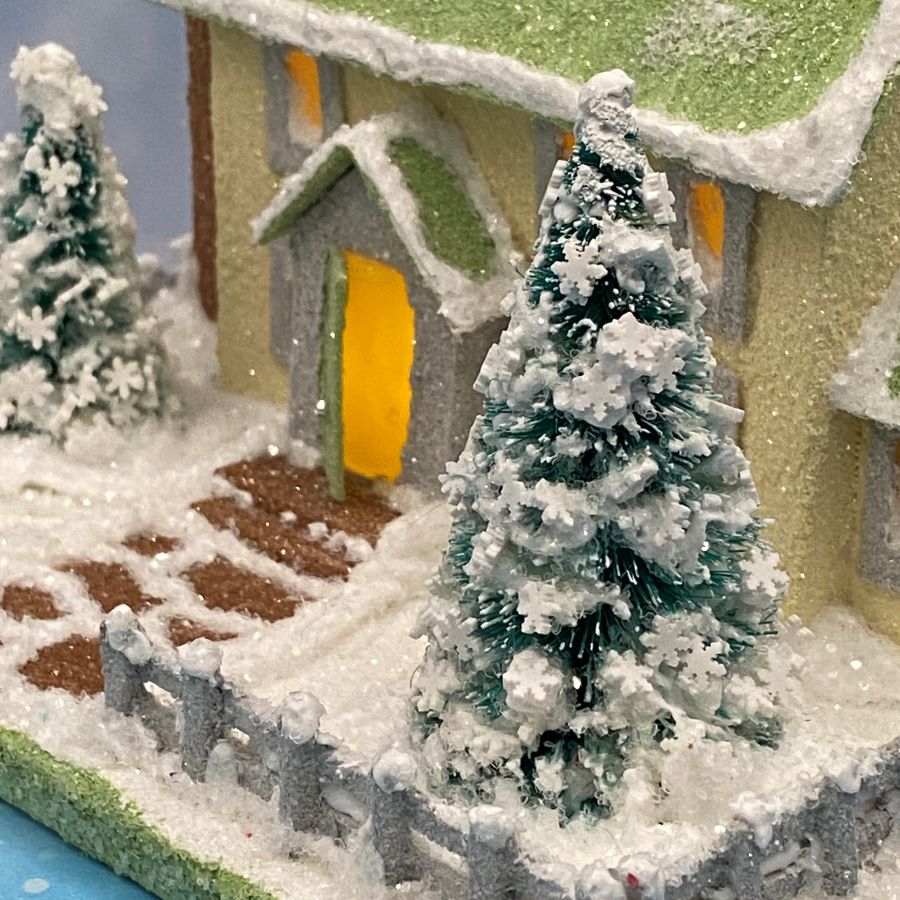
This ORIGINAL size, winter putz house features two bottle brush trees decorated with faux snow, tiny snowflake sprinkles and clear glitter. It is listed in my Etsy shop.
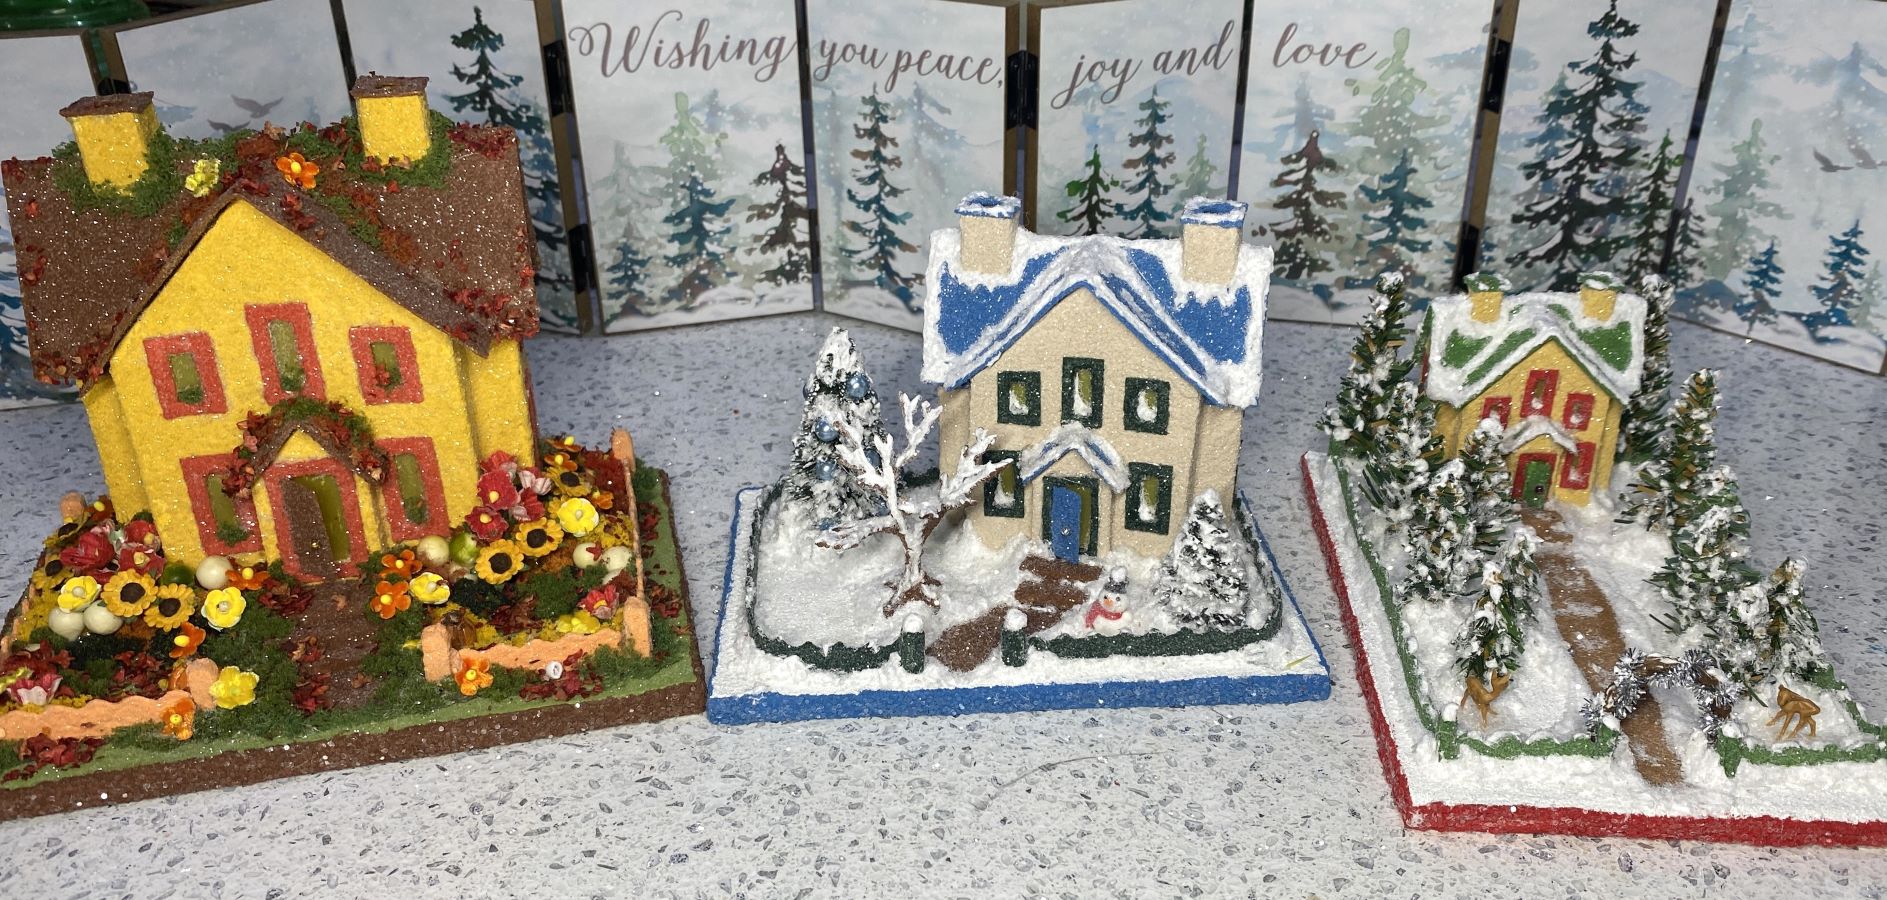
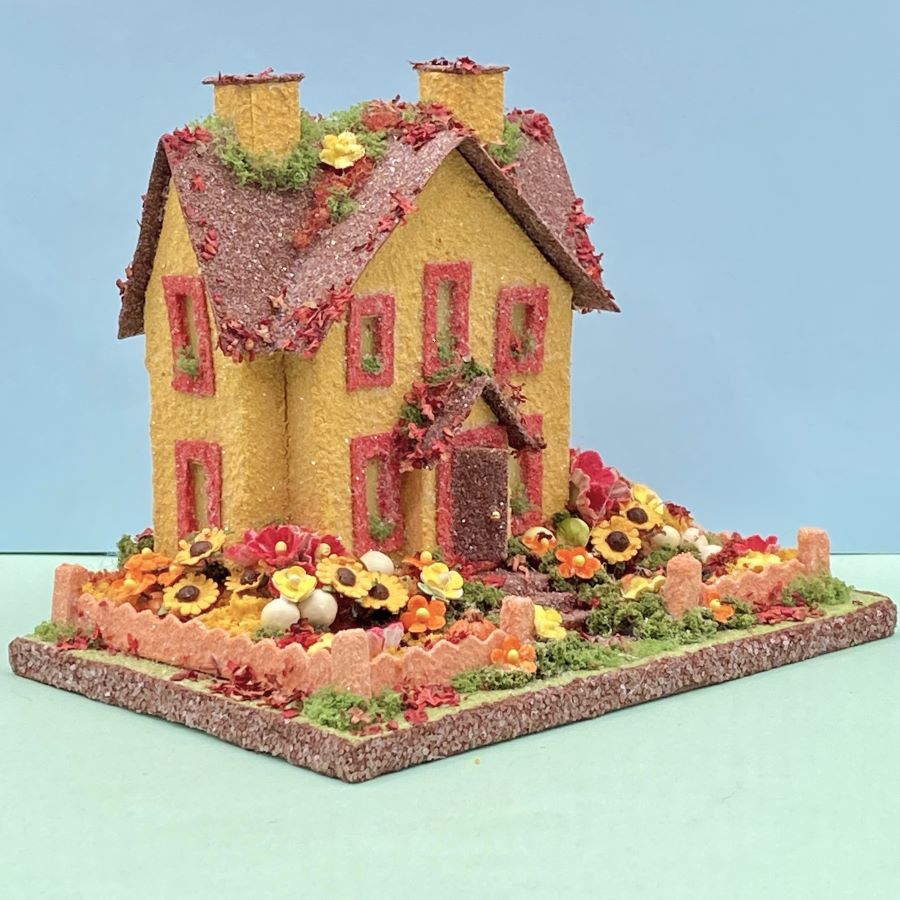
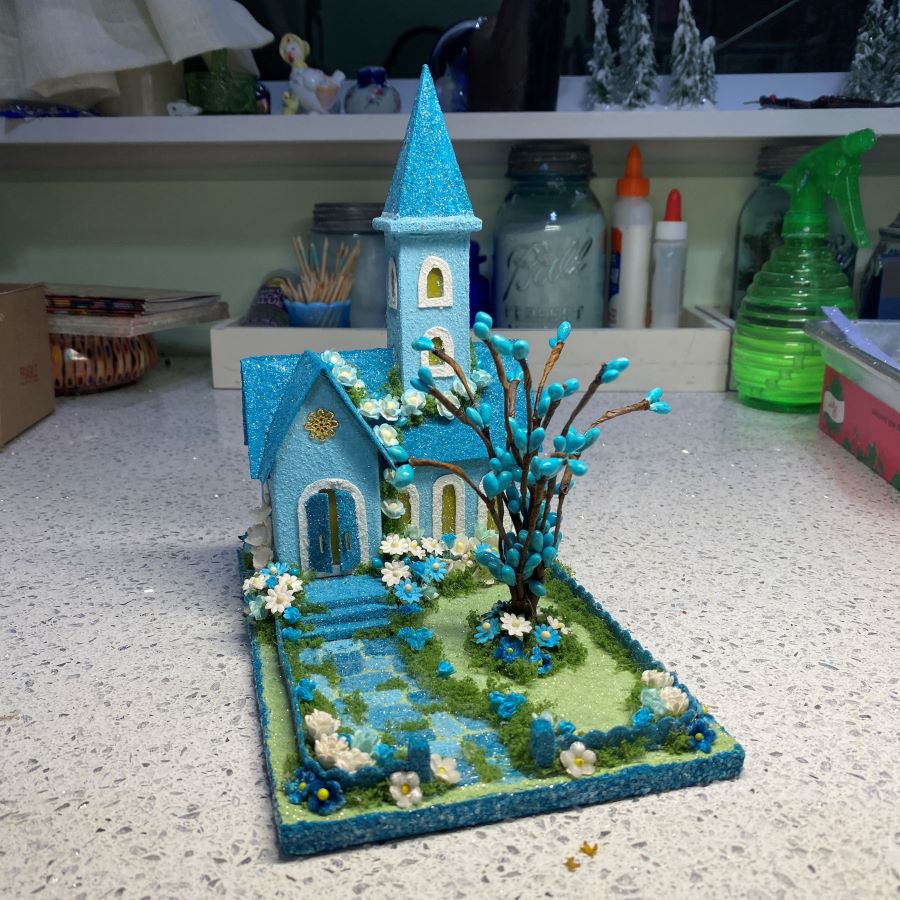
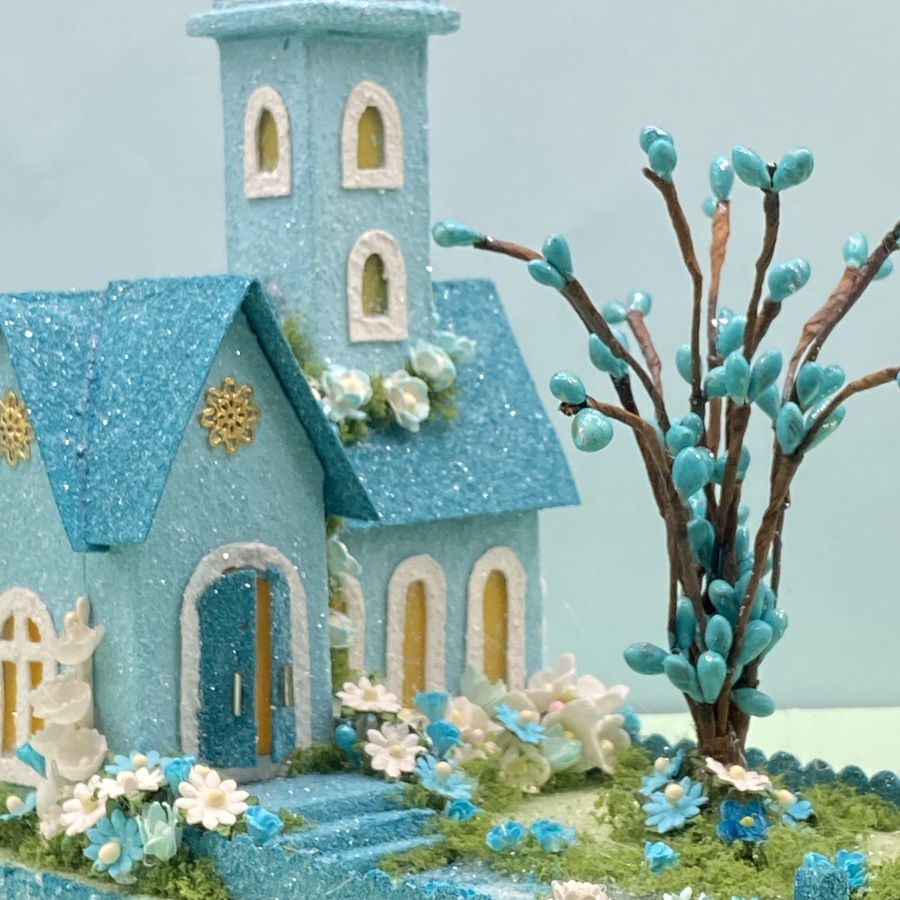
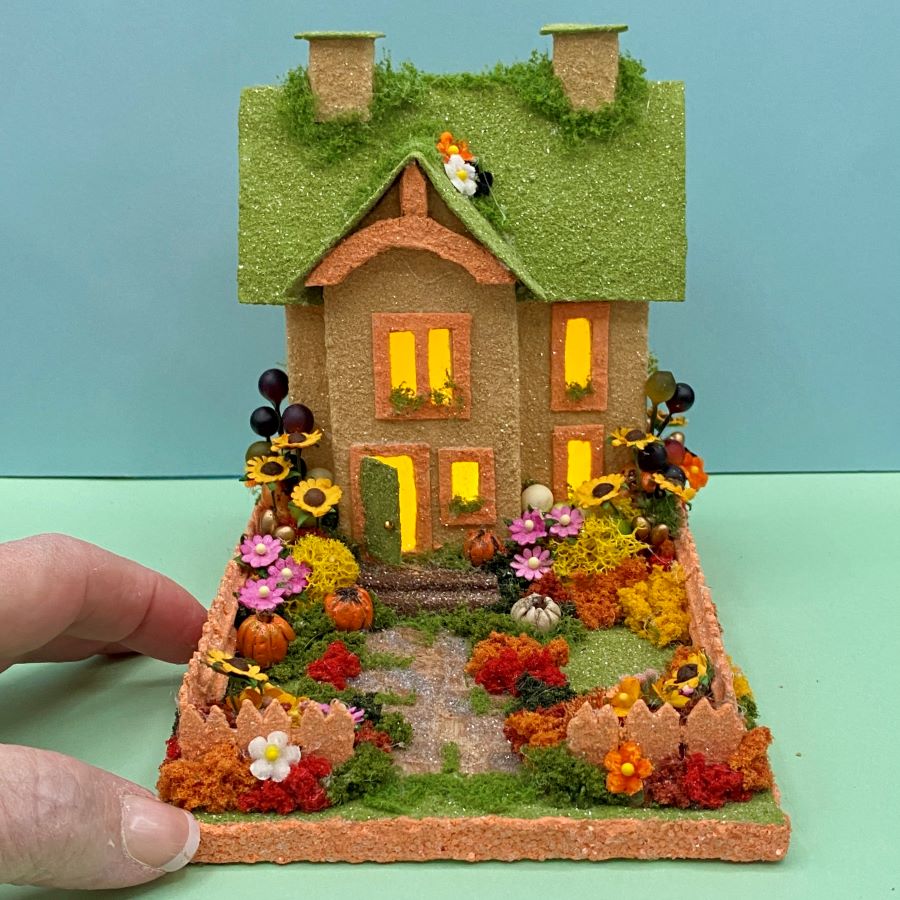
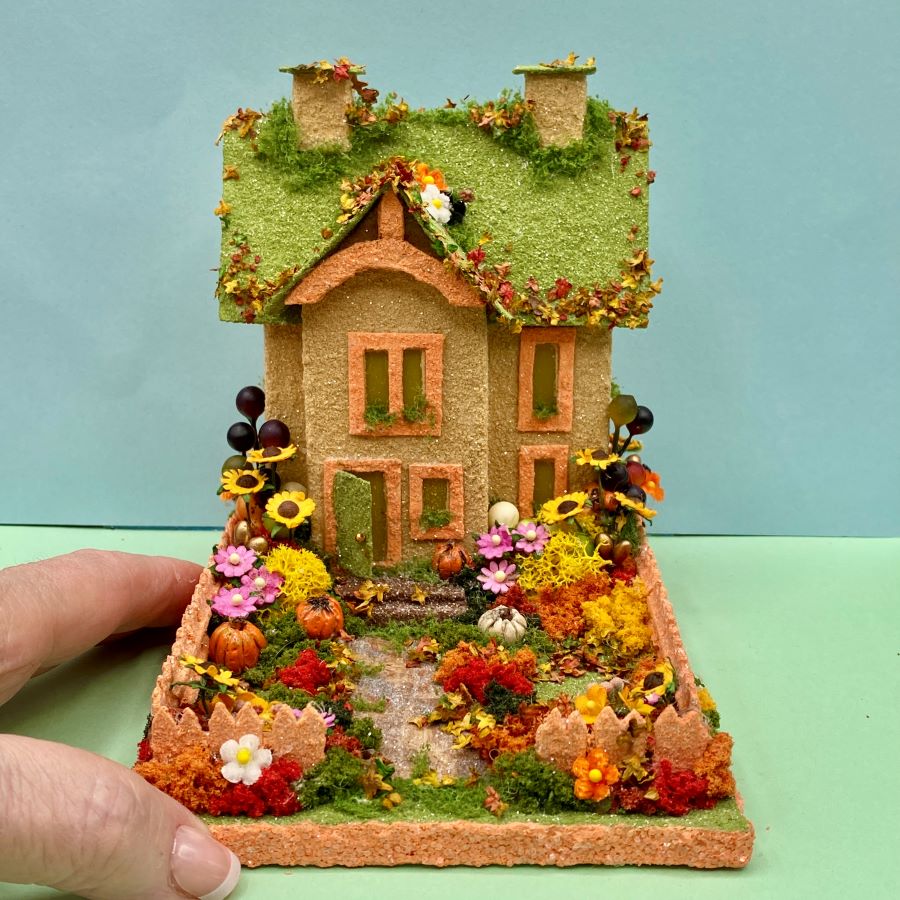
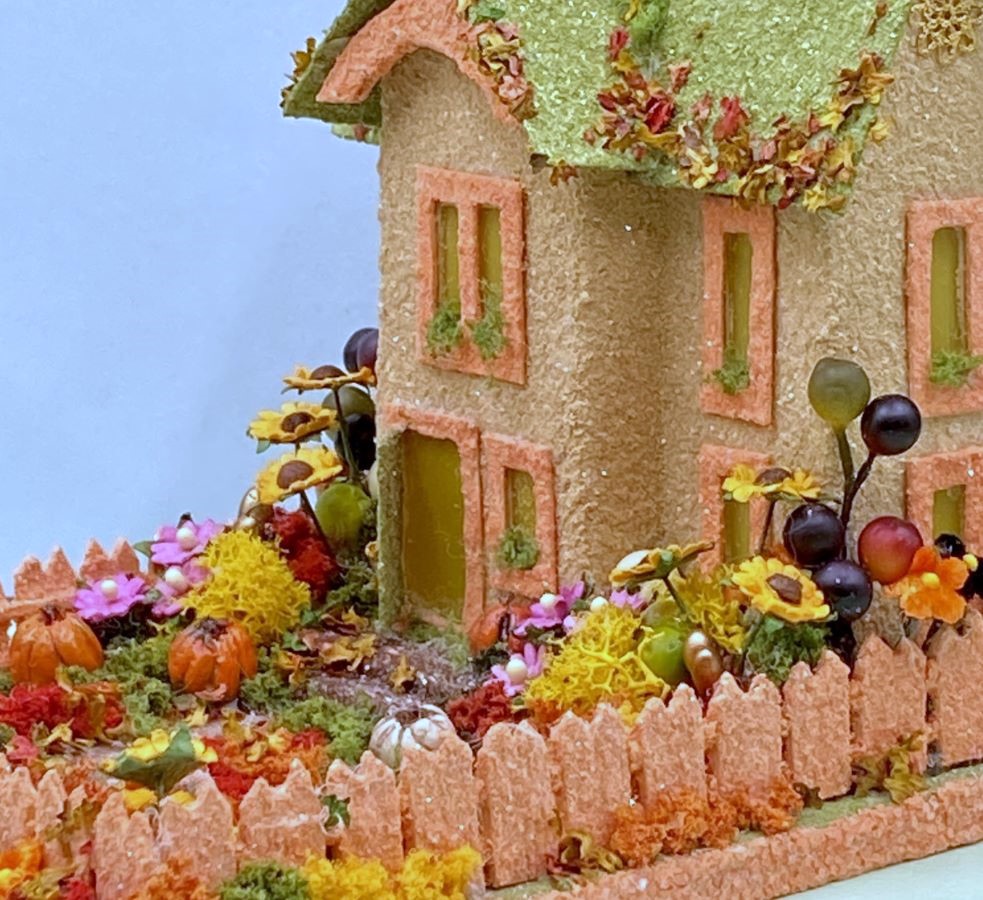
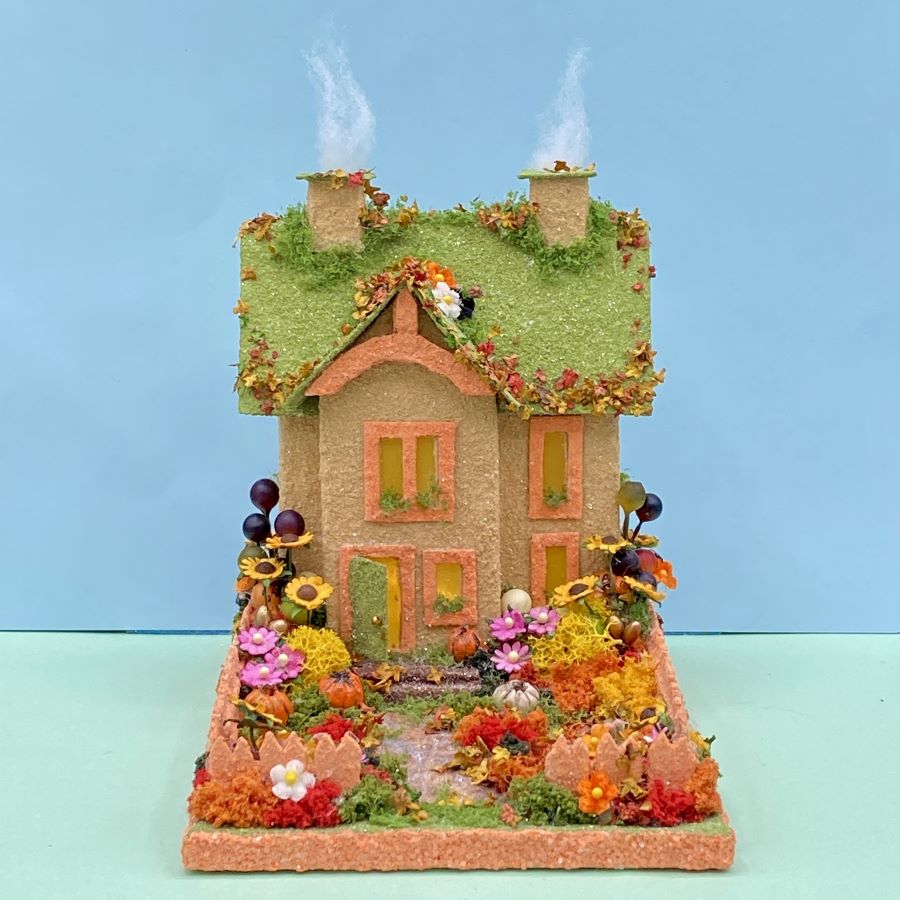
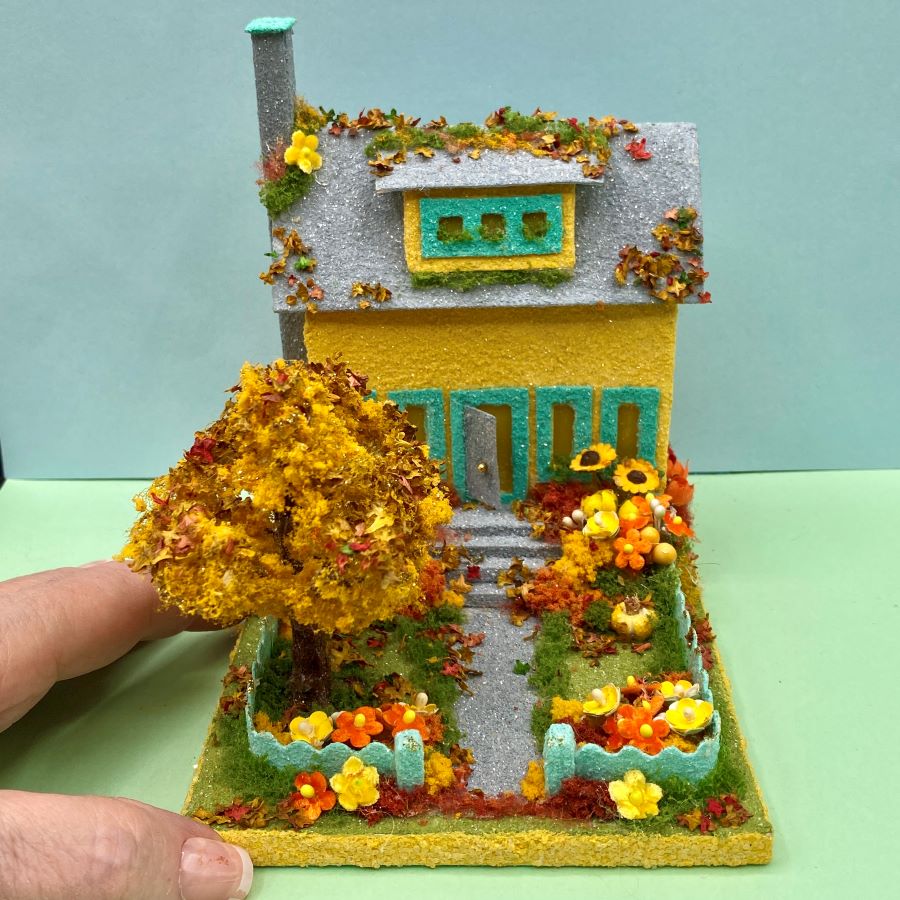
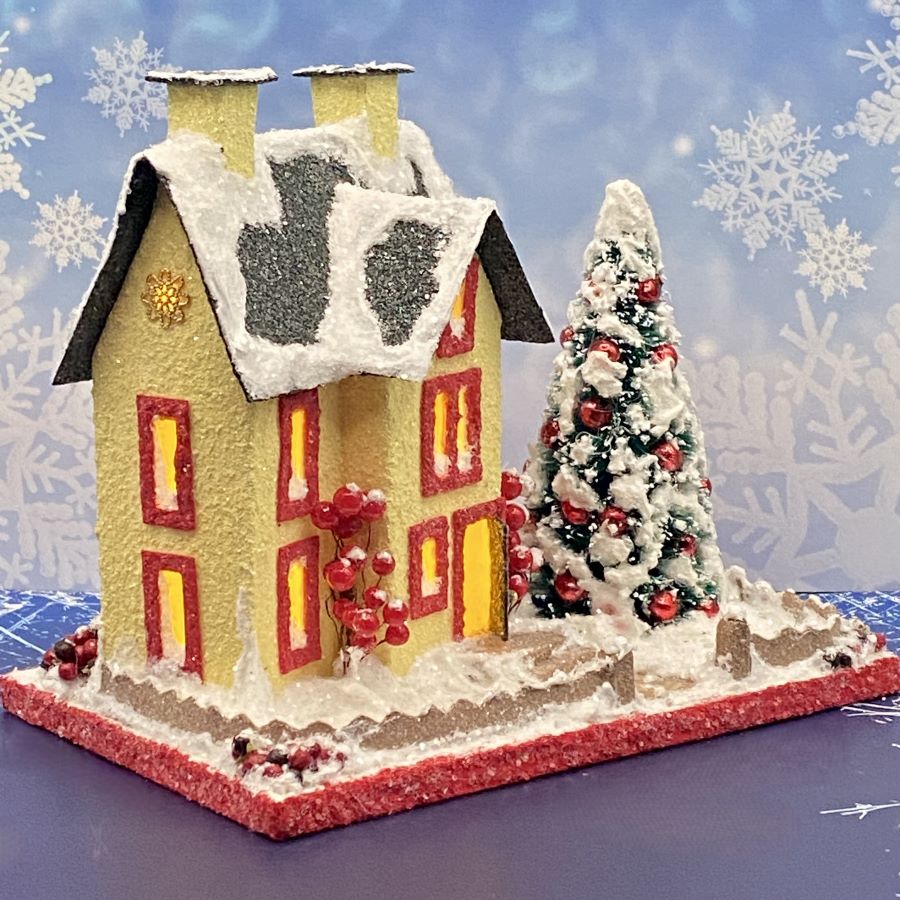
I like the simplified look of this one. The light colors, inspired by the colors of the Christmas card used to make the base, give it a quiet, country home feel.
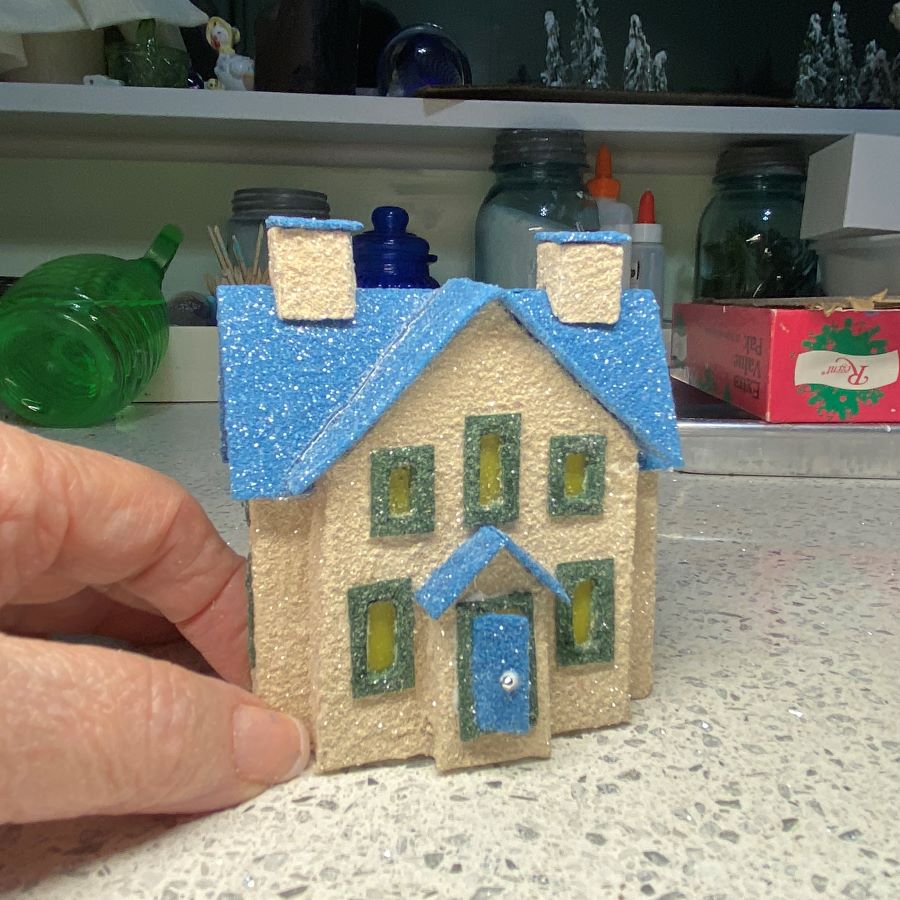
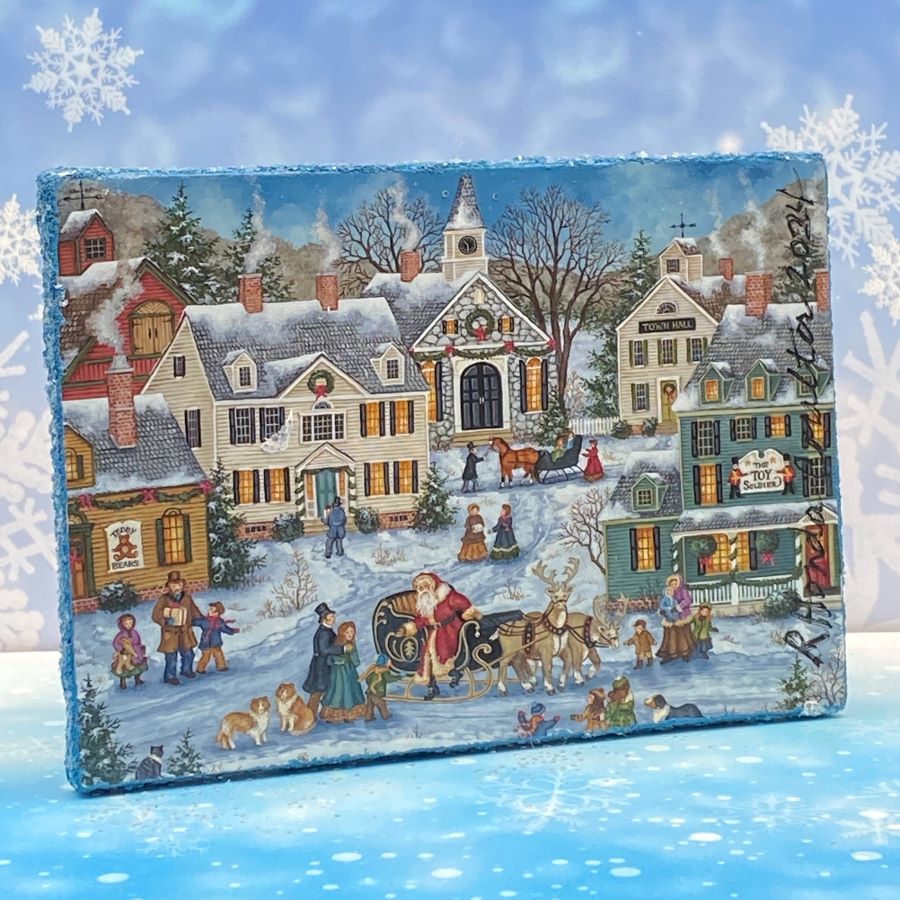
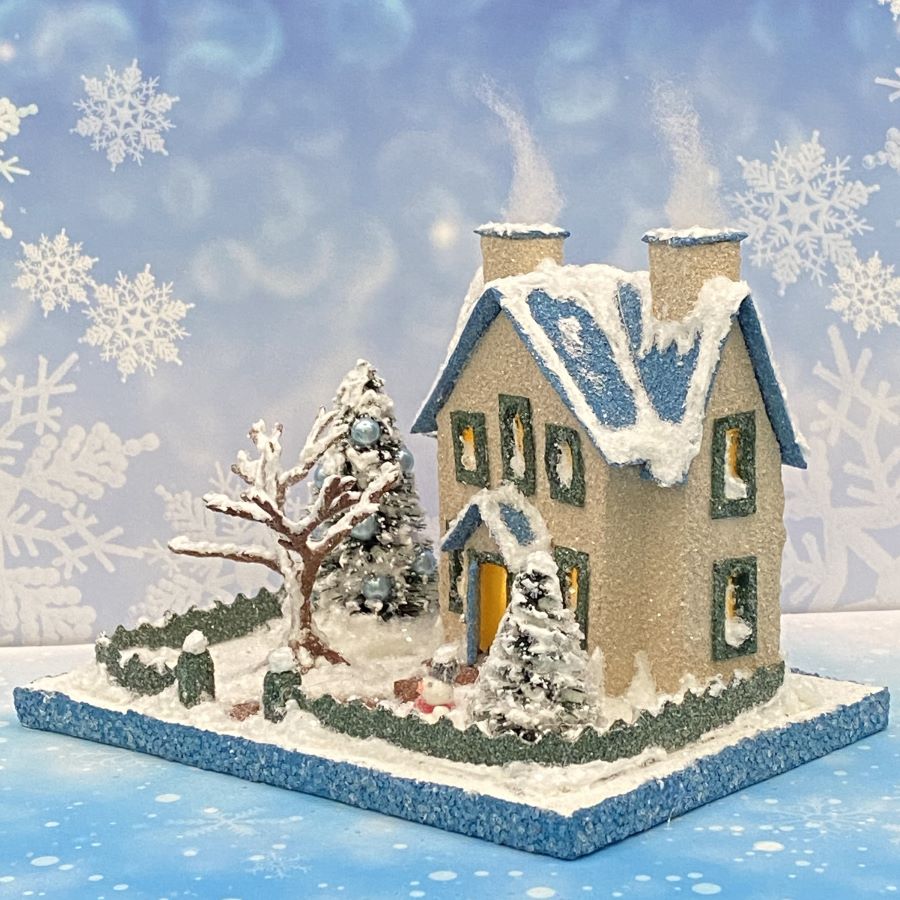
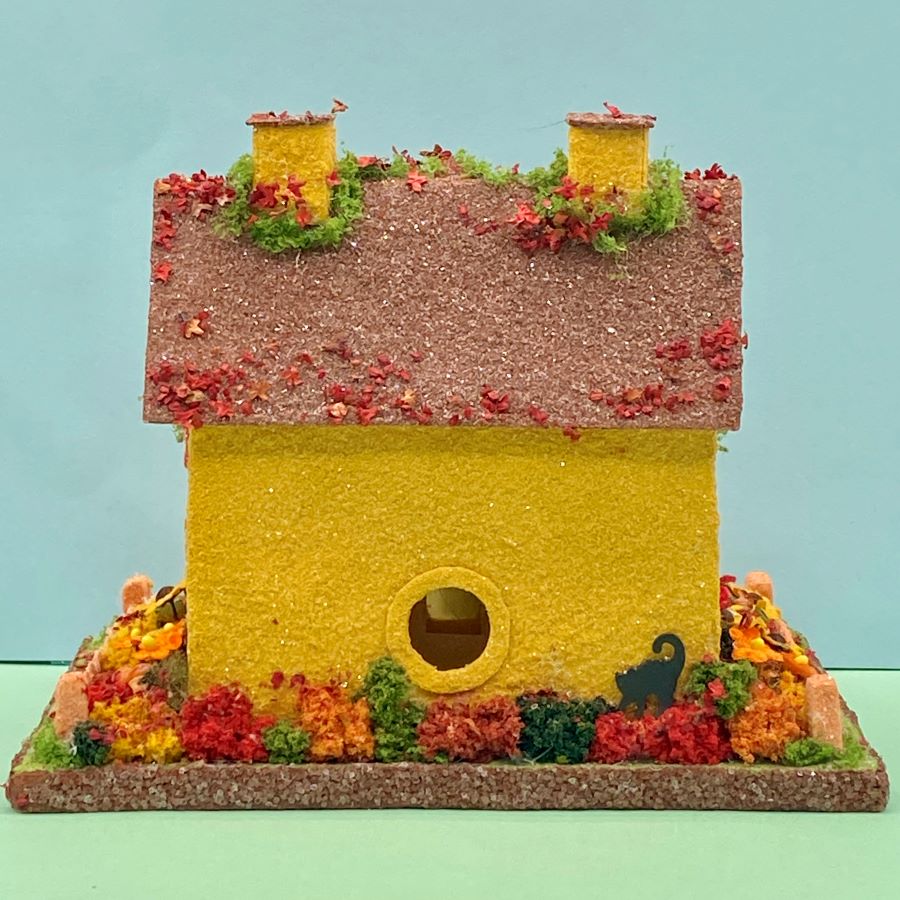
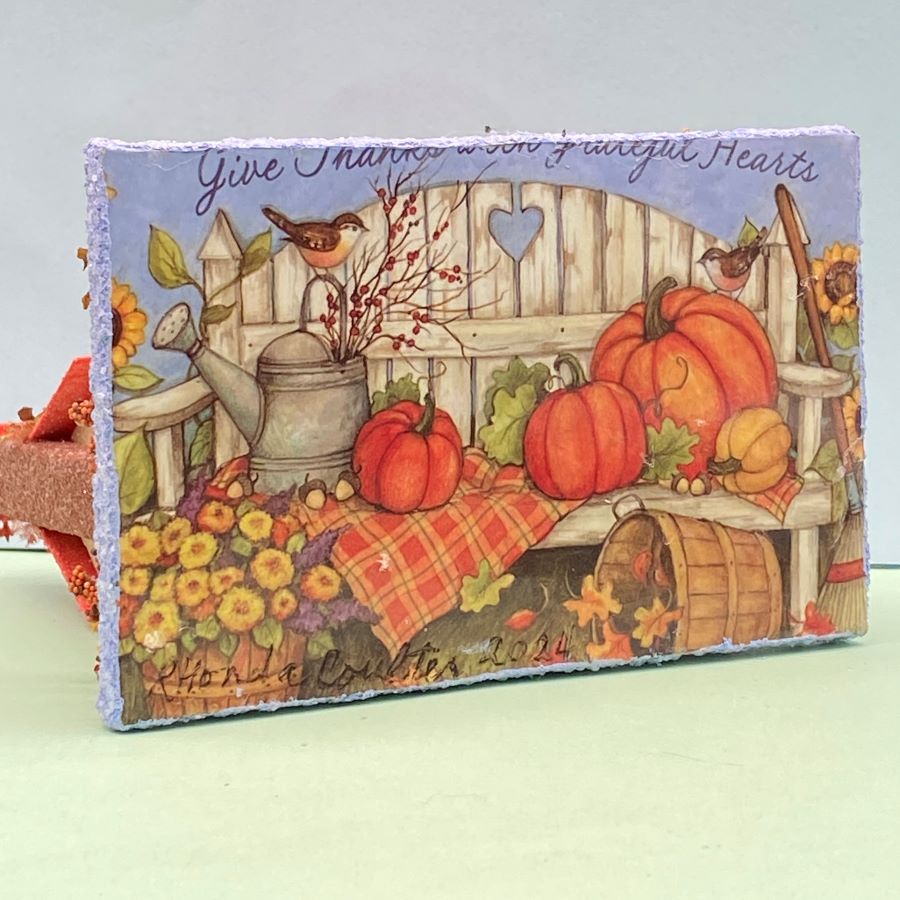
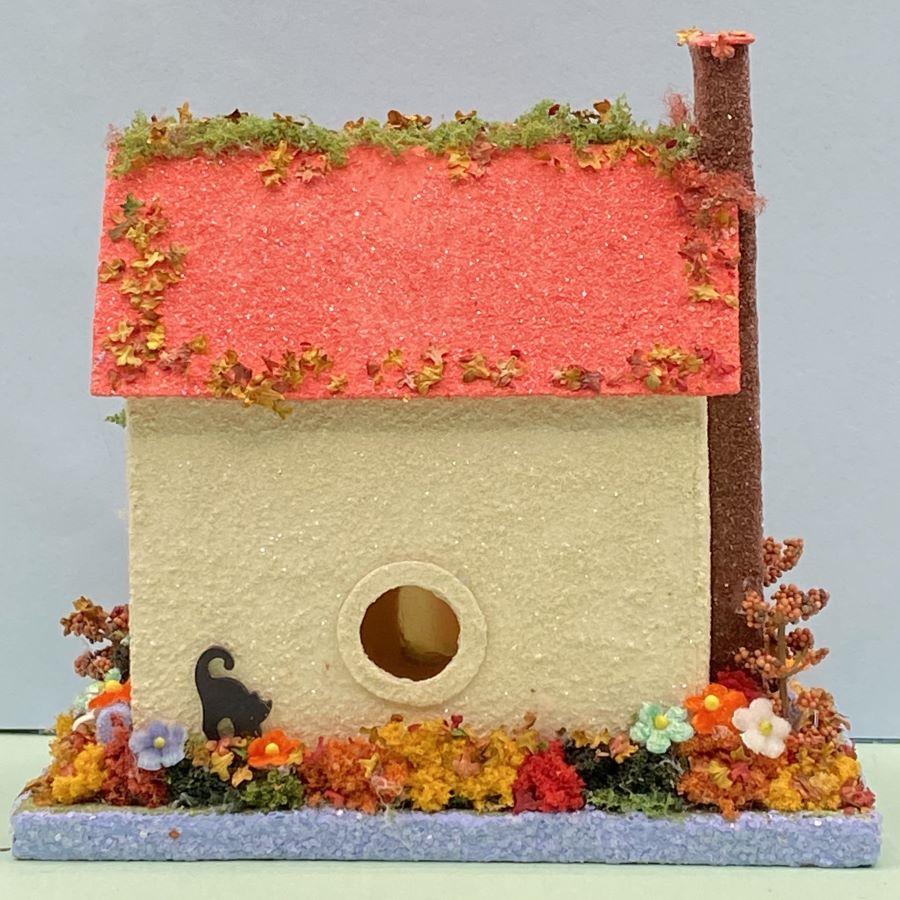
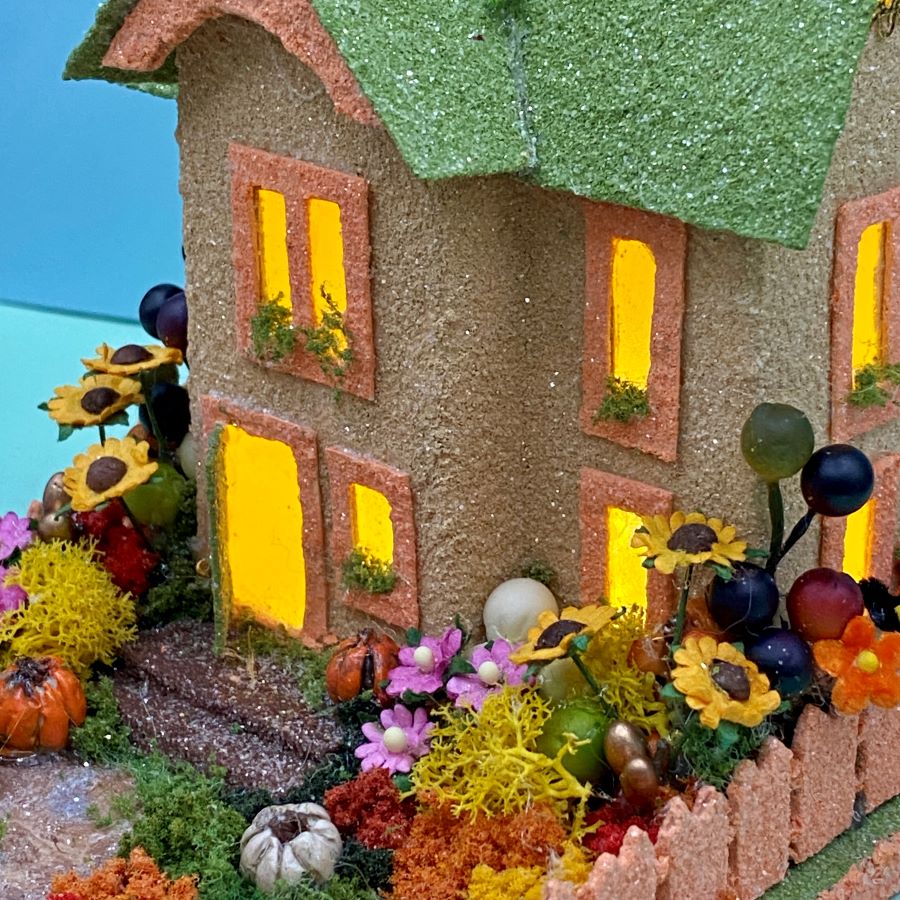
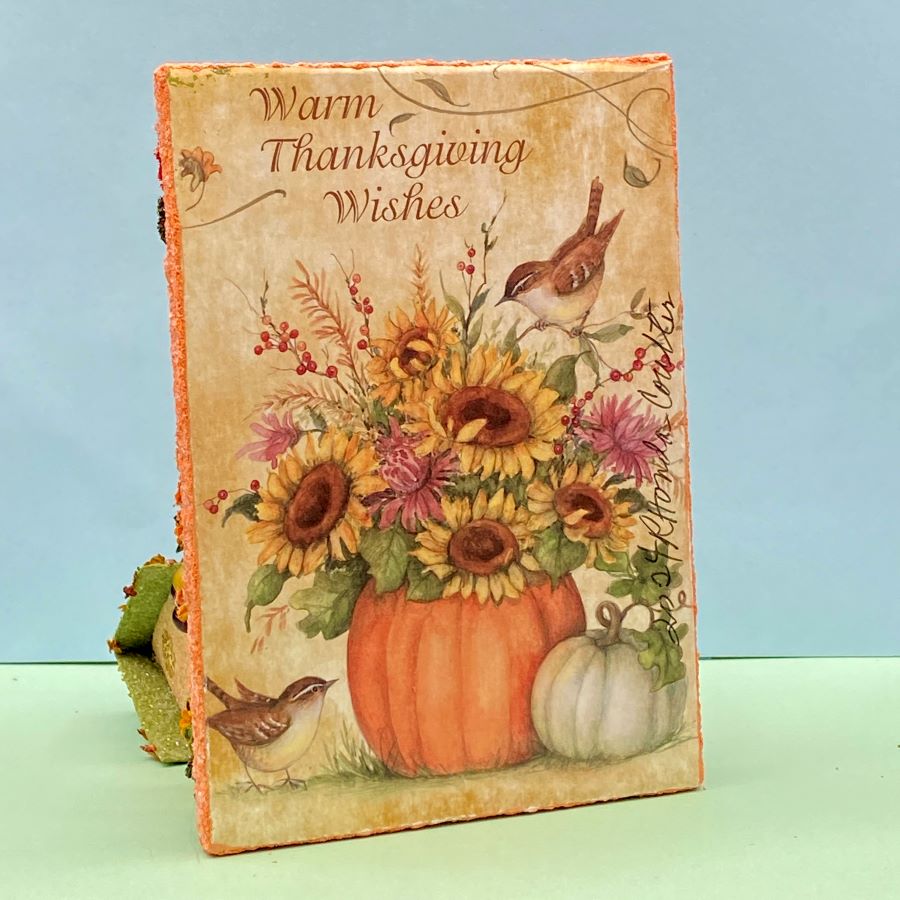
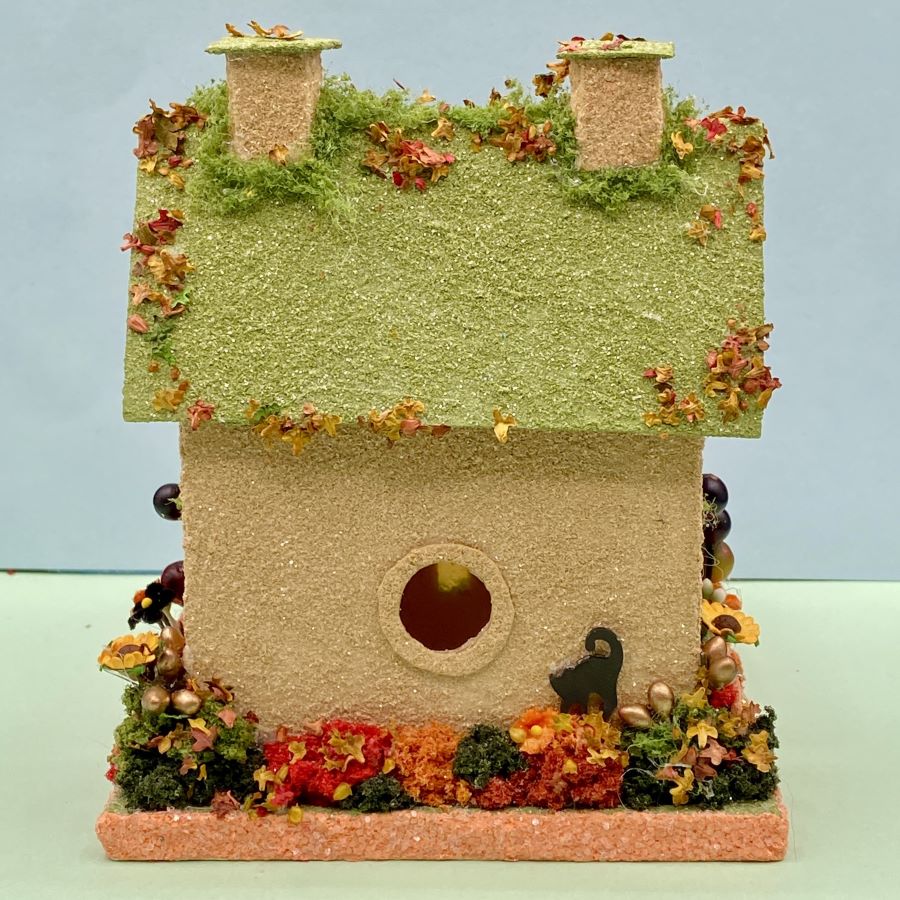
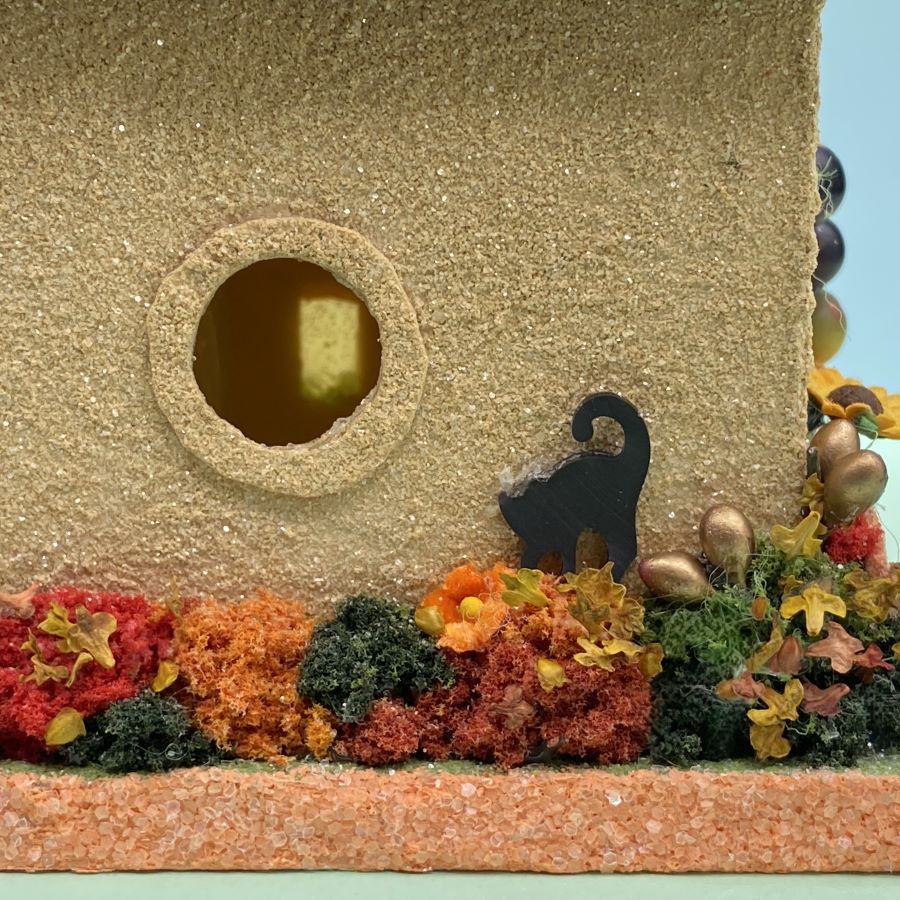
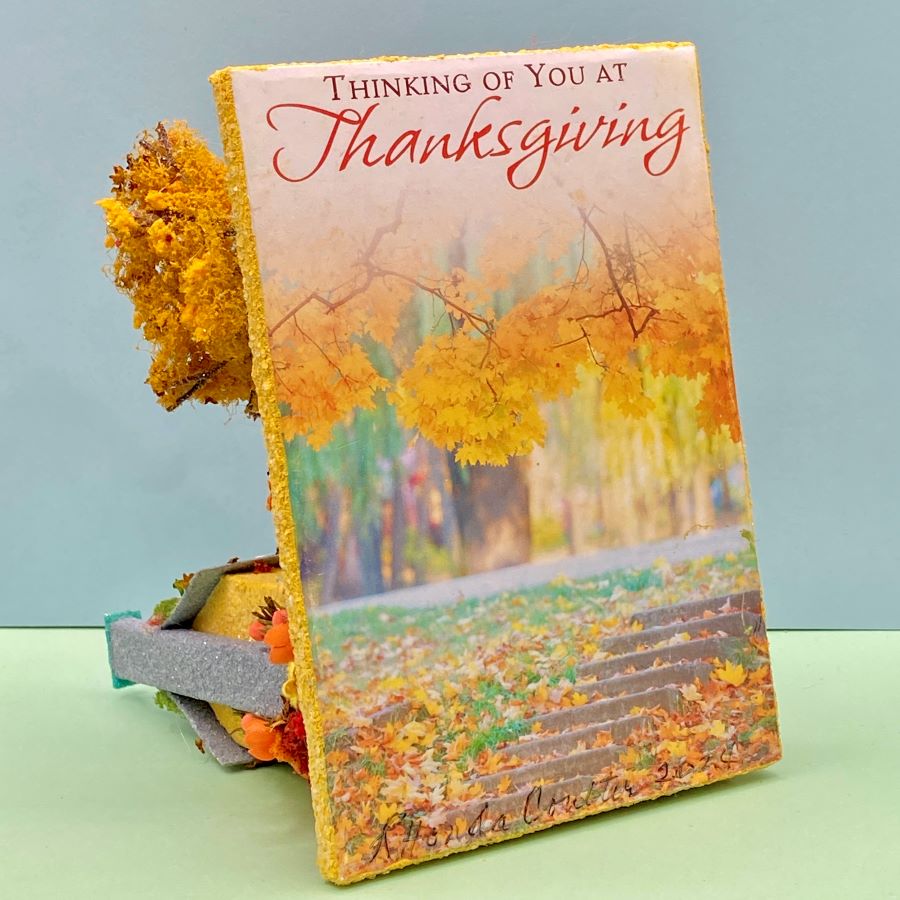
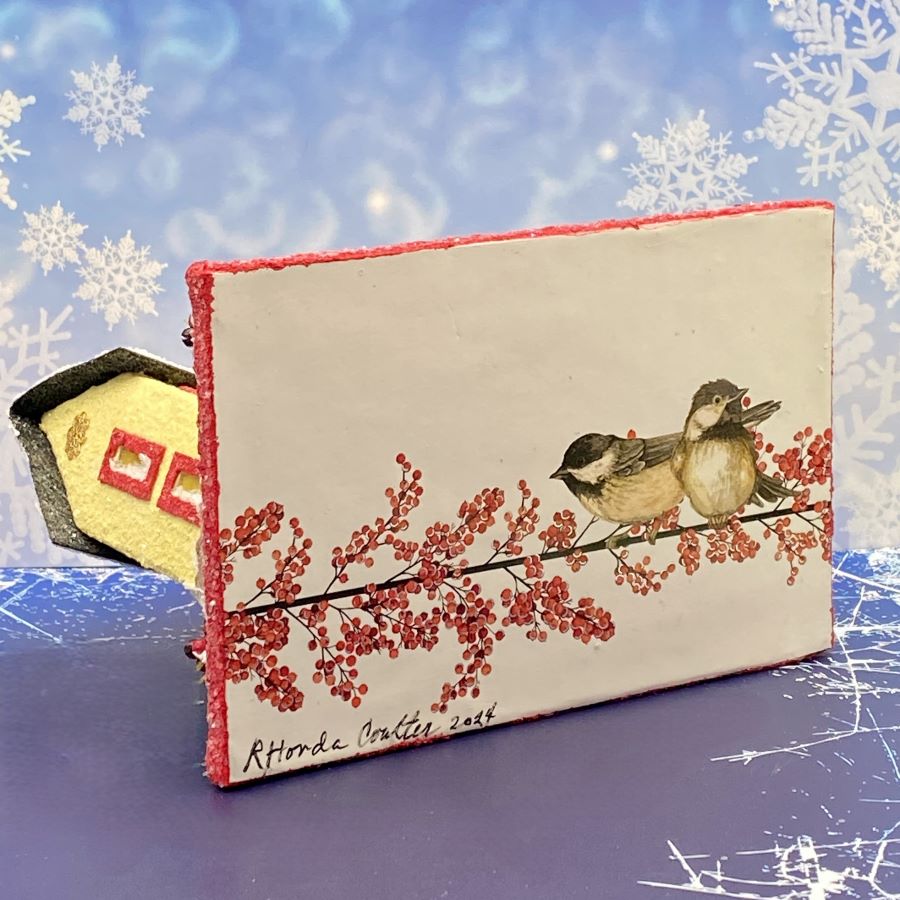
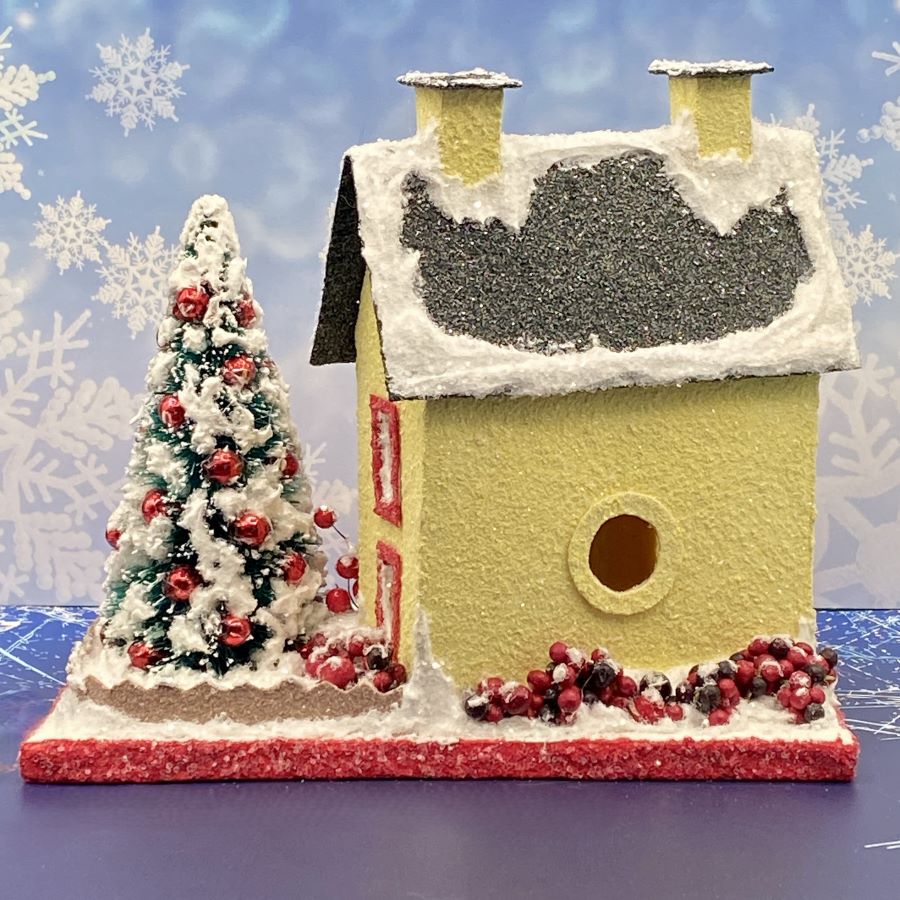
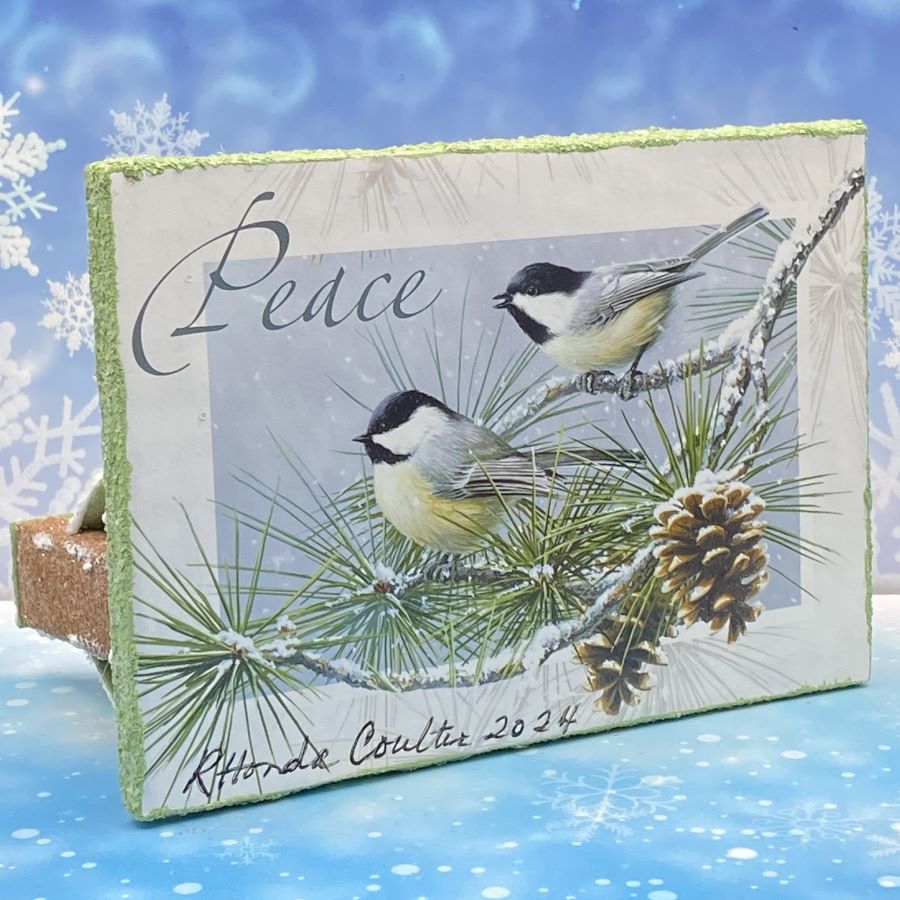
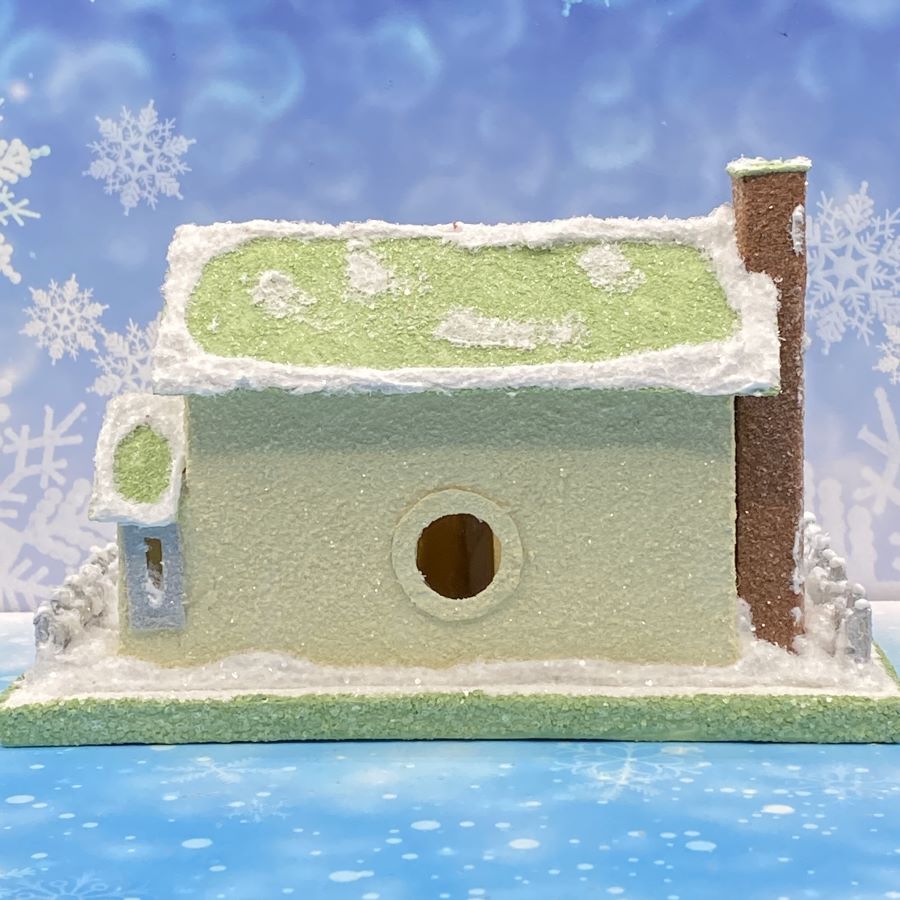
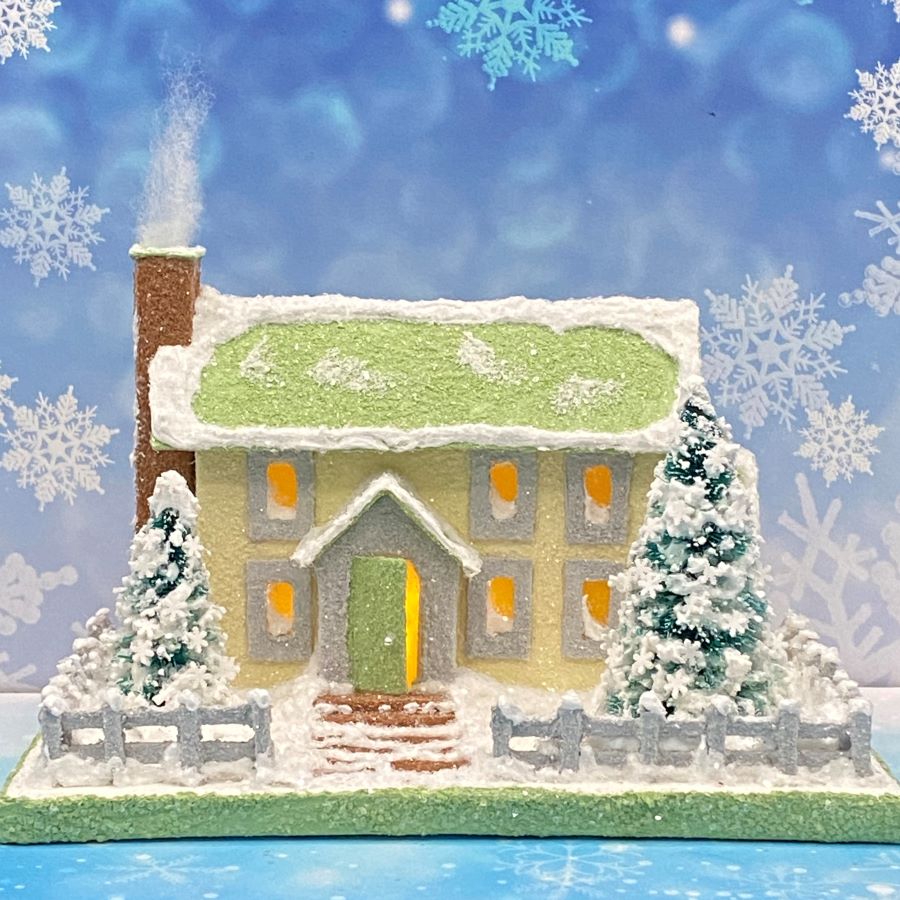
The base is made from a Christmas card with two chickadees on a pine bough. The house has the traditional hole in the back, allowing the use of an LED light string.
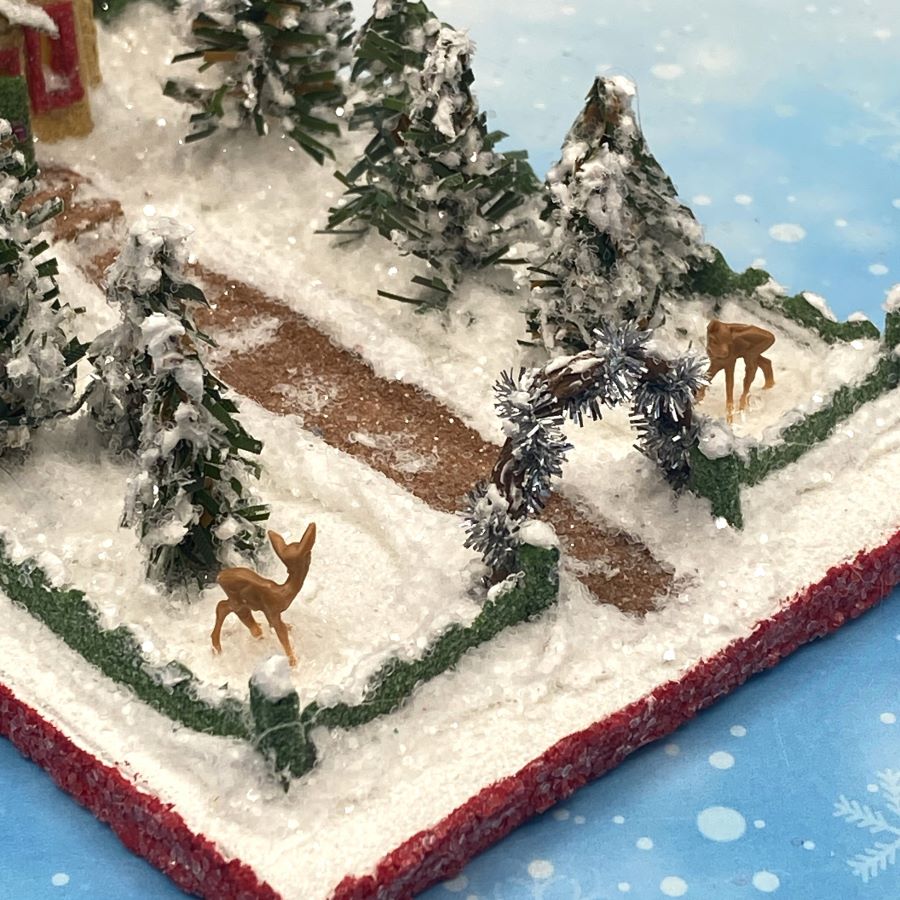
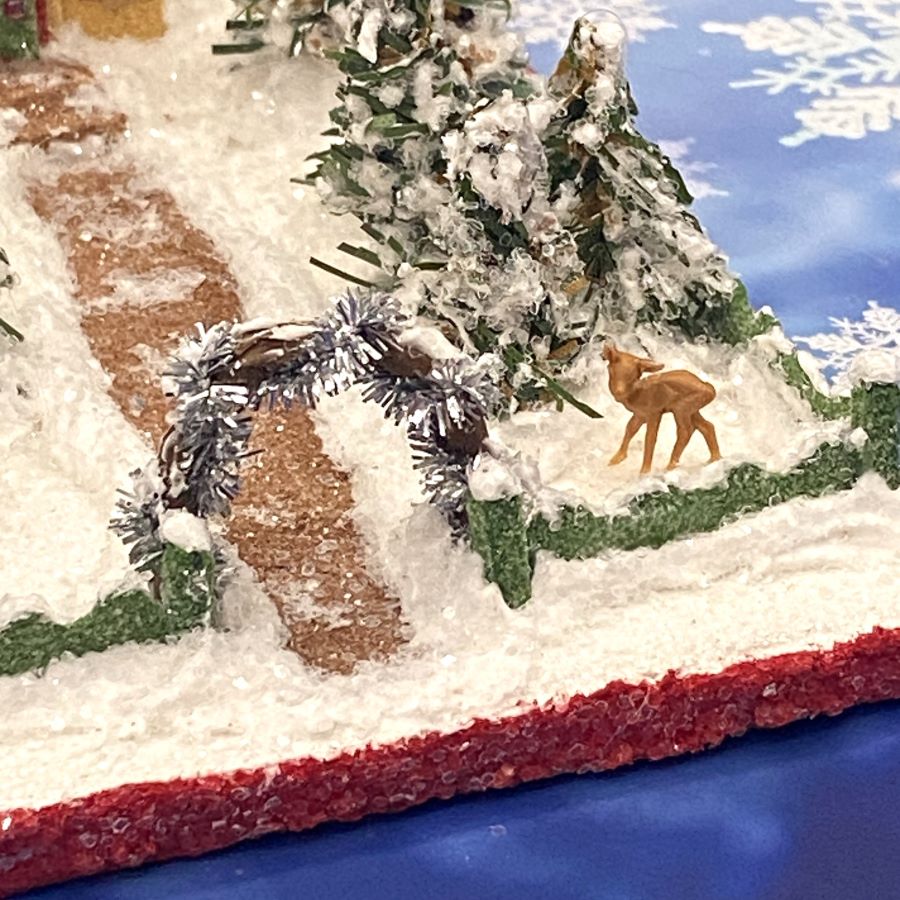
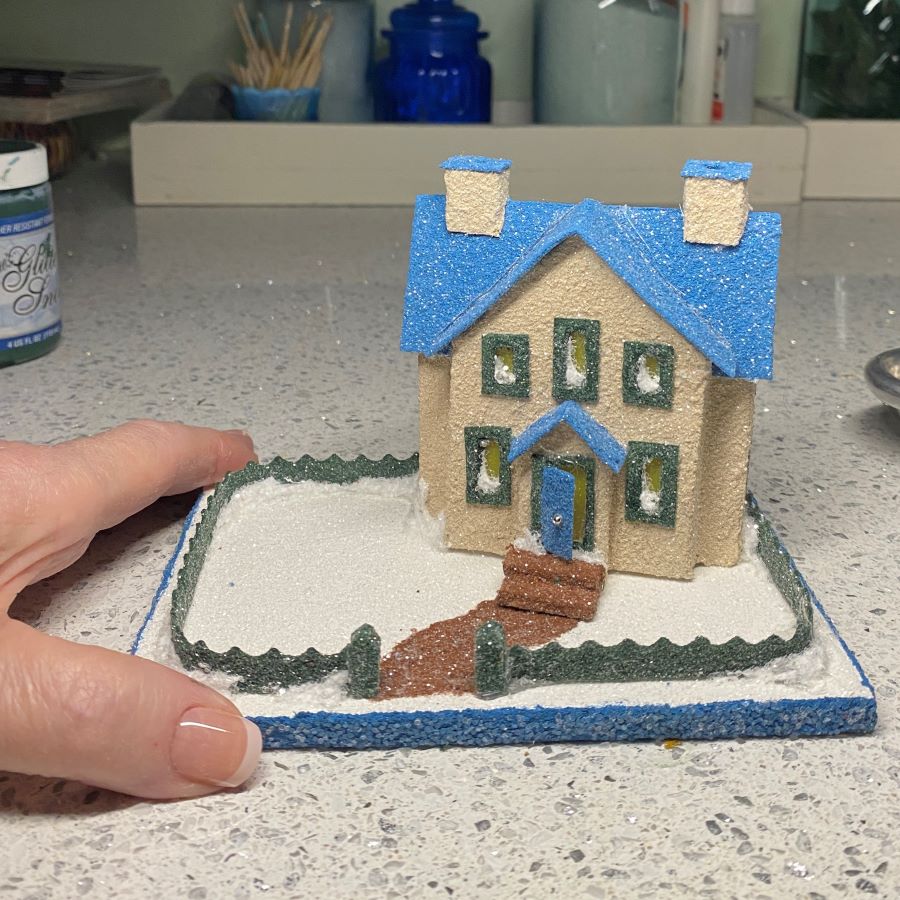
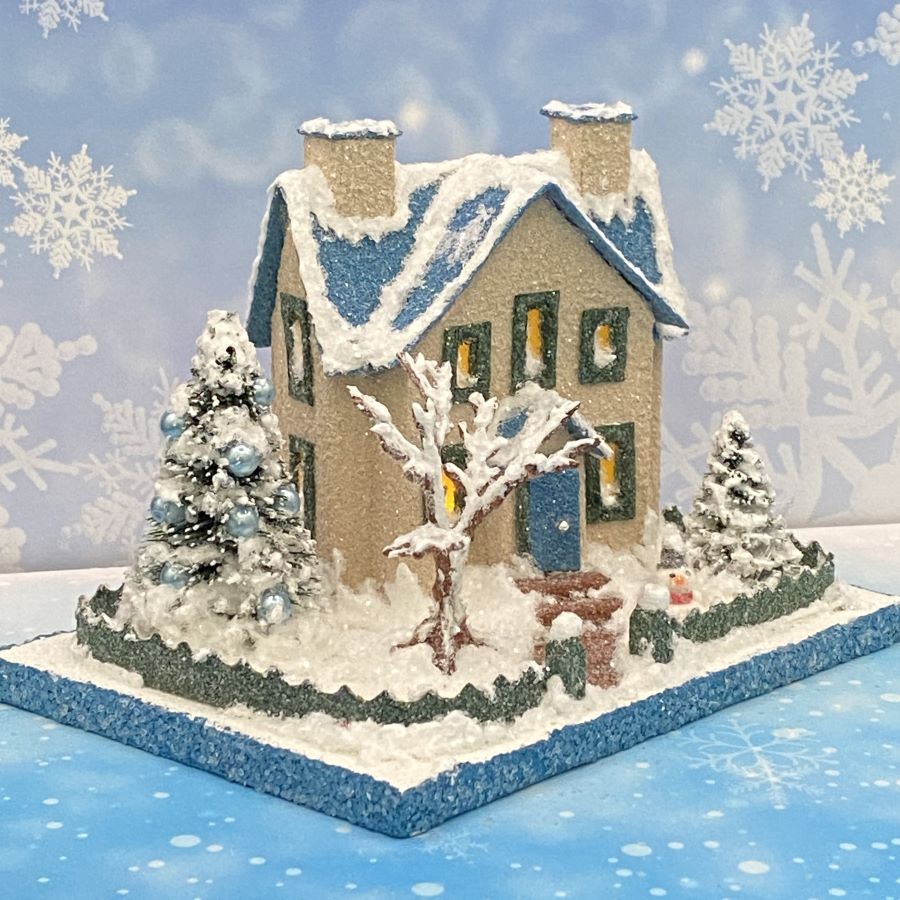
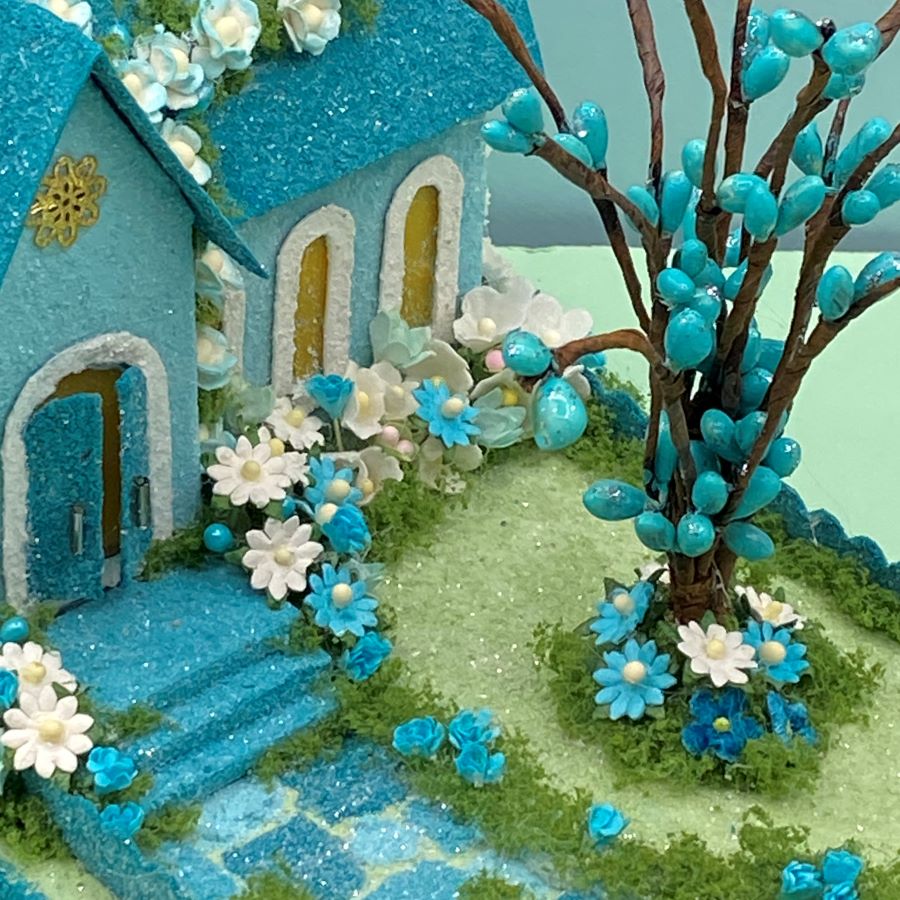
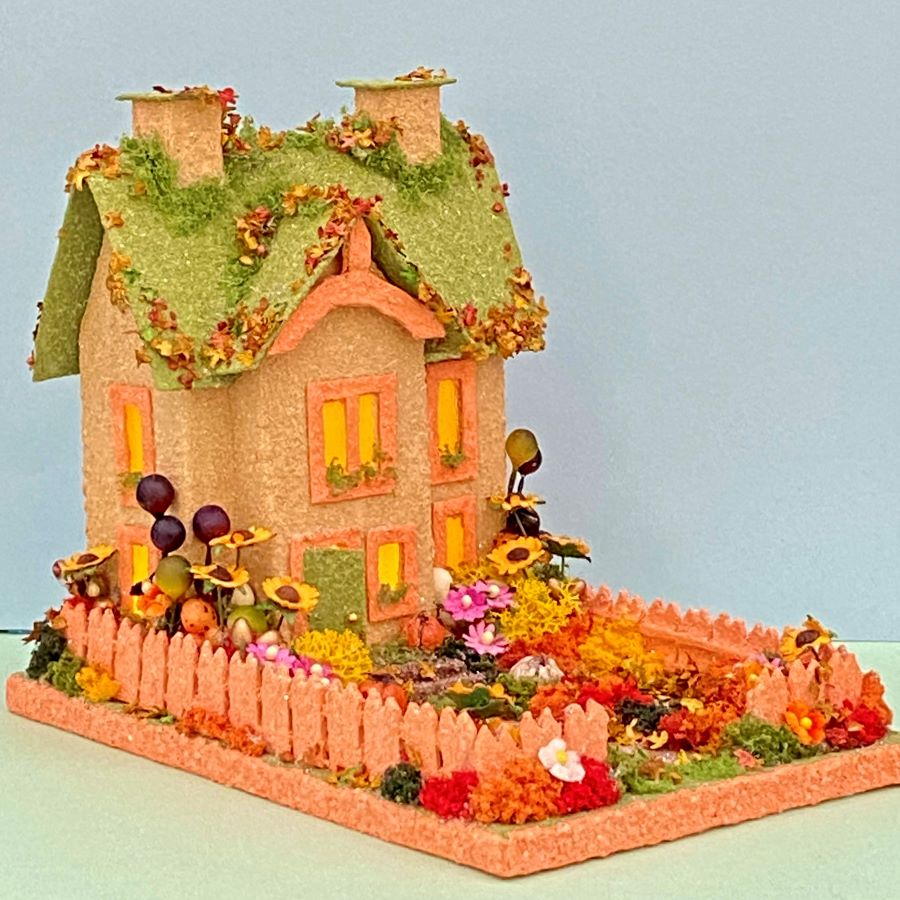
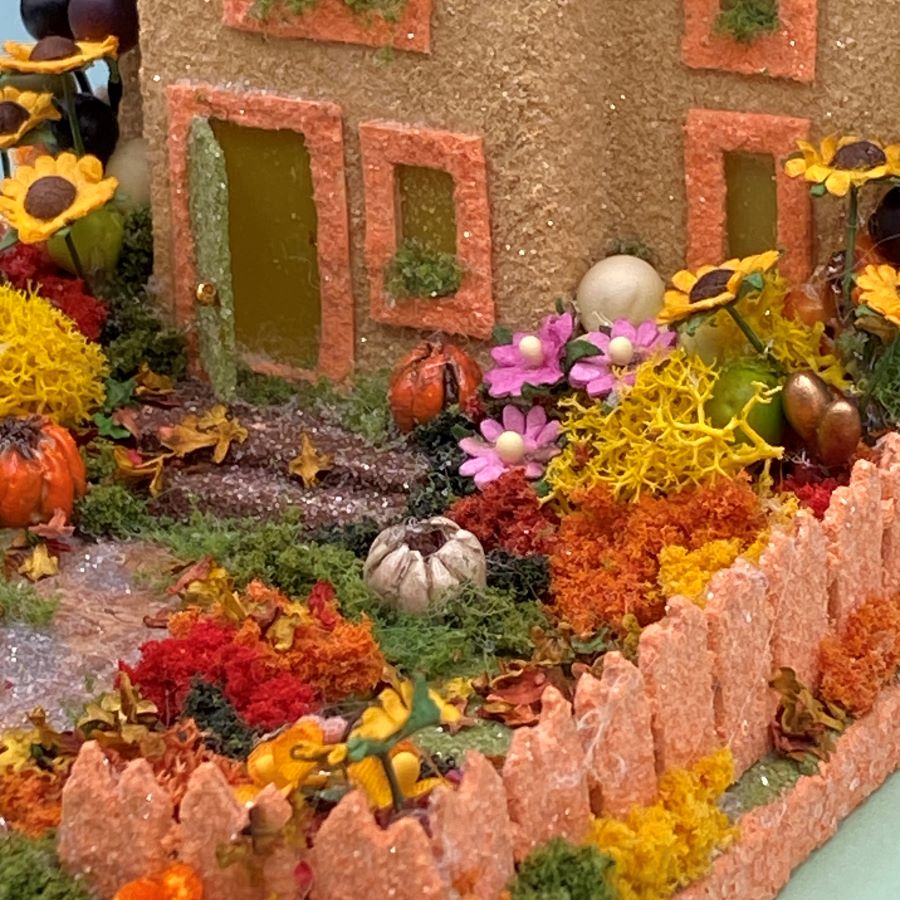
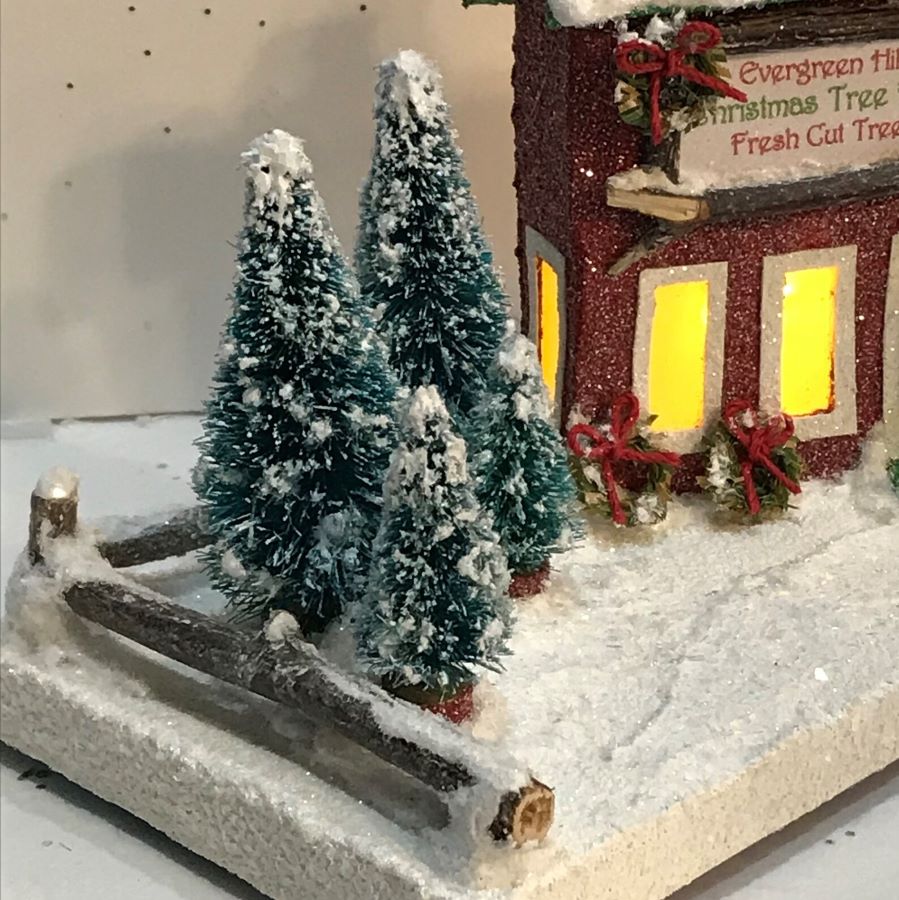
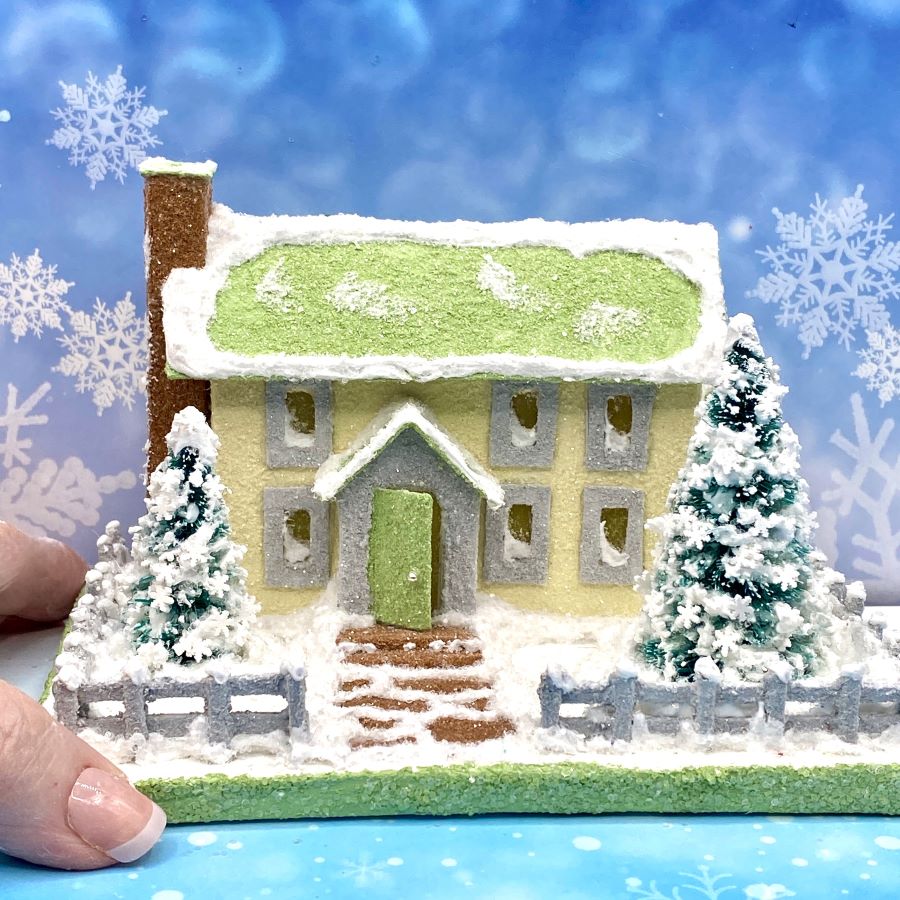
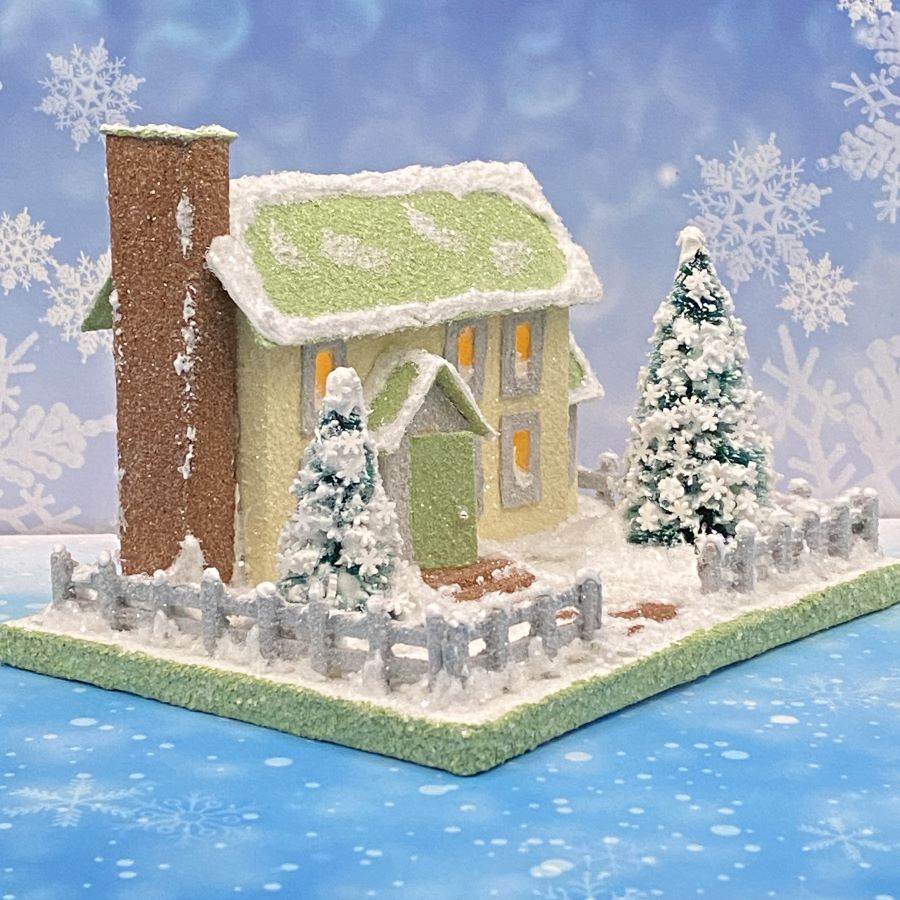
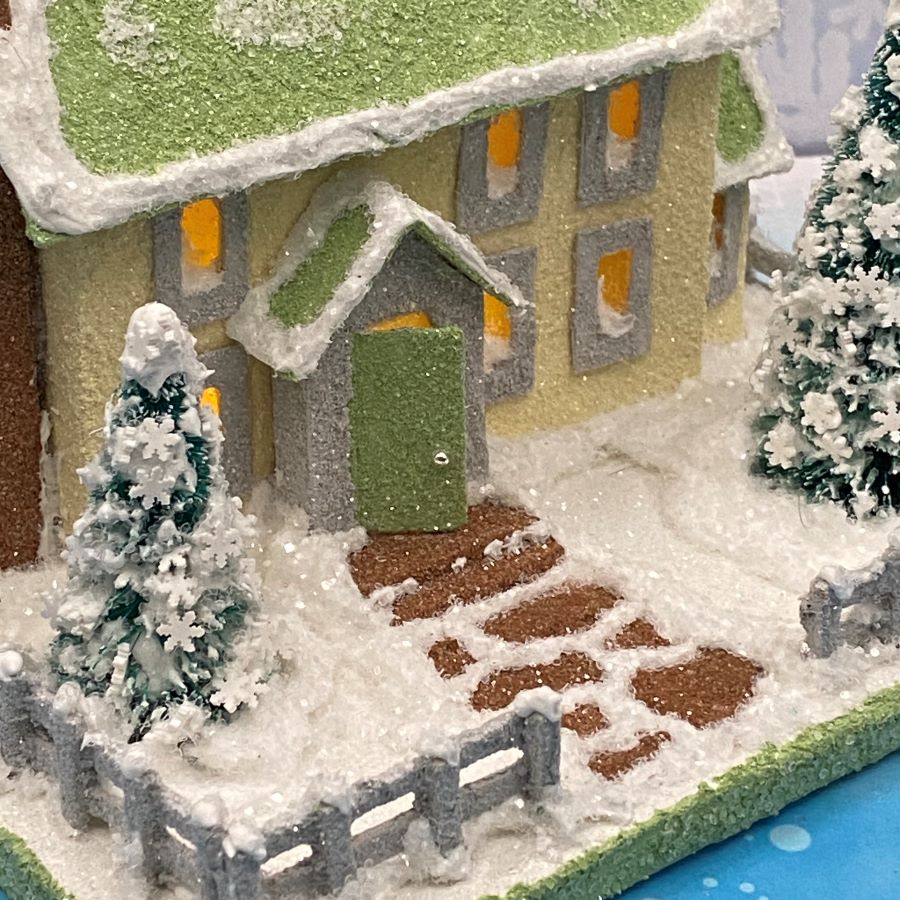
The post and board fence is handcrafted from wooden, coffee stir sticks. My tutorial for making wooden picket fences can be found here: Making picket fences for putz houses
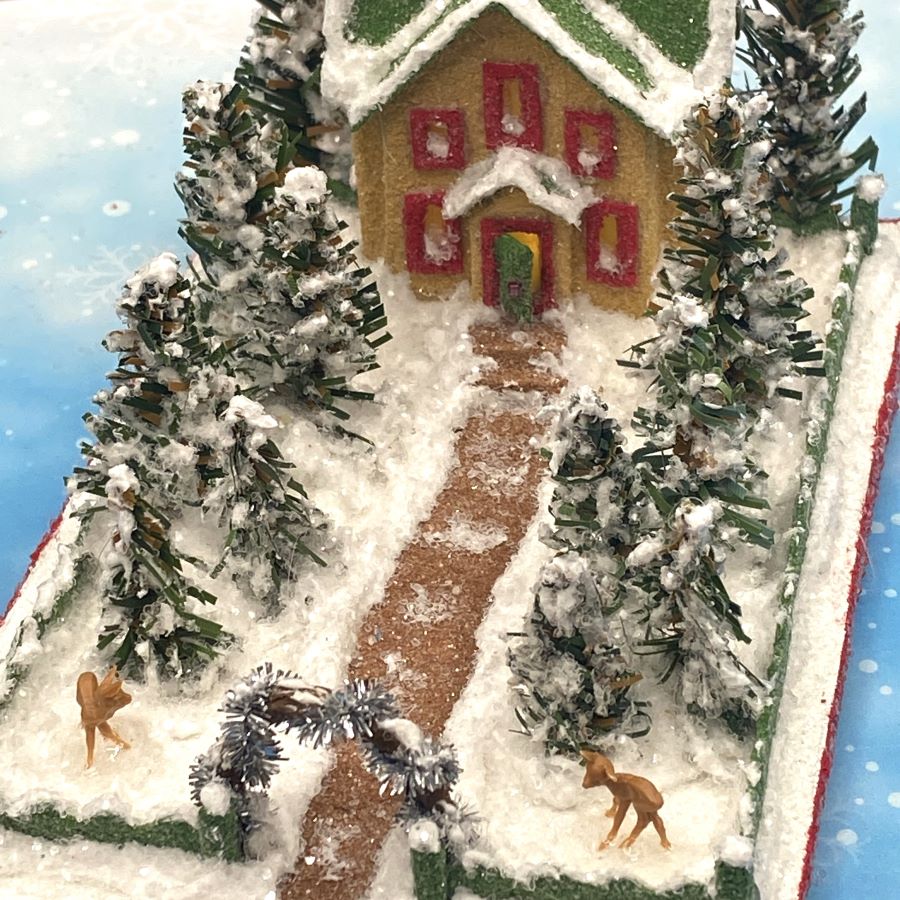
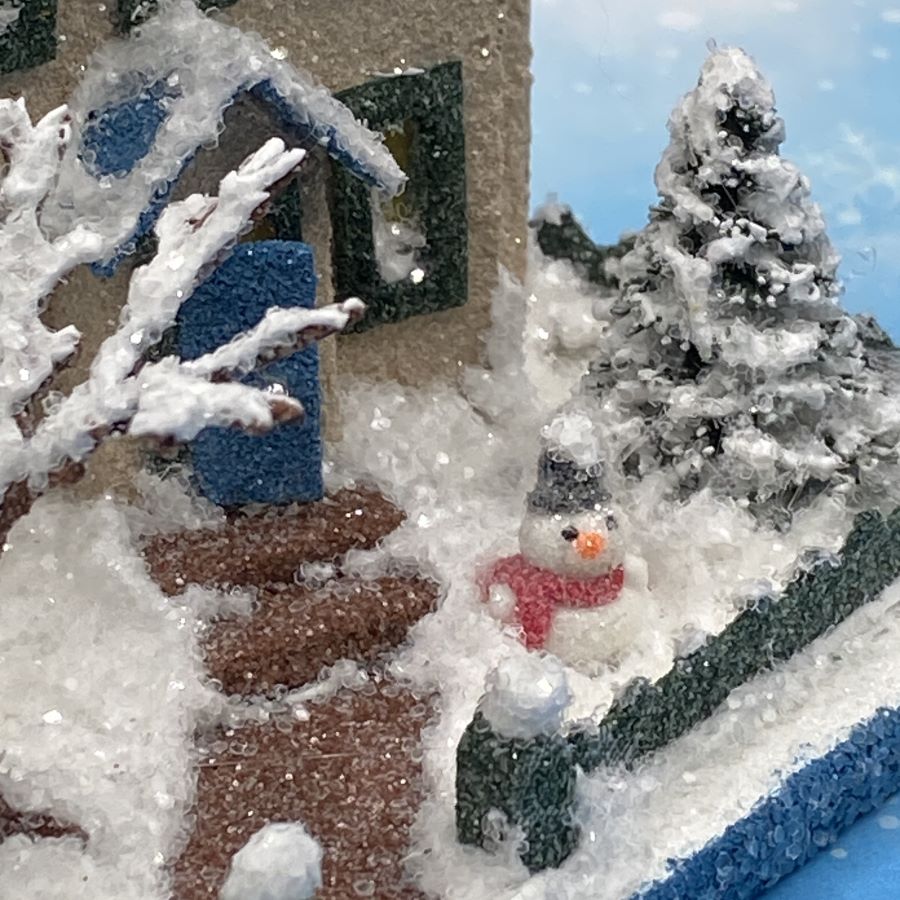
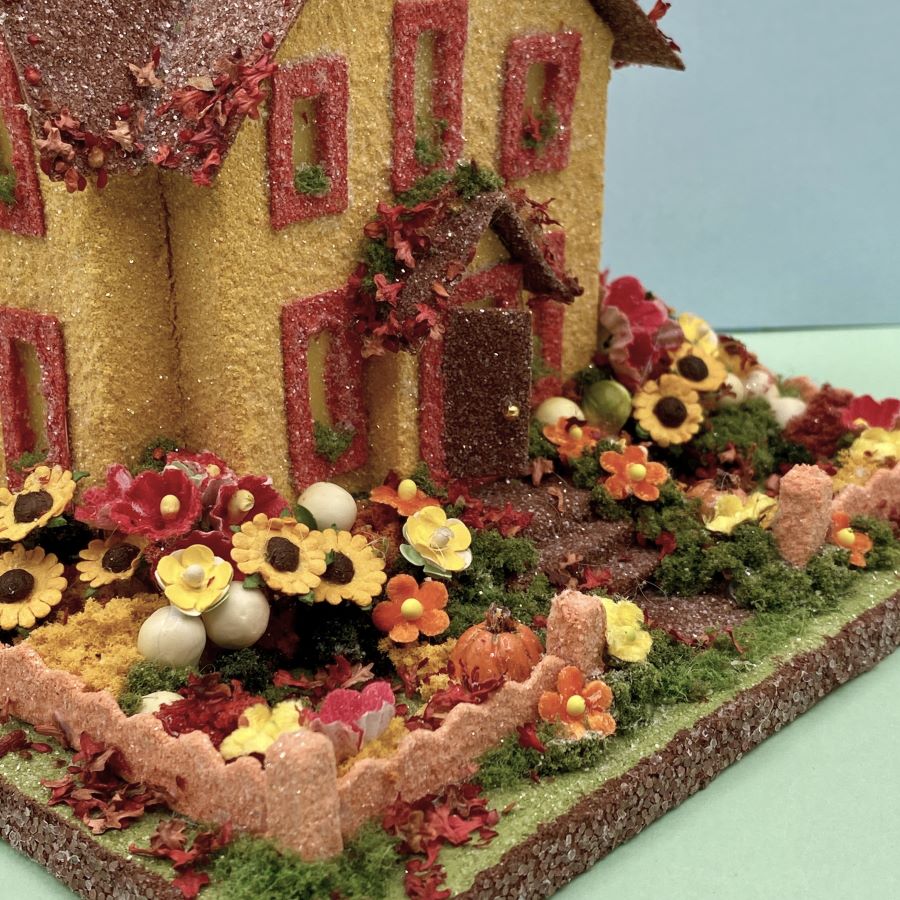
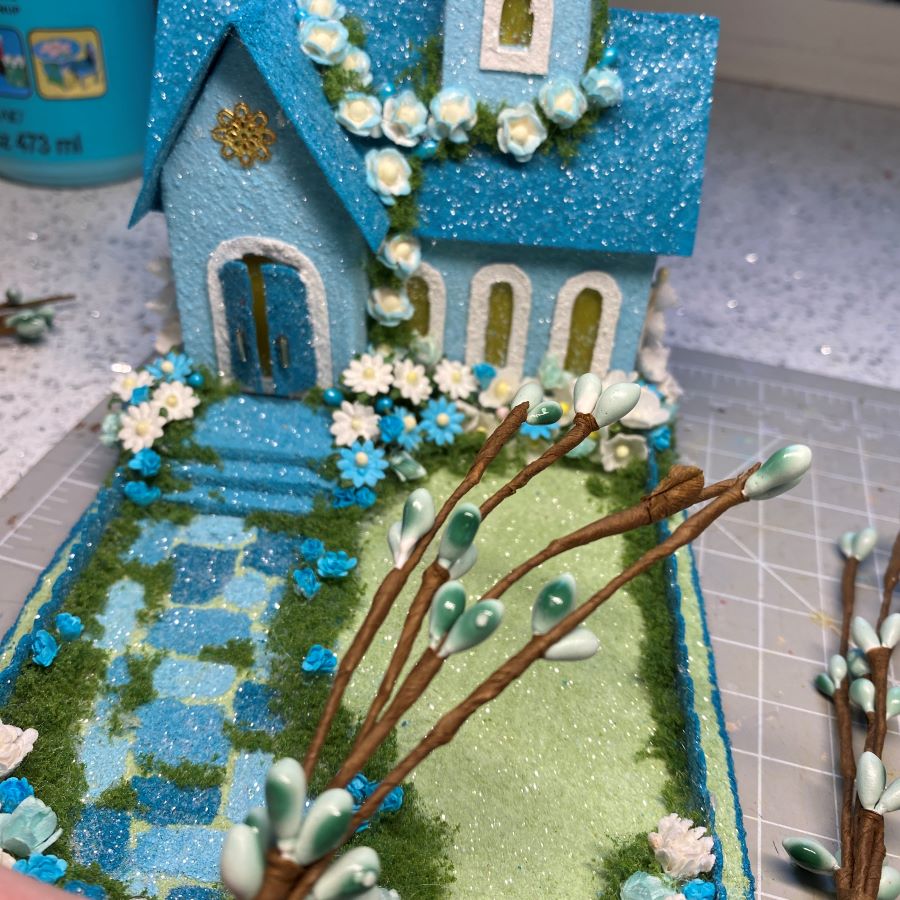
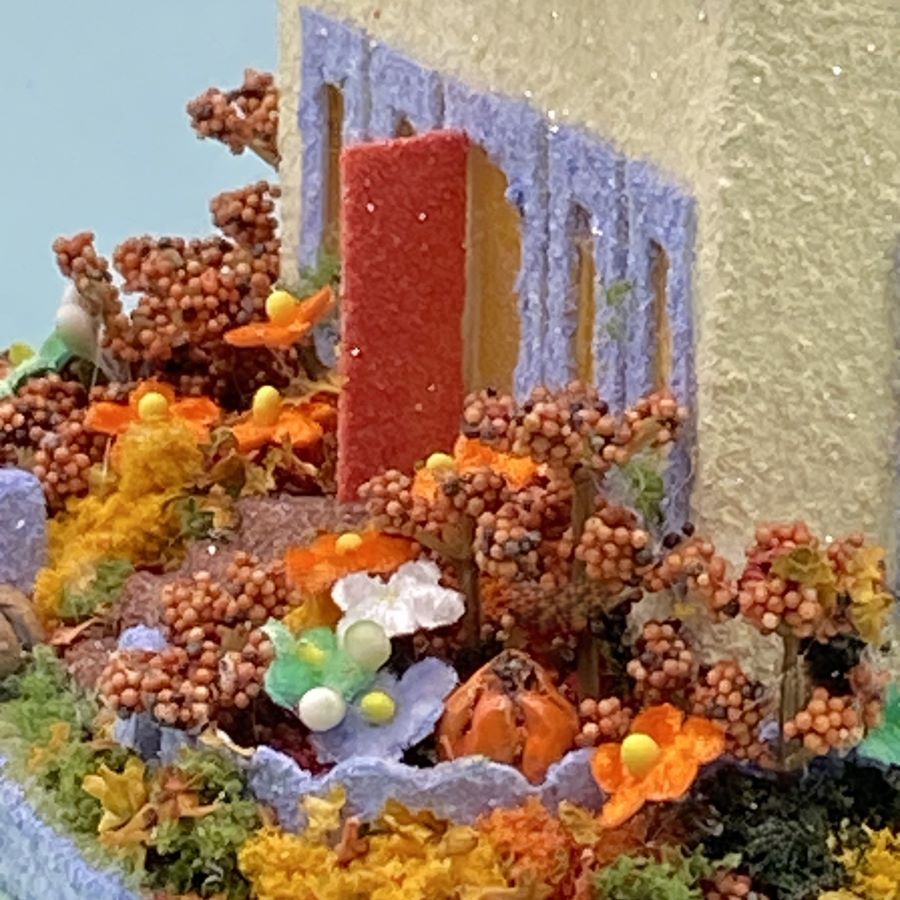
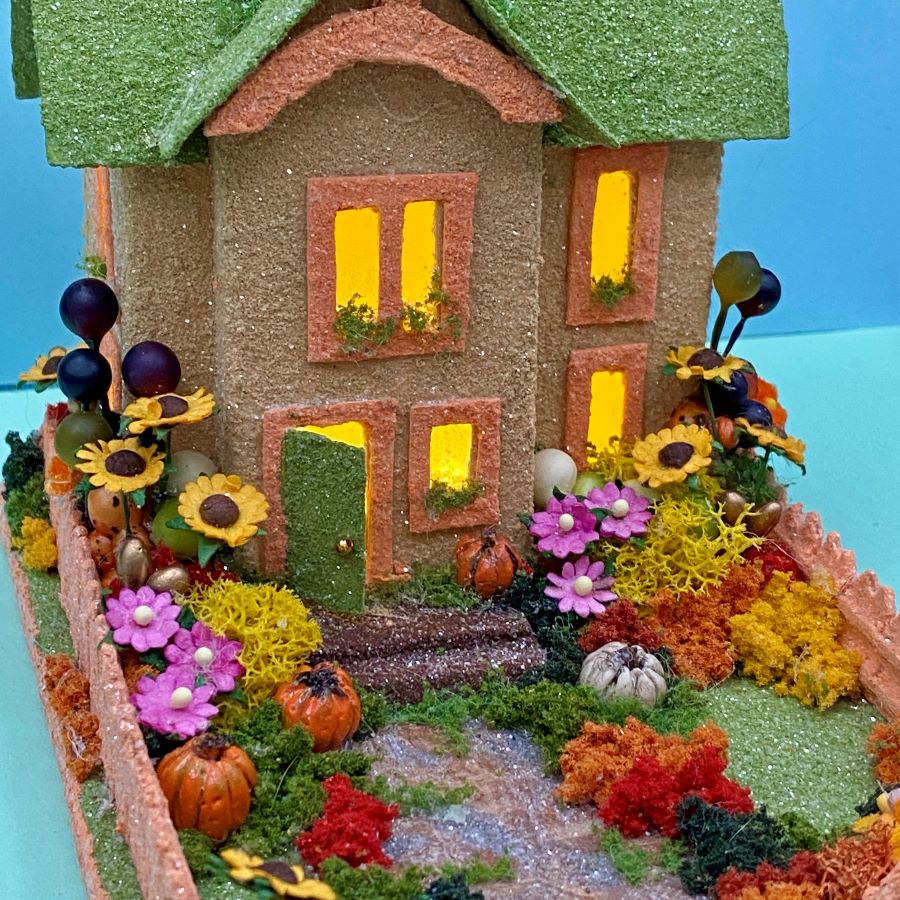
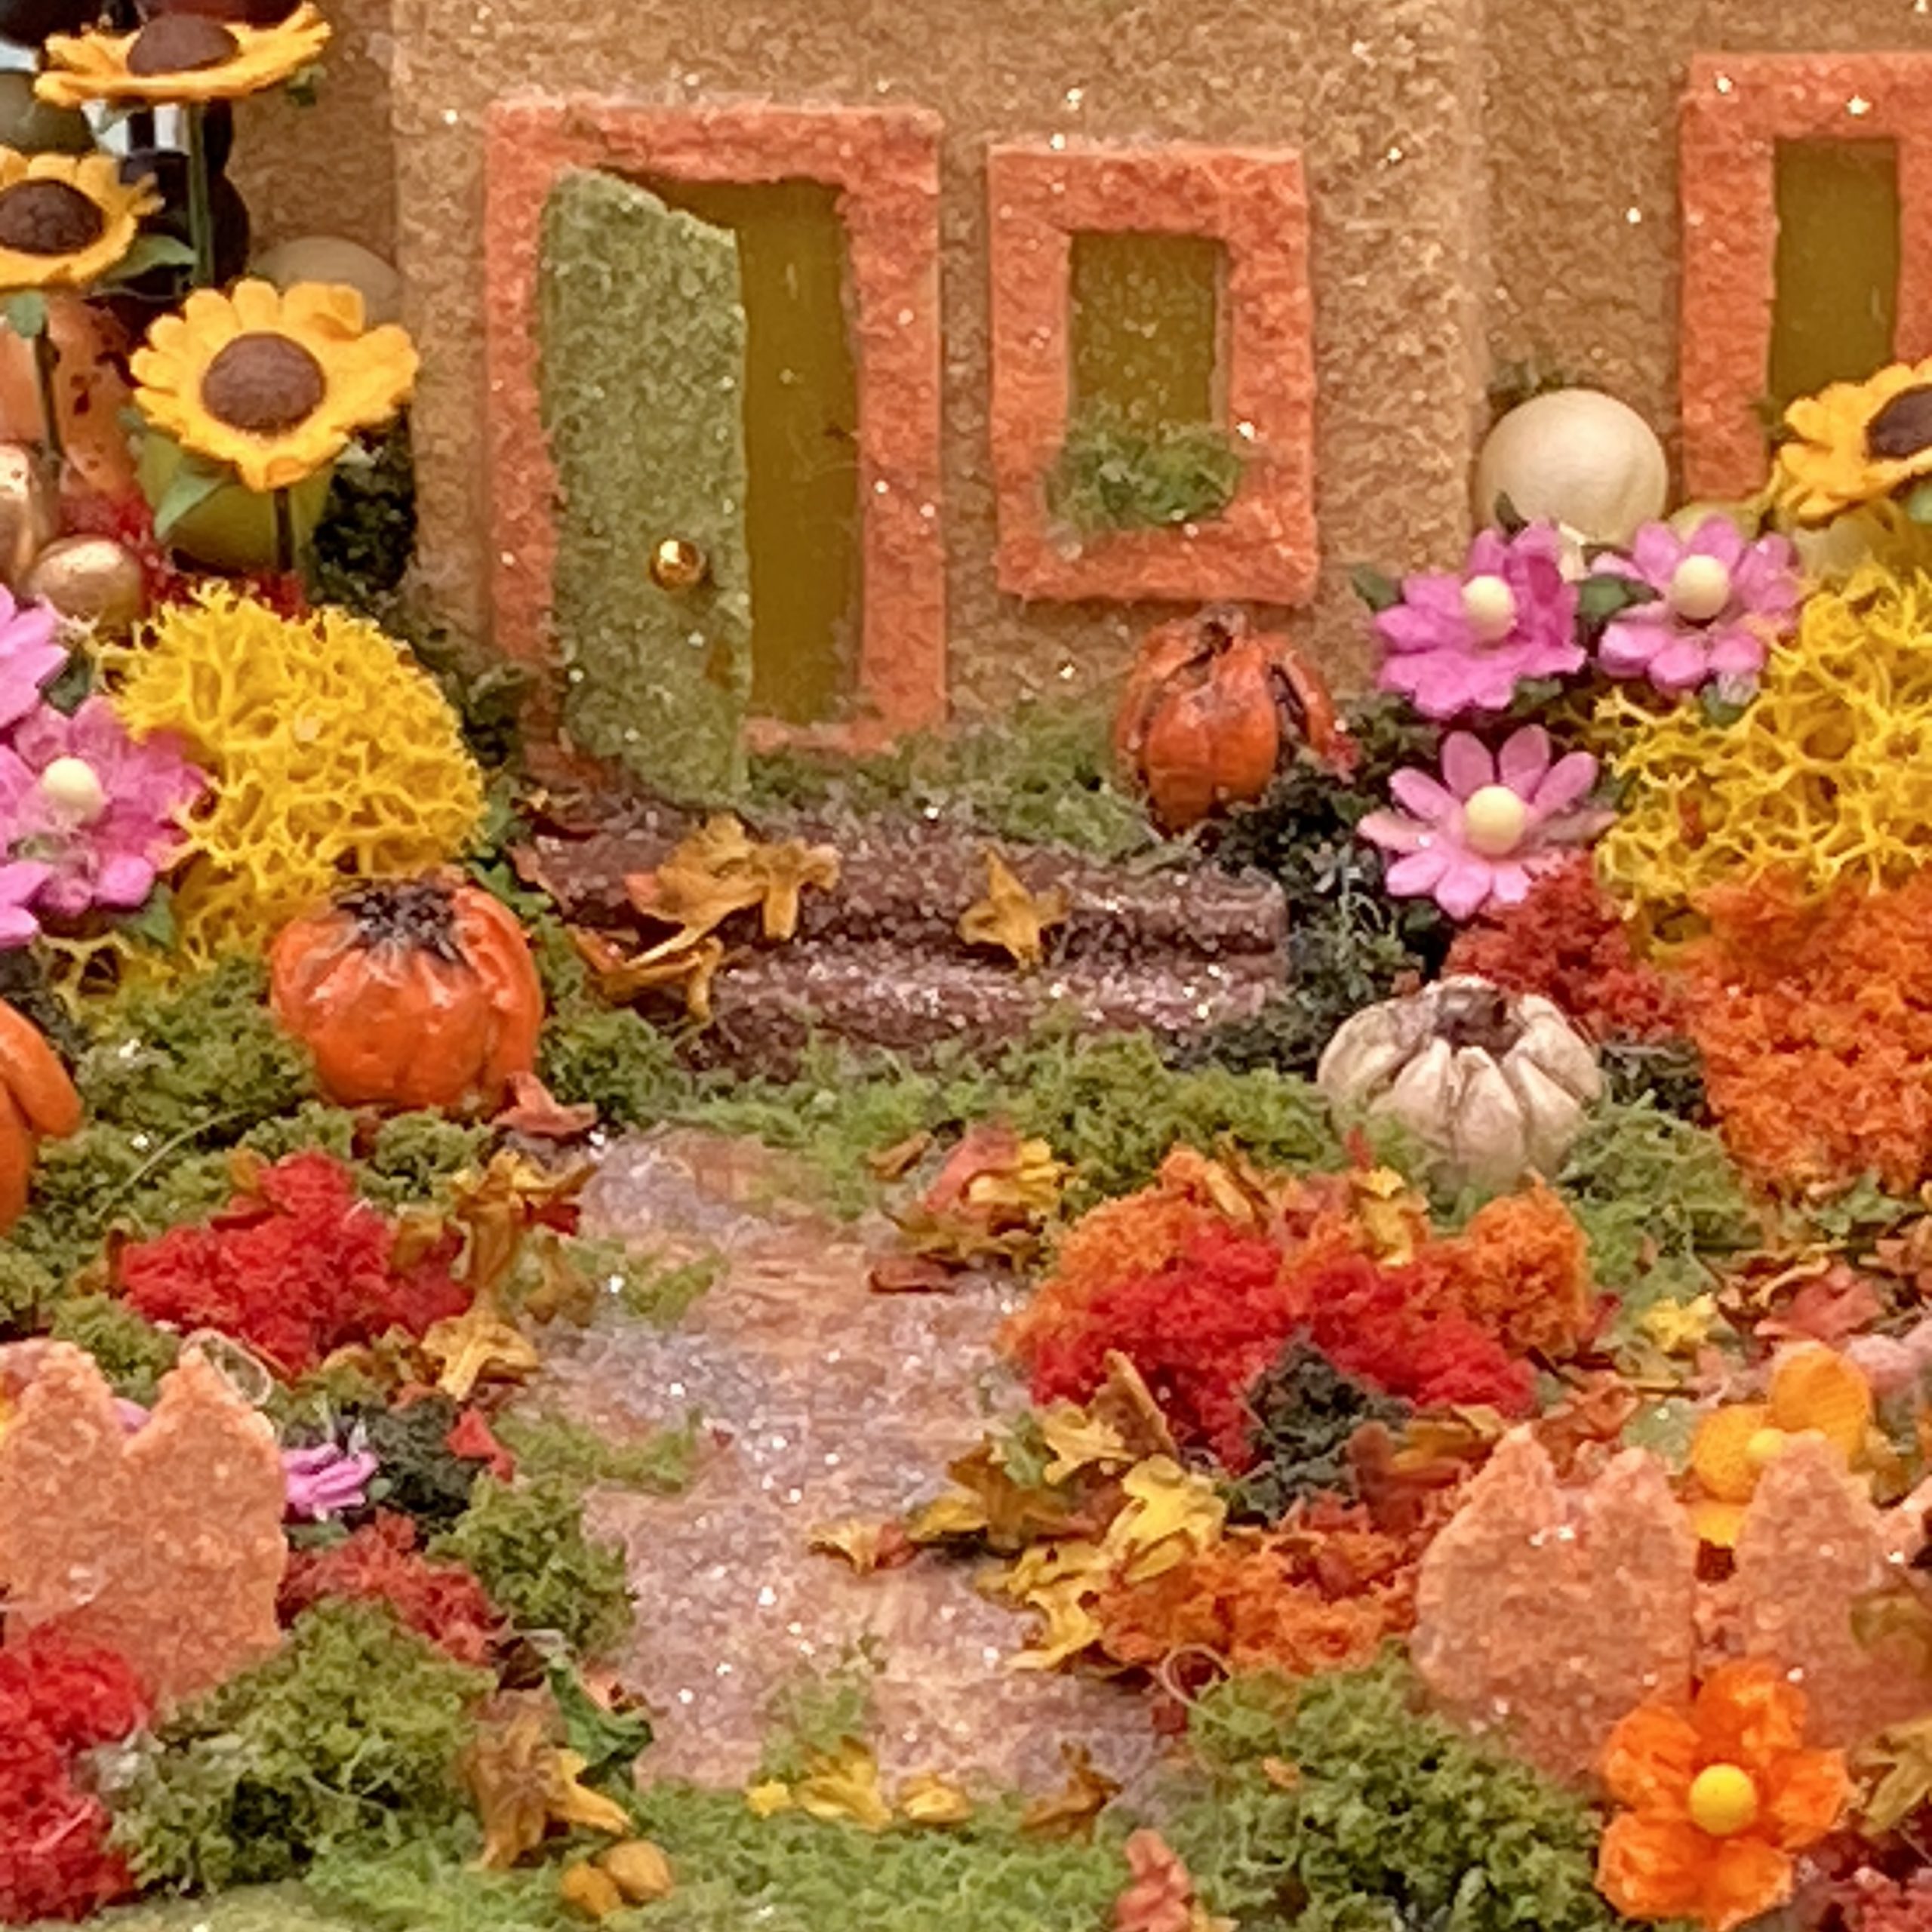
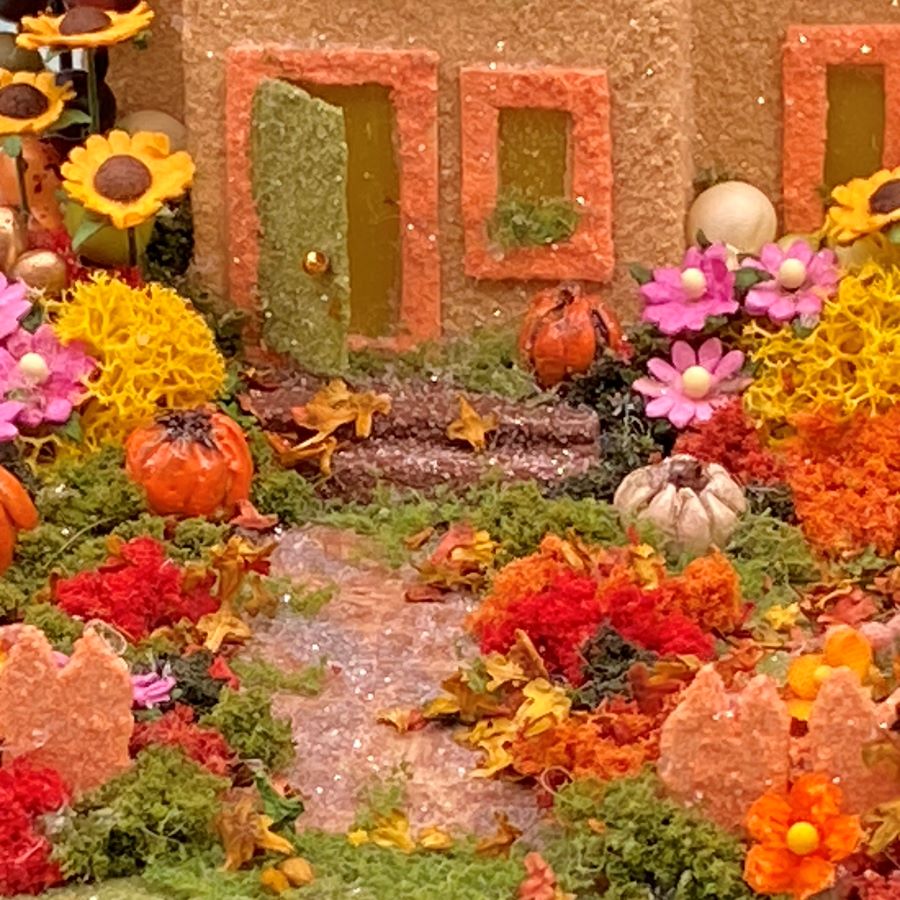
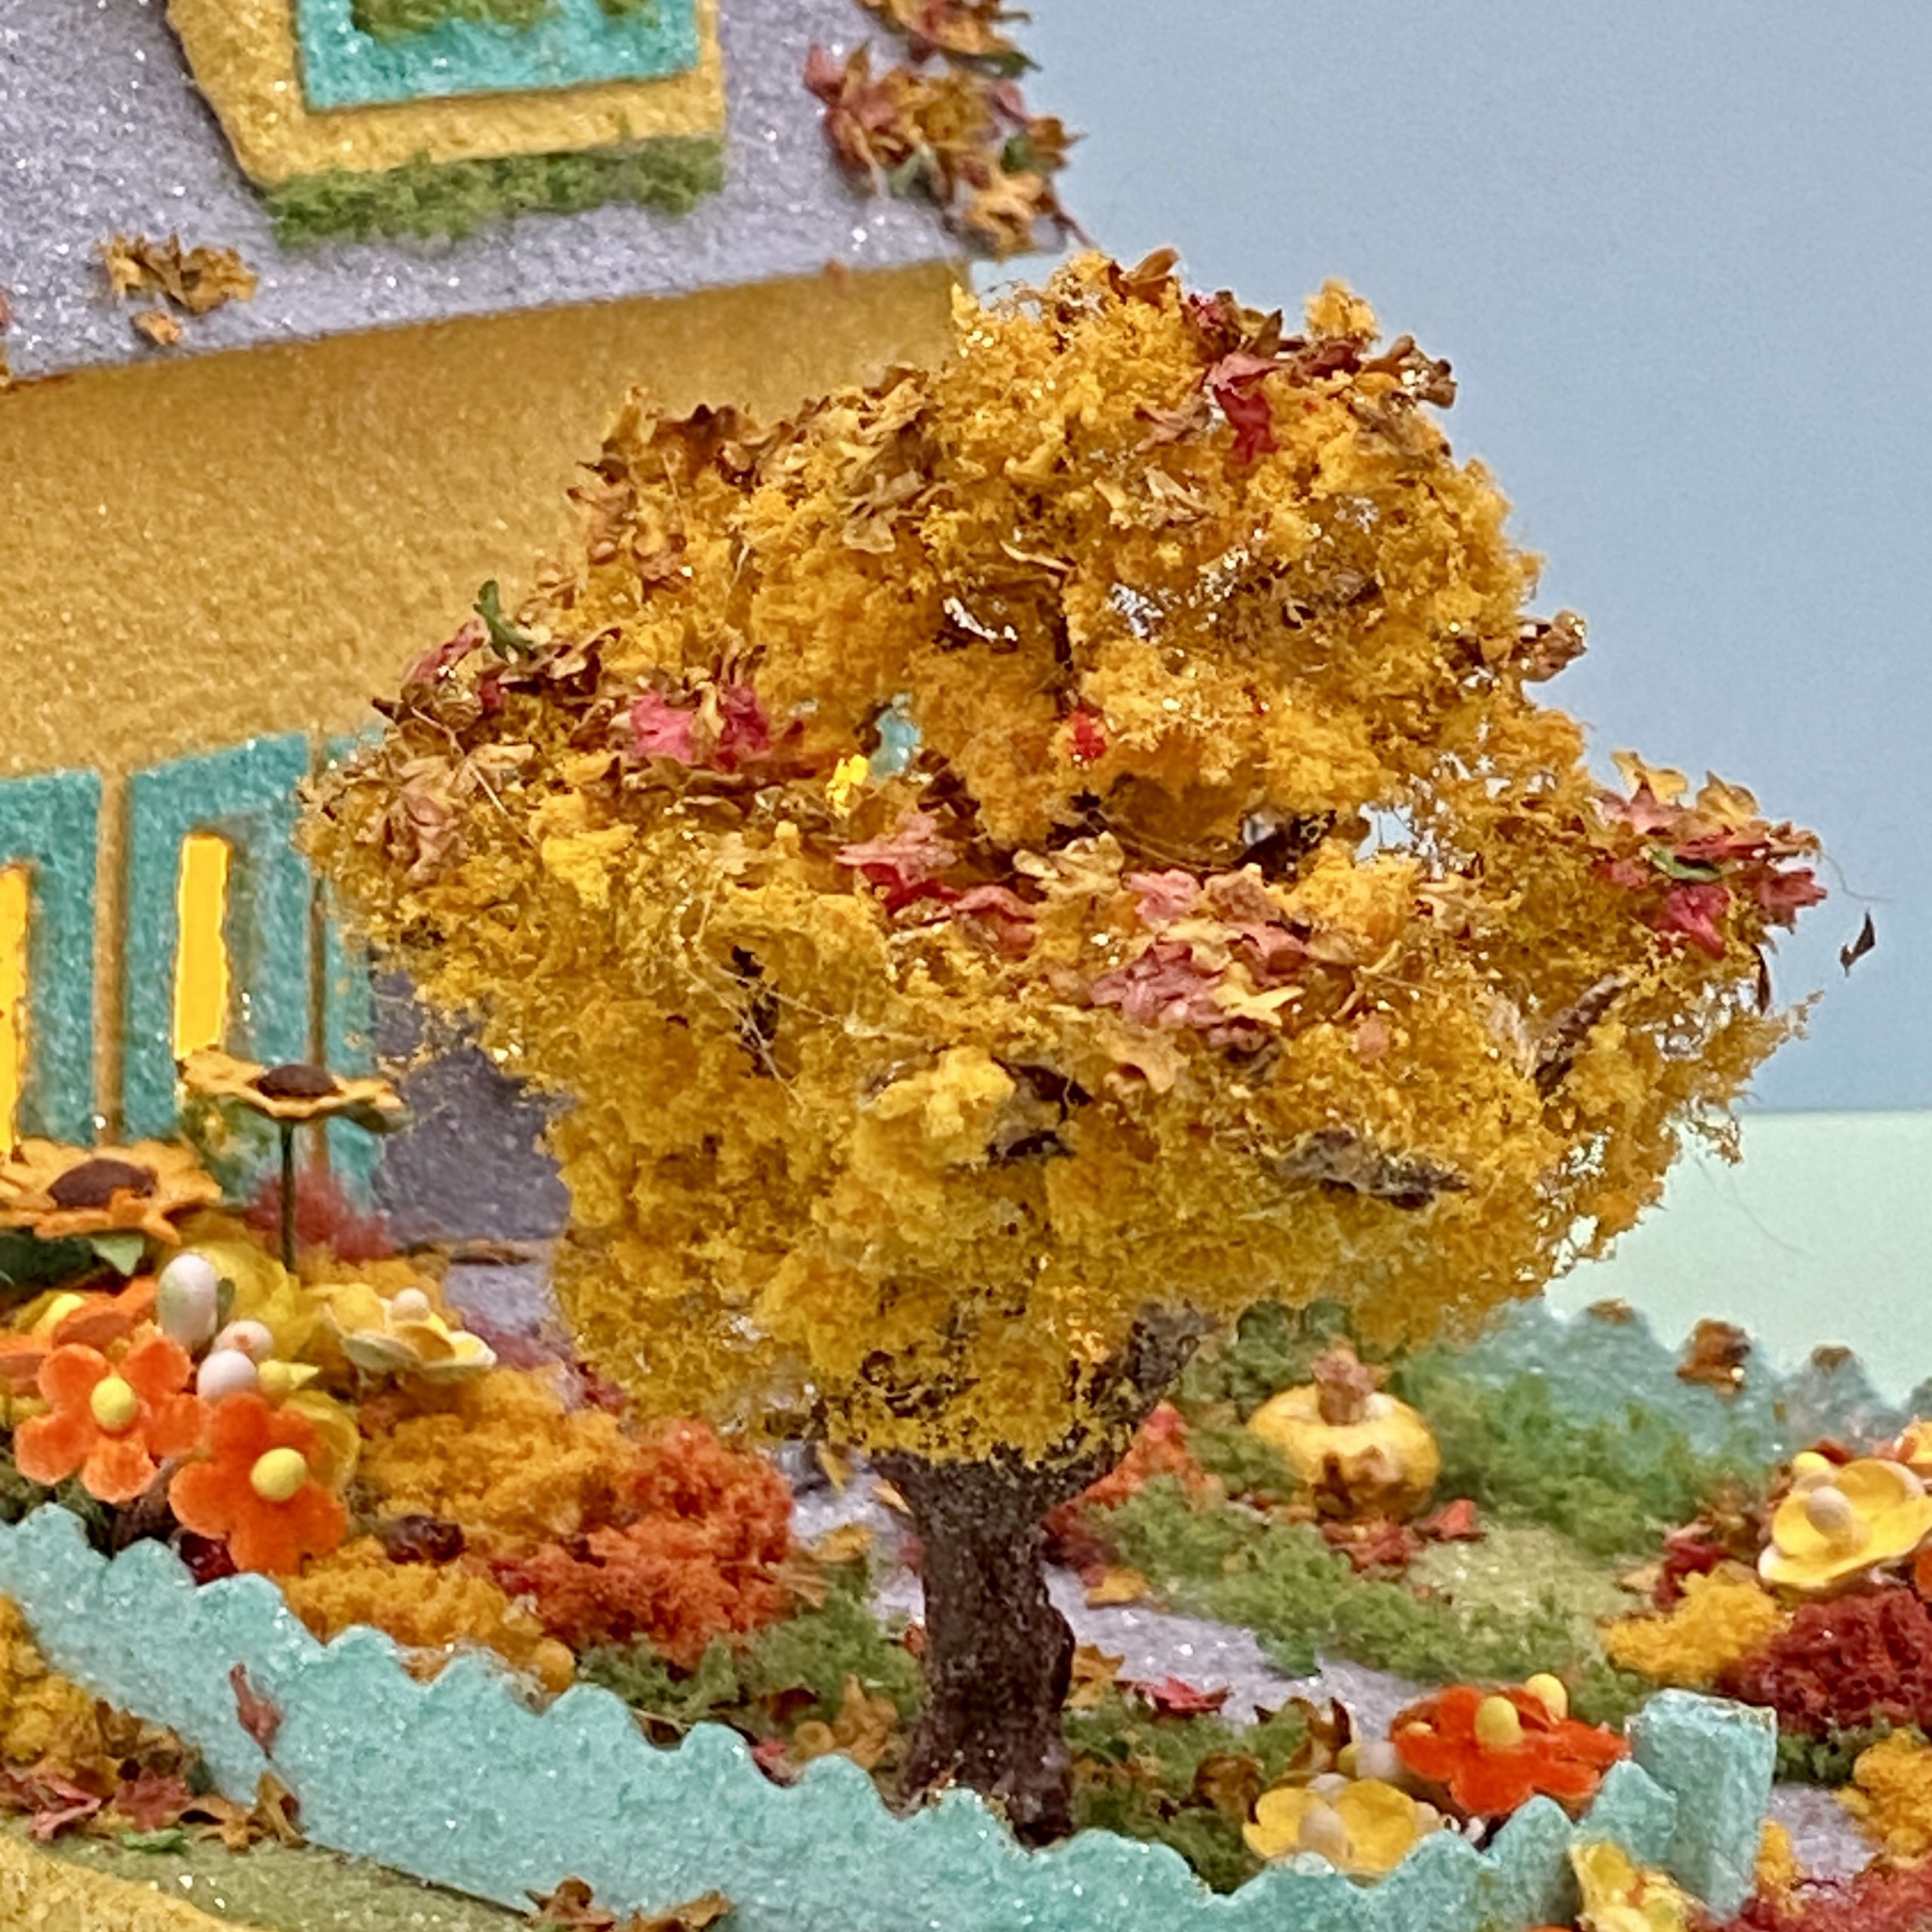
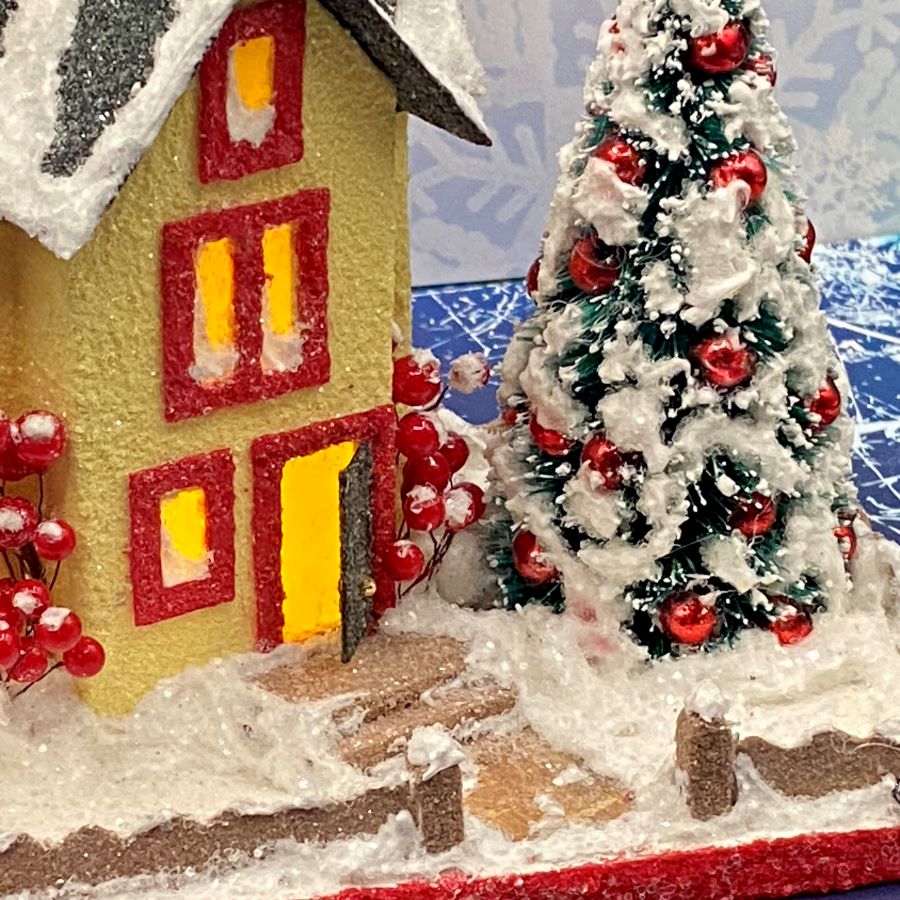
The bottle brush trees are embellished with tiny snowflake sprinkles. The faux stepping stone sidewalk is made by painting “stones” on the base. Faux snow is used to outline the stones. The steps at the front door are made from balsa wood.
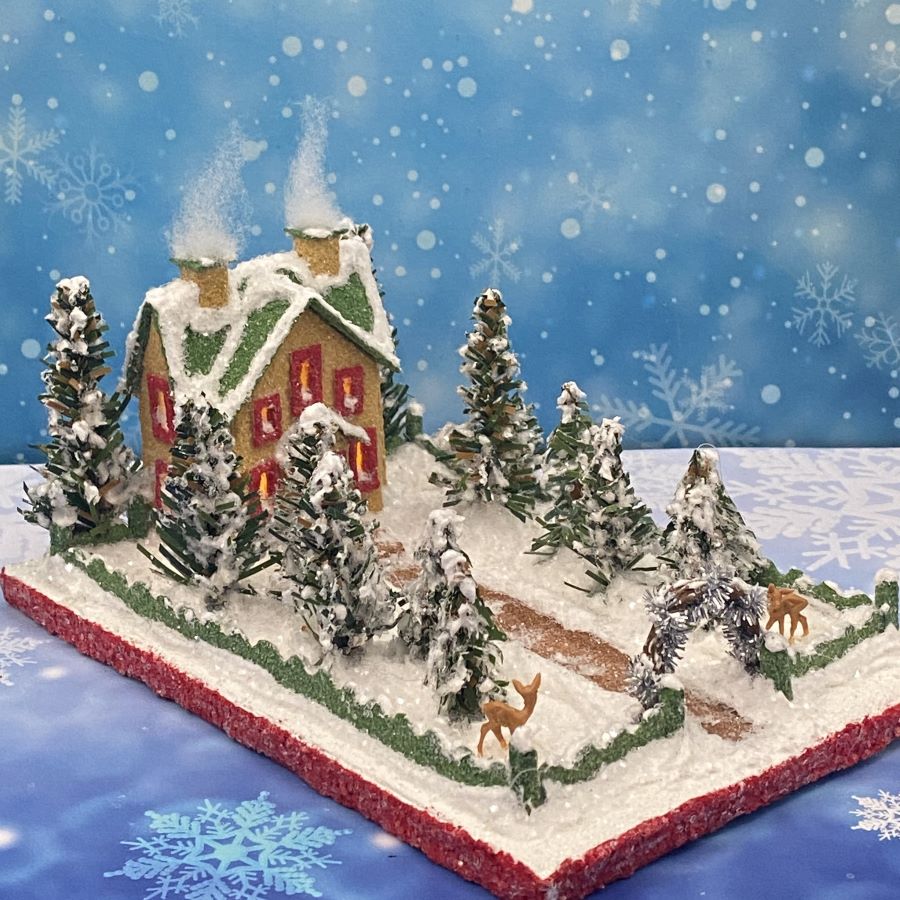
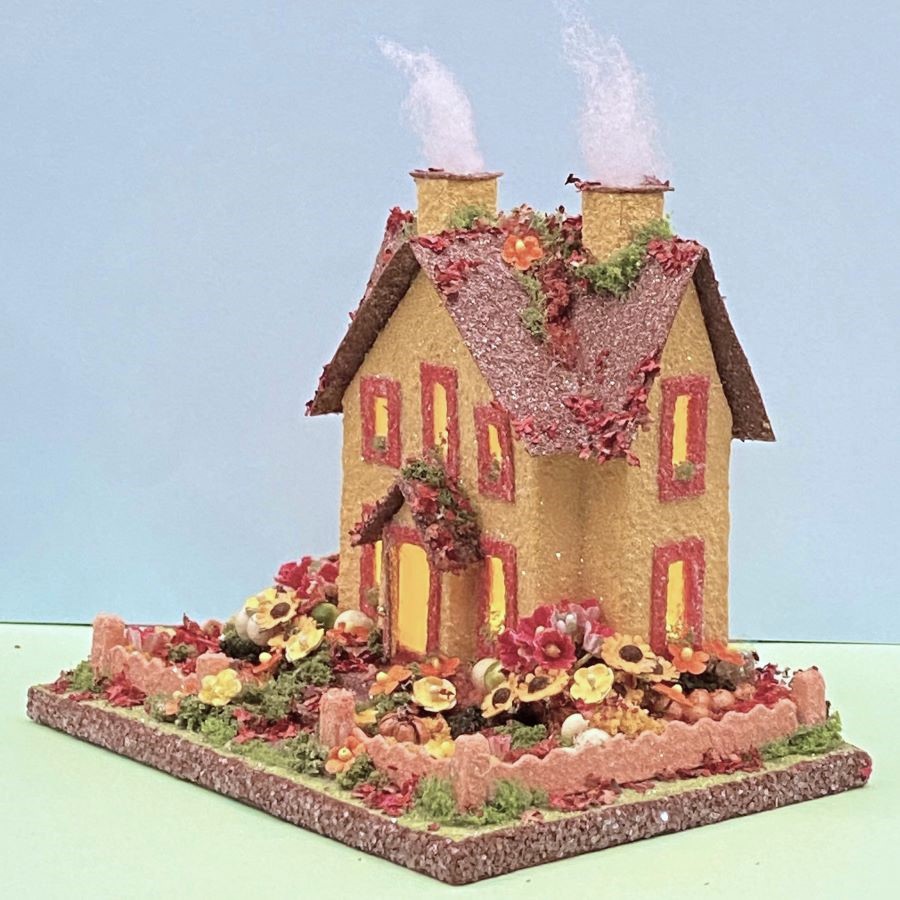
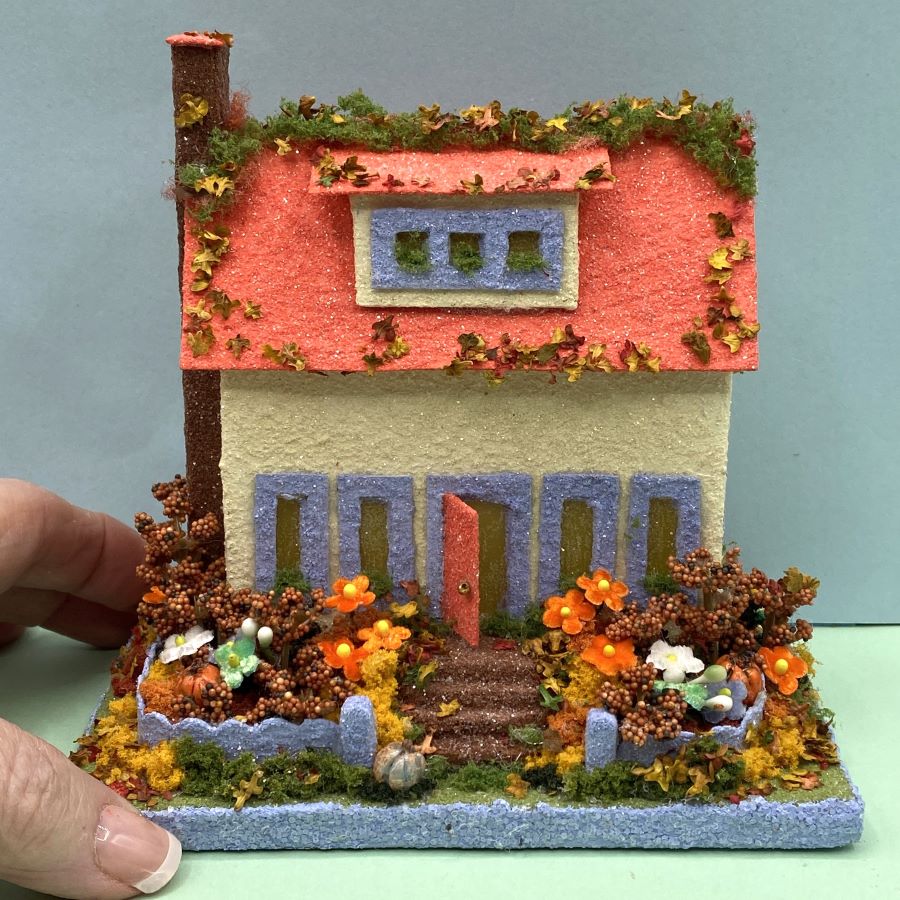
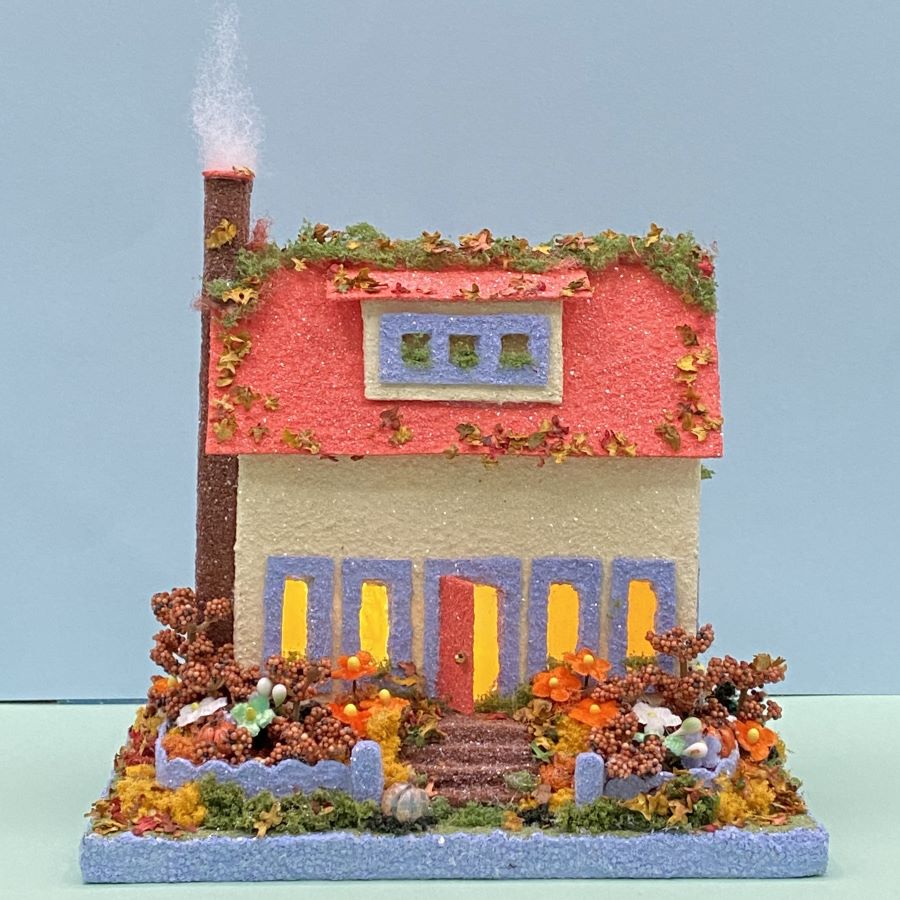
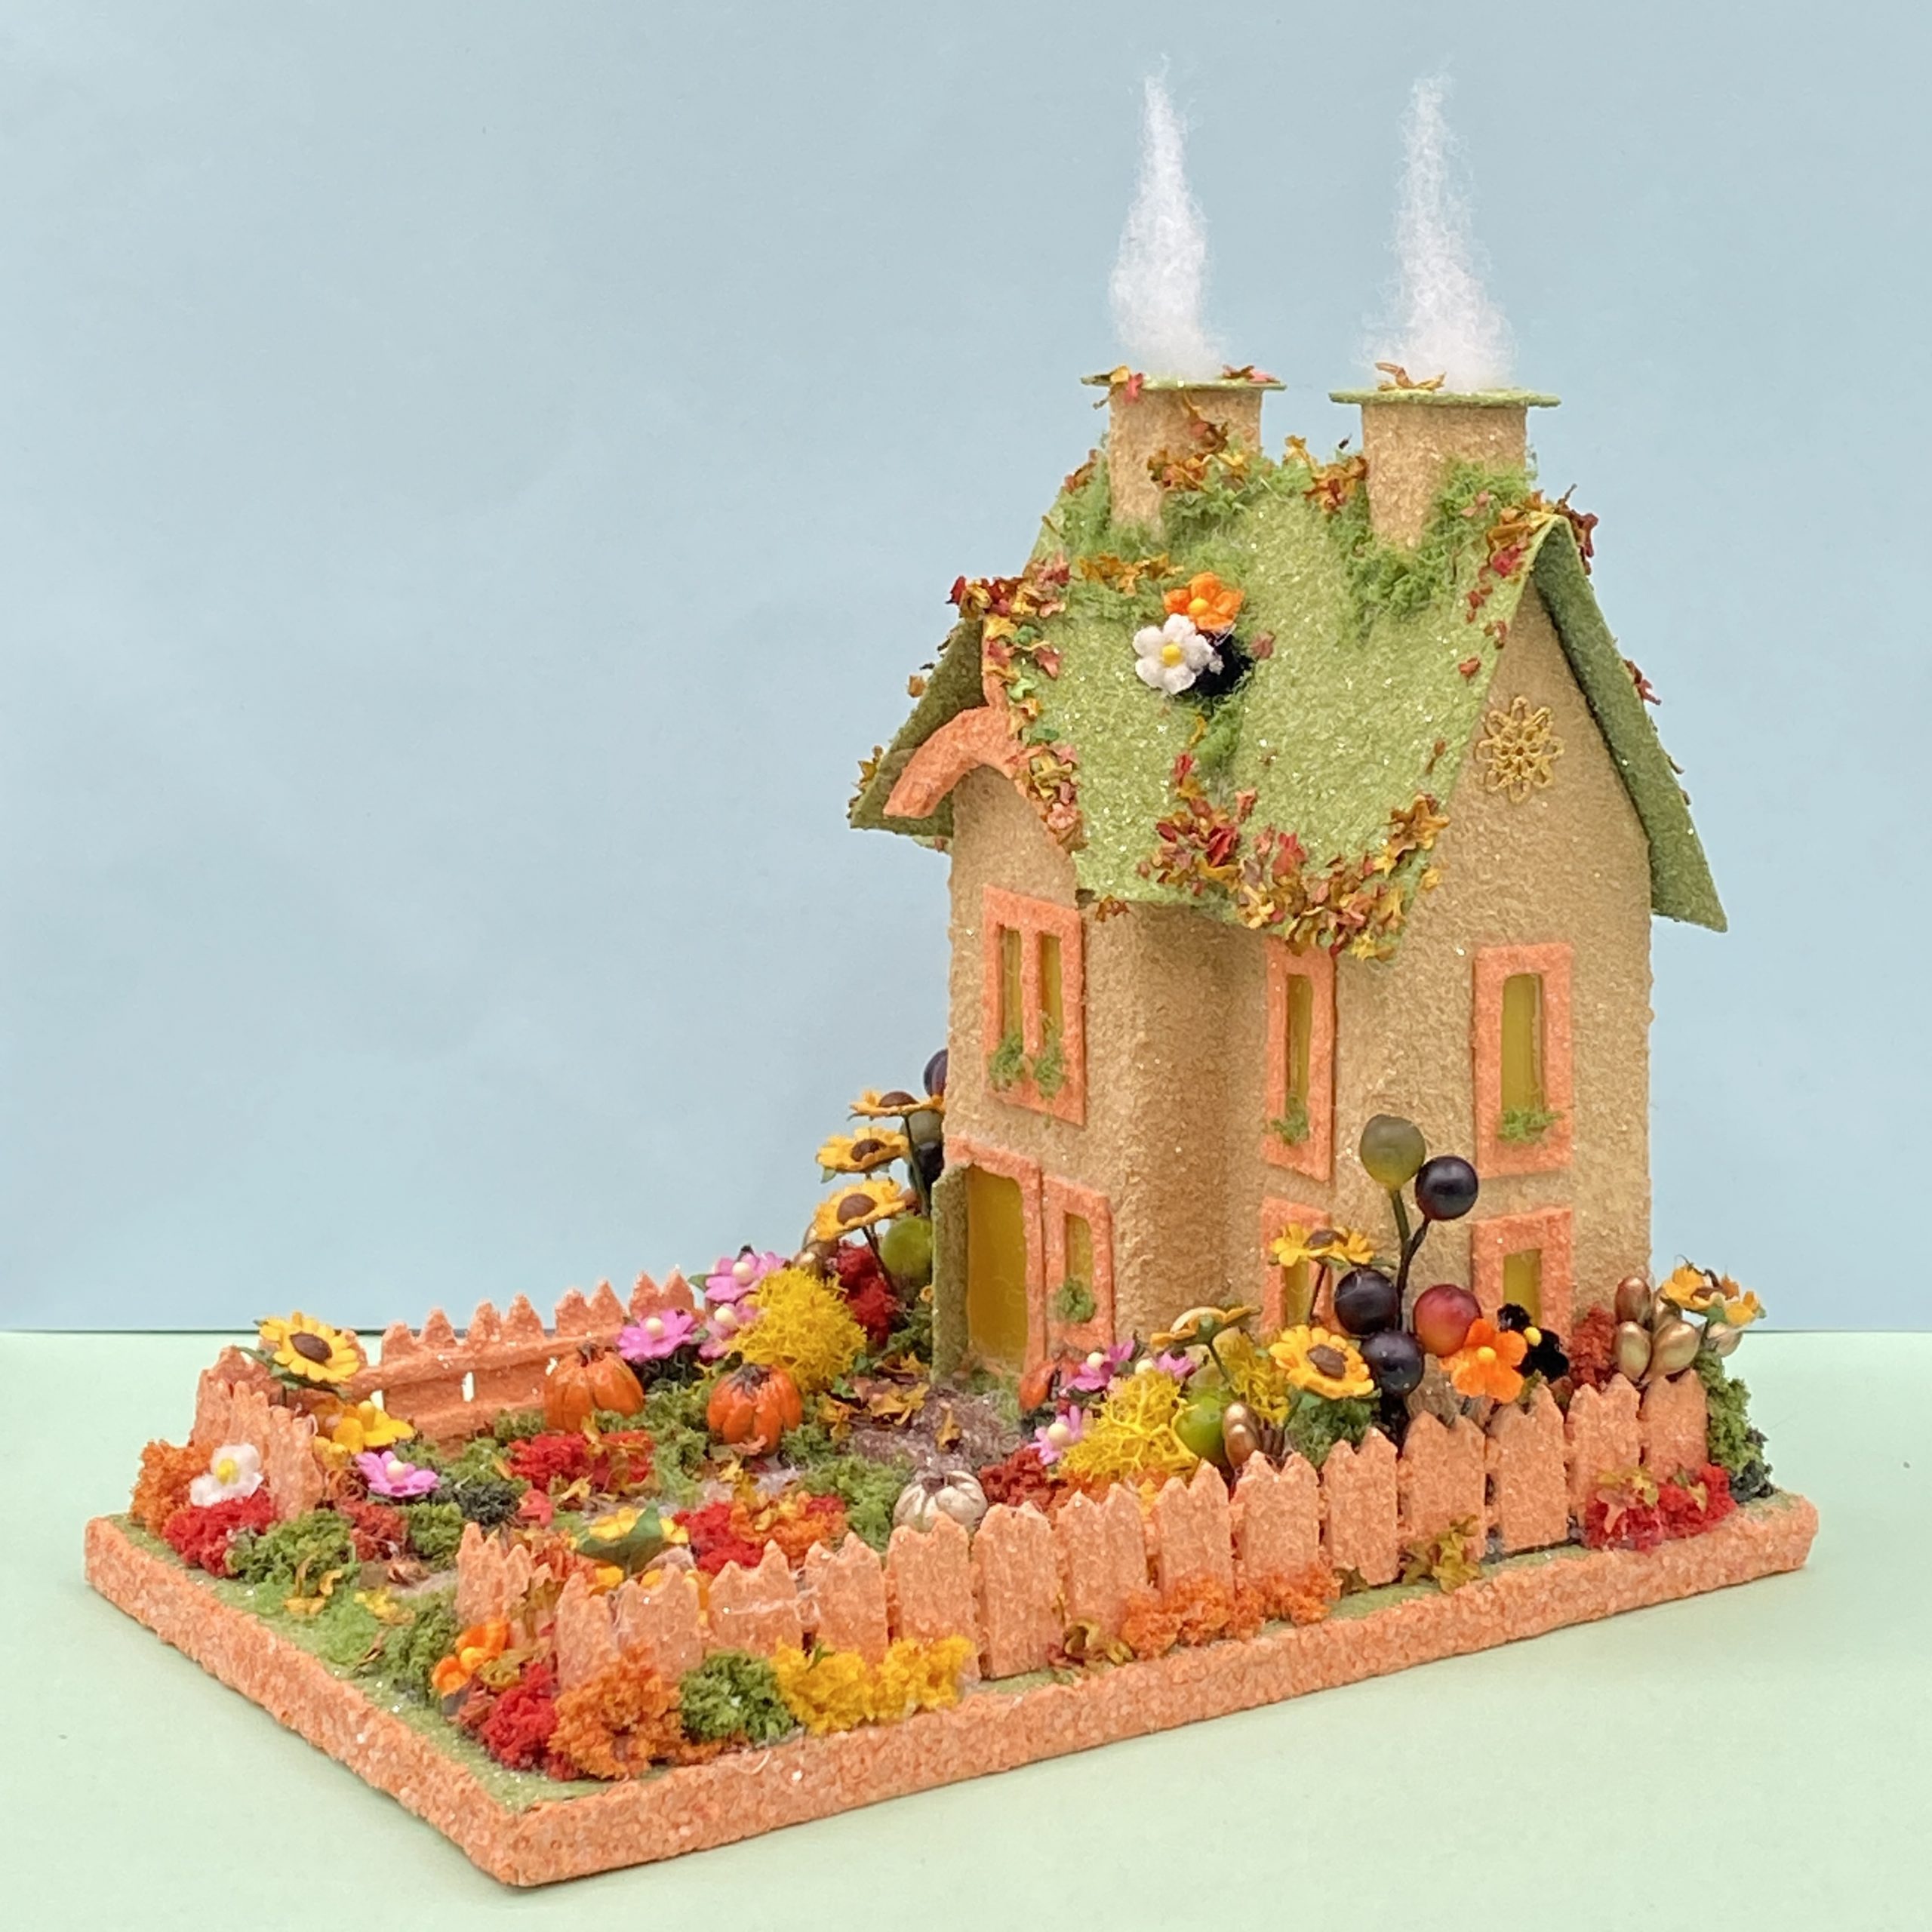
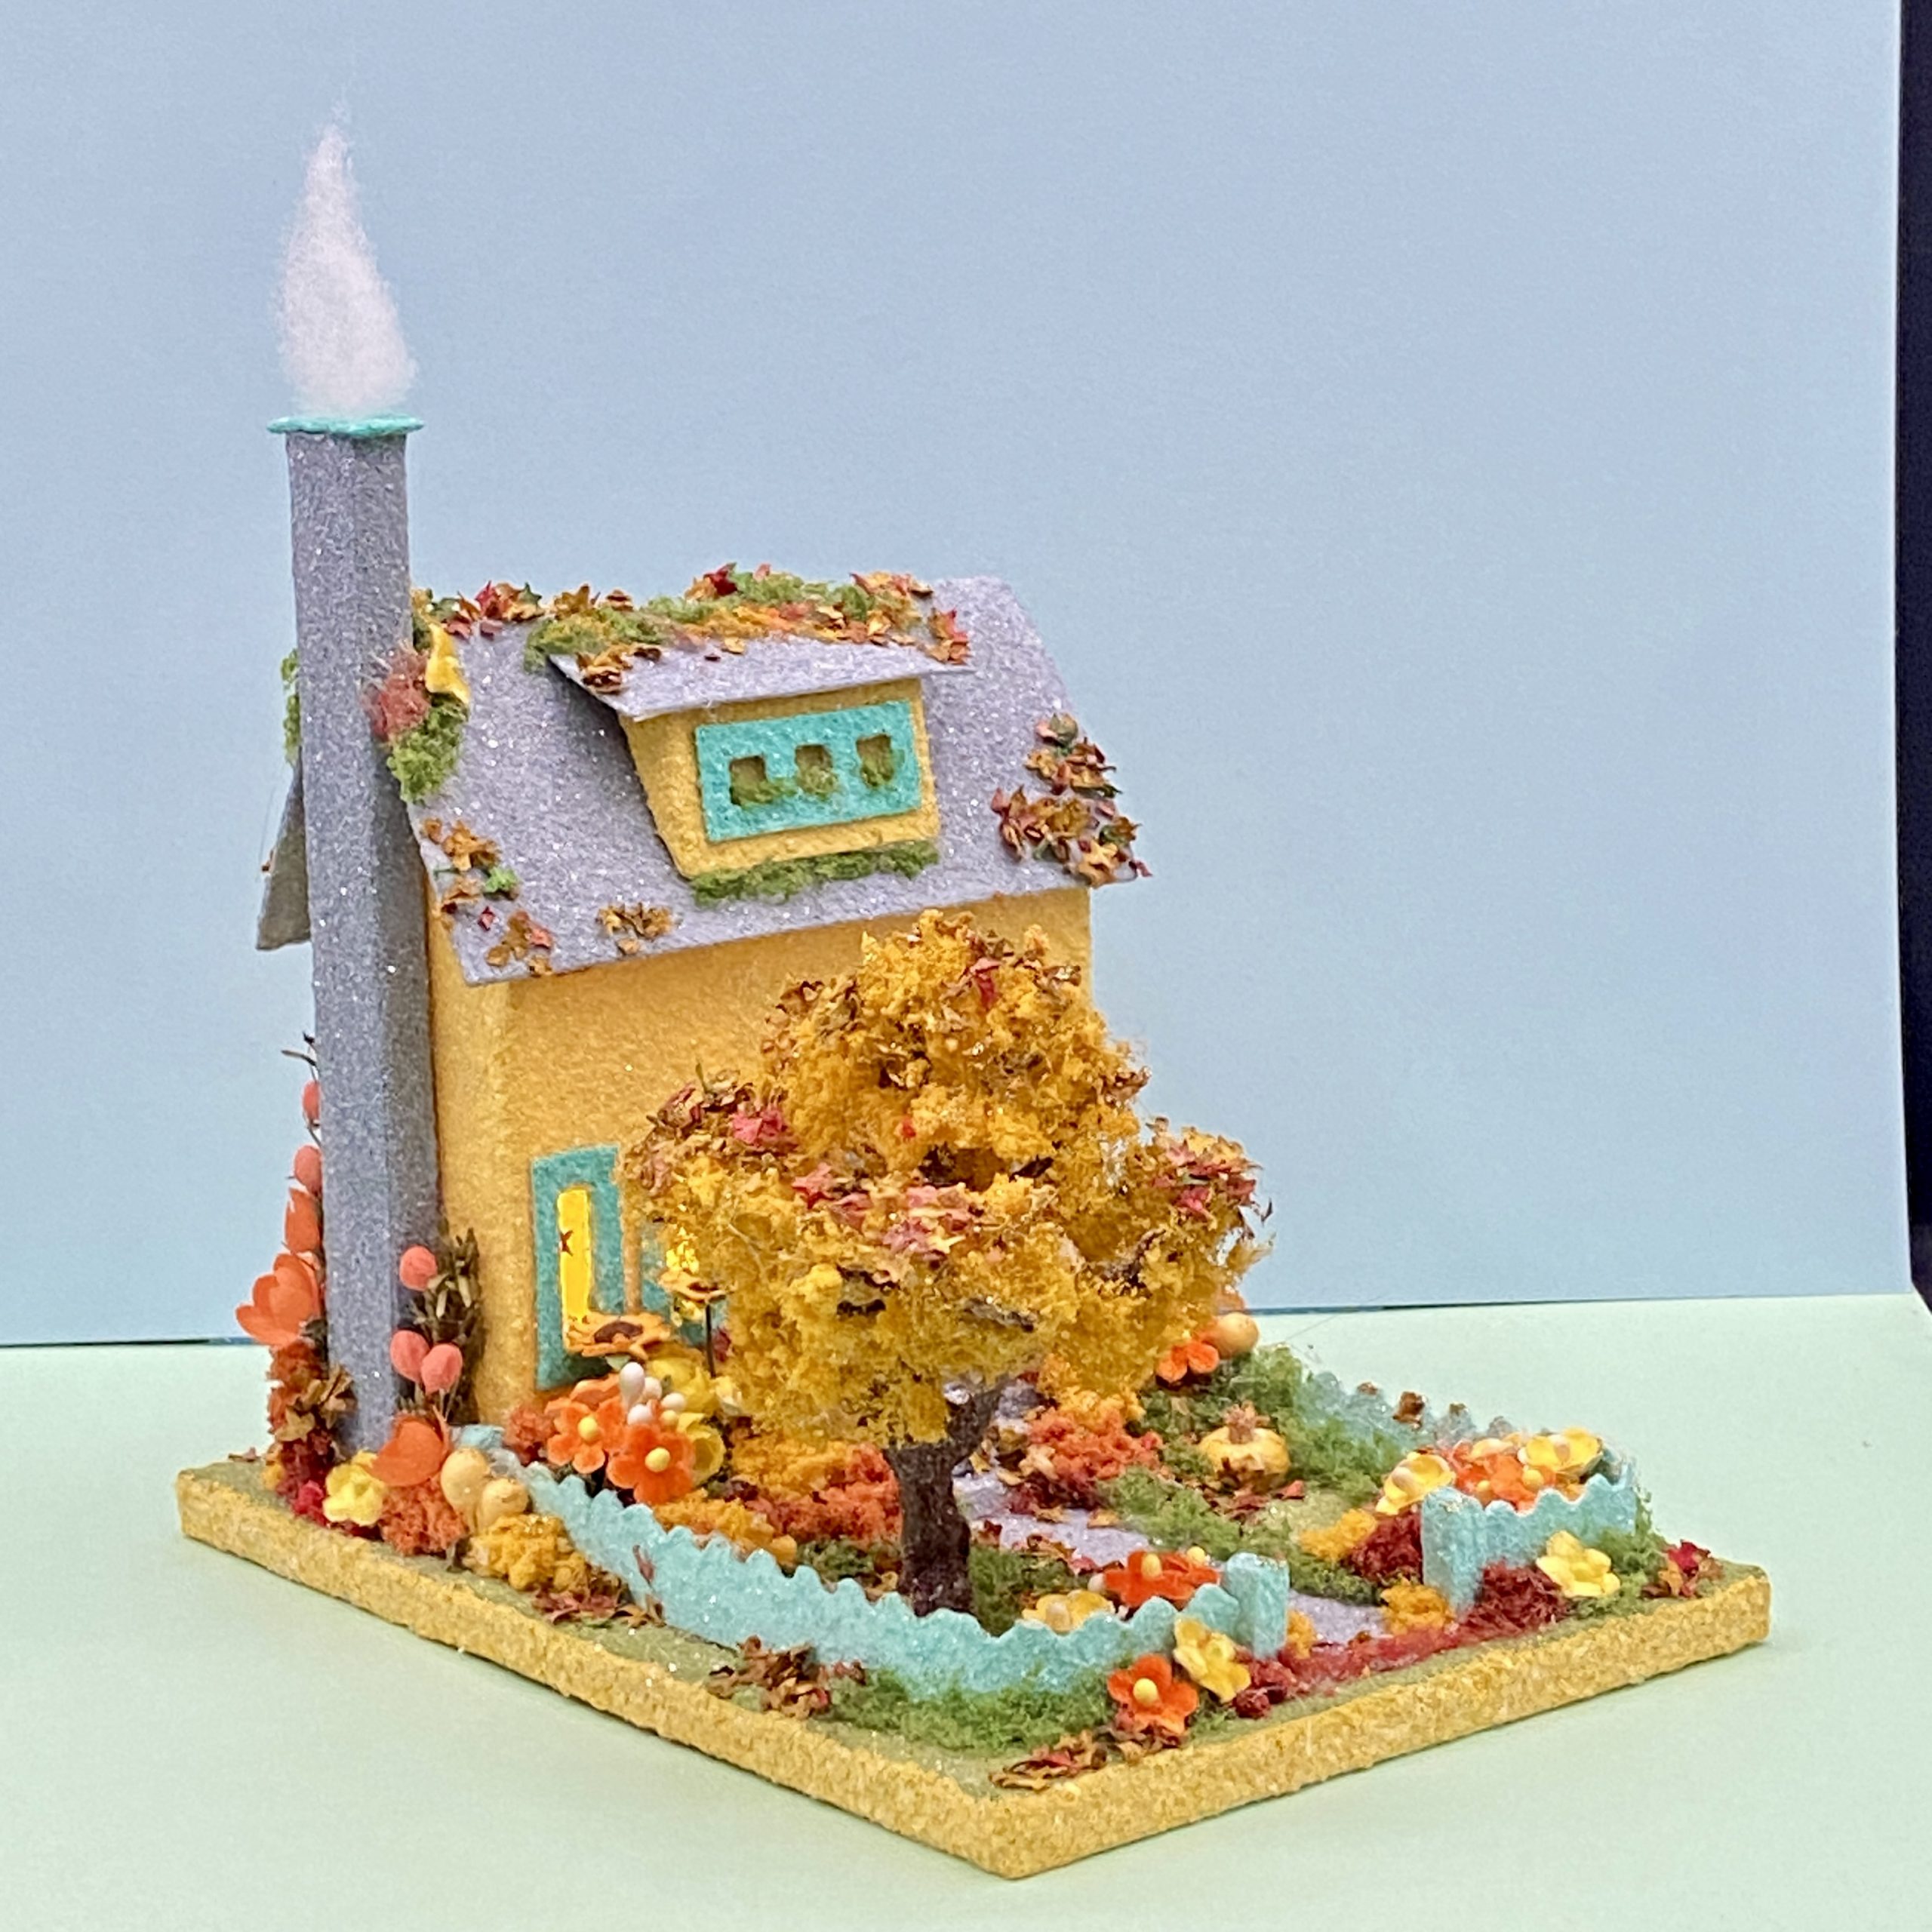
A puff of smoke is included, just in case you want to snuggle up in front of the fireplace.
If you have any questions about creating putz houses, please ask. I am happy to share what I have learned about the art of putzing.
If you would like to see more of my Putz houses, as well as Christmas ornaments I have made from upcycled holiday cards, please visit my Etsy shop.
If you are interested in crafting Putz houses of your own, check out my Putz tutorials for more information. My blog can be searched, as well. Some of the turorials haven’t been listed on the tutorial page. Working on that! https://christmasnotebook.com/putz-little-glitter-houses/
All proceeds from my Etsy shop benefit Kenya Mercy Ministries. They work with the urban poor of Nairobi, Kenya, particularly the children and their families who live in Kibera, the largest urban slum in Africa. Thank you for your part in helping these children when you purchase items from my shop!
~~Rhonda 🙂