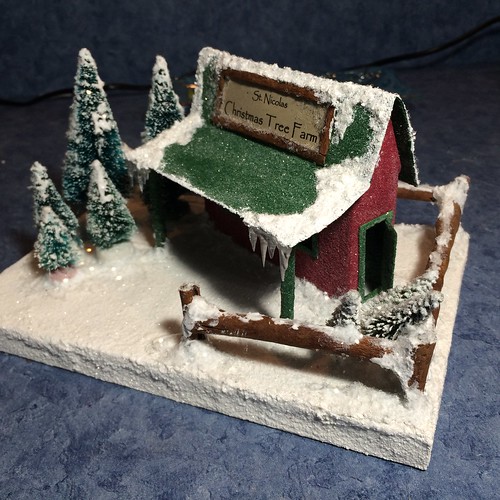
I am still tweaking the Putz “Christmas Tree Lot” that I’ve been working on the past few days, but it is almost done. In my last post, I explained how I made the base for the Christmas Tree Lot. It had to be larger than those I usually make to have room for the trees, a mail box, wreaths, etc. You can see that post here: putz Christmas tree lot…making the base
Today, I’ll show you the progress I’ve made on this little cutie.
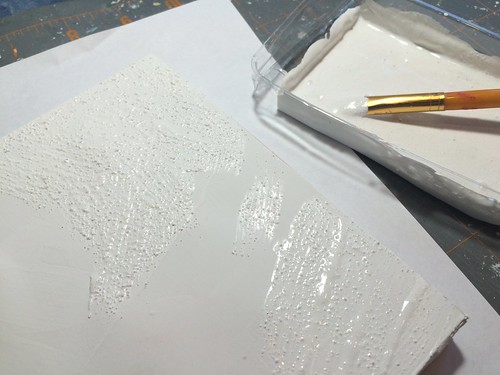
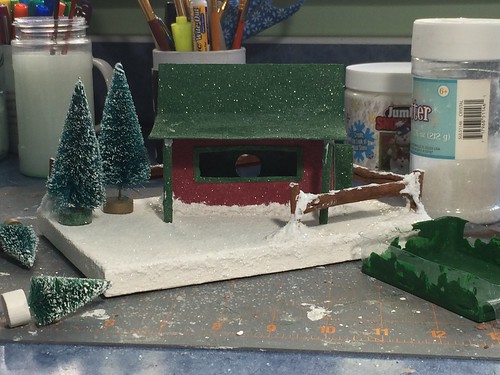
Painting and glittering the base was the first step. This picture shows the texture the paint adds when it has a little sand mixed in.
In the last post, I showed how I made the base for the Christmas Tree Lot, and also how I added a Christmas card picture to the bottom. I didn’t think about being careful as I painted until I had marked up a few places on the green frame.
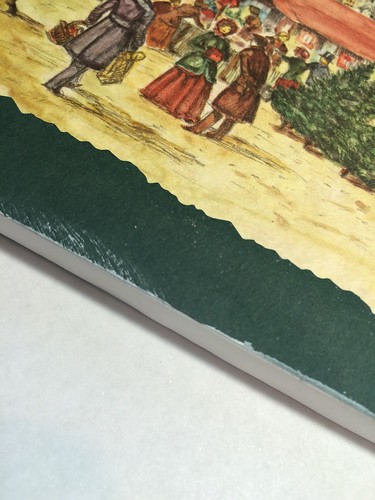
I have found that I can remove acrylic craft paint by gently wiping it down with a baby wipe. The kind I use are Pampers Sensitive wipes. I just have to be careful not to saturate the paper or it will tear, even with gentle scrubbing.

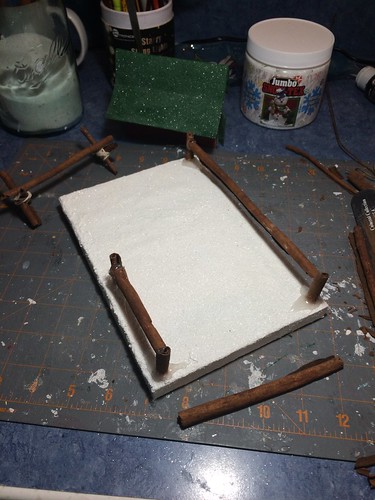
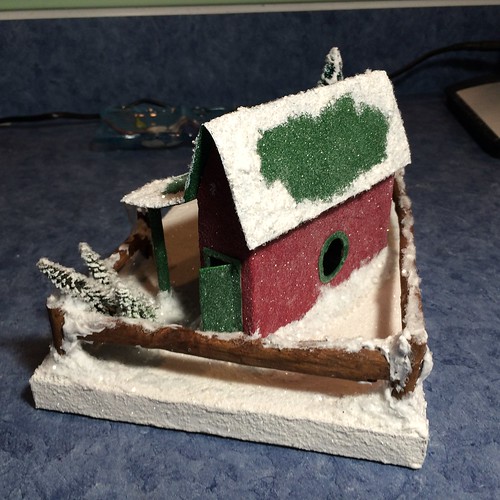
I took this picture to show how the base absorbs moisture and warps a bit while wet. Not to worry. Most, if not all of that, will flatten when it dries.
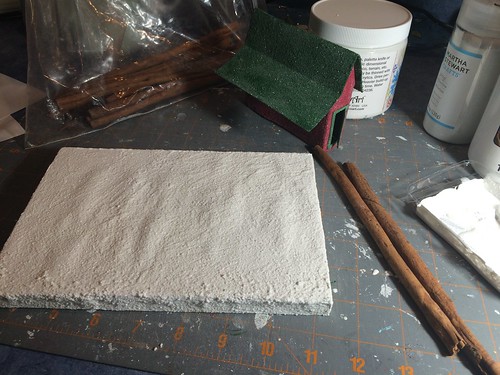
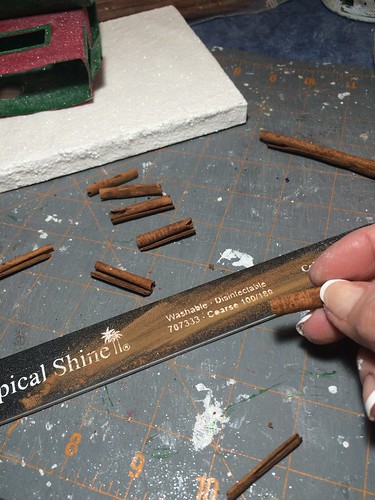
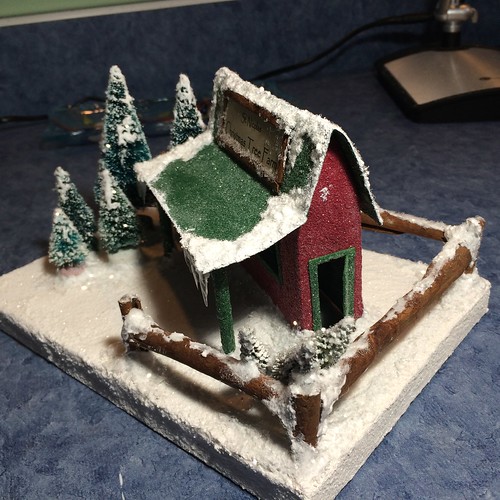
I made the fence rails and the fence posts from cinnamon sticks. A nail file makes quick work of leveling the ends of the posts. That smelled good, by the way!
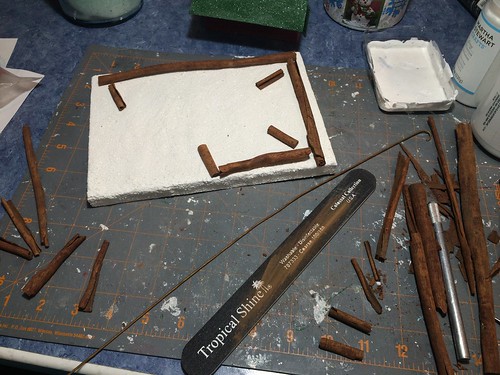
All the lengths were checked and adjusted before gluing the fence to the base.
I found that my small wire cutters worked well to cut the cinnamon sticks, if I just cut into them a little at a time rather than trying to cut the whole thing with one cut. That tended to shatter the stick.
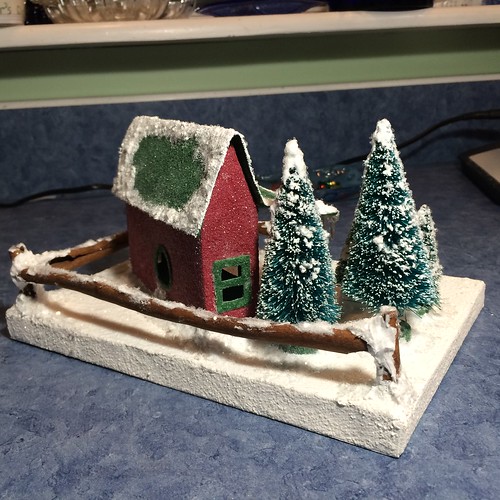
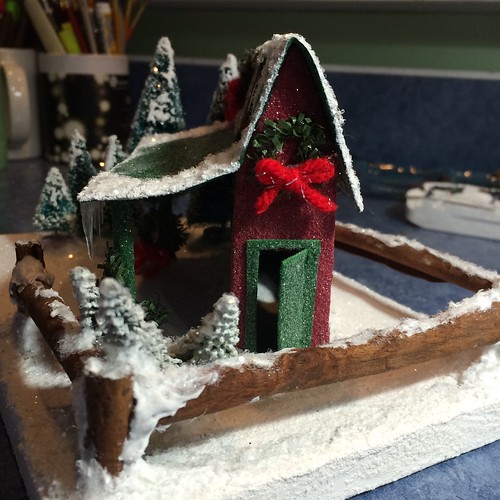
The fence is glued on, snowed and glittered. The shack is also glued to the base and I’ve applied “snow” and glitter all the way around it.
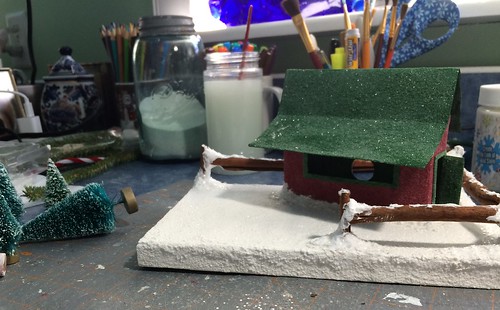
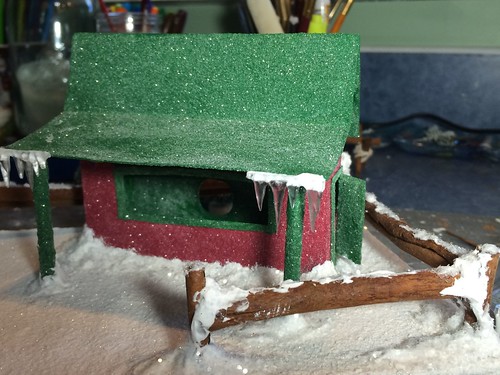
And now the porch posts are glued in place. The posts are made from bamboo skewers. They are about 1/8″ in diameter. I cut them with wire cutters.
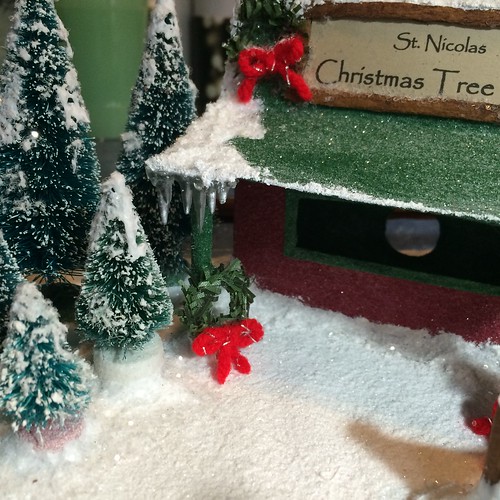
I have a package of miniature icicles that my sister found in a thrift shop and I cut a few off for each side of the porch. The white glue (Crafter’s Pick) dries clear and has a great hold.
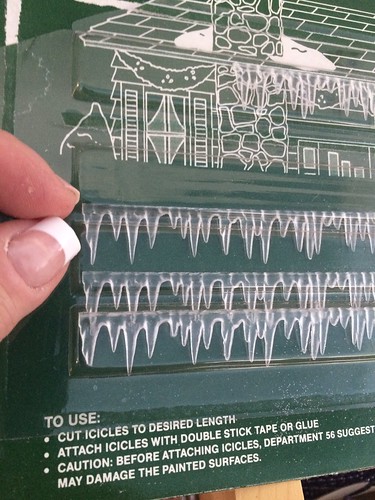
These are the icicles I am using. Genny found this package for $1.70 in a thrift store. You can google < "village acrylic icicles" > with the quotes to find buying options and a wide range of prices, if you are interested. Amazon sells them through third-party sellers. As you can see, I have a nice supply that should last a while.

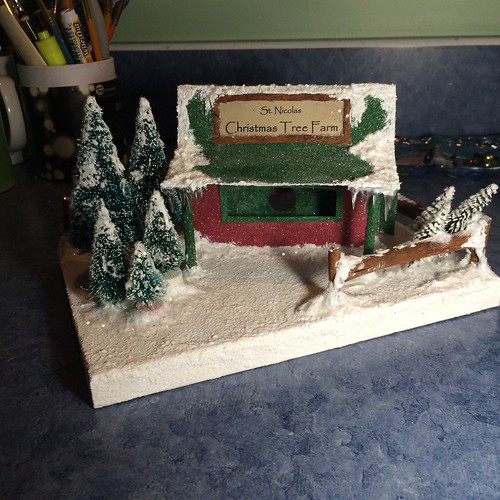
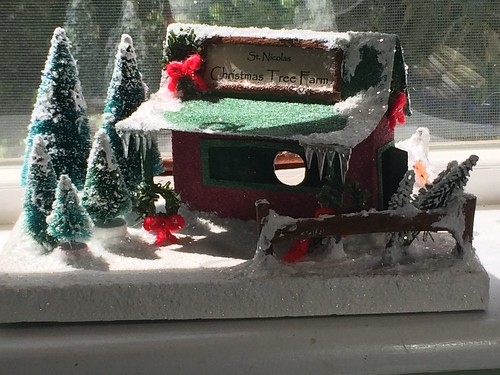
I am liking the way it is turning out. It has been more work than some of my other houses, and I am finding my way as I go along. The next one I make will be easier. I’ll know how much room I need and how I can add some other features I wasn’t able to add to this one.
Yesterday, I made tiny wreaths to decorate the Tree Lot.
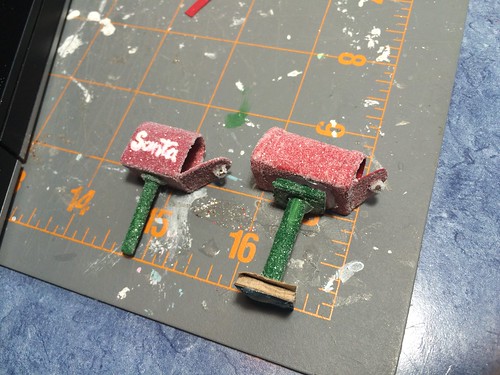
I also made two mailboxes. Both are too large for the Christmas Tree Lot. I’m going to attempt to make an even smaller one this afternoon. Not sure I can manage it but we’ll see!
I hope to get this posted to my Etsy shop in the next day or two. ChristmasNotebook
~~Rhonda
4 Comments
Adorable! Amazing job and I think this might be my favorite Putz house so far. Love the colors and the cinnamon stick fence is great. Can’t wait to see it completed.
Sandra, thanks so much for leaving a comment. I appreciate it! This has been a fun project for me and it is one of my favorites, too. I can’t wait to start the next tree lot! I have some other ideas I want to incorporate. ~~Rhonda 🙂
Great job! Love it!!
Thank, Emily! It was a lot of fun to make. I’ve already sold that one and will be making another one in a few days. 🙂