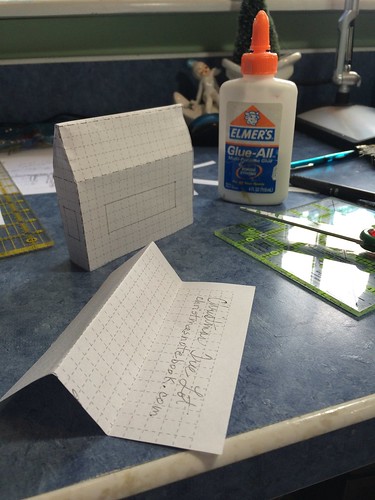
I wanted to add a Christmas Tree Lot to my collection of Putz patterns so I drew up a pattern for the sales shack. This is as far as I got with the project today.
I will make a base for it tomorrow and, once I have it glued to a base, I can start decorating! Can’t wait! I started by making a rough sketch of what I wanted. I googled < Christmas tree lot > and took some ideas from the pictures that popped up.
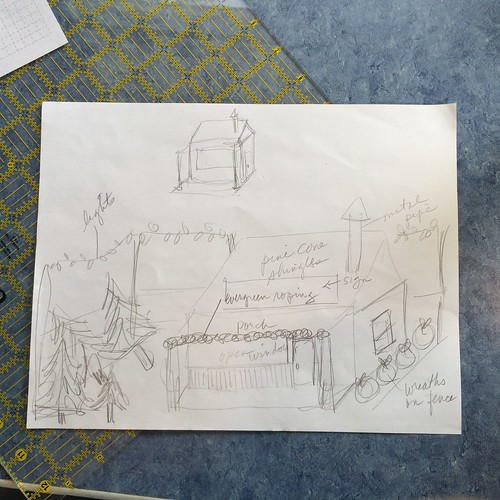
Free drawing a pattern on graph paper was next. I drew it in pencil, didn’t use a ruler, and made adjustments as I drew the pattern out and mulled over it.
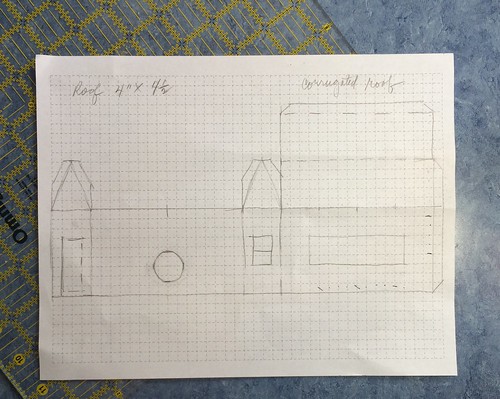
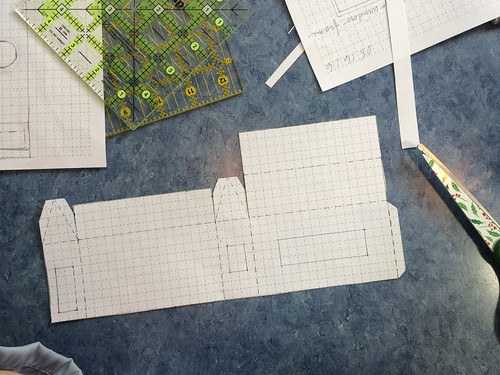
After it was the way I wanted it, I drew the MASTER on another sheet of graph paper, using a ruler, and added the window frames, the door frame, and directions for the roof. I made a copy and assembled a model from the paper just to be sure it all fit.
A few details changed, even after this pattern was made. And for just that reason, I used an erasable ink pen to draw the MASTER. I always write MASTER on the master pattern sheet in highlighter. I copy the pattern in black and white. That helps me know right away which sheet is the MASTER and which sheet is the copy.
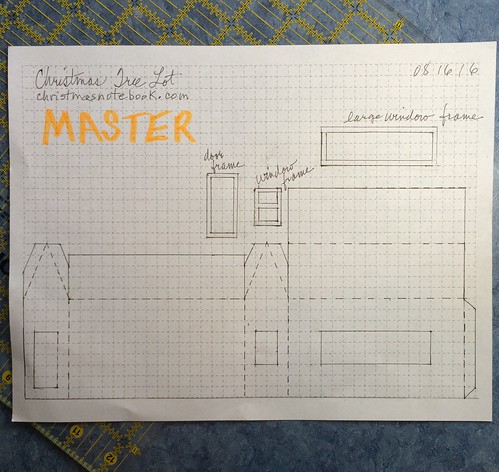
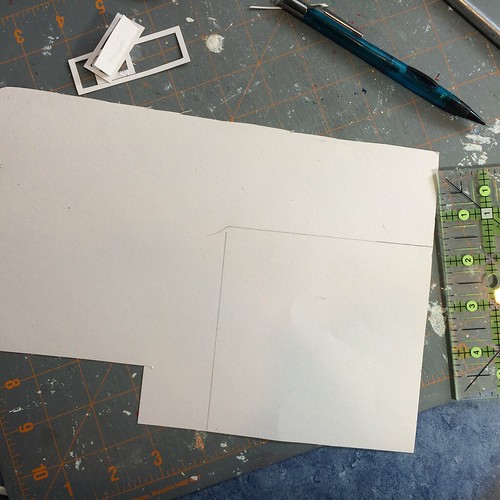
This is the MASTER after I had tweaked it a few times.
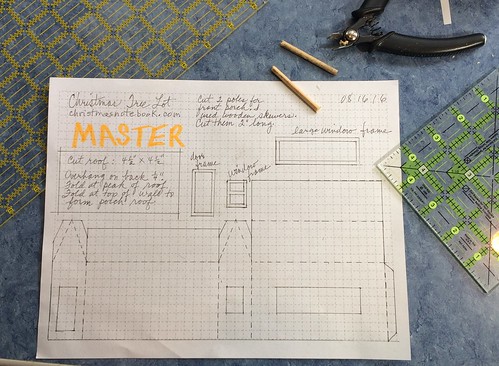
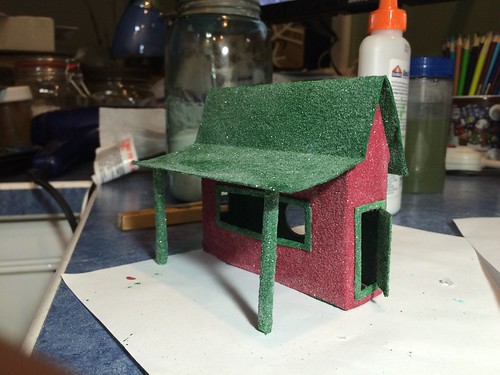
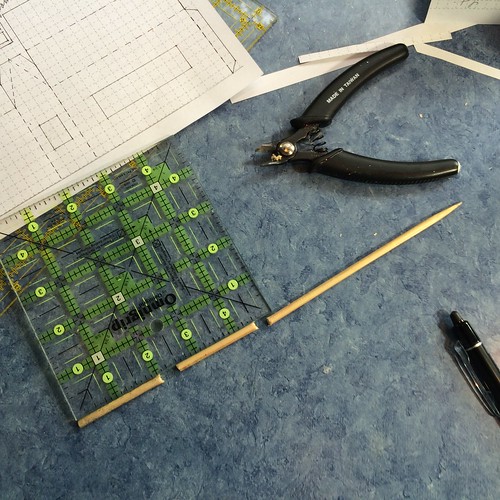
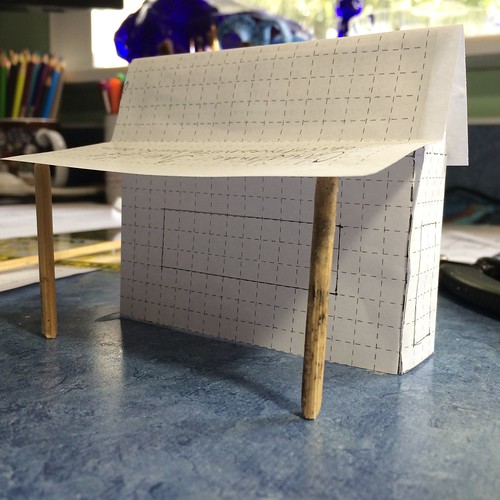
A wooden skewer provided perfect posts for the front porch overhanging roof.
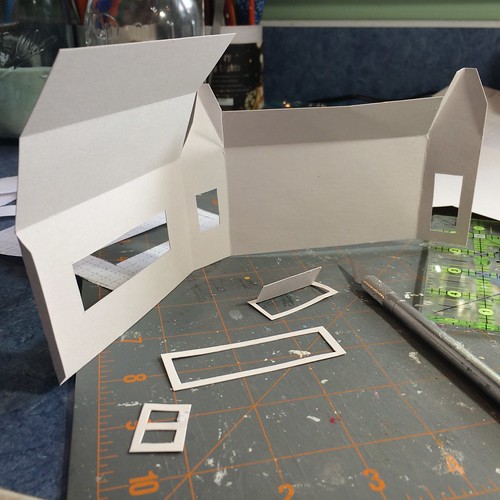
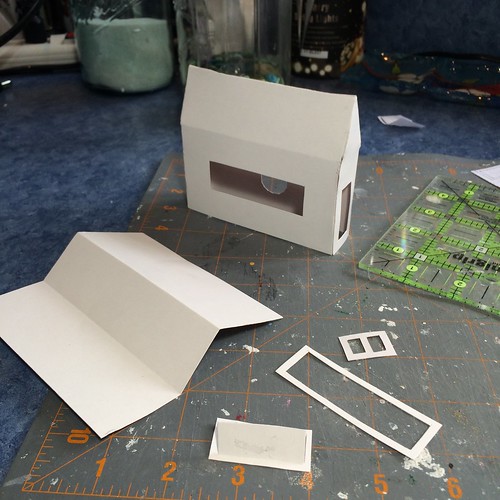
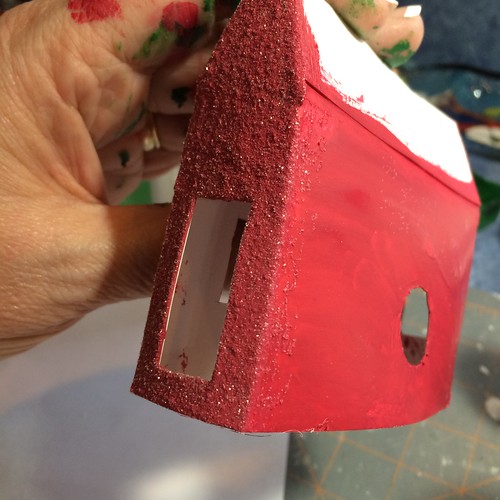
Time to make a copy of the MASTER and cut it from poster board. I always cut the windows, doors and any other openings first, including the hole on the back of the house for a little light to fit through. If you look closely at this picture, you will see that I had forgotten to add that little hole, but I realized my mistake later and fixed the pattern.

House, door and window frames are cut and ready to assemble.
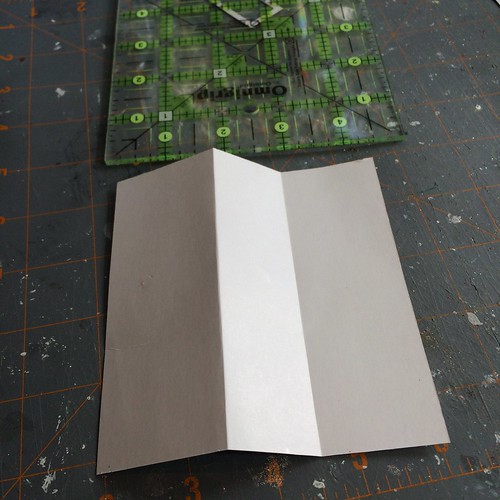
Time to cut the roof.
And fold it…
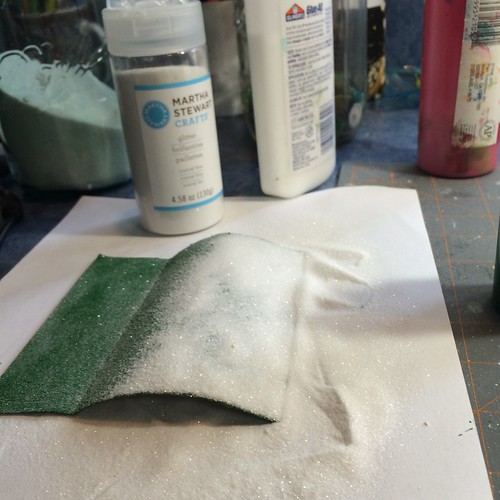
Now it’s time to paint.
And glitter…
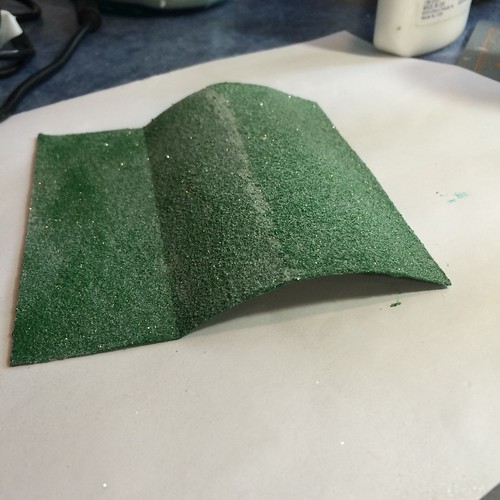
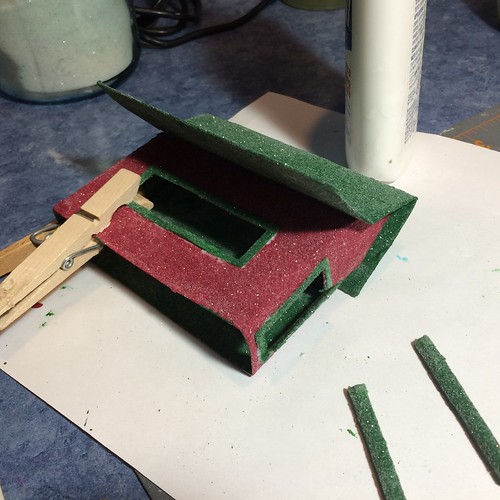
Though the roof is curved while wet, it will straighten out when dry.
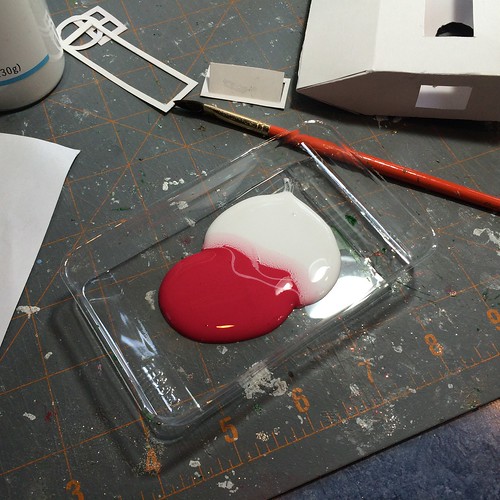
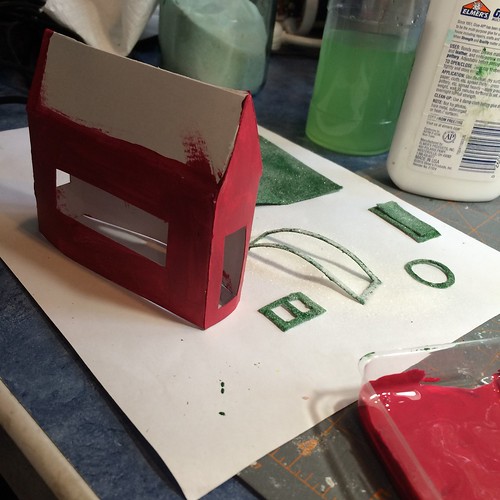
I mixed acrylic craft paint and white glue half and half to paint the first coat on the house.
The second coat has a bit of clean sand added to the paint and glue mixture. The glitter is added one side of the house at a time, while the paint is still wet. I don’t usually paint the inside, but since the service window is so large, I did paint the inside green and glittered it, too.
Clothes pins serve as clamps for gluing on the window frames and the door.
Ta-da! How cute is that??
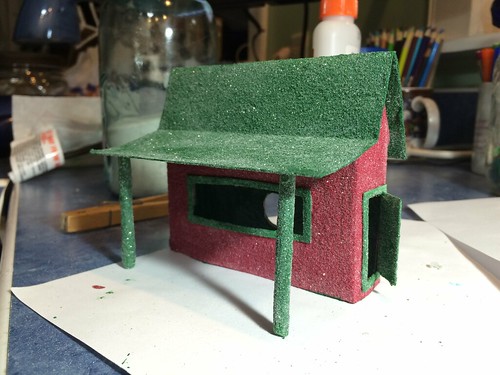
I think I will add a little ledge on the window sill. And I need to add the chimney. I’m sure they’ll have a pot belly stove inside the shack, aren’t you?
Here’s a link to my more detailed tutorial for making a Putz house from scratch. Building a Putz House
~~Rhonda