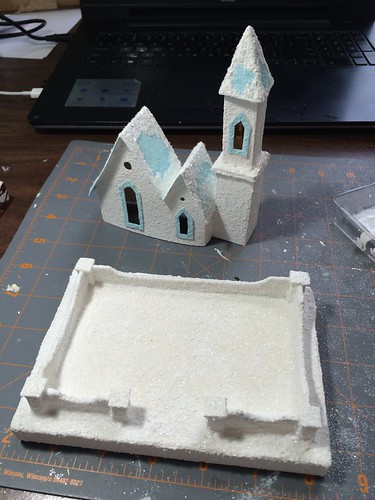
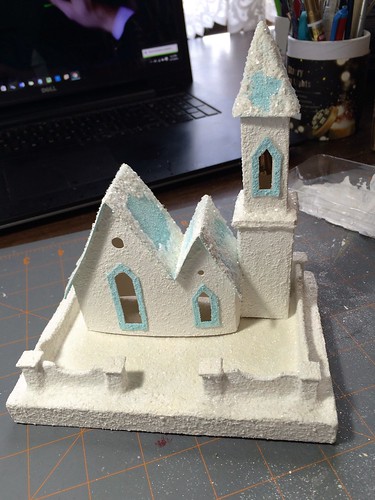
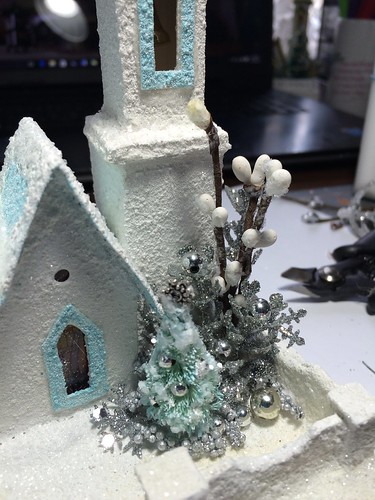
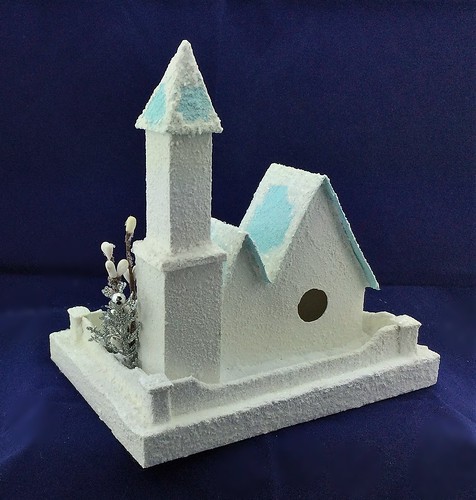
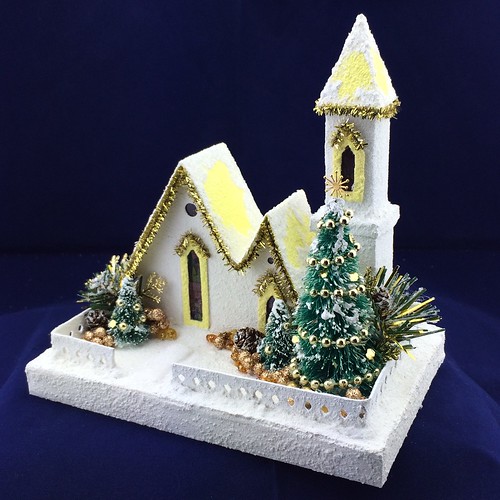
This little Putz church is like the one I just finished (you can see it here: little Putz church, continued), though this one is trimmed in blue instead of yellow. This one also has the addition of a bell in the tower. I made both the church and the base last year. I pulled them out yesterday and decided to finish the project.
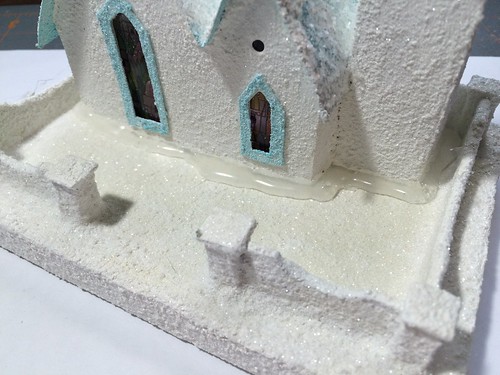
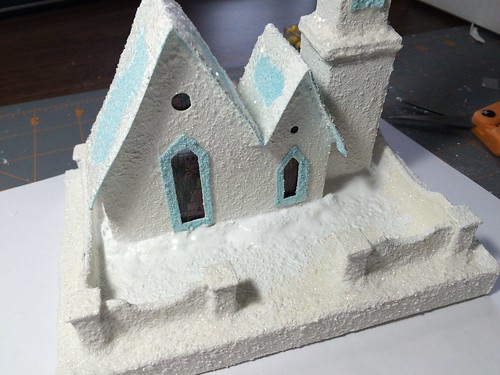
Cute, huh? I love this fence. It is so easy to make. If you are interested, here is a tutorial for making these fence posts. tutorial for making fence posts for putz houses
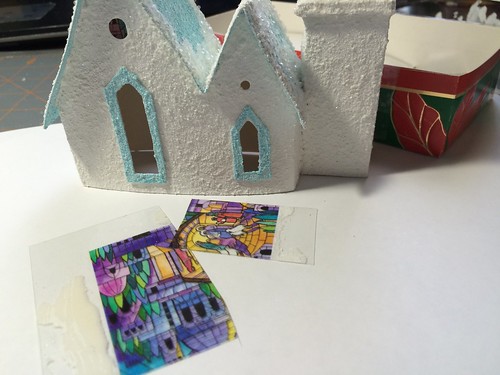
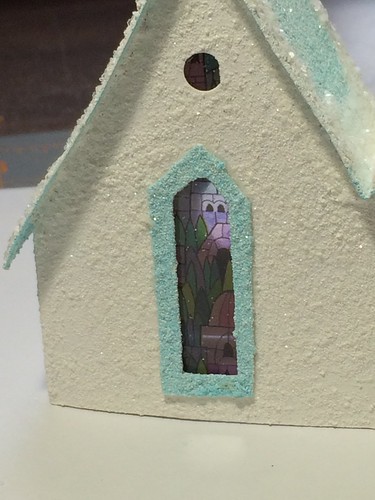
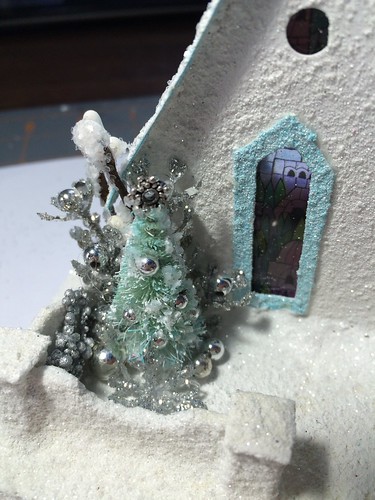
I still have part of the acetate window from a Christmas card that I used in the previous church. You can see that application here: little putz church
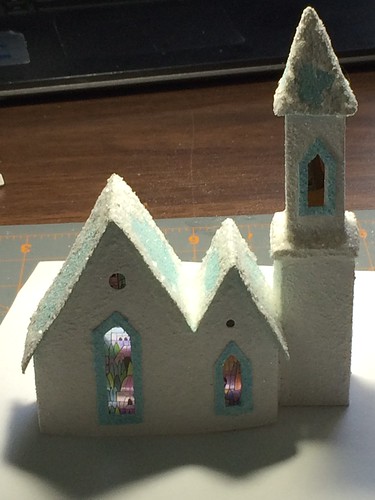
I cut the acetate to the correct size and attached it to the inside of the church with hot glue.
Close-up…
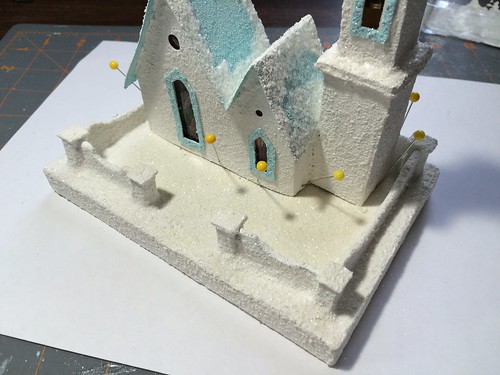
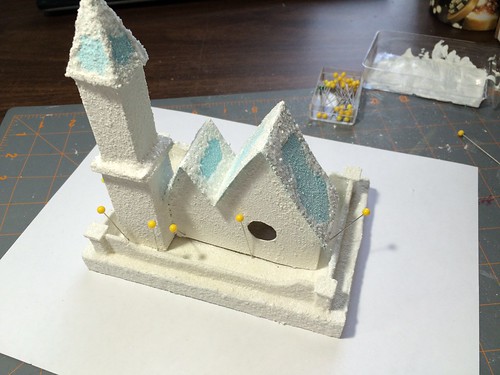
When pinning the building to the base, I sometimes put the pin through the building in several places, especially if the buildings walls are bowed at all. Once the hot glue is set, the pins can be twisted out of the glue and the walls will be straight.
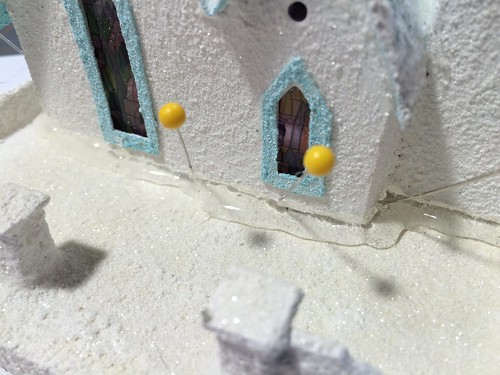
When pinned, it’s time to glue.
Once the glue is set, it’s time to paint and glitter the glue. I mix paint and white glue 1:1 and add a sprinkle of clean white sand for texture. No need for measuring. I just pour a nickel-sized glob of paint and the same of glue, then add a bit of sand, mixing well. When painting over the bead of hot glue, I try to camouflage it best I can by spreading the paint out, filling seams, etc. While the paint is still wet, I sprinkle it with glitter.
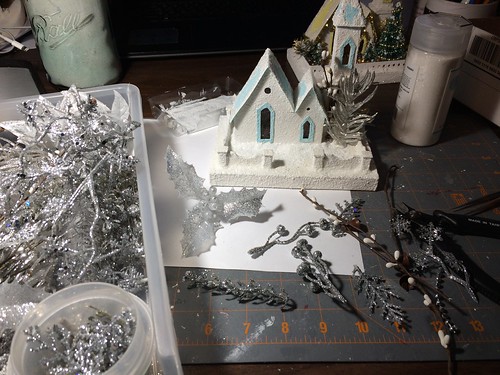
On to embellishments. I am out of the right size of green bottle brush trees (ordered more), and I didn’t want to use a cream colored tree. Didn’t look right. I decided to try some of my silver bits and bobs. This is where I left it Thursday evening. I wasn’t happy with the direction it was taking, so decided to set it aside overnight and try again on Friday.
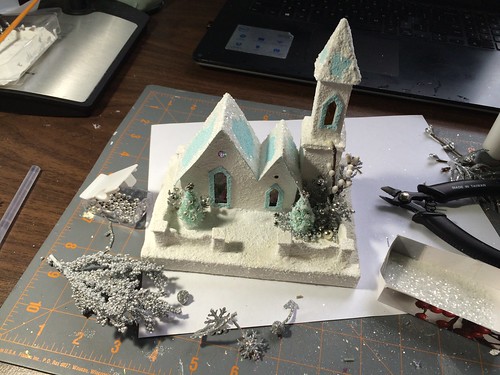
When I got back to it on Friday, I knew I just had to start over. I pulled the embellishments off and began again, trying to keep it less dense this time. I liked the little blue bottle brush trees, so used them, too.
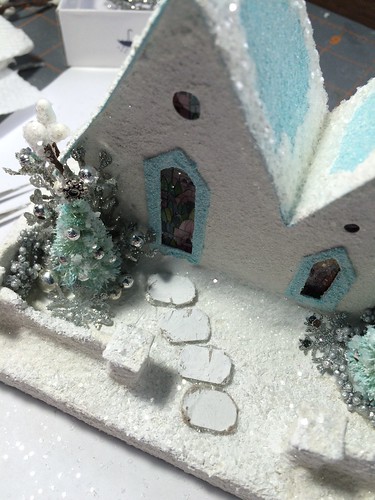
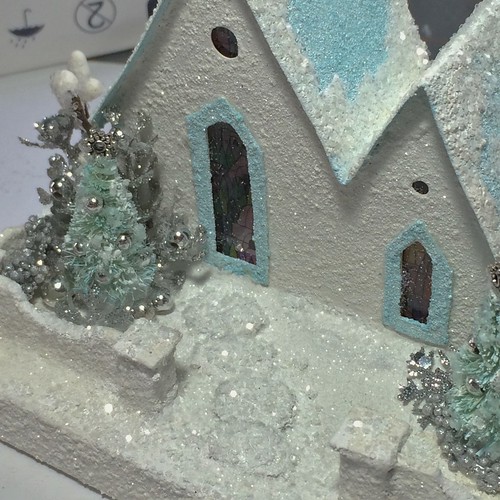
When the embellishments made me happy, I quit adding more. That’s the hard part. Edit! I brushed some white glue on the bottle brush trees and on some of the bits and bobs and sprinkled the glue with glitter. Here’s the right side of the church yard…
And the left side…
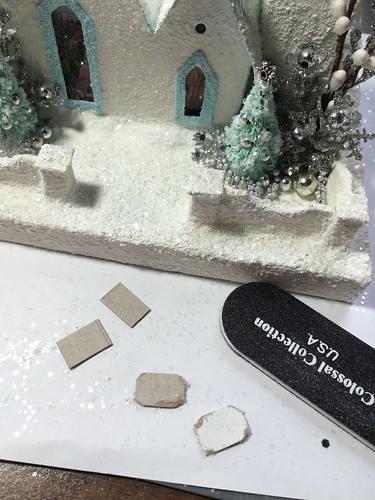
For a sidewalk, I cut small pieces of cardboard and sanded the corners.
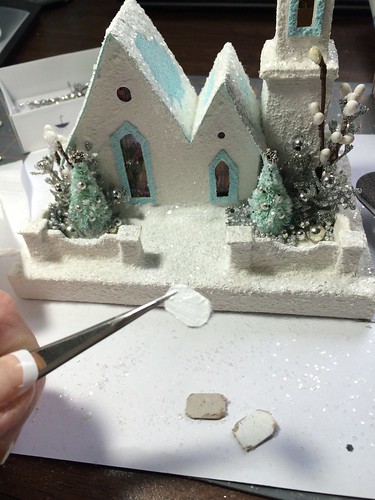
I gave them a base coat of white paint. Handling small pieces can be hard. Needle-nosed tweezers make this job easier.
Glued them down with hot glue.
To finish them, I gave them a coat of my glue/paint/sand mixture and, while they were still wet, I sprinkled them with glitter.
Front…
Back…
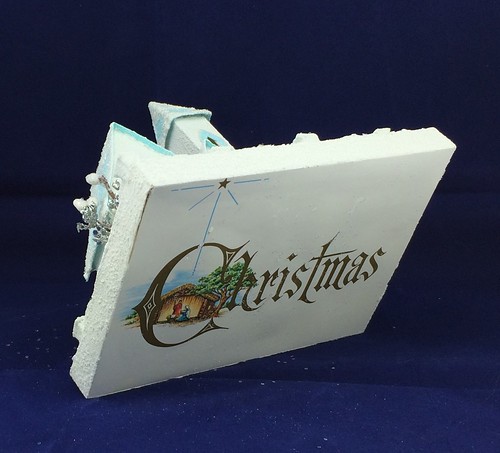
And a surprise on the bottom…
Which one do you like best? The blue trimmed church?
Or the yellow trimmed church?
Would you like to see another little Putz house brought to glittery life?
My Putz houses and churches are featured in my Etsy shop. ChristmasNotebook
~~Rhonda


6 Comments
Nice post on the project. Pretty. 🙂
Both are just great! Love them and you do such a fine job!
So pretty. Your Putz houses are amazing and I think I must try one soon. I think I like the blue trim one best as it reminds me of the “Blue Church” in the community I was raised. Now sure how but it was a white church with a sand type finish but when it rained the church turned blue. Your blue house has that peaceful feeling a church would and I love the trees.
Fantastic job!
I like the tip on pinning the walls to set them straight and hot gluing them then pulling out the pins. The stepping stones is a good idea, too. I love that blue and sparkles together.
Would you like to see another little Putz house brought to glittery life? YES…..please! I thoroughly enjoy your craft processes. Thank you so much!!
I like them both and I would like to see more. Very interesting that you made them! I like seeing how you tried things one way and then changed your mind and did something different. I also like the stained glass look of the church windows.