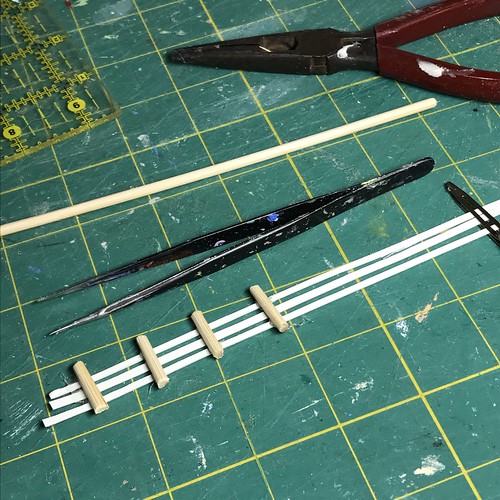
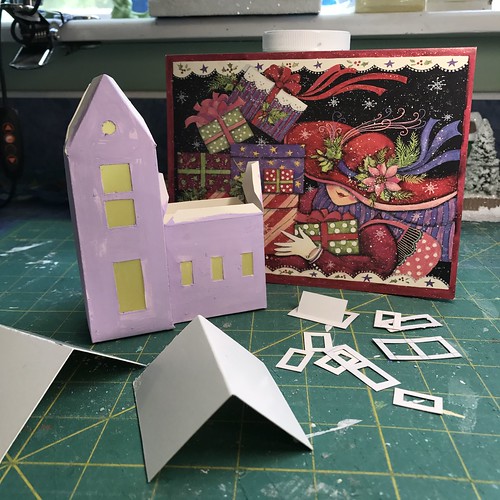
Supplies needed:
Beads or miniature ornaments
Bottle brush tree
Needle-nose tweezers
Hot glue gun
Star bead for the tree topper
Long-nose pliers
White tacky glue
Aleene’s True Snow
Palette knife or other blade
Clear glitter
Glitter tray
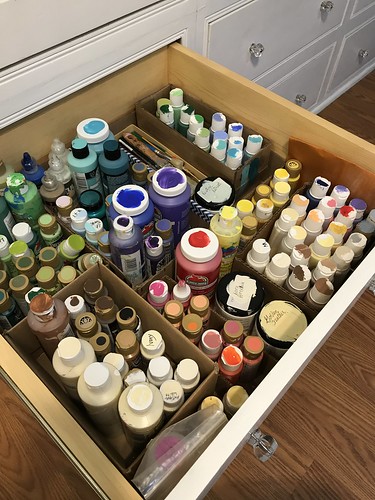
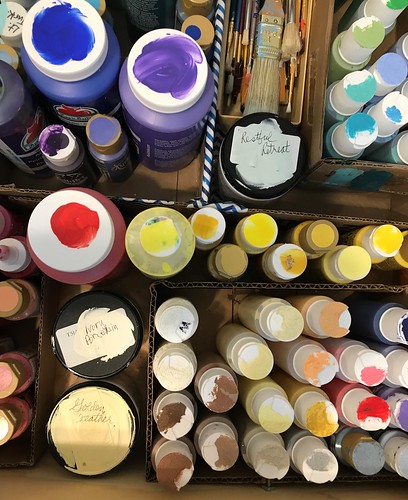
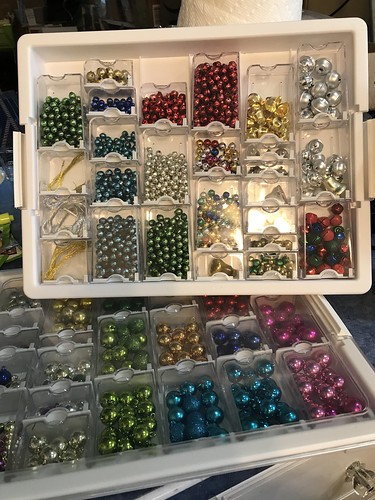
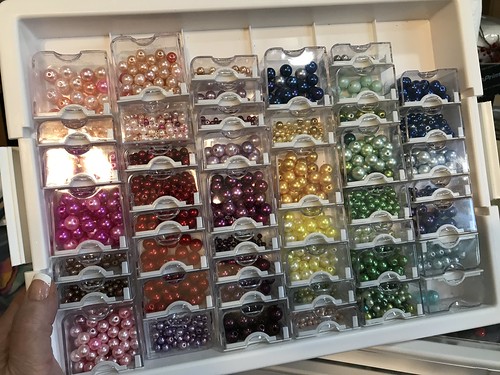
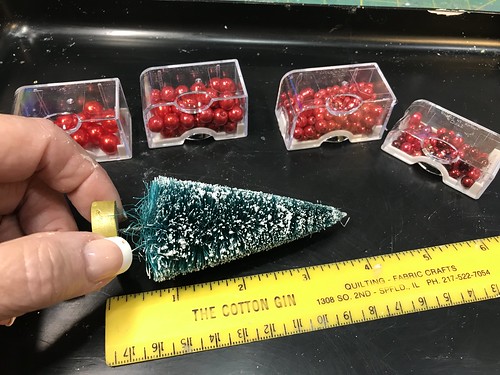
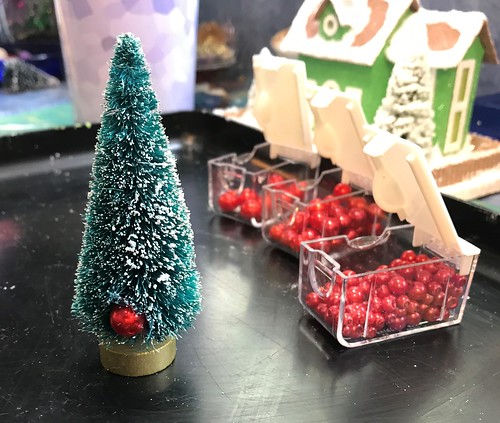
To decorate a bottle brush tree with ornaments, I use any combination of miniature ornaments, vintage mercury beads, glass beads, seed beads, metallic beads, etc. BTW, I love these bead storage boxes. They make sorting, storing and finding my many beads and embellishments easy to do.
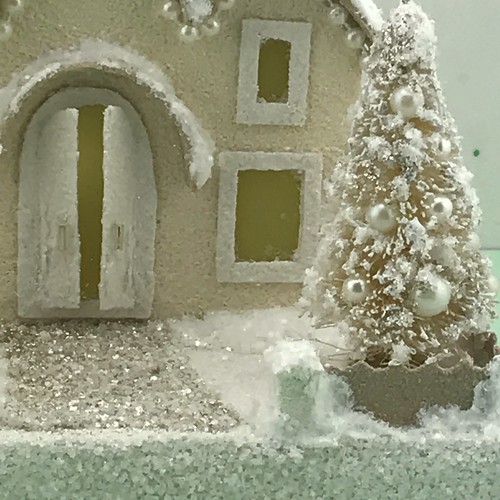
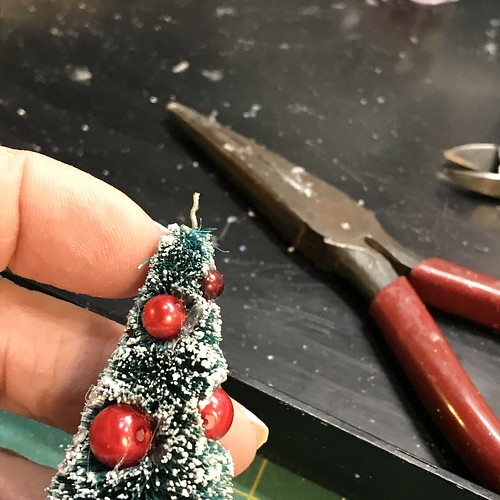
Pearl beads make great ornaments and they come in a lot of different colors and sizes. I prefer glass beads over plastic ones.
For this project, I chose a 4″ bottle brush tree and red pearl beads in varied sizes.
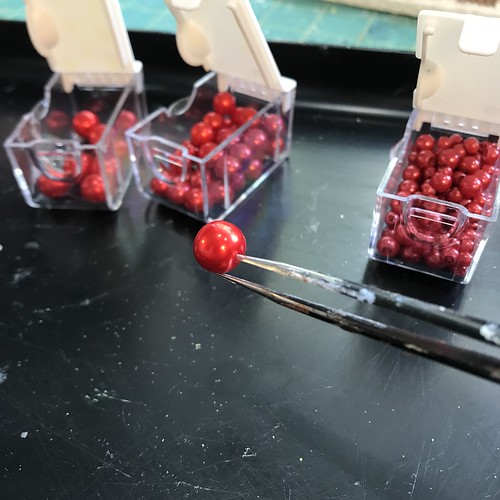
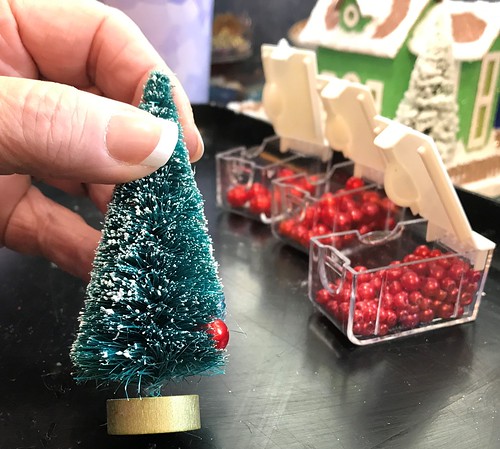
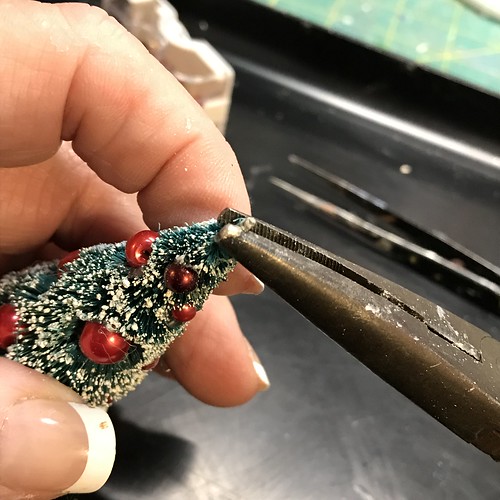
I find a needle-nosed tweezer a great tool when working with beads. I always start with the largest size beads, then move progressively down to the smallest size.
Add some hot glue…
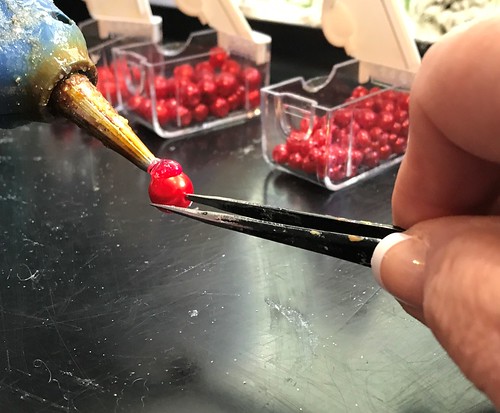
…and press the bead into the tree. I try to set the bead so the holes on the bead don’t show, but I don’t get too picky. Holes that show when the beads are all applied can be covered by artificial snow.
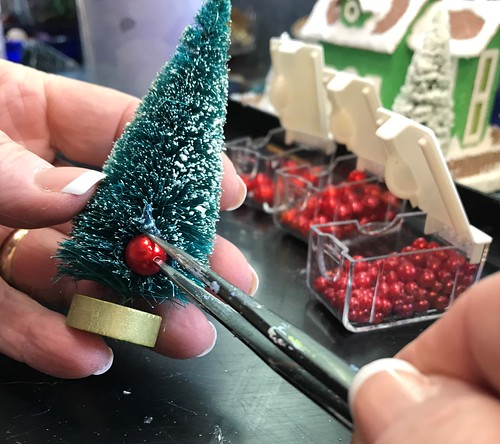
First bead on…
I like to set them in deep enough that the bead doesn’t stick out too far from the tree.
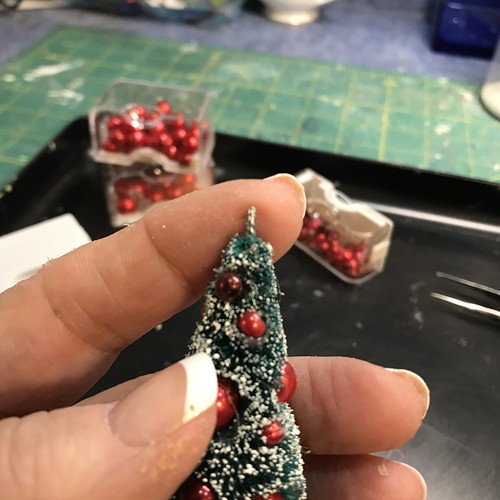
Here is the tree with the first size bead scattered around the tree, leaving room for smaller beads between.
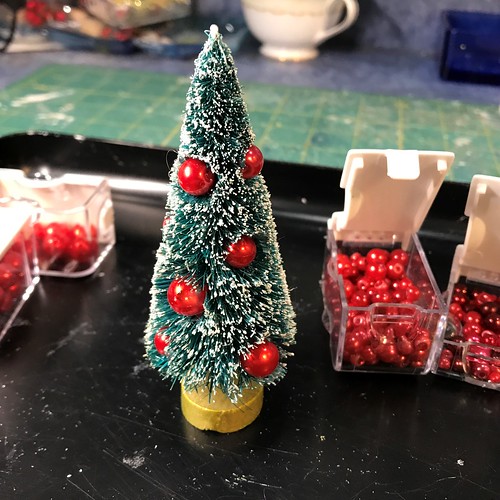
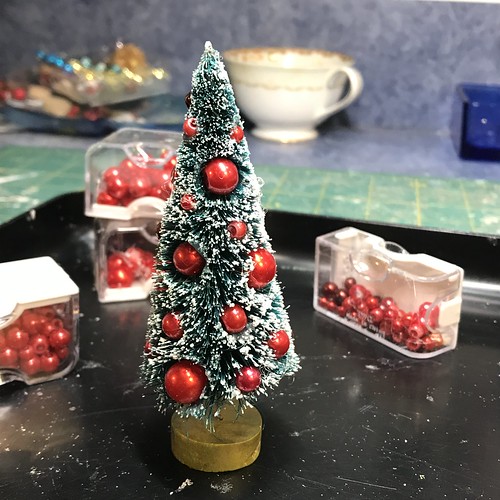
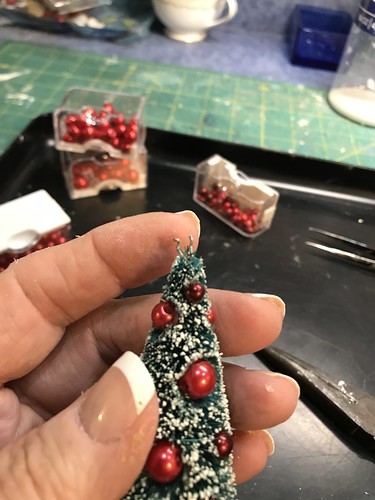
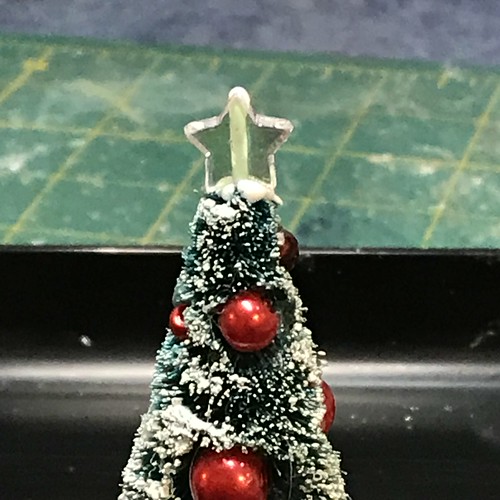
I used four sizes of beads on this tree.
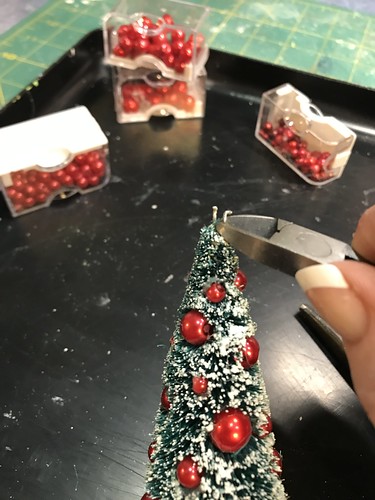
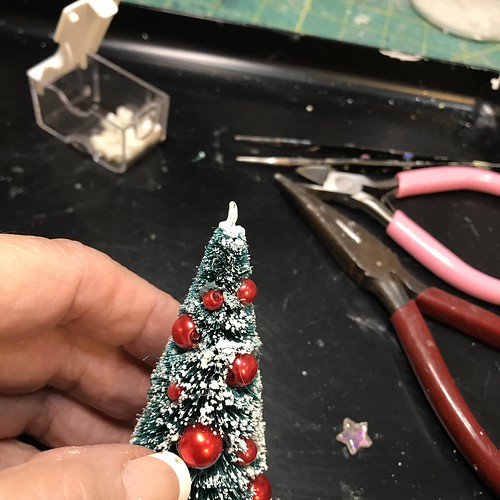
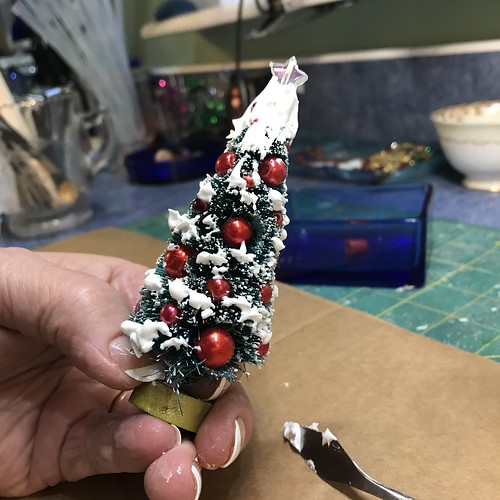
To add a star to the top of the tree, I use long-nose pliers to clear the top of the tree. Just grab the tip of the tree wire with the pliers and turn the tree back and forth till any snow and bristles are cleaned from the tip of the wire.
I apologize for the poor focus of this picture, but it does show what you should have when the long-nose pliers have done their job.
At this point, check to see if your bead star will slide onto the tip of the wire. If it does, skip the next few steps and proceed to glue the star onto the wire tip. If the bead hole is too small to fit over the twisted wire tip, follow the next few steps.
Grab the tip of the wire with the long-nose pliers and twist the pliers counter-clockwise while holding the tree in place. This will untwist the two wires that make up the trunk of the tree.
Use wire cutters to snip off the more twisted wire, if one is more twisted than the other. Leave one wire.
Use the pliers to straighten the remaining wire as much as possible.
Apple white tacky glue to the wire and on the very top of the branches. This will help hold the star in place.
Slide the star onto the wire.
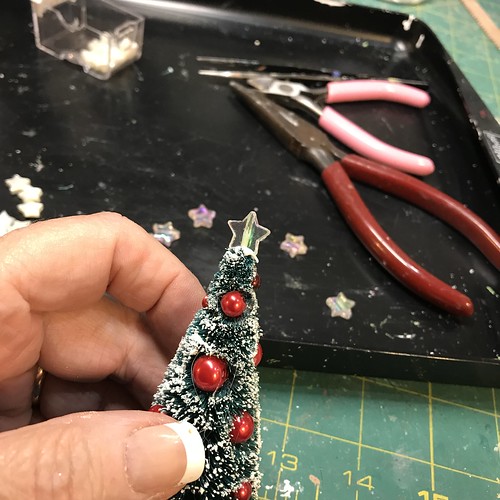
There will be a hole in the top of the bead. That needs a dot of glue.
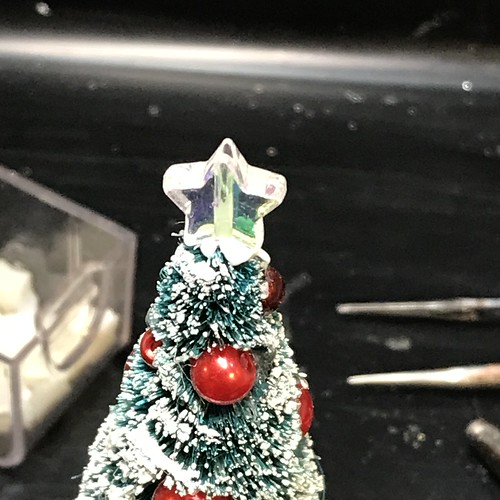
The white tacky glue will dry clear.
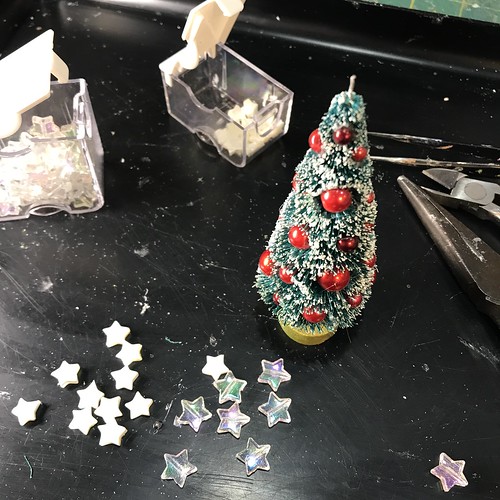
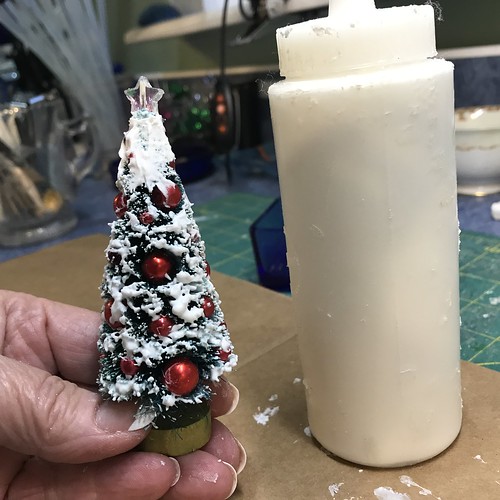
The tree can be done at this point, if you are happy with the look. I like to add lots of snow, so read on if you want to snow your tree.
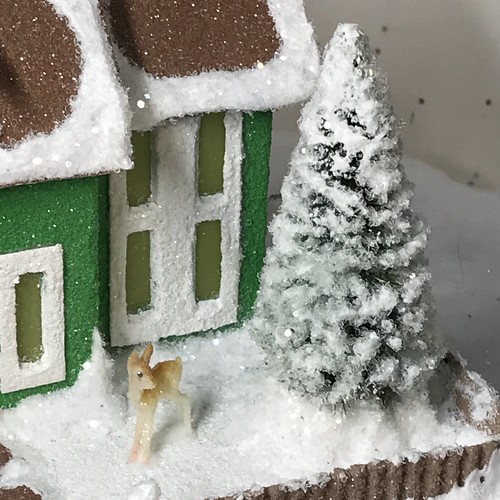
When the glue is dry (I wait overnight to be sure it is cured), add the artificial snow. I put Aleene’s True Snow in a squeeze bottle to apply it. A palette knife is a good tool for spreading the snow.
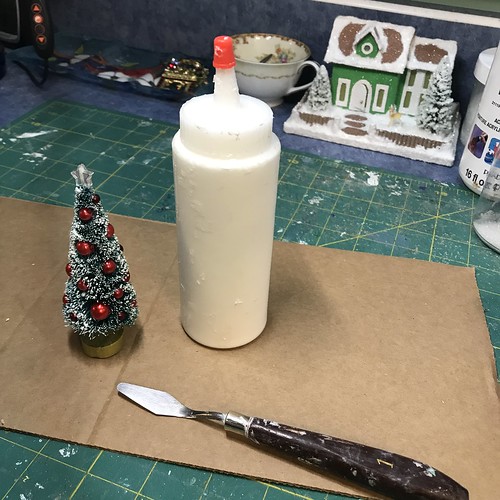
Crafting Tip: I keep a small container on my desk. I am in the habit of dropping small items I am using into this dish so I am able to find them when needed. The small red cap for the squeeze bottle is a good example. If you could see the usual condition of my craft counter, you would understand why I need this dish!

I like to start at the top of the tree when applying the artificial snow. Work around the star. The snow won’t harden right away, so there is plenty of time to clean surfaces that should be clear.
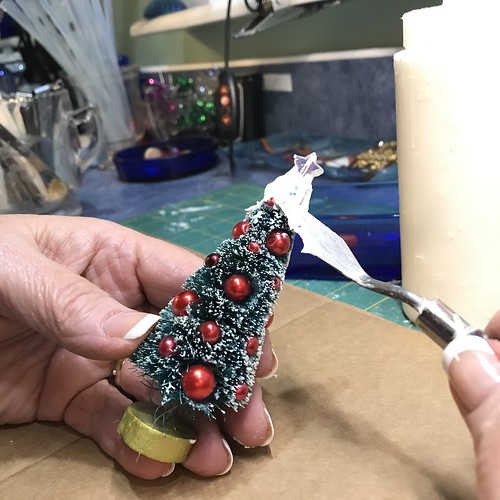
Apply snow in horizontal lines around the tree, keeping beads mostly clear.
Use the palette knife, swiping in horizonal lines around the tree, to spread the snow. Add more snow if needed.
Sprinkle with glitter, using a glitter tray or paper to catch the extra glitter. I am using glass glitter on this tree, but any kind will work.

Give your tree a look over and fill in any spots that look like they need more snow and apply more glitter. Here the star is clean and all the snow has been covered with glitter.
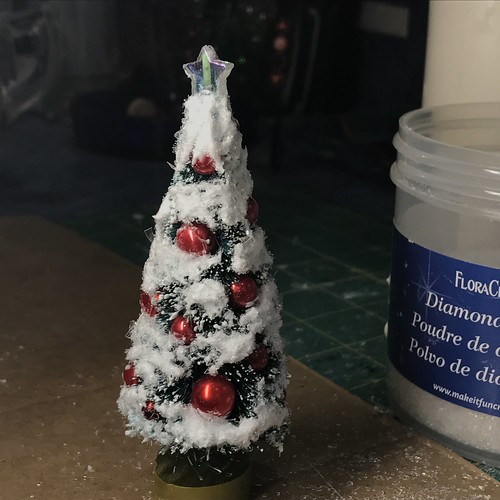
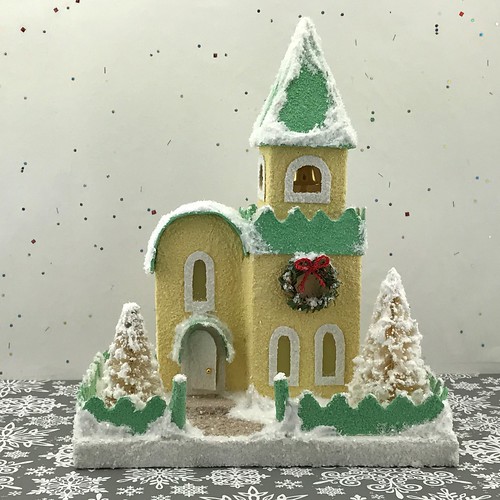
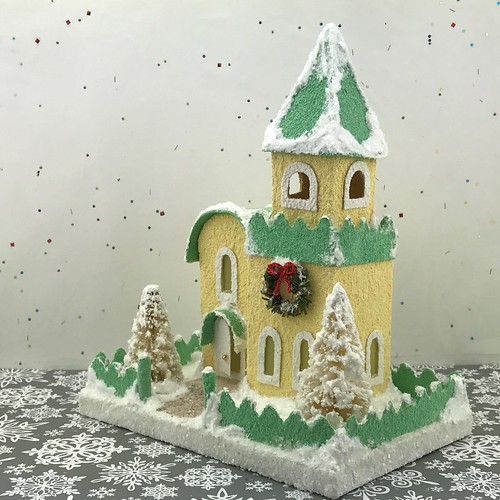
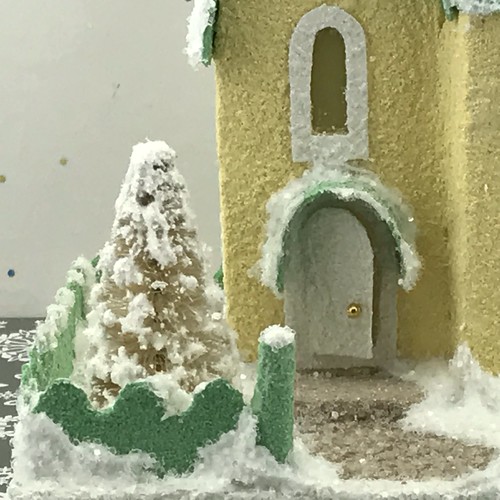
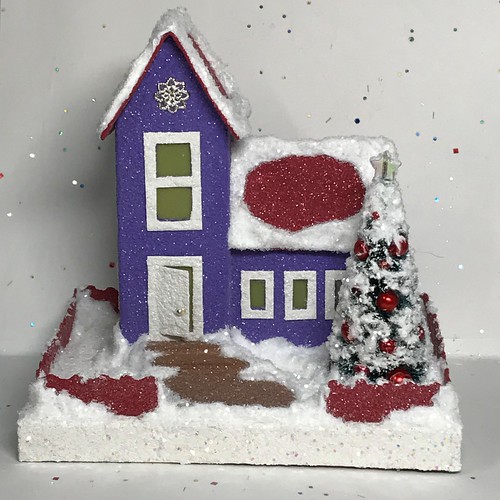
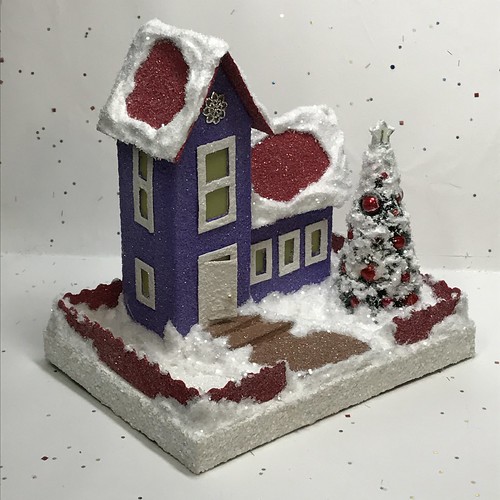
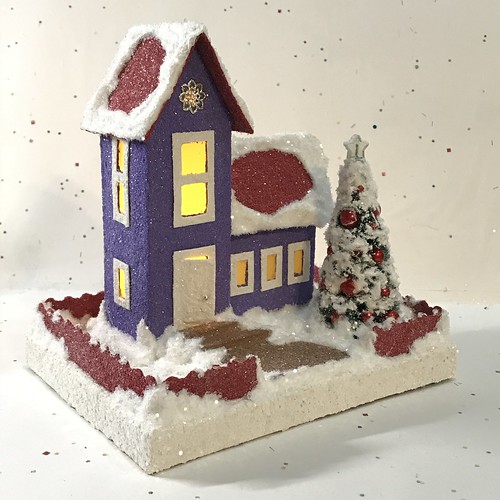
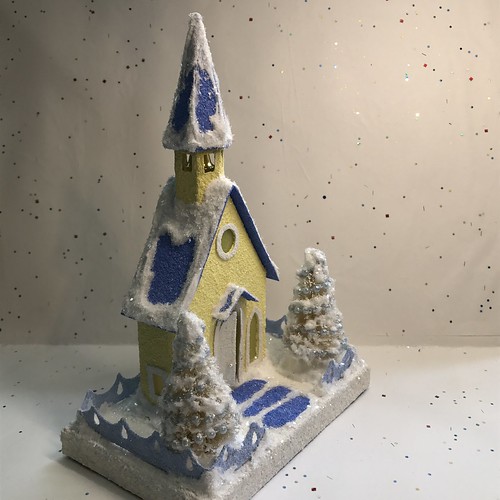
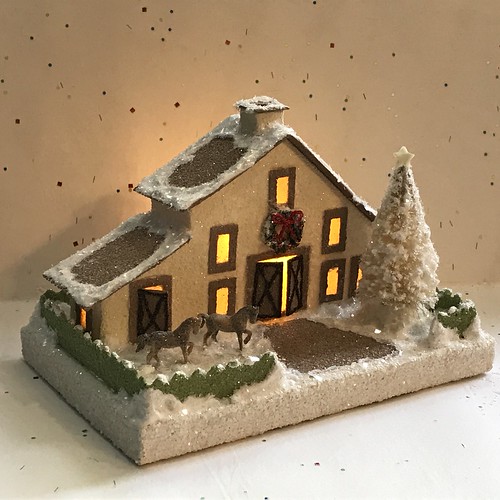
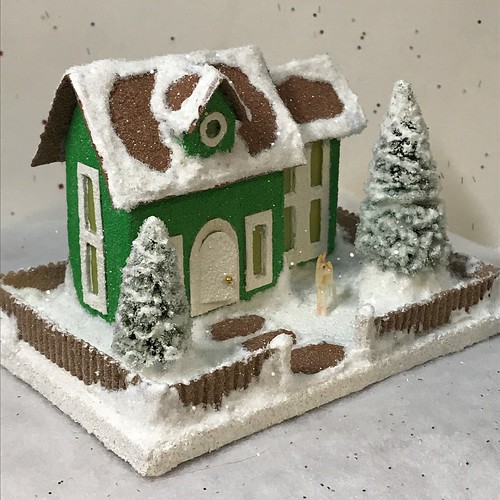
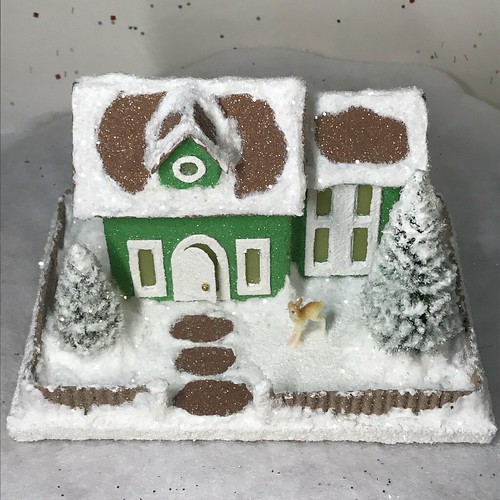
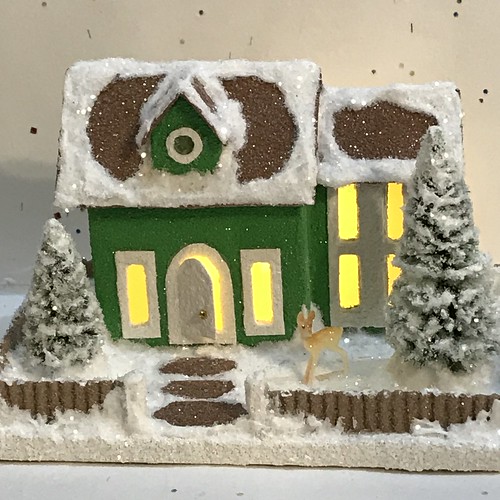
The snow needs an hour or so to dry enough to be handled. Then the tree is ready to use as a decoration in your little glitter house village or as a tree on a Putz house base. When I use these bottle brush trees on a Putz base, I glue the tree down with hot glue, then cover the tree’s base with more snow and glitter.
I plan to write a post about using bead strings to decorate bottle brush trees. When it is finished, I’ll add the link here.
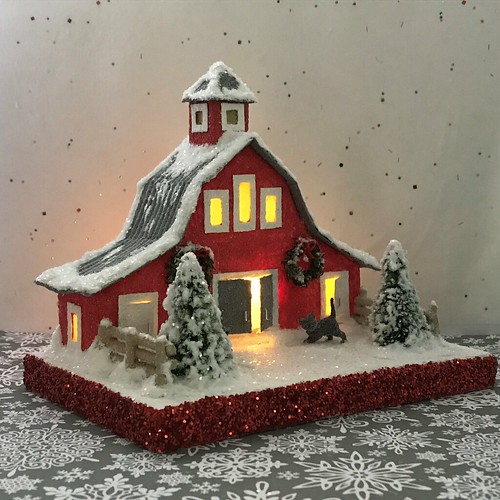
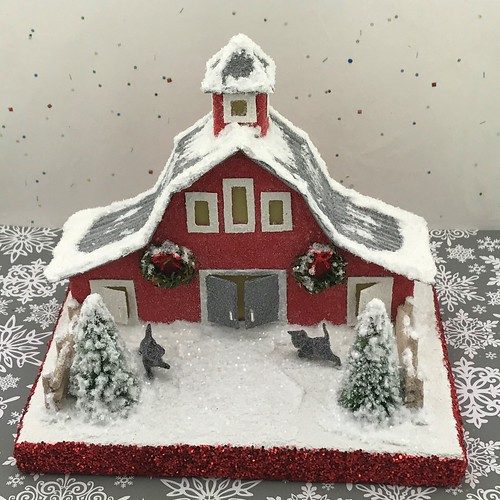
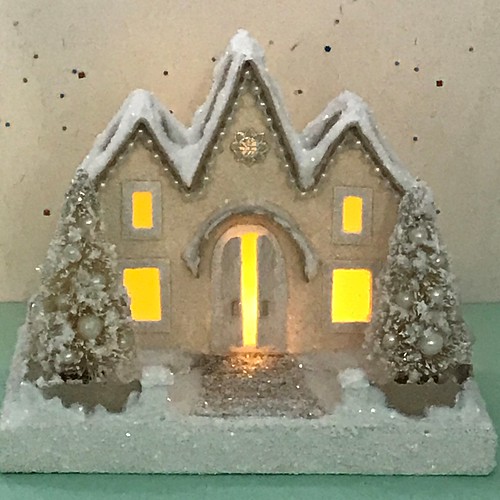
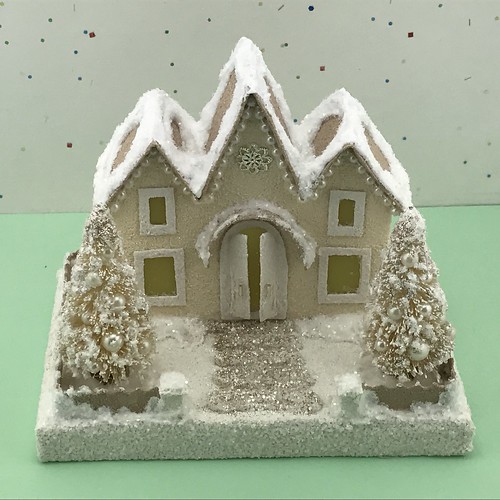
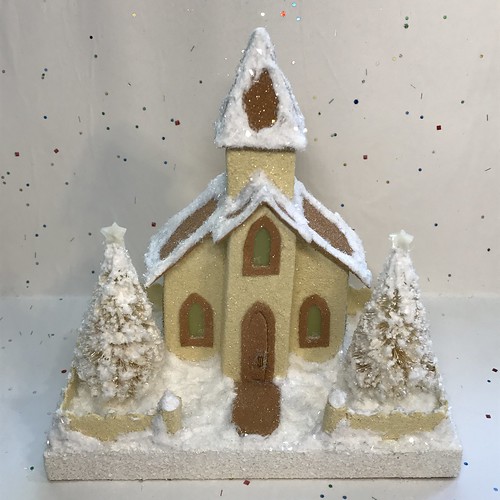
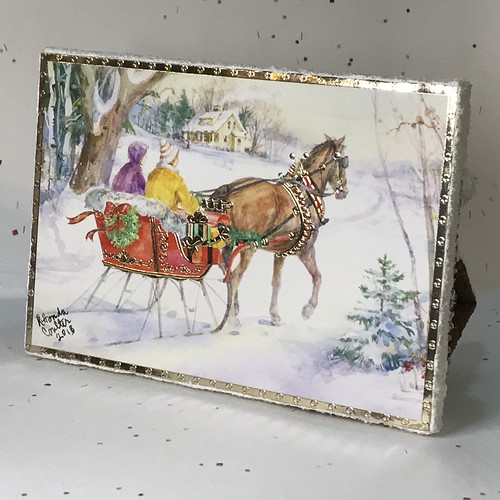
If you are interested in crafting some Putz houses and bottle brush trees of your own, check out my Putz tutorials for more information. Putz House Tutorials
I am always happy to answer questions about the process. Please ask, if you are wondering about the details of putzing!
You can see my Putz houses and other Christmas ornaments in my Etsy shop.
ChristmasNotebook.etsy.com
All proceeds from my Etsy shop benefit Kenya Mercy Ministries. They work with the urban poor of Nairobi, Kenya, particularly the children and their families who live in Kibera, the largest slum in Africa. Thank you for your part in helping these children when you purchase items from my shop!
~~Rhonda