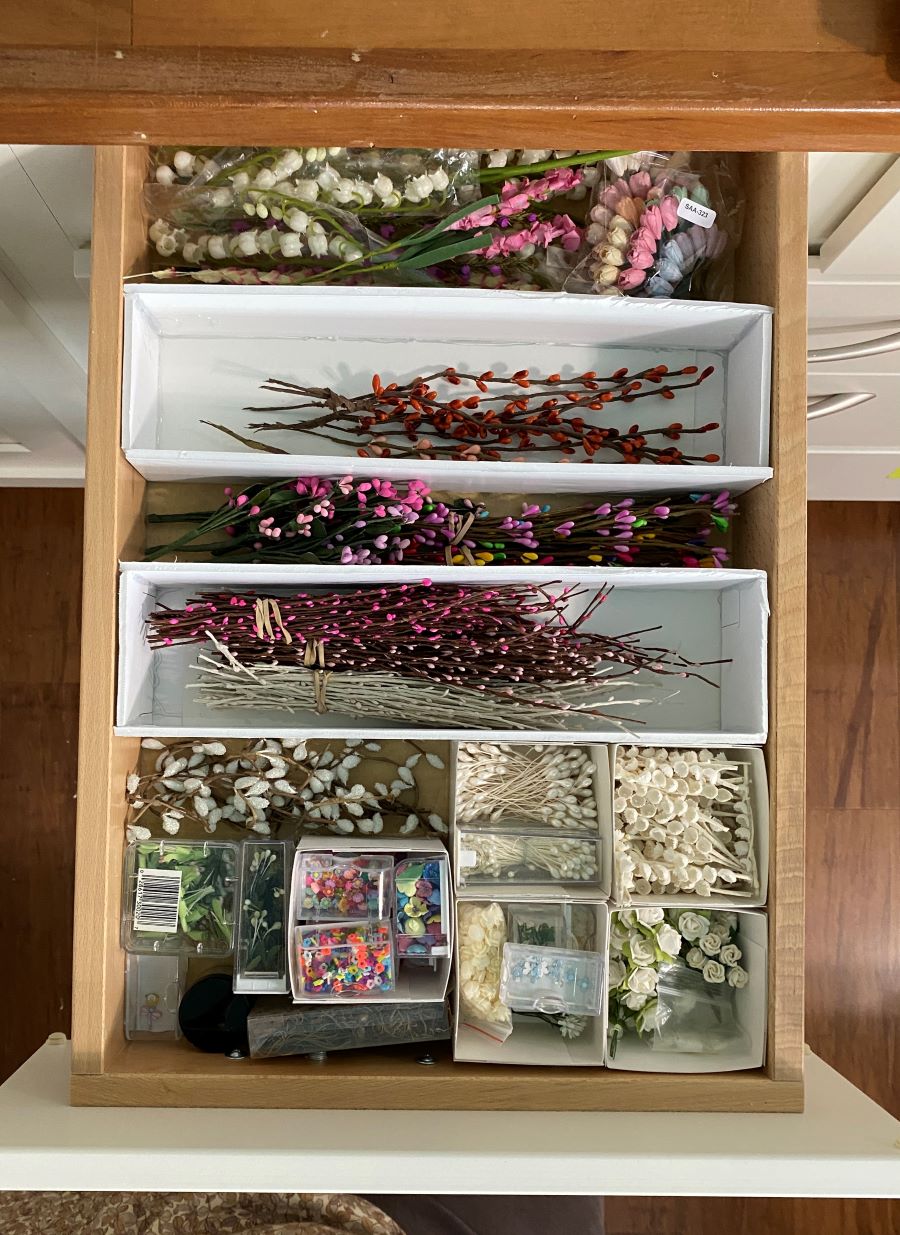
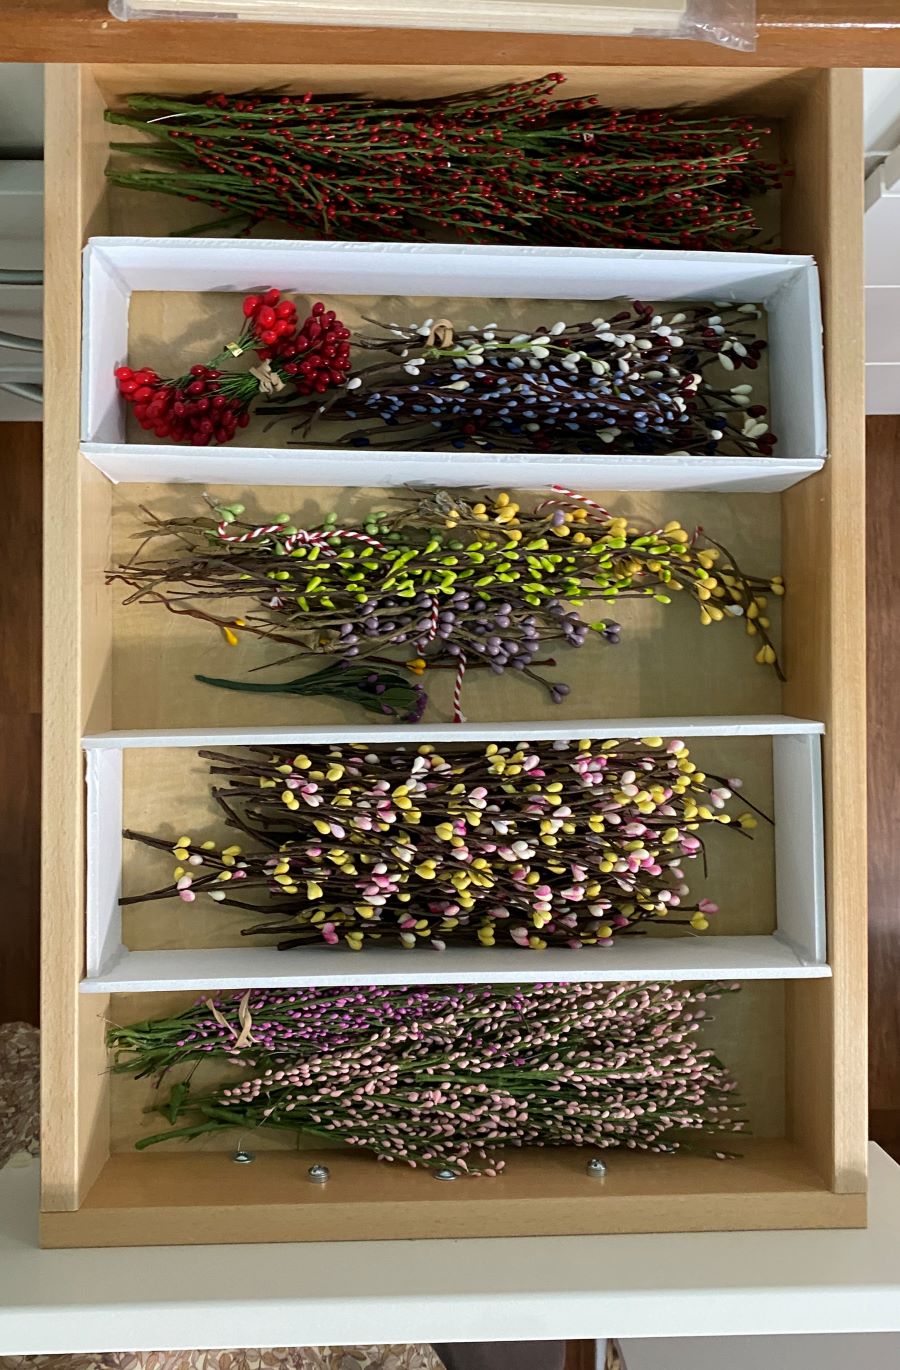
Today, I’m talking about pip stems. If you aren’t familiar with them by name, you may recognize them when seen below. These are my drawers of pip stems, mostly organized by color. There are two sizes of pip stems. The larger size is most often found. The mini size is harder to find. You can see the sizes side by side in the picture on the right. I can find red and pink mini size pip stems in the Etsy shop Silky Blossom.
TIP: I divided the pip stem drawers with boxes I made from foam core with a poster board bottom. I cut them to fit the width snugly so they wouldn’t slide up and down the drawer. I put them together with hot glue. Because I didn’t make enough boxes to fill the drawer, I can move the boxes so I have various size spaces between them. They stay where I put them because they fit snugly.
To see more examples of how pip stems can be used to make budding trees and budding vines, check out my blog post about storing floral supplies. Pip stems are discussed at the end of the post.
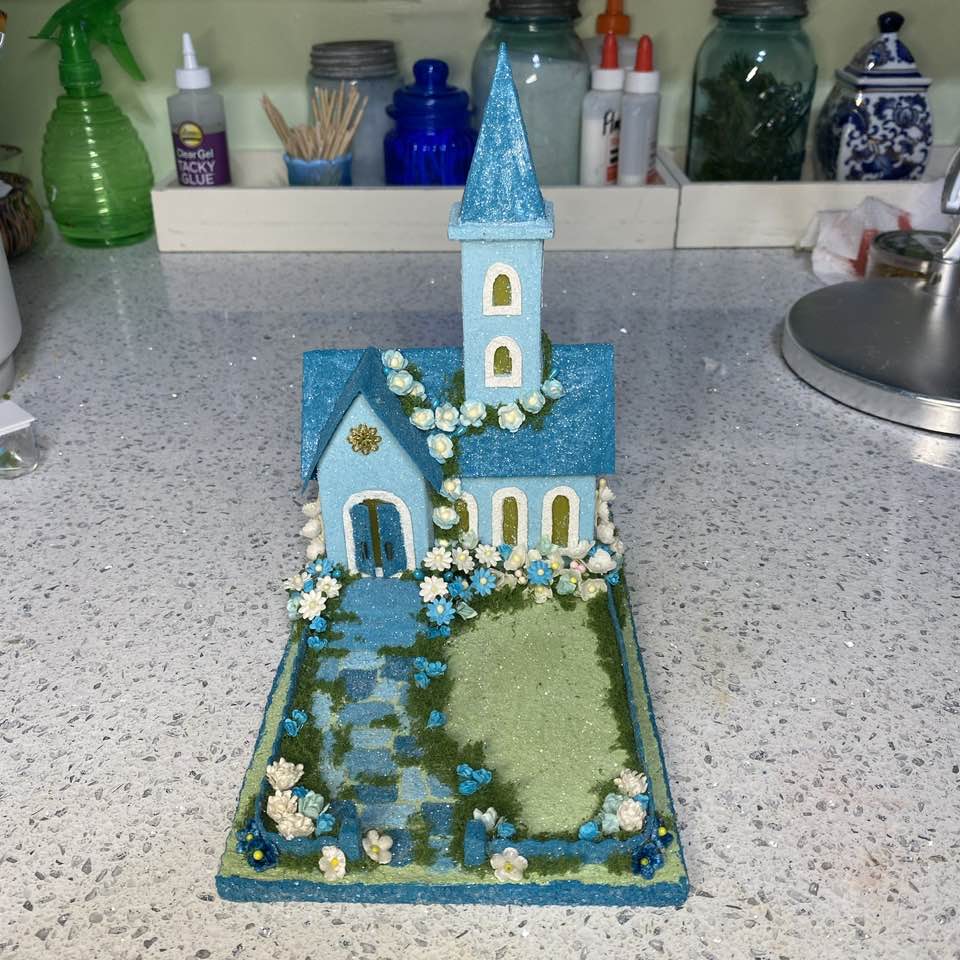
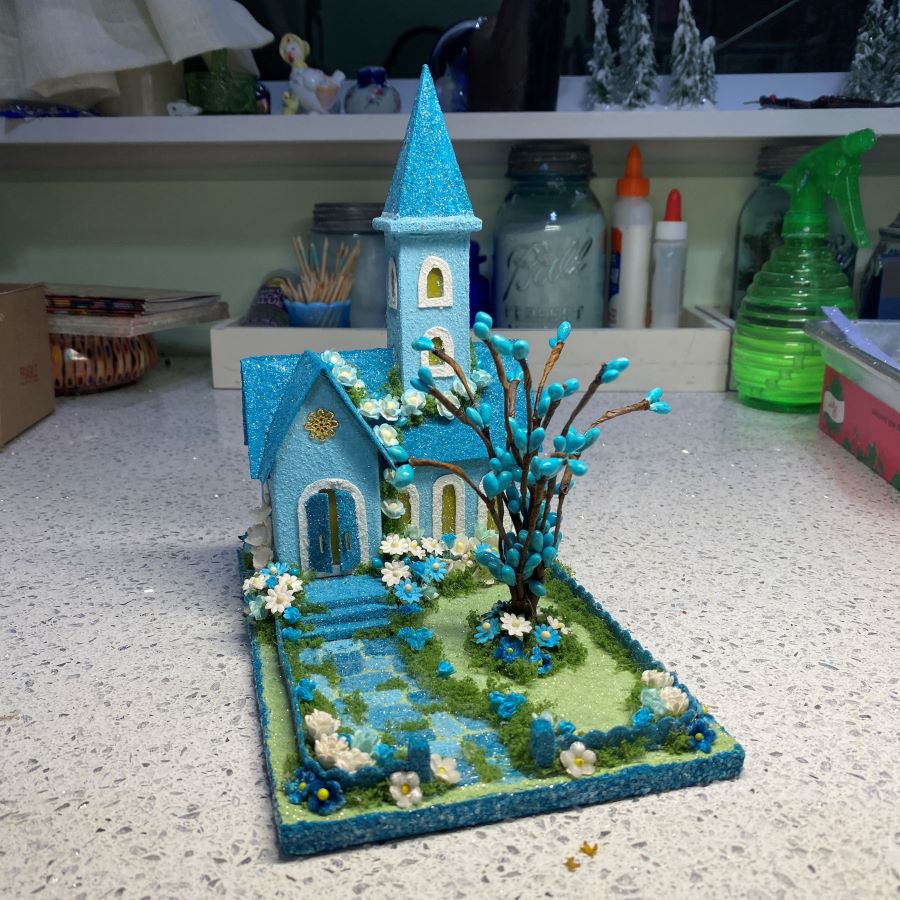
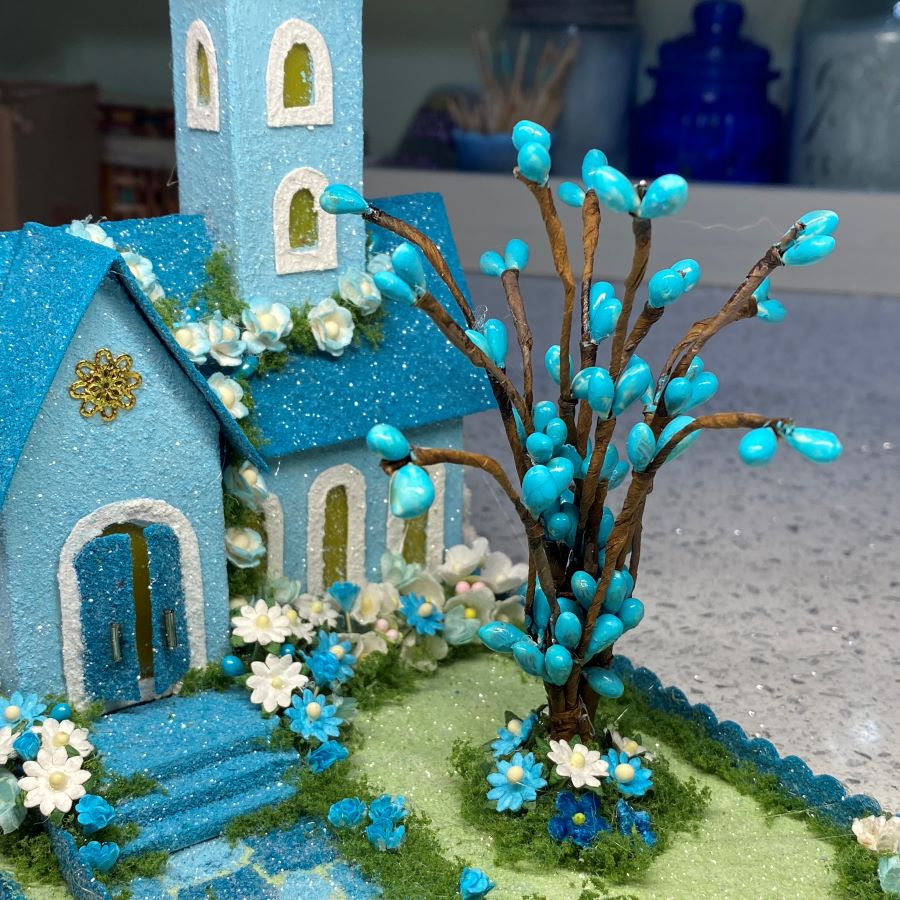
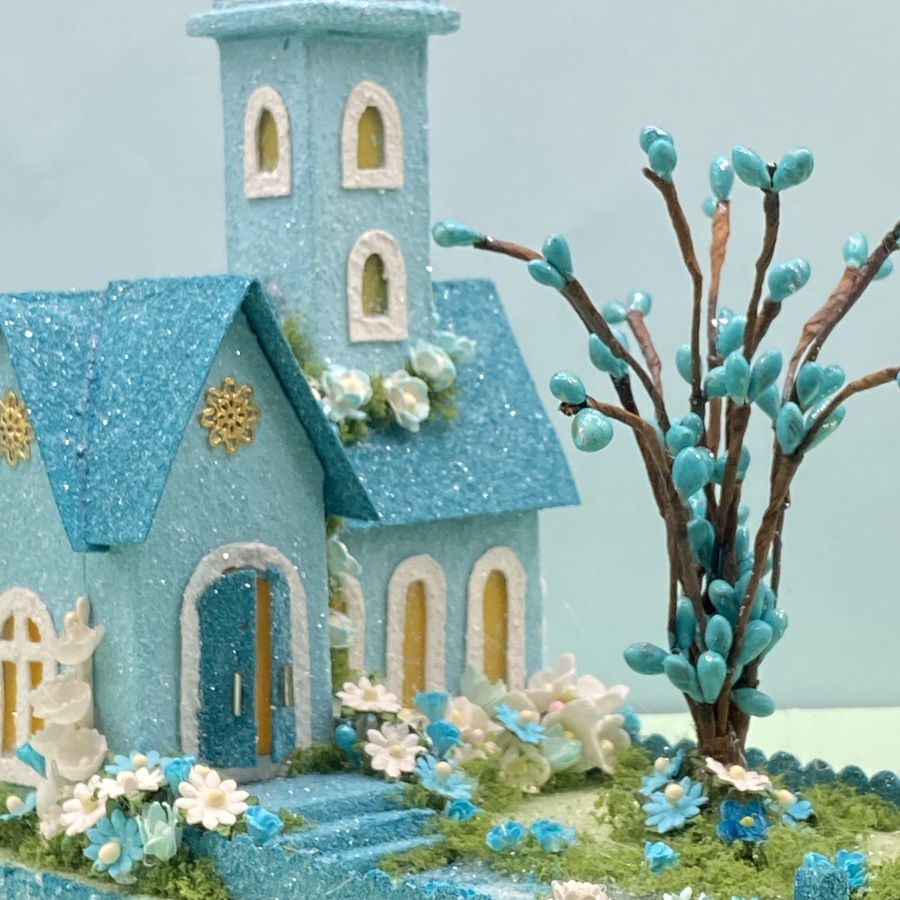
I ordered teal pip stems to make a spring budding tree for this spring church. In person, the darker color of the church roof is more green and does look like a dark teal.
The teal ones I ordered were not the right color. Teal / turquoise / aqua is a hard color to find in the right shade online. The pictures may not show the true in-real-life colors. I didn’t want to order another batch and find them incorrect as well, so I decided to paint the teal ones the right color.
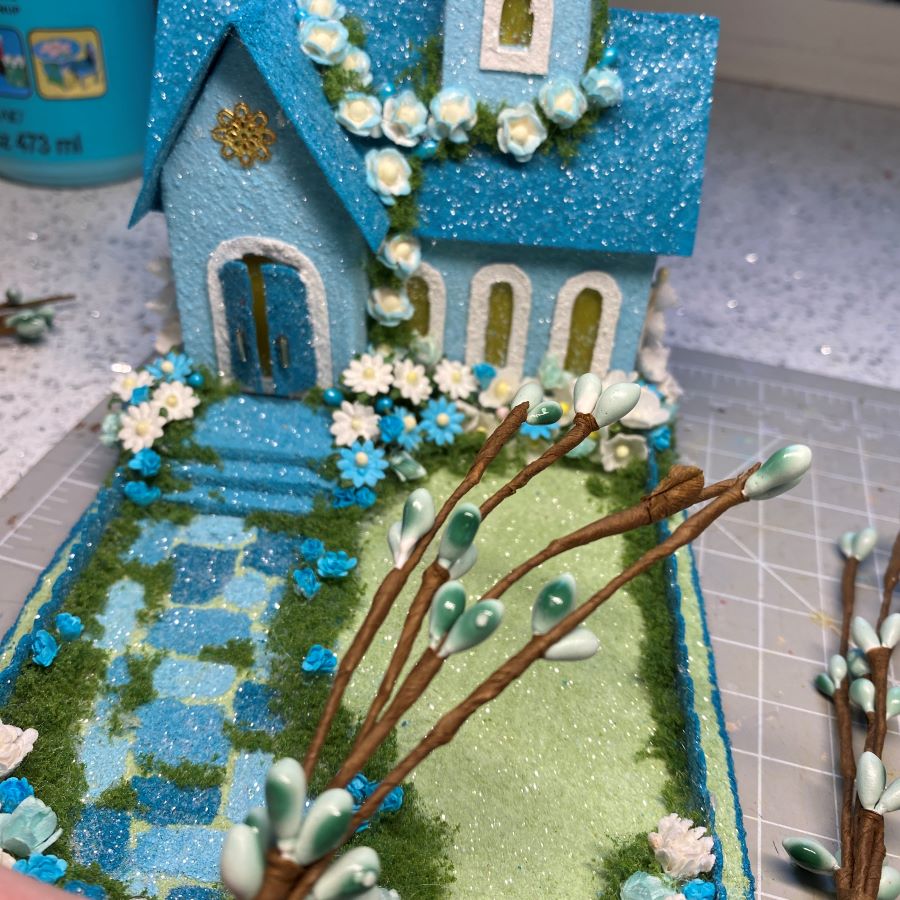
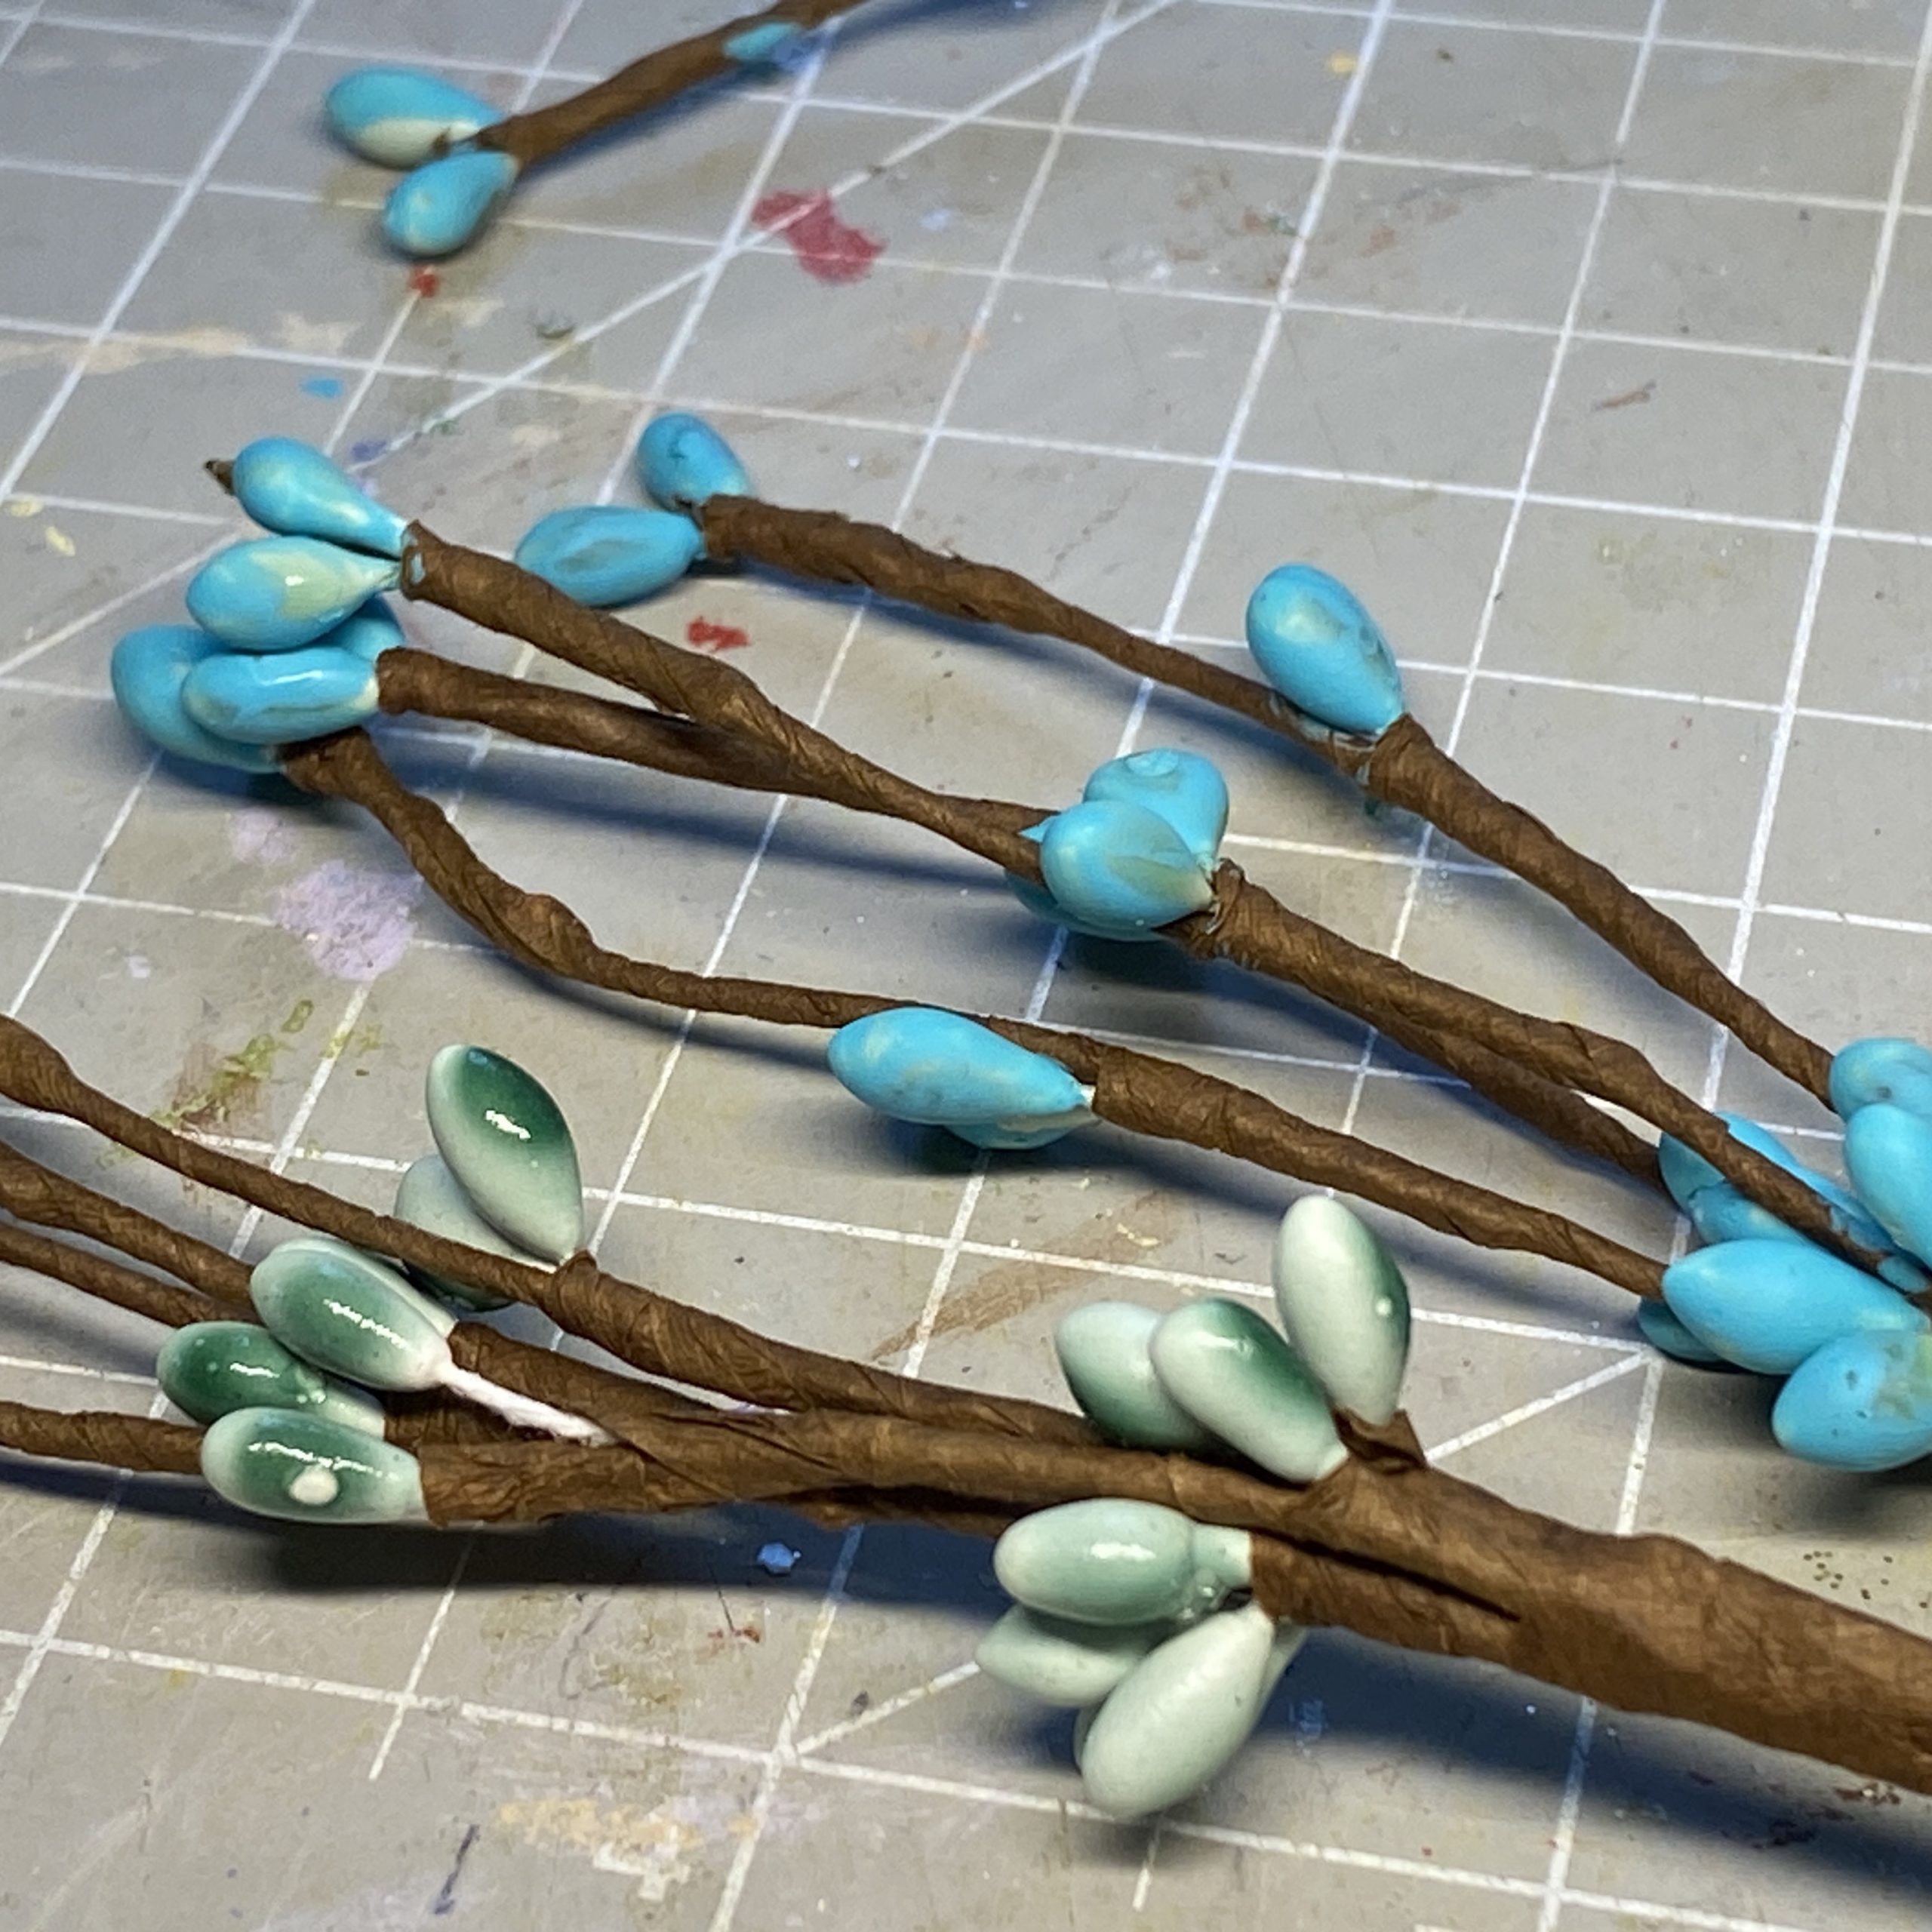
To paint pip stems, spread the attached stems apart to make them easy to access. Use a small, soft brush that will smoothly slide over the pip. Using acrylic craft paint, paint one side of the pip, dry, then paint the other side. When dry, inspect the pips and touch up as needed. If the brown stem has paint on it, use a brown to match the stem and cover the paint. When dry, the individual pips can be gently moved to allow access for touching up spots that were missed.
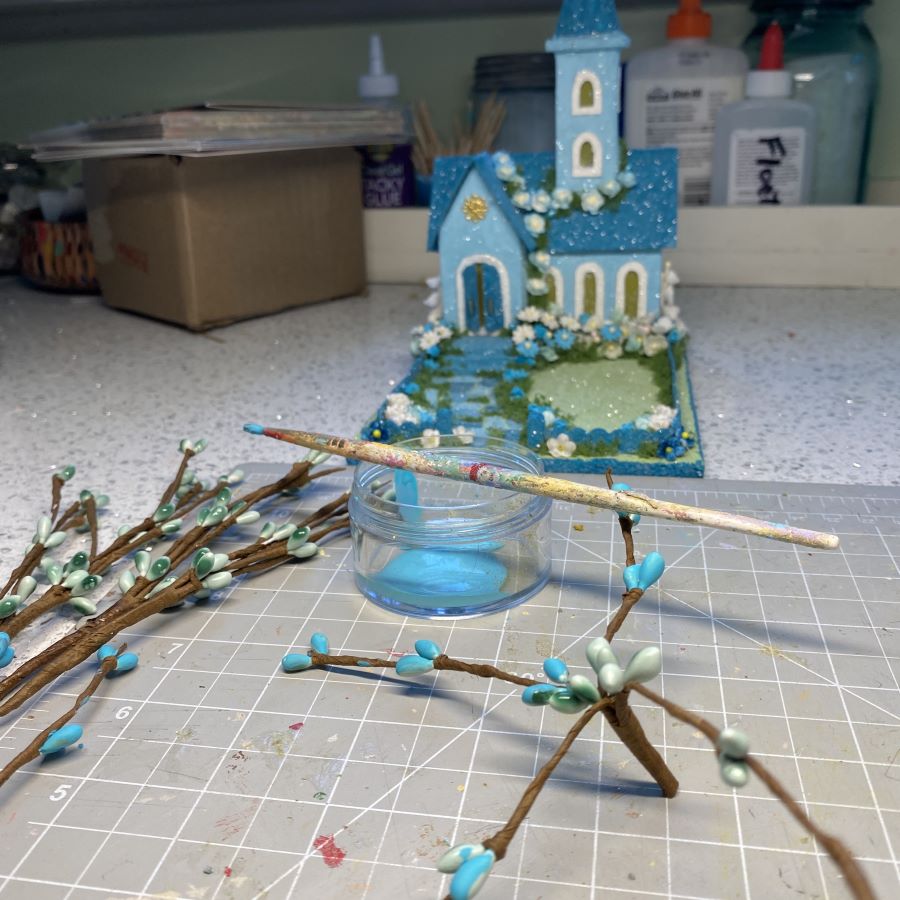

When the pips were painted, inspected, and touched up as needed, I applied water soluble, clear varnish to give them a bright gloss.
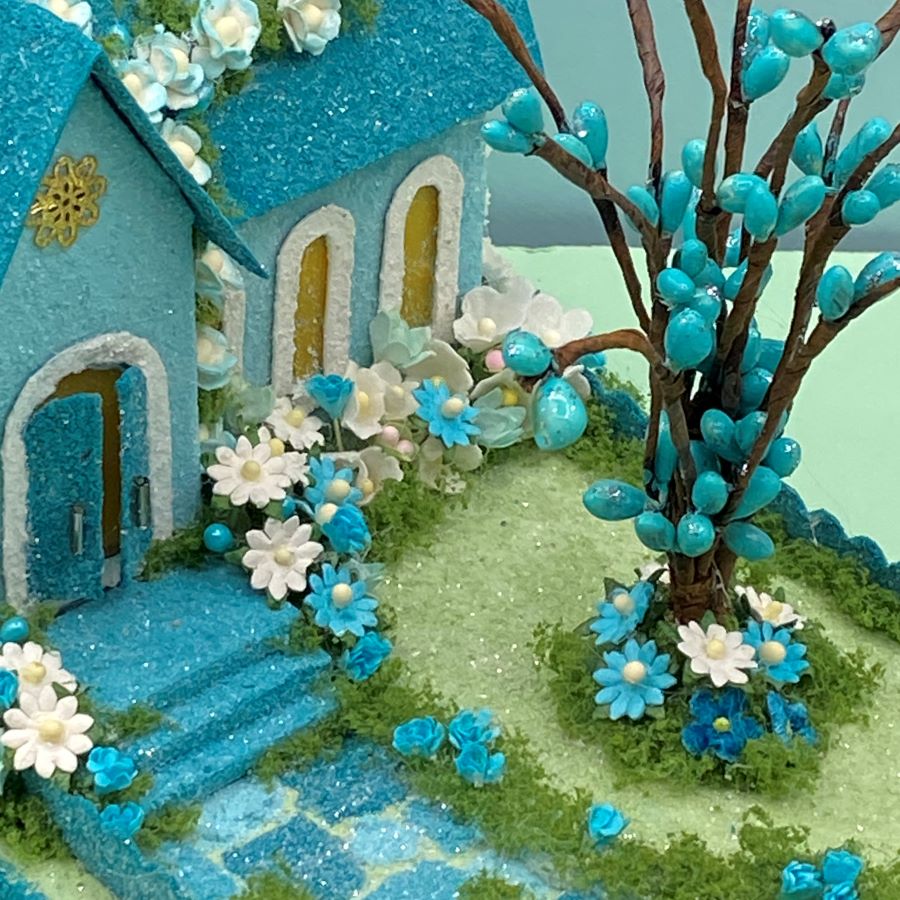
This tree was made with three stems. Each stem had four stems of pips, as you can see in the above picture. I cut the bottom of each pip stem to make the tree the height I wanted. I glued the three stems together, then glued the tree to the base.


The last step was to add the necessary embellishments to finish the landscaping.
You can see this putz church in my Etsy shop.
If you have any questions about creating pip trees or putz houses, please ask. I am happy to share what I have learned about the art of putzing.
If you would like to see more of my Putz houses, as well as Christmas ornaments I have made from upcycled holiday cards, please visit my Etsy shop.
If you are interested in crafting Putz houses of your own, check out my Putz tutorials for more information. https://christmasnotebook.com/putz-little-glitter-houses/
All proceeds from my Etsy shop benefit Kenya Mercy Ministries. They work with the urban poor of Nairobi, Kenya, particularly the children and their families who live in Kibera, the largest urban slum in Africa. Thank you for your part in helping these children when you purchase items from my shop!
~~Rhonda 🙂